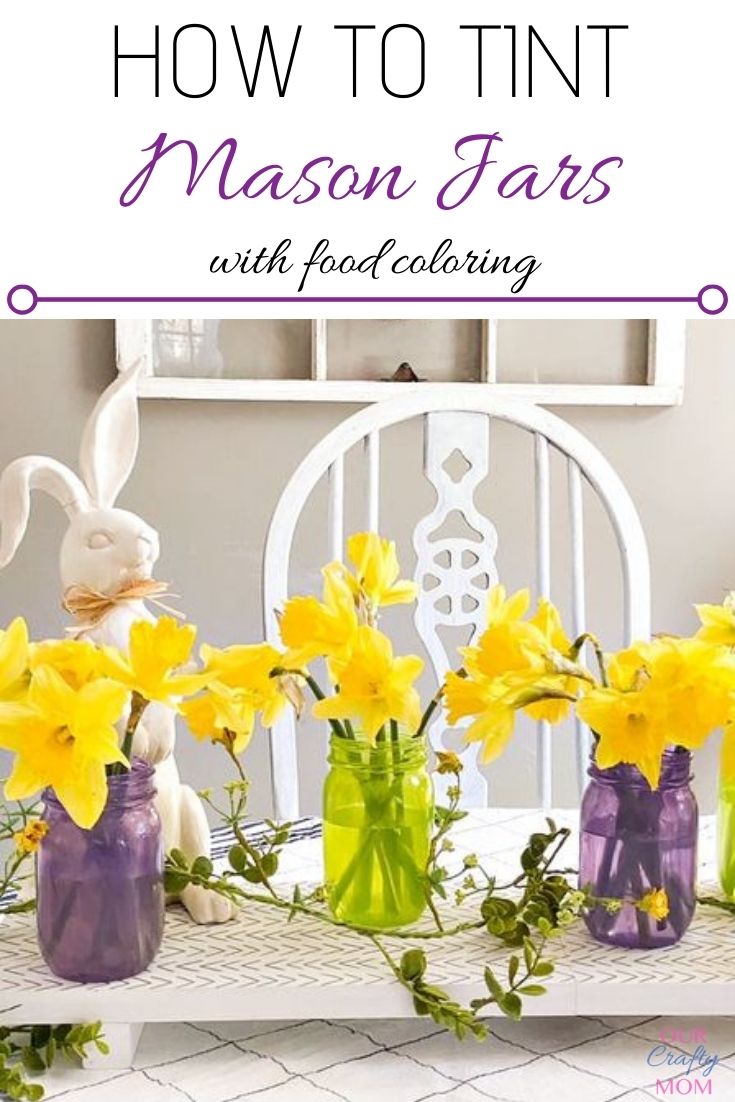
Let me show you how easy it is to tint mason jars with food coloring.

Tint mason jars in beautiful stained glass colors using inexpensive food coloring. It’s a quick and easy craft that can be used to decorate your home in so many different ways.
This post contains affiliate links at no extra cost to you. However all opinions are 100% mine. I only promote product I believe in. Please see my full disclosure here.
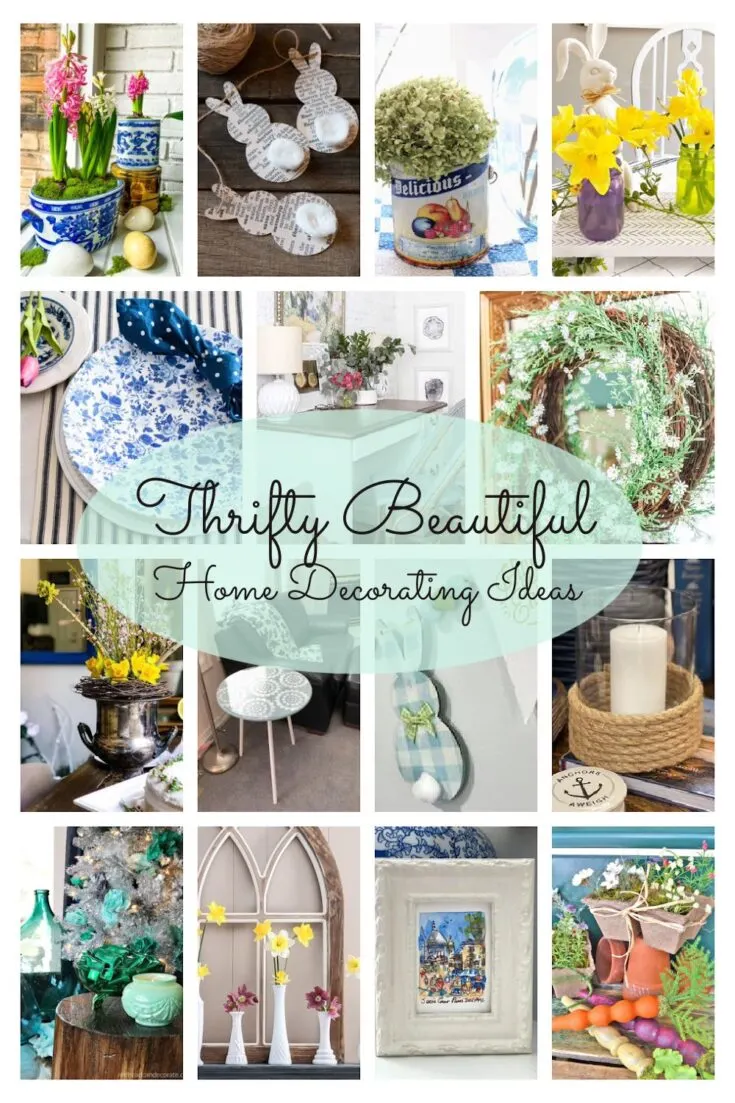
I’m sharing this thrifty craft as part of the Thrifty Style Team’s monthly challenge.
There are 16 budget-friendly home decorating ideas shared this month, so be sure to check those out with the links at the end of this post.
I’m thrilled to be teaming up with these talented bloggers!
I’ve been wanting to try to tint mason jars for several months. I actually picked up a package of mason jars before Christmas, but just didn’t have a chance to make them.
This challenge was the perfect opportunity. And, I learned a few tips that I want to share with you.
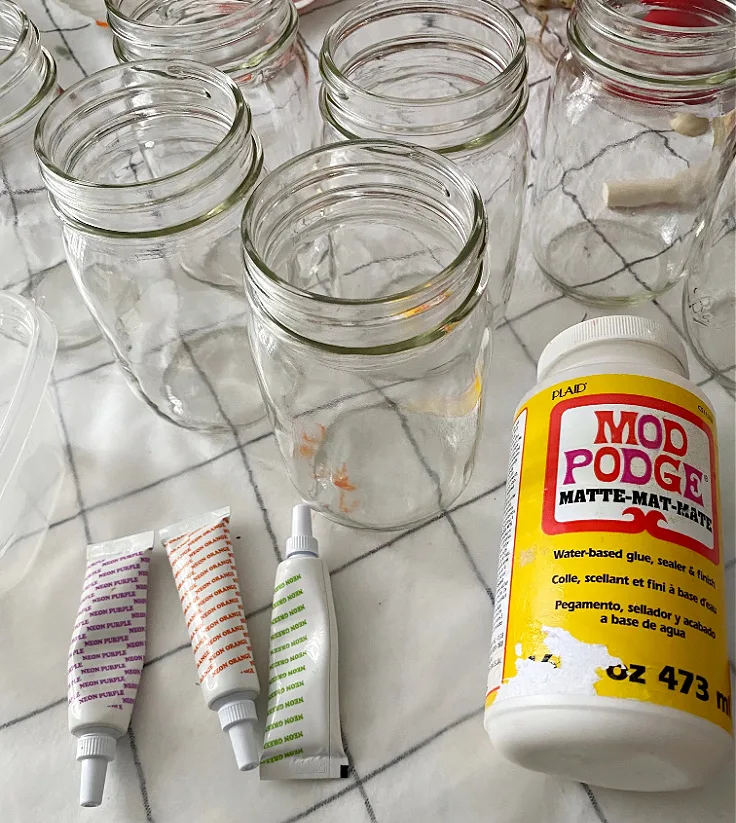
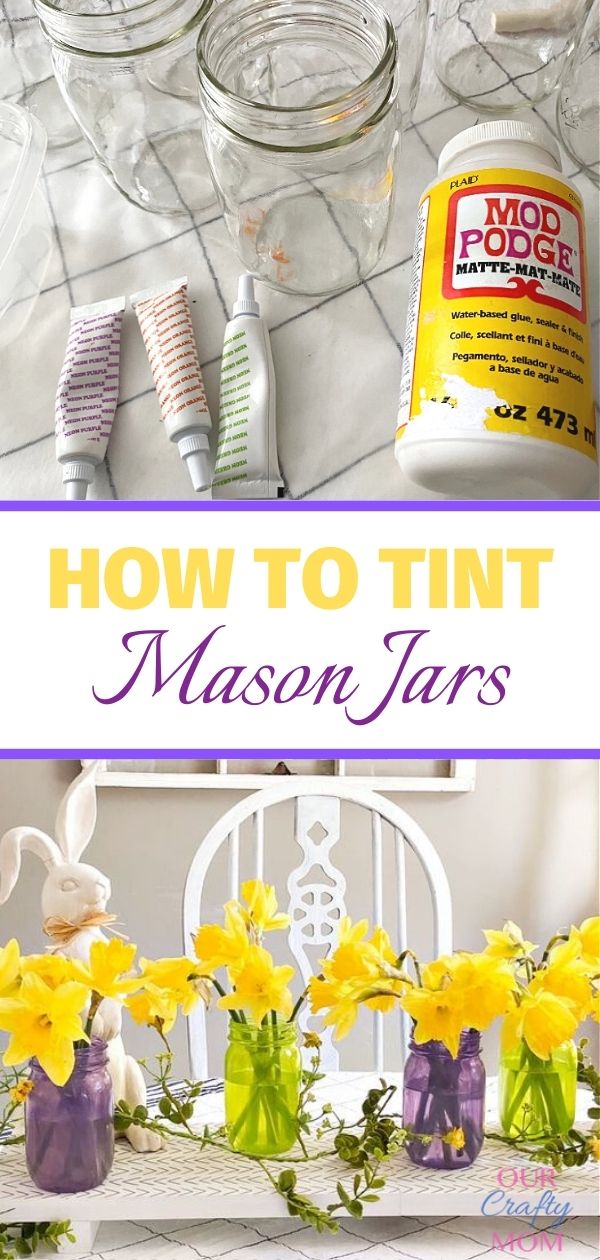
Supplies Needed For Tinted Mason Jars
- Pint Mason Jars
- Mod Podge
- Craft Sticks
- Foam Brush
- Water
- Liquid Food Coloring
- Parchment Paper

Step 1.
Be sure the mason jars are clean with no fingerprints or dust.
You don’t want any marks to show up once they are stained.
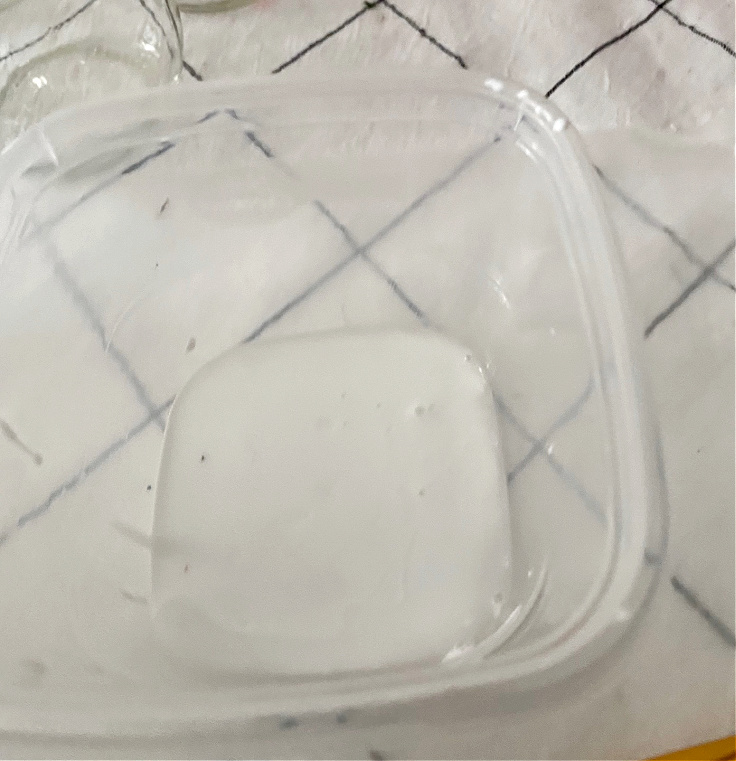
Step 2.
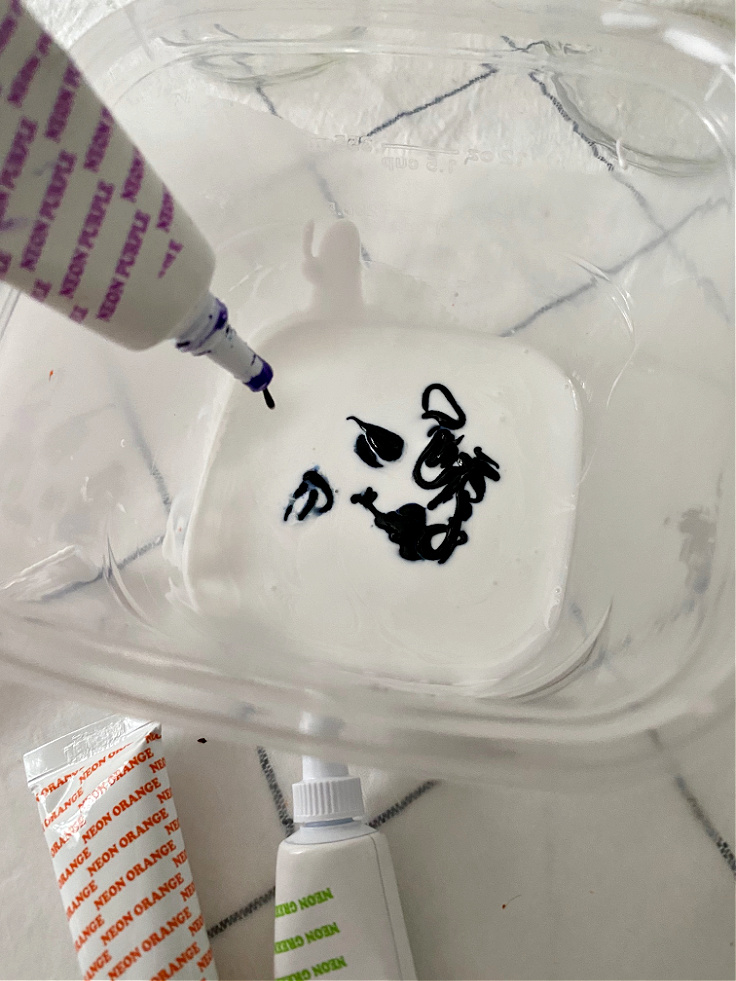
Add 1 Tablespoon of Mod Podge into a plastic bowl. I picked up a pack of 3 at the dollar store.
You will be throwing this out after so you don’t want to waste anything.
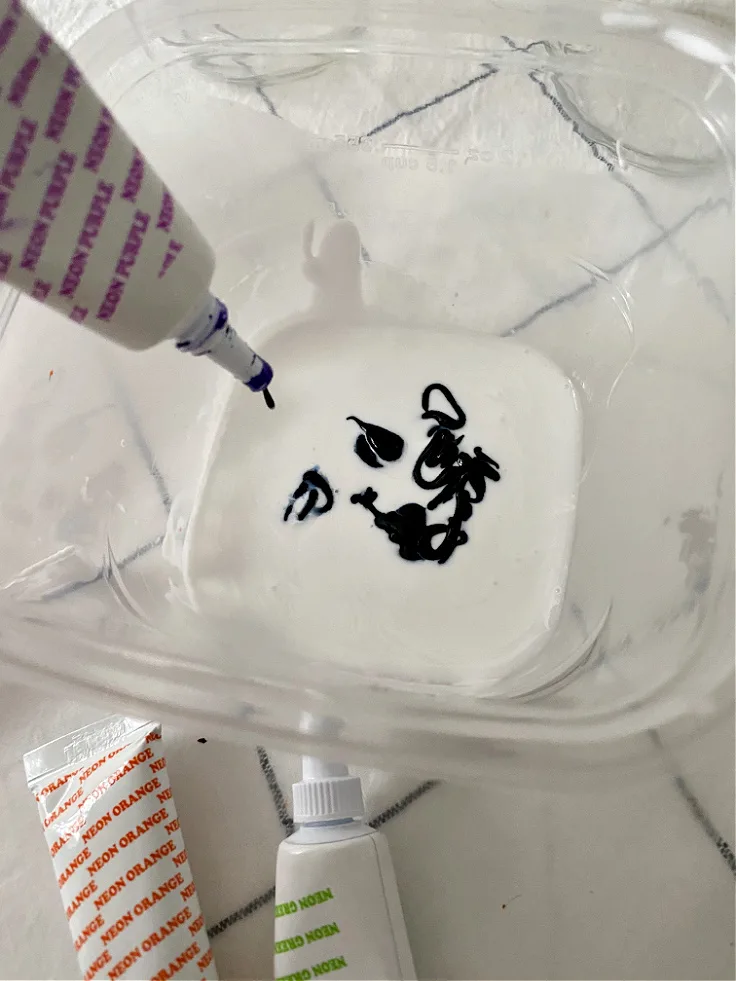
Add 1/2 Tablespoon of water and about 10-12 drops of food coloring.
Too much food coloring will make it streaky, so keep it right around this amount.
You really don’t need more than this anyway, as the color is quite vibrant.
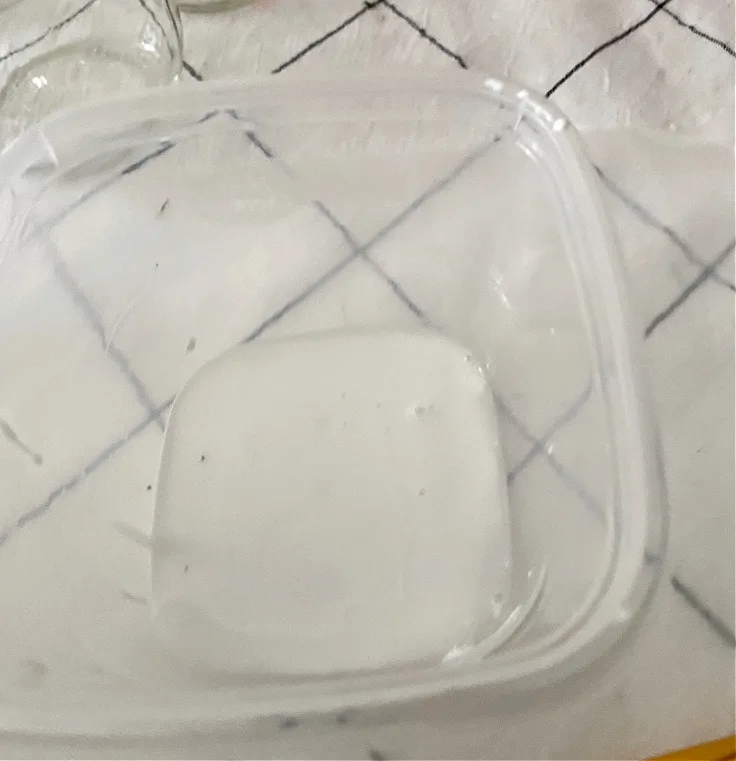
Step 3.
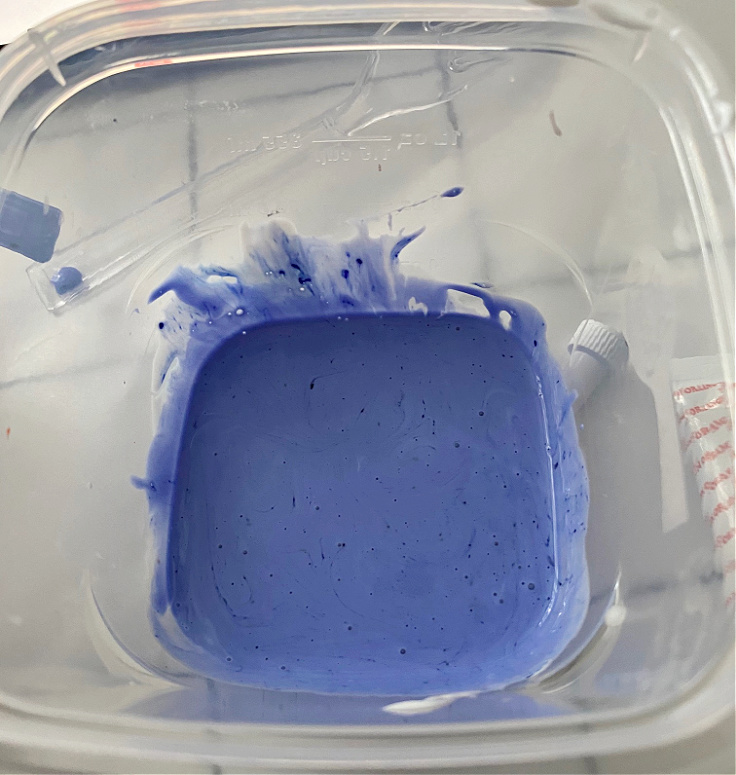
Mix well with a craft stick until the color is well-blended.
You don’t want to see any of the white mod podge when mixed.

Step 4.
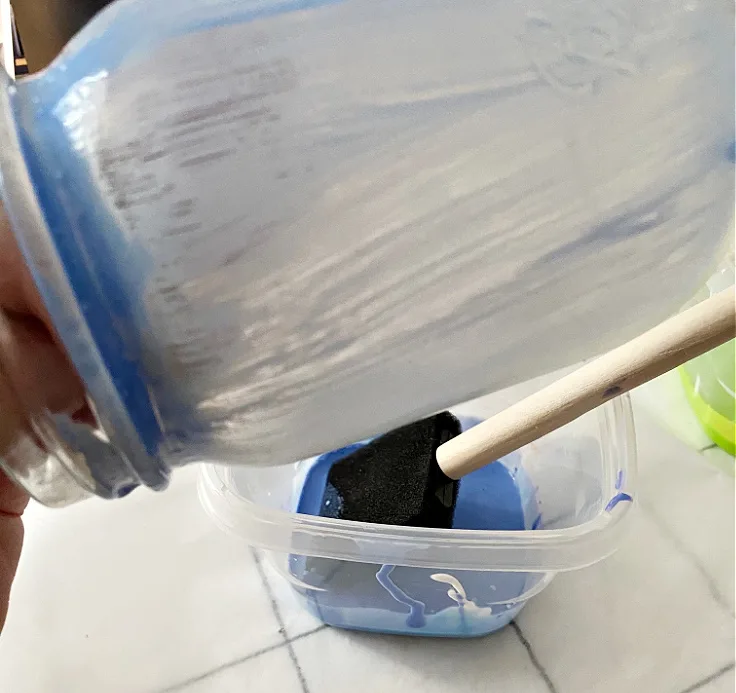
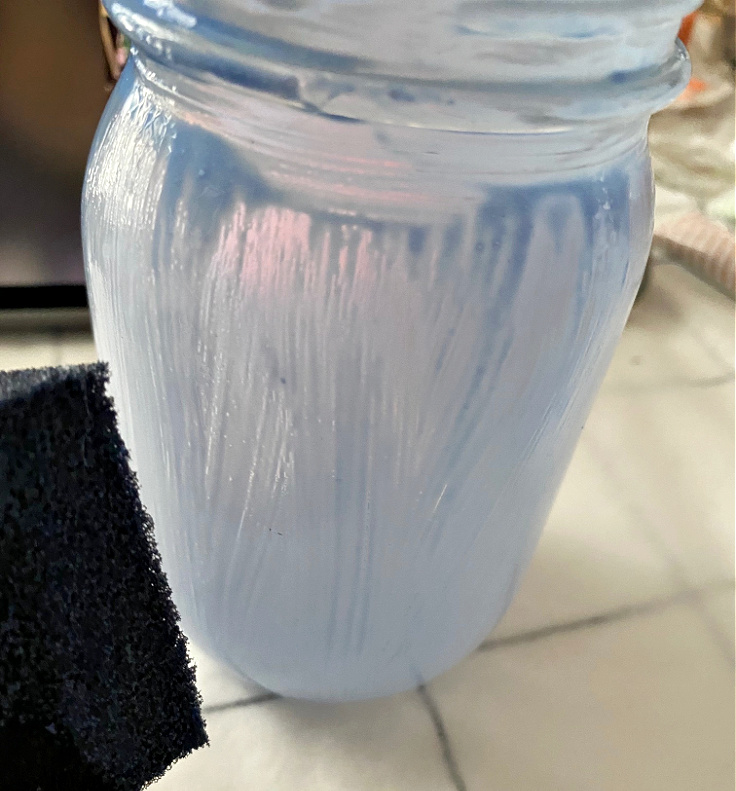
Use a foam brush to paint the mod podge mixture on the outside of the mason jar.
I chose to paint the outside of the glass, rather than swirl the paint on the inside of the jar, as I wanted to use the jars as vases.
When you paint the inside of the jar and add water, the stain will not hold.
Painting the outside makes them waterproof once baked and safe for flowers as well.

Step 5.
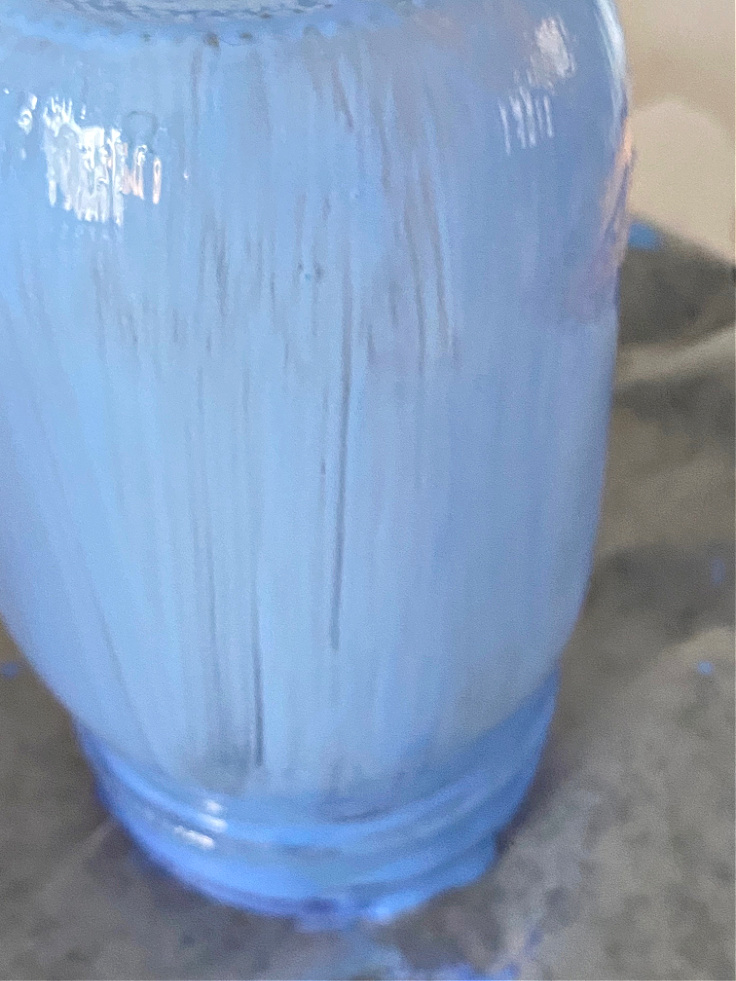
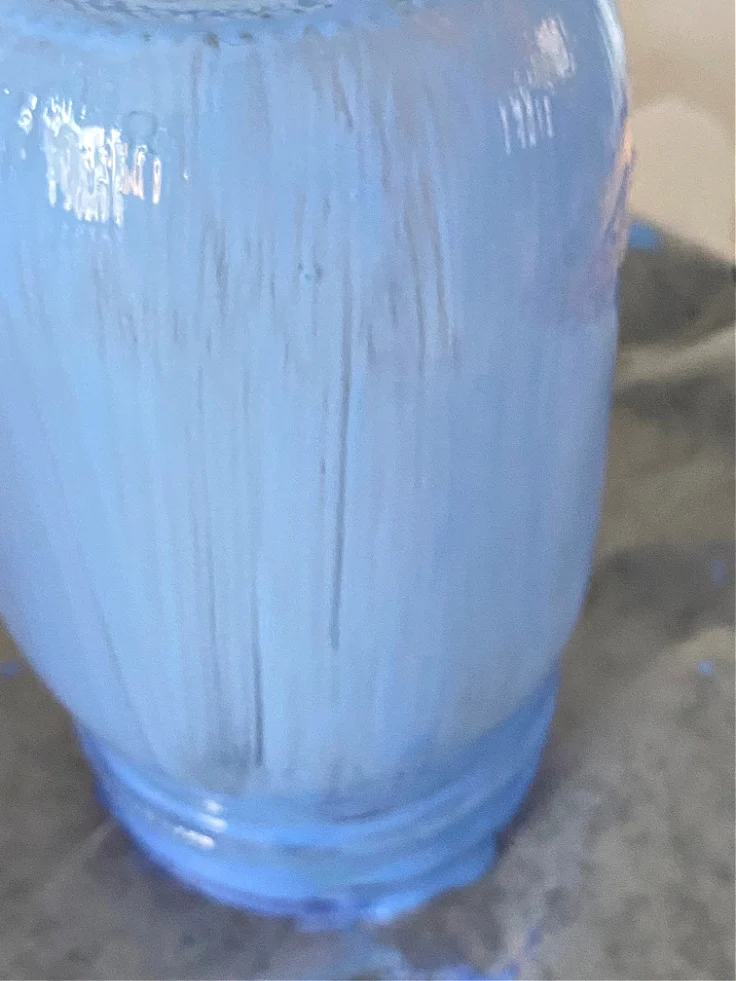
Continue to paint until the entire jar is covered. Don’t worry about it looking streaky, it will bake clear so you won’t see the streaks.

Step 6.
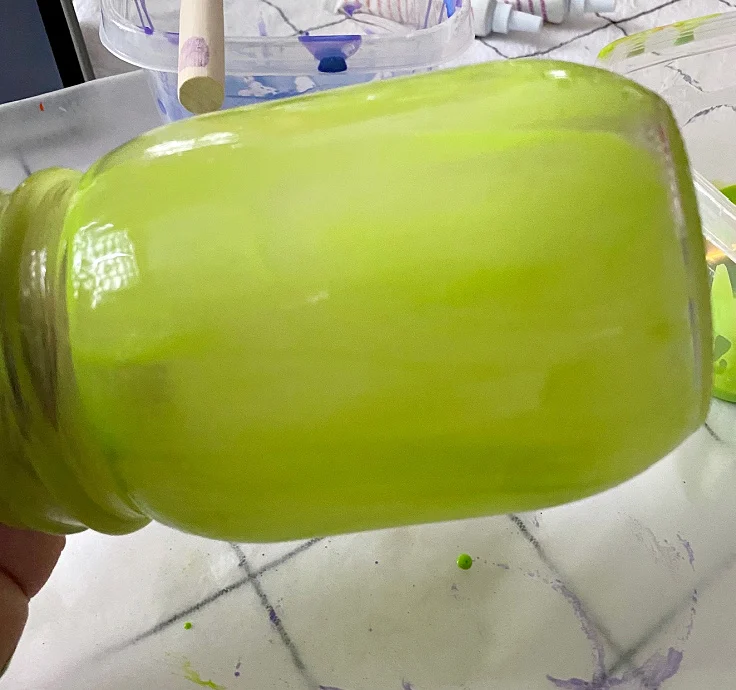
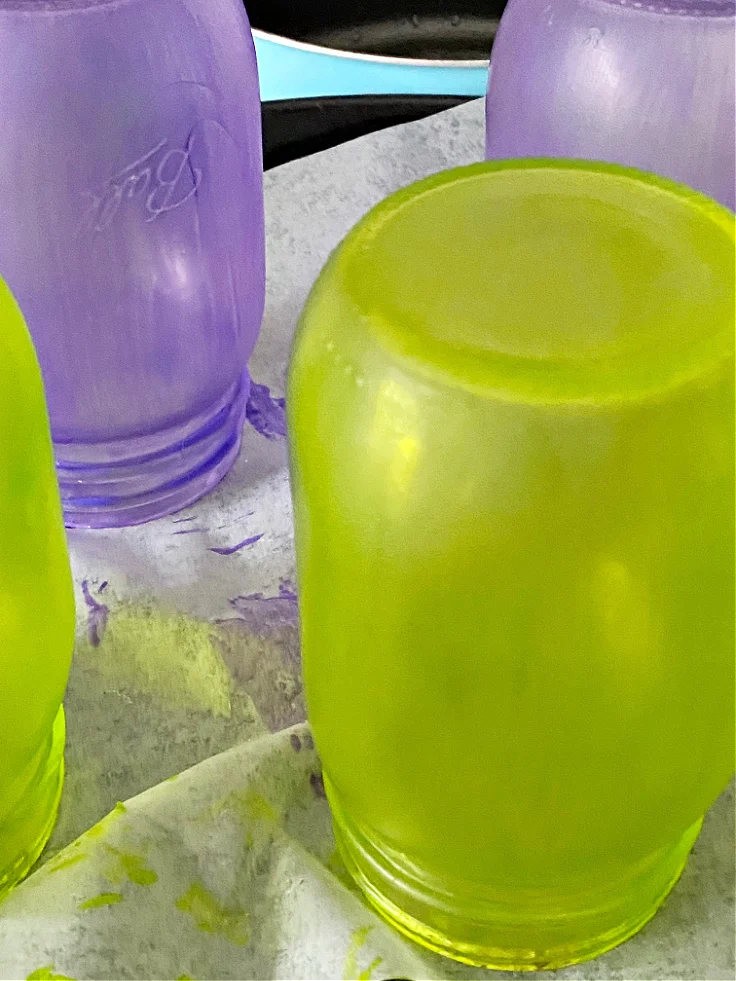
Place it upside down on parchment paper to dry for an hour, letting any excess drip off.
Look how pretty this green is!

Step 7.
After an hour, place them upright on a parchment-lined cookie sheet.
Wipe off any excess mod podge mixture from the rim.

Step 8.
Bake them in a preheated oven of 225 degrees for about an hour, or until the color is transparent.
That’s all there is to it. Easy peasy!

How To Decorate With Tinted Mason Jars
There are so many ideas for using these tinted mason jars. Here are just a few:
- Add submersible lights for an outdoor party with rainbow colors.
- Create several in patriotic colors for Memorial Day or 4th of July.
- Fill them with this mosquito repellant recipe to keep the bugs away.
- Stain them in trendy colors of pink and aqua for a summer centerpiece.
- Mix several colors together for a unique blend.
- Use them for a wedding stained to match the wedding colors.
- Make seasonal colors for fall and Christmas.

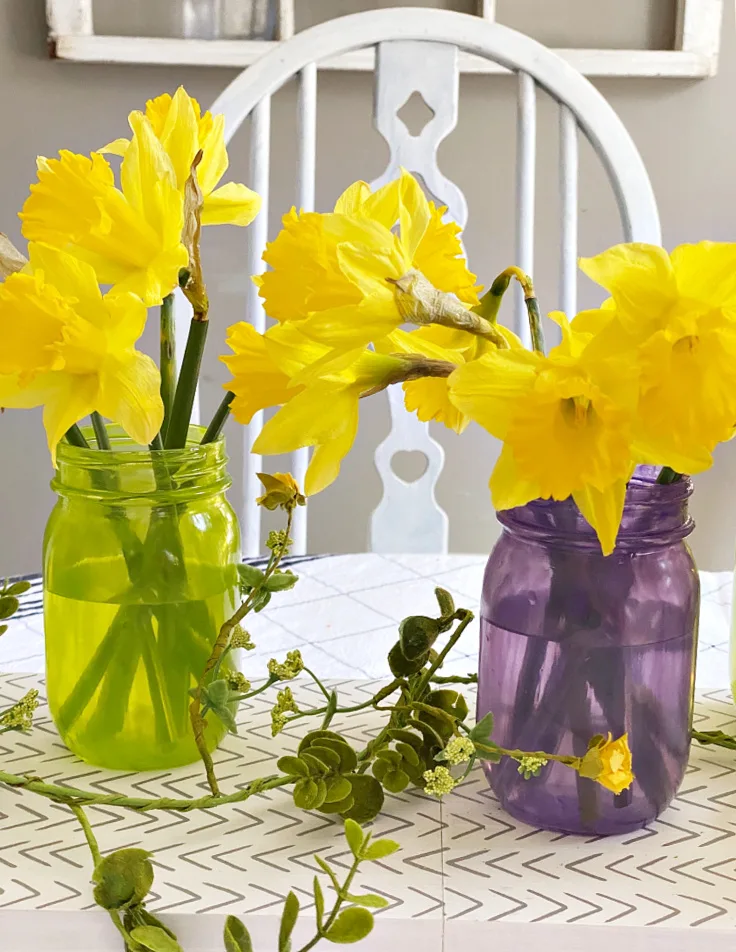
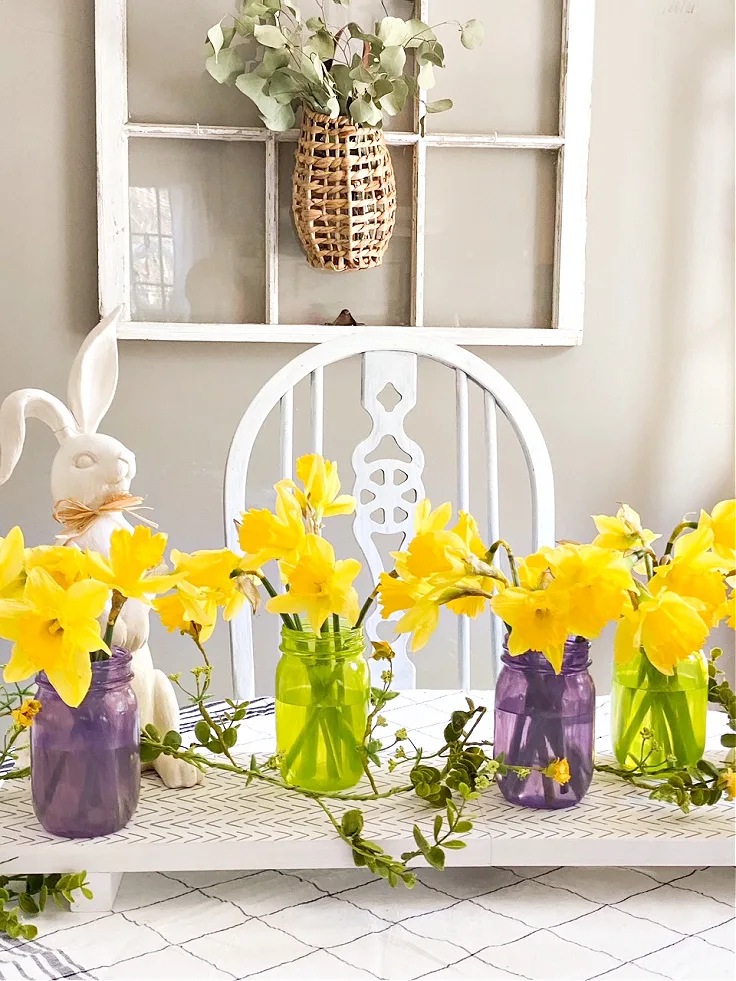
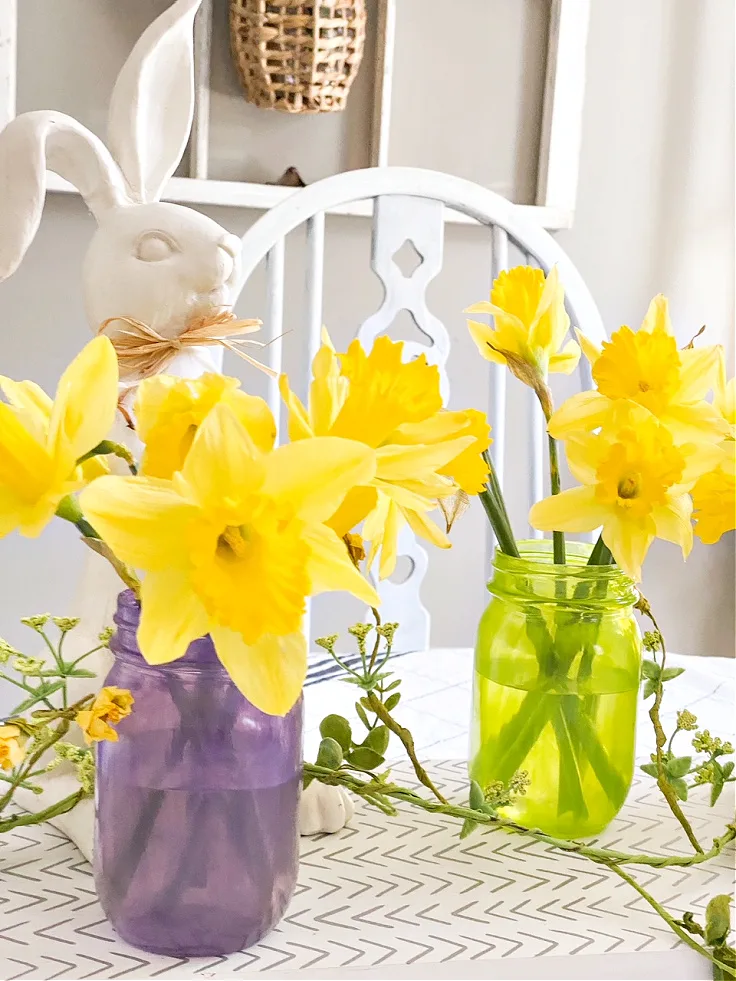
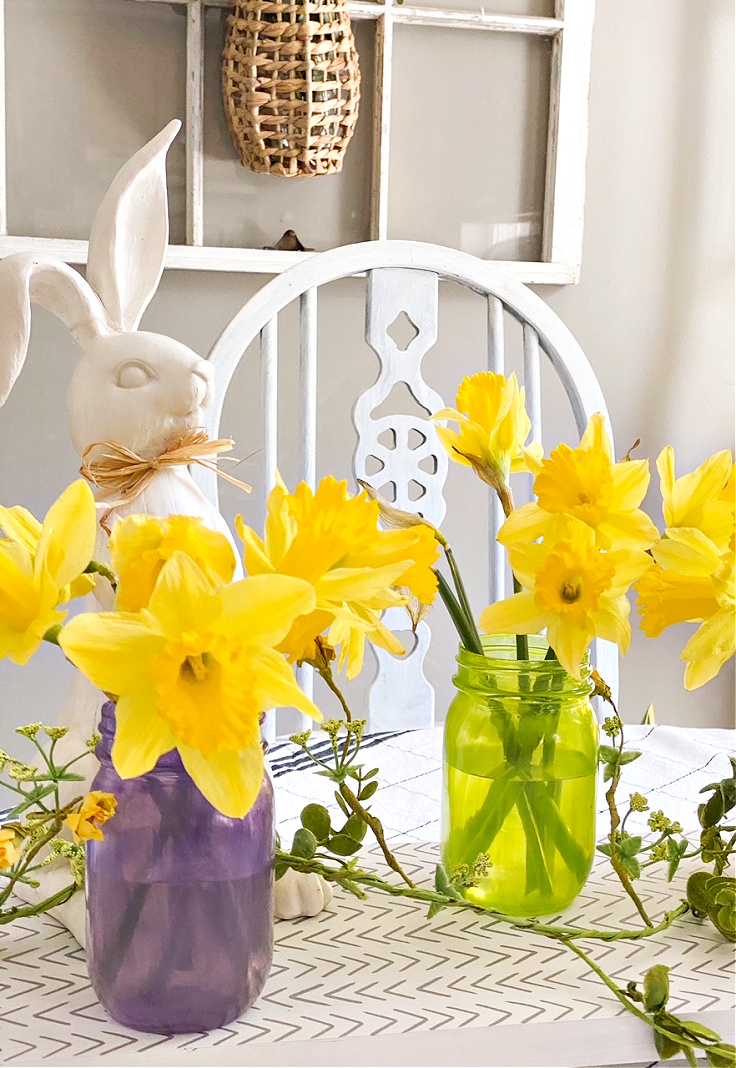
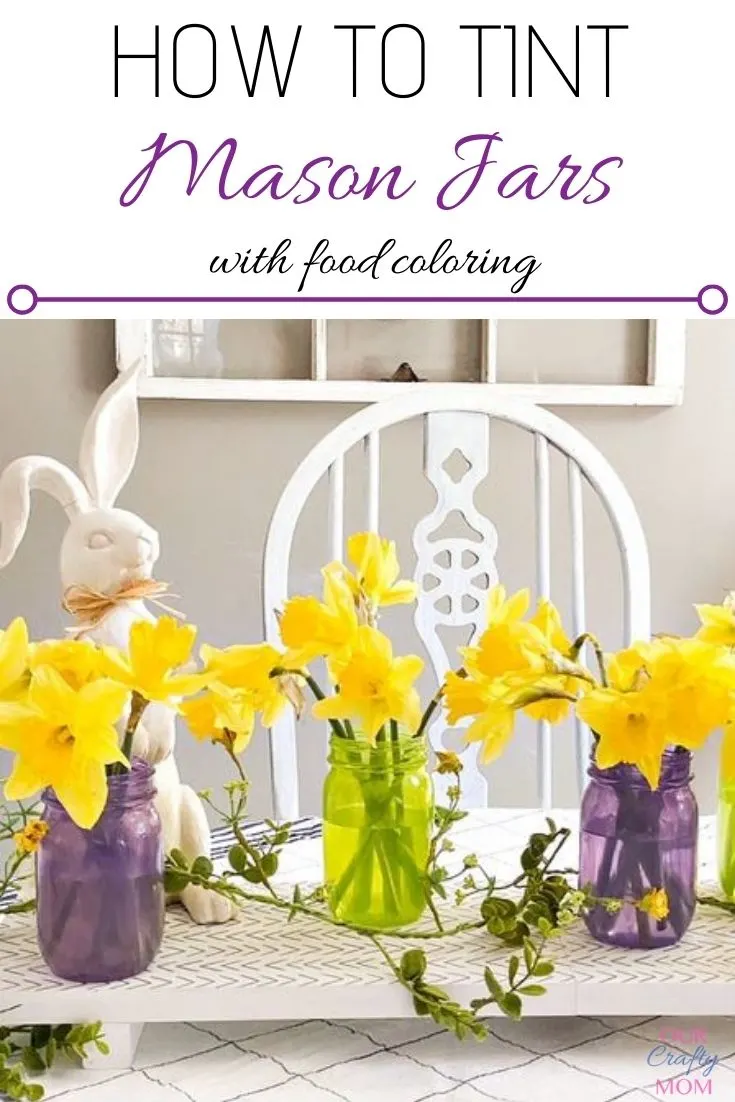
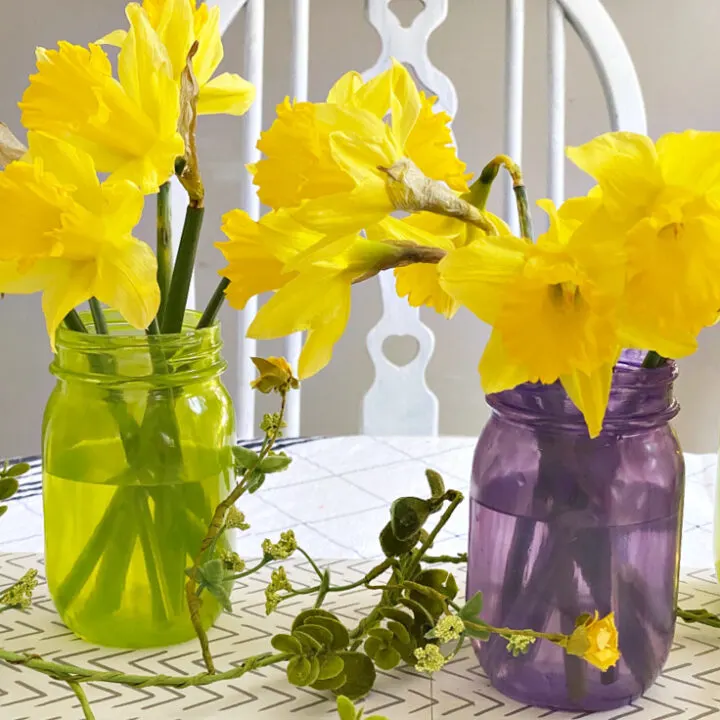
I love how the spring colors of purple and green look with pretty daffodils on my kitchen table.
Such a simple and inexpensive display.

I’d love to hear what colors you would use to tint your mason jars. Let me know what you think in the comments below.
Now for even more thrifty home decorating ideas…

DIY Beautify – Blue and White Decoupage Chargers
2 Bees In A Pod – Painted Frame Makeover
Postcards From The Ridge – Simple Spring Mantel with Milk Glass Vases and Daffodils
The Creek Line House – How to Whitewash a Stone Wall
The How To Home – Easy DIY Paper Bunny Garland
The Tattered Pew – Flea Market Style Spring Centerpiece
Sweet Pea – Easy to make Spring Wreath
What Meegan Makes – Champagne Bucket Spring Floral Arrangement
Cottage At The Crossroads – DIY Bunny Garland
I Should Be Mopping The Floor – DIY Potted Hyacinth Bulbs
Lora B. Create & Ponder – Simple Garden Theme Decor DIY
White Arrows Home – Nautical Candle Holders
Our Crafty Mom – How To Tint Mason Jars With Food Coloring
Chas’ Crazy Creations – How To Stencil On Wood


How To Easily Tint Mason Jars With Food Coloring
Make gorgeous tinted mason jars using food coloring. You can make up a bunch of these tinted mason jars in no time at all. You can use this same process to tint any glass jars.
Materials
- Pint Mason Jars
- Mod Podge
- Liquid Food Coloring
- Craft Sticks
- Parchment Paper
Tools
- Measuring Spoons
Instructions
- Remove any fingerprints or dust from the mason jars.
- Cover your workspace to protect it.
- Add 1 Tablespoon of Mod Podge into a plastic mixing bowl.
- Add 1/2 Tablespoon of water and 10-12 drops of food coloring.
- Stir with a craft stick until it's mixed well.
- Use a foam brush to paint the outside of the mason jar with the mod podge mixture.
- Place upside down on parchment paper.
- Let dry for one hour.
- Preheat your oven to 225 degrees.
- Carefully lift the jars and wipe any excess from the rim of the mason jar.
- Line a cookie sheet with parchment paper.
- Place the mason jars right side up on the cookie sheet.
- Place into a preheated oven for 1 hour until the glass is transparent.
Google Web Story: How to Color Mason Jars
Cindy Ray
Tuesday 16th of April 2024
I tried this. Jars looked great before baking. Followed directions exactly. After baking they looked awful. Real splotches,runs,blobs. Can they be fixed?
Michelle James
Tuesday 16th of April 2024
You should be able to paint them again the same exact way and bake them. It is important to paint them evenly. Also, if the mod podge mix was too thin that might happen. It should look like yogurt. I hope this helps. Please let me know.
Erin
Monday 23rd of January 2023
After these are baked, is it safe to use them as a drinking glass?
Meg
Monday 12th of April 2021
Once baked, would these hold up outdoors?
Meg
Friday 9th of April 2021
I would like to use these for outdoor hanging lanterns. Once baked, will they hold up to the elements?
ourcraftymom
Friday 9th of April 2021
Absolutely! I made similar ones last year and had them outside all season. You can also spray them with a clear sealant to protect them, but they will be fine. Enjoy!
Lora Bloomquist
Monday 22nd of March 2021
Interesting; I had no idea! Definitely pinned!