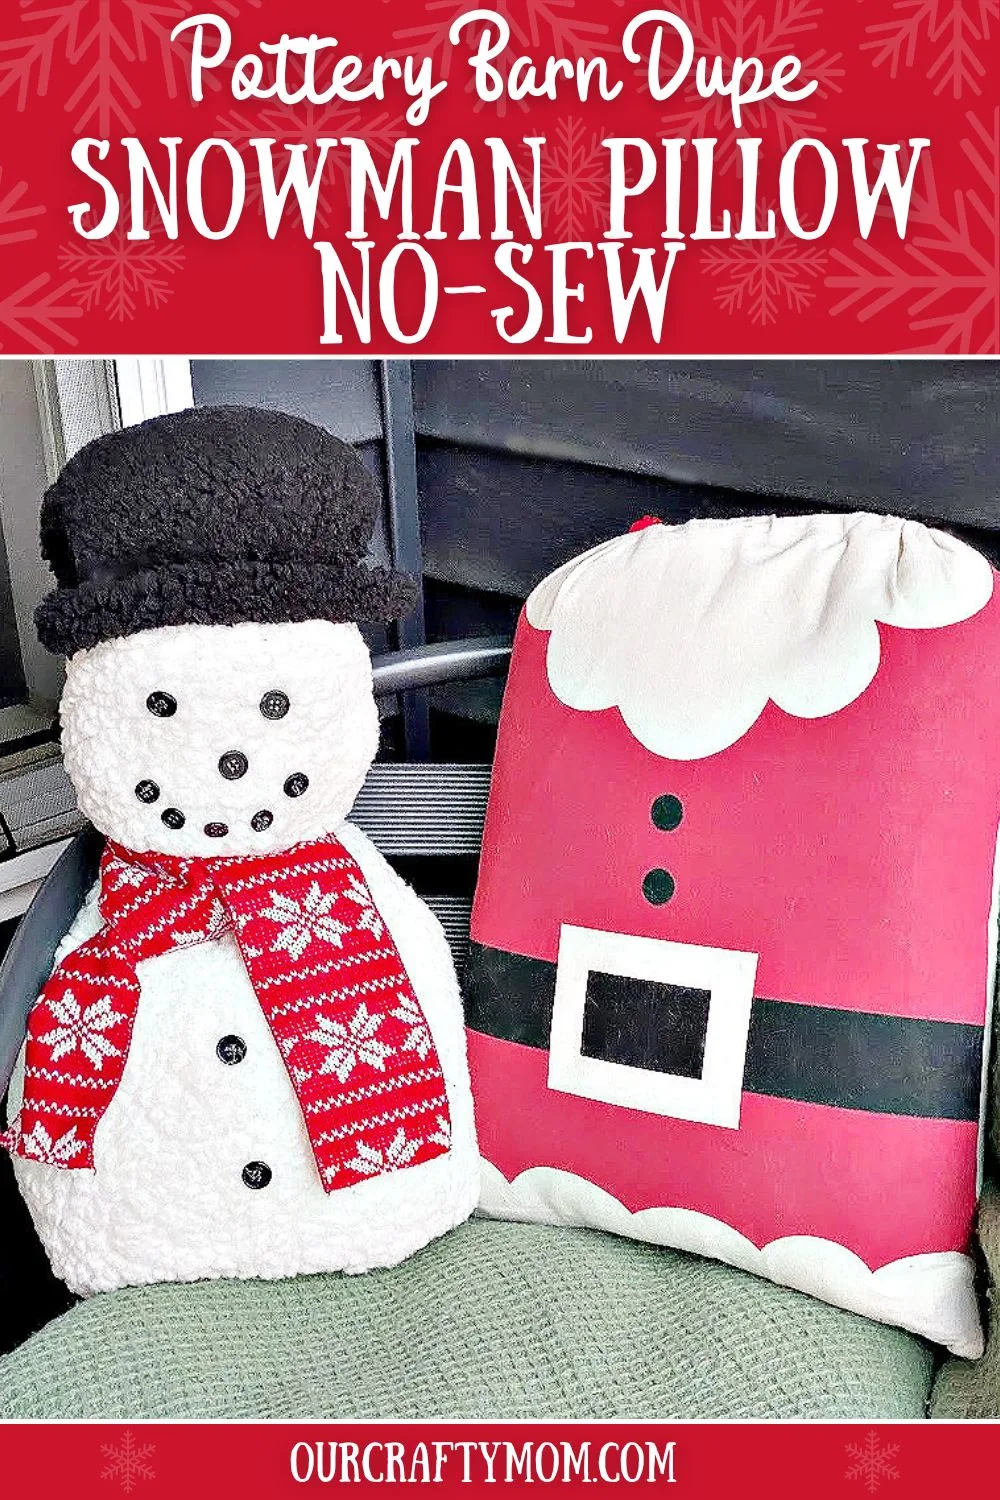
Learn how to make a cozy sherpa Pottery Barn snowman pillow for a fraction of the price that it is sold for. And, it’s no-sew!
With Christmas just around the corner, I am in full-on decorating mode for the holiday season.
I don’t know about you, but I love to decorate just about every room in the house with festive Christmas home decor.
One of my favorite things to do is try to recreate popular decorations from stores like Pottery Barn or Crate and Barrel without spending a fortune.
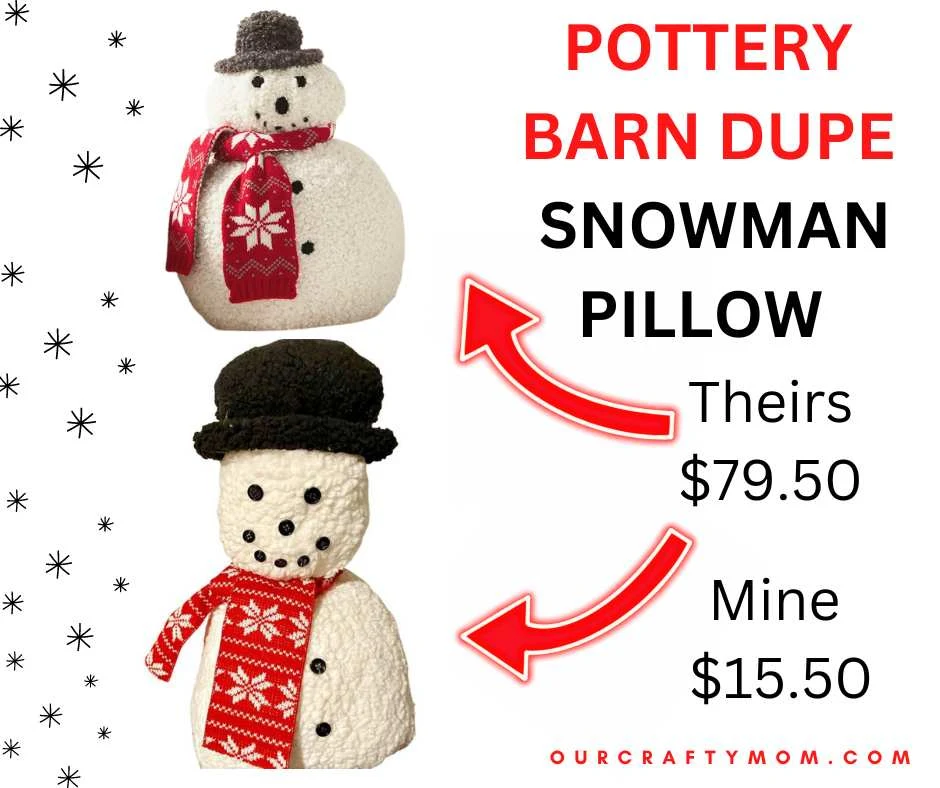
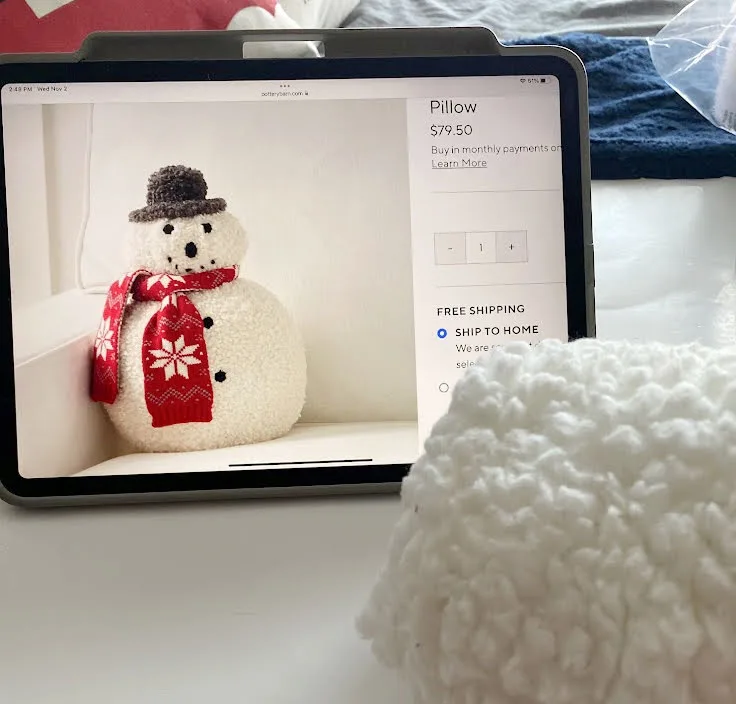
Today, I’m going to show you how to make your own sherpa snowman pillow inspired by Pottery Barn.
They named this cute little guy Archie.

This post contains affiliate links at no extra cost to you. Please see my full disclosure here.
I used inexpensive materials from Joann Fabric and Crafts.
You can also find these materials at Hobby Lobby or online at Amazon.
If you’d rather buy than DIY, I’ll also include a link for the actual pillow from Pottery Barn if you’re interested. 🙂
Pottery Barn Sherpa Pillows
Like so many of you, I’m a huge fan of Pottery Barn decor, but not the price tag. So I do what most crafters do, I try to make it!
My latest obsession is the cozy sherpa pillows that are extremely popular at Pottery Barn, one of my all-time favorite shopping spots.
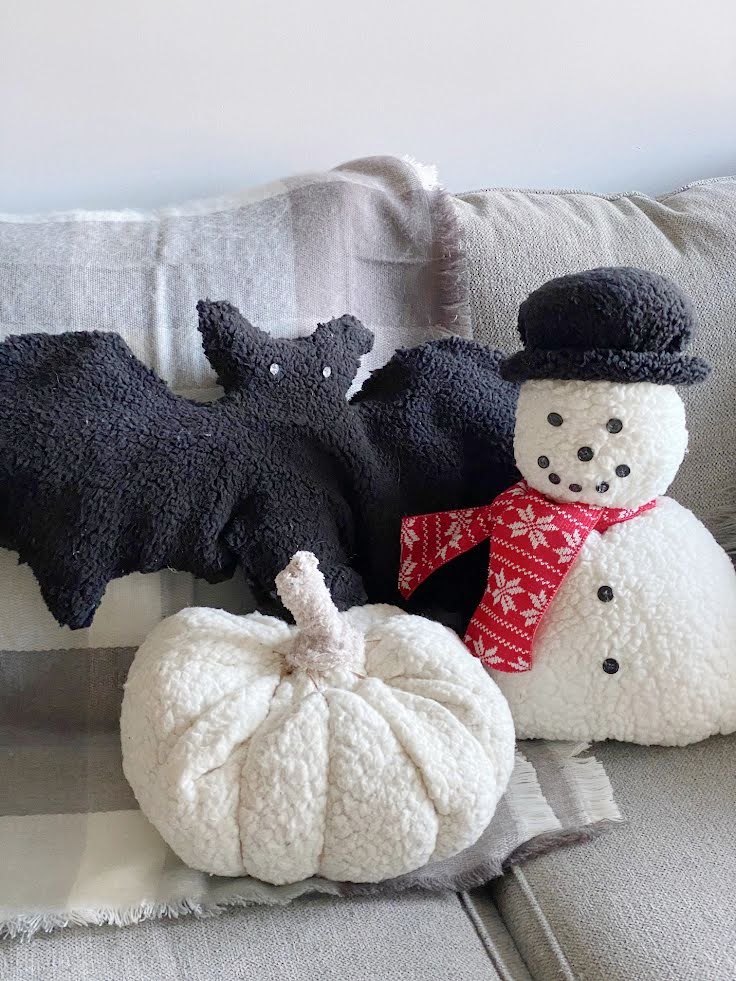
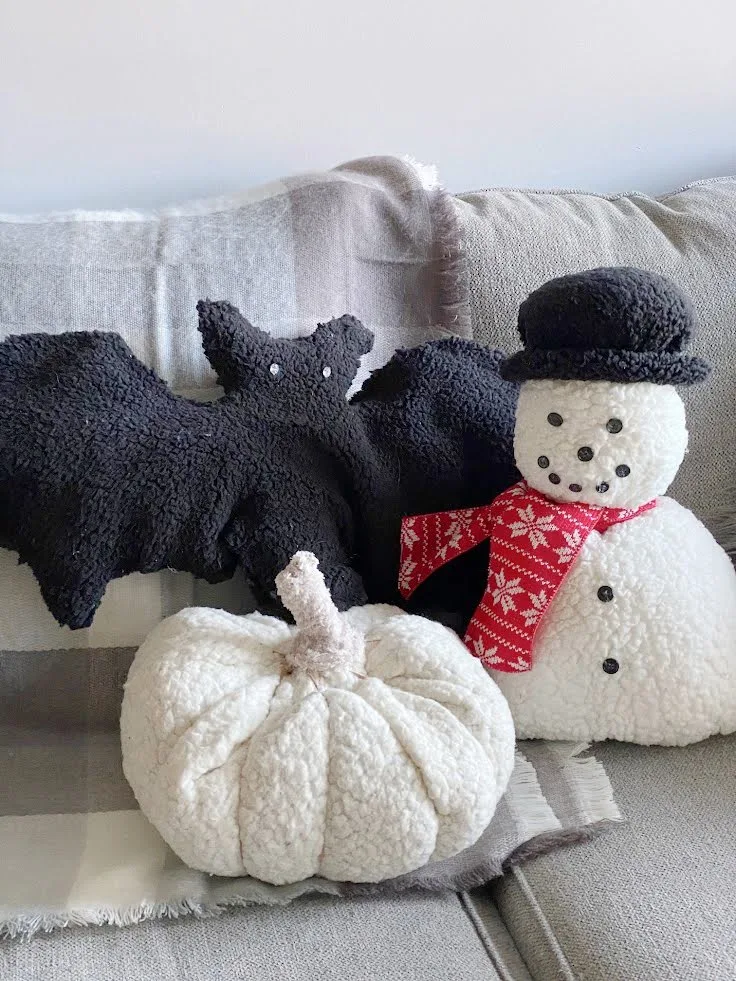
My first sherpa pillow was a gift for my daughter. She loves Halloween and asked if I could make her the Halloween bat pillow.
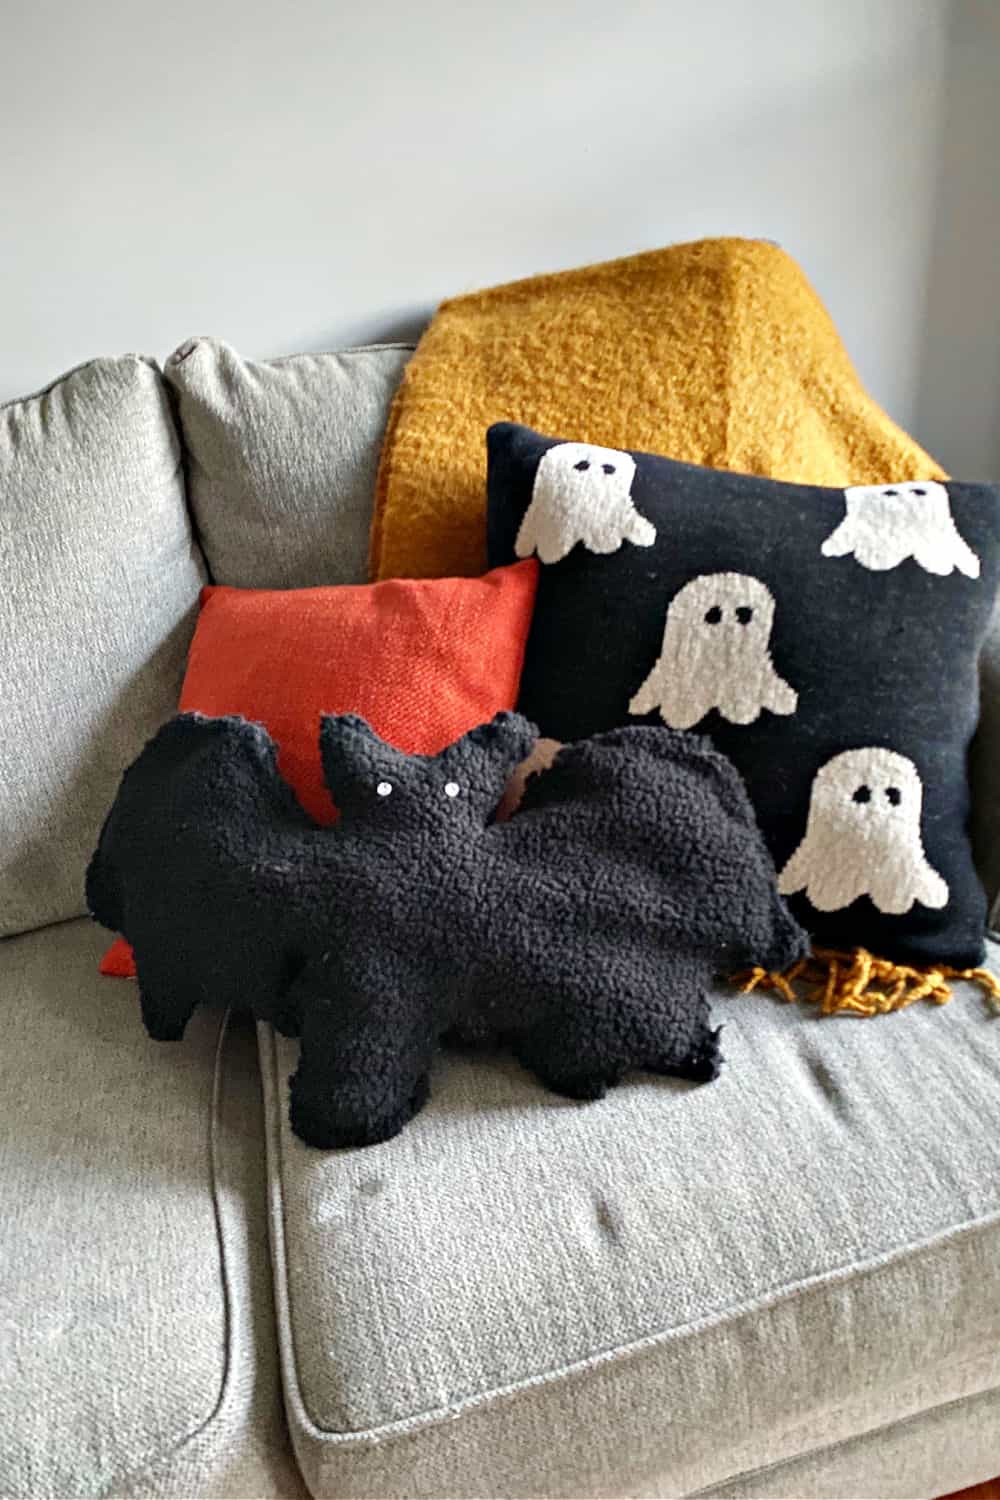

It was surprisingly easy to make and made a great lumbar pillow. I was happy to see how well received it was on TikTok and Instagram.
Once Halloween was over I got busy making the sherpa pumpkin pillow.
Unfortunately, I don’t have a tutorial for that, but you can see it in my fall home tour HERE.
You may notice that my coffee table and wood and wrought iron wall art from Decocrated have a similar look to Pottery Barn pieces.

Supplies Needed for Pottery Barn Snowman Pillow
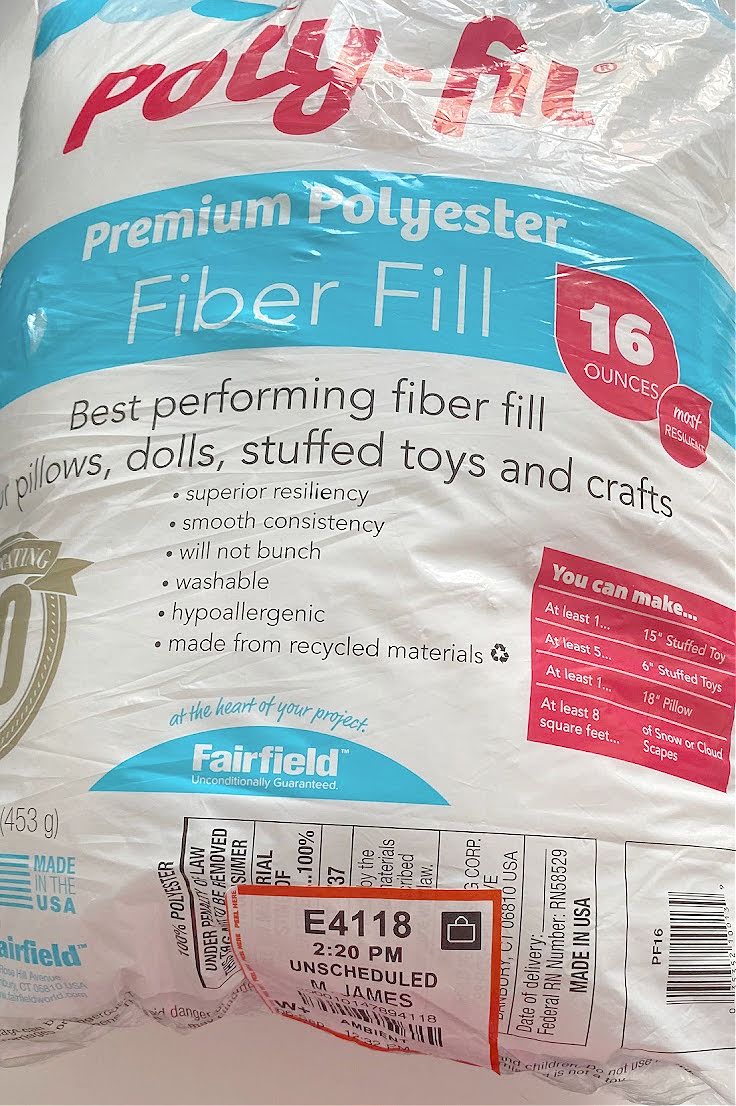
- Poly-fil
- White Sherpa Fabric
- Black Sherpa Fabric
- Fabric Scissors
- Hot Glue Gun
- Black Buttons
- Pipe Cleaners
- Elastic

Are you ready to get that Pottery Barn style without the high price tag? Let’s get crafty!
How to Make a Pottery Barn Inspired Snowman Pillow
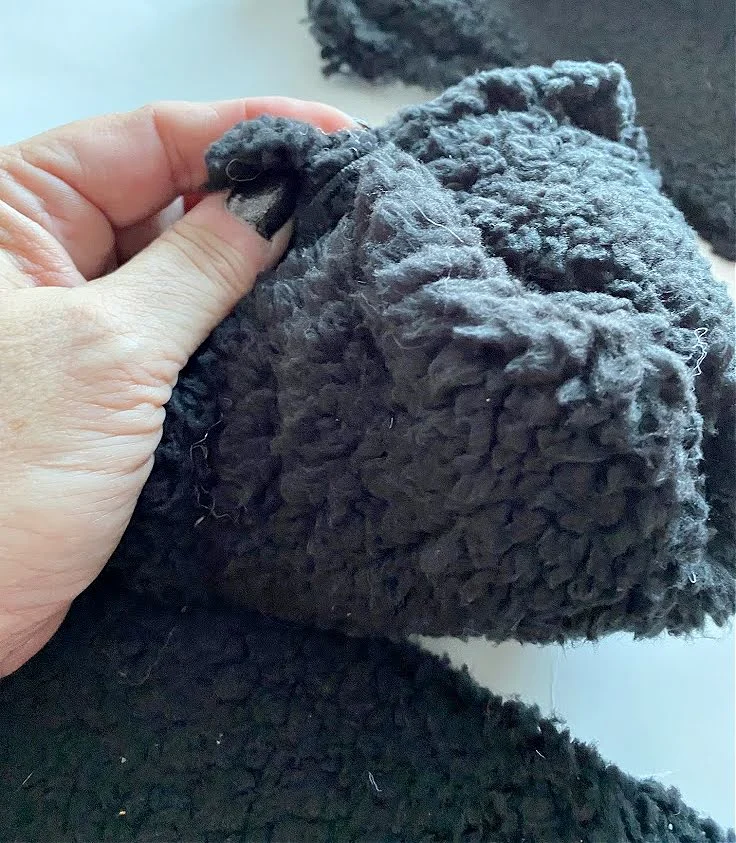
Step 1. Cut your sherpa fabric
Start by determining the size you want to make your pillow. The inspiration pillow is 8″ w x 14″ h.
I used that as a guide, but you will notice mine is not as round.

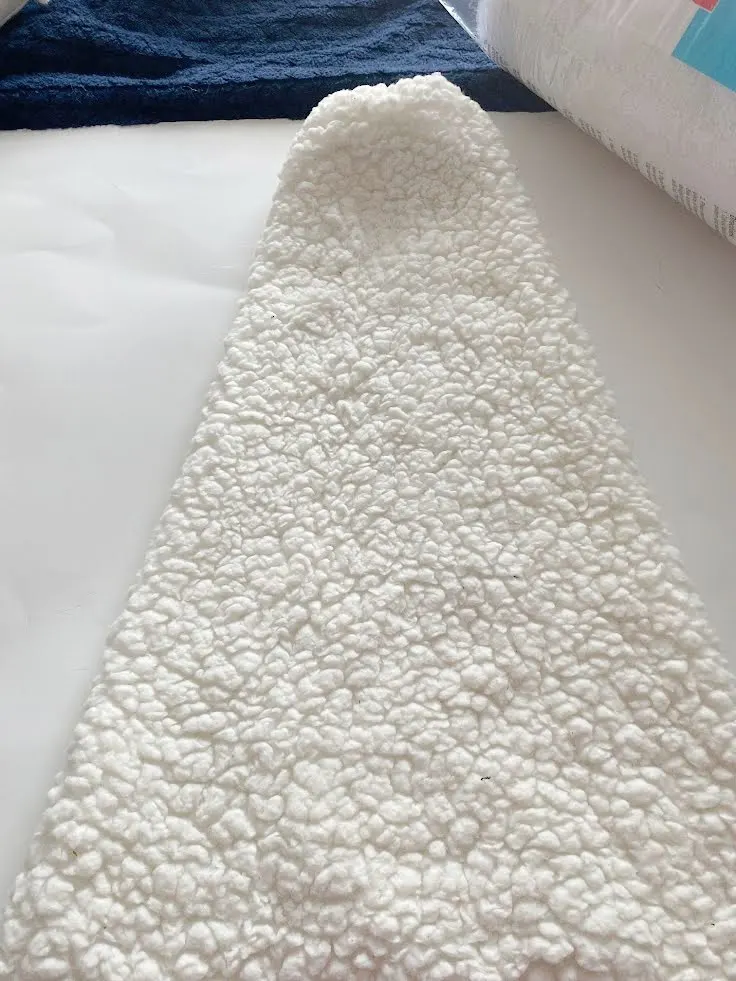
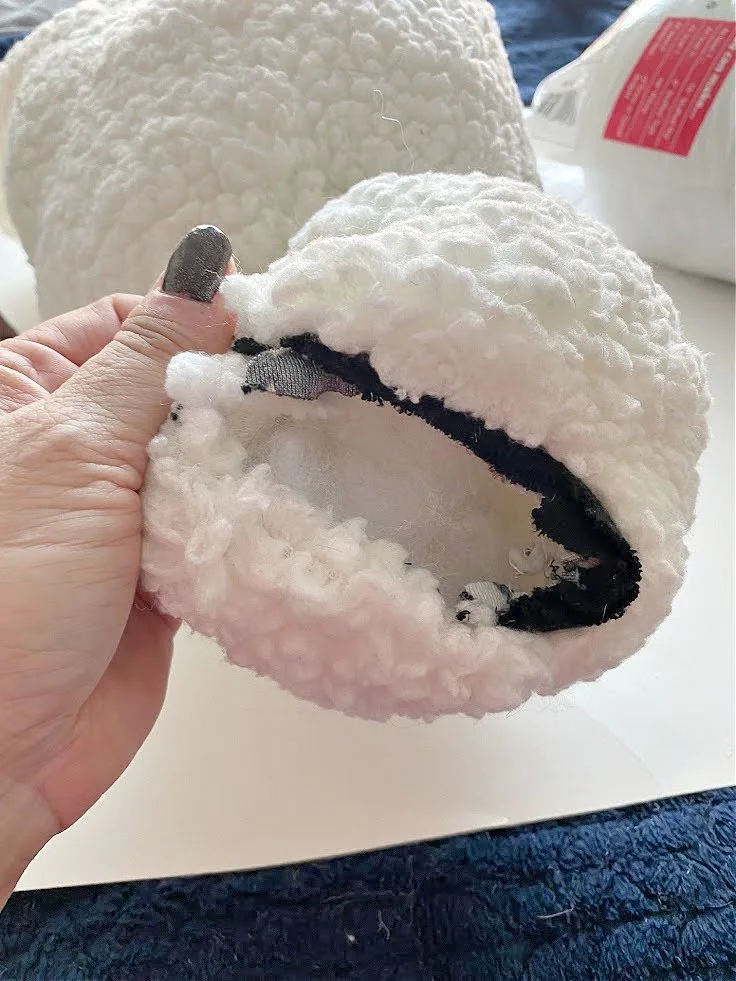
I had a leftover piece of sherpa from an arm of an old robe. It made it so easy to make because I only had to glue the top and bottom.
Check out your local thrift stores for old jackets with a sherpa lining, or even sherpa sweaters.
But you can follow the same tutorial with cut fabric. You will just need to hot glue the sides as well.
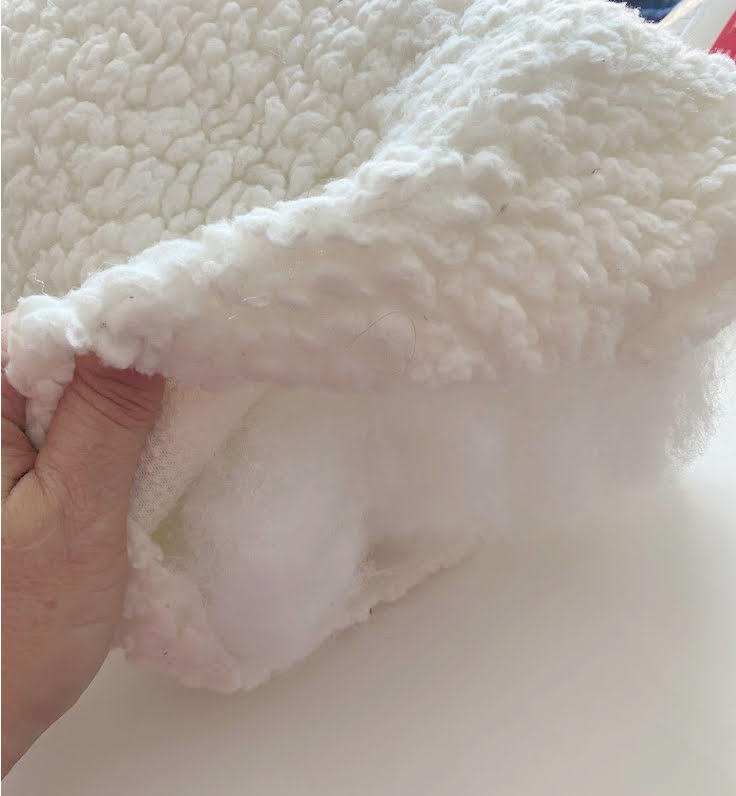
Step 2. Fill the snowman head
Start by filling the top 1/4 of the cut sherpa with poly-fil to make the snowman head.

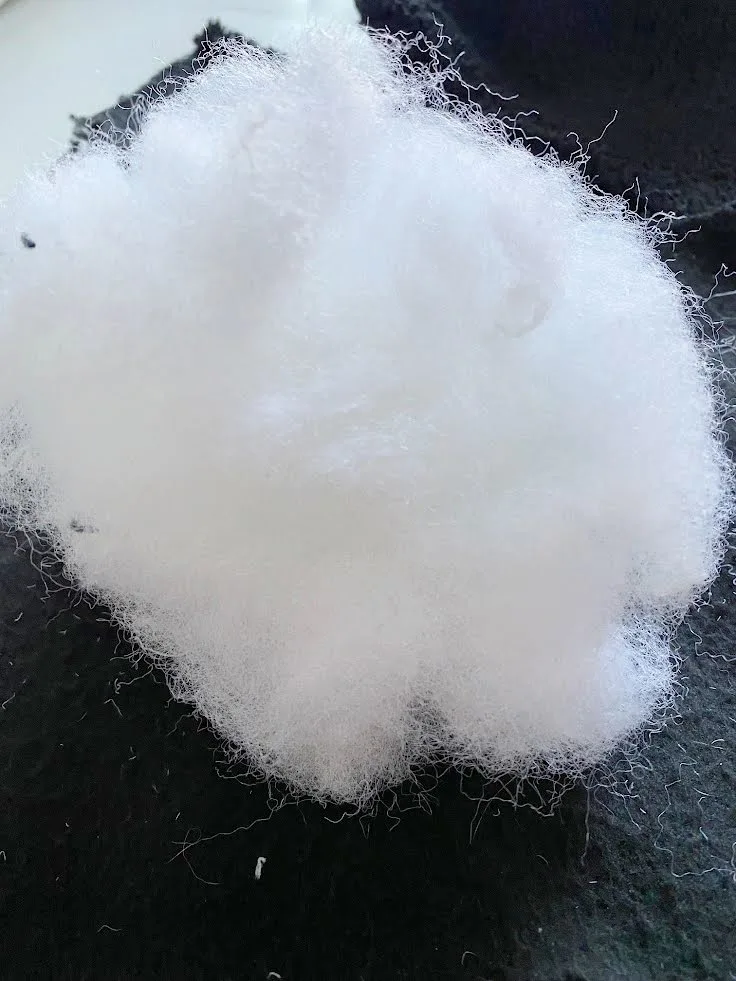
Continue to add poly-fil until you are happy with how full it is.

Quick tip: keep your phone or iPad nearby with a picture of the pillow. It helps to reference it as you go along.

Step 3. Close the head with an elastic
Once the head is stuffed use an elastic to wrap around the head and seal it closed.

The next step is to hot glue the top of the snowman closed. You can also use stitch witchery if you like.

If you sew, you may be able to hand stitch it as well. I’ve talked about how I can’t sew at all but I am a master with a hot glue gun!


You can be pretty heavy-handed with the hot glue as the head will be covered with a hat.
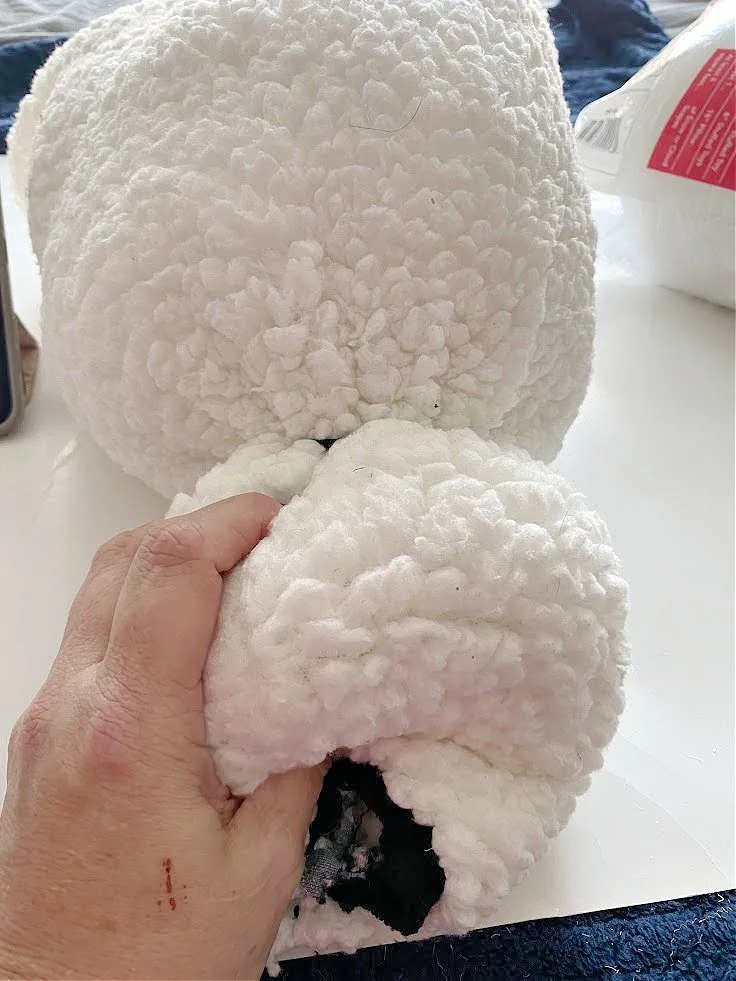
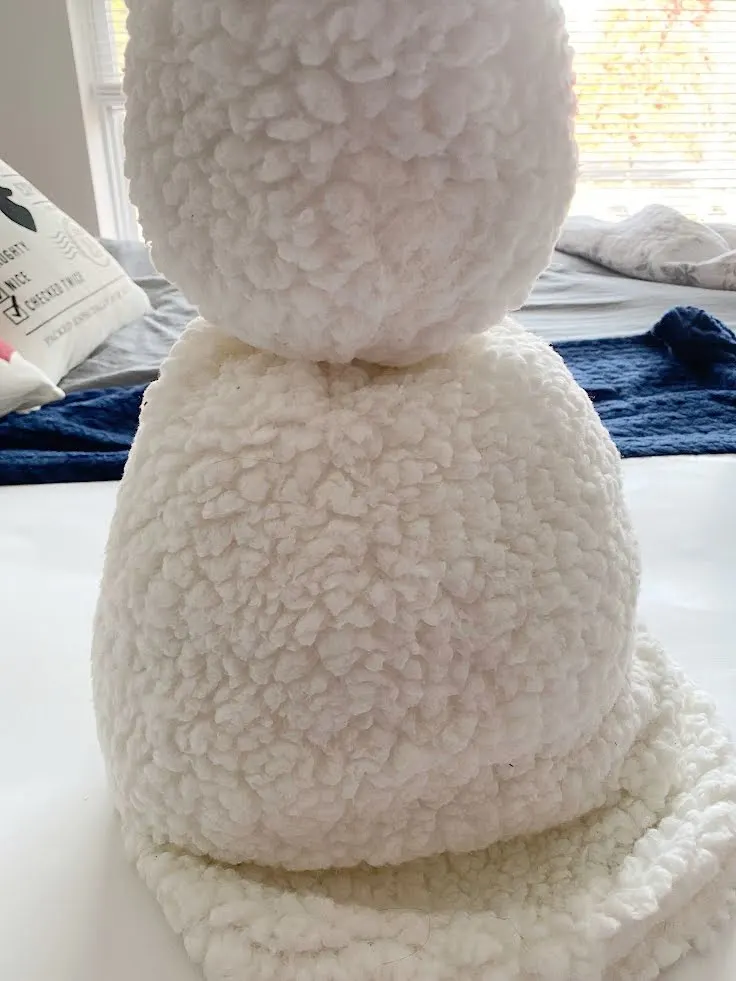
Step 4. Fill the snowman body
Now you want to add poly-fil to form the snowman body. You can make it as full as you like.
I have another pillow that I want to make, so I was being cheap with the poly-fil!
Look how cute it is already looking:

Step 5. Glue the bottom of the snowman
Once the snowman body is full, cut off any excess and hot glue the bottom closed.
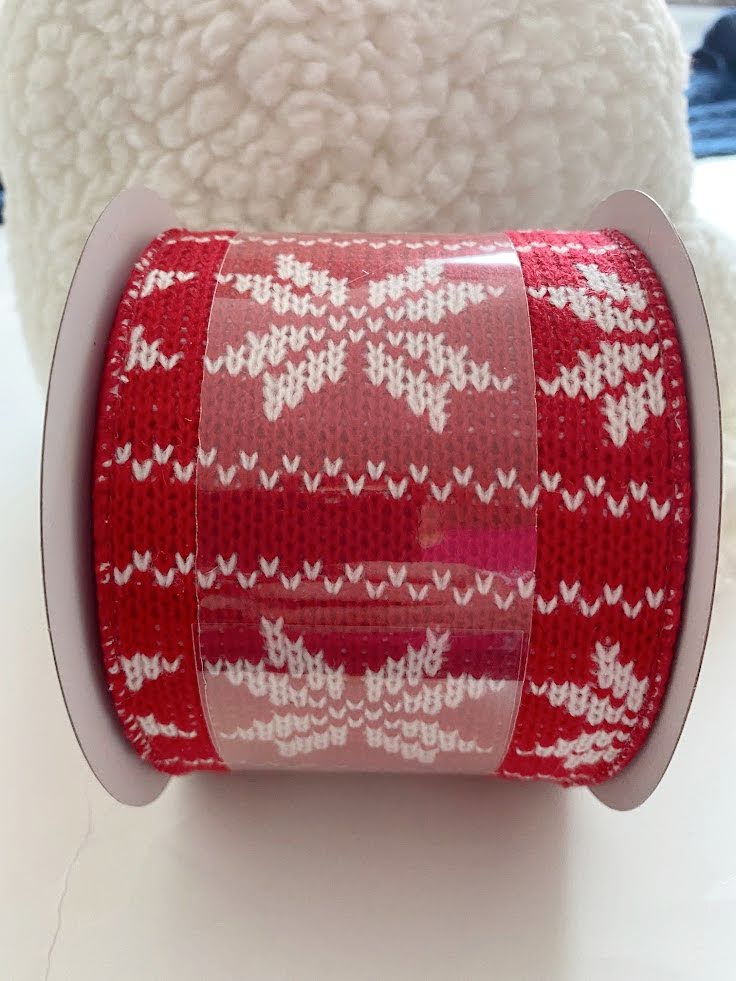

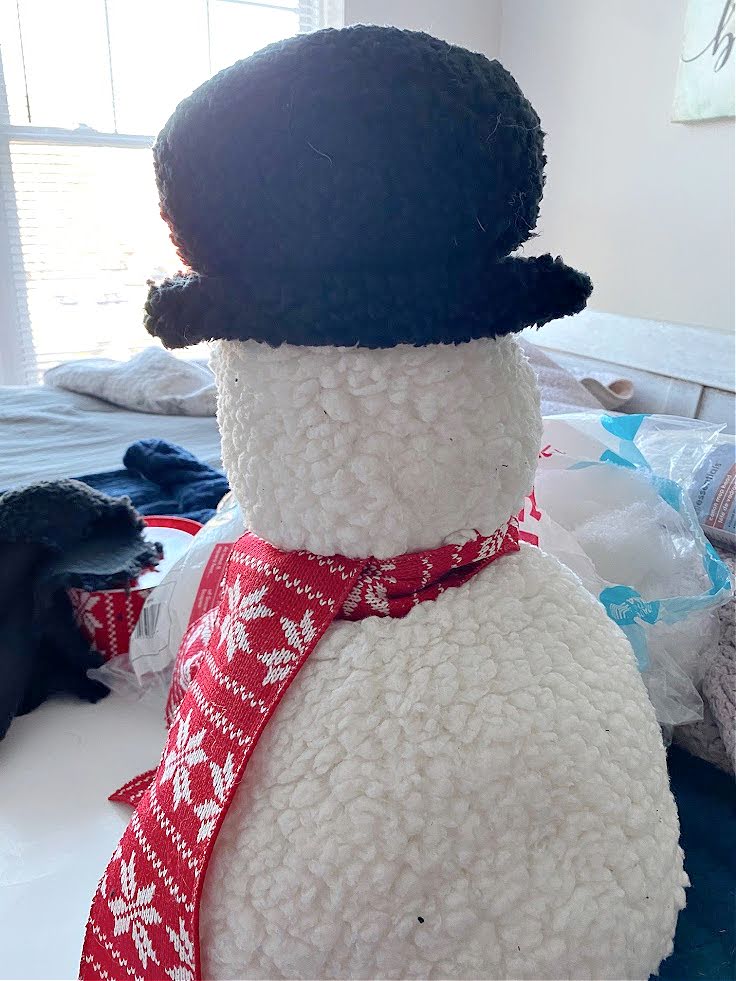
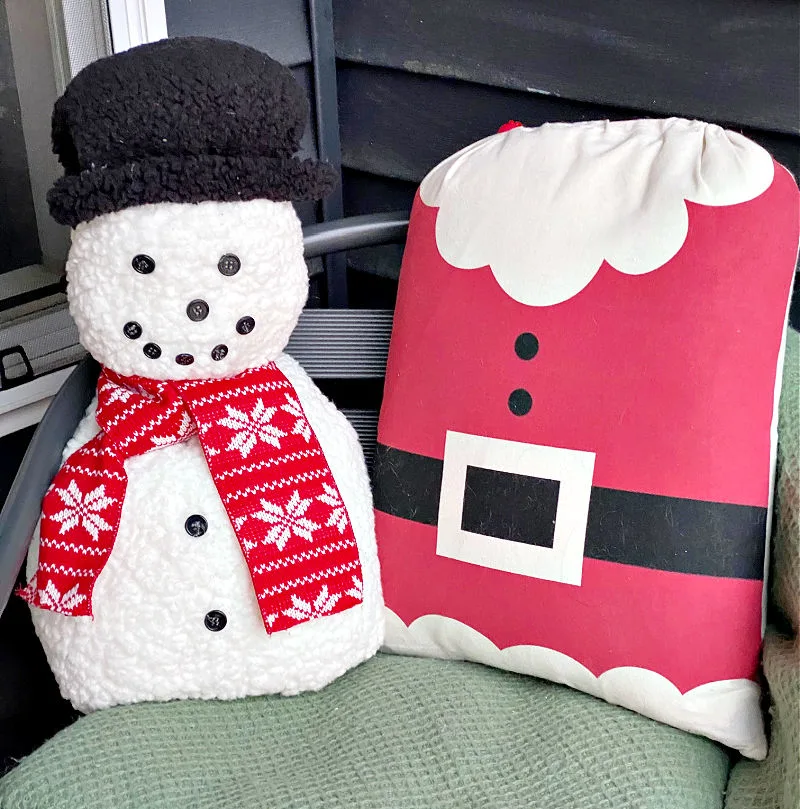
Step 6. Add ribbon for the scarf
The thing that really makes this snowman pillow look like the original is the gorgeous red snowflake ribbon I found at Michaels.
It is so similar to the Pottery Barn pillow.
Just wrap the ribbon around the snowman’s neck and cut the ends where you want them to fall.

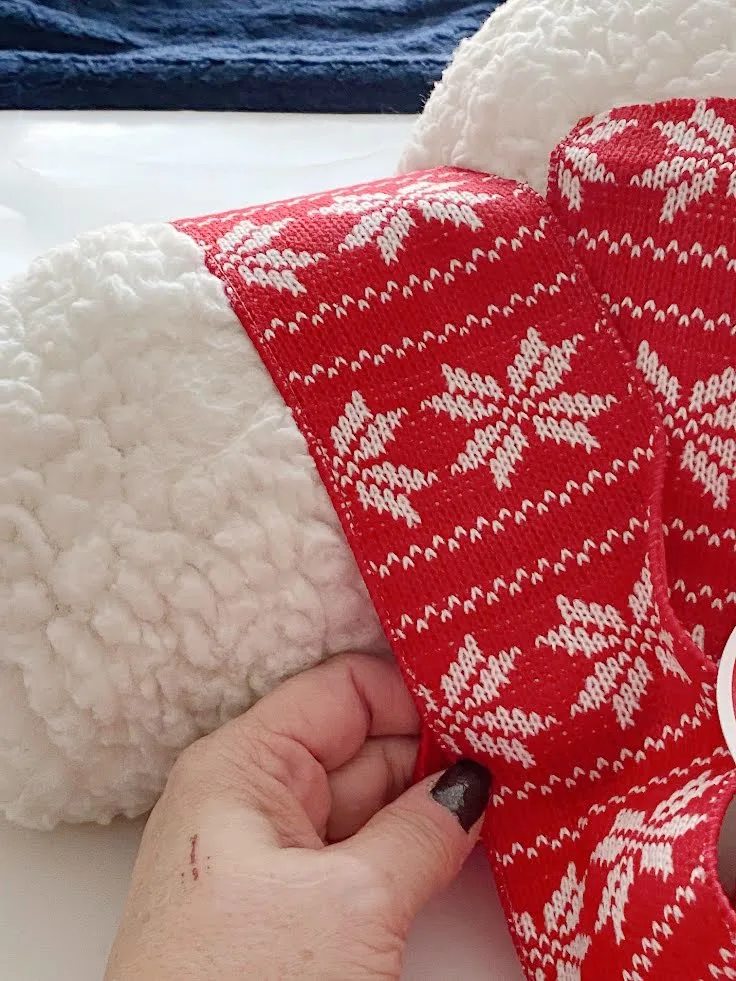
The ribbon is wired so it makes it easy to have a nicely placed scarf.
Step 7. Make the snowman hat
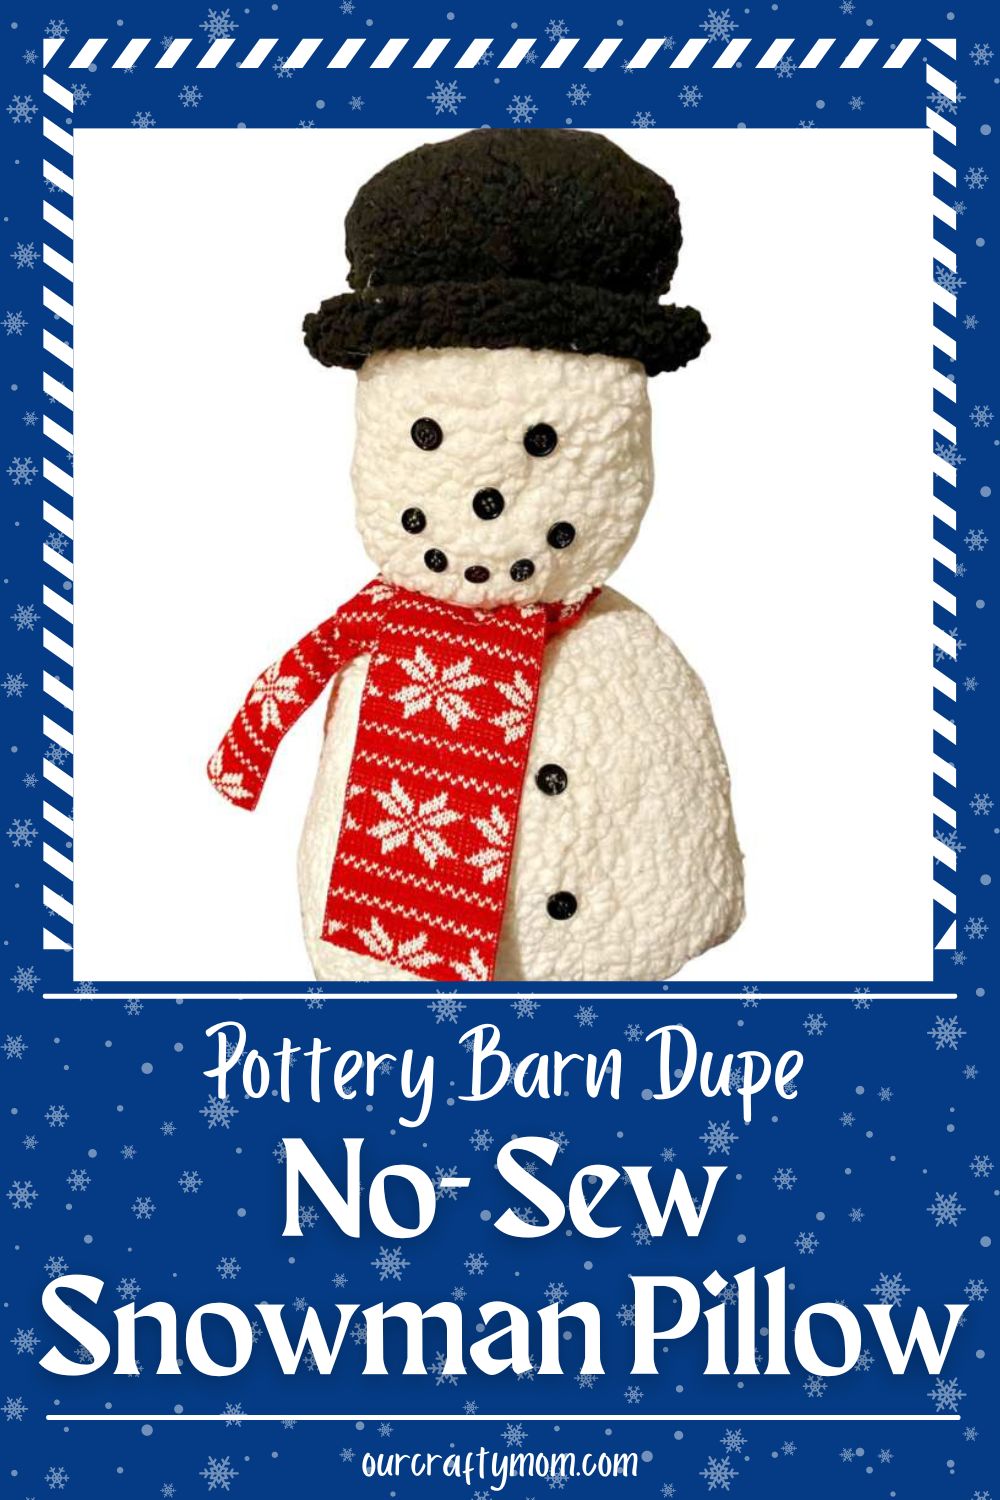
Let’s finish off this adorable snowman with a classic top hat! This part reminded me of Frosty the Snowman.
The hat makes him come to life!


Start by cutting a square of black sherpa about 8×8. Fill it with poly-fil and hot glue it closed. This will form the top of the hat.

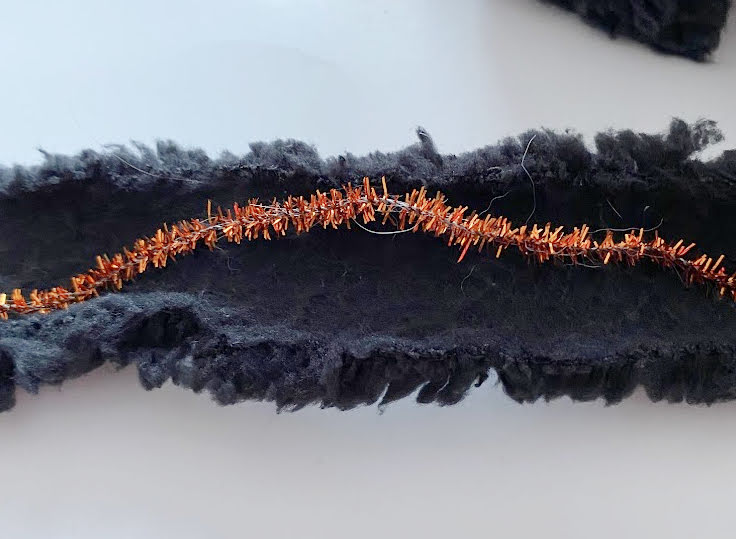
Step 8. Make the rim of the hat
Once you have the top of the hat made, you want to create a rim.
Cut a piece of sherpa to fit around the filled top hat.
Hot glue a pipe cleaner into the middle of it so you can bend the rim to fit around the hat.
Glue the rim to the hat and watch how the snowman is transformed!

The final step is to hot glue buttons for the eyes, nose and mouth.
I also glued a couple of buttons on the front of the snowman.
Look at how stinkin’ cute this little guy is:

This may be one of my favorite Pottery Barn dupes yet! Here he is hanging out with his sherpa buddies on my living room sofa:
What do you think? Is this something you can see yourself making?
One of the great things about this no-sew throw pillow is it is not just Christmas decor.
You can easily leave it out the entire winter season. If you don’t typically decorate with red, just change out the scarf.

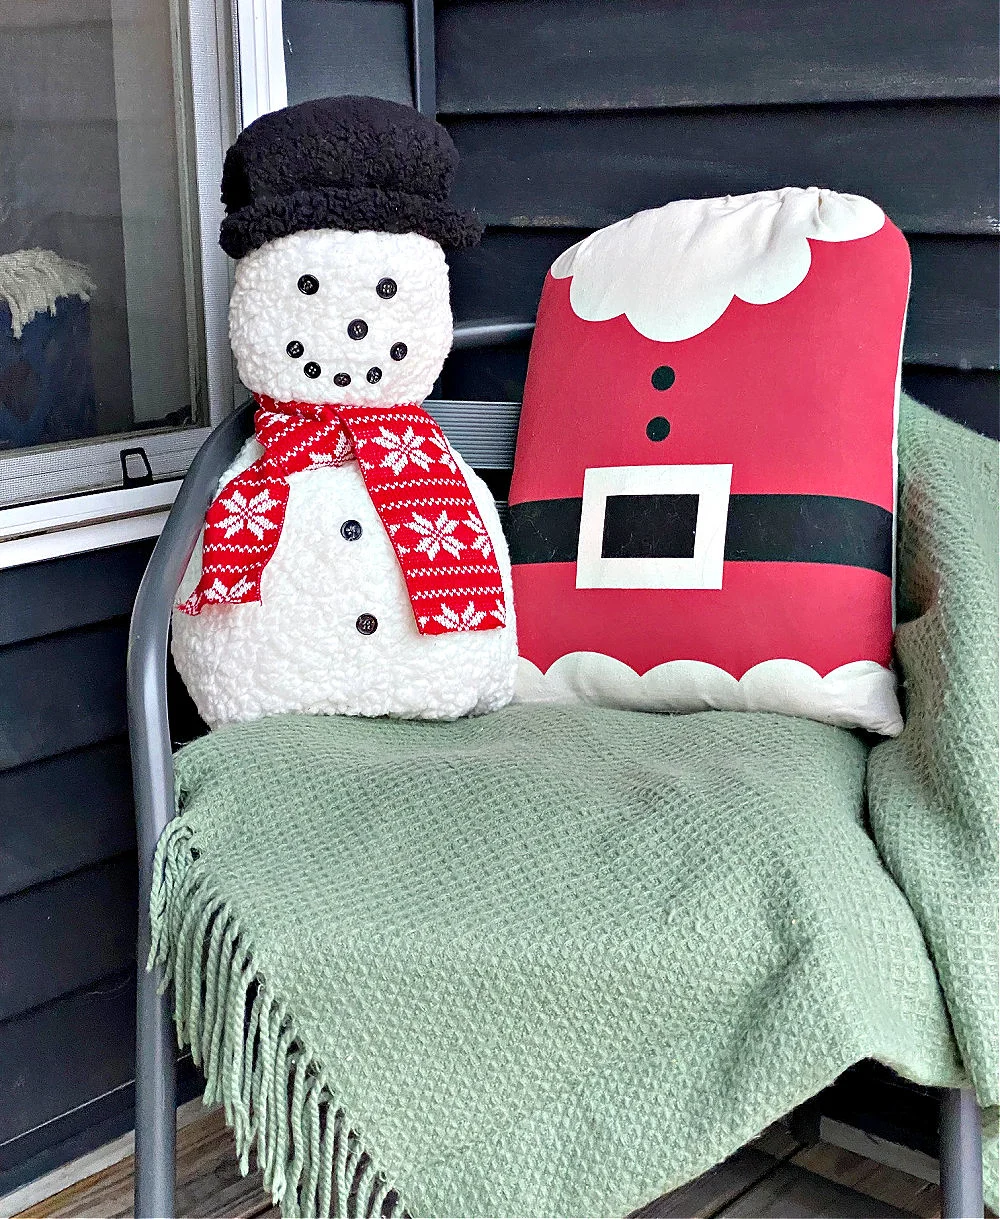
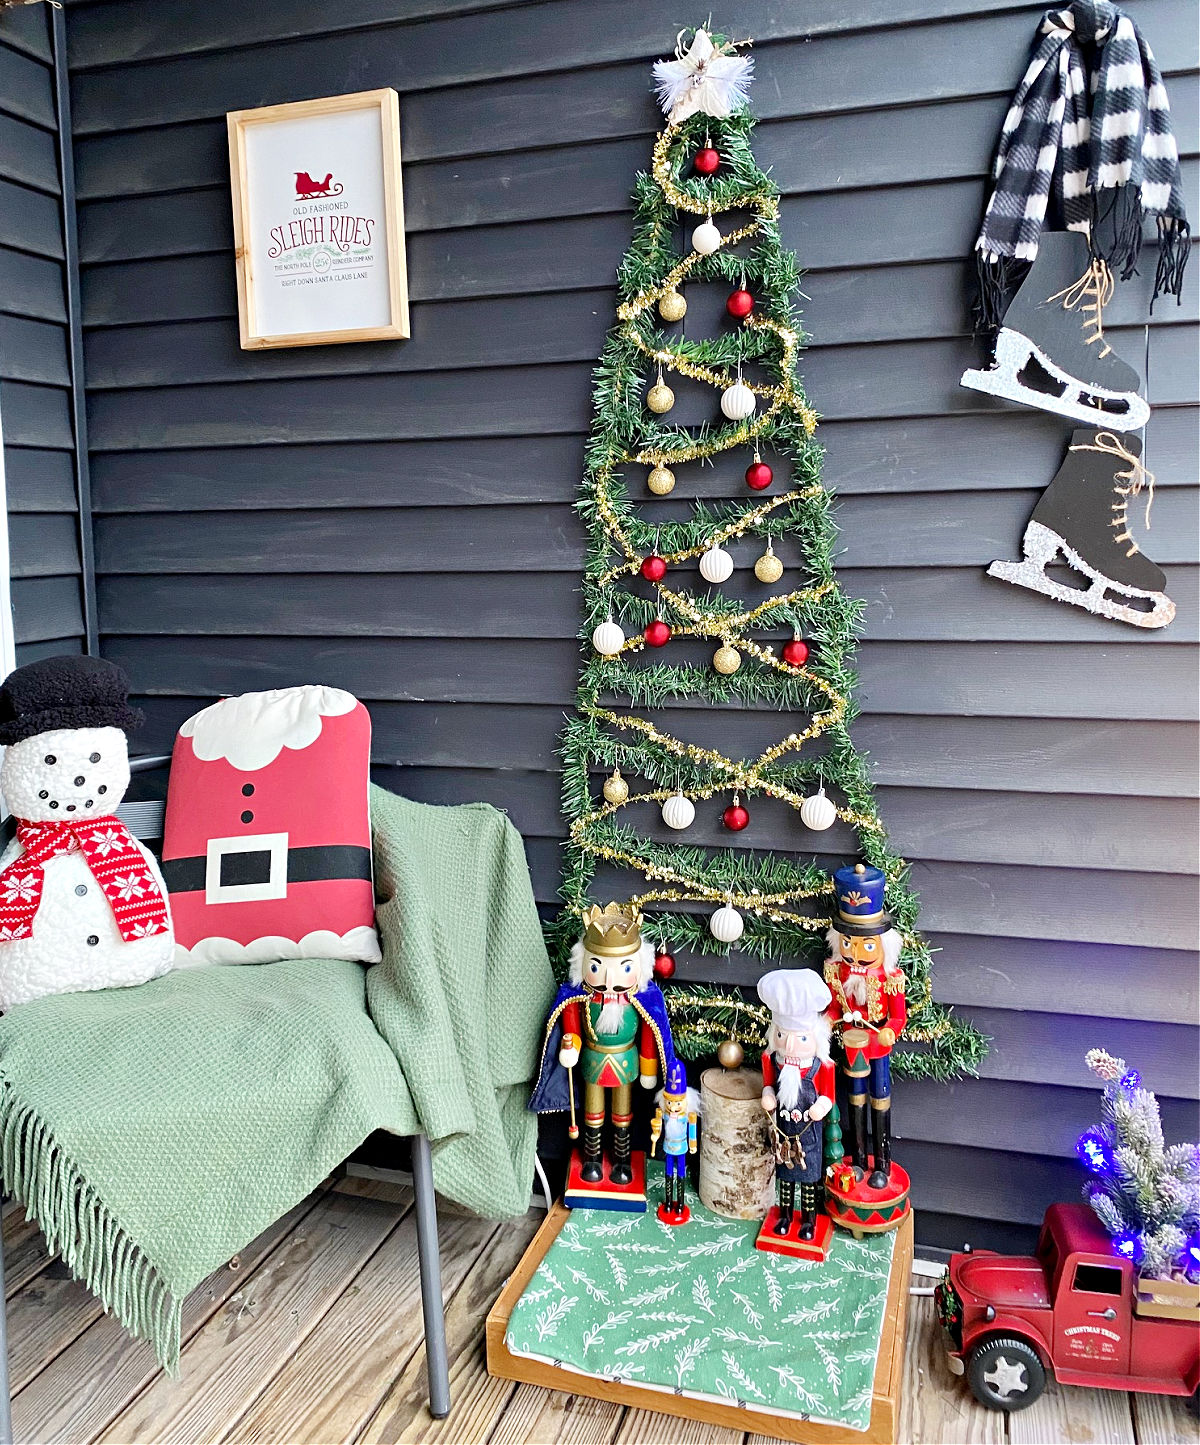
In case you missed it, I just shared my Christmas balcony and placed the snowman pillow on a chair outside.
It is a covered balcony so I’m not worried about the sherpa getting ruined.

If you are interested in buying the inspiration piece here is the link directly to the Pottery Barn snowman pillow.
Sharing is caring…please PIN the below image:

The original Archie snowman pillow is $79.50 and mine cost under $15 to make. You can’t beat that value!

There is a snowflake pillow that I fell in love with, so you may be seeing that after Christmas!
If you enjoyed this easy no-sew snowman pillow, you may also like these no-sew crafts:


How to Make A Snowman Pillow Pottery Barn Dupe
Let's make the cutest no-sew snowman pillow that is a Pottery Barn knock-off. This cute little throw pillow can be made with a few easy-to-find craft supplies.
Materials
- Poly-fil
- White Sherpa Fabric
- Black Sherpa Fabric
- Black Buttons
- Pipe Cleaners
- Elastic
Tools
- Hot Glue Gun
- Fabric Scissors
Instructions
- Start by determining the size you want to make your pillow and cut it to size.
- Fill the top 1/4 of the cut sherpa with poly-fil to make the snowman head.
- Continue to add poly-fil until you are happy with how full it is.
- Once the head is stuffed use an elastic to wrap around the head and seal it closed.
- Hot glue the top of the snowman closed.
- Add poly-fil to form the snowman body. You can make it as full as you like.
- Cut off any excess and hot glue the bottom closed.
- Wrap the ribbon around the snowman’s neck and cut the ends where you want them to fall.
- Cut a square of black sherpa about 8×8.
- Fill it with poly-fil and hot glue it closed.
- Cut a piece of sherpa to fit around the filled top hat.
- Hot glue a pipe cleaner into the middle of it so you can bend the rim to fit around the hat.
- Glue the rim to the hat.
- Hot glue black buttons to make the eyes, nose, and mouth.
- Glue 2 buttons on the snowman body.
Recommended Products
As an Amazon Associate and member of other affiliate programs, I earn from qualifying purchases.
-
 DAVID TEXTILES Solid White Sherpa Plush Fleece Fabric by The Yard Multi, 60 Inches
 -
 Surebonder Cordless Hot Glue Gun, High Temperature, Full Size, 60W, 50% More Power - Sturdily Bonds Metal, Wood, Ceramics, Leather & Other Strong Materials (Specialty Series CL-800F)
 -
 Fiskars 12-94518697WJ The Original Orange Handled Scissors, 8 Inch, Orange
You can find me on social media below: