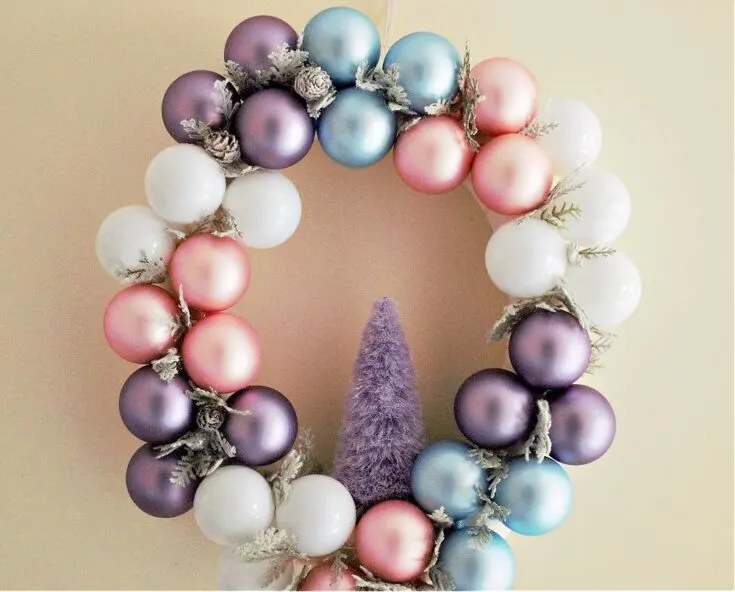
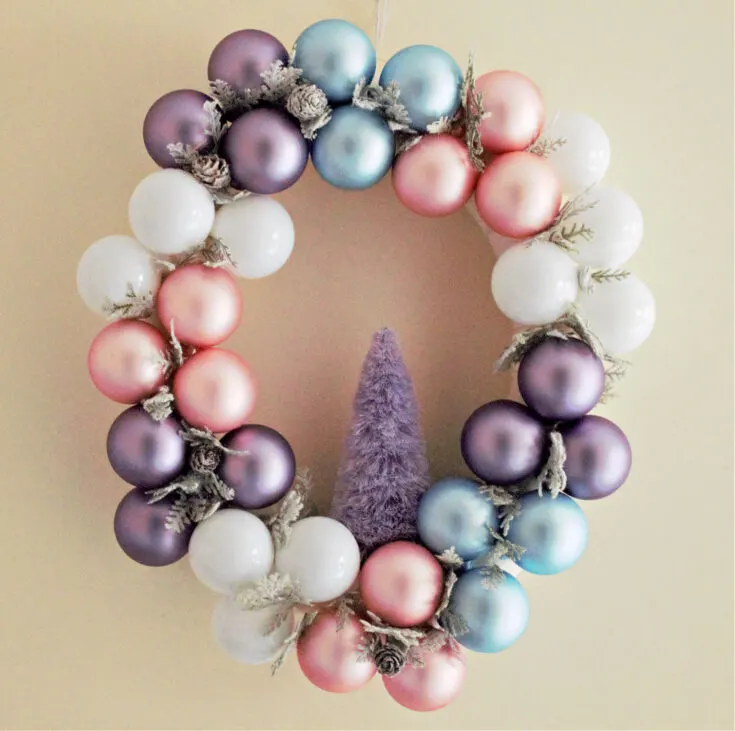
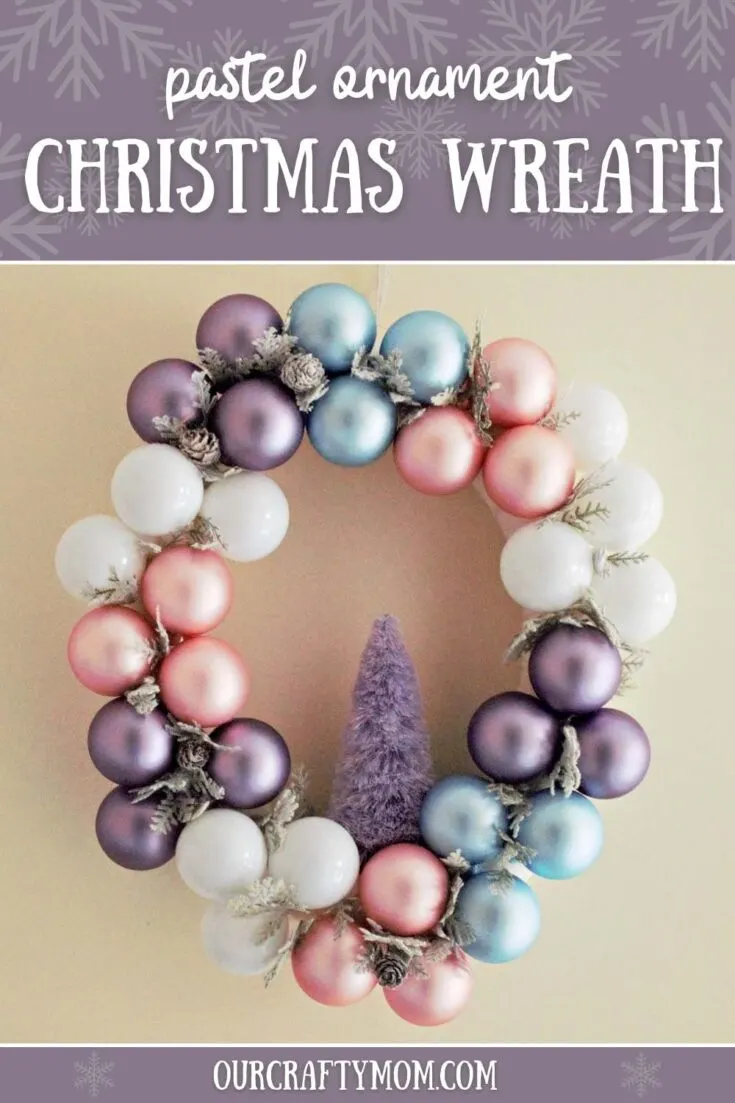
Add a little color to your Christmas decor with a pretty pastel Christmas ornament wreath. This vintage-inspired wreath starts with a pool noodle for the base…

Vintage Christmas Ornament Wreath
The Christmas crafting and decorating season are officially here and I couldn’t be more excited.
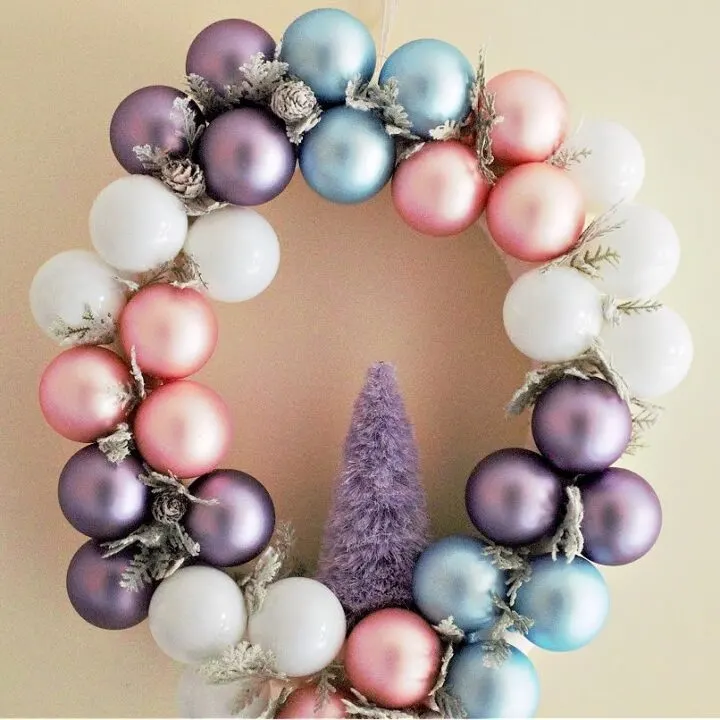
This year I’m bringing in soft muted tones of pink, blue, purple, and white for my Christmas decor.
It’s a little out of my comfort zone, but I’m thrilled with how this pastel Christmas ornament wreath turned out.
The addition of the purple bottle brush tree adds to the vintage-inspired look that I just love.
My daughter recently moved in with me so we are enjoying adding some pinks and purples to our home. 🙂
Did you see the gnome Christmas ornaments I shared last week with a pink hat?
They will be a fun touch to my flocked tree.
I’m sharing this Christmas wreath tutorial as part of a blog hop with a few of my blogging friends.
A big thank you to Marianne from Songbird for hosting.
Be sure to read until the end so you can see all of their gorgeous wreaths.
This post contains affiliate links at no extra cost to you. Please read my disclosure here.
Supplies Needed for Pastel Christmas Ornament Wreath
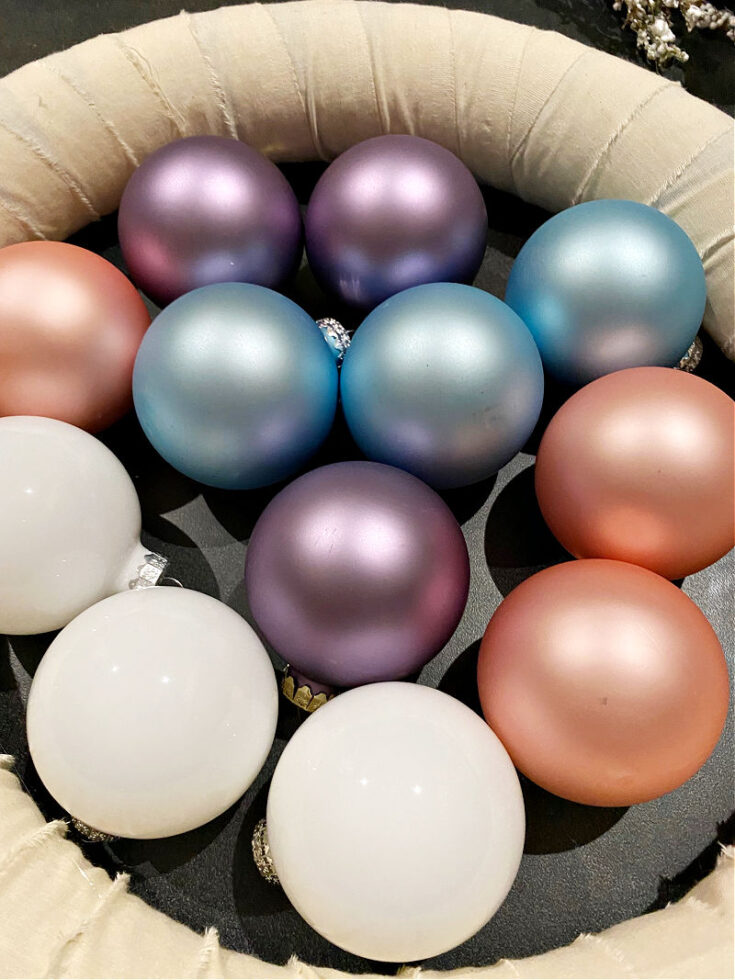
- Pastel Christmas Ornaments – I chose pink, blue, purple, and white all in matte.
- Purple Bottle Brush Tree
- Muslin Fabric
- Fabric Scissors
- Pool Noodle
- Flocked Christmas Stems
- Hot Glue Gun – This cordless one is my favorite!
Christmas Ornament Wreath Tutorial


1. Create the Wreath Form
Are you ready for my secret wreath form? It’s a Dollar Tree pool noodle!
I wanted to create a large oval shape for this wreath and I’m thrifty so I try to use what I have in my craft stash.


This pool noodle was leftover from my donut Christmas ornaments and it was just the right size that I wanted.
Don’t you love when things work out like that?
All you need to do is fold the wreath in half and use duct tape to secure it.
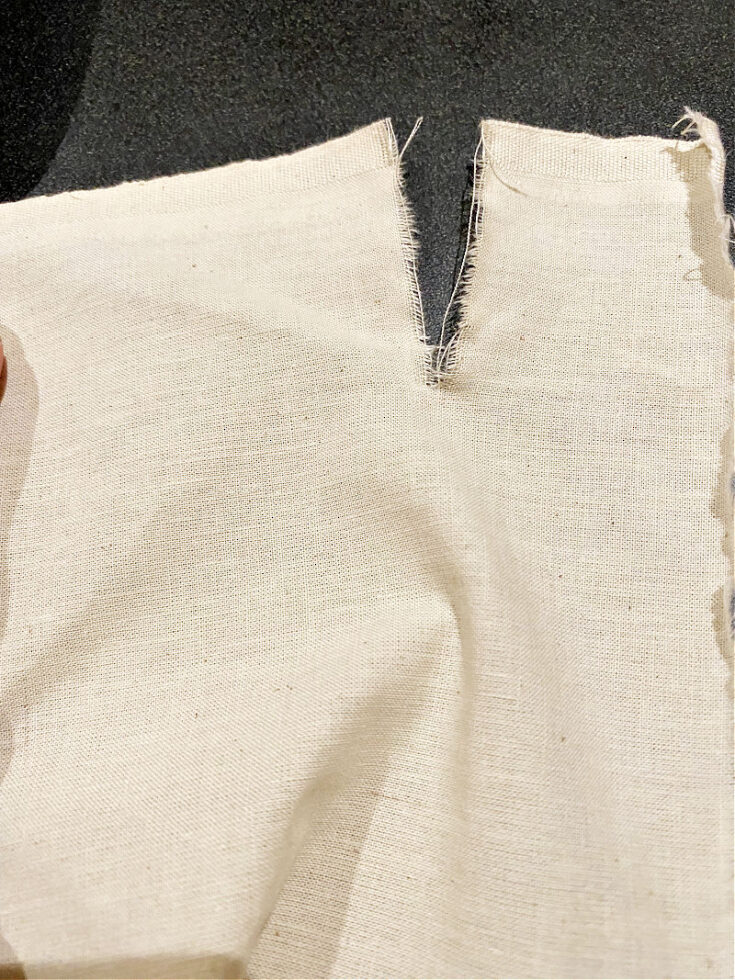
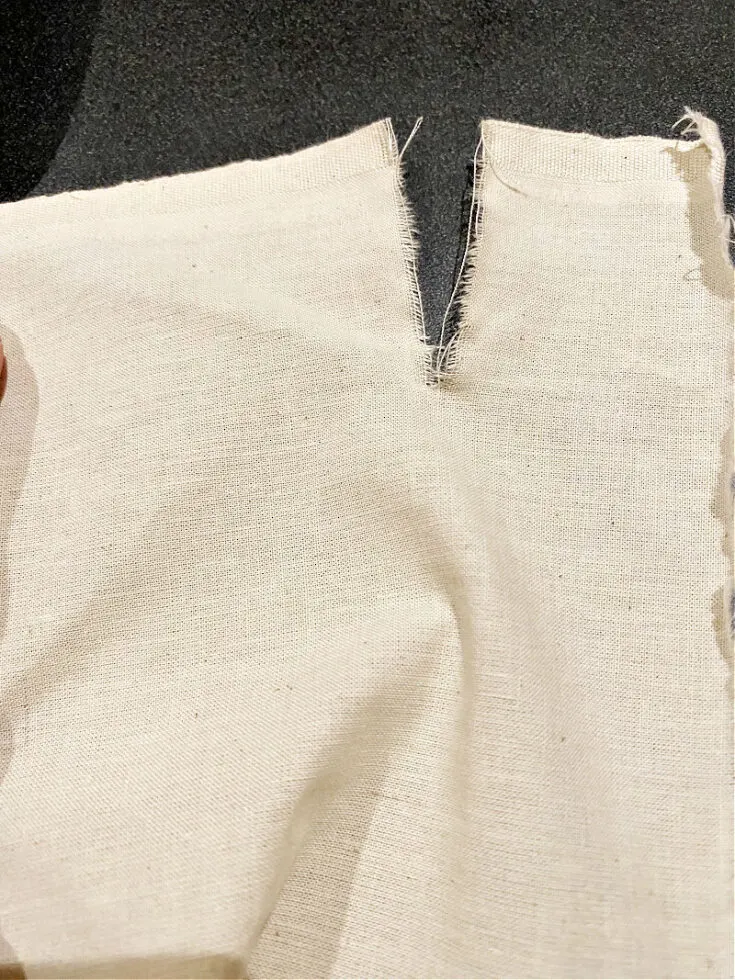
2. Tear Strips of Muslin
To cover the blue noodle I wrapped the wreath in muslin.
Muslin is less expensive than linen and I love working with it.
It’s thinner than dropcloth and actually looks pretty as a wreath itself.

Muslin is also super easy to tear. Make a cut about an inch or so and slowly start tearing.
Keep going until you have about 10 strips.
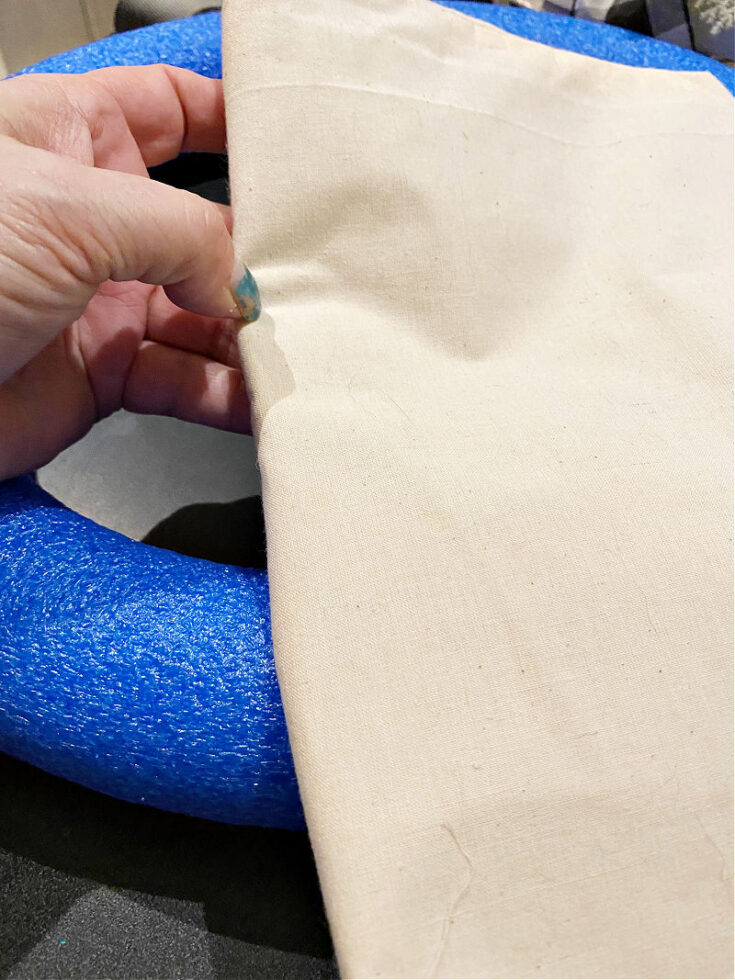
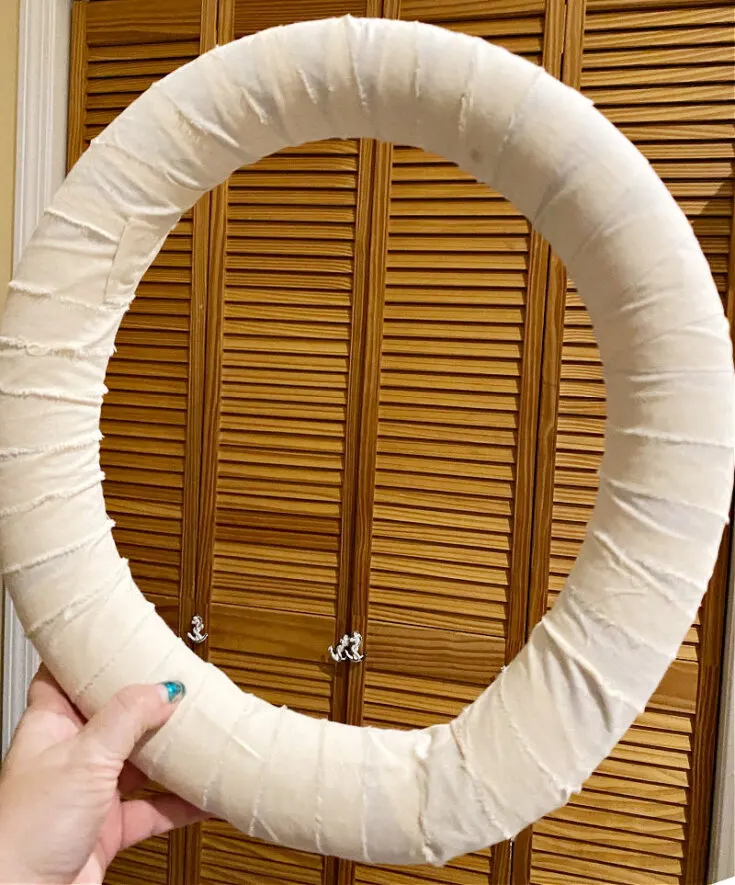
3. Wrap the Pool Noodle in Muslin
Add a drop of hot glue to the first strip and secure it to the pool noodle.
You want to add the glue to the fabric, not the pool noodle. Trust me on this! 🙂
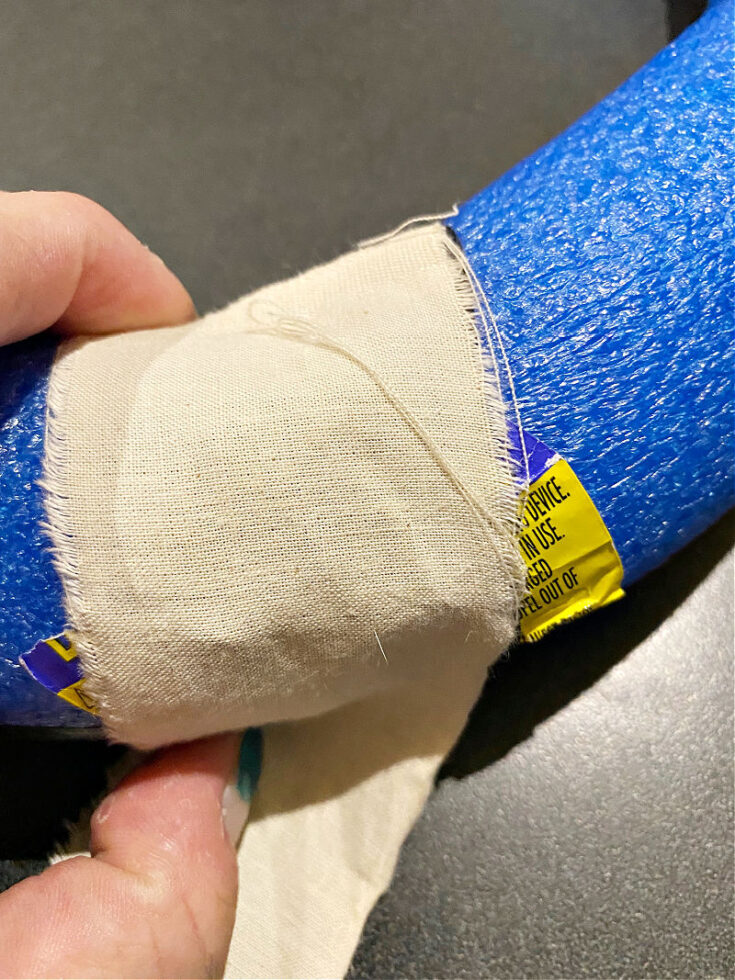

Continue to wrap it until it’s completely covered with the muslin strips.
You only need to add glue to the beginning and end of the strip.

4. Glue The Ornaments
Settle in with a good television show, or a little Stevie Nicks on Spotify and get ready to glue, glue, glue!
In other words, it takes time. But anything worthwhile does, right?

Remove the ornament tops as it makes it easier to secure them to the wreath.


Start by adding a dollop of glue to the ornament top and place it at the outer edge of the wreath.
Hold it for a minute or two until it is secure.
You don’t need to hold the ornament the entire time it’s drying.
But be a little patient so they don’t fall off as you are turning the wreath around to look at how pretty it is.
Ask me how I know this! Yup, I may have lost a pretty pink one in the process.
Patience is not my strong suit.

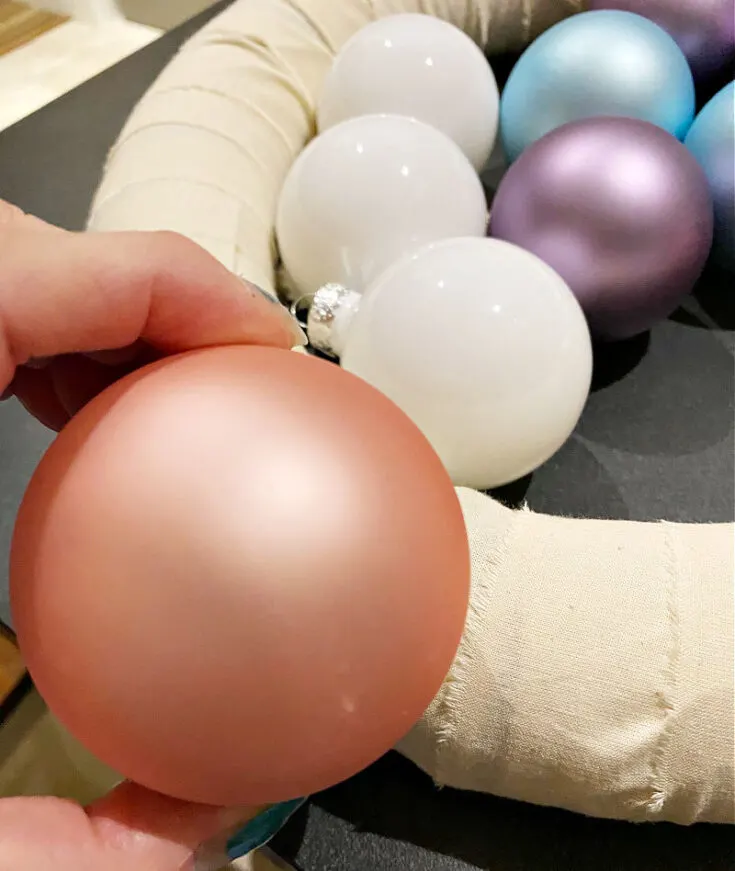
Determine your pattern ahead of time. I chose to go with 3 ornaments of the same color around the wreath starting with pink.
Repeat the gluing process by alternating colors of 3 ornaments so that the same colors aren’t next to each other.
This tutorial would work great for an ombre wreath!
I’ve made a rose gold and white ornament wreath before as well as a Valentine’s Day Ornament Wreath so I have a little bit of practice.
That means I have a few tips for you which I’ll share at the end.
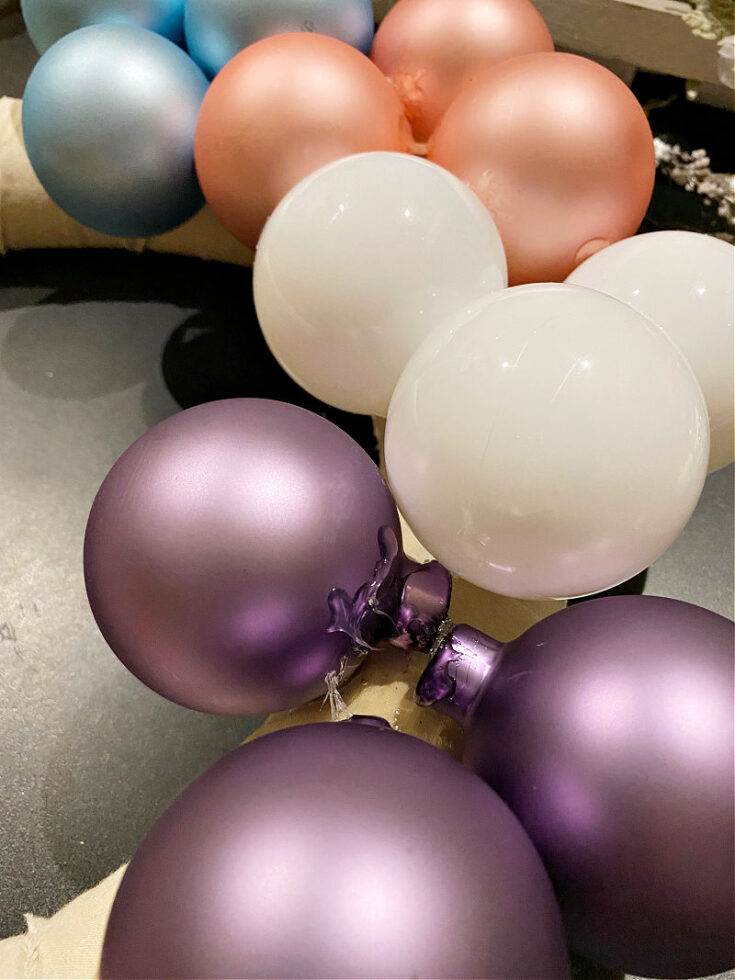

You’re almost there…keep going. Don’t worry about the blobs of glue that are showing.
We are going to cover those up next.
5. Fill In Gaps with Christmas Stems
Next, you can fill in the gaps and cover the glue with smaller ornaments, or you can cover them with pretty flocked Christmas stems as I show below:
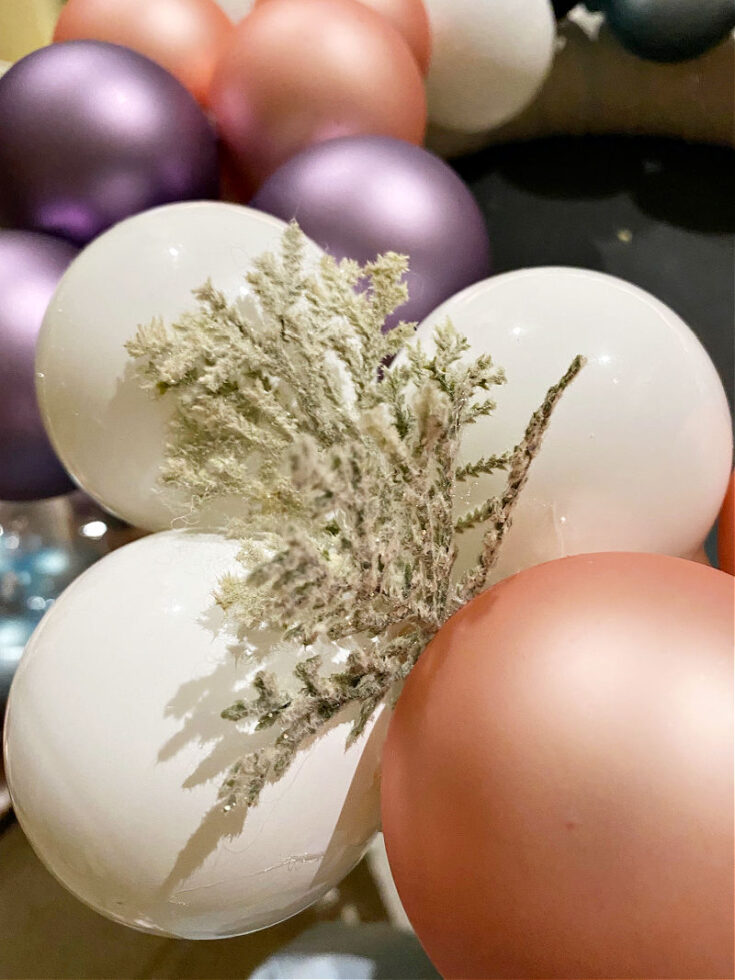

Continue to hot glue stems across the wreath where there are any gaps or noticeable glue.
The stems also bring in texture and dimension.
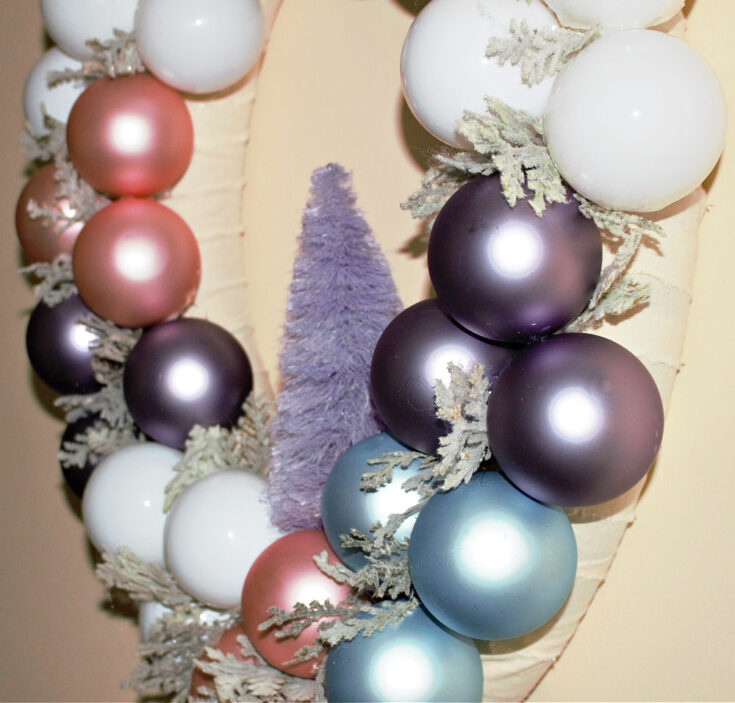
6. Secure the Bottle Brush Tree
The last step is to remove the base that the bottle brush tree comes on. It simply twists off.
The good news is you will be left with a screw that you can push right into the foam base.
I did cut a little hole in the fabric and placed it right in.
This pretty purple tree really finishes it off nicely.
It fills in the interior space due to this being an oval shape.
Add a ribbon for hanging and find a place of prominence to display your pretty pastel Christmas ornament wreath.
I chose to hang it in the hallway just outside my daughter’s bedroom.
So when she gets up every morning she is greeted by this beauty.
That was actually her idea. 🙂
I understand this might not be everyone’s cup of tea.
There are no red or green in any of my Christmas decorations this year.
But, next year there might be.
Christmas decorating is all about having fun and making your family happy.
My daughter and I are loving this pastel wreath.
I hope you do as well, but if not last year I made a traditional grapevine Christmas wreath that you might enjoy.
It has a cute little red truck and buffalo plaid theme.
And you still have five more Christmas wreaths shared below that are gorgeous!

Ornament Wreath Tips
As I’ve tried this a few different ways, I figured out what works and what doesn’t.
- Remove the hanger from the ornaments and glue them with the hanger side down.
- Put the glue directly onto the ornament and place it onto the wreath.
- To get the ornaments to hold well you need to use a lot of glue and hold it firmly for about 30 seconds. Once the glue dries it will be secure. Only add ornaments to the front of the wreath so it can hang flat against the wall. You can see the side view of my wreath. This saves on ornaments too!
- For the outer ornaments, add glue in between the two ornaments side by side so they will be glued on the bottom and sides.
- Wear a rubber finger to protect your index finger. You will be working closely with hot glue and are bound to have a little contact.
- Have fun! Don’t stress, don’t try for perfection because the ornaments will not be perfectly lined up. No worries!
- Hang the ornament wreath inside only. These are glass ornaments and won’t hold up to the weather.

6 STUNNING DIY CHRISTMAS WREATH IDEAS


Stylish Tobacco Basket Christmas Wreath by SONGBIRD
DIY Macrame Wall Hanging by HARBOUR BREEZE
Three Wreaths Christmas Wall Decor made by SOUTHERN HOME HOSPITALITY
Pastel Ornaments Christmas Wreath by OUR CRAFTY MOM
Simple Christmas Wreath with Vintage Ornaments by SONYA BURGESS
Front Door Christmas Wreath by A LOVERLY LIFE
Sharing is caring…please PIN for later:

Subscribe to my email:
Before you go, I’d love for you to subscribe to my email. It’s a great way to stay current on all the fun crafts, easy recipes, and home decorating ideas.
Thank you so much for visiting. Happy crafting and happy holidays!

Vintage Inspired Pastel Christmas Ornament Wreath DIY
Create a stunning Pastel Christmas ornament wreath with a pool noodle as the base. You can change out the colors for whatever style you like. Red and white would be gorgeous too!
Materials
- Pool Noodle
- Ornaments
- Muslin
- Christmas Stems
- Bottle Brush Tree
Tools
- Hot Glue Gun
- Fabric Scissors
Instructions
- Fold the pool noodle in half and use duct tape to secure it.
- Make a cut about an inch or so and slowly start tearing the muslin.
- Add a drop of hot glue to the first muslin strip and secure it to the pool noodle.
- Continue adding strips until it is covered.
- Remove the ornament tops and begin gluing the ornaments to the wreath in groups of 3 of the same color.
- Alternate the colors so you are not repeating colors.
- Once the wreath is covered, hot glue Christmas stems to fill in any gaps.
- Add a bottle brush tree to the bottom.
- Attach a ribbon for hanging.
Recommended Products
As an Amazon Associate and member of other affiliate programs, I earn from qualifying purchases.
-
 AK TRADING CO. Muslin Fabric/Textile Unbleached - Draping Fabric - Natural 10 Yards Medium Weight - 100% Cotton (63in. Wide), Natural Unbleached
 -
 LIVINGO Premium Tailor Scissors Heavy Duty Multi-Purpose Titanium Coating Forged Stainless Steel Sewing Fabric Leather Dressmaking Softgrip Shears Professional Crafting (9.5 INCH)
 -
 Surebonder CL-800F 60-Watt Cordless High Temperature Glue Gun
You can find me on social media below:
Marianne
Wednesday 17th of November 2021
I love your wreath. I think it is such a good idea to group the colors together, makes for much more impact. And you are right that little bottle tree just finishes it off! Great job.
Kate
Tuesday 16th of November 2021
You would never know that cute wreath was created on a pool noodle! And these colors would be darling in a little girls room!!