I received product from Walnut Hollow used in this post. This post contains affiliate links. This means if you click the link and buy something, I may receive a percentage of sales at no extra cost to you. Thanks for supporting Our Crafty Mom!
Welcome to Our Crafty Mom. Today is our monthly Create With Me challenge hosted by Samantha from Little Bits of Home.
At the start of each month, we ask YOU to vote on what material we should use in our next Create With Me Challenge.
Then we share our projects using the material you voted for! It is so much fun to see how different everyone’s projects are!
Images via Amazon.com, Joann.com, and Freeimages.com
Create your own user feedback survey
CLICK HERE if you cannot see the survey!
For this month’s project you voted for natural wood, which I was so excited for! I love using wood slices in my home décor.
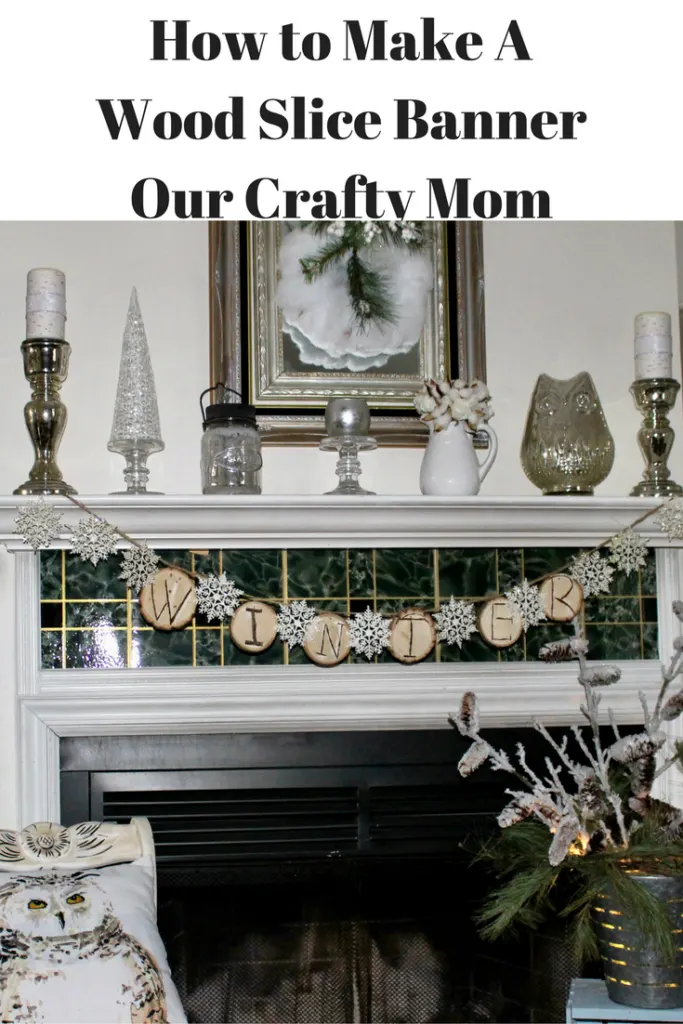
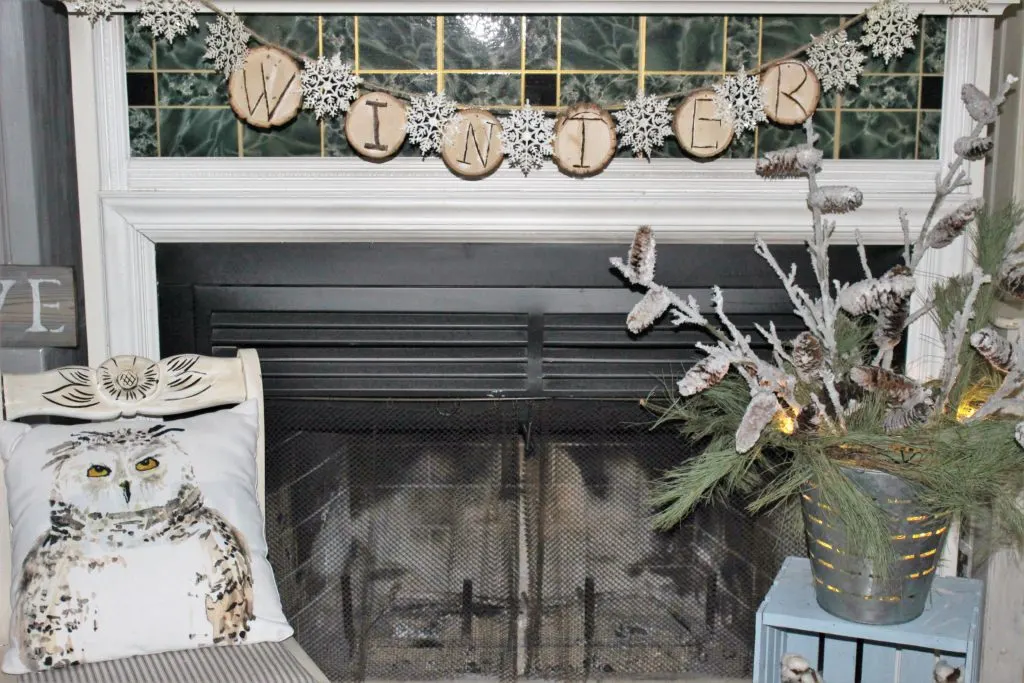
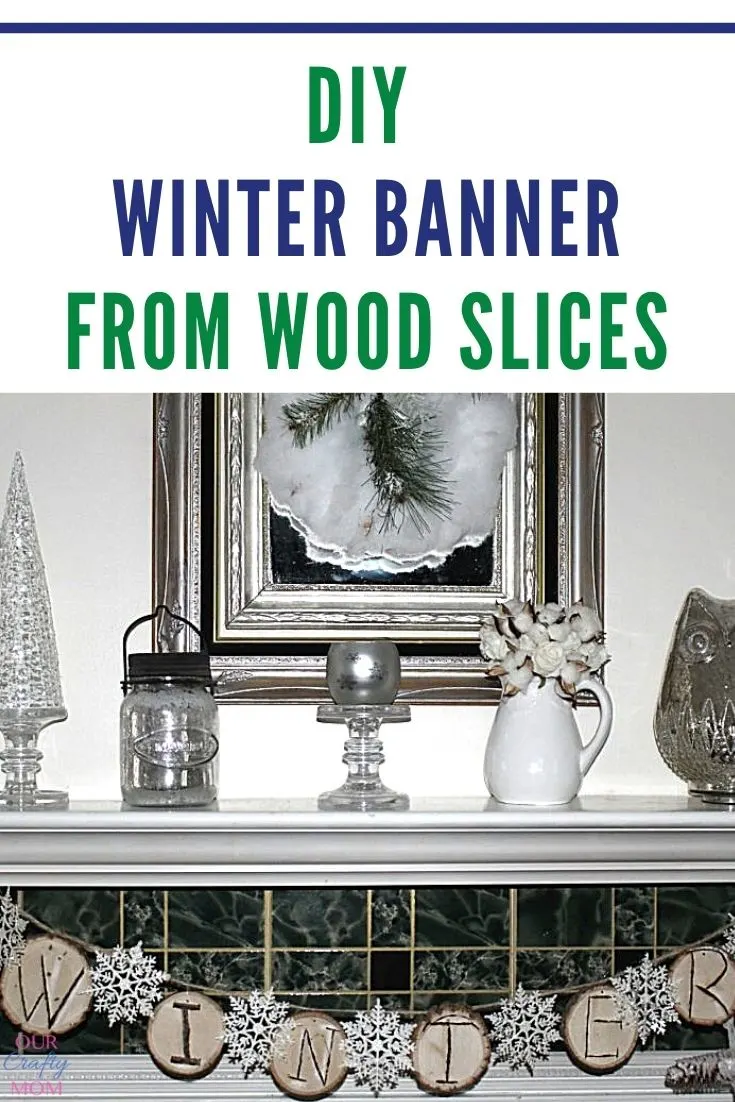
As I was decorating my mantel for Winter, I thought a wood slice banner would be perfect. There is a little surprise on the other side of this banner which I will show you at the end.
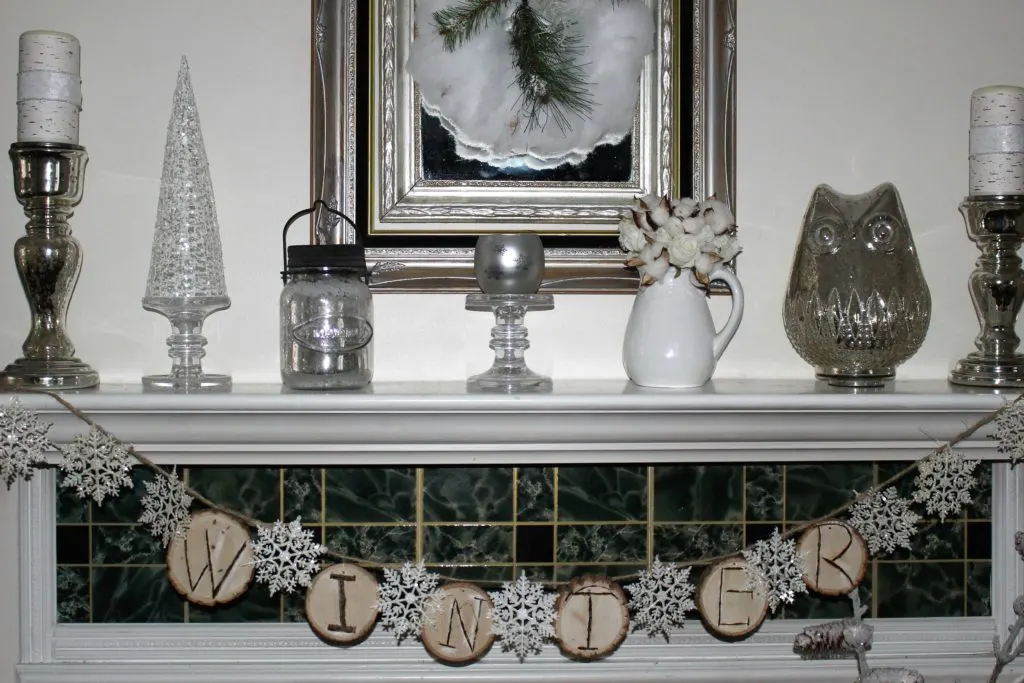
Supplies
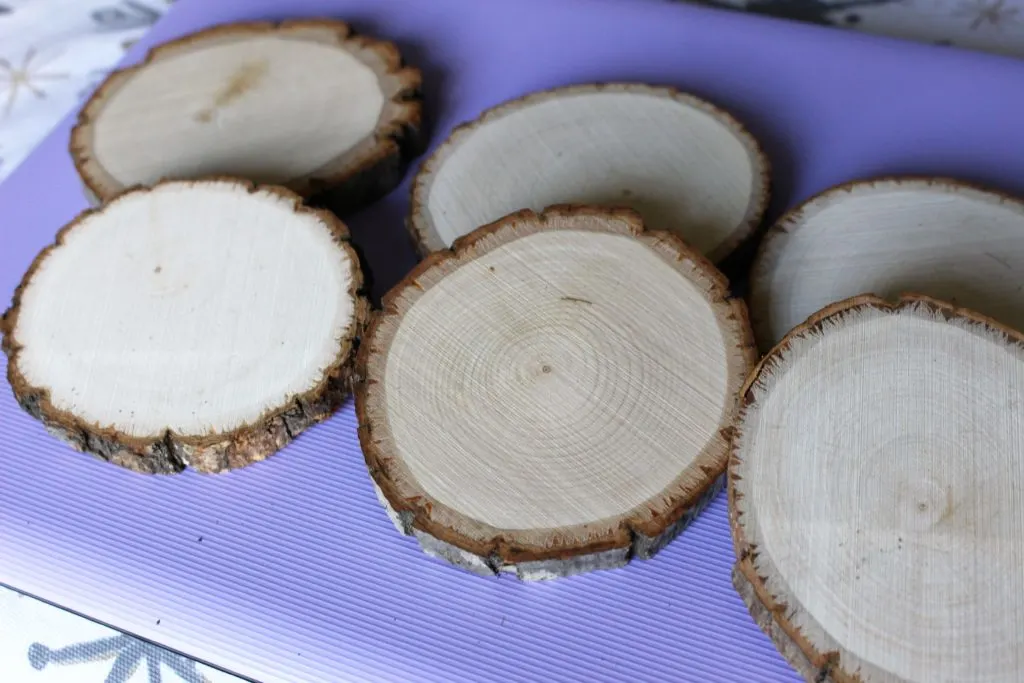
6 Wood Slice Rounds Walnut Hollow
Twine
Snowflakes (Dollar Store)
You can use stencils for lettering, or use the transfer method that we used to do in elementary school, where you use a pencil to color the back of the paper and then write with a pen over the image.
I used chalk and stencils and now that I look at these photos, I do need to erase the chalk a little better, lol! See what happens when you don’t edit the photos before posting?
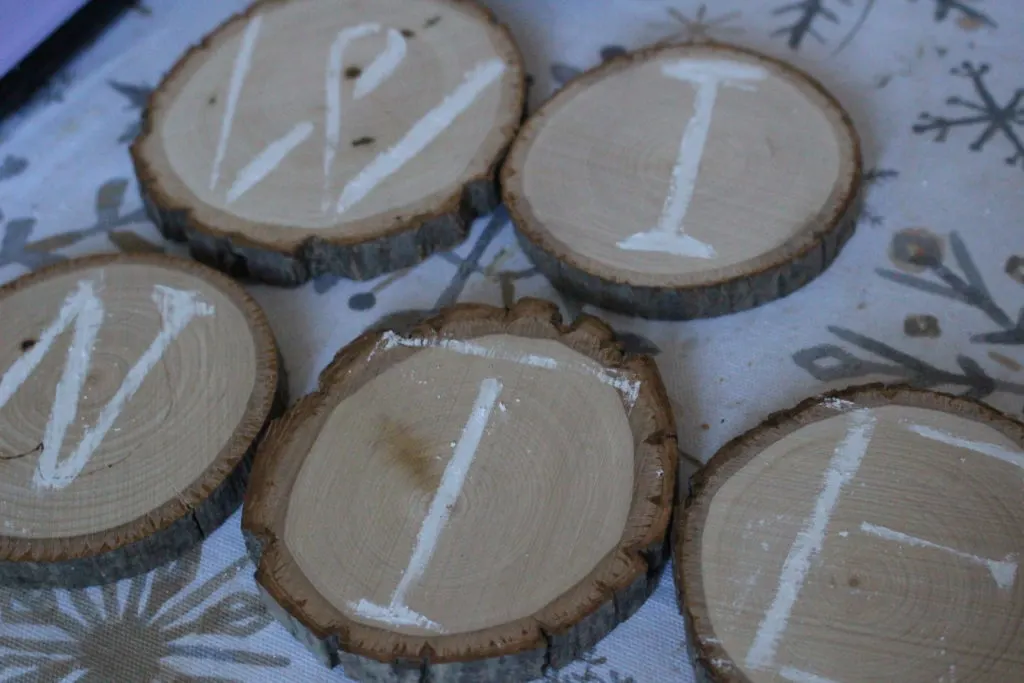
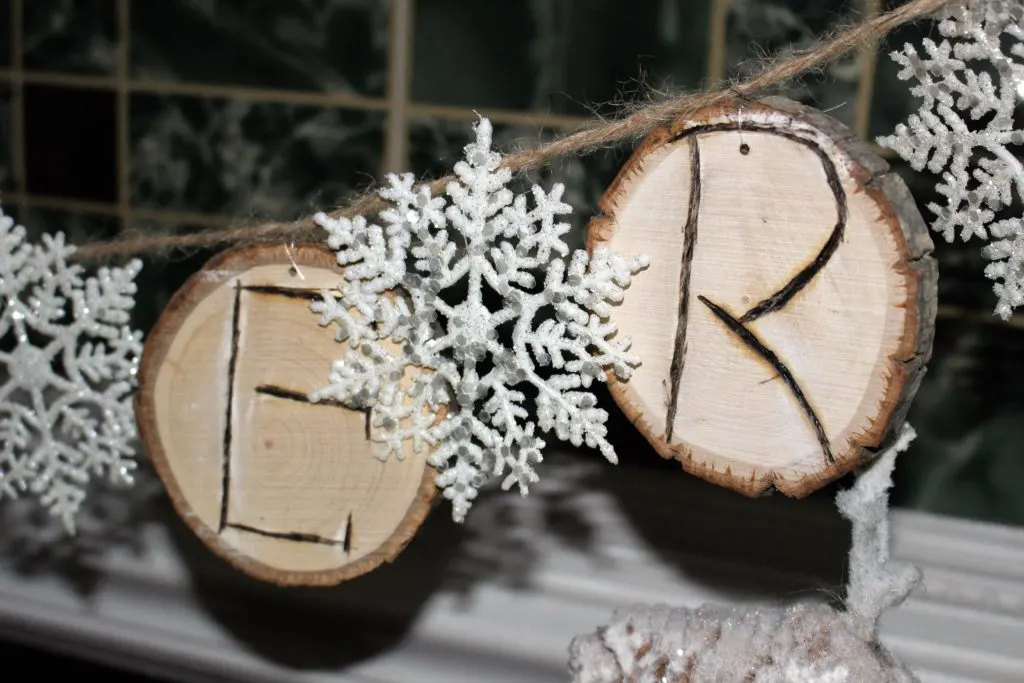
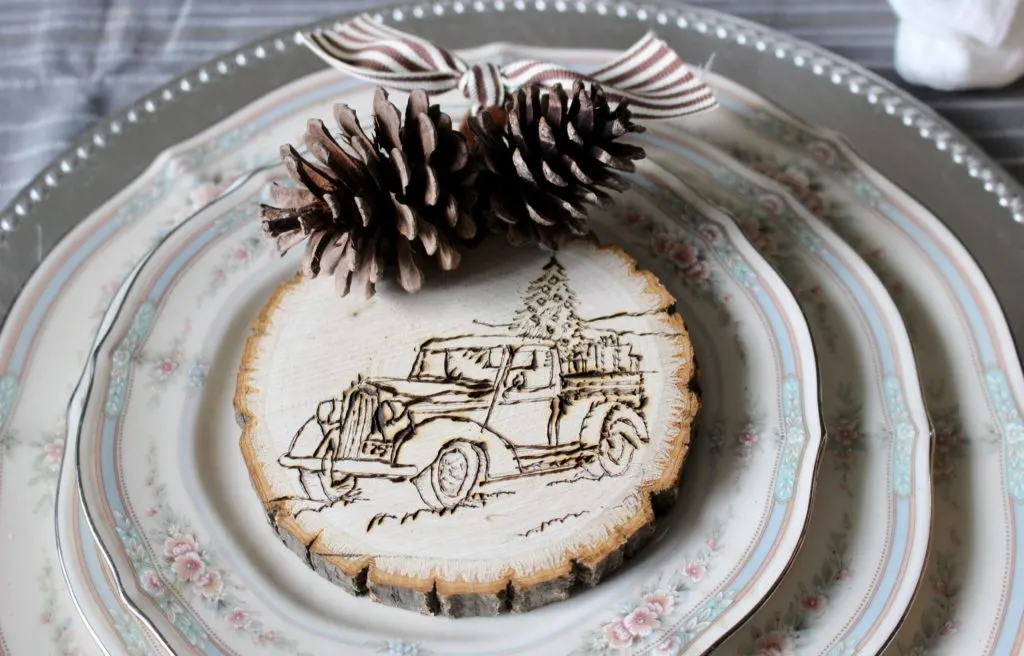
I wood burned over it. The wood burning tool is one of my favorite new craft items. I made some really cool wood-burned ornaments for Christmas shown at the end of the post.
I nailed a small hole in each wood slice and using fishing line to hang it to a long piece of twine. I also attached the snowflakes with fishing line.
[Tweet “How To Make A Wood Slice Banner Our Crafty Mom #ourcraftymom #DIY”]
I am all for creating things that serve dual purposes. So on the flip side I used chalkboard paint and wrote SPRING.
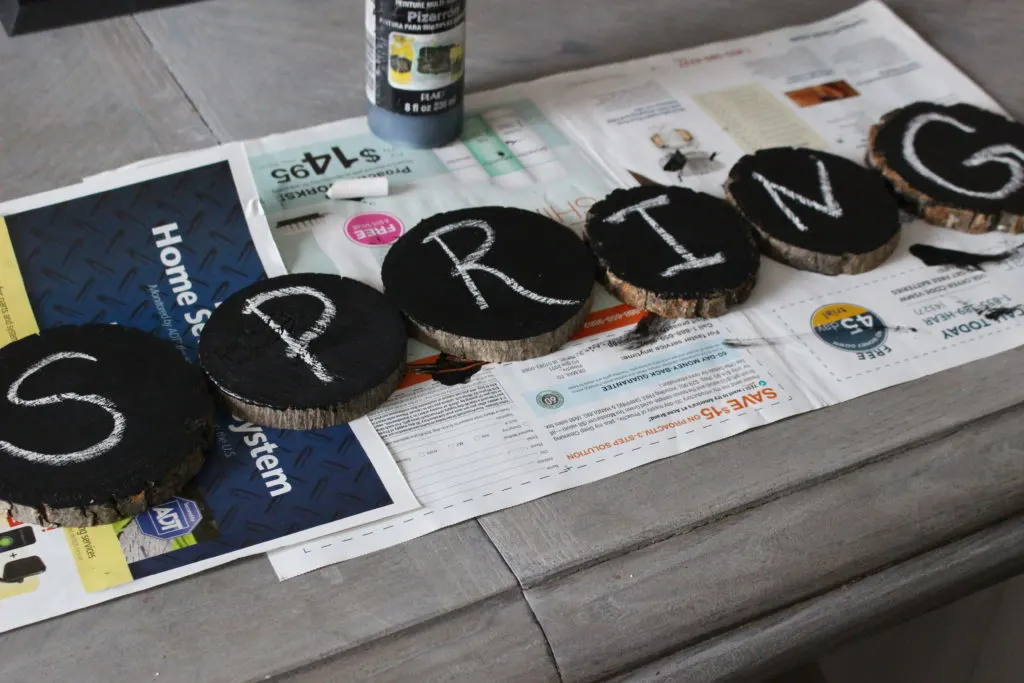
I can also erase this when the time comes and write SUMMER, etc. Here is the ornament I made using a stamp:
I hope you enjoyed this project and be sure to visit the other bloggers linked below. Have a great day!
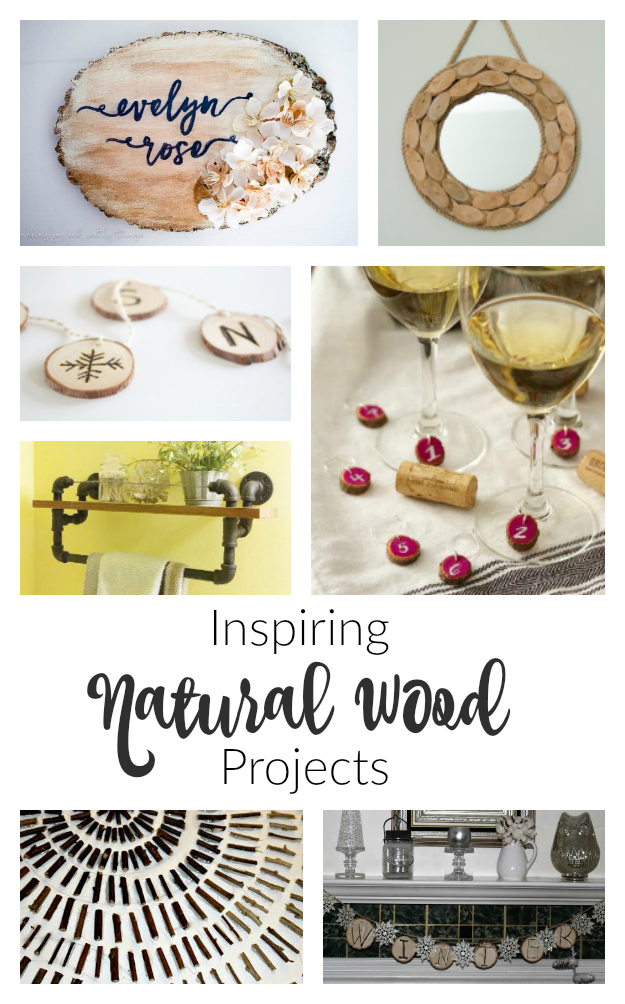
Personalized Nursery Wood Slice Sign- Making Joy and Pretty Things
Driftwood Mirror- Little Bits of Home
Wood Slice Winter Garland- My Life from Home
Natural Wood Shelf- Our House Now a Home
Mini Wood Slice Wine Charms- Two Purple Couches
Art Using Twigs- Knock it Off Kim
Wood Slice Garland- Our Crafty Mom

25 Must See Fun And Unique DIY Wood Slice Ideas | walnuthollowcrafts
Friday 8th of February 2019
[…] Wood Slice Banner – Our Crafty Mom […]
Home Matters Linky Party #118 - Salvage Sister and Mister
Wednesday 30th of January 2019
[…] How To Make A Wood Slice Banner from Michelle […]
Angie Rose
Sunday 22nd of January 2017
Hey Michelle! Your wood slice banner is so creative. I absolutely love it, you did a wonderful job :) Thank you so much for sharing with us at Dishing It & Digging It & congratulations on being featured this week!
Dishing It & Digging It {132} | Angie The Freckled Rose
Sunday 22nd of January 2017
[…] How To Make A Wood Slice Banner – Our Crafty Mom […]
Vanessa
Sunday 22nd of January 2017
This are so lovely and I love how you can change them up.