Step-by-step tutorial to create a DIY Restoration Hardware weathered oak dining table using affordable materials for a high-end, rustic look.
Disclosure: I received product to review for this post from Weatherwood Stains. However, all opinions and images are 100% mine. I only promote products that I love! This post contains affiliate links at no extra cost to you.
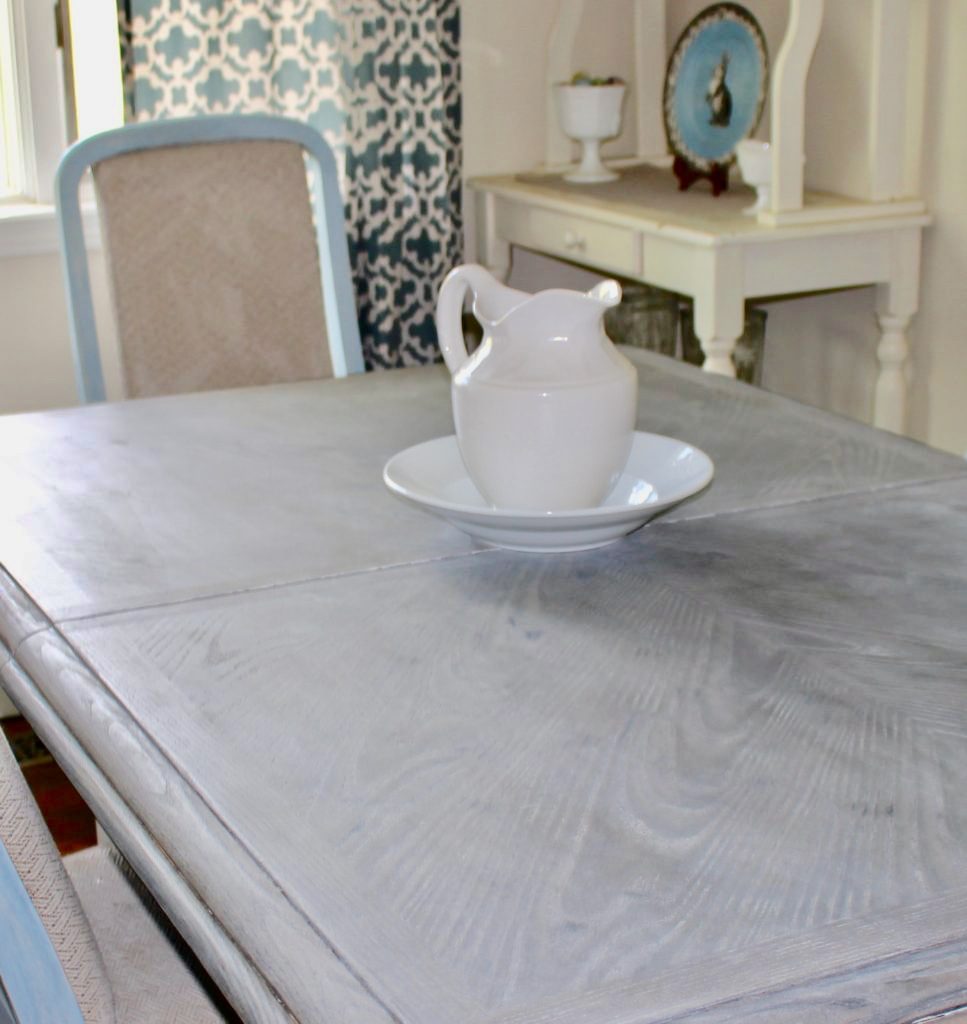
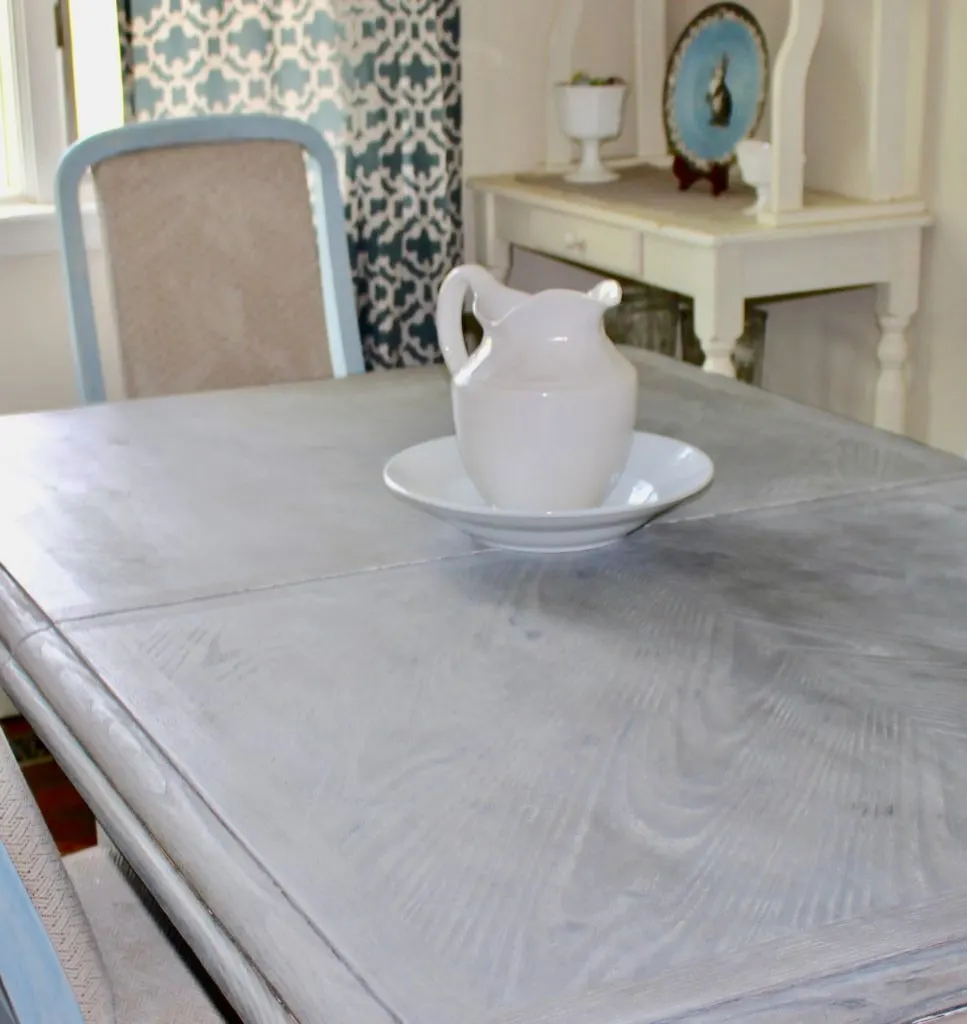
DIY Restoration Hardware Weathered Oak Dining Table
We purchased this dining set about 25 years ago. It was a beautiful pickled oak set and as was pretty standard in the 90’s, we had everything matching, from the hutch to the kitchen cabinets to the armoire.
Pretty much the entire downstairs was all pickled oak. Well, after about 15 years I was “pickled out”-sorry couldn’t resist 🙂
This poor table has been subjected to all my decorating style changes and painting techniques!
Well, it was finally time to bring back the beautiful oak of the table. In all my furniture refinishing, I have never really stripped a table. I’ve painted plenty to update pieces on a smaller scale.
After doing a ton of research about the easiest way to strip a table, I decided to go with Citristrip mostly because it is safe to use indoors.
This table weighs a ton and I don’t have easy access to the outside so I had to refinish it right in my dining room!
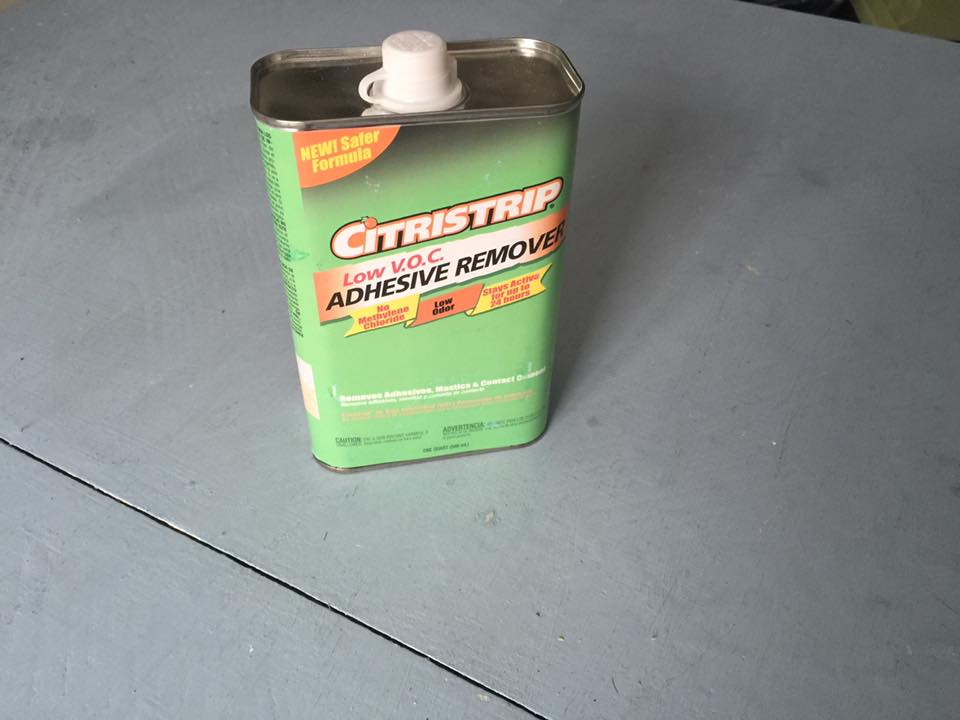

How to Strip a Painted Table
Start by protecting the area. I placed drop cloth under the table and used a roller to cover the entire table top with Citristrip.
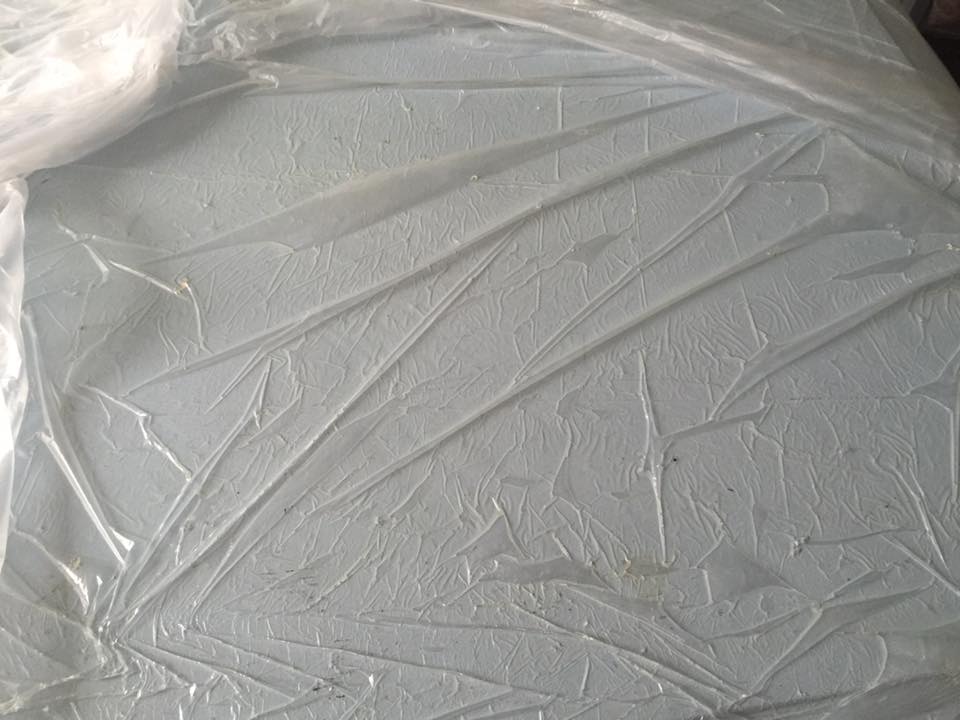
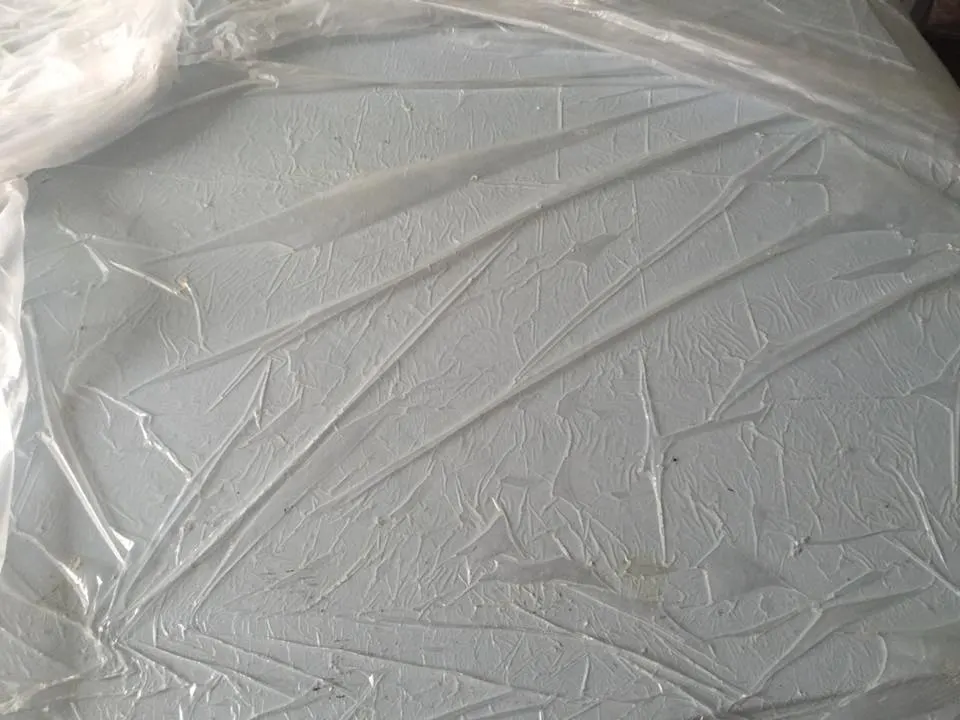
Next, I covered the top in garbage bags and let it sit overnight. There were several Pinterest boards which recommended this tip.
Here is a pic:
The next morning I removed all the bags and used a scraper to scrape off the layers of paint. This product worked so well and I was pleasantly surprised.
It was time consuming because this is such a large table and there were three layers, but honestly it scraped off much easier than anticipated.
The next part-not so much! I used a Porter Cable Orbit Sander with 60 grit sand paper to sand the table.
Obviously, this took some time, but I did it a little at a time so it wasn’t too bad.
Here is what it looked like in the middle of sanding:
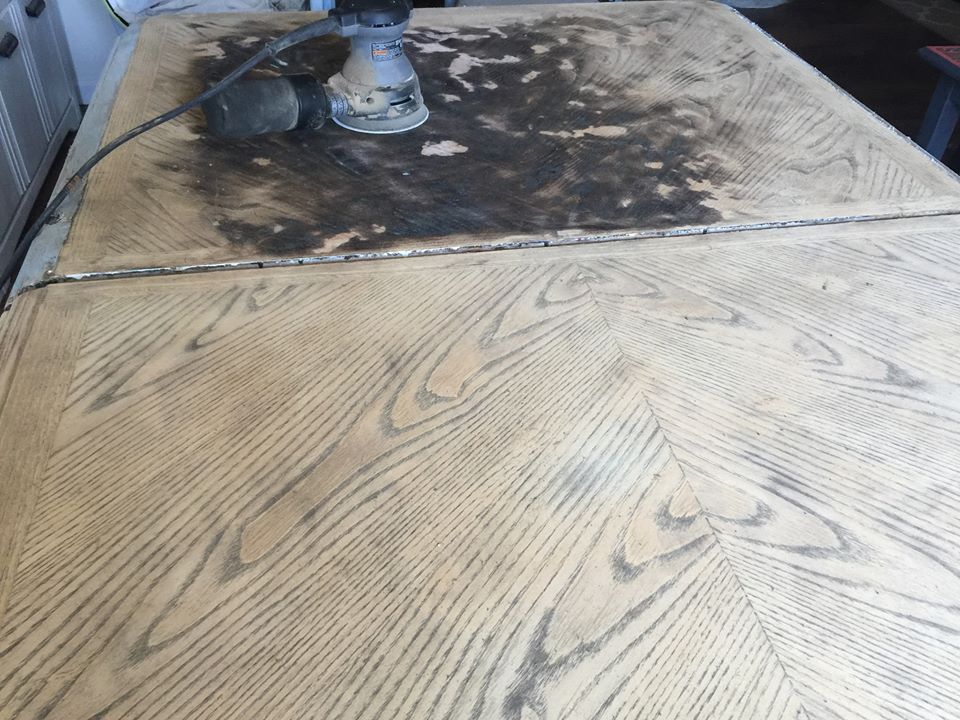
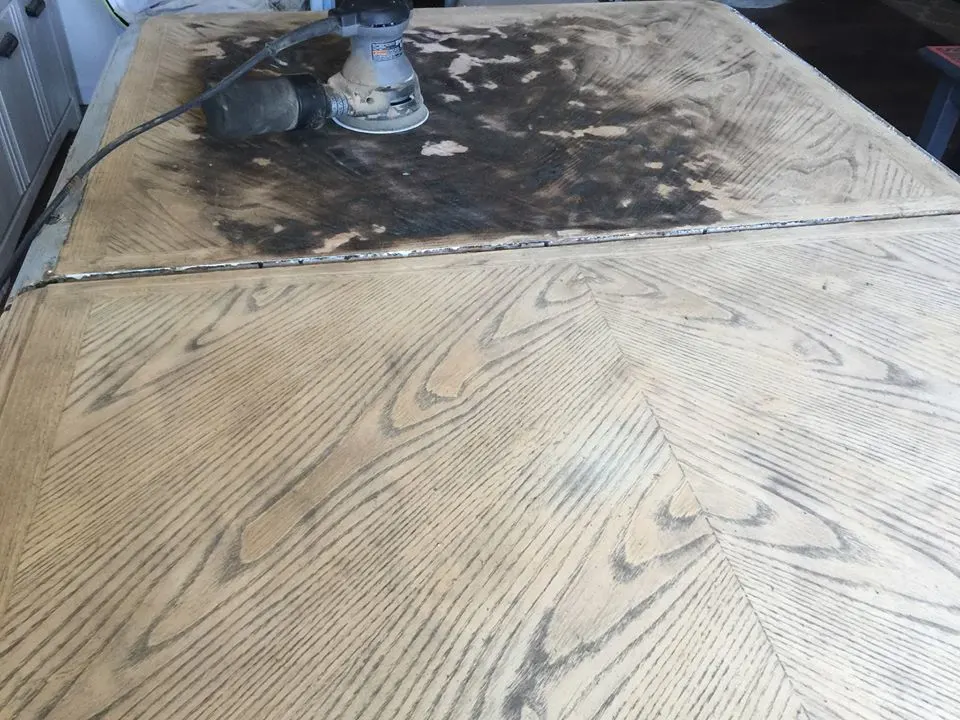
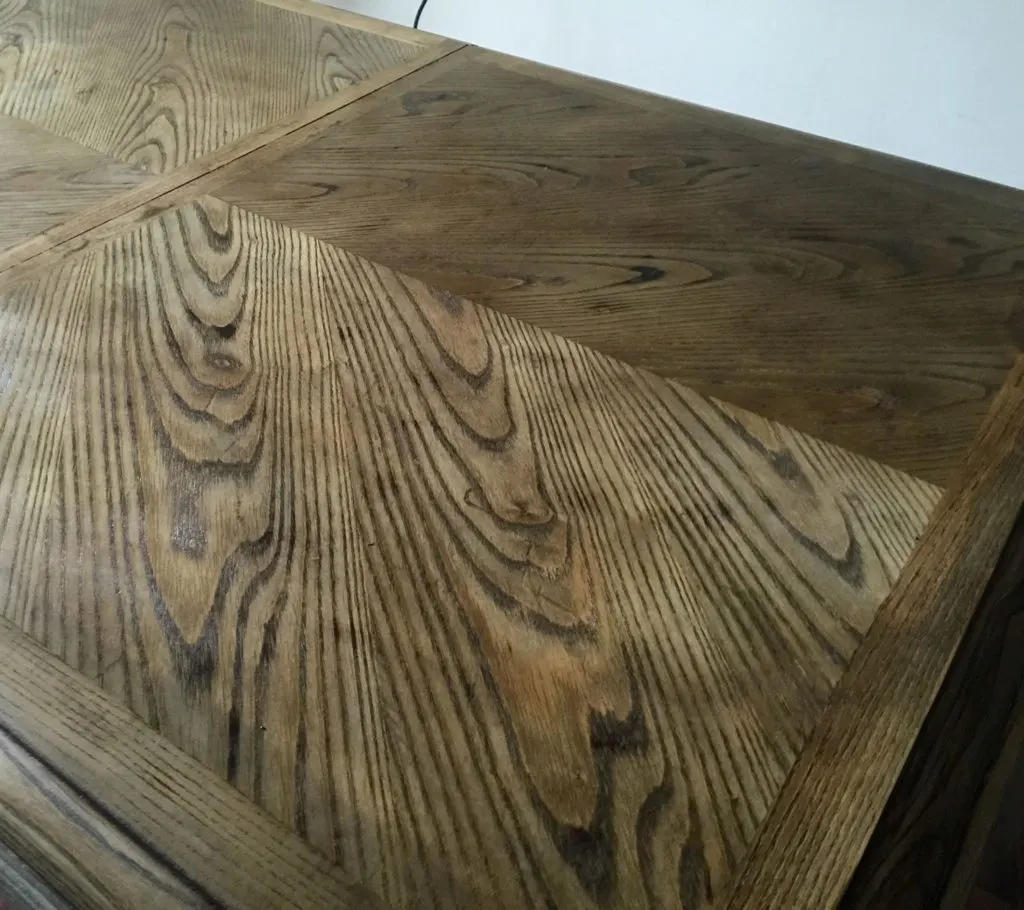
I fell in love with the beautiful grain of the wood all over again! I was getting so excited for the final step and couldn’t wait to see it complete.
That is the thing I love about DIY projects-the sense of pride and accomplishment really makes all the hard work worth it.
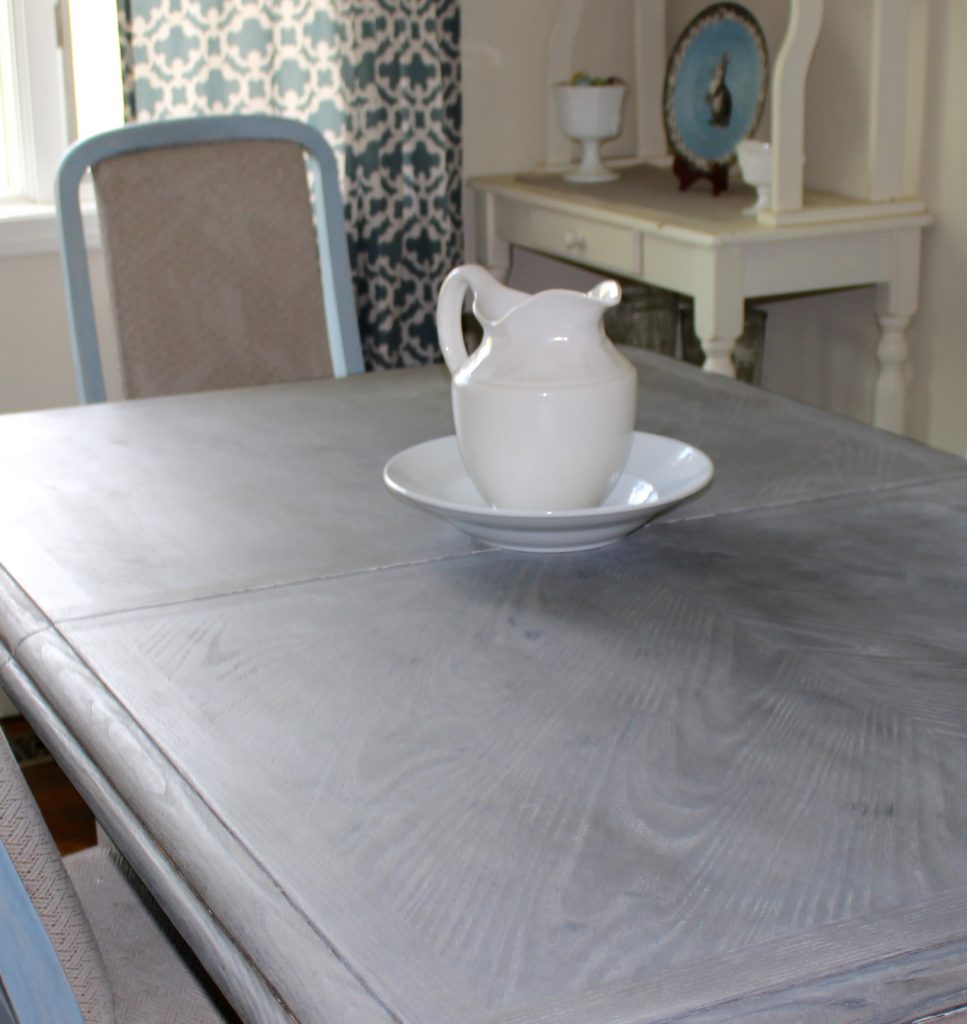
I used Weatherwood Stains Reclamation stain with a White Maintenance Oil to achieve this gorgeous weathered wood look. Look at the beautiful options!
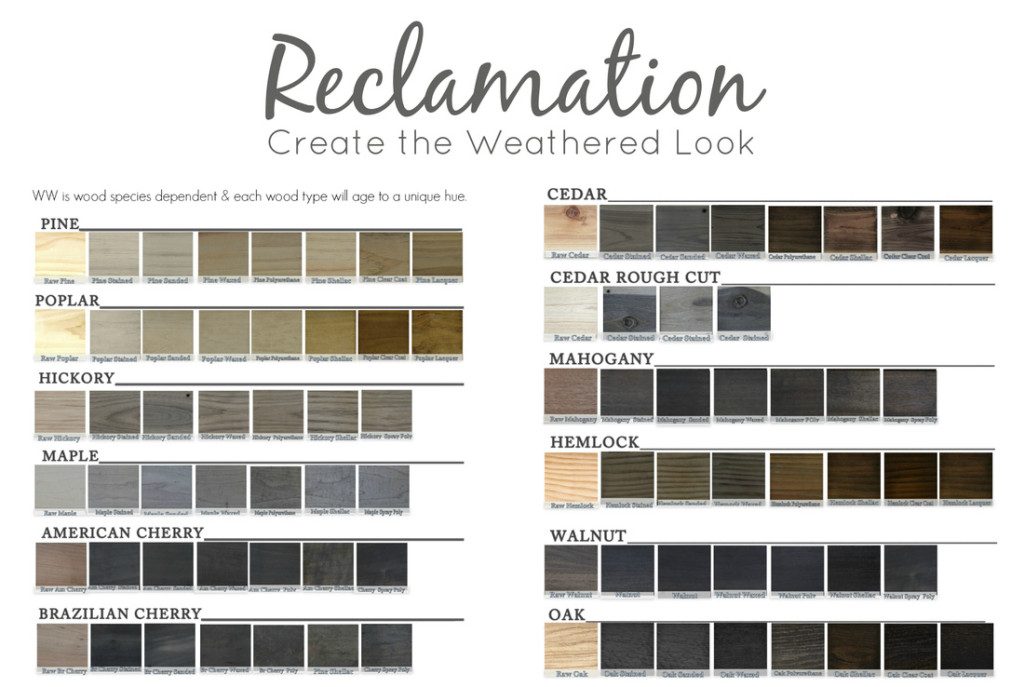

There are two points of difference between Weatherwood Stains and typical products.
These stains are REACTIVE, so you drench the wood and ALLOW THE STAIN TO WEATHER THE WOOD AS IT DRIES. You don’t wipe them back off.
And two, DIFFERENT WOODS WILL TURN DIFFERENT COLORS. The best thing to do is to plan your project’s wood, and to use online color charts to see what color your wood will turn.
This stain makes it so easy to get the weathered wood look without the wait!
Here it is after a coat of stain before drying:

I let it dry overnight, but after just 15 minutes it was already lightening:


Two coats of Weatherwood’s white maintenance oil finished it off. It seriously looks like a piece of driftwood.
The pictures don’t do it justice. You can see the beautiful grain again.
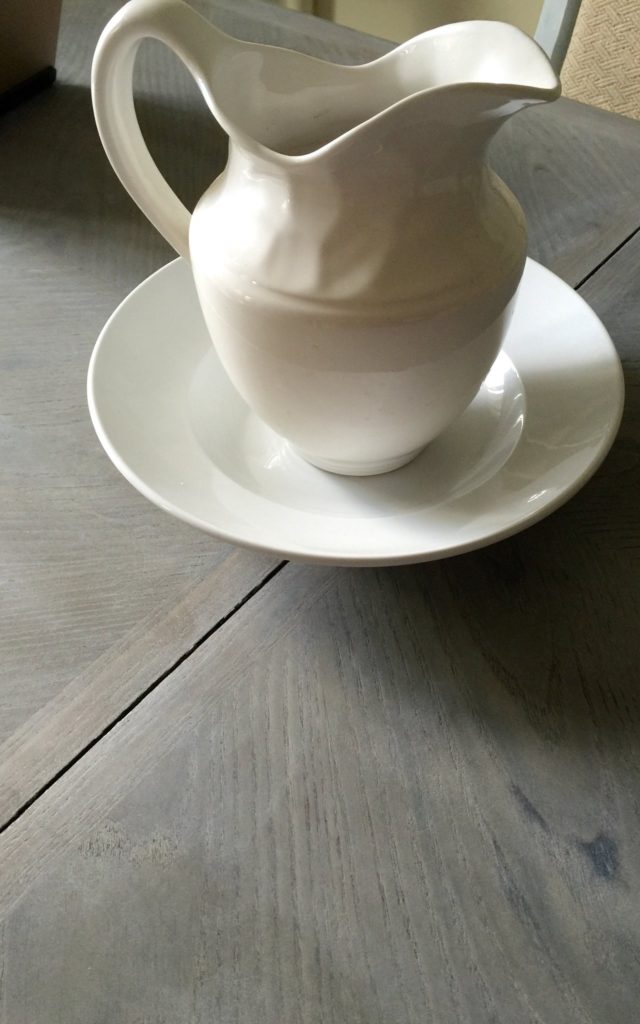
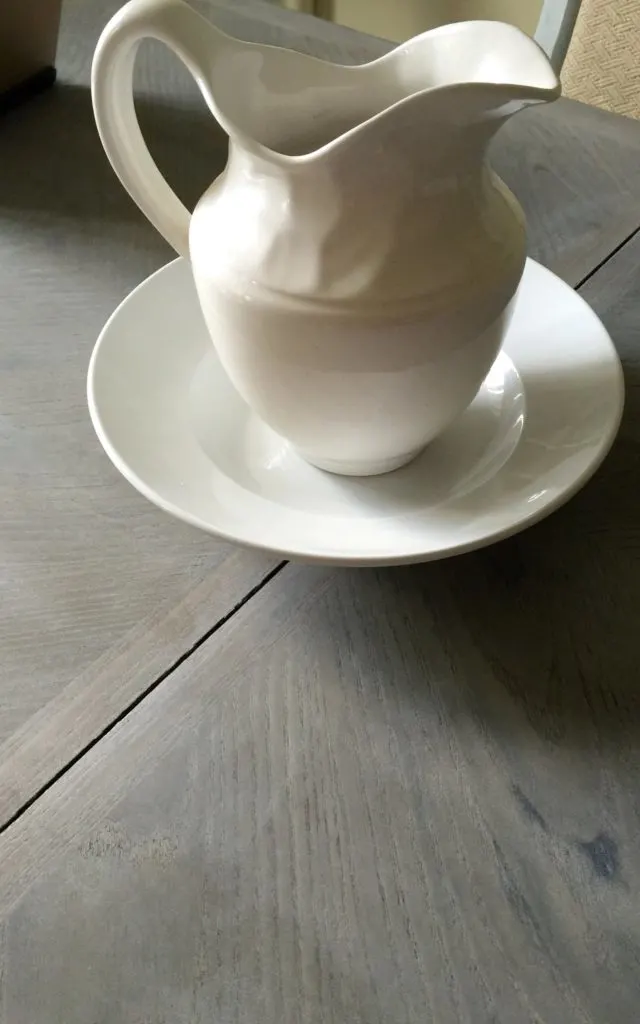
I painted the base of the table white, as I am going for a coastal feel and like the two tone look. It has that gorgeous grey tone to it that you see in all the high end decor magazines!
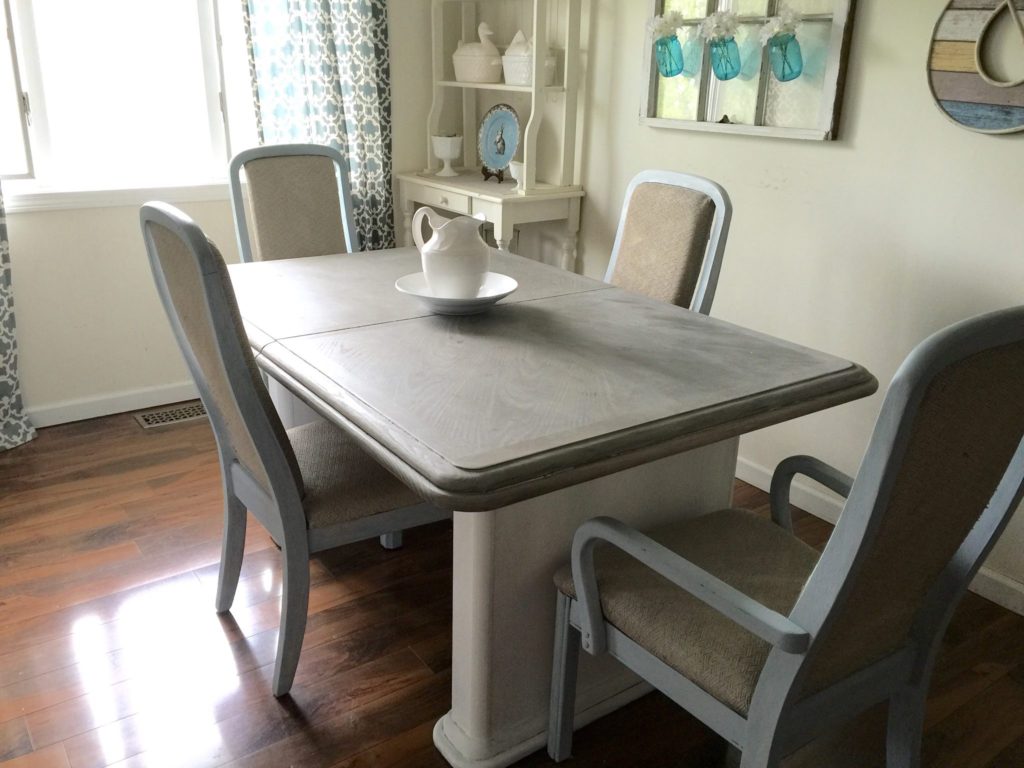

I am so in love with the beautiful finish on this table. It is so unique and I feel I will enjoy this look for years to come!
I haven’t finished the chairs yet, but plan to paint them white and recover the fabric. Come back to see the update!
Thanks for visiting Our Crafty Mom! Have a great day!
How To Makeover A Worn Out Table The Easy Way!
Sunday 9th of June 2019
[…] DIY Weathered Oak Table […]
Home Matters Linky Party #87 | Tidbits of Experience
Wednesday 17th of April 2019
[…] Michelle shares her DIY Restoration Hardware Weathered Oak Dining Table […]
20 Restoration Hardware Inspired DIY Projects- A Cultivated Nest
Thursday 3rd of May 2018
[…] DIY Restoration Hardware Weathered Oak Dining Table from ourcraftymom.com […]
Brittany aka Pretty Handy Girl
Tuesday 3rd of January 2017
Wow, it looks beautiful! I know that was a lot of work. Well done.
Home Matters Linky Party #87 - Love More Live Blessed
Monday 13th of June 2016
[…] Michelle shares her DIY Restoration Hardware Weathered Oak Dining Table […]