Make your own DIY scrap wood tiered tray signs for every holiday or season.
This post is sponsored by DecoArt and contains affiliate links at no extra cost to you. However, all opinions are 100% mine. Please see my full disclosure here.
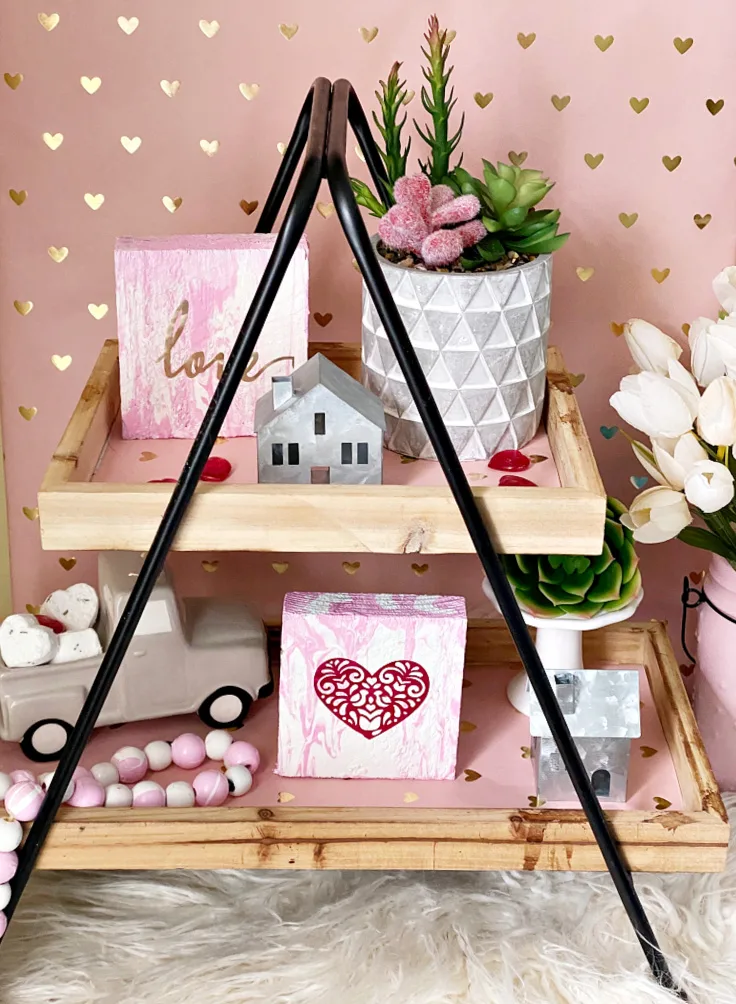
DIY wood tiered tray signs are so easy to make with scrap wood and ready to pour acrylic paint.
I created these Valentine’s Day wood signs, and wanted to share the simple tutorial with you.
I’ve been having a blast making Valentine’s Day crafts. Did you see the beautiful Dollar Tree love sign, or the super cute Gnome cards?
One of my favorite pieces to decorate for each holiday and season is my Farmhouse tiered tray.
It’s a 2 tier tray and nice and large so you your tiered tray decor doesn’t look cramped.
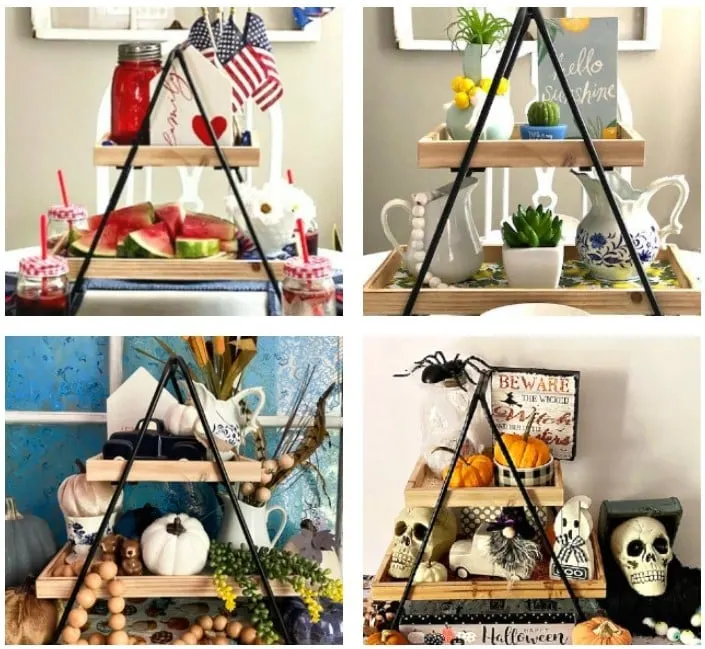
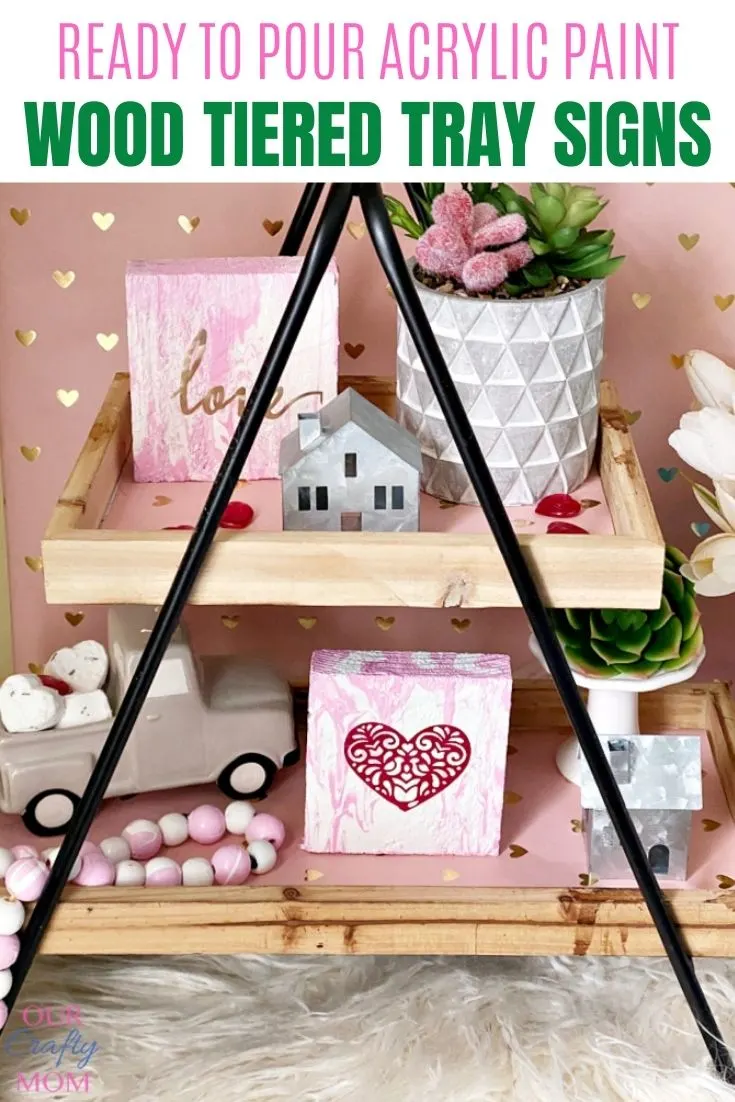
Here is a picture that shows how I decorated it over the past year. This was my first time using fluidart paint and I’m pretty obsessed with it!
It brought me back to finger painting as a kid, only you can just move the piece around and watch the cool design the paint creates.
If you haven’t tried it yet, I definitely recommend it! Here is the tutorial so you can make your own.
How To Make Easy Scrap Wood Tiered Tray Signs
Supplies Needed For Wood Tiered Tray Signs
- 4×4 Wood Blocks
- DecoArt FluidArt Ready To Pour Acrylic Paint – Pink
- DecoArt FluidArt Ready To Pour Acrylic Paint – White
- Cricut Joy
- Cricut Smart Vinyl Matte Metallic
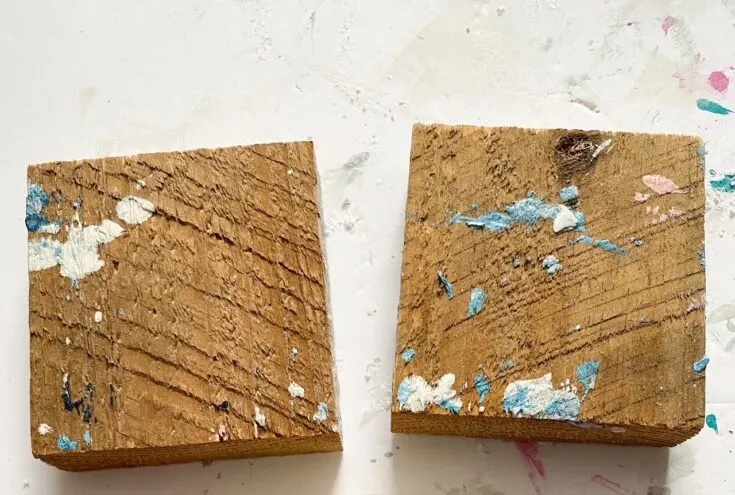
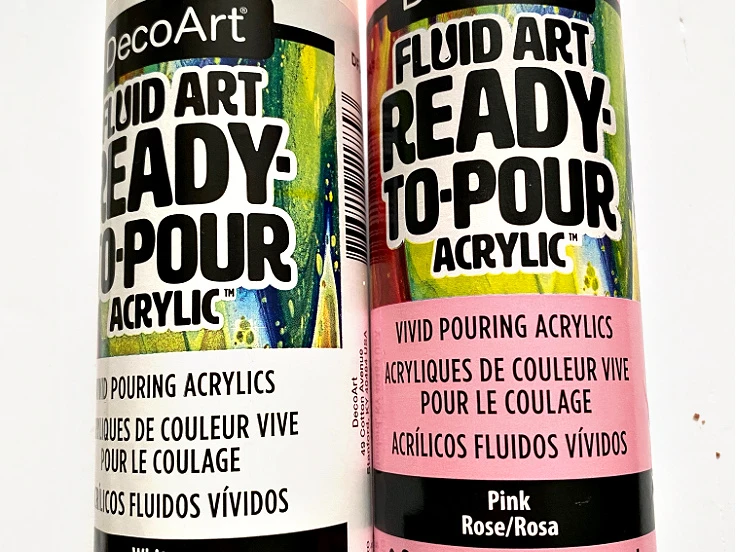
Step 1. Pour The FluidArt Paint
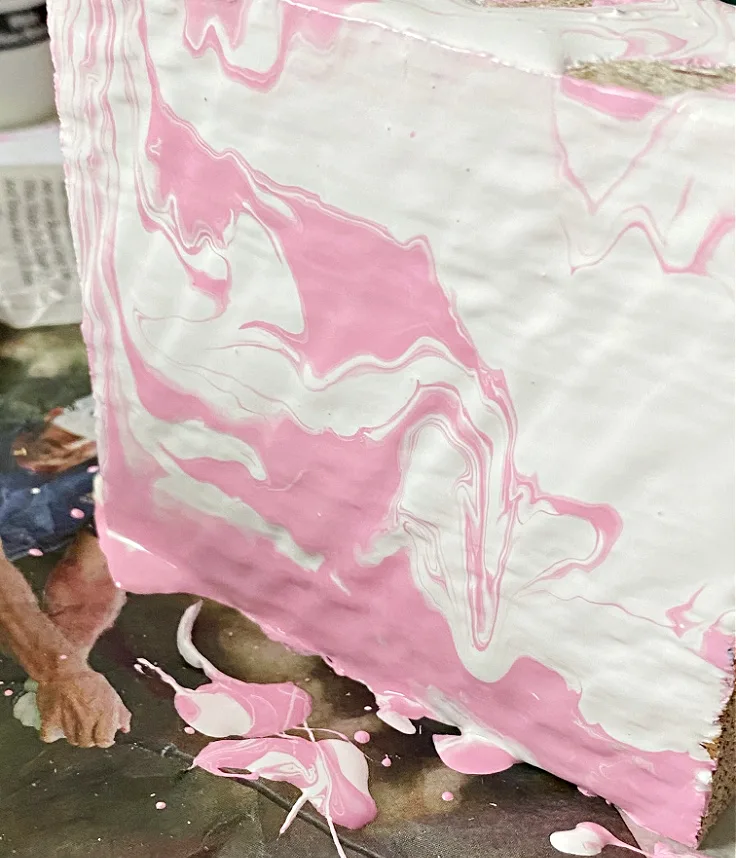
Squeeze the pink ready to pour acrylic paint directly onto the wood block.
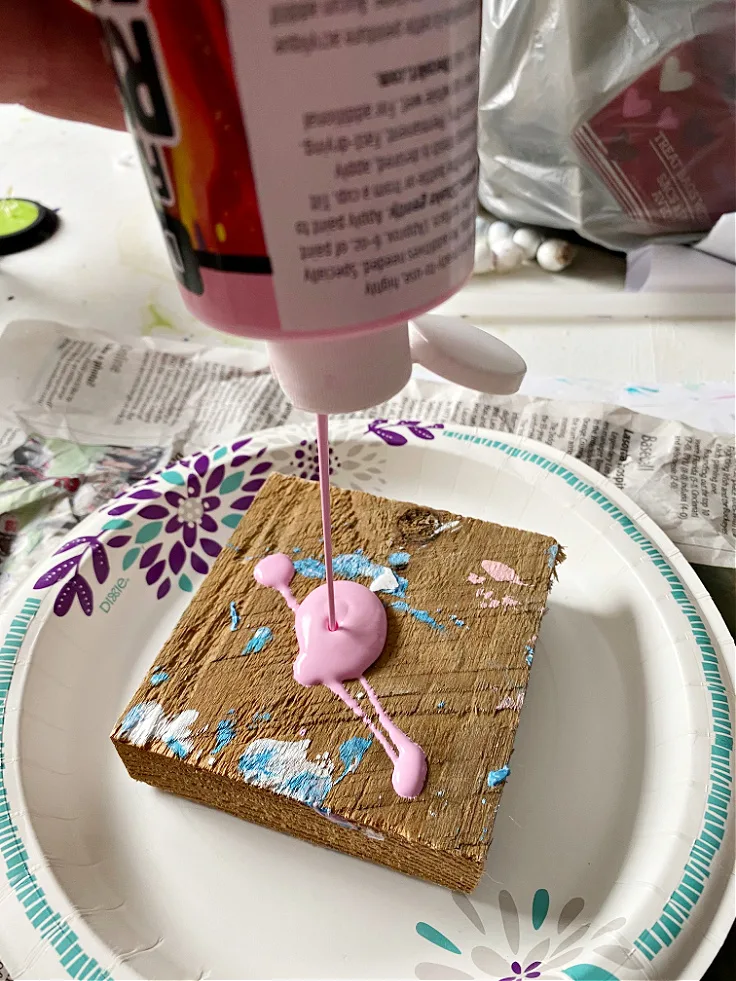
Step 2. Move The FluidArt Paint
Turn the wood block around so the fluidart paint flows all over the wood. Be sure to let it cover the entire piece, including the sides.
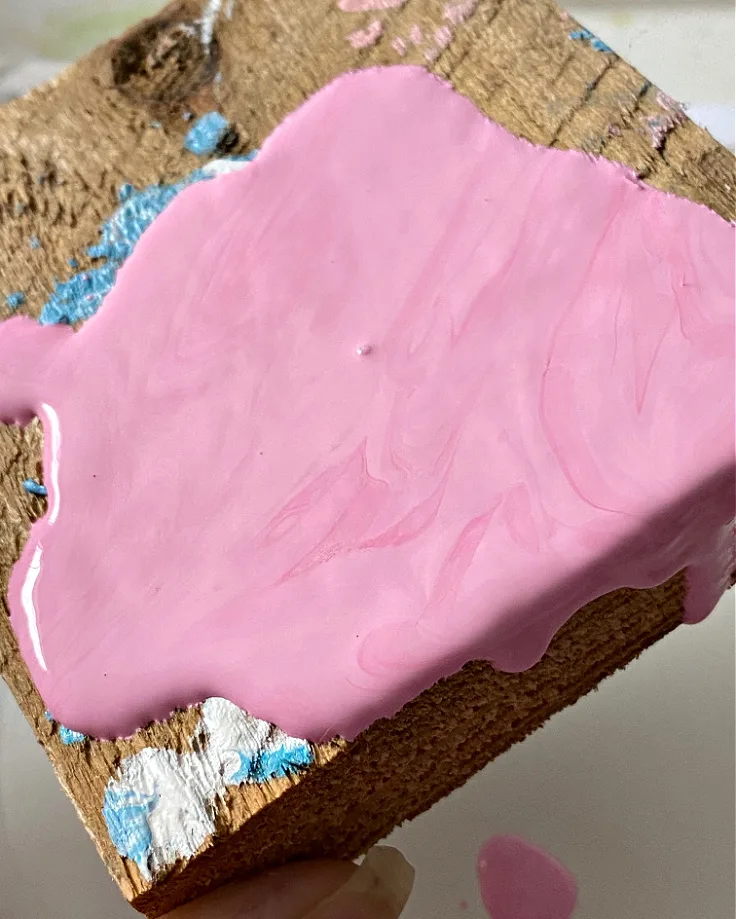
Step 3. Pour The FluidArt Paint
Repeat with the white fluidart paint, letting it blend with the pink paint. Again, be sure to cover the sides.
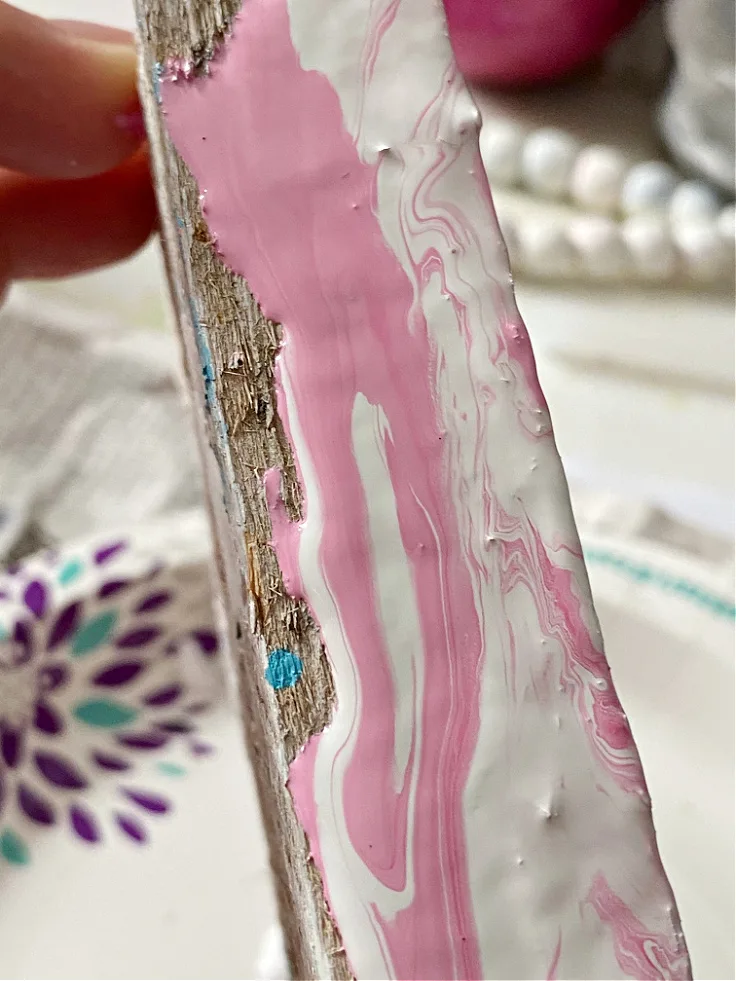
Step 4. Let The FluidArt Paint Dry
Let the fluidart paint completely dry. You can speed up the process by using a heat gun.
Step 5. Cut Out The Vinyl
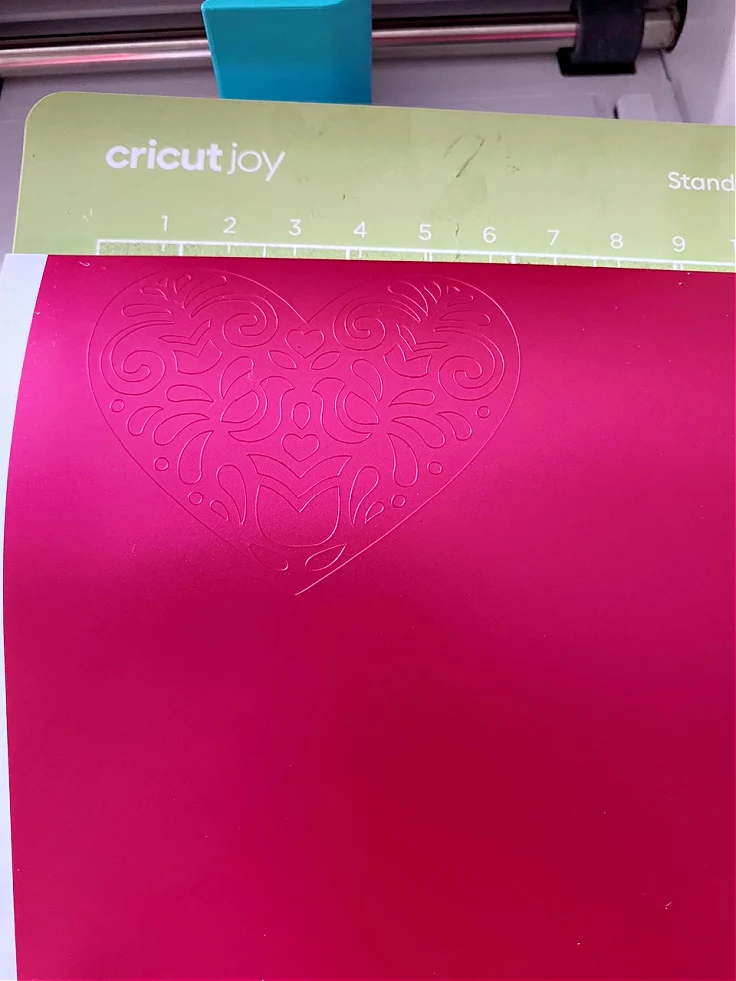
While the paint is drying, cut out the vinyl with the Cricut Joy.
Step 6. Place The Vinyl On The Wood Block
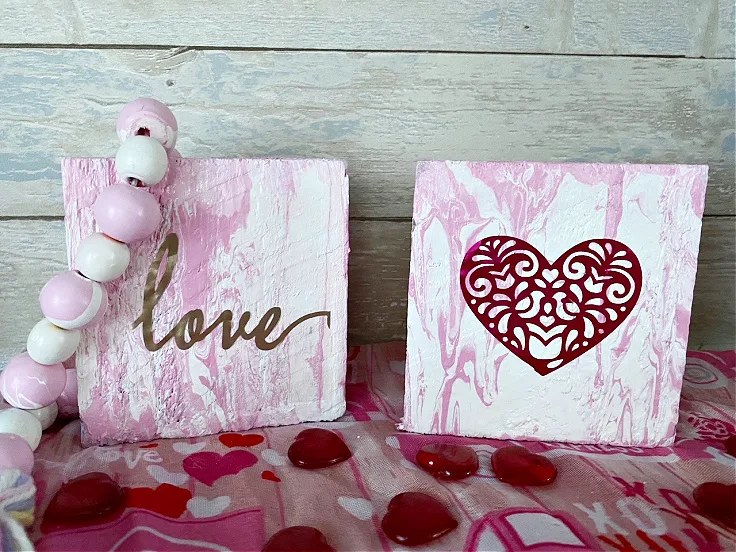
Attach the vinyl to the wood block in the center. I chose a heart and love for Valentine’s Day.
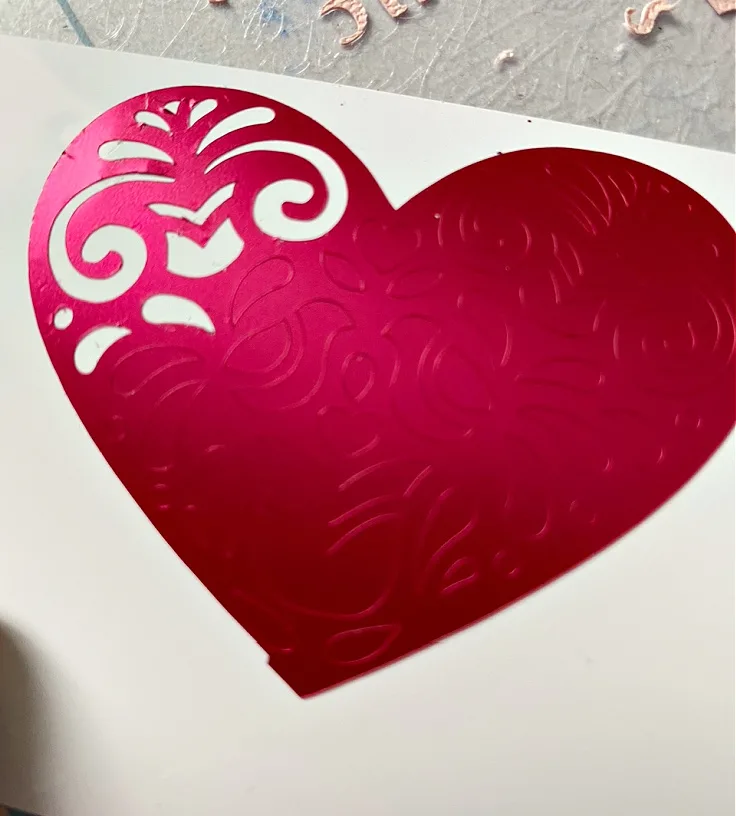
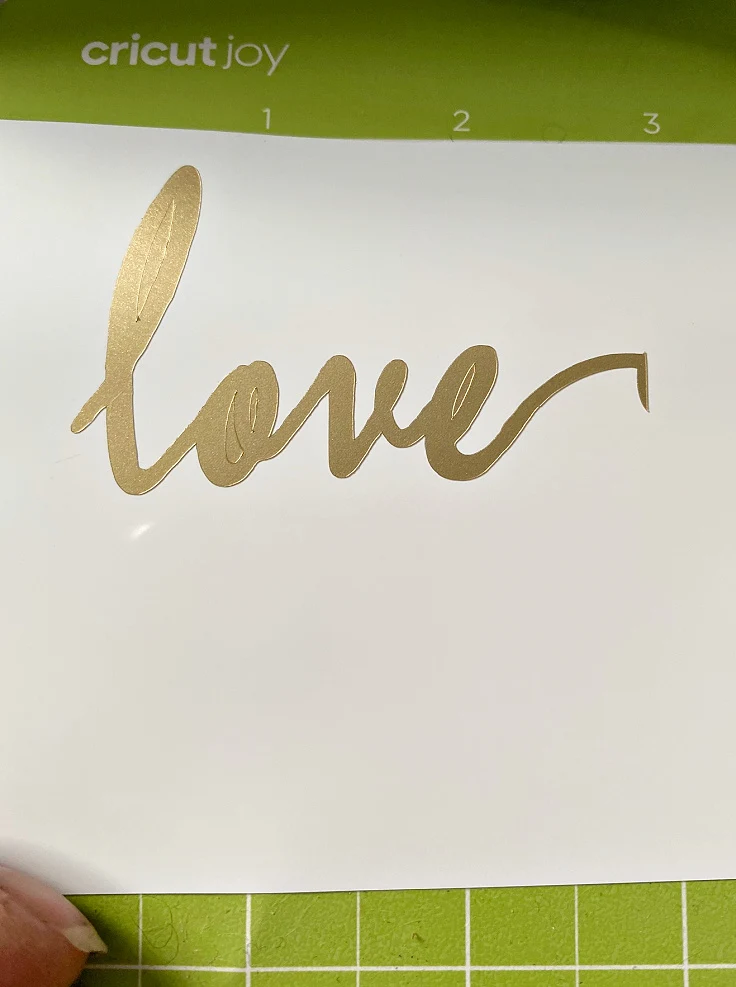

You can totally switch up the colors and vinyl images to whatever you like. I’m thinking green and white for St. Patrick’s Day would look really cool.
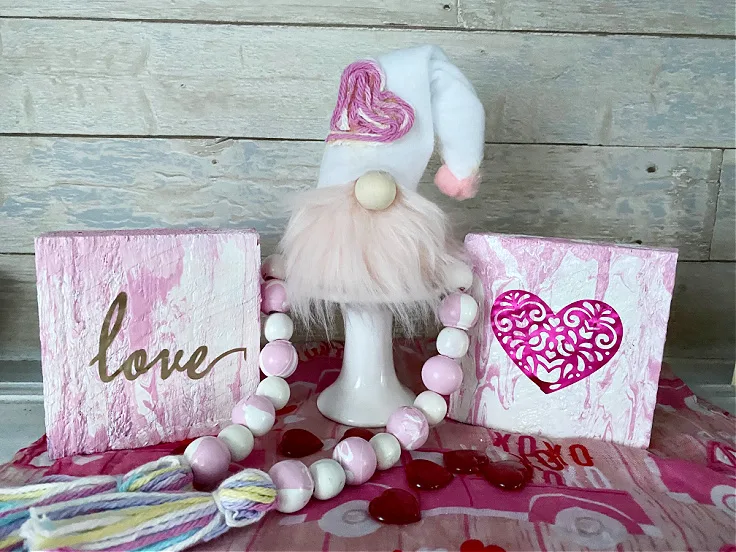
These wood tiered tray signs can be used to decorate your home in so many different ways.
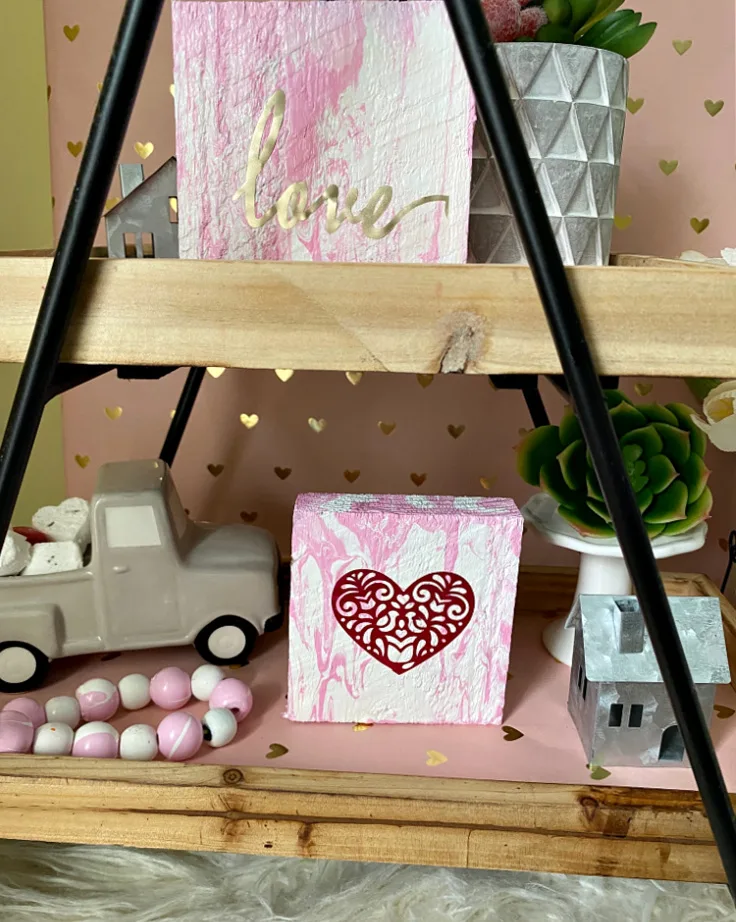
Of course, they look great on a tiered tray, but they are also perfect to decorate a bookshelf, buffet table or your mantel.
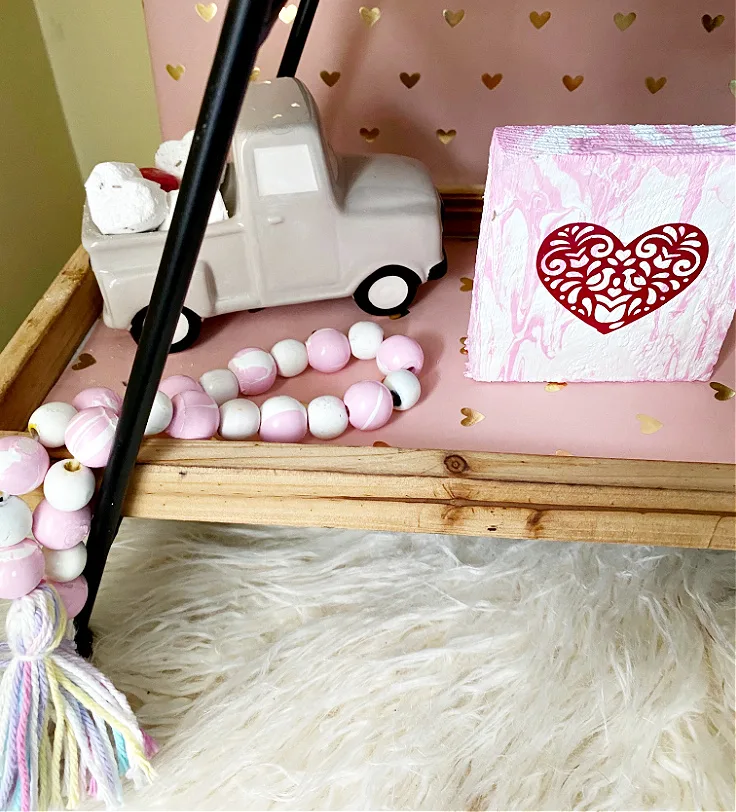
Another idea I had was making the wood signs double-sided. You can leave the back of the sign white and add just place “Home” on the back, or a Spring image or words.
Wouldn’t a bunny be adorable? The possibilities are endless, and you can’t beat the cost! The scrap wood was free. One bottle of the fluidart goes a long way.
Thank you so much for visiting. Have a great day!
You can also follow me on social media below:
