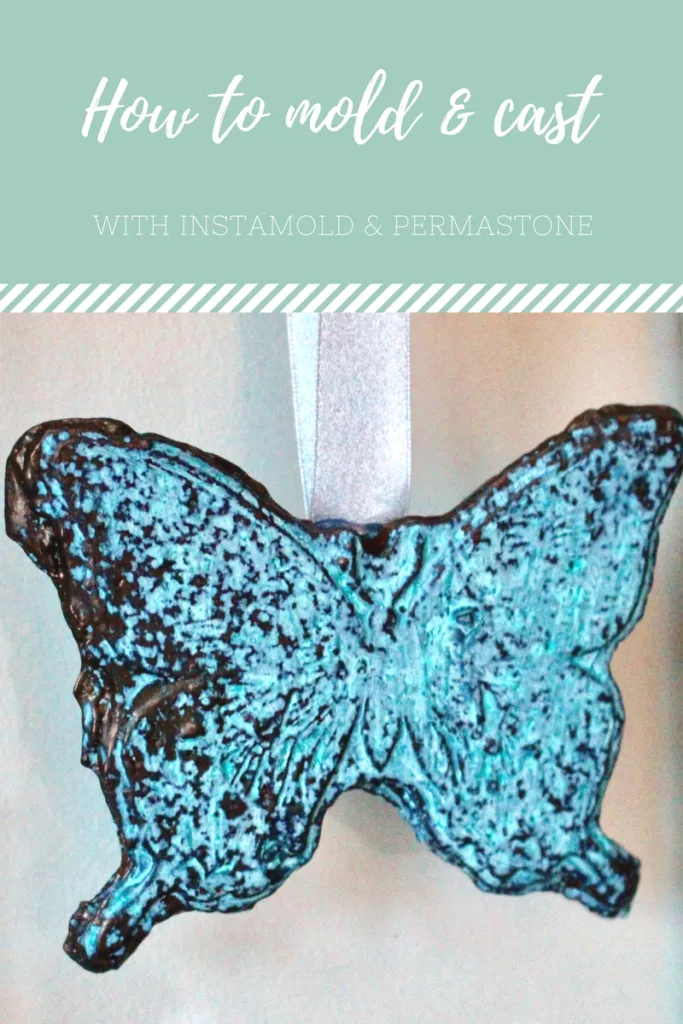
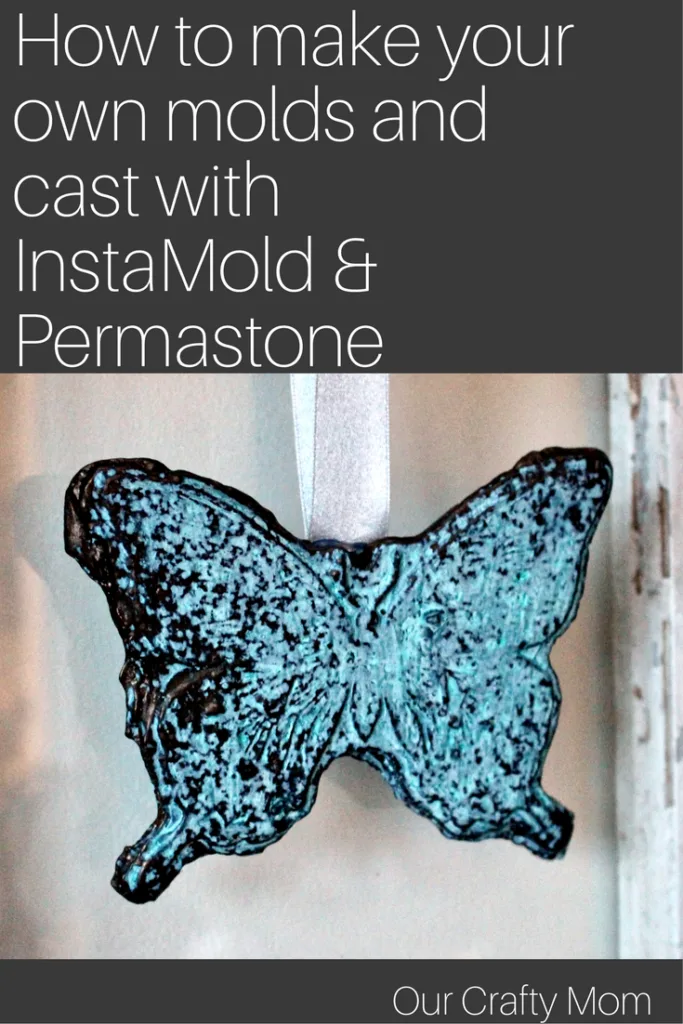
Can I tell you how excited I am to share an easy tutorial on how to mold and cast with InstaMold and Permastone? Look at these beautiful Permastone Butterflies I just finished making.
I have never tried molding and casting before, but as a lifelong crafter I really enjoy trying new techniques. This was such a cool process and my mind is racing with ideas of things I want to create!
We were snowed in this weekend so it was the perfect time to relax and create. Recently I received a package of InstaMold and Permastone from Activa Products .
My daughter is going back to College Sunday and she loves butterflies. I wanted to create something that she could hang in her dorm room and thought this was the perfect opportunity to try out these products.
This post contains affiliate links. This means if you click the link and buy something, I may receive a percentage of sales at no extra cost to you. Thanks for supporting Our Crafty Mom!
The butterflies have such a beautiful patina and really look like metal. I was amazed at how easy this process was. Here is a simple tutorial so you can make your own Permastone designs:
How To Mold And Cast
Supplies
- Activa Products Instamold
- Activa Products Permastone
- Large rubber stamp butterfly (or image of your choice)
- Ribbon
- Paint of your choice
- E6000 230010 Craft Adhesive, 3.7 Fluid Ounces
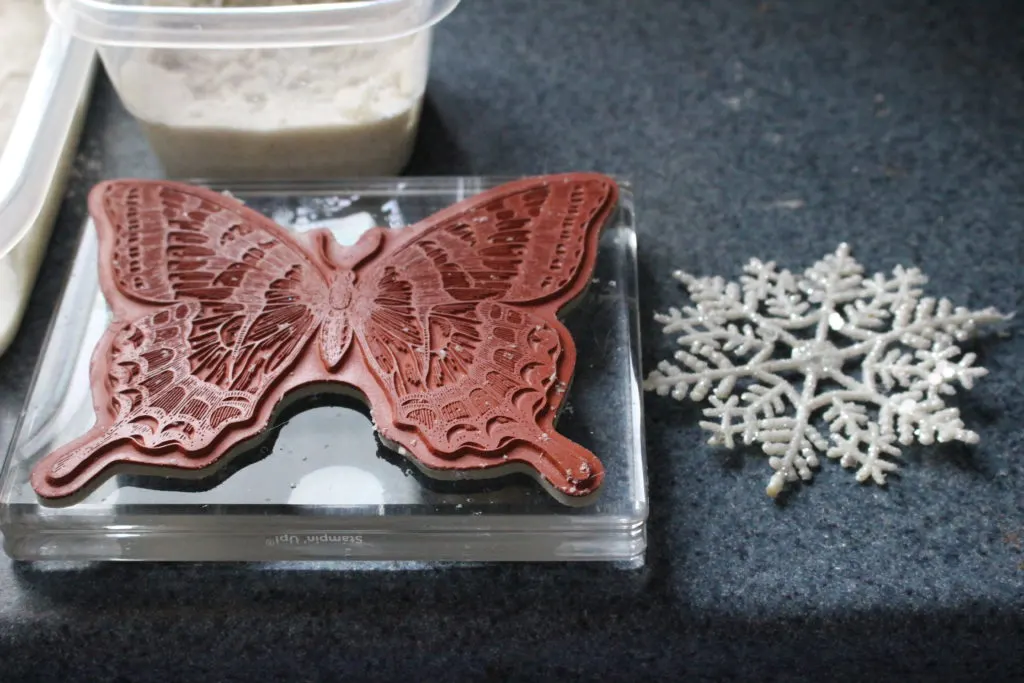
As I was a rubber stamp demonstrator for a few years, I have a lot of rubber stamps. Luckily I have this large butterfly that was a perfect size to use with InstaMold.
You don’t have to use rubber stamps though. You can really use whatever item you want to mold and cast. I also made a bunch of snowflakes using a Dollar Store Snowflake for the mold.
The directions that come with the product are great, but I did watch a few videos as I am a visual person. Here is a link to the ACTÍVA Pinterest Board with video tutorials if you want to check it out ACTIVA Products Pinterest Video Tutorials
I followed the measurements on the package of 1 part water to 1 part InstaMold using a container from the Dollar Store, then placed the rubber stamp in the mold.
Once I waited the appropriate amount of time I removed the rubber stamp and the great thing is there is no damage to the item you are using as a mold. I simply rinsed it off and it was good as new.
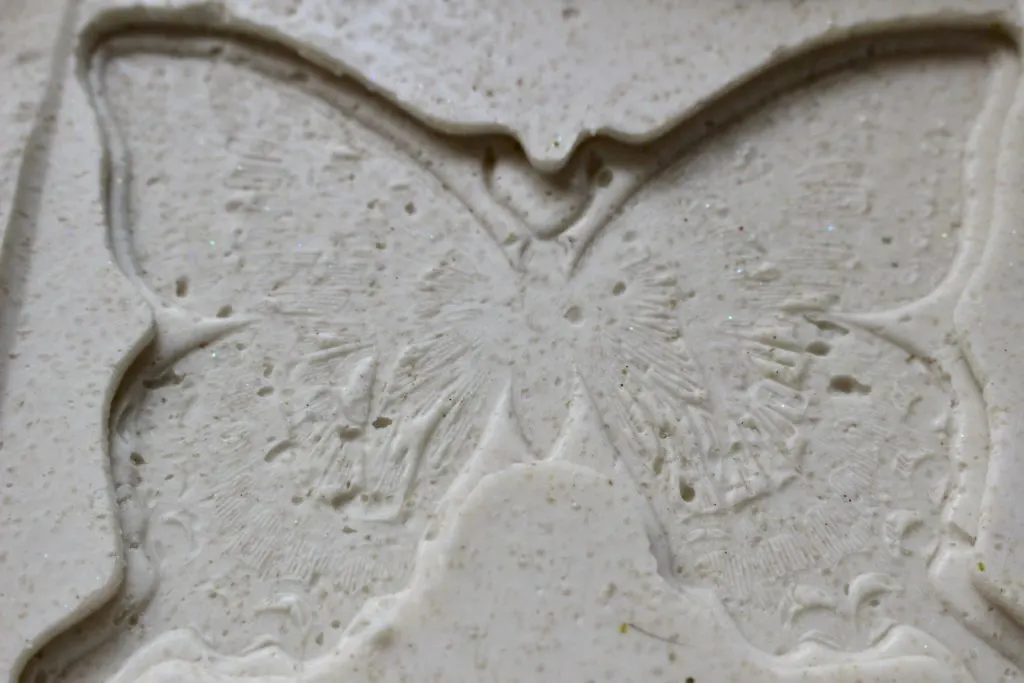
Then I stepped back and admired the amazing results! This is what the mold looks like when ready:
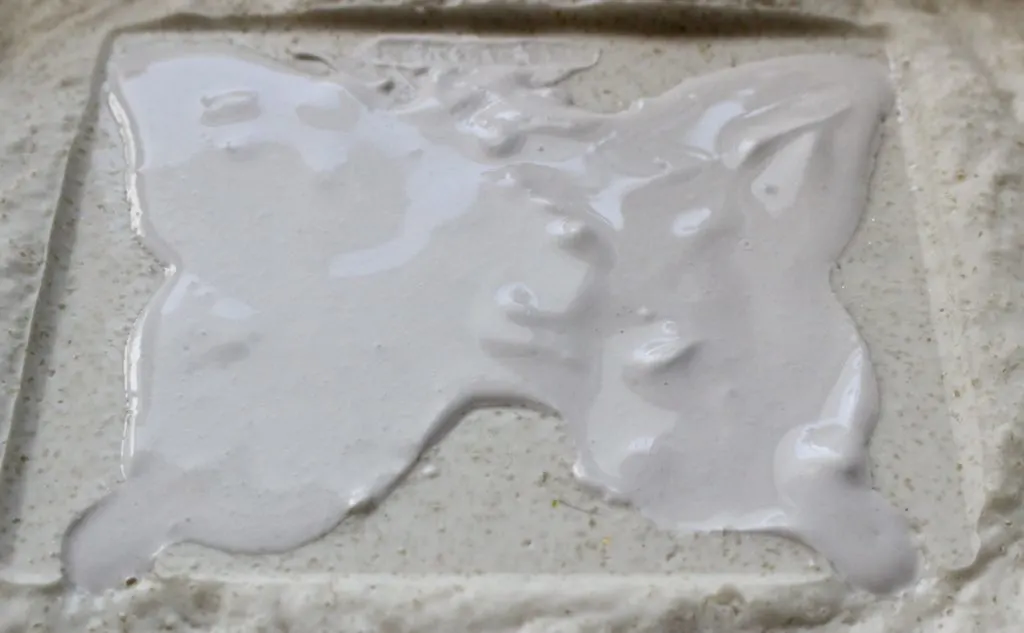
Now you work with the Permastone for casting. Use 3 parts Permastone to 1 part water. Again, I used a large mixing bowl from the Dollar Store. Pour the mixture into your new mold and wait about 20 minutes.
The mixture is like the thickness of cake batter:
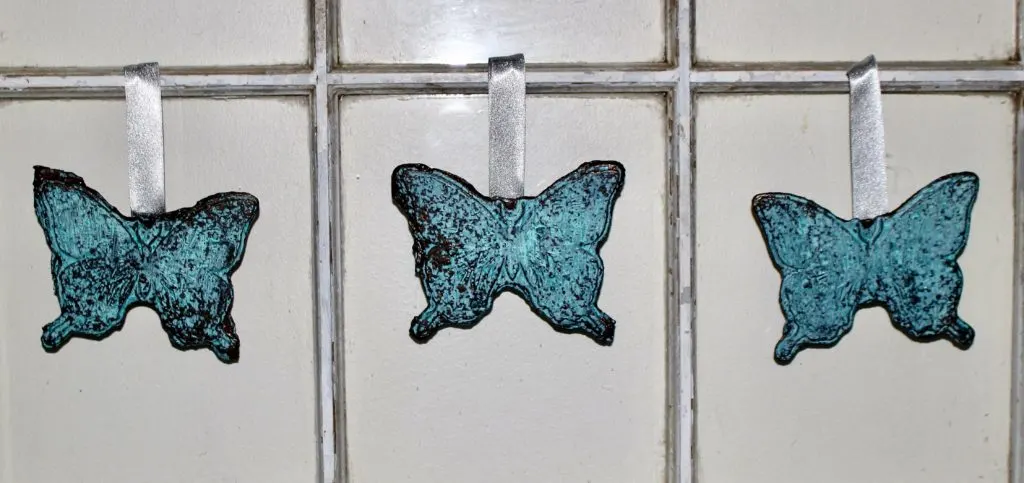
Then you simply lift the object out and you have a beautiful replica of your mold! Look at the detail on this butterfly. I made three butterflies to hang on an old window along with a banner that says DREAM above it.
I will share pictures when I have it up in her room when I move her back in Sunday. Isn’t it great how you don’t have to bake or glaze it? This entire process took about 45 minutes before painting.
I really want to use this for my great niece’s handprint. That is my next project!
[Tweet “Make A Beautiful Butterfly with InstaMold and Permastone – ACTÍVA Our Crafty Mom @Activaproducts”]
As I wanted a faux metal effect, I used my leftover paint from Modern Masters to create this aged faux patina. You can use any kind of paint to finish off your piece.
These were hung with a satin ribbon attached with E-6000. Don’t they look so cool hanging in the window? Although I did promise them to my daughter so I guess I need to make more for me!
This is something I will definitely be experimenting with. I’m thinking some cool planters for outside for the Spring. What could you see yourself creating? I’d love to hear your ideas.
Feel free to leave your ideas in the comments below.
Thanks for visiting Our Crafty Mom. Have a great day!

Carmen
Monday 28th of January 2019
Wow, so beautiful. Is it also glow in the dark?
ourcraftymom
Tuesday 29th of January 2019
No, it is not glow in the dark-but now I wish it was, lol :)
Maurine Spinato
Tuesday 16th of May 2017
Can you use the finished product as a stepping stone foe garden decorations?
ourcraftymom
Tuesday 16th of May 2017
Hi Maurine-
Yes! The only thing I would do is add a couple of coats of some type of waterproof sealer to protect it from the elements.
Lorelai @ Life With Lorelai
Thursday 2nd of February 2017
What a cool project! I have a bunch of rubber stamps, this would be fun to do. Thanks for the inspiration. Your butterflies are gorgeous. :)
~Lorelai Life With Lorelai
ourcraftymom
Thursday 2nd of February 2017
Thanks Lorelai! I love using rubber stamps in different ways!
Vanessa
Sunday 22nd of January 2017
What a great and fun idea. It looks so pretty. Thank you for sharing at Dishing it and Digging it link party.
Debrashoppeno5
Friday 13th of January 2017
This is so pretty.