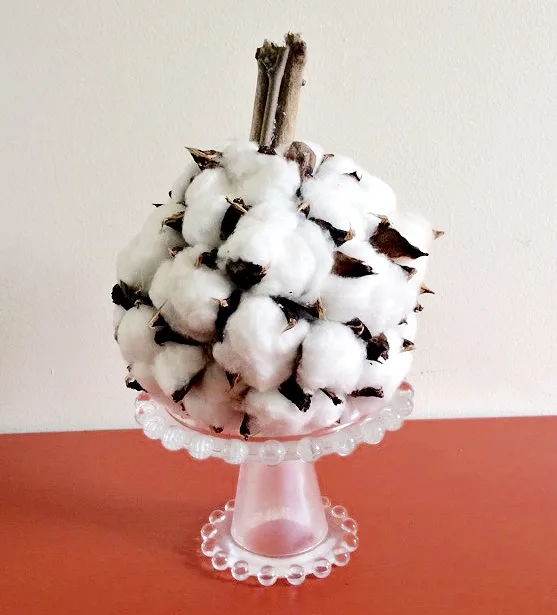
Make an adorable DIY cotton boll pumpkin with just 3 inexpensive supplies.
This post contains affiliate links. This means if you click the link and buy something, I may receive a percentage of sales at no extra cost to you. Thanks for supporting Our Crafty Mom
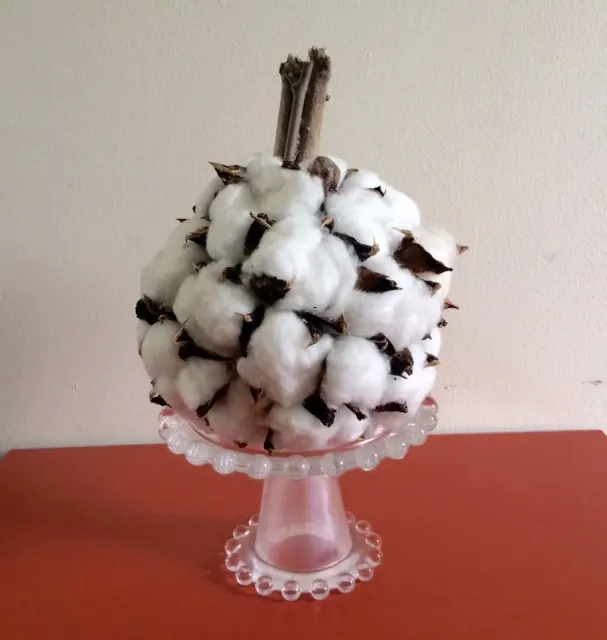
You guys! I am so incredibly excited to show you my new cotton boll pumpkin!
How cute is that? I’ll tell you how this started.
I love Decor Steals and get daily emails with the items for sale that day.
If you have not checked it out, you really should.
The prices are great and the quality is awesome! So, I was browsing Facebook and they were running a giveaway for these amazingly awesome cotton boll pods.
Now, I love all things cotton boll.
I love them so much I was incorrectly calling them cotton ball-as you will see in my lovely DIY Cotton Ball Wreath-for the last two years.
But, I now know the correct way to spell them! I wanted the pods so desperately, but am on a little bit of a spending freeze with the holidays rapidly approaching.
What’s a crafter to do when she wants something so bad but can’t buy it?
Why make it of course!
Here is what you need so you can make your own cotton boll pumpkin:
Supplies Needed to Make a Cotton Boll Pumpkin
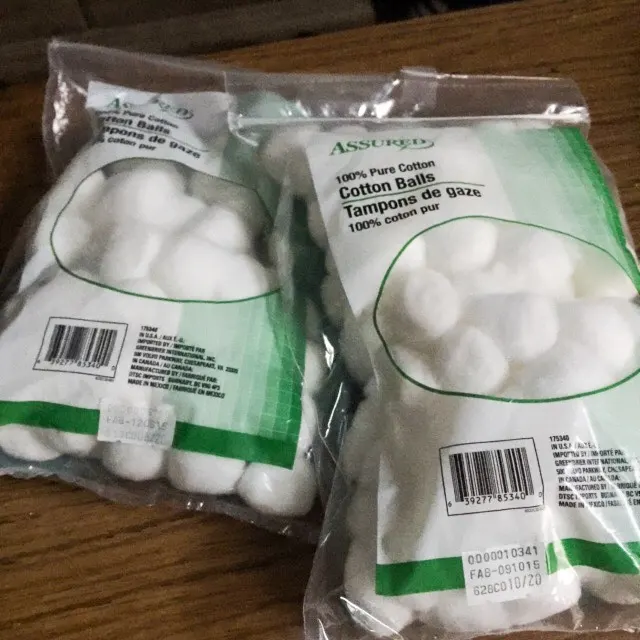
- Dollar Tree – 2 bags of cotton balls
- Bag of styrofoam balls
- Hot Glue Gun
- Pinecones
- Scrap Fabric
I like to wrap the styrofoam in white or off-white fabric.
It not only makes the balls a little larger, but it’s also much more secure using the hot glue on fabric than styrofoam.
How To Make A Cotton Pumpkin
Cut strips of fabric and just use hot glue on both ends to adhere it to the ball.
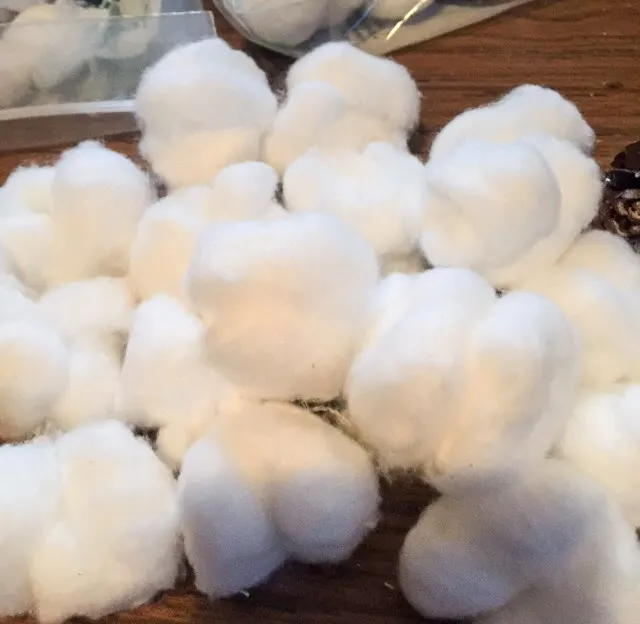
Pull apart the cotton balls so it breaks apart somewhat and actually loosen the fiber.
Now, for the messy part! I usually work with paper on the table for easy cleanup.
Break apart the pinecones so there are some larger pieces.
I had a cotton boll from a stem that I bought at the craft store that I used as a sample.
However, you can use a picture of a cotton boll. There really is no rhyme or reason to this.
Basically, just hot glue 4 pinecone pieces to each cotton boll.
I make the individual bolls first and then glue each one on the styrofoam boll.
Make them nice and full.
Here is a picture of the cotton boll from the craft store on the right and the one I made on the left:
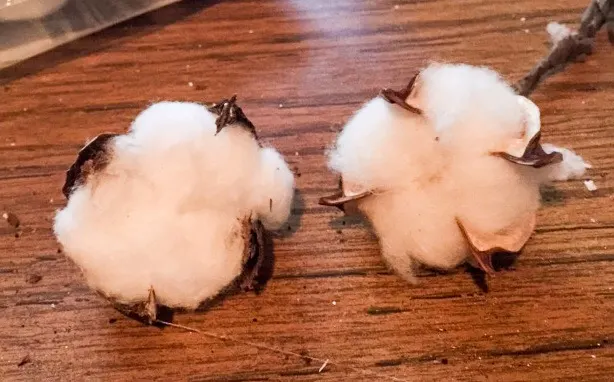
Not too bad right? I used about 40 cotton balls for this pumpkin but it is large.
Place it in a special place so you can sit back and enjoy your beautiful cotton boll pumpkin!
Thank you for visiting Our Crafty Mom! Happy crafting!

A French Country Christmas in July
Thursday 20th of June 2019
[…] Cotton Kissing Balls https://ourcraftymom.com/make-cotton-boll-pumpkin/ […]
Donna
Monday 26th of September 2016
I never thought that I would say that I loved cotton boll anything, BUT things really do change. I actually used to pick cotton, AND it certainly was NOT fun!!!!!!!!!!!!!!!!!!!!!!!!! And that is an under statement, BUT these are adorable and I am going to start adding (even though I can't even believe I am saying this) these little bolls to my deco because I was country when country wasn't cool!
Jenny @ Refresh Living
Monday 26th of September 2016
This pumpkin is seriously adorable. Great idea on how to make the cotton bolls for it; it looks so real! Pinning!
Cecilia MyThriftStoreAddiction
Monday 26th of September 2016
So cute, Michelle! Thank you for sharing @Vintage Charm--pinned!
30+ Pumpkin Recipes and Crafts - Making The World Cuter
Sunday 25th of September 2016
[…] Stamped Shirt Chocolate Pumpkin Cheesecake Knit Pumpkin Pool Noodles Pumpkins Pumpkin Roll Recipe Cotton Ball Pumpkin Pumpkin S’mores Bars Button Pumpkin Chocolate Swirl Pumpkin Bread Pumpkin Cinnamon Rolls […]