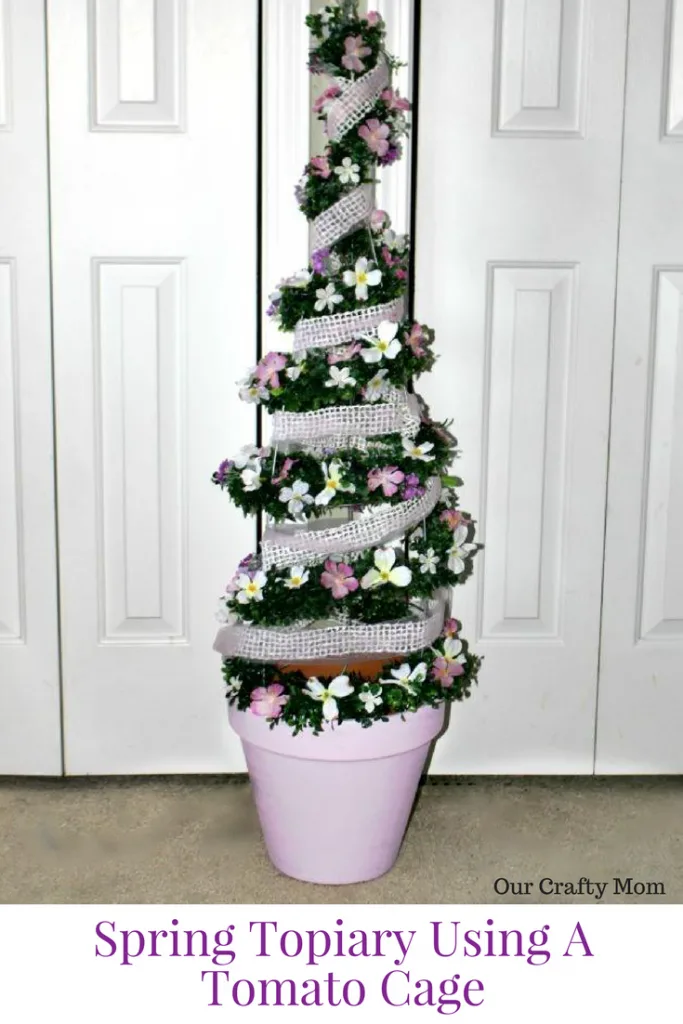
Repurpose an old tomato cage into a pretty Spring topiary.
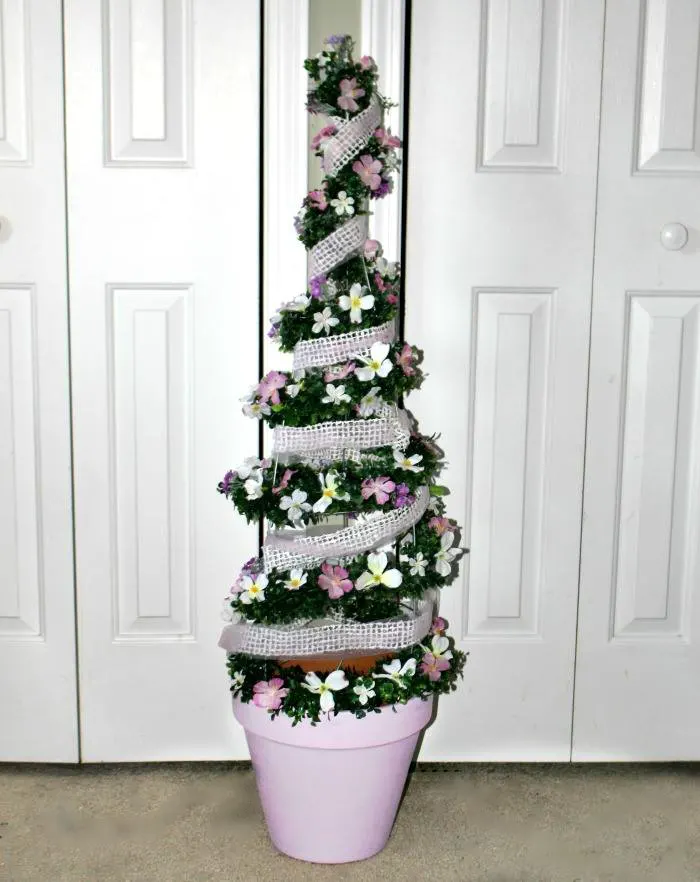
Welcome to our monthly creative blog hop! For this month’s challenge we are all sharing Spring Projects.
I will show you How To Make A Spring Topiary Tree With A Tomato Cage.
A big thank you to Sam from Raggedy Bits and Janine from Happy Happy Nester for hosting this blog hop!
This post contains affiliate links at no extra cost to you. Please see my full disclosure here.
How To Make A Spring Topiary Tree With A Tomato Cage
Supplies
- Tomato Cage
- Tulle and Ribbon
- Spring Flowers
- Faux Boxwood Garland 9 Feet
- Clay Pot
- DecoArt Light Orchid Americana Craft Paint
- Surebonder Cordless Glue Gun
Whenever I stop by to visit my Dad, I always find something in his back yard that I can upcycle.
He loves to go to yard sales and has the best luck with curbside finds! He had several old tomato cages and I asked if I could bring one home.
I’ve seen several Christmas Tree Topiary ideas on Pinterest using a tomato cage.
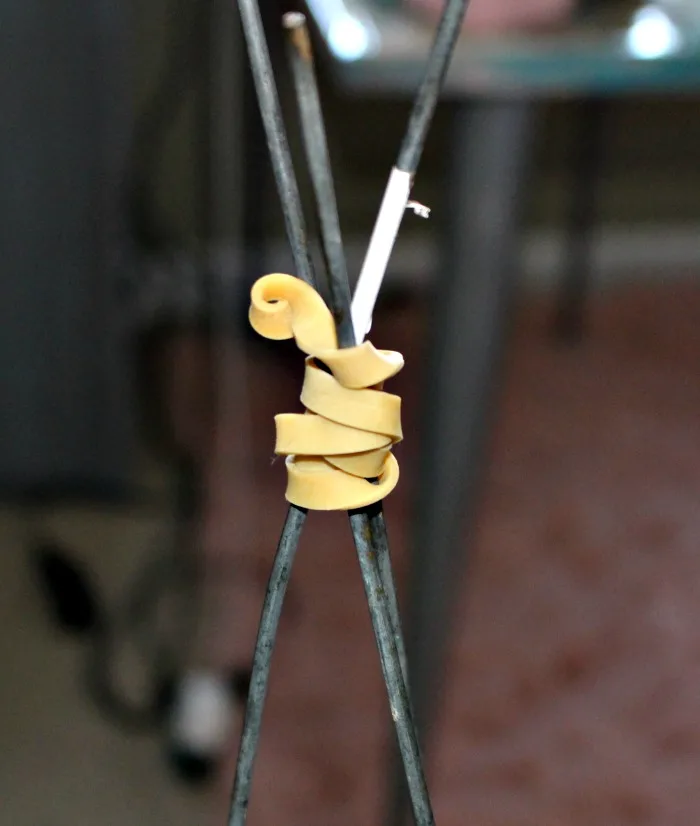
I thought it would fun to make a Spring Topiary Tree. First use a rubber band to secure the top.
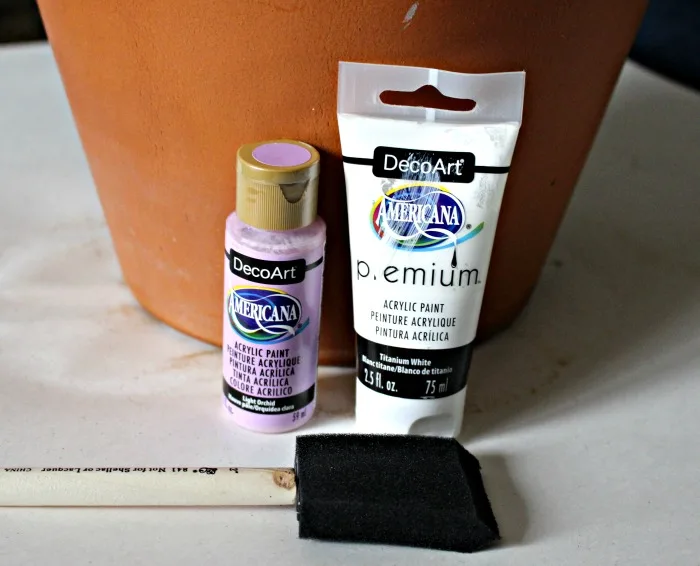
Next, find a ceramic pot that fits the base of the tomato cage. Thankfully, I had one on my back deck that was the perfect size.
I gave it two coats of acrylic paint in a pretty lavender color. This will remain indoors so I didn’t seal it.
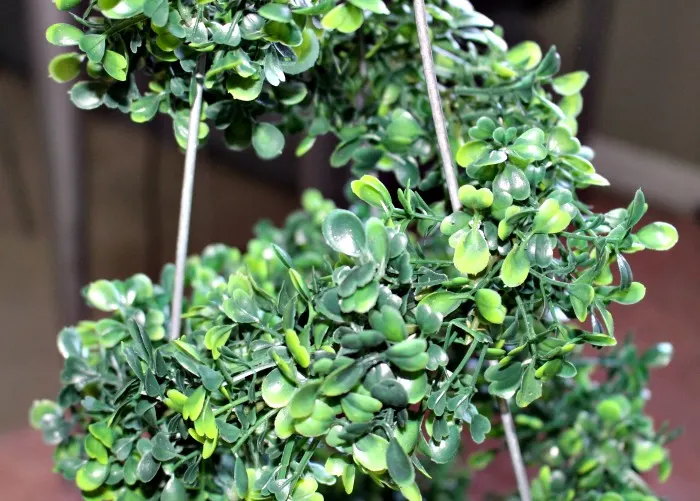
Start by wrapping the boxwood garland around the tomato cage. I didn’t want it to be completely covered and wanted some of the metal to show.
The 9 ft size was the perfect length and I just tucked the top of the garland under the rubber band and then added a dab of hot glue to the bottom.
Next, add the layered ribbon and tulle in the space below the garland around the entire tomato cage.
Again, I just added a dab of glue at the top and bottom.

Now is where you really need the glue gun. I mentioned this cordless glue gun in prior posts, but it is worth mentioning again.
I received this for Christmas and it is AMAZING! As a crafter a glue gun is probably my most used tool and having a cordless one saves so much time.
You can use whatever type flowers that you like. These pretty pink and white flowers were in my stash, so I just used those.
Actually, everything was in my stash with the exception of the tomato cage. So this entire project didn’t cost anything.
Love when that happens! Just hot glue the flowers evenly around the entire topiary tree.

The next time you see a tomato cage ready for the trash, give it a second thought!
They can be used for all occasions and you could even add Easter eggs to them if you wanted for Spring.
Wouldn’t a fall one look so pretty? Since I am keeping this in my craft room and tend to blog at night, I added pretty white lights. It looks so pretty all lit up at night!
[Tweet “How To Make A Spring Topiary Tree With A Tomato Cage Our Crafty Mom #springtopiary #springdecor #upcycled #repurposed”]

I hope you enjoyed this Spring Topiary Tree. For even more Spring ideas, check out the creative bloggers below who are also sharing Spring ideas!
You can check out my Spring mantel from last year here as well as my Spring Tablescape here.
**PIN FOR LATER**
Welcome to Our Monthly Creative Blog Hop
Deborah | Salvage Sister and Mister
Michelle | Our Crafty Mom
Leanna | Of Faeries and Fauna
Katrin | Kreativ K
Sam | Raggedy Bits
Janine | Happy Happy Nester

Create A Sweet Tea Pot Topiary For Mother’s Day Our Crafty Mom
Tuesday 21st of January 2020
[…] You may also like the large topiary tree I shared here. […]
Vintage Style Paper Dress Banner Craft Tutorial
Wednesday 26th of June 2019
[…] Michelle | Our Crafty Mom […]
My Top 10 Projects of 2018 - Chosen By You! - Our Crafty Mom
Saturday 29th of December 2018
[…] 3. Spring Topiary Using A Tomato Cage […]
How to make a Farmhouse Fresh Flower Market Sign
Tuesday 27th of March 2018
[…] Michelle | Our Crafty Mom […]
Ann
Wednesday 28th of February 2018
Very clever and great instructions!