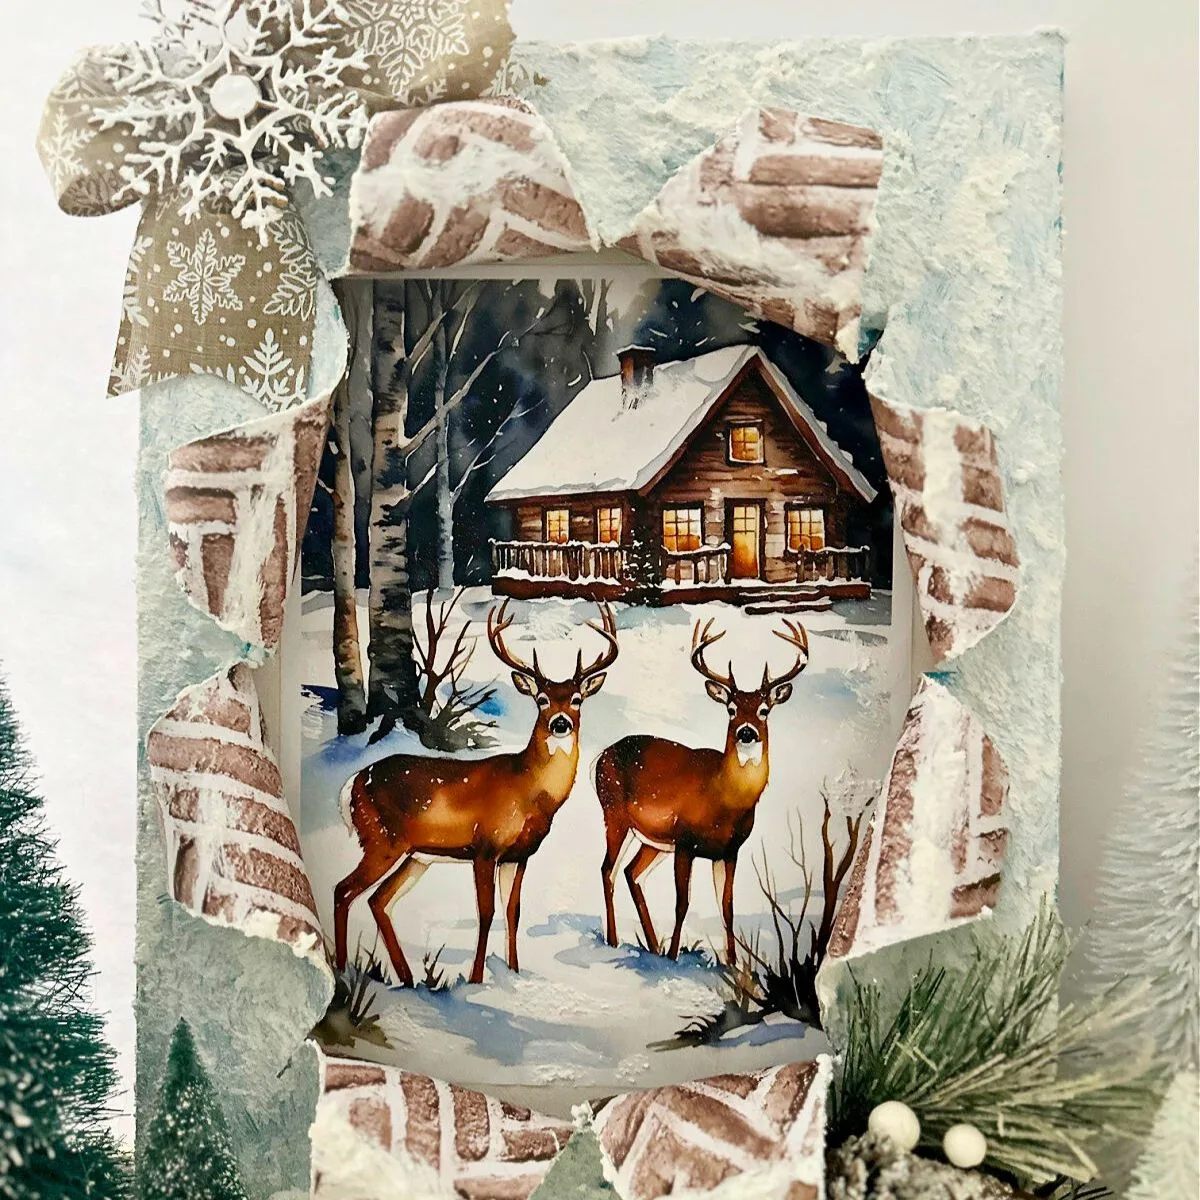
Create your own winter scene wall art with this step-by-step tutorial for a busted canvas craft. You can also download the free printables.
This post contains affiliate links. This means if you click the link and buy something, I may receive a percentage of sales at no extra cost to you. Please see my full disclosure here.
Before we get to the tutorial, I have a little bit of housekeeping to start with and an exciting announcement! Be sure to read to the end for all the details.
Winter Scene Wall Art
Last week I shared a lovely set of free printables depicting a winter scene with animals.
There are 4 adorable designs including a classic winter scene, complete with a log cabin and deer in 2 different designs.
The second set of 2 are the cutest forest animals in a winter scene. You can access these, as well as all of the designs in my free printables library.
While not a requirement, it would be greatly appreciated if you would subscribe to my email newsletter. This allows me to continue to bring you great free content and helps my blog immensely.
Subscribe to my email to join today.
Thank you so much for your support!
Busted Canvas Printable Series (new for 2025)
On social media I often get asked what to use printables for-other than the obvious of framing them.
For the New Year, I decided to combine two of my favorite and most popular projects to start a brand new monthly series.
The all-new Busted Canvas Printable Series will include a free printable image shown in a busted canvas craft project.
It will coordinate with the season or holiday and will be a month ahead so you will have time to create your own canvas. If you are not a fan of the busted canvas craze-no worries.
You can still download the printables and use them in mod podge crafts or simply framed art.
I’m super excited about this and have so many cool ideas planned for this. Did you know I have a Busted Canvas Facebook Group?
There are over 1,000 members of the most supportive community. You can learn more about it and join below:
Busted Canvas Crafts Facebook Group
Now let’s get to this step-by-step tutorial.
Busted Canvas Tutorial
If you are new to the busted canvas viral trend, it takes a bit of time because there are several steps, but it is not difficult at all. The main thing is to have fun with it and ask questions. We are here to help!
You can get just about everything at Dollar Tree, with the exception of decorative paper and snow-tex.
Supplies
- 8×10 Canvas – Dollar Tree – I found a set of 3 11×14 canvas pieces at the thrift store for $3, so I used those, but they do have them at the dollar store.
- 8×10 Canvas Boards – Dollar Tree – for this DIY I used an 11×14.
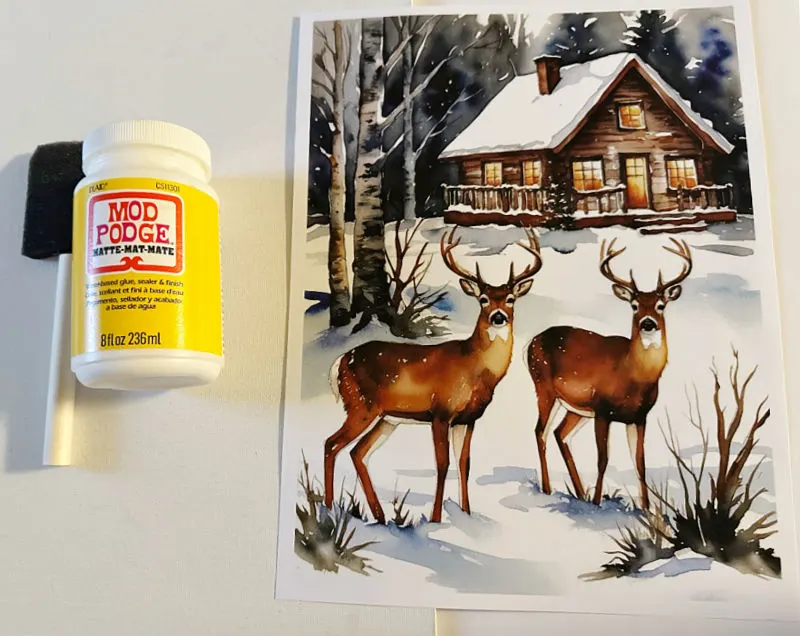
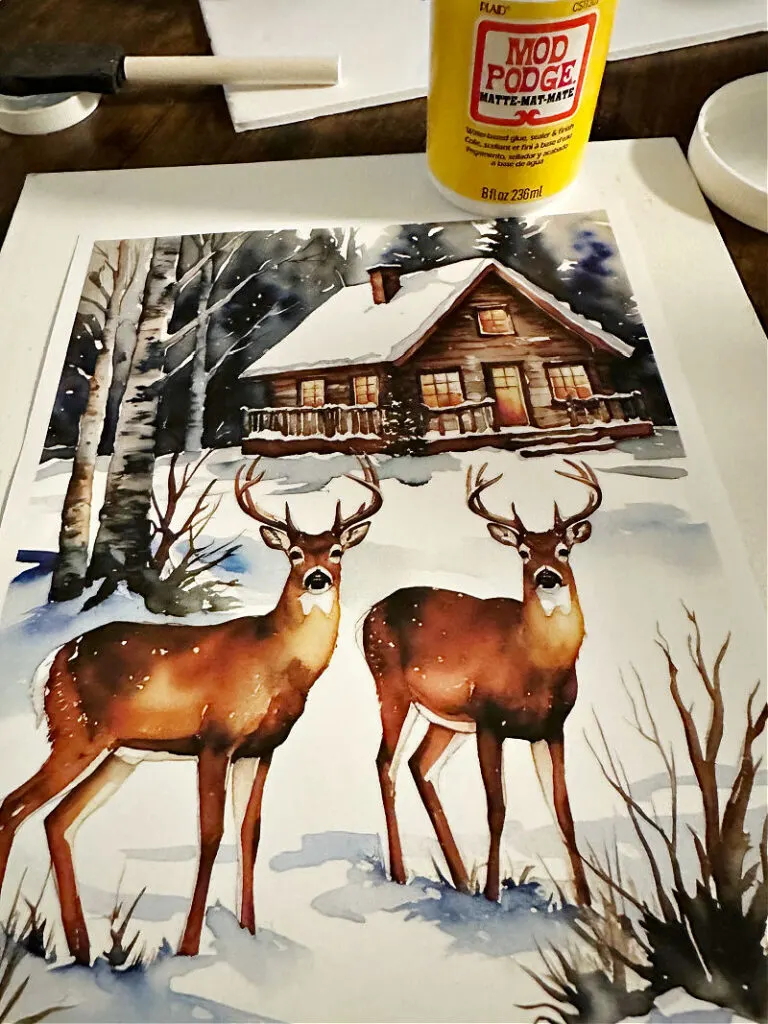
- Printable Winter Scene
- Cardstock or Decorative Paper – for more dimension and texture use at least 2 designs
- Mod Podge – I went with matte
- Craft Knife – I love the Cricut knife kit
- Scissors
- E-6000
- Foam Brush
- Craft Sticks
- Snow-Tex
- Blue Acrylic Paint
- Ribbon
- Hot Glue Gun
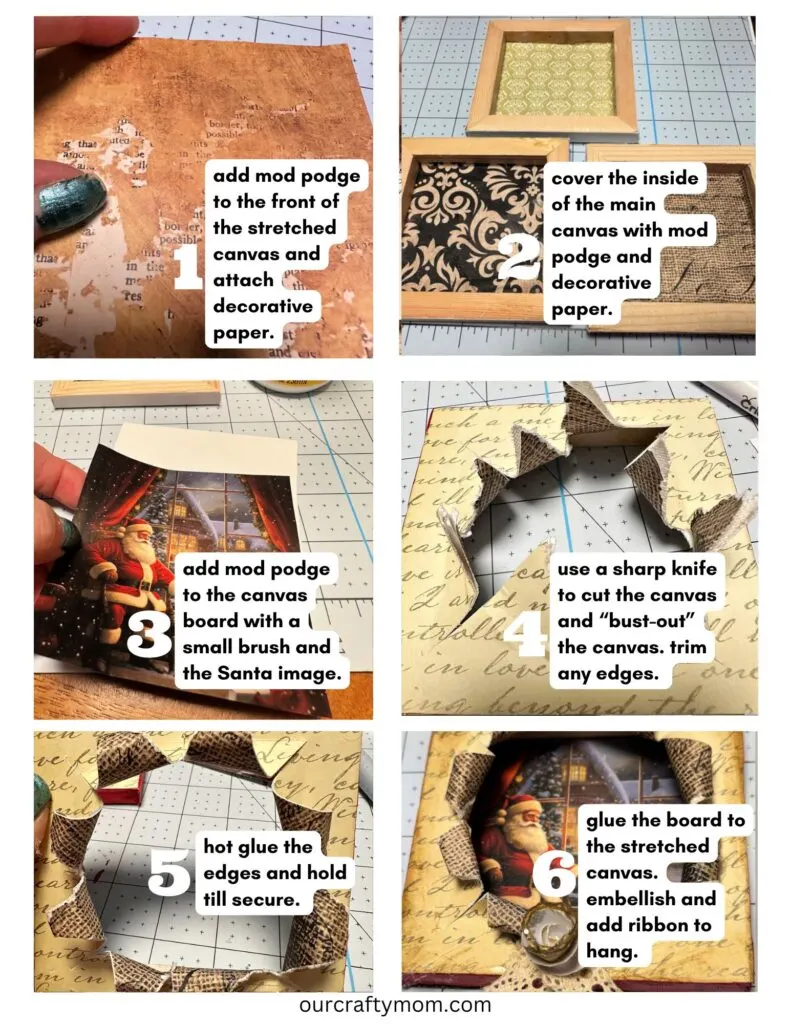
Here are the steps broken down for a quick guide.
- Decorate the main canvas – you will only see the corners and portion of the top and bottom, but you want it to compliment the image.
- Decorate the back of the main canvas – this will be the design that is “busted” so choose a coordinating design to the front.
- Decorate the flat canvas board (or cardboard) – this will be your main image that will show through the busted part. Choose an image to use as a focal point.
- “Bust the canvas”- make sure your scissors or craft knife are very sharp. If you have any torn edges, trim them to keep it neat.
- Glue the ends of the canvas back with a combination of hot glue and E-6000. It helps to roll each strip around a pencil for a tighter roll. But, you can glue it flat, roll it, fold it under, just have fun with it.
- Decorate the finished canvas if you desire.
Step 1. Decorate the main canvas
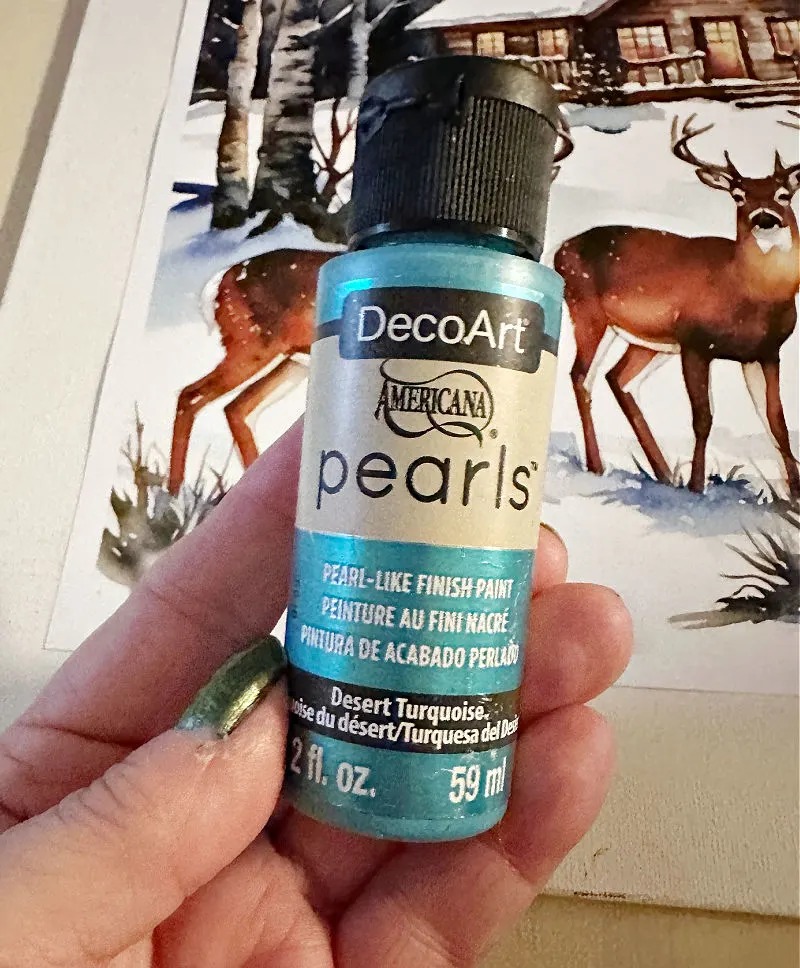
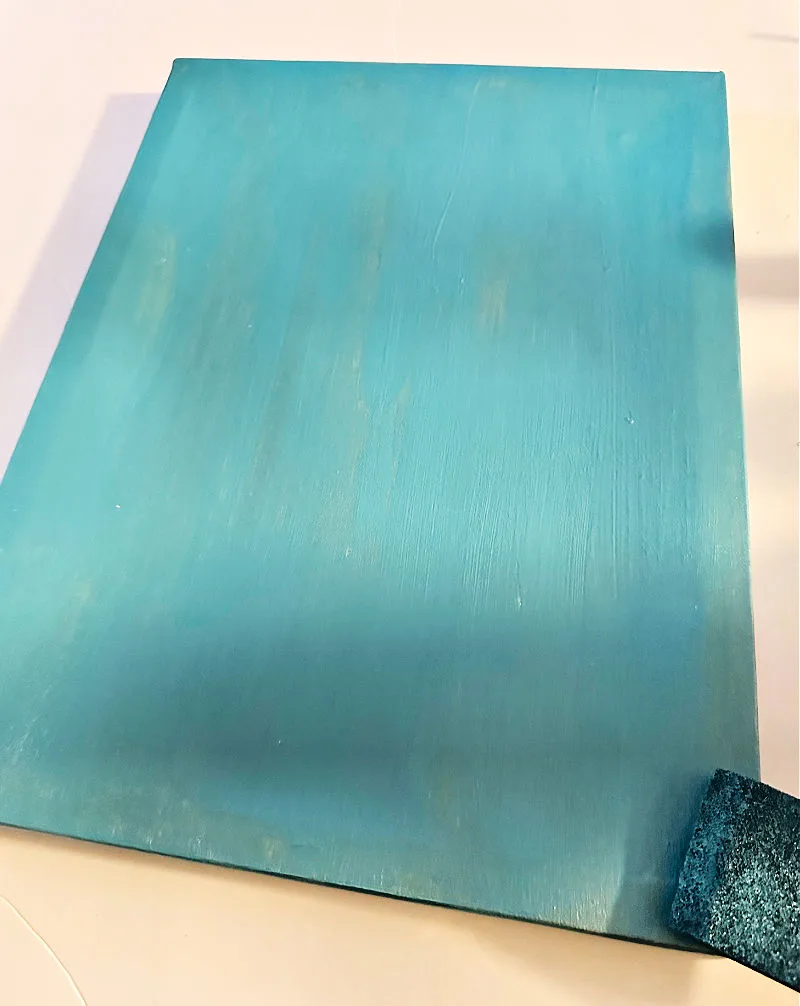
Decide how you want to decorate the main canvas. This will be the top of your busted canvas. For this project I painted the canvas in a pearl blue color with a foam brush.
Step 2. Decorate the back of the main canvas
When decorating the back of the main canvas, keep in mind this will be the accent color that shows on the “busted” part of the canvas.
You want to coordinate it with the front of the canvas as well as the feature image.
I went with a neutral brown/tan design that looks like a wood finish. This went well with the log cabin image.
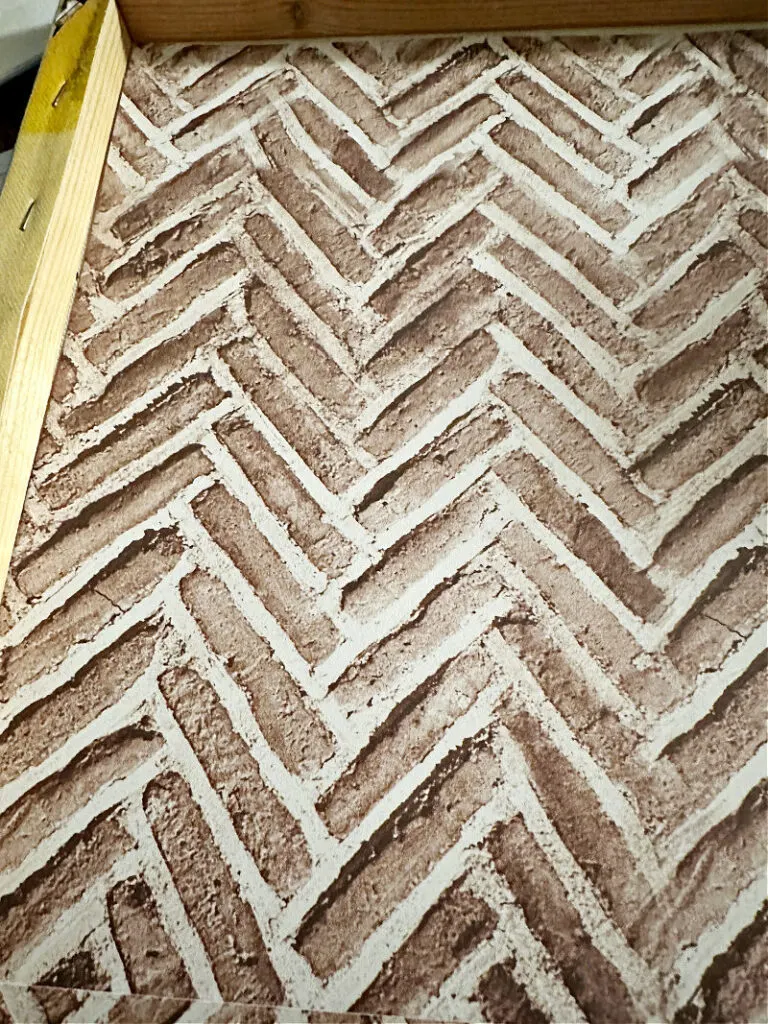
Attach it to the inside of the canvas with mod podge. Trim any excess with a craft knife. Set aside.
Step 3. Decorate the flat canvas board
Decorate the canvas board which will be the base for your broken canvas art.
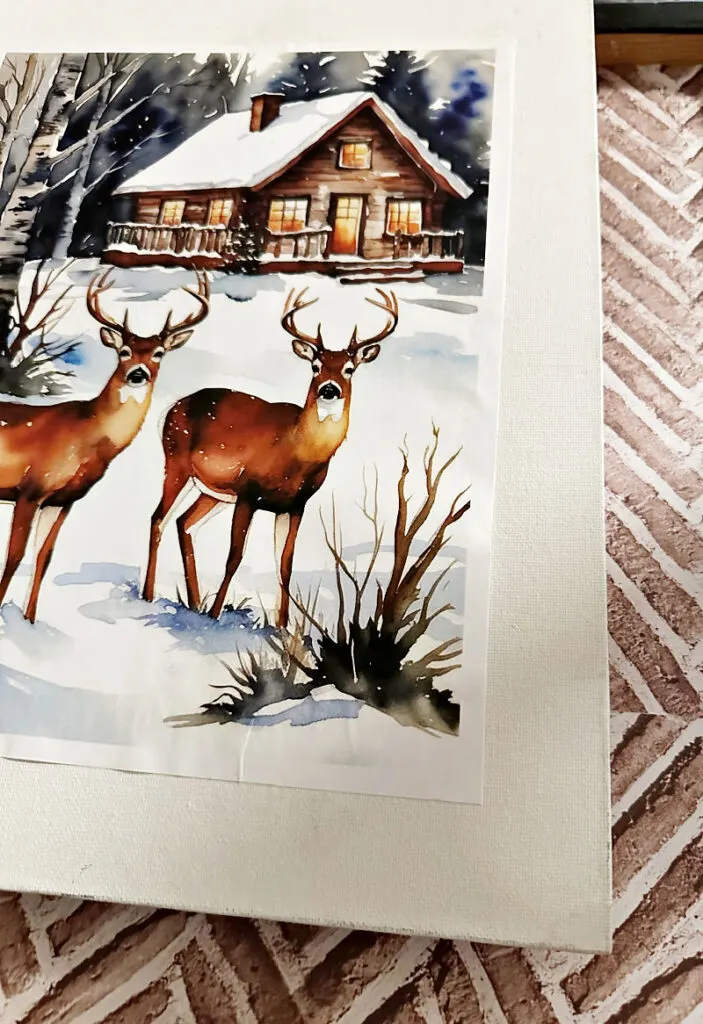
This image will be what shows through the opening so you want it to be your main feature image.
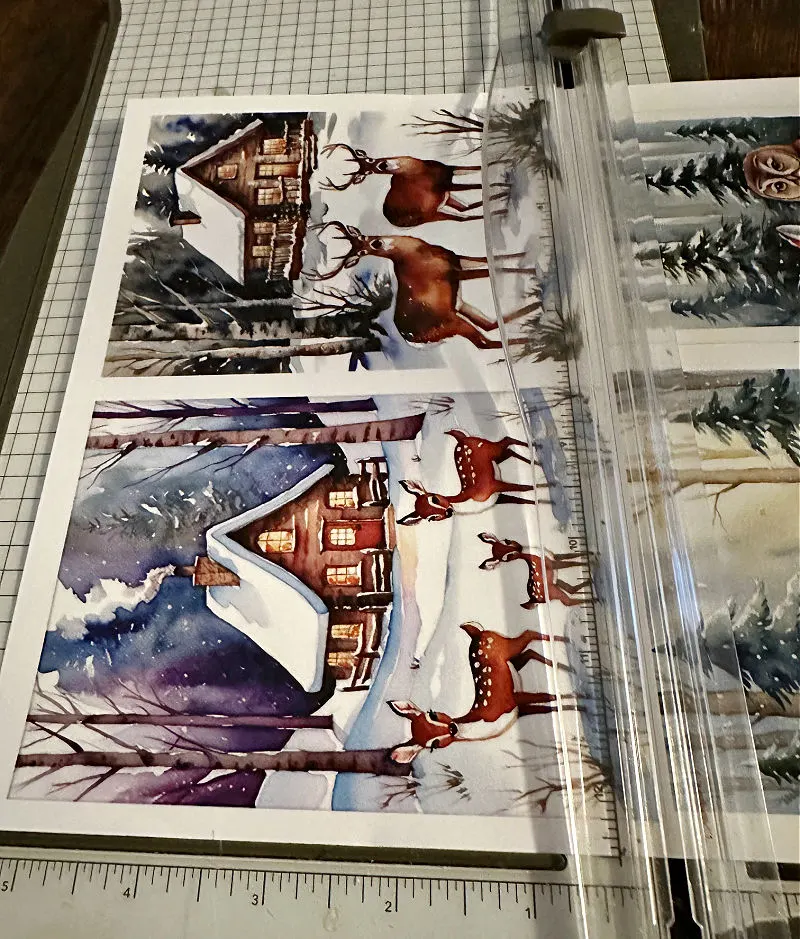

Place the printable image onto the canvas board to get an idea of the placement. Once you are happy with it, secure it with mod podge.
I find it is better to add the mod podge directly to the board then place the printable on top. Smooth it out carefully to remove any wrinkles.
Step 4. Bust the canvas
Get ready for the fun part-busting through the canvas! I’ve made quite a few of these over the past couple of months, so here are some top tips.
- Use a craft knife to find the center of the canvas and poke a hole. Use sharp scissors to start cutting.
- Leave an inch or two around the edges of the canvas to fold back the pieces.
- Make sure the opening is large enough to show your feature image.
- You are cutting a star in the canvas. Cut from the center to the top, the center to the bottom and the center to each side. Then cut in between the sides. You will end up with 8 busted-out pieces.
- Use a combination of hot glue and E-6000 to secure the cut pieces to the canvas. Also, hold the piece down for a minute or two until it sets. Hot glue alone will not stay. Trust me, I know. 🙂
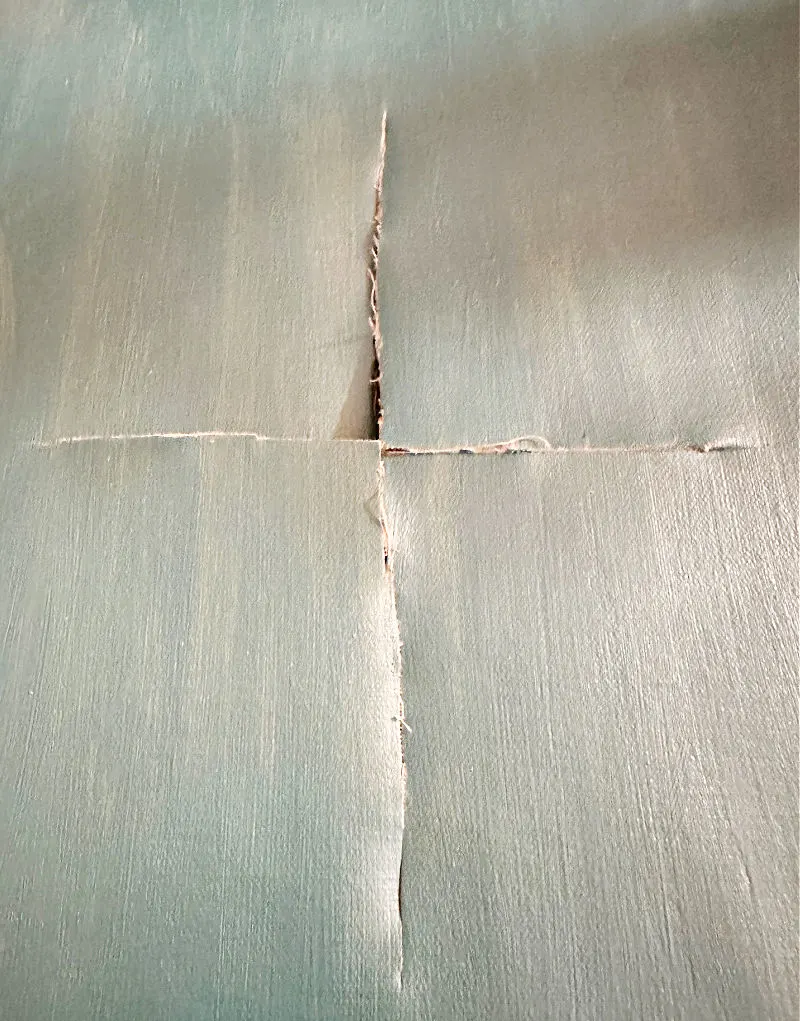
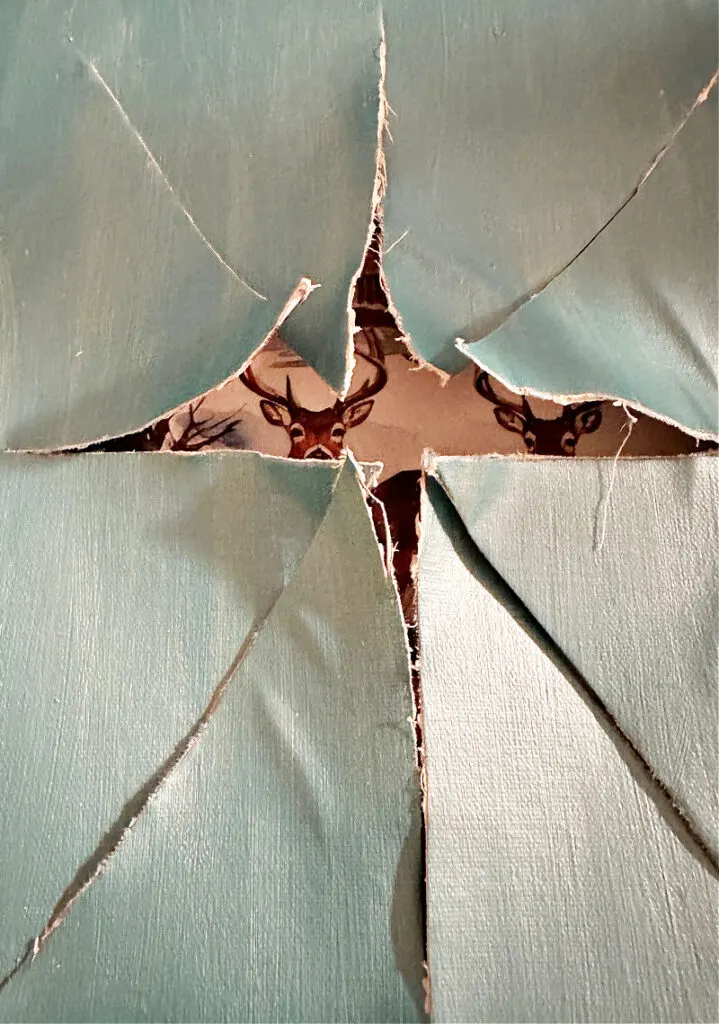
If the pieces don’t stay secure, add more glue and hold it a bit longer.
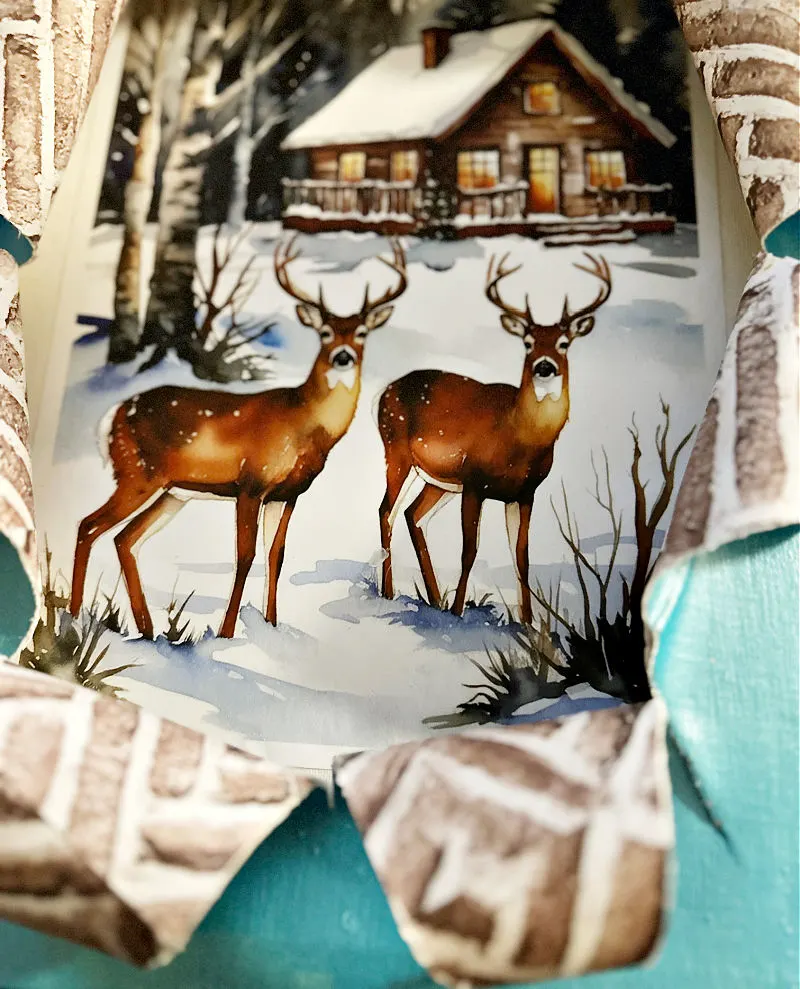
Step 5. Glue the flat board with the image to the main canvas
Again, use a combination of hot glue and E-6000 to secure the board with the printable to the busted canvas. It’s best to let it sit a bit before you decorate it.
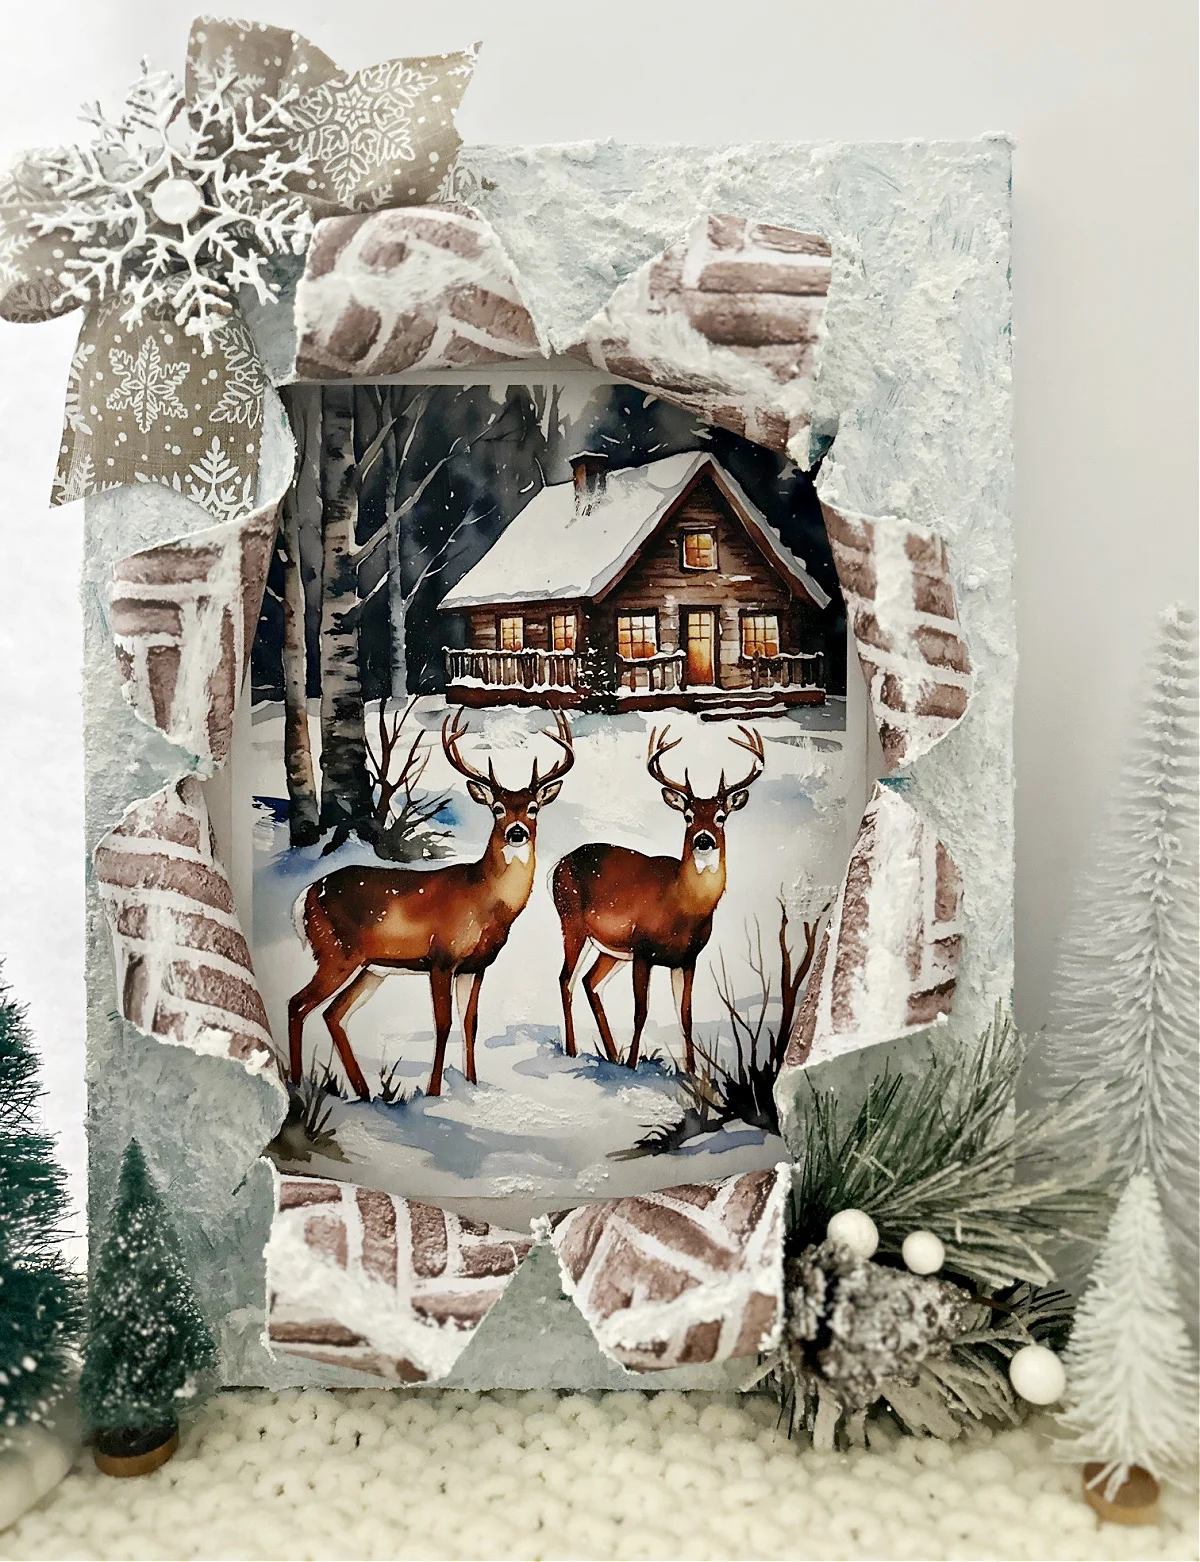
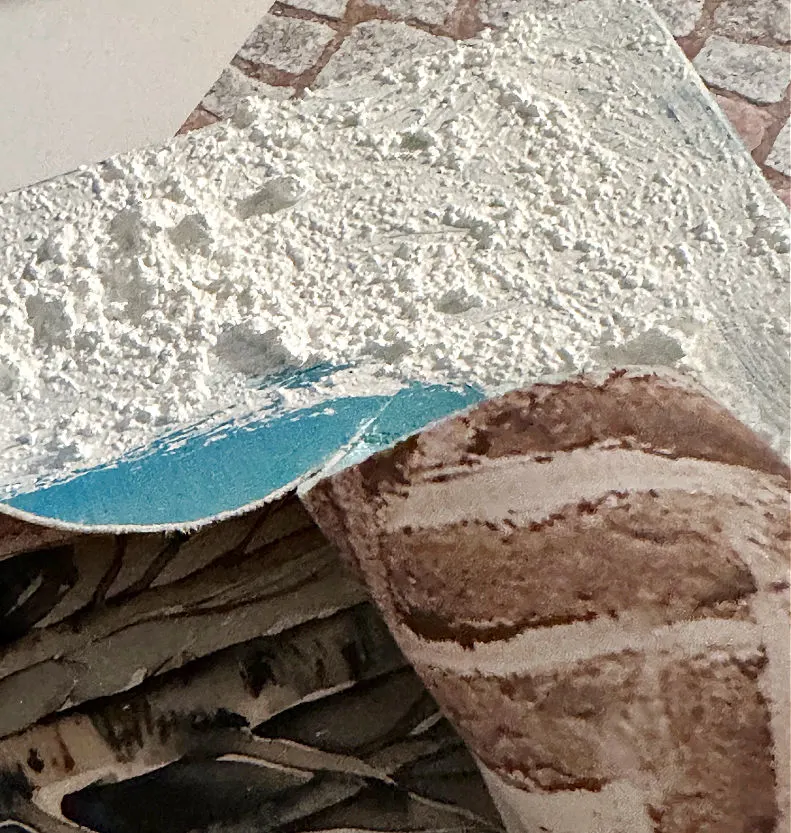
This is where you can get really creative. Since this is a winter scene I used my go-to snow-tex to create a winter wonderland. But, you can use your creativity to decorate it however you like, or leave it as is.
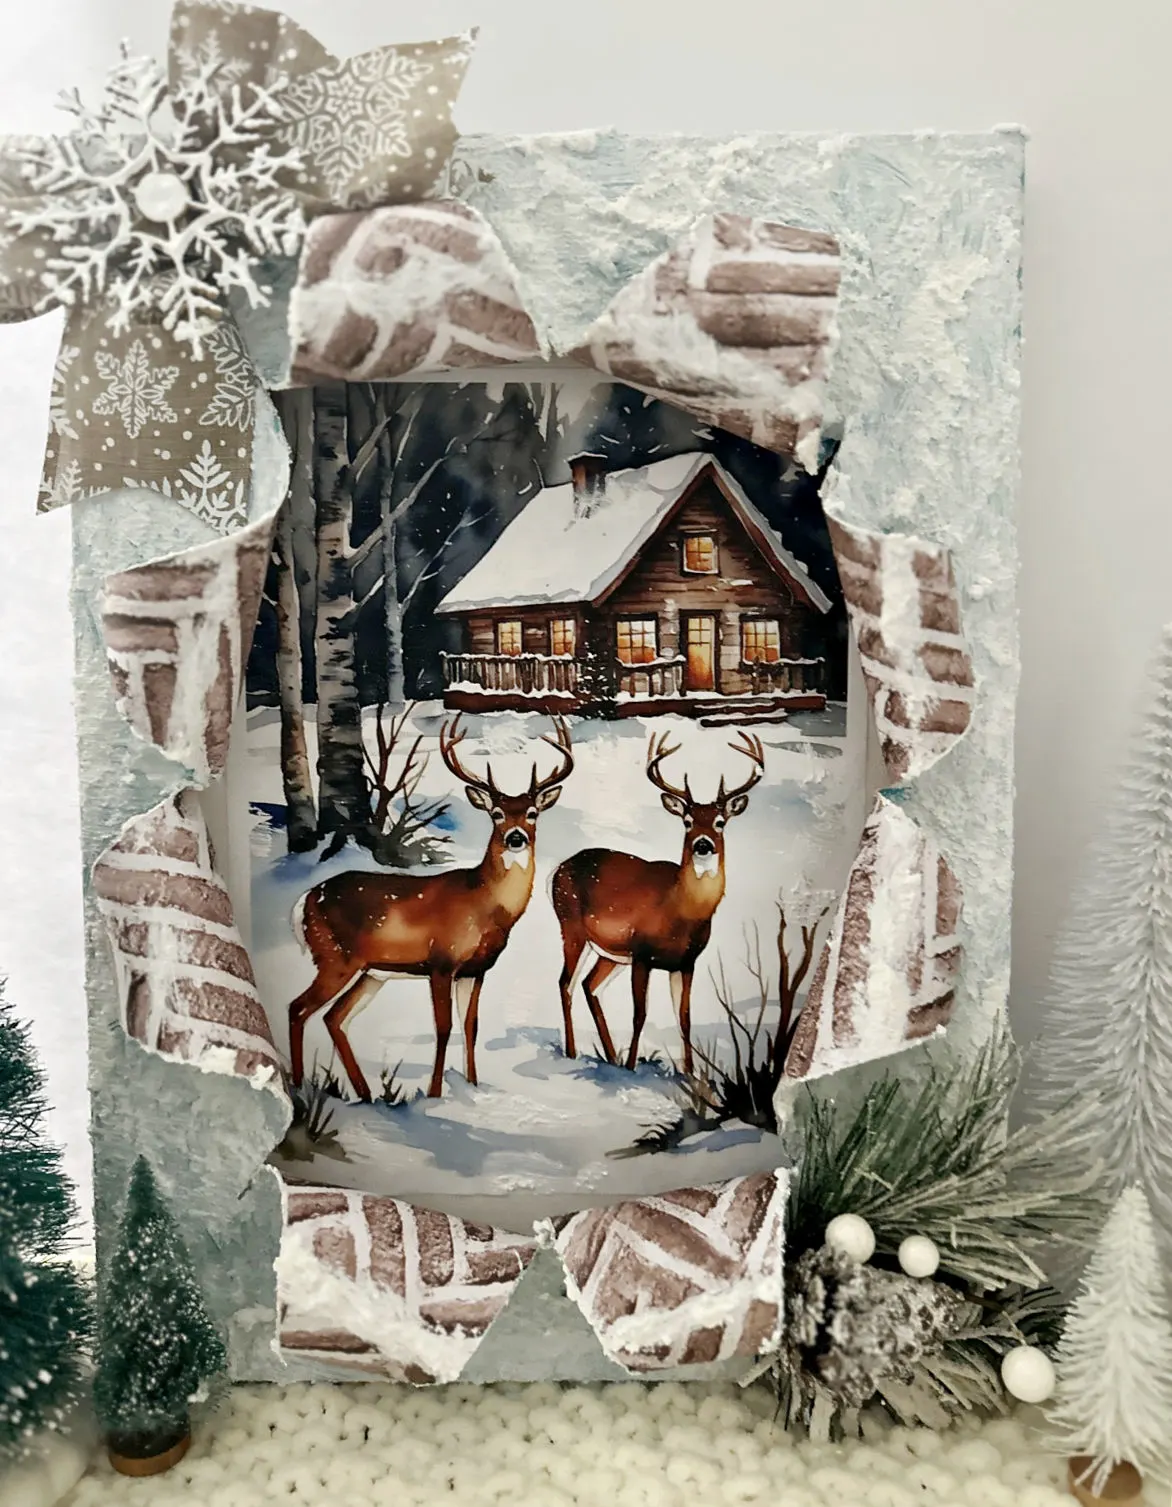
To give more of a 3-D effect, I added a snowflake bow to the top and a bit of snowy greenery to the bottom of the canvas.
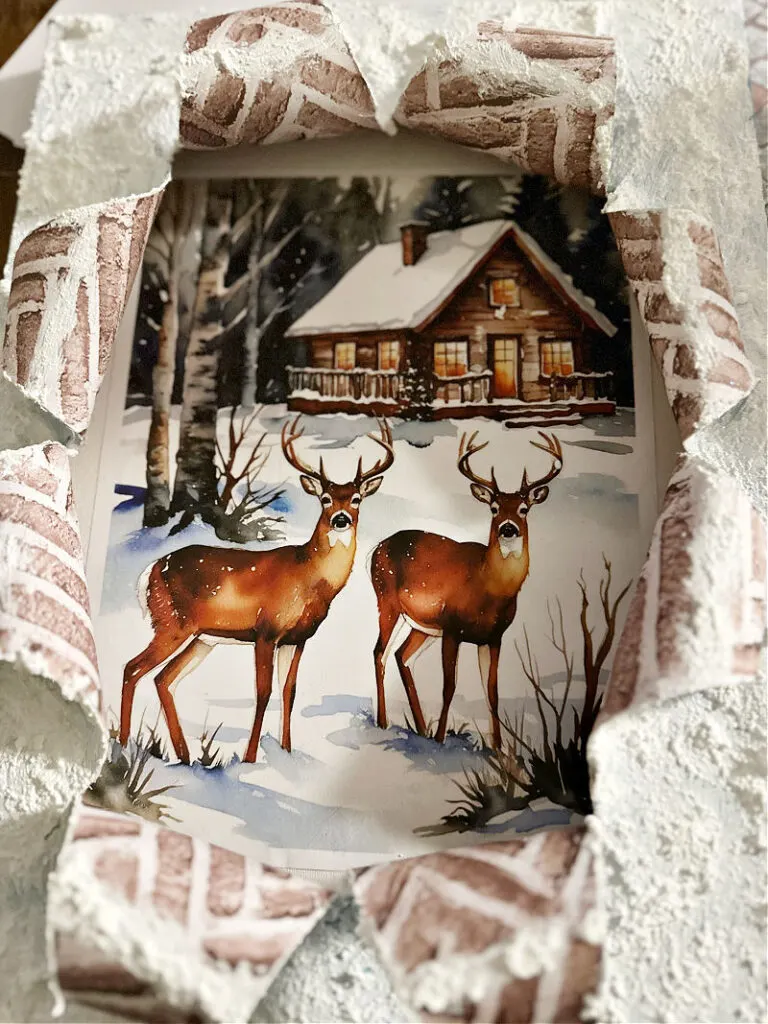
Here are a few beauty shots:
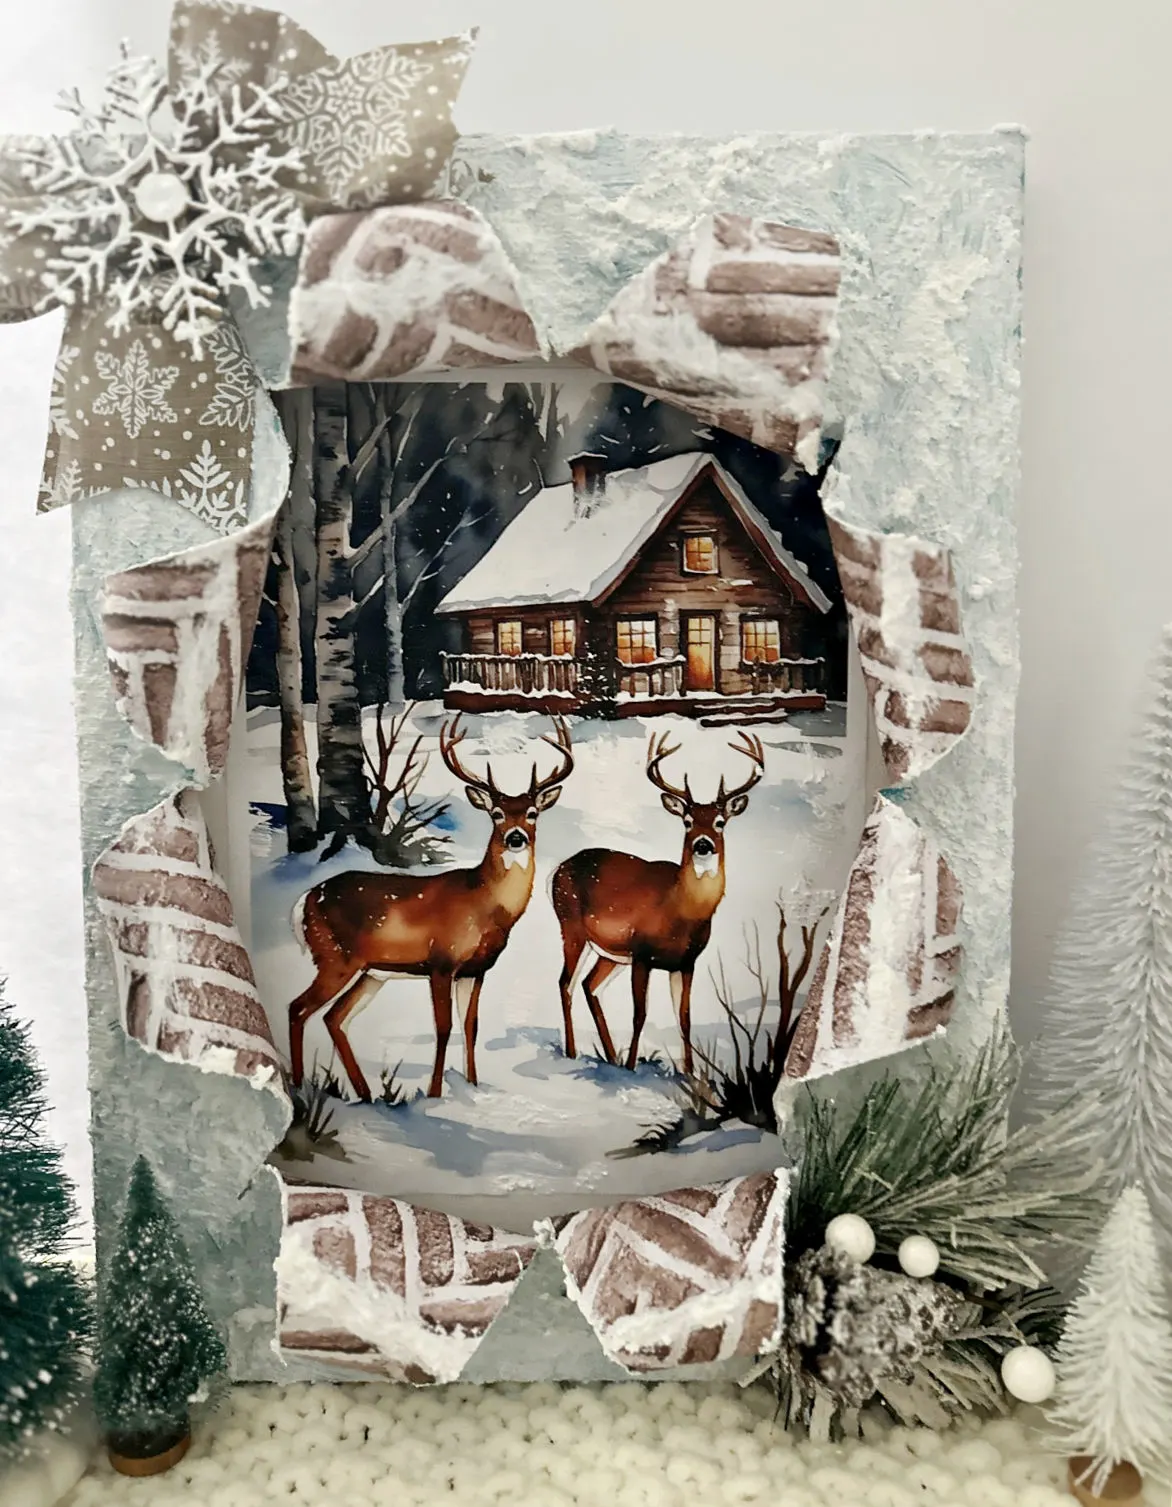
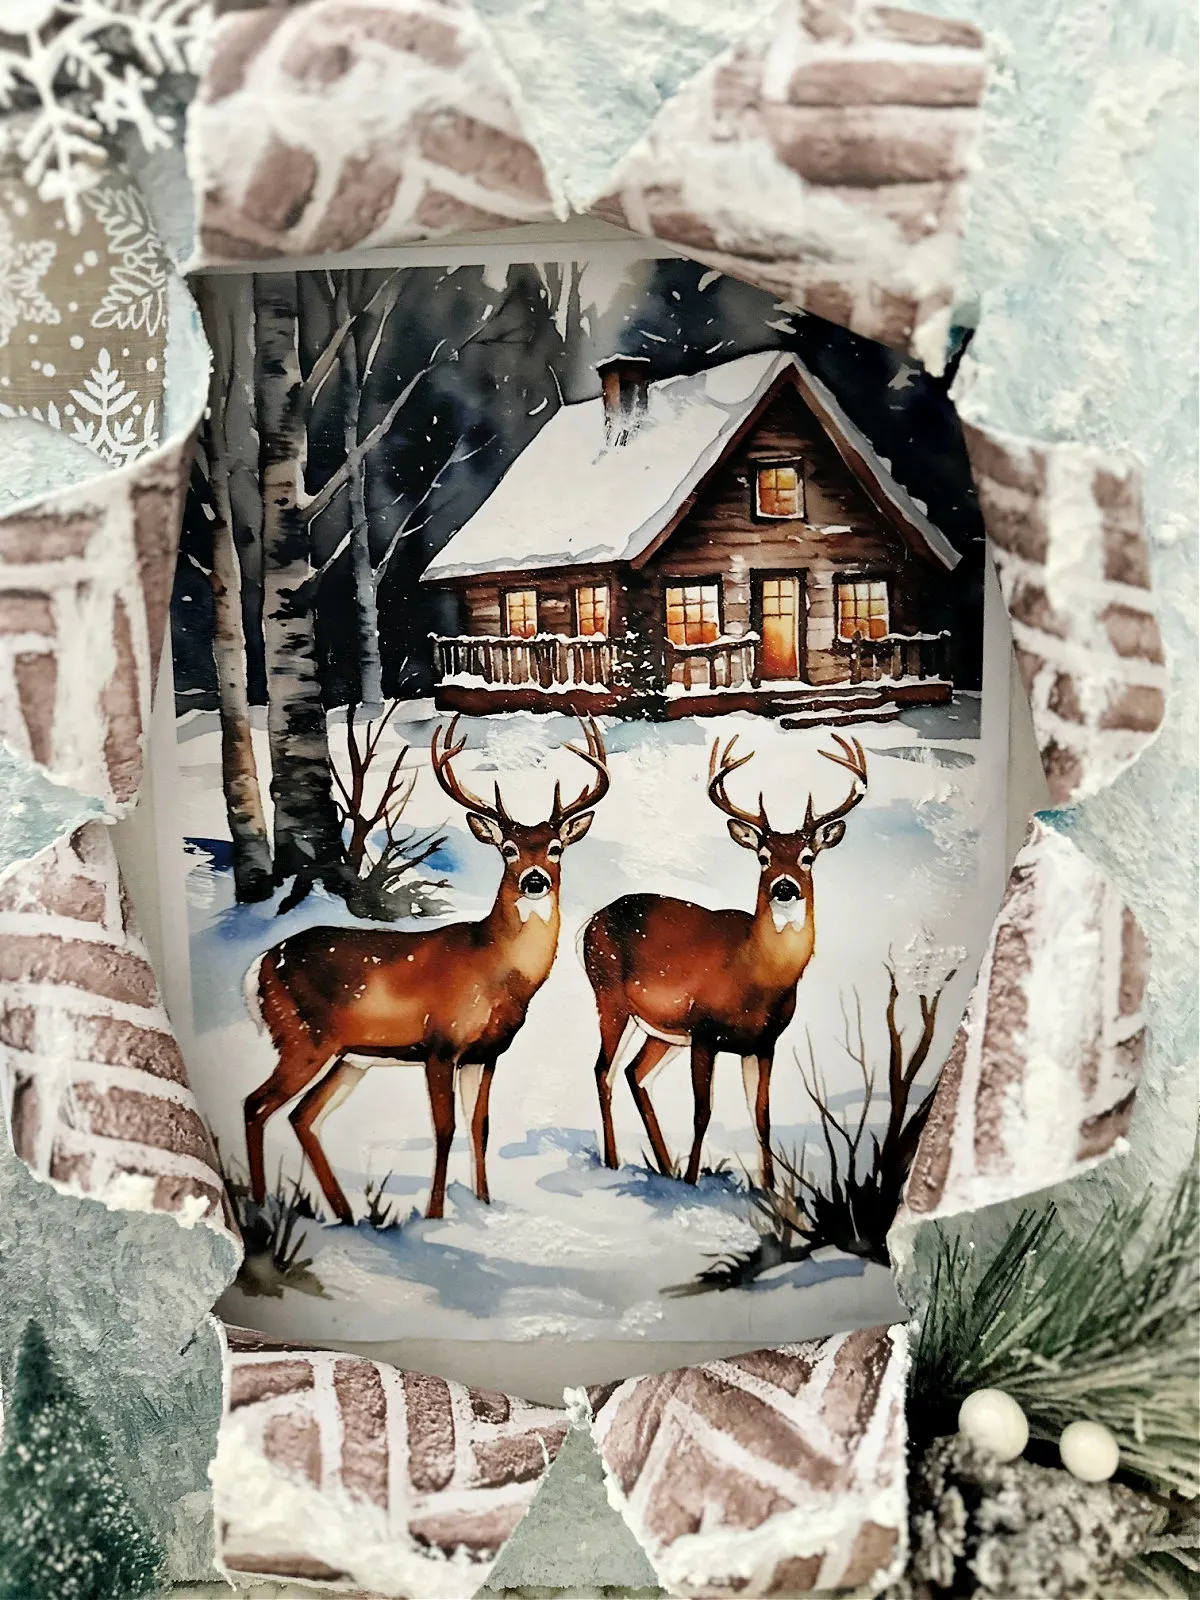
I’m so happy with how it turned out. This busted canvas can be hung up on the wall, or stood up on a shelf.
I love the snowflake bow on top.
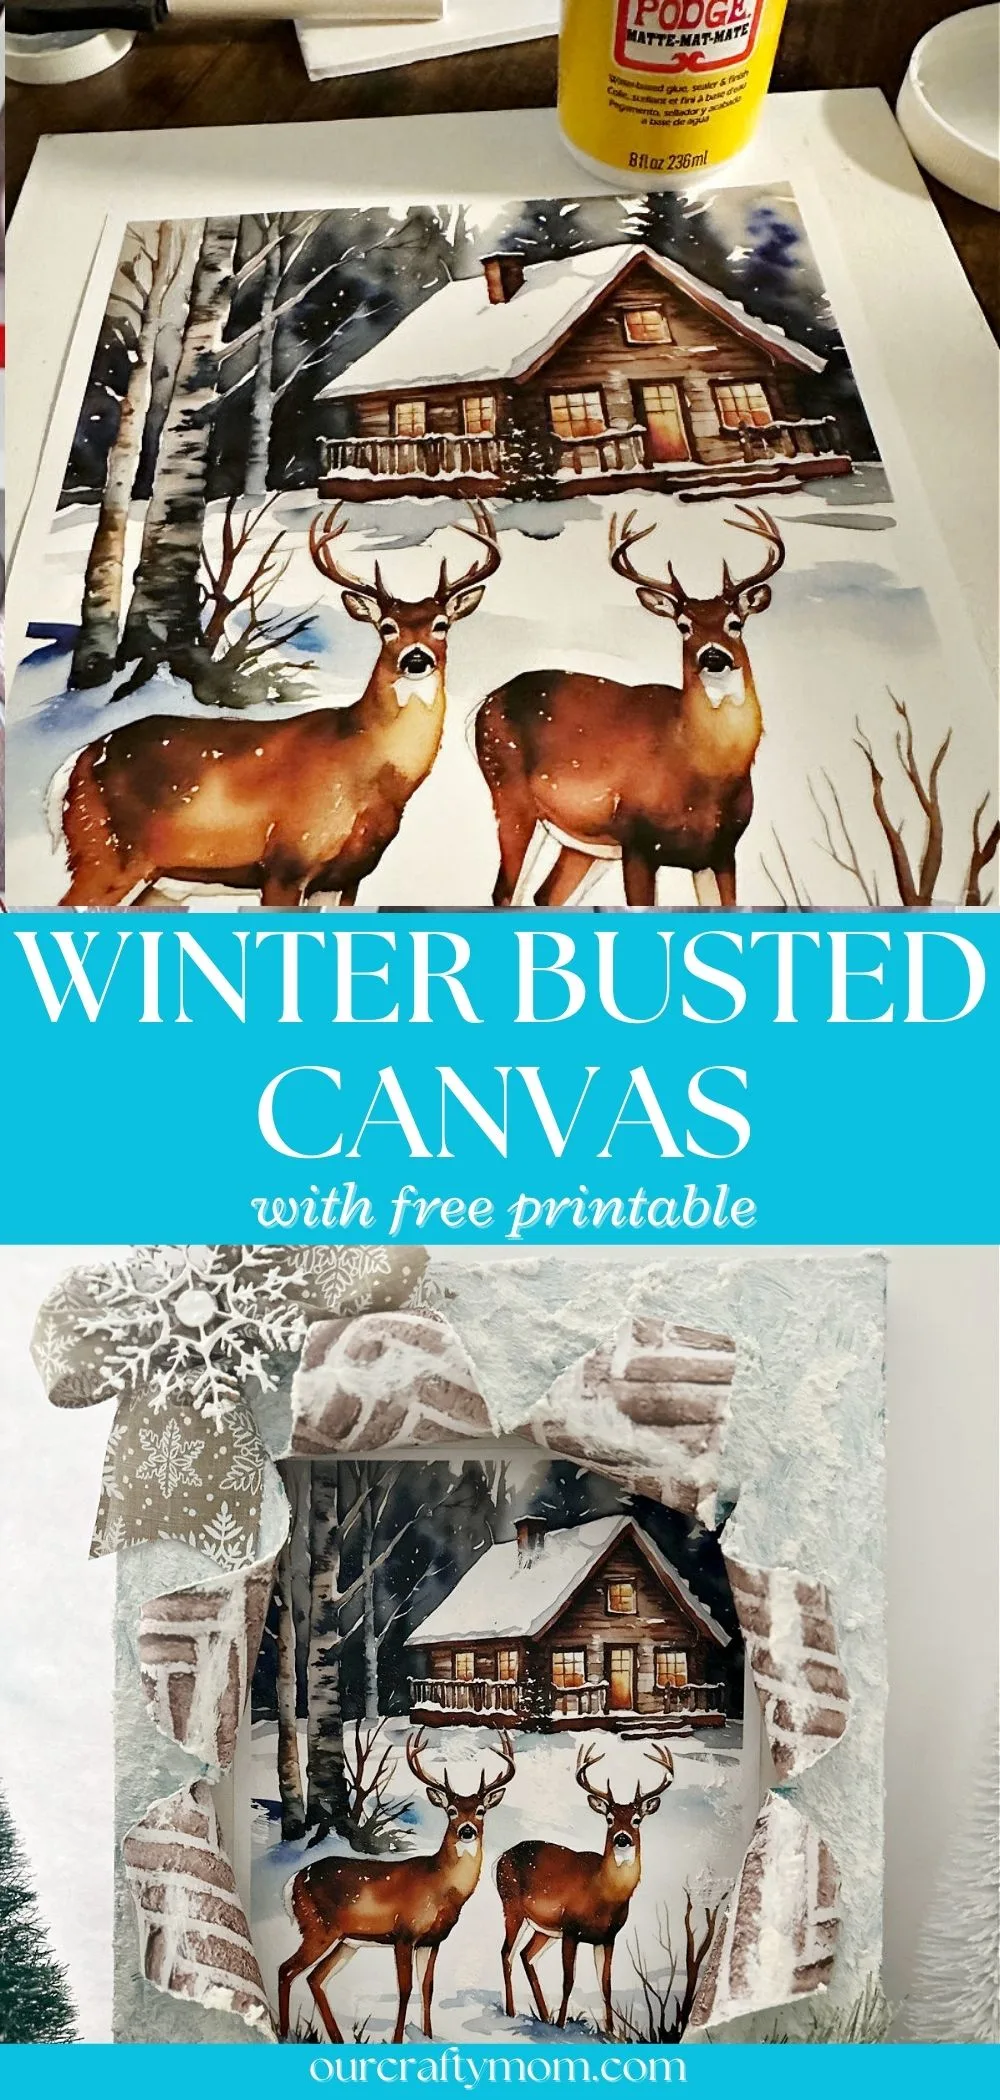
I’d love it if you would share this article with your friends on Pinterest by pinning the below image.
It helps my blog to grow and doesn’t cost a thing! 🙂
Let me know if you are inspired to make your own busted canvas art by sharing it with us on Facebook or Instagram by tagging @ourcraftymom. It totally makes my day!
Next up in the Busted Canvas Printable Series will be Valentine’s Day. I’ve already designed the image and hope you will love it as much as I do.
Thanks so much for stopping by. Happy crafting!

Follow me on social media below:
