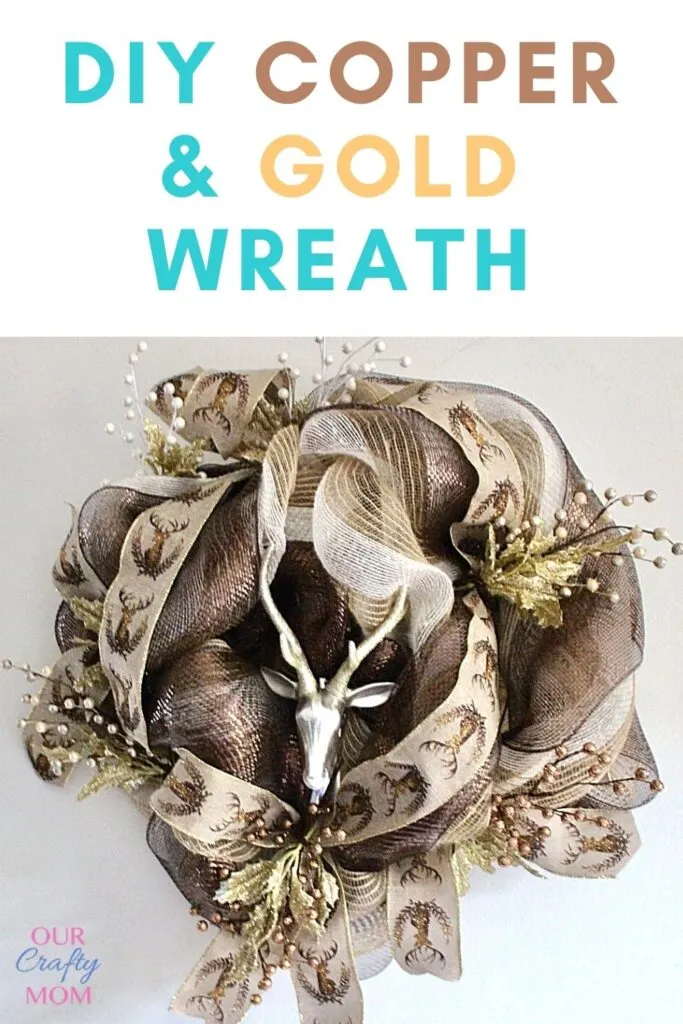
Make a gorgeous DIY copper and gold deco mesh and deer holiday wreath with this simple tutorial.
I know what you’re thinking-it’s too early for a Holiday wreath. But if you’ve been into a craft store in the past month you’ll notice the Christmas decor is up before Halloween!
Before my blog I would have totally been annoyed by such a thing-enjoy each Holiday before you are off to the next.
But as a blogger, we have to get our ideas posted early so you can be inspired and have plenty of time to create your own Holiday Wreath.
So, here we are, November 1st and I am ready to share my oh so glamorous Copper and Gold Deco Mesh Holiday Wreath!
Be sure to stick around until the end of the post to see the other amazing 20 wreaths in the blog hop!
This post contains affiliate links. This means if you click the link and buy something, I may receive a percentage of sales at no extra cost to you. Thanks for supporting Our Crafty Mom!
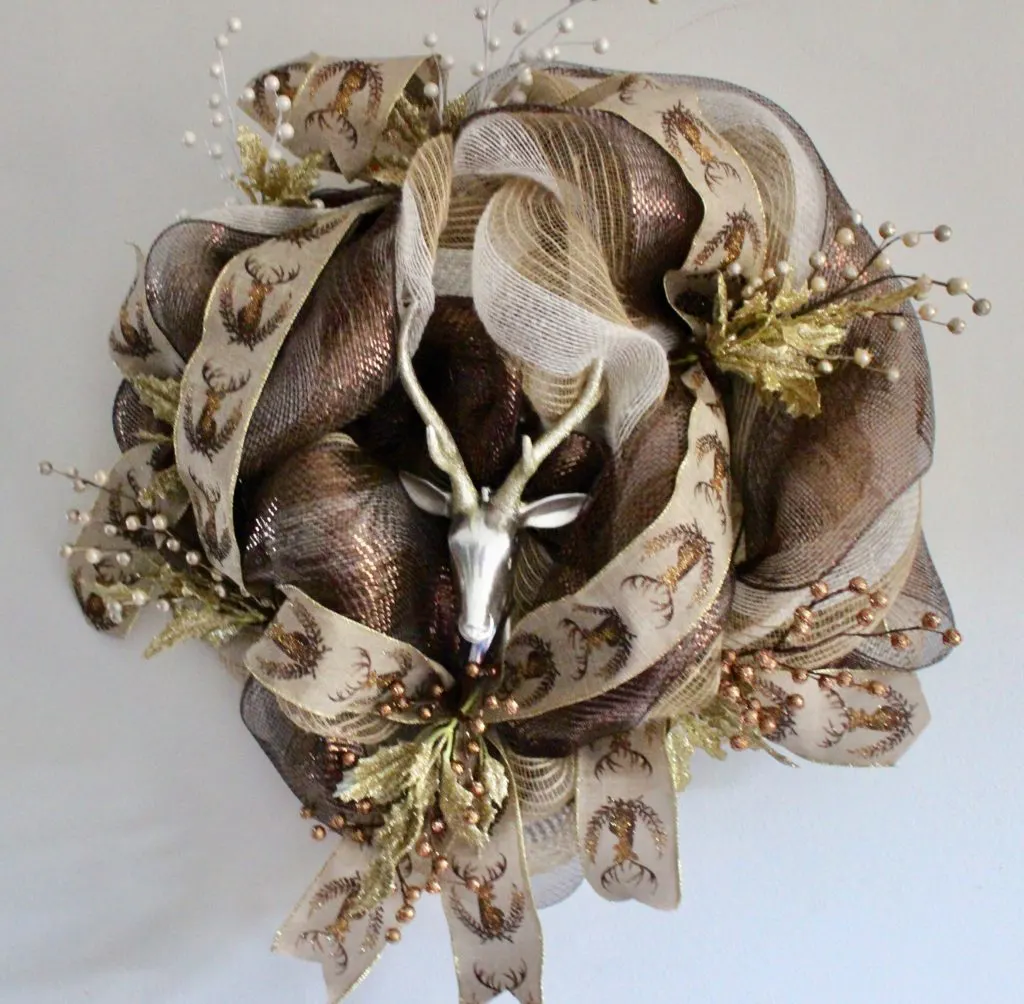
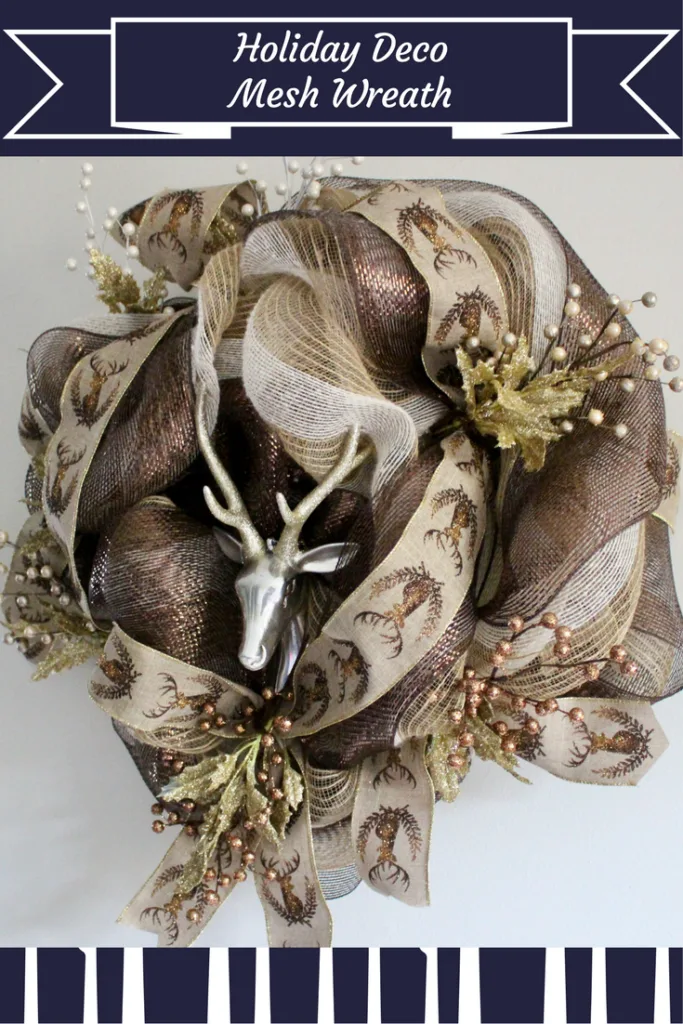
Here is my completed Copper and Gold Deco Mesh Holiday Wreath:
[Tweet “Copper and Gold Deco Mesh Holiday Wreath Our Crafty Mom Blog Hop”]
I love the non traditional metallic colors and deer ribbon. I have been on a deer kick for some time now. Thankfully, they are still popular in the craft stores!
Copper and Gold Deco Mesh Holiday Wreath
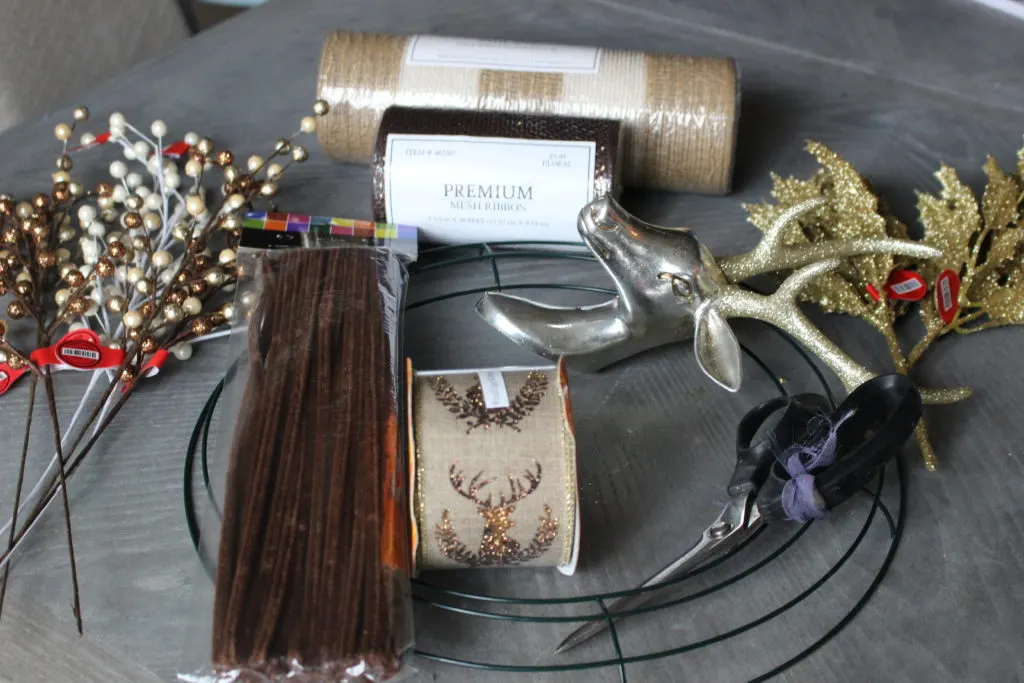
Supplies
- Wire Wreath Base (Dollar Tree)
- Deco Mesh 10″ 30 ft. (Hobby Lobby)
- Deco Mesh 5.5″ 30 ft. (Hobby Lobby)
- Pipe Cleaners (Hobby Lobby)
- 2.5″ Wired Edged Ribbon (Hobby Lobby)
- 6 Beaded Stems (Hobby Lobby)
- 2 Gold Leaf Stems (Hobby Lobby)
- Deer Ornament (Hobby Lobby)
- Scissors
You can go to any craft store to get your supplies. Everything I purchased was on sale at least 40-50% off. See the adorable deer ornament? He was $3!
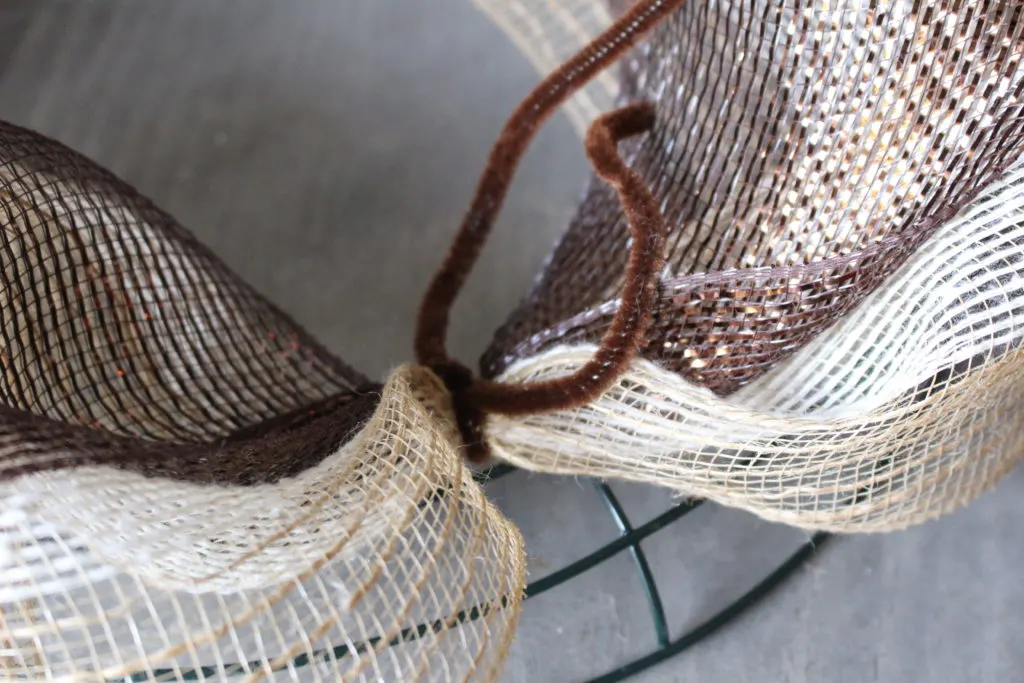
First, layer the smaller deco mesh on top of the larger mesh and gather it at 14″ tying it with a pipe cleaner to the inside ring of the wreath:
Continue to gather and attach the deco mesh at 14″ intervals around the wreath-not cutting it at all. Once you are finished with the inside ring, continue the same process on the second and third rings.
Be sure to take a step back after each ring and fluff it out and make sure it’s even. Next, add your decorative ribbon for the top layer in the same 14″ sections:
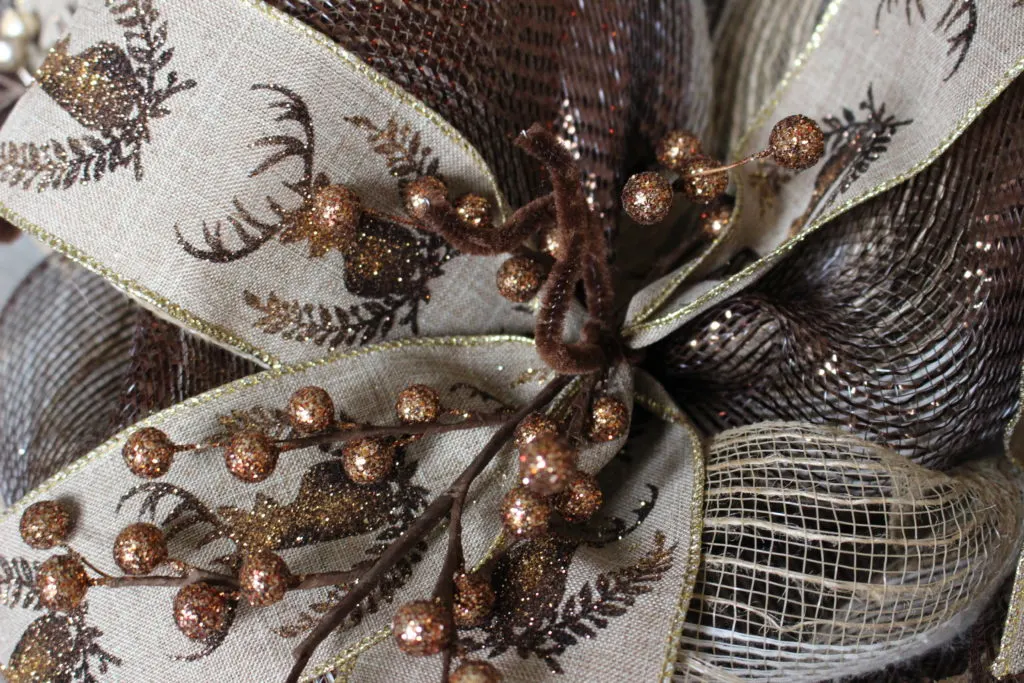
Finally, secure the beaded stems and gold leaves around the wreath evenly spaced out, using the pipe cleaners to attach. Add the deer to the center using the hanger to secure it :
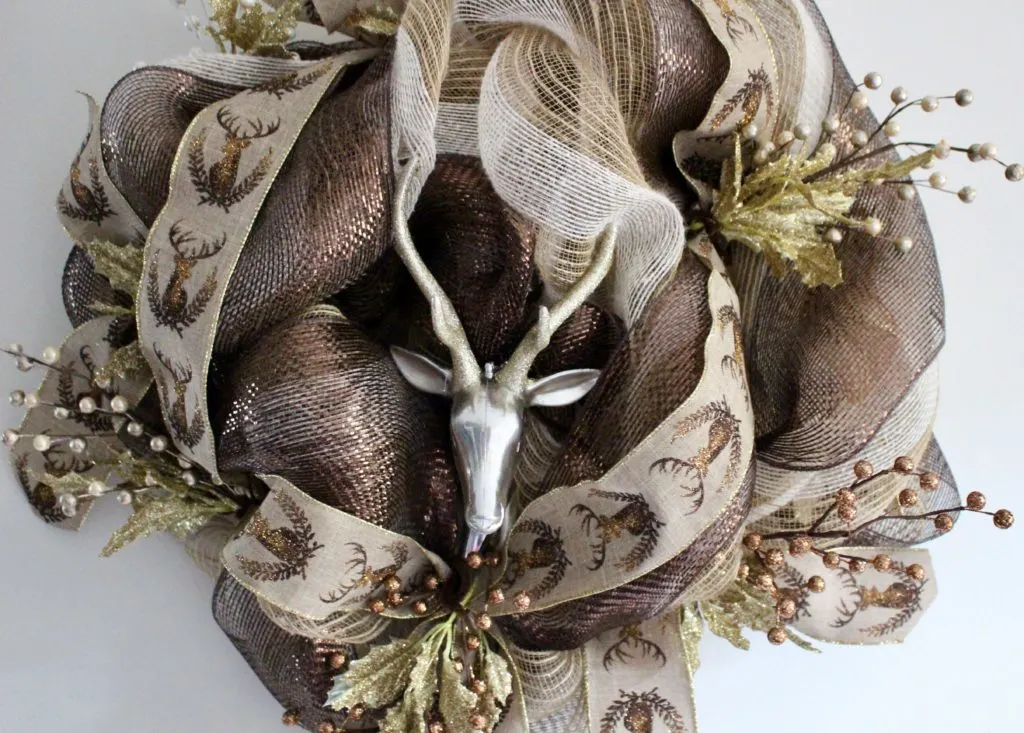
Be sure to check out the other Holiday Wreaths linked below for more inspiration! They are absolutely stunning! Thank you so much for visiting Our Crafty Mom.
Up to Date Interiors // Cottage in the Oaks // Architecture of a Mom
Nourish & Nestle // KS Craft Shack // My Life From Home
Craft & Tell // The Uncommon Law // Monica Wants It
Twelve On Main // PMQ for two // Atta Girl Says
The DIY Mommy // Flourish and knot // Maggie Overby Studios
Hey Fitzy // Domicile 37 // Our Crafty Mom
This Is Our Bliss // Timeless Creations // PMQ for two


How To Make A Fun Little Red Truck Christmas Wreath
Sunday 3rd of November 2019
[…] Copper and gold Christmas wreath […]
How To Decorate A Small Porch For Christmas
Sunday 17th of February 2019
[…] Continuing with the deer theme, I added a copper and gold wreath to the front door. You can see the tutorial here. […]
50 Awesome DIY Christmas In July Ideas - Smart Fun DIY
Friday 27th of July 2018
[…] DIY Copper & Gold Deer Christmas Wreath – Our Crafty Mom […]
Rebecca Swenor
Sunday 13th of November 2016
This Copper and Gold Deco Mesh Holiday Wreath is indeed gorgeous. I would love to make this and maybe do it with my sisters too. Thanks for sharing these awesome wreaths. The Garland one I love too.
Kati
Friday 11th of November 2016
I am loving your wreath. The gold and copper are perfect!