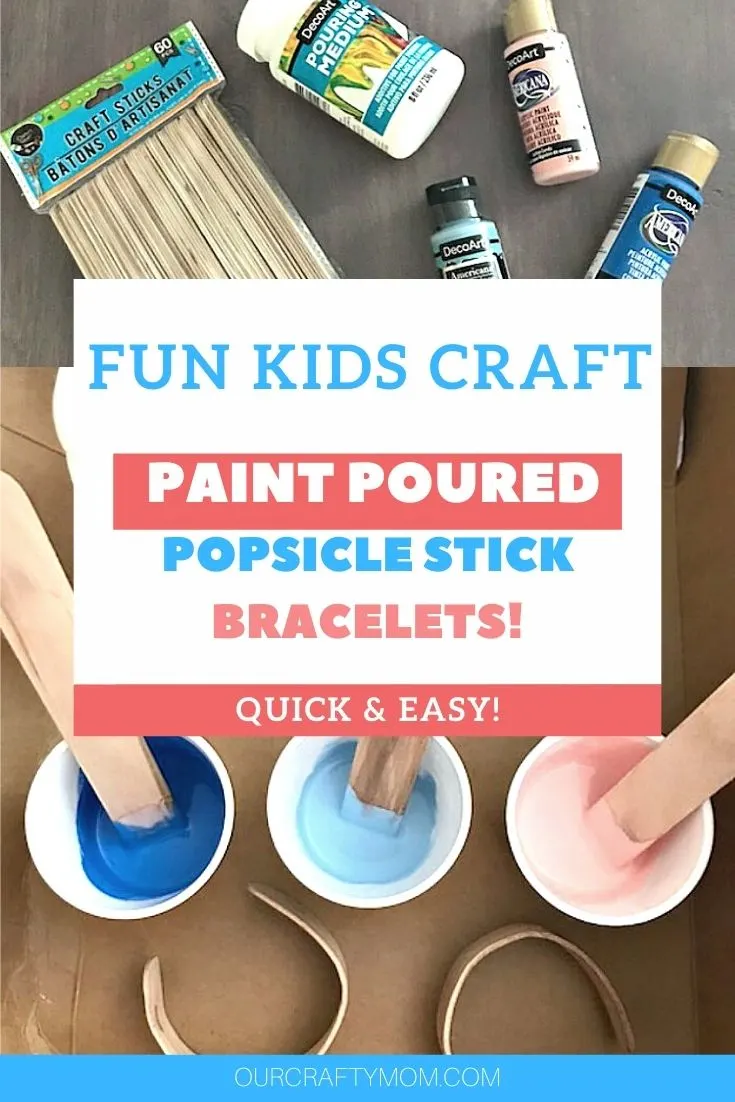
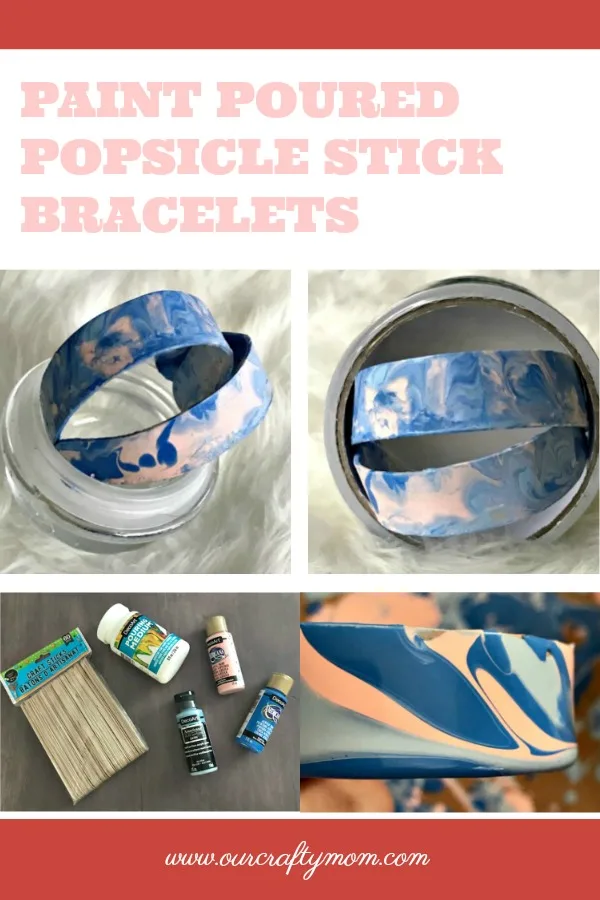
Paint poured popsicle stick bracelets are super fun and easy for kids to make.
Paint poured projects are everywhere you look, and it’s easy to see why.
It’s like finger painting for adults and be warned, it is slightly addictive!
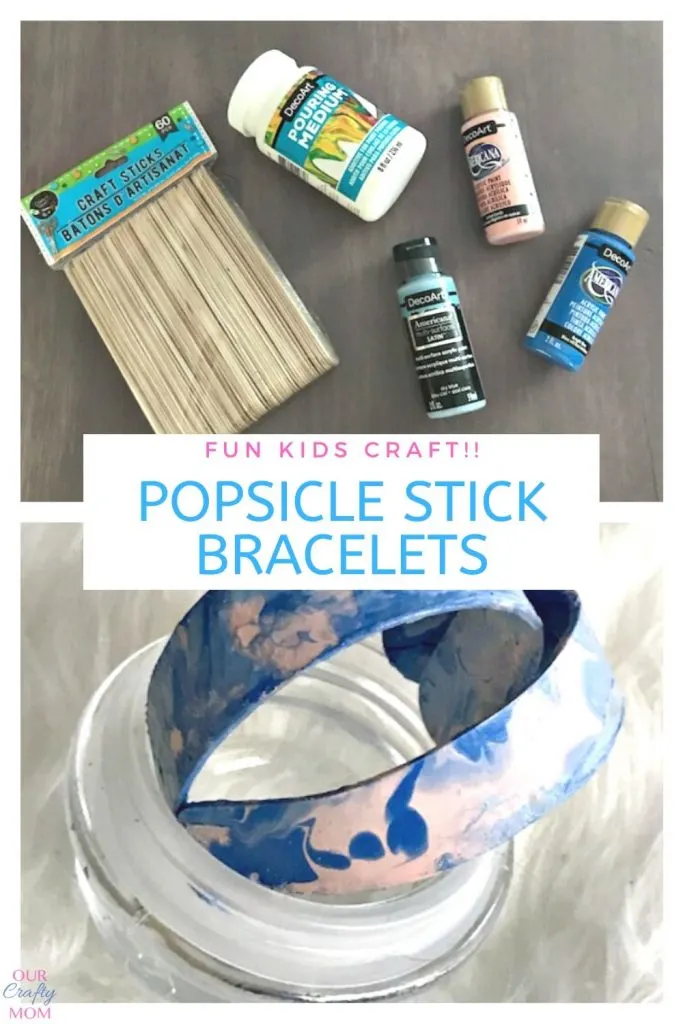
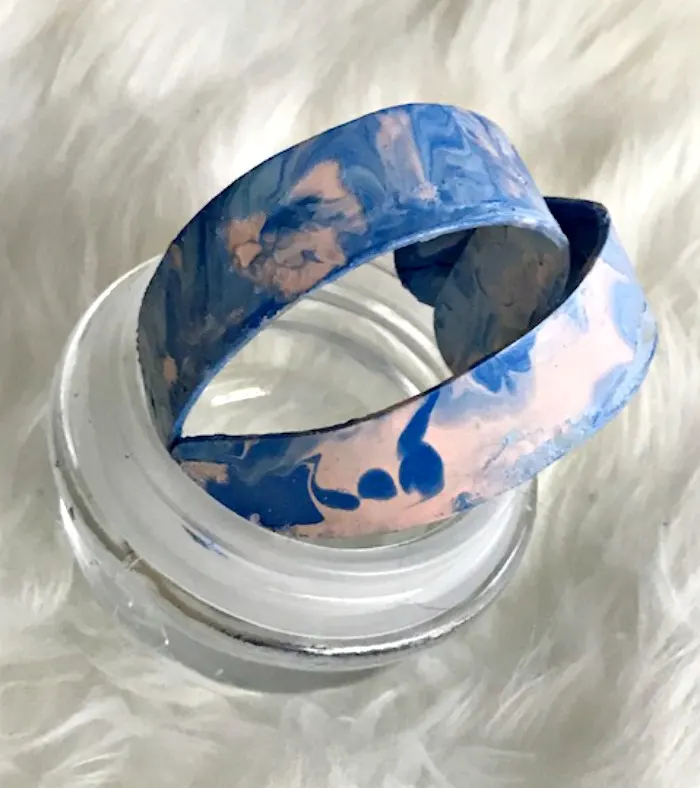
For today’s project, I will show you how to make fun paint poured popsicle stick bracelets that both adults and kids will love to wear!
Some of the links below may be affiliate links – I might earn a small commission if you buy from these links, at no extra cost to you. DecoArt provided supplies for this post, however, all opinions are 100% mine.
Paint Poured Popsicle Stick Bracelets
Who remembers attending summer camp as a kid and using craft sticks to make cool projects?
I have a vivid memory of making a wand with a popsicle stick as the handle and running home to show my Mom.
It was the start of my love of crafting! Let’s get crafty and make some fun paint poured bracelets!
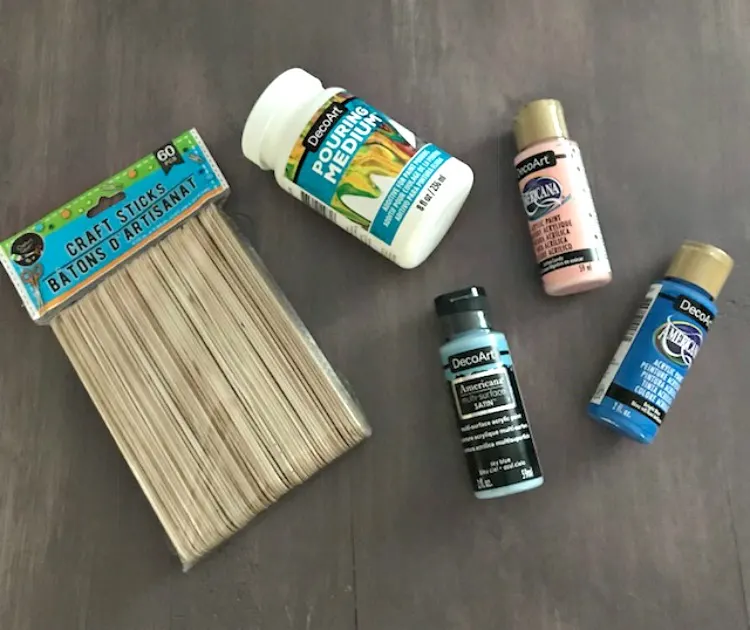
Here is what you need to make these popsicle stick bracelets:
Supplies
- Jumbo Natural Craft Sticks
- DecoArt Pouring Medium
- Decoart Clear Pouring Topcoat
- DecoArt Acrylic Craft Paint
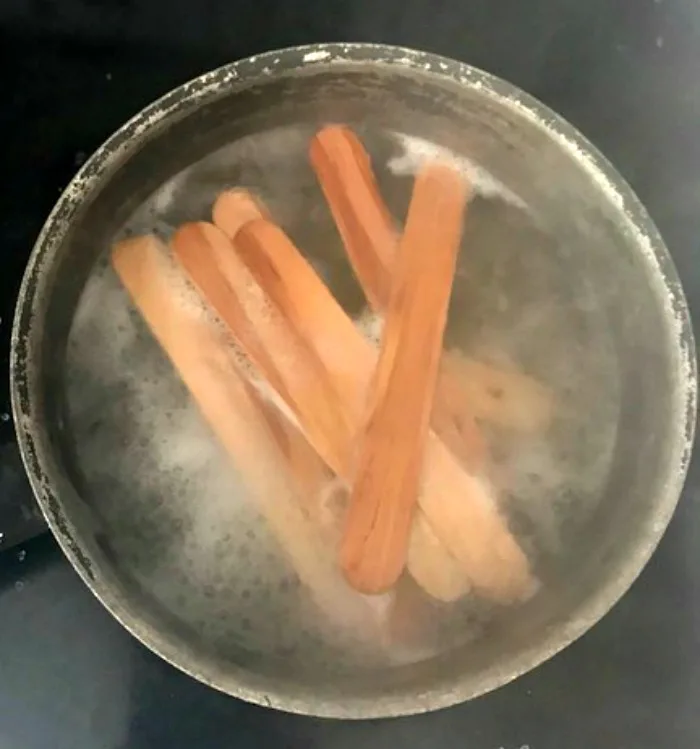
Boil Popsicle Sticks
Keep your eye out at the dollar store as you may be able to find popsicle sticks there. Start by boiling a pot of water and drop in the sticks.
It is best to boil more sticks than you need as some may crack and split. Boil for 5 minutes, then let them soak in the hot water for at least 30 minutes.
Remove from the water and place on a kitchen towel to dry them off.
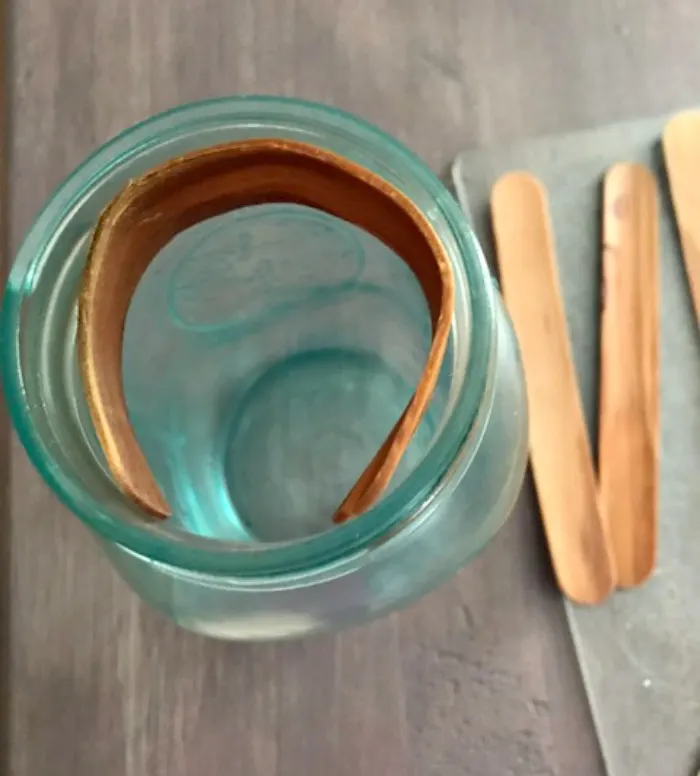
Mold Bracelet
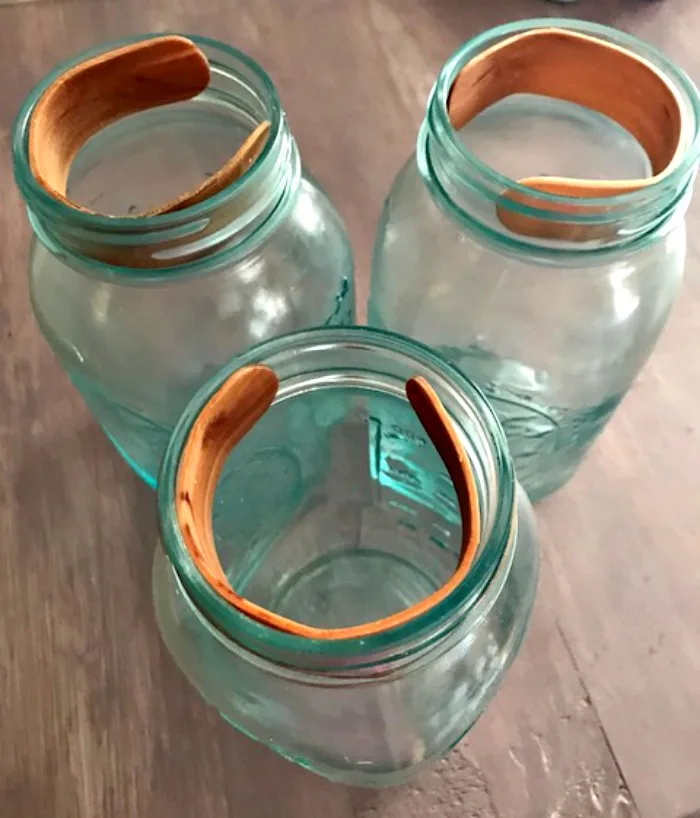
This is where you need to be careful so you don’t break the popsicle sticks. Gently roll the stick to form the size of a bracelet and place it into a glass or mason jar to dry.
I made these small for my little 3 yo niece, Lilo. Let them dry overnight and then you are ready to paint!
[Tweet “How To Make Fun Paint Poured Popsicle Stick Bracelets @DecoArt_inc #ourcraftymom #craftsticks #popsiclesticks #kidscrafts #diyjewelry #decoart #sponsored #paintpouring”]
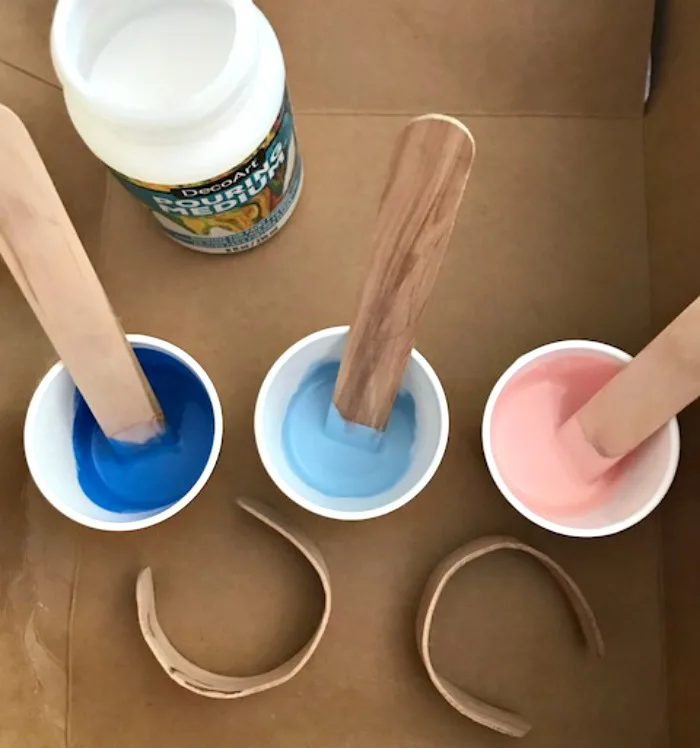
Paint Pouring
Gather the paint colors that you want to use. I went with bright colors like pinks, purples and blues, as those are colors all little girls like right?
Follow the directions on the back of the paint pouring bottle. Basically pour equal amounts of the acrylic paint to the paint pouring medium and stir.
As I had plenty of craft sticks left I used those.
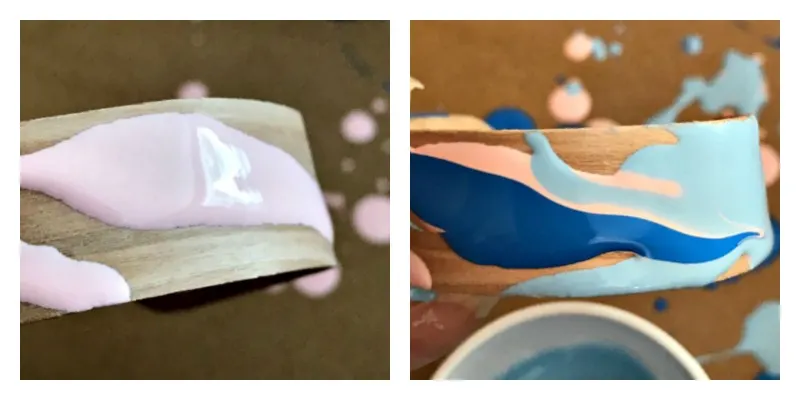
Now the fun begins! Simply pour the various paint colors onto the bracelet and roll the paint around to get full coverage.
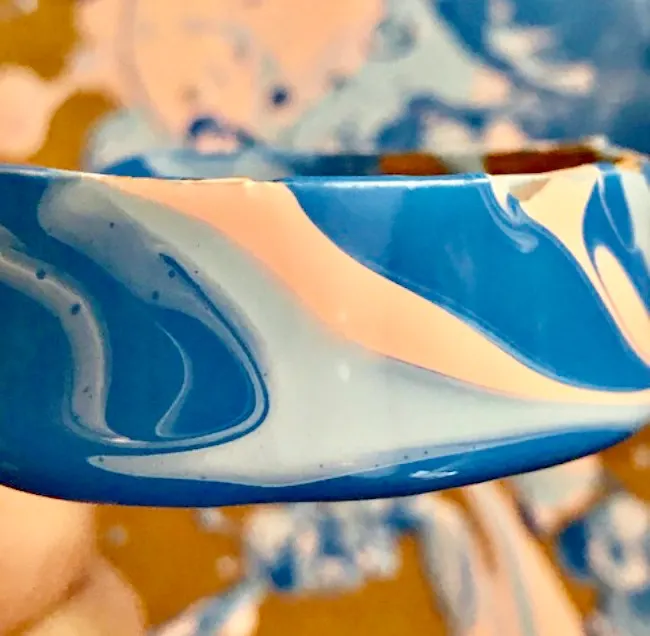
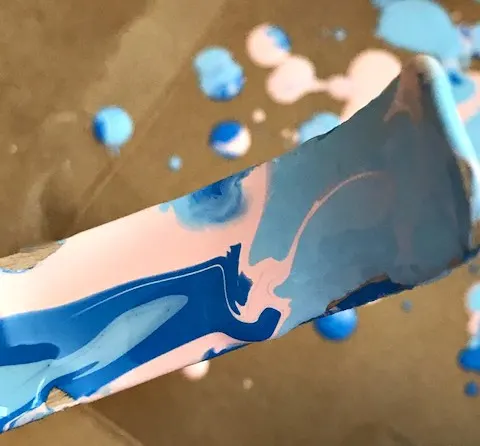
It is so cool to see how the paint starts to blend and form really fun designs. Keep swirling the bracelet around so you have the entire front and back of the bracelet covered.
Let dry overnight.
Add Top Coat
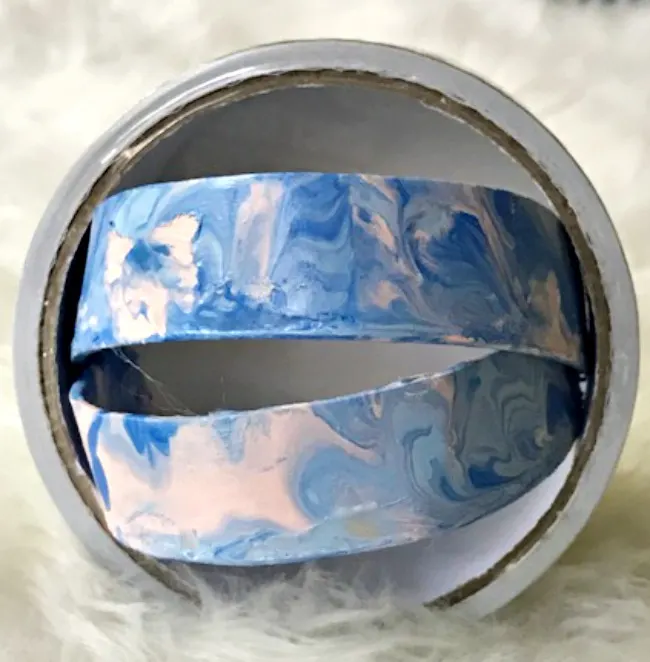
Once the paint is dry, brush on the top coat and let it dry at least an hour. Sit back and admire your beautiful popsicle stick bracelets!
I can’t wait to give these to my niece. I will share a picture of her when she puts them on.
There will definitely be more of these in my life. I want to make some for me, and my daughter has already put in her request!
So what do you think? Will you be trying out these popsicle stick bracelets?
I would love to see a picture if you do. Share with me in the comments below.
SAVE this post for later … PIN IT to Pinterest!
Here is another easy craft idea-wood beads used to make napkin rings. Use pretty colors or keep them natural.
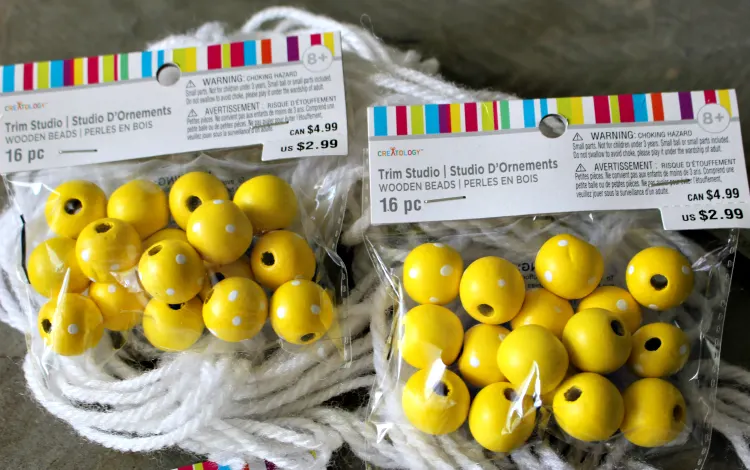
Check them out here. Thank you so much for stopping by. Hope you have a great day!

42 Easy Summer Crafts for Kids in 2020! | Kids Crafts
Wednesday 19th of February 2020
[…] How To Make Fun Paint Poured Popsicle Stick Bracelets […]
Fun With Paint Pouring On A Vase And Giveaway!!
Tuesday 25th of September 2018
[…] so it is a 1:1 ratio of pouring medium to acrylic paint. I am sharing the photos from the paint poured popsicle stick bracelets as I used the same paint and pouring […]
Erlene
Sunday 26th of August 2018
What a fun update to a tried and true kid craft :-)
Bonnie
Sunday 26th of August 2018
These are so cute and CLEVER!
Christine
Thursday 23rd of August 2018
Really cool, pinned for later. I will definitely have a go!