
Make a china plate wreath with thrifted dishes that cost under $3! Easy DIY plate wreath with hot glue and pipe cleaners. Get the tutorial.

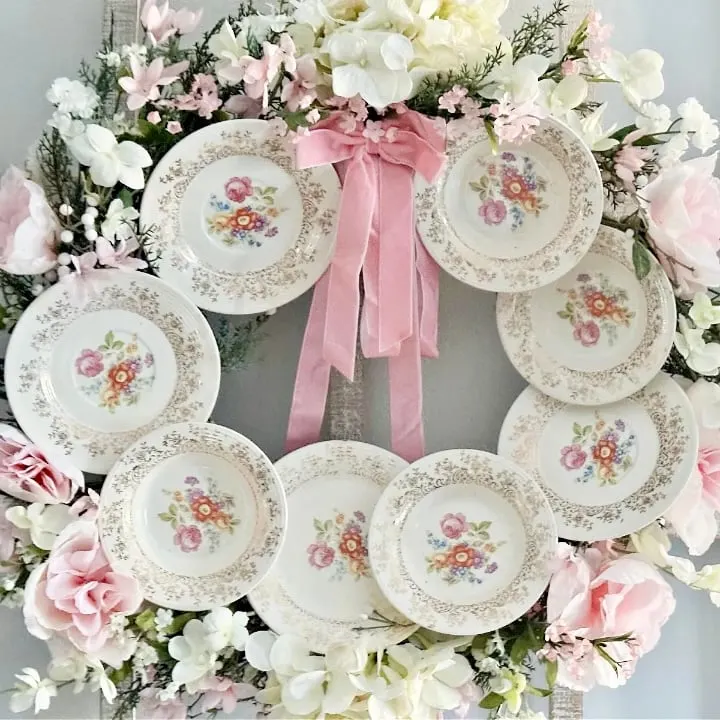
Want to make a china plate wreath without spending much? This DIY plate wreath uses thrifted plates and bowls, a pre-made wreath, pipe cleaners, and hot glue.
My plates and bowls cost under $3 for the whole set! The look is pretty, vintage, and a little shabby chic.
🌸 Quick Takeaways
Table of Contents
- Learn the exact materials and tools you need to gather before starting your plate wreath project
- Follow simple step-by-step instructions to arrange and secure thrifted plates onto a finished wall wreath
- Get tips for choosing the right china plates and placing them for the best visual impact
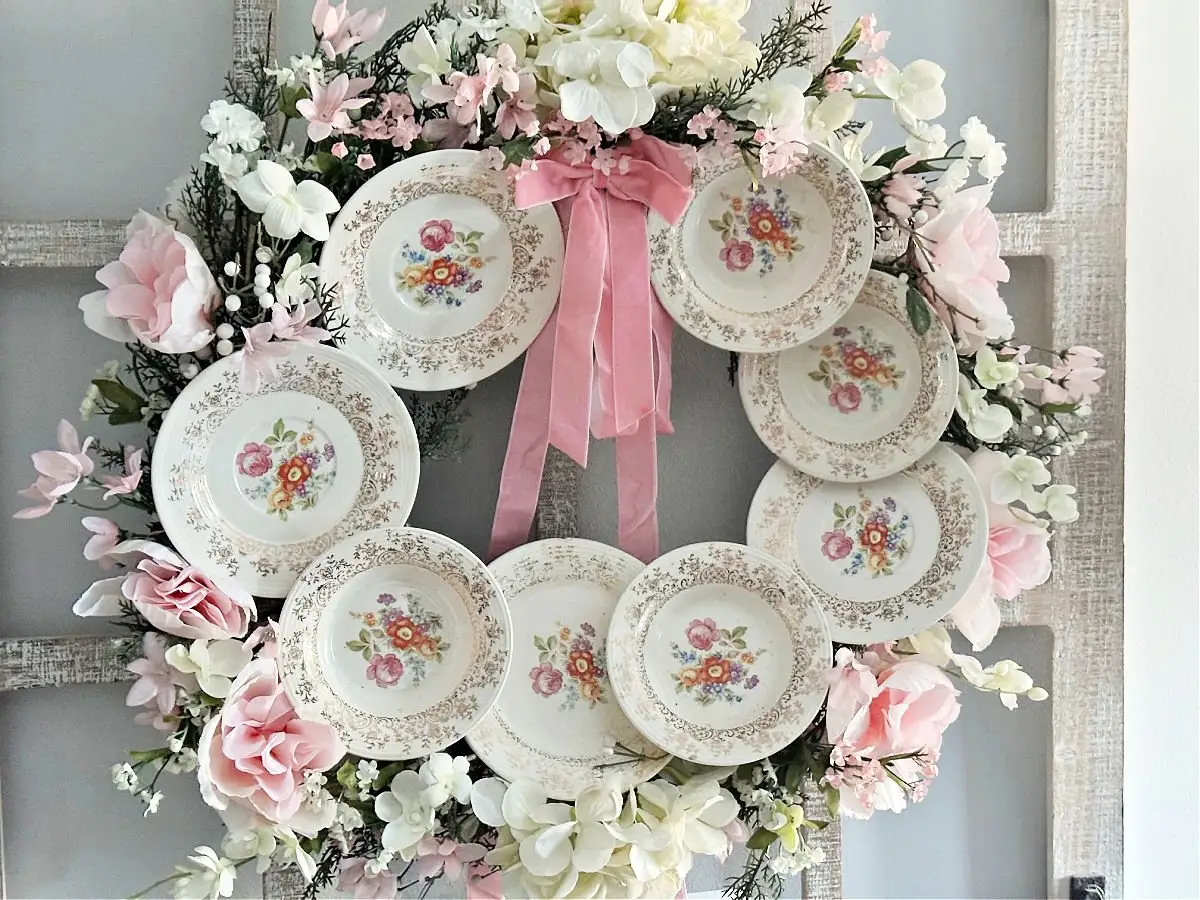
- See a photo layout of the finished wreath so you know what to expect
This post contains affiliate links. If you shop the links in this post there is no additional cost to you, but I may earn a small commission. Please see my full disclosure here.
It’s time for this month’s Thrift Store Decor Team challenge. There are so many creative ideas using thrifted or budget-friendly finds.
Be sure to read to the bottom of this post to check out the links for all of the DIY projects.


DIY China Plate Wreath
If you follow me on Facebook, you know I love to search thrift stores for beautiful china. Sometimes all I find is a pretty teacup. Other times I find a complete set I can’t pass up.
I enjoy decorating my hutch for each holiday and season, and the only way to do that on a budget is to thrift!
While browsing my local Goodwill, I spotted a few pretty dishes and bowls with soft pink and blue flowers.
I’ve been wanting to make a china plate wreath and knew these dishes would be perfect for a shabby chic or cottage core look.
How to Make a Plate Wreath: Quick Overview
- Add a wire hanger and hang it up.
- Lay out the plates on the wreath to plan your placement.
- Glue a pipe cleaner and a piece of cardboard to the back of each plate.
- Twist each plate onto the wreath from the back.
- Glue on faux greenery and flowers.
Full details and photos are below.
Plate Wreath Supplies: What You Need Before You Start
This craft is surprisingly simple and very versatile. I decorated this plate wreath with spring in mind. You can follow the same tutorial for Christmas, fall, a bridal shower, or even a unique Mother’s Day gift.
Here is what you need:
- Coordinating small plates and bowls. Mine were under $3 for all the pieces!
- Pre-made wreath. I scored mine at Goodwill too. If you don’t have one, you can use a wire wreath form, a grapevine wreath, or a foam wreath. A pre-made wreath saves a ton of time.
- Pipe cleaners, or wire with wire cutters
- Ribbon for a bow
- Cardboard
- Hot glue gun and glue sticks
- Faux greenery and flowers

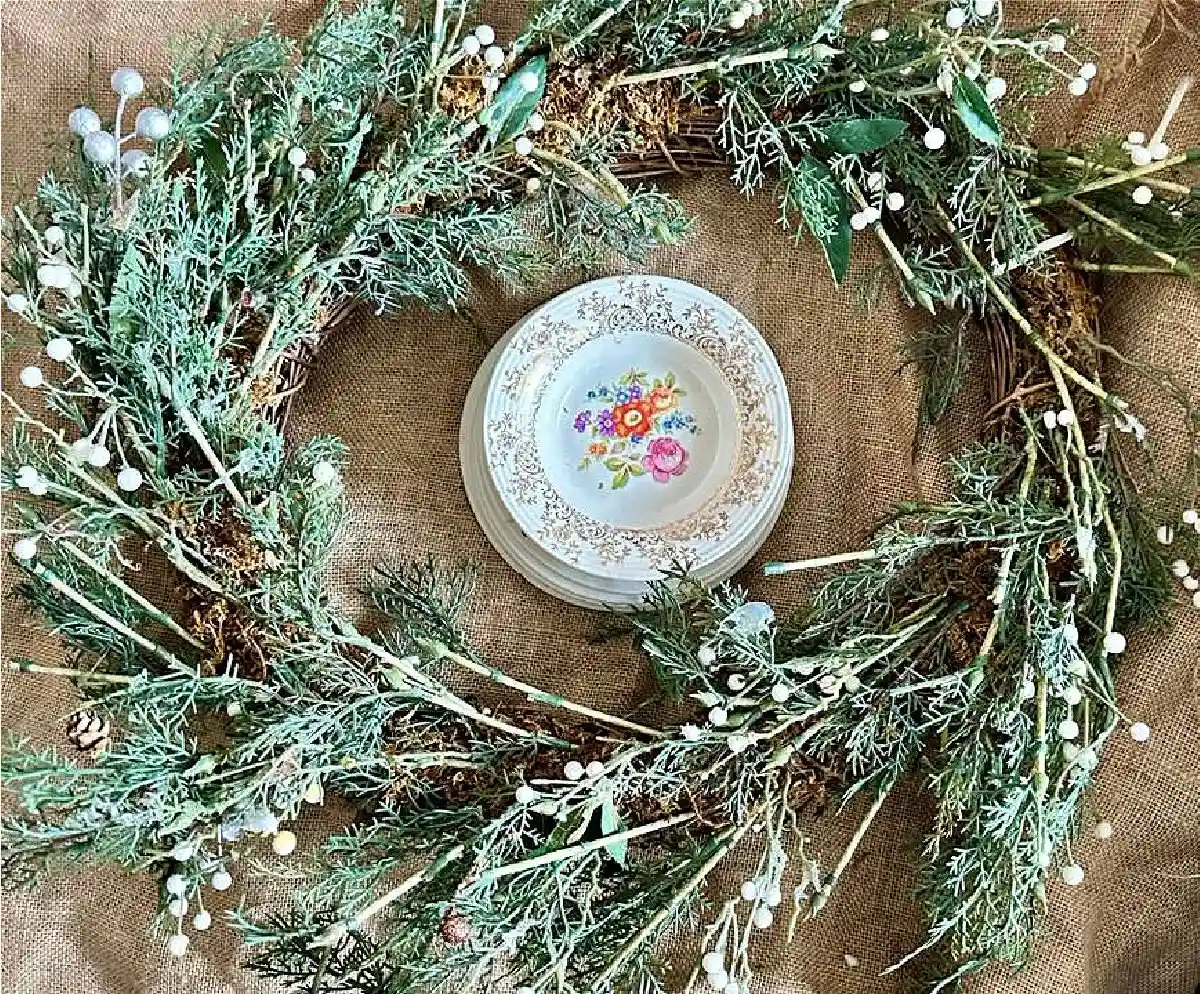
Tips for Choosing Plates for a China Plate Wreath
- Stick to a color palette. Dishes with matching or coordinating flowers look cohesive, even when the patterns differ.
- Choose small, light pieces. Saucers, small plates, and shallow bowls are easier to attach and won’t weigh down the wreath.
- Mix sizes. A few larger plates with smaller ones tucked between them add depth.
- Check for chips. Small flaws are fine because most will be hidden, but avoid cracks.
- Bring the wreath along if you can. Holding a plate against the wreath in the store helps you judge the scale.
How to Make a DIY China Plate Wreath
Step 1: Determine Placement
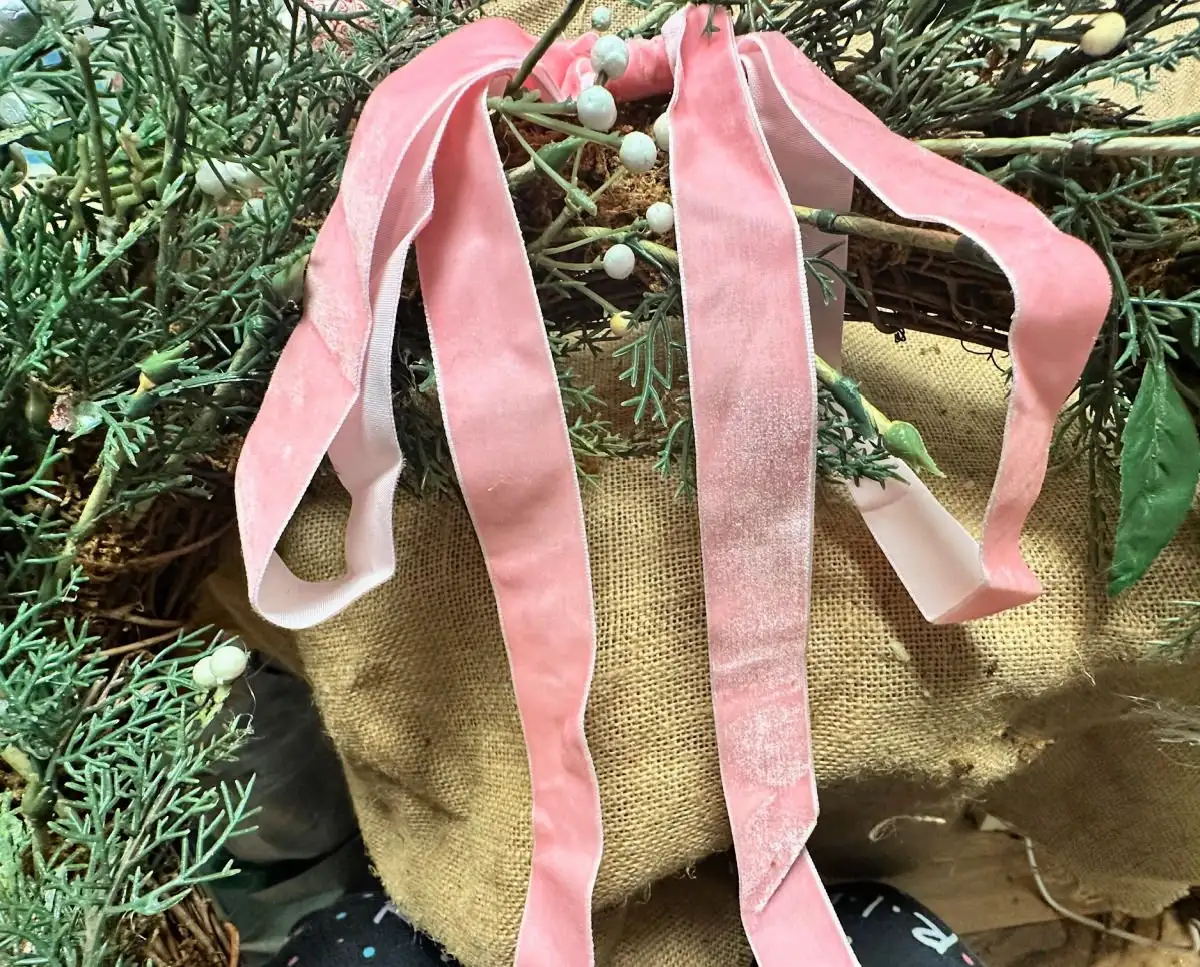
Lay out the plates on the wreath first to get a sense of the placement and how many plates you’ll need. I added a pink velvet bow first so I could see how much room there would be for the plates.

Step 2: Attach Pipe Cleaners
Secure a pipe cleaner to the back of each plate with hot glue and a piece of cardboard. The cardboard helps hold the pipe cleaner in place.
If your dishes are heavy and you’re concerned about how secure they are, you can use a combination of hot glue and E-6000.

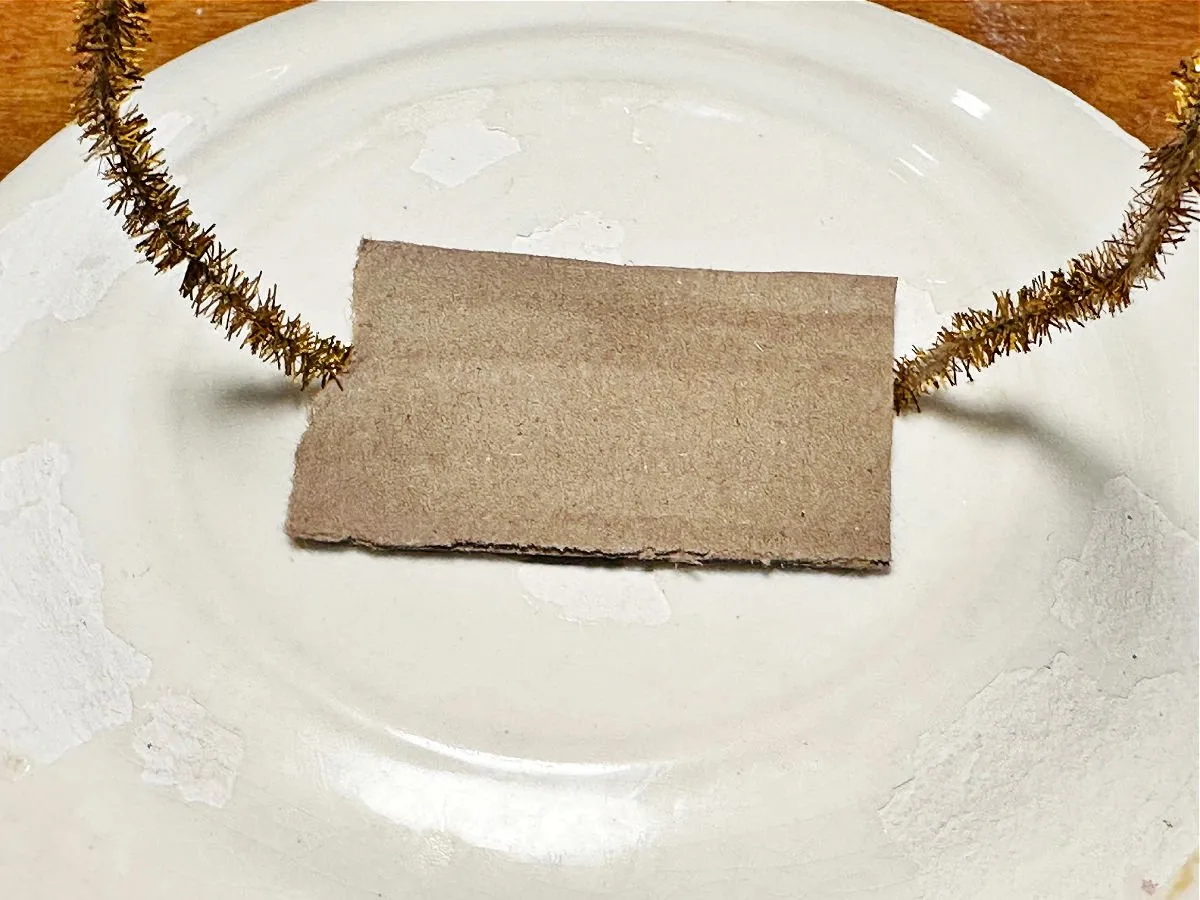
My wreath will be indoors and not exposed to moisture, so I felt comfortable with this method. Another option is to use plate hangers.
Step 3: Attach the Plates
Now attach each plate to the wreath from the back, twisting the pipe cleaner tightly to secure it. For a full look, overlap the plates slightly.

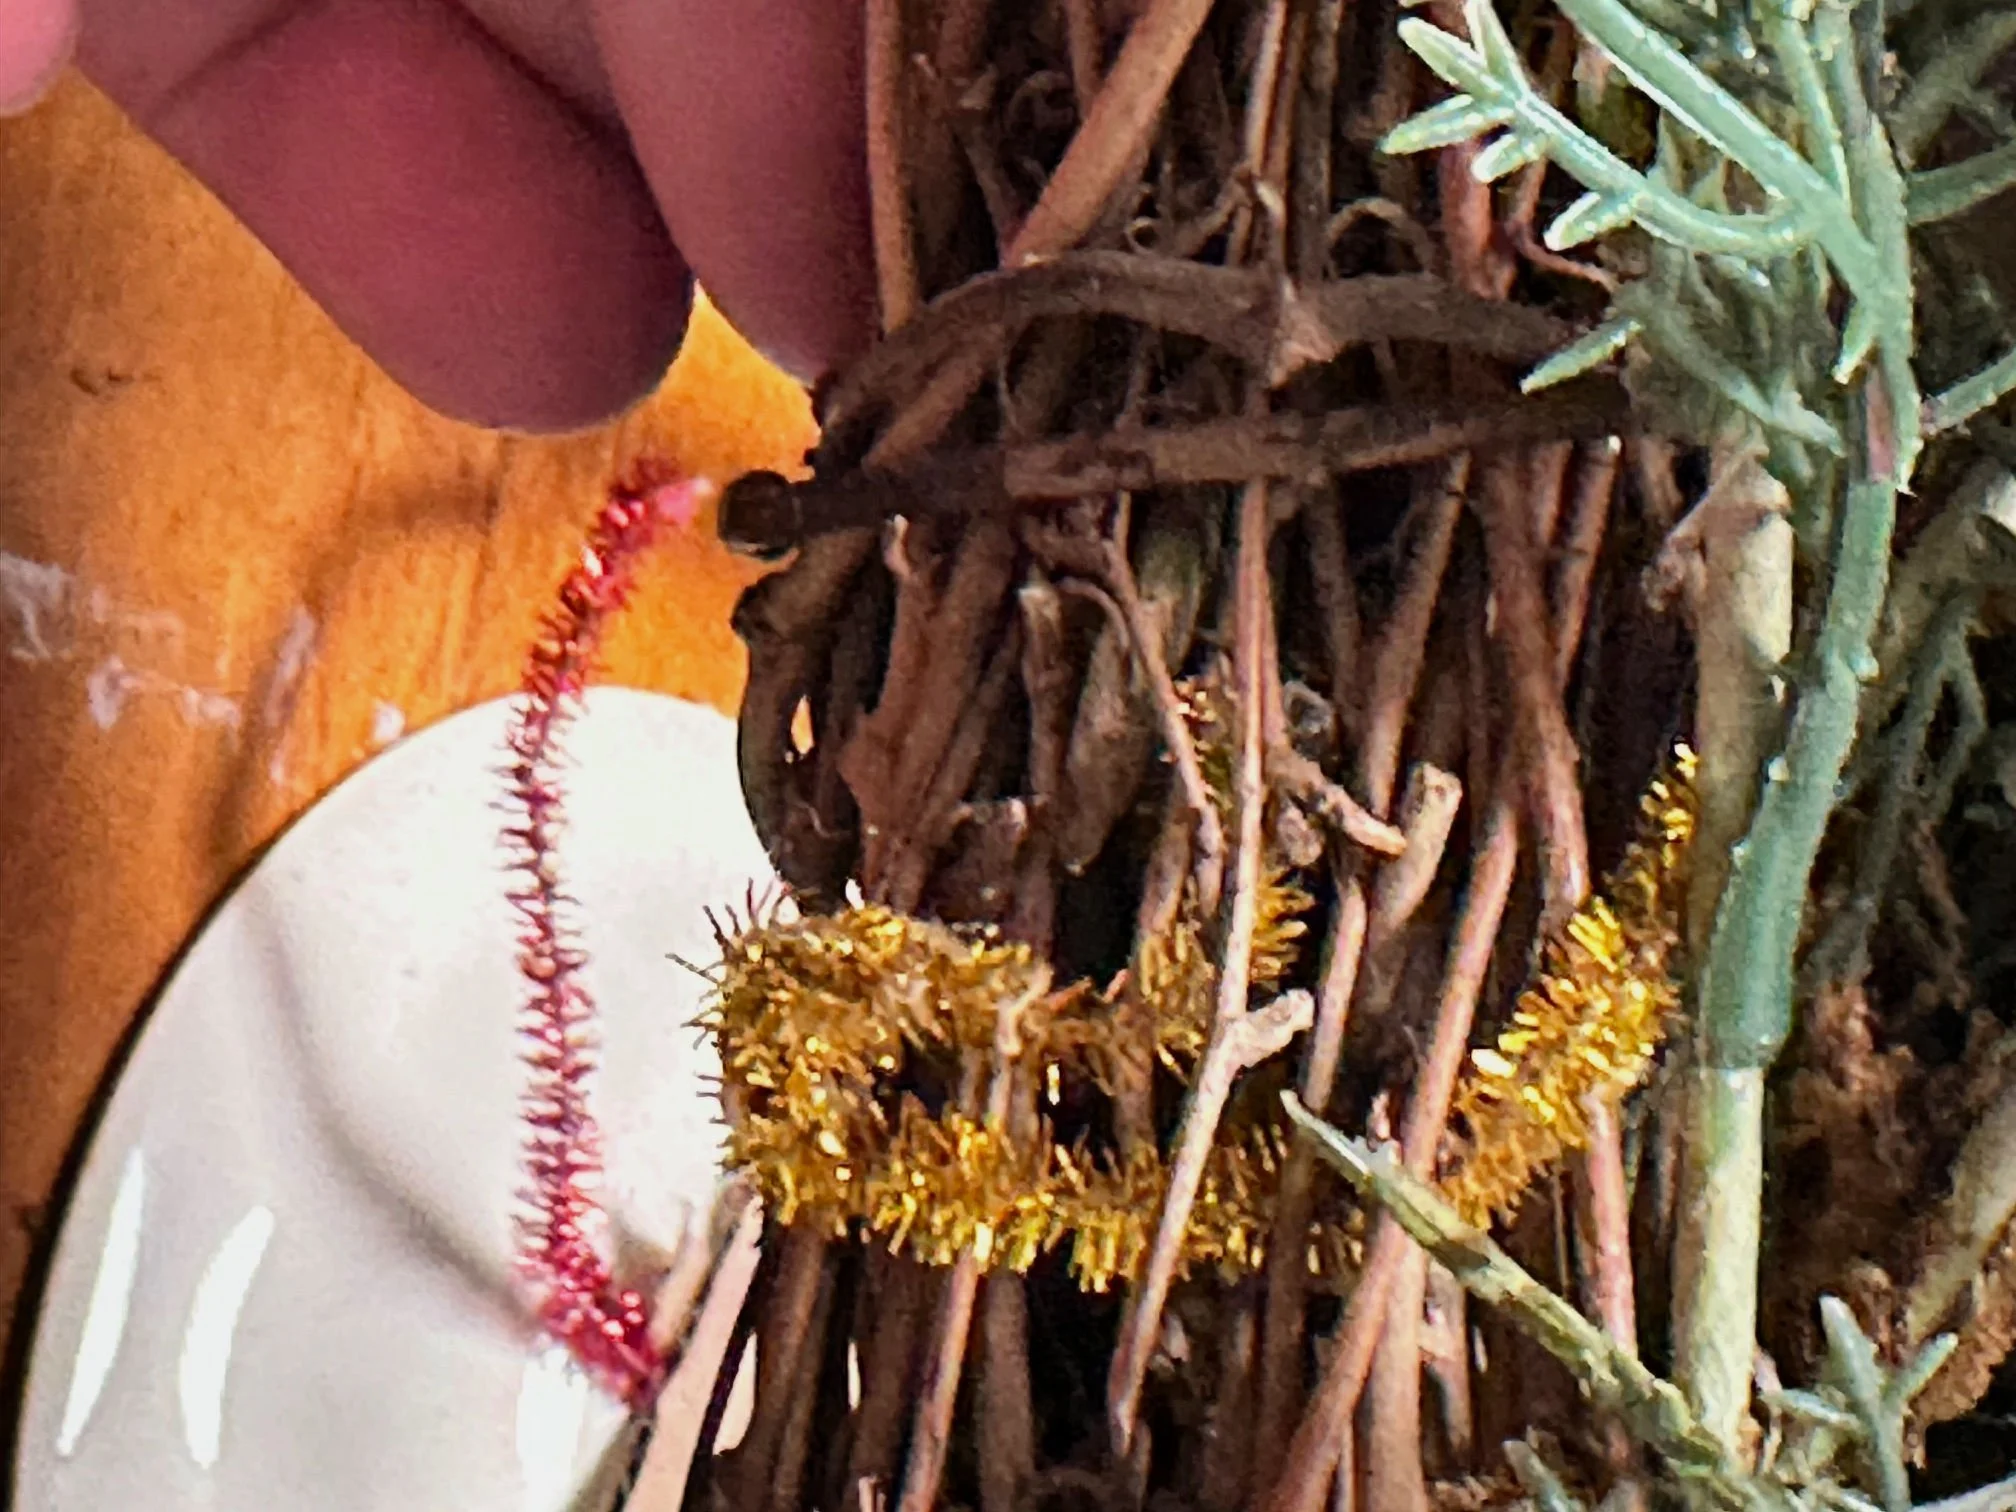
Fair warning, this part was a little difficult, mostly because you’re working on the back of the wreath, trying to carefully secure the plates. But the end result is worth it!

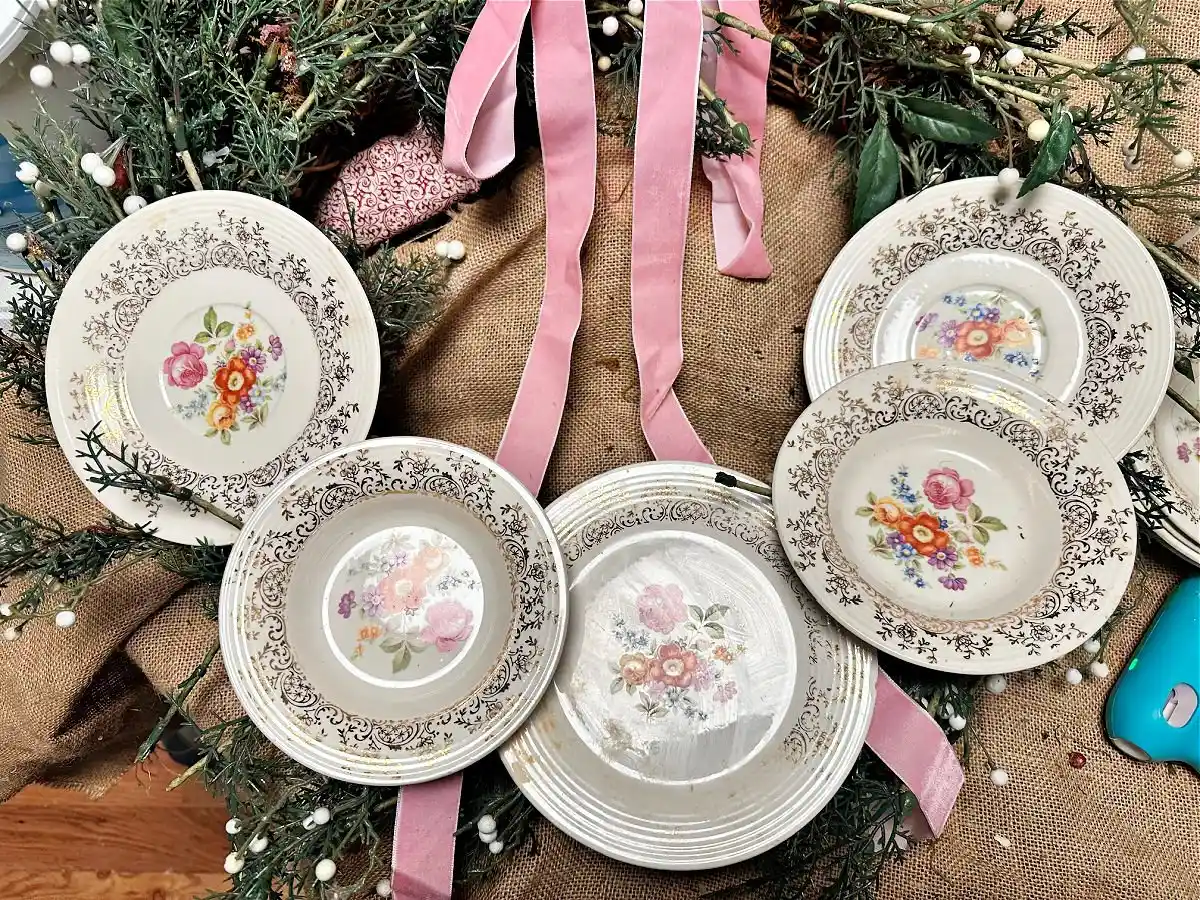
Step 4: Add Embellishments
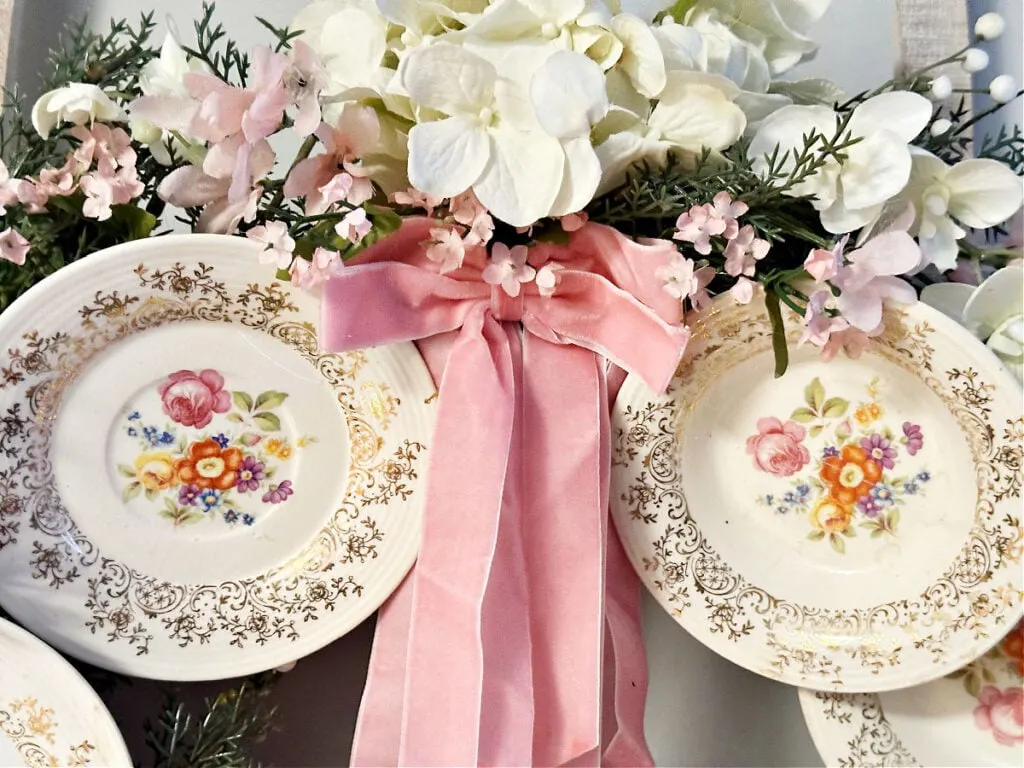
Now for the fun part, decorating! Add whatever greenery and florals you like. I’m loving the cottage core look and chose pretty pink and white. Secure the flowers to the wreath with hot glue.

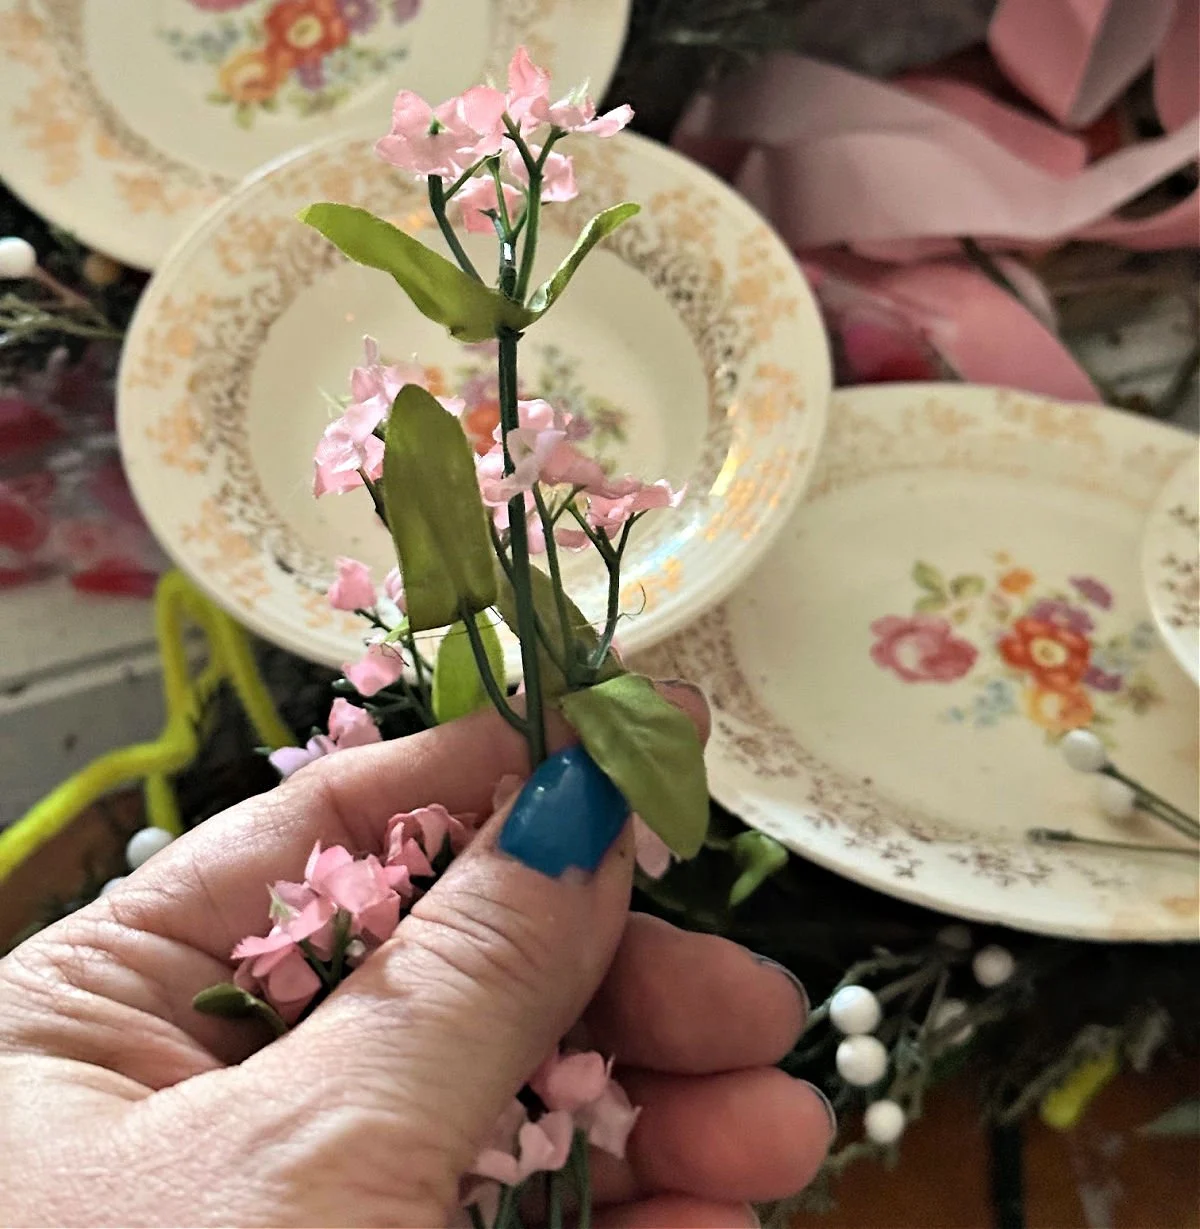
If I’d had lavender flowers in my craft stash, I might have added those, but I’m so happy with how it turned out.

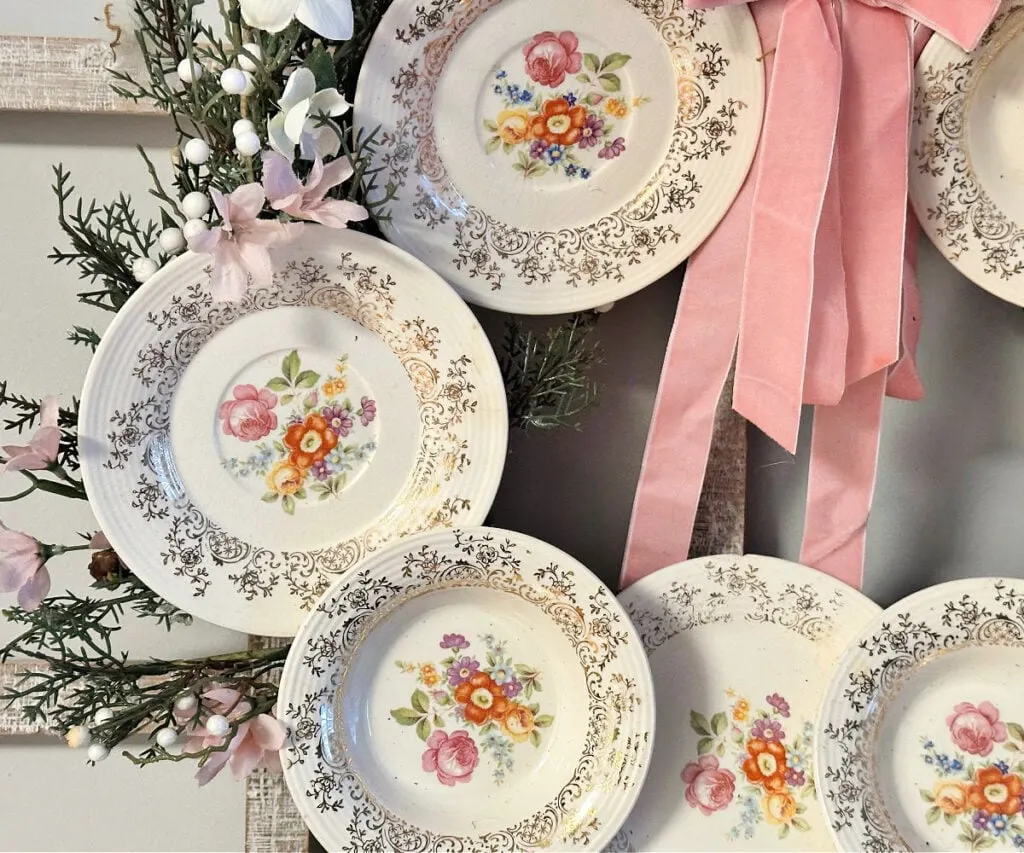

Step 5: Add Wire for Hanging
Secure a piece of wire to the back to hang your wreath. Then step back and admire your creativity.

Where to Hang a Plate Wreath
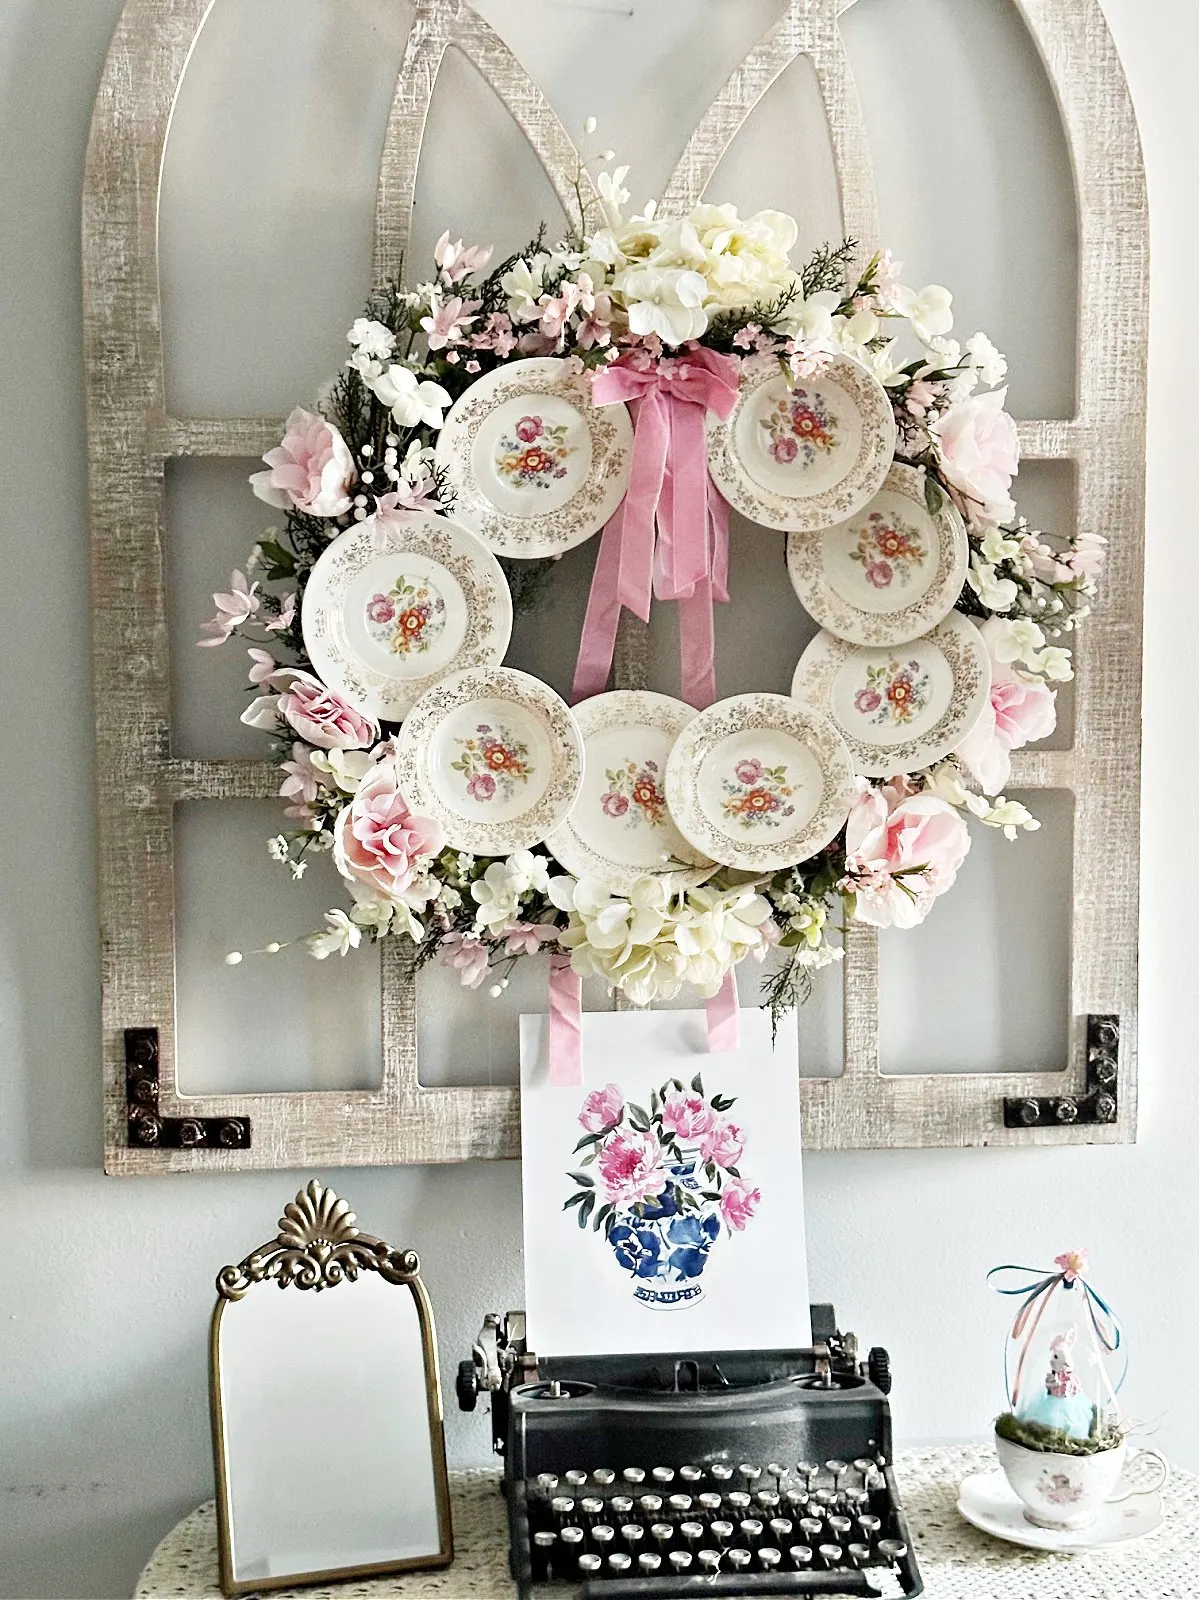
There are so many ways to enjoy this wreath. I could see it hanging in a dining room or a bedroom. It would also look lovely on an old window.
I chose to hang mine on an oversized wooden arch, and I love the added dimension.

Common Mistakes and How to Avoid Them
- Skipping the layout step. Placing the plates first helps you see gaps and avoid running out of room for the bow.
- Using dishes that are too heavy. Heavy dishes can pull a wreath out of shape. Choose lighter pieces, or add E-6000 for extra hold.
- Using it outdoors. This method is for indoor wreaths that won’t be exposed to moisture. For a spot with more exposure, use plate hangers instead of glue.
- Rushing the back. Twist the pipe cleaners tightly and check that each plate feels secure before you add the flowers.
PIN FOR LATER
I’d love it if you would share this article with your friends on Pinterest by pinning the below image.
It helps my blog grow and doesn’t cost a thing! 🙂

Plate Wreath FAQ
Attach a pipe cleaner to the back of each plate with hot glue and cardboard. Then twist each plate onto a pre-made wreath, overlap them slightly, and add faux flowers and a bow.
A pre-made wreath is the fastest option. You can also use a wire wreath form, a grapevine wreath, or a foam wreath.
I use pipe cleaners, cardboard, and hot glue. For heavy dishes, add E-6000, or use plate hangers.
Yes. Use the same steps for Christmas, fall, a bridal shower, or a Mother’s Day gift. Just change the plates, ribbon, and florals.
I made mine for indoor use, away from moisture. If you’d like one outdoors, the glue method may not hold up, so plate hangers are a safer choice.
Thrift Store Decor Tour
Now, it’s time to hop on over to see the rest of the Thrift Store Decor Tour. You can take the tour by clicking the links below the “before” makeovers photo collage.

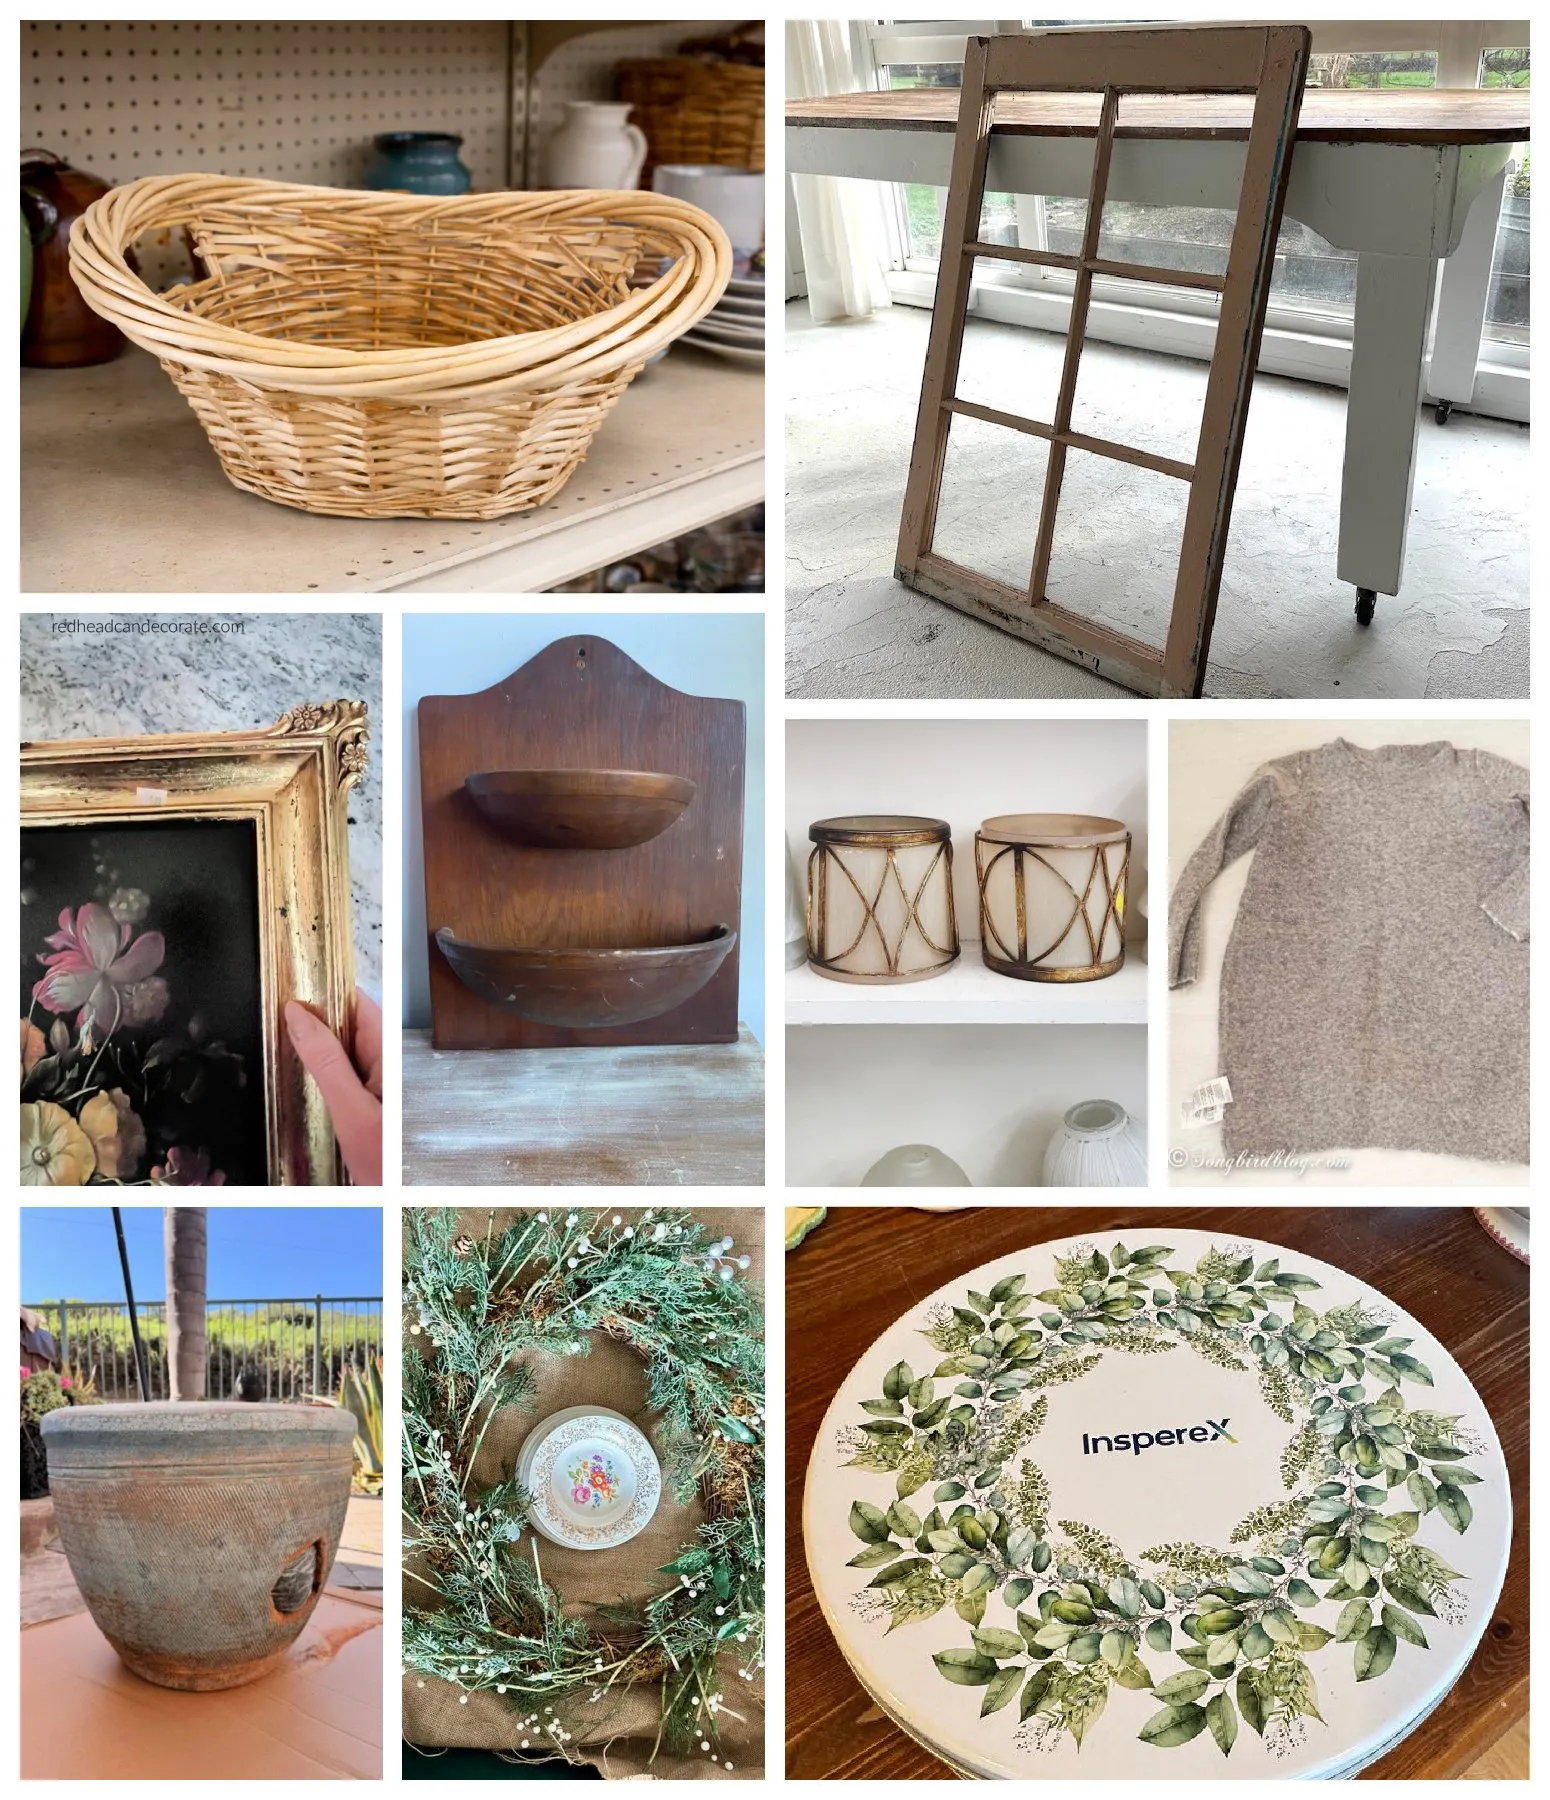
- My Repurposed Life Thrift Store Basket Makeover
- Funky Junk Interiors DIY Window Wood Coffee Table With Storage
- Redhead Can Decorate Gorgeous Thrift Store Gold Framed Floral Print
- Shop At Blu Modern Use for a Vintage Wood Wall Pocket
- Sadie Seasongoods Chic and Upcycled Light Shades
- Songbird Easter Bunny Treat Bags
- My Uncommon Slice of Suburbia Aged Stone Planter
- Our Crafty Mom How to Make a DIY China Plate Wreath
- Exquisitely Unremarkable Tin Top Wall Clock
Thanks so much for stopping by. Happy thrifting!
More Wreath and Thrift Store DIY Ideas
- 25+ Beautiful DIY Spring Wreaths
- 35+ Repurposed Yard and Garden DIY Projects
- 19+ Repurposed Cardboard Crafts
- 35 Tin Can Crafts
- Fabric Covered Flower Pots
- Repurposed Garden Planters


Follow me on social media below:
Julie
Sunday 15th of February 2026
Absolutely beautiful, Michelle! One of my most favorite to date!!!
Michelle James
Thursday 19th of February 2026
Thanks so much Julie. It was much easier than I anticipated to make. :)
Sarah @ Sadie Seasongoods
Friday 13th of February 2026
Isn't that so pretty? It makes me think of Spring tea parties- floral, delicate, and feminine!
Michelle James
Thursday 19th of February 2026
yes! I was thinking it would be great for a tea party!
Sue at Blu
Friday 13th of February 2026
Michelle, this is on my list too! But I love your spin with the flowers. And that pink velvet bow is fabulous. Pinned.
Michelle James
Thursday 19th of February 2026
I'd love to see your spin on one. There are so many cool variations!
kristin
Wednesday 11th of February 2026
This is super cute! I love how you displayed them, what a great idea!
Michelle James
Thursday 19th of February 2026
thanks so much!
Gail Wilson
Wednesday 11th of February 2026
Michelle,
Three bucks for all of those plates? What a deal. Adding the florals really makes this wreath shine. Great project, detailed tutorial, thank you!
Pinned!
gail
Michelle James
Thursday 19th of February 2026
thanks so much Gail! I have had great luck at Goodwill lately!