
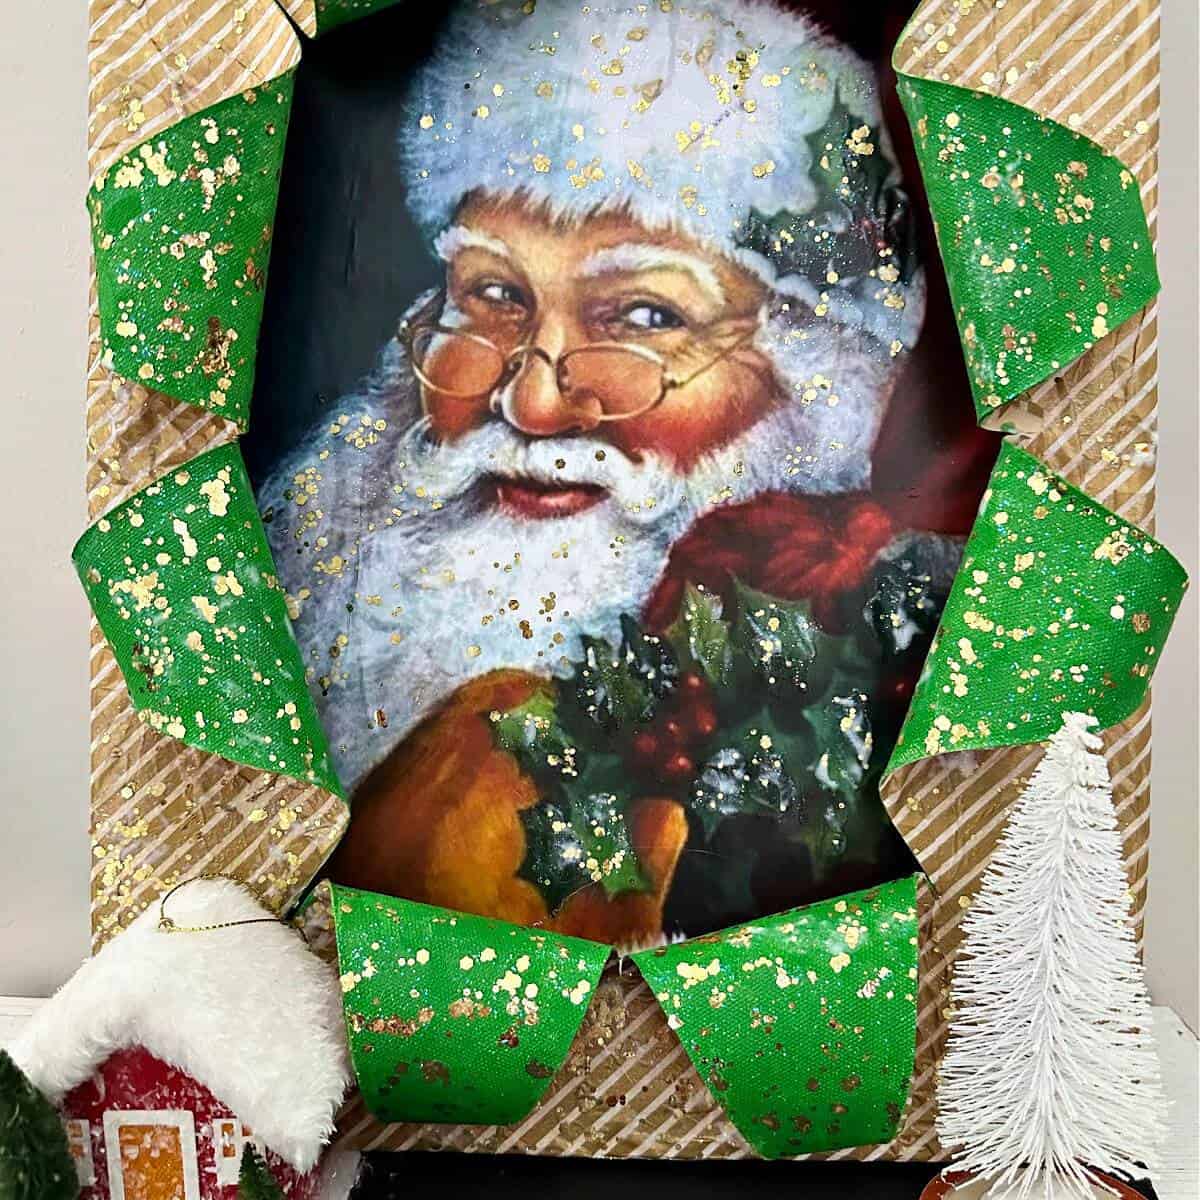
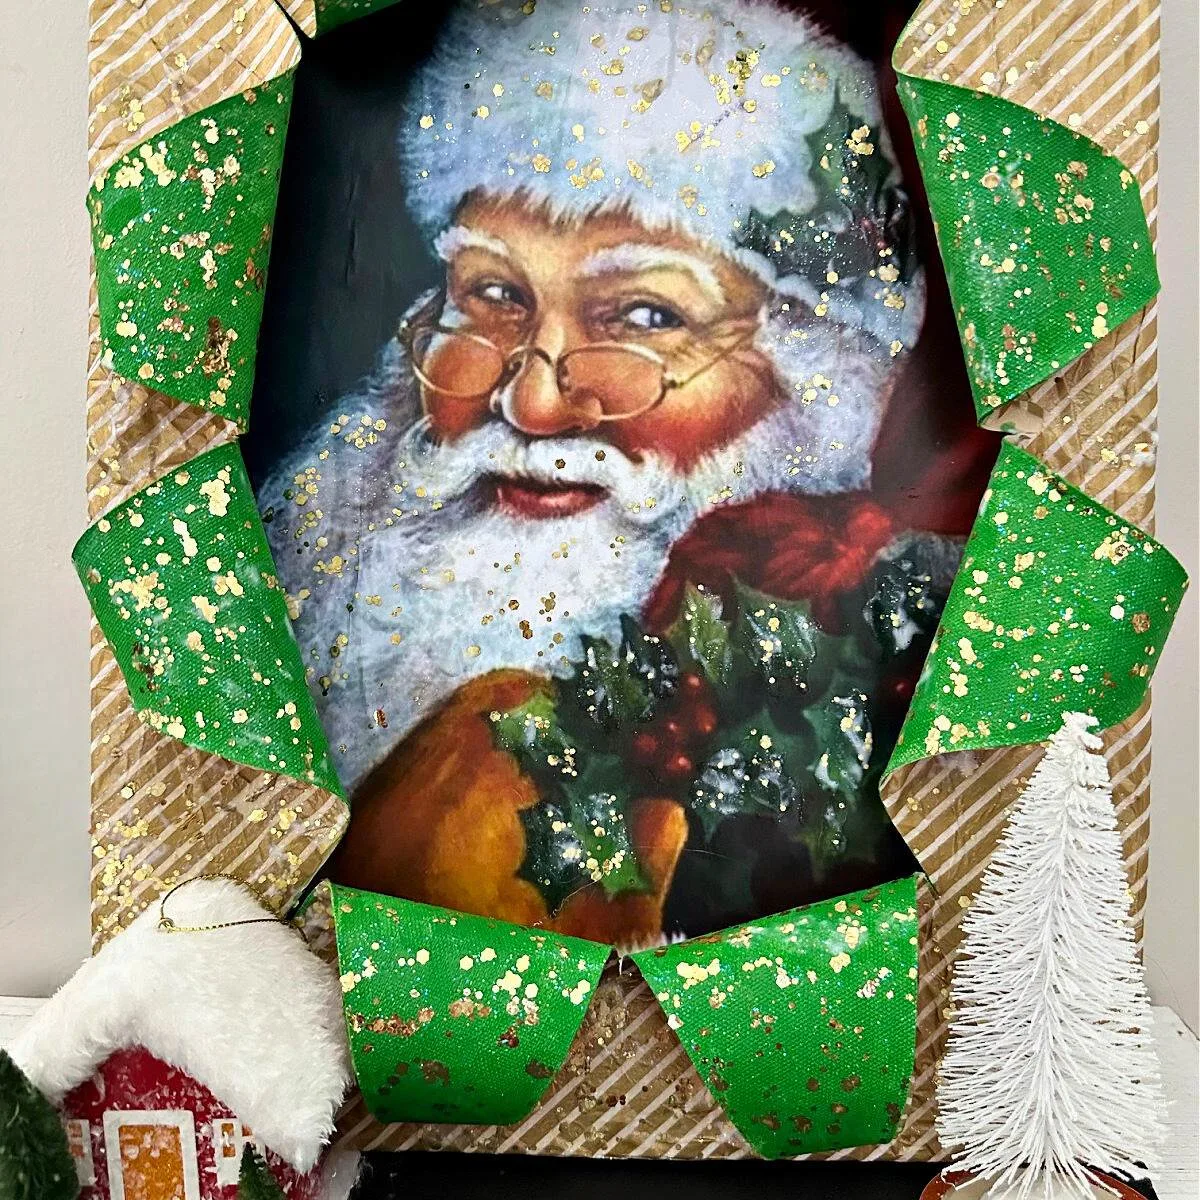
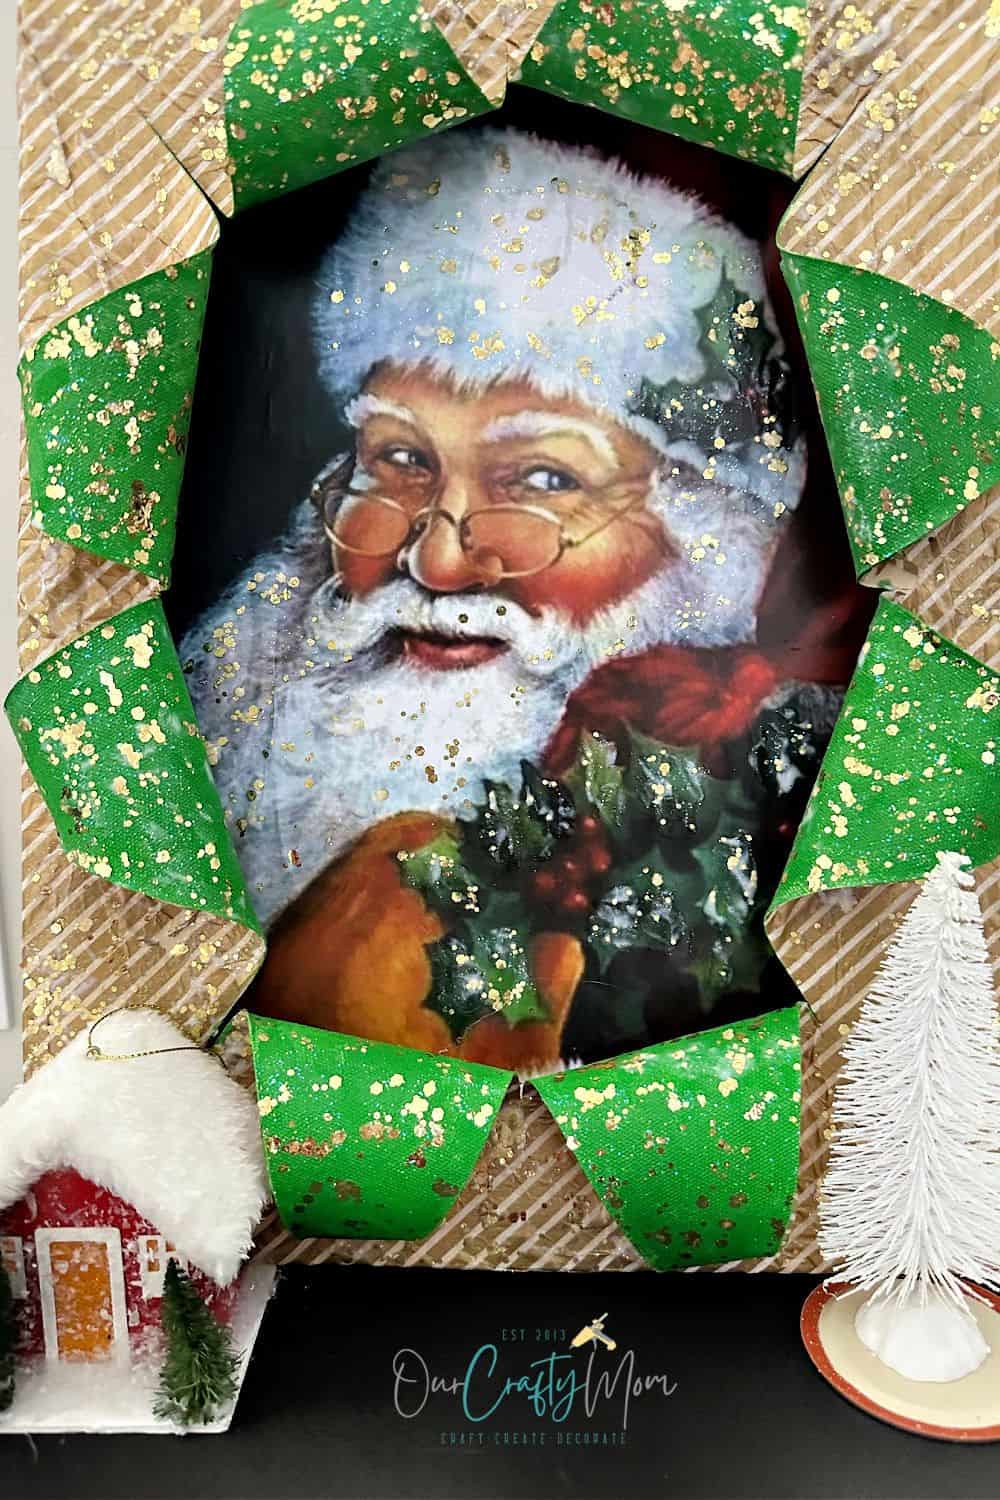
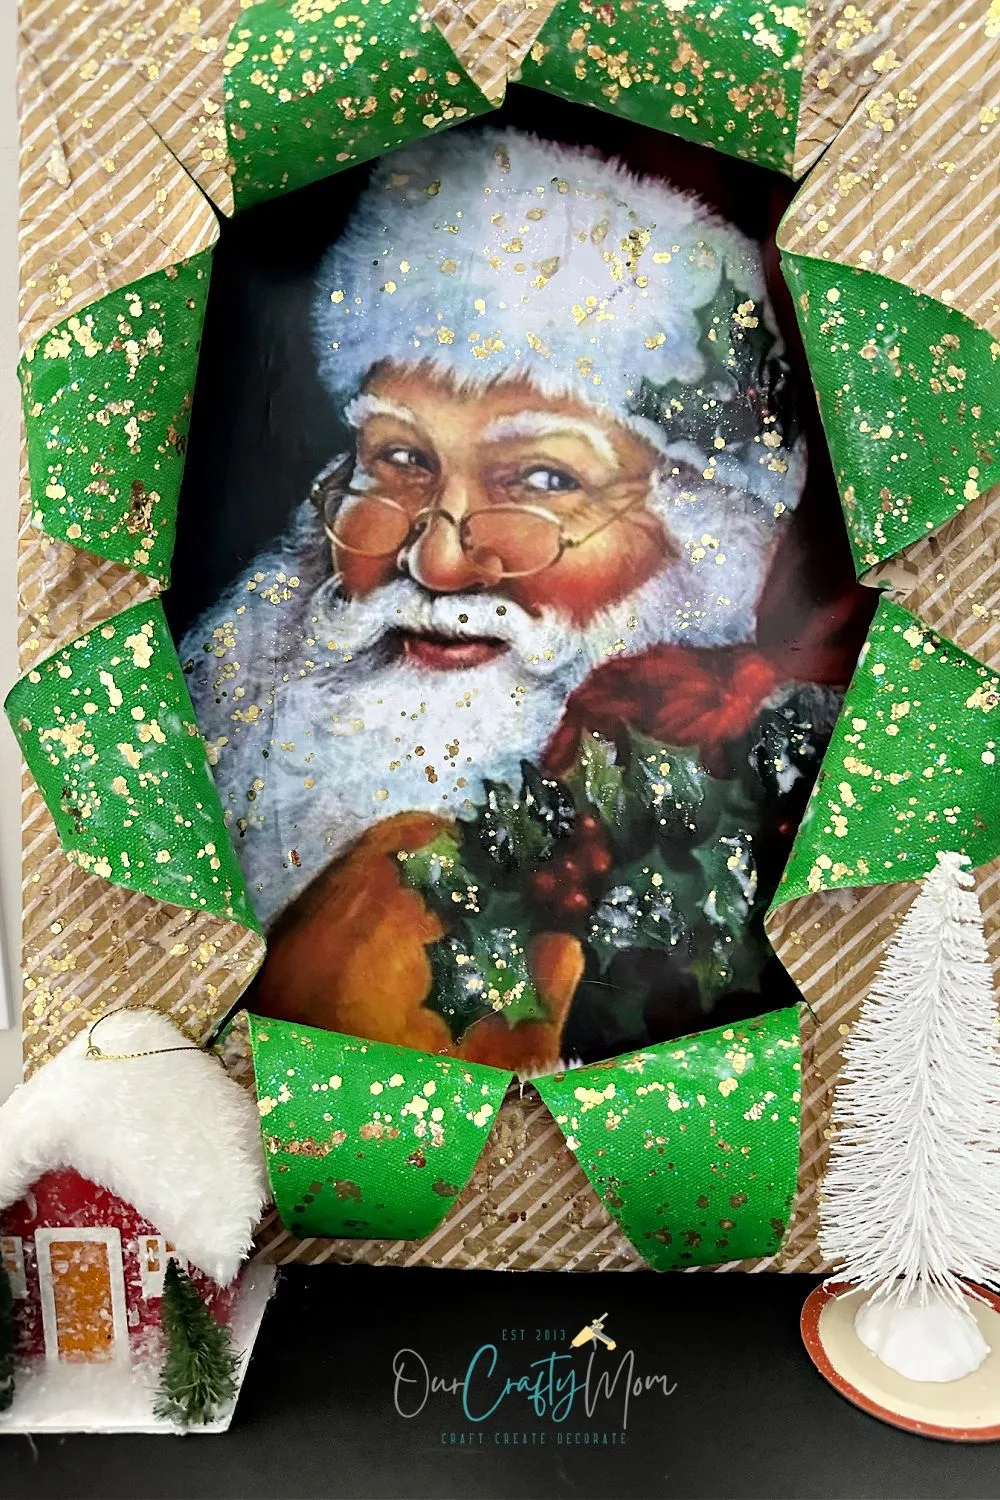
Learn how to make a busted canvas with this easy step-by-step Christmas tutorial. Includes a free vintage Santa printable to get started!
This post contains affiliate links. This means if you click the link and buy something, I may receive a percentage of sales at no extra cost to you. Please see my full disclosure here. Thanks for supporting Our Crafty Mom!
🎄 What You’ll Learn in This Post
Table of Contents
- The step-by-step process for making a busted canvas, perfect for holiday decorating
- Practical tips and techniques for working with canvas, gesso, tissue paper and Mod Podge like a pro
- The key benefits of this budget-friendly canvas craft and the common beginner mistakes to avoid
- How to get your free vintage Santa printable to jumpstart your Christmas project
Busted Canvas Crafts DIY
I’ll admit it: I’m hooked on the viral trend called #bustedcanvas (you may also see it called #explodingart).
A busted canvas is a craft where a stretched canvas looks torn or curled back to reveal a second layer underneath, usually a printed image or patterned paper. It is seriously fun and slightly addictive!
Learning how to make a busted canvas takes several steps, so it is a little time consuming, but it is not difficult at all.
The first one I made was a Halloween busted canvas craft, and it went crazy on Pinterest. So I thought I would share some Christmas busted canvas ideas with you.
The best news is that I’m sharing the FREE Christmas printable so you can make your own for cheap! Scroll to the end of this post for the link to download the vintage Santa printable.
Jump to: Supplies | How to Make a Busted Canvas | Tips | Mistakes to Avoid | FAQ | Free Printable
Why Make Busted Canvas Art? (Key Benefits)
Before we get into the steps, here is why I love this craft so much:
- It’s budget-friendly. You can use inexpensive canvases and boards from Dollar Tree, and the printable is free.
- It looks high-end. The layers, glitter and dimension look like something from a boutique.
- It’s endlessly customizable. Swap the image and papers and you can make one for any season. I’ve done Halloween, and you can check out my free Halloween images for busted canvas and decoupage crafts too.
- It makes a great gift. A handmade Christmas canvas is a perfect present, and a fun one to sell at holiday markets. If that sounds like you, browse my list of 35 easy Christmas crafts to make and sell.
Supplies for Busted Canvas Crafts DIY
- 11×14 stretched canvas. I also used 8×10 stretched canvases from Dollar Tree for the smaller ones.
- 11×14 canvas board or 8×10 canvas boards from Dollar Tree
- Tissue paper. I used gold striped tissue paper from Dollar Tree.
- Cardstock, decorative paper or paint. For more dimension and texture, use at least two designs.
- Mod Podge. I went with gloss for the paper.
- Mod Podge Gold Glitter. This was my first time trying it and I’m obsessed!
- Chalky gesso
- Heat gun
- Craft knife. I love the Cricut knife kit.
- Foam brush
- Hot glue gun (and E-6000 as backup)
- The free Santa printable (download below)
How to Make a Busted Canvas: Step-by-Step
Here are the 6 steps for making a busted canvas. I’ll go through each one separately below.
- Paint the main canvas
- Add tissue paper with Mod Podge
- Decorate the back of the main canvas
- Decorate the flat canvas board
- “Bust” the canvas
- Glue the canvas to the board
Once you make your first one, you will be a pro! I’ve also included a printable craft card at the bottom of this post. Please ask any questions in the comments and I’ll do my best to answer.
To start, gather your supplies and protect your table with a craft mat or paper. For this tutorial I’m focusing on the larger 11×14 vintage Santa busted canvas, but you can follow the same process for the smaller canvases.
Step 1. Paint the stretched canvas
Cover the stretched canvas with beige chalky gesso using a foam brush. You can leave the canvas white, but I wanted a beige tone to blend better with the gold striped tissue paper.
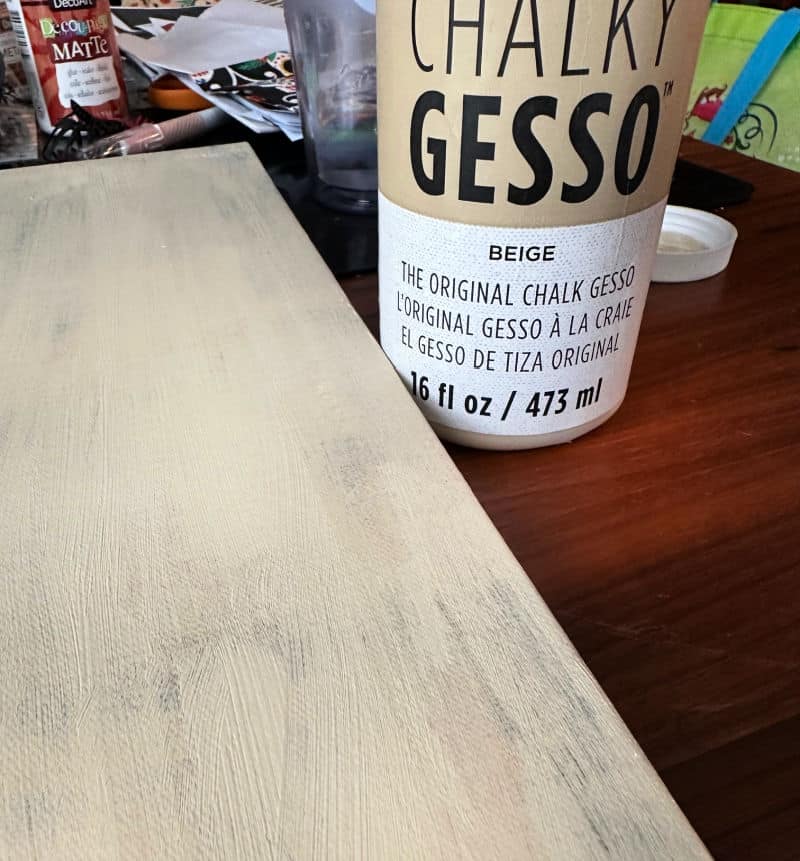
One solid coat is all you need. Let it dry. I’m an impatient crafter, so I used my heat gun to speed this up.
Step 2. Add tissue paper with Mod Podge
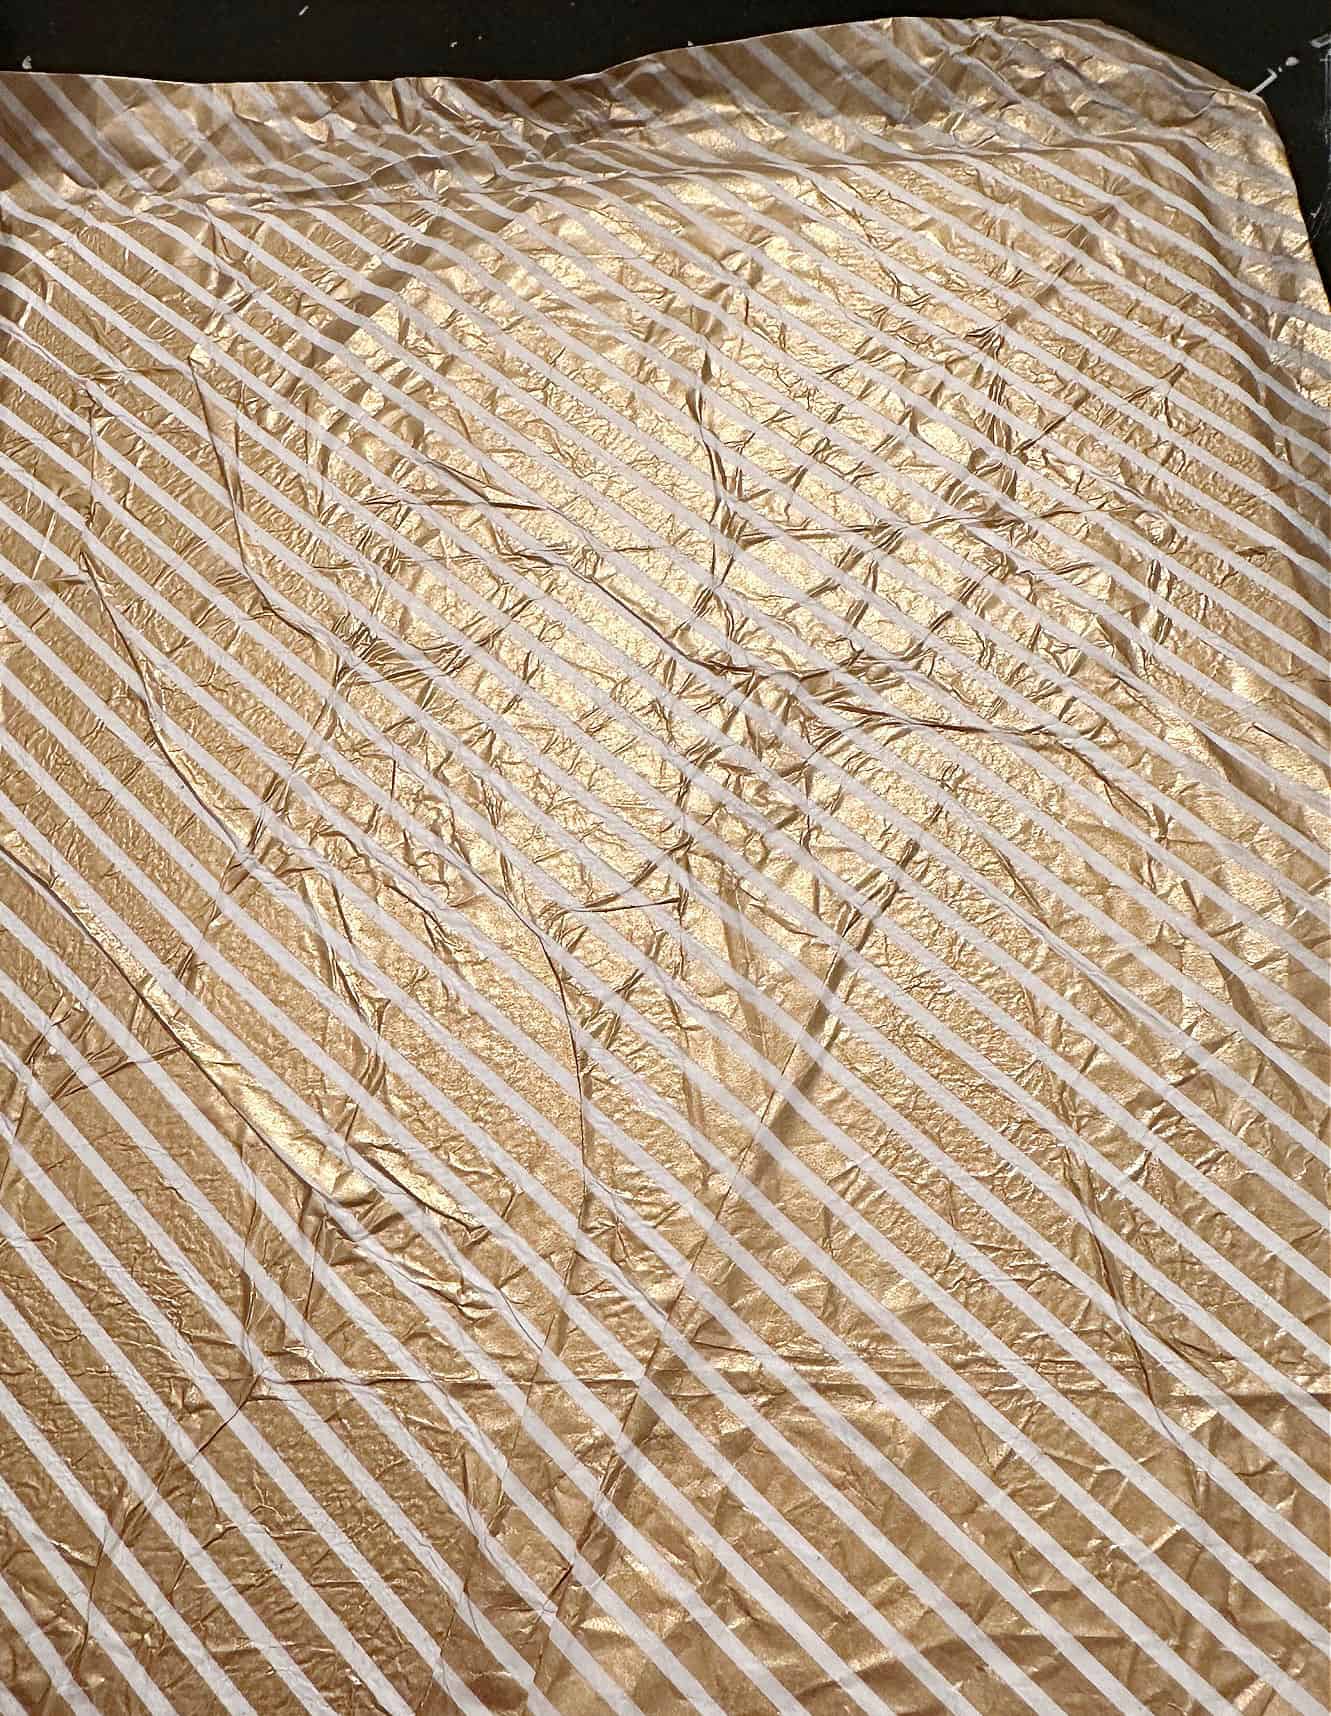
Cover the stretched canvas with a coat of Mod Podge. Roll the tissue paper into a ball, because you want those wrinkles for this technique. Unroll it, place it onto the canvas and pat it down. Trim any excess.
Step 3. Decorate the back of the stretched canvas
This is where you can really get creative. Use decorative craft paper, wrapping paper, or paint as I did below. Choose a design that coordinates with the front of the canvas. I went with a pretty festive green.
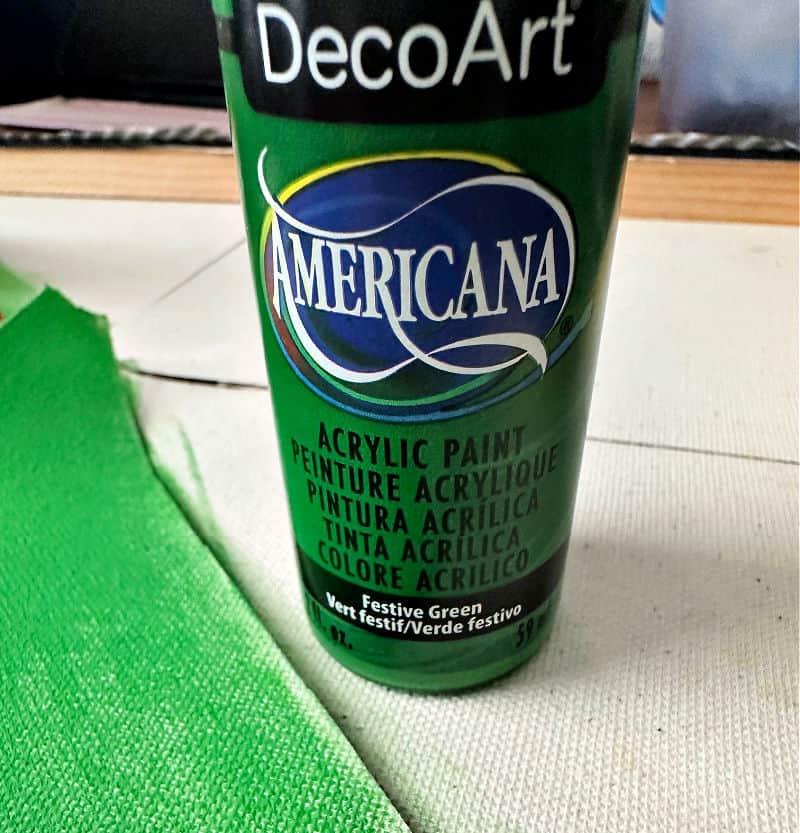
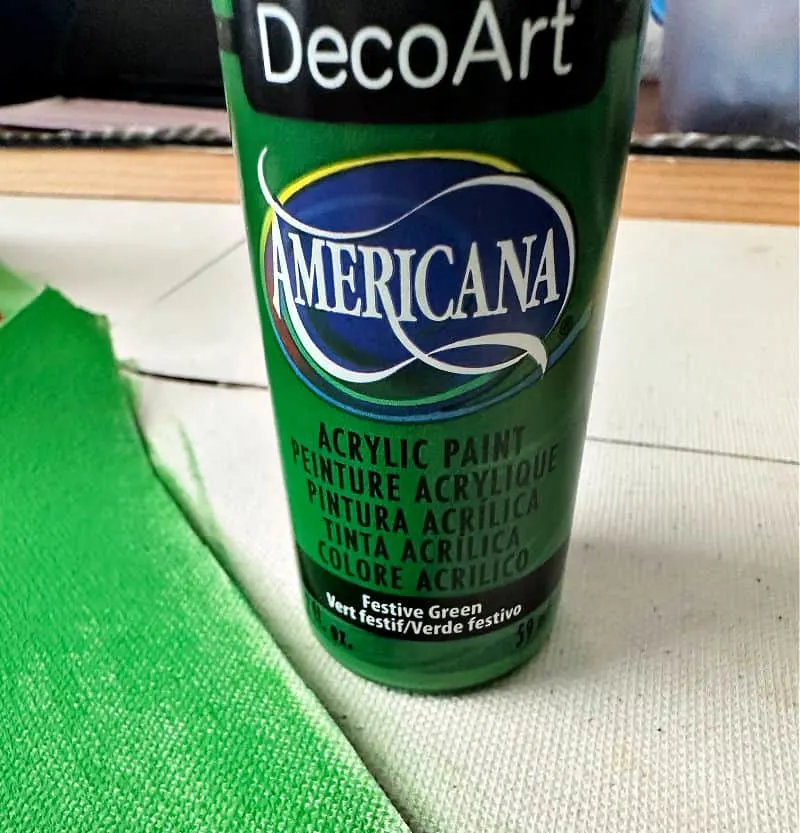
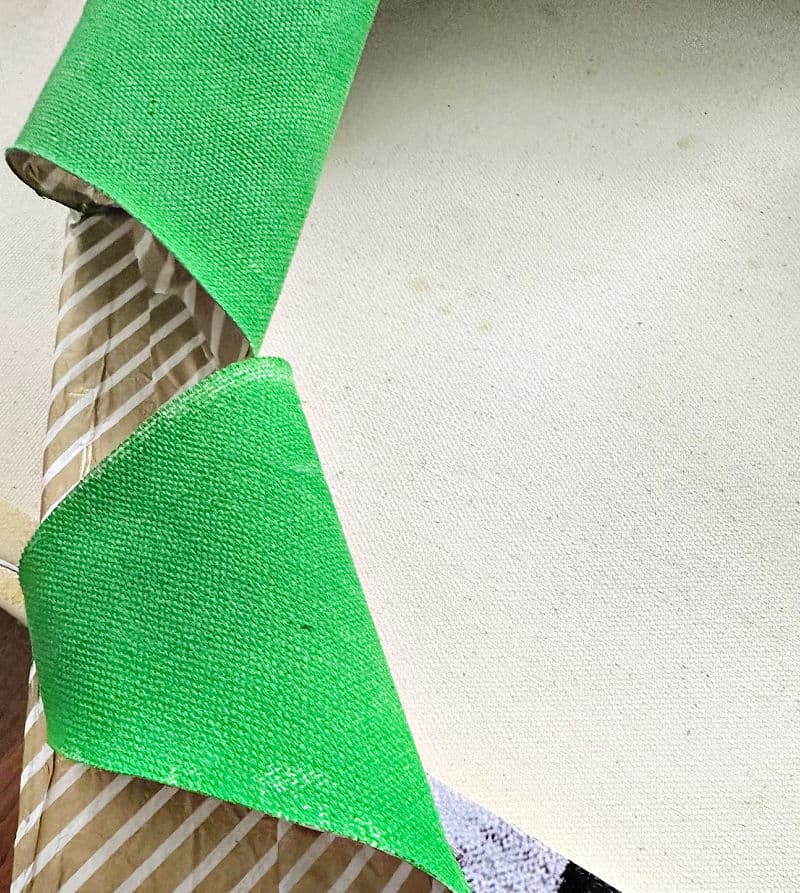
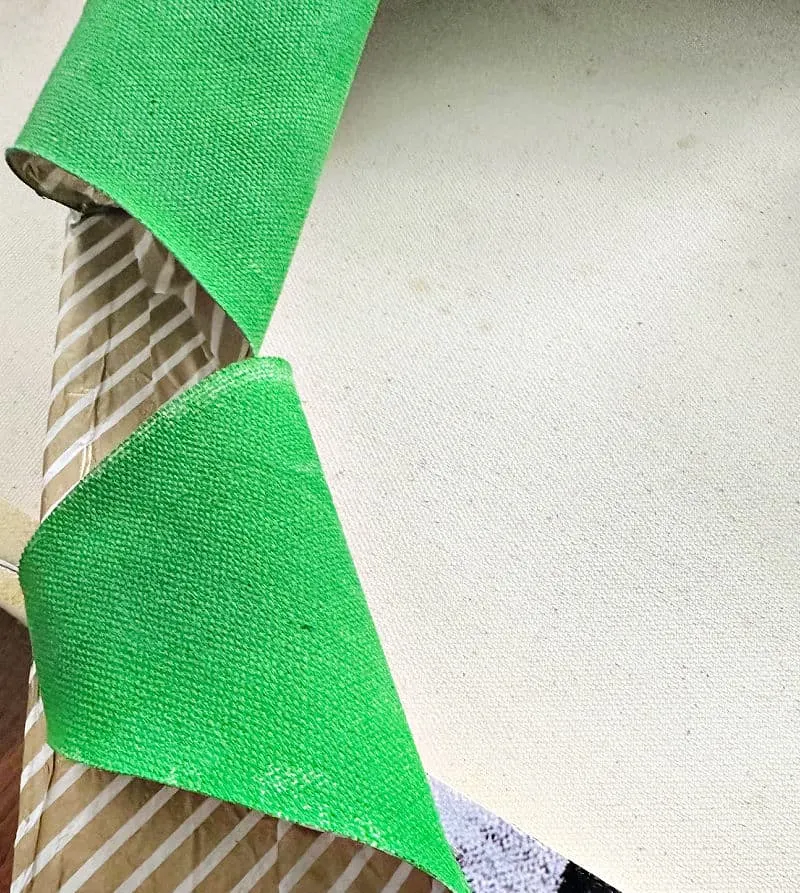
Painted canvas
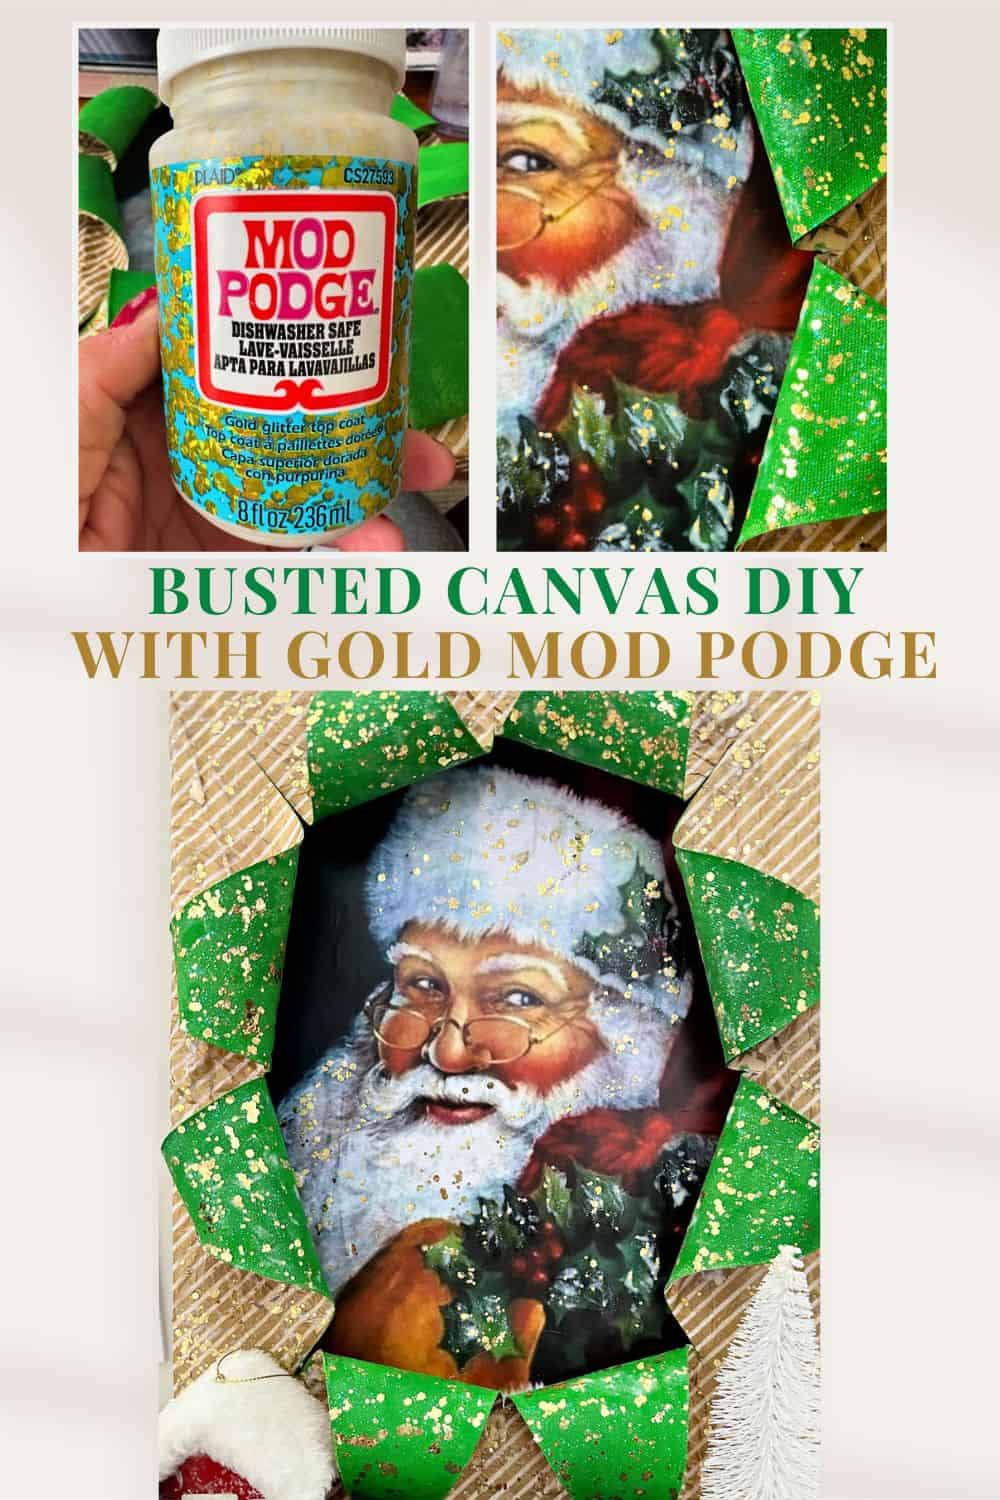
Canvas soaks up paint, so you’ll need at least two coats. What really took this to the next level was a top coat of Mod Podge Gold Glitter. I already have several ideas for other Christmas projects with it!
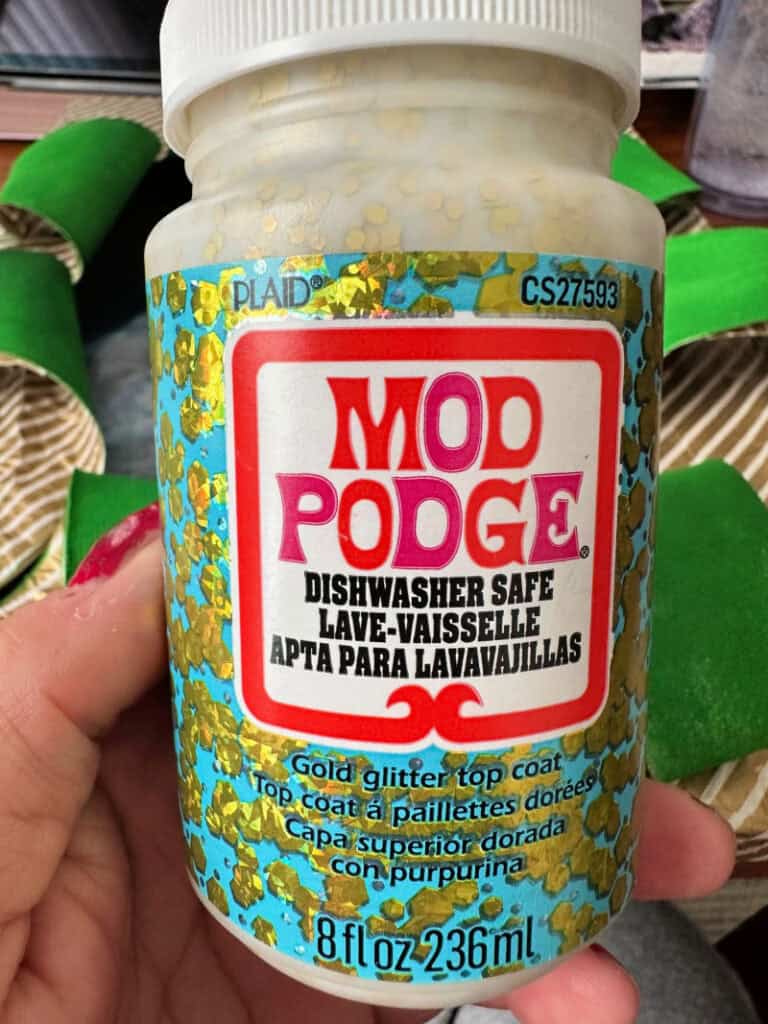
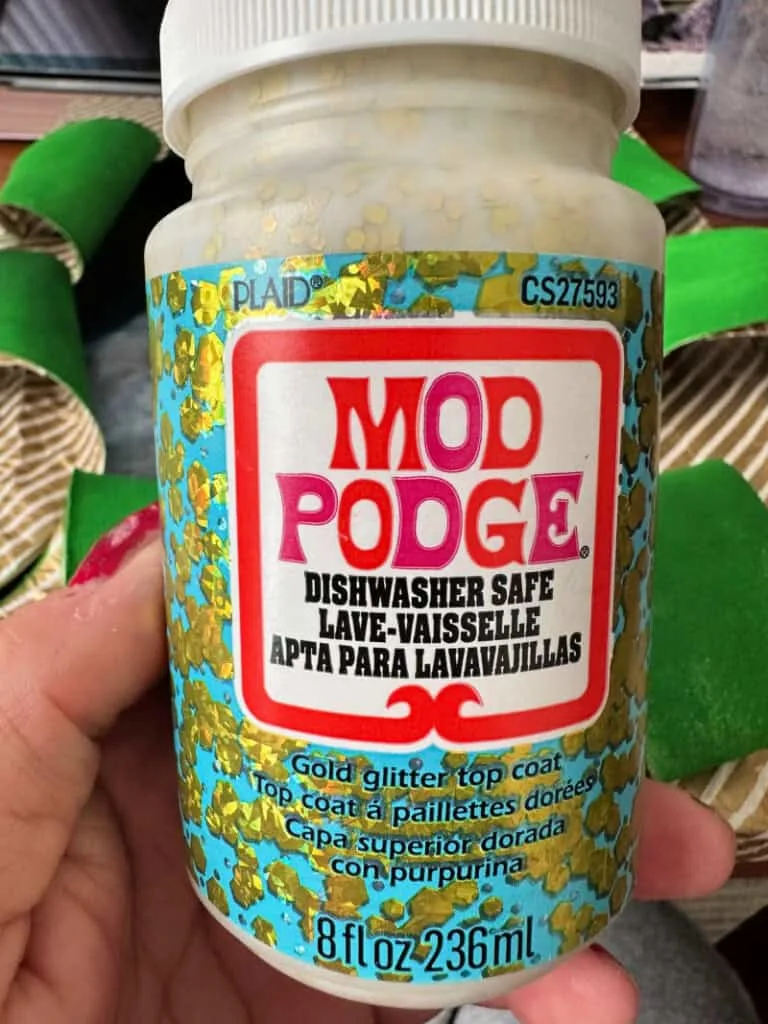
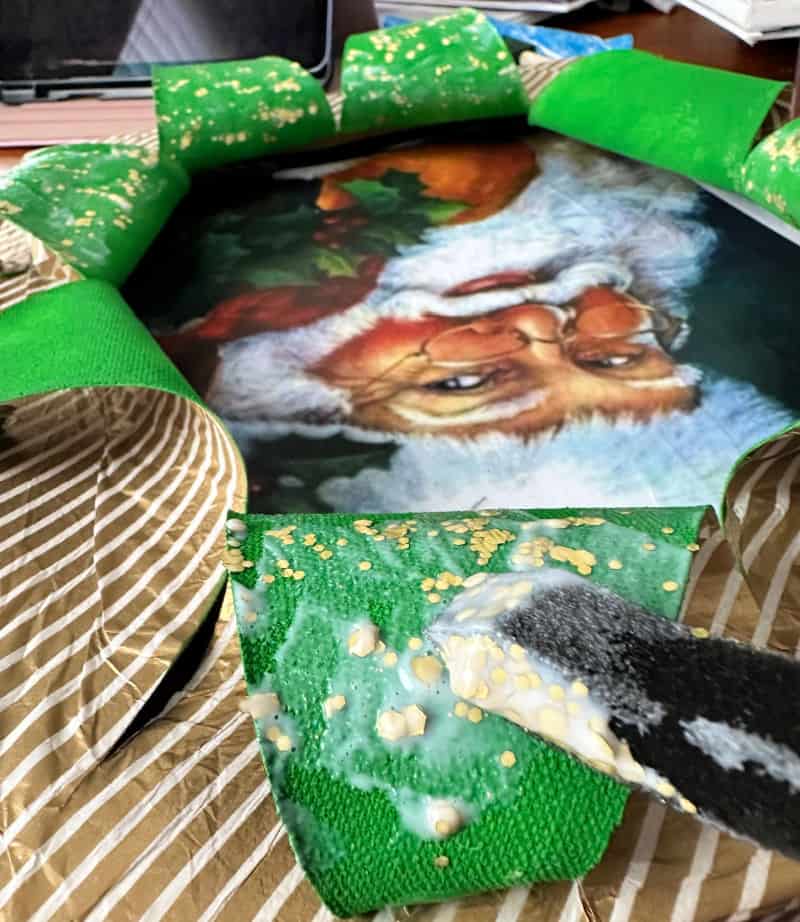
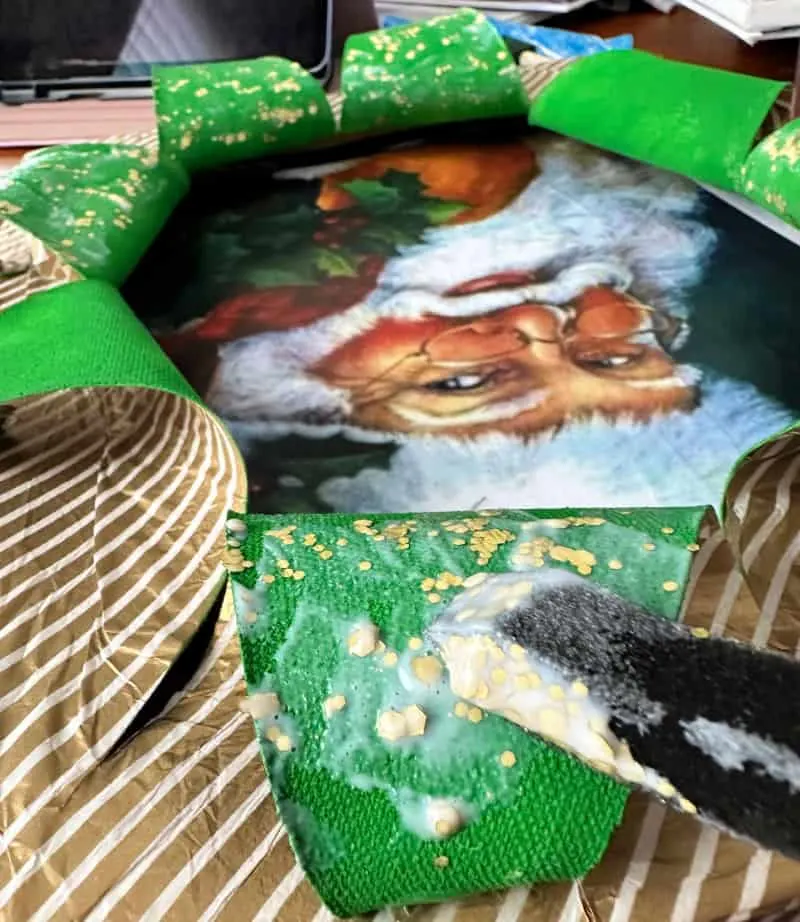
Adding glitter Mod Podge
If you’re using decorative paper instead, repeat the Mod Podge process from Step 2 to adhere it to the canvas.
Step 4. Decorate the flat canvas board
Next, decorate the canvas board with your Christmas printable. This is what shows through the opening, so you want it to pop.
Adhere the Santa image to the flat board with Mod Podge and smooth out any wrinkles. I also added a top coat of the gold glitter Mod Podge, which is totally optional.


Step 5. Bust the canvas
Now for the fun part: creating the exploding canvas!
Use a craft knife to find the center of the canvas and start cutting. Leave an inch or two around the edges.
You are basically cutting a star into the canvas: from the center to the top, the center to the bottom, and the center to each side. Then cut in between those pieces so you end up with 8 cuts.
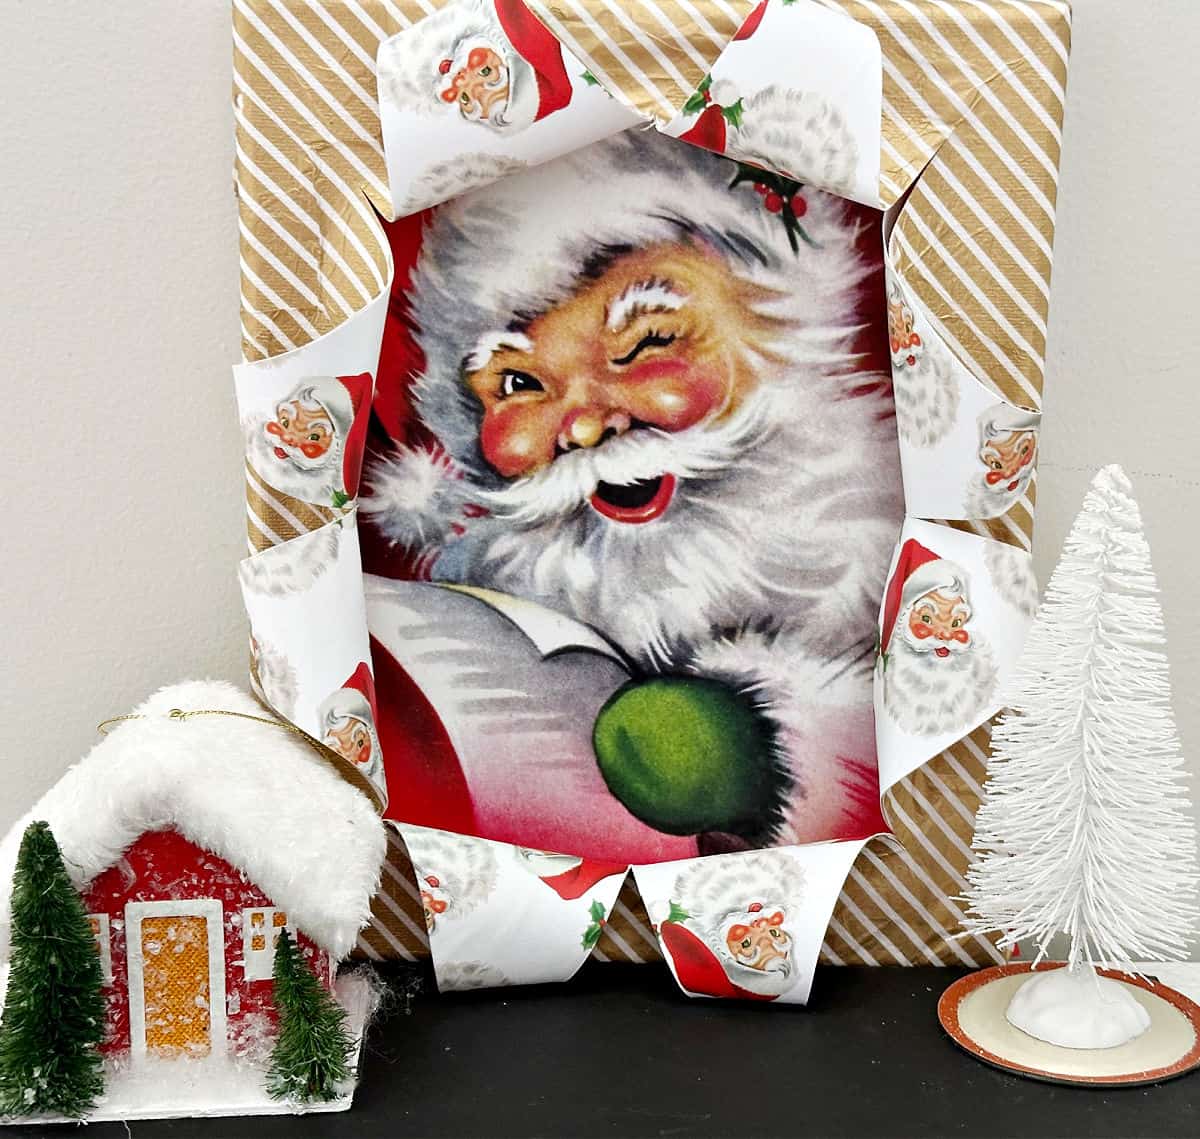
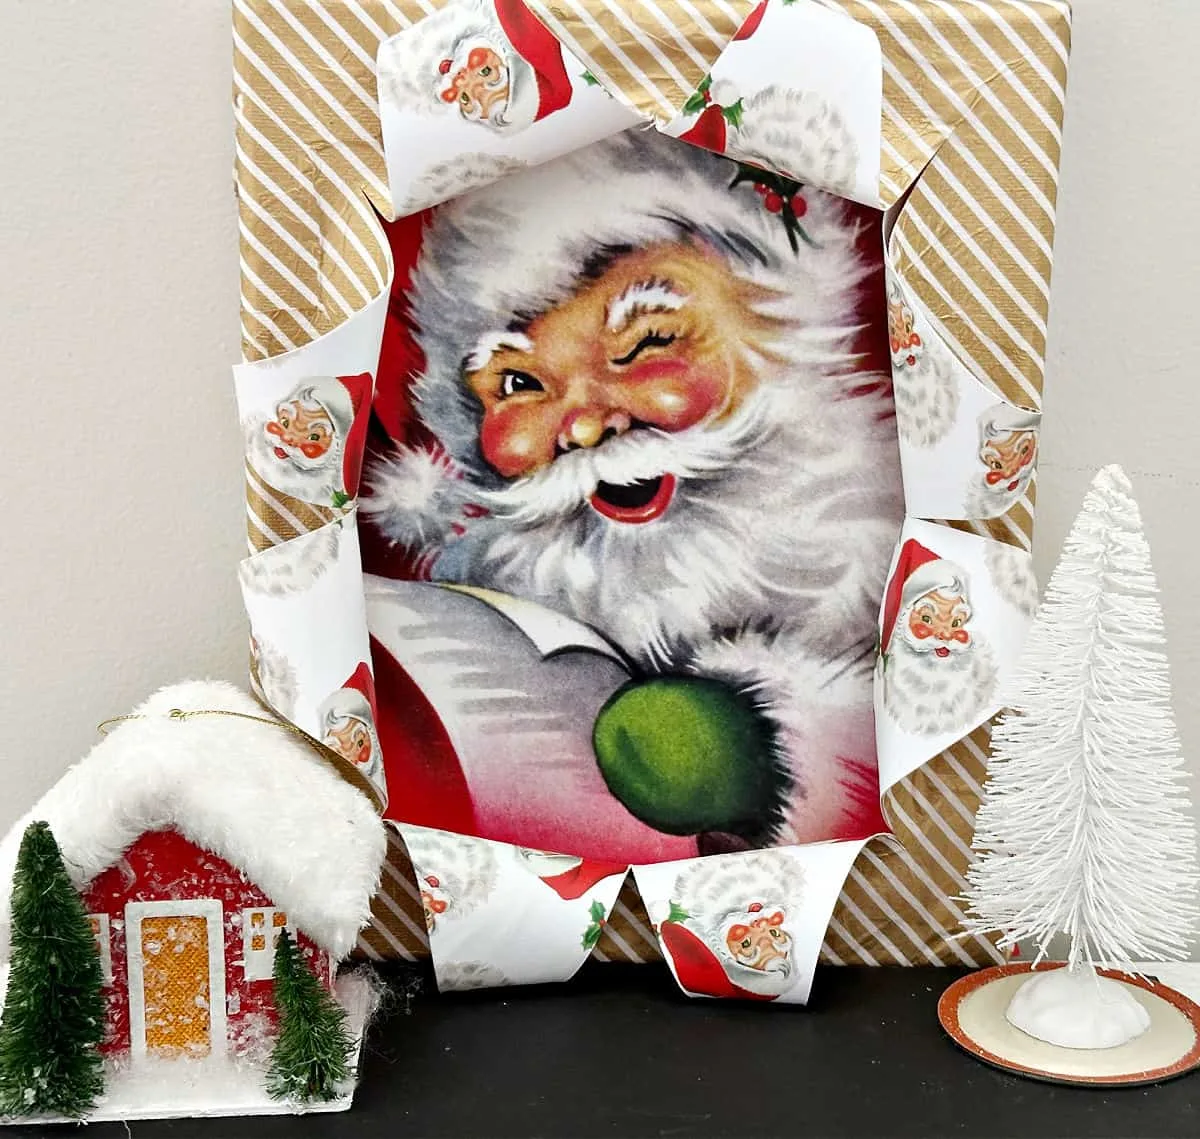
Secure the edges of the bust-out pieces with a bit of hot glue. You are curling the cut canvas back to reveal the beautiful Santa image underneath. Look how gorgeous:
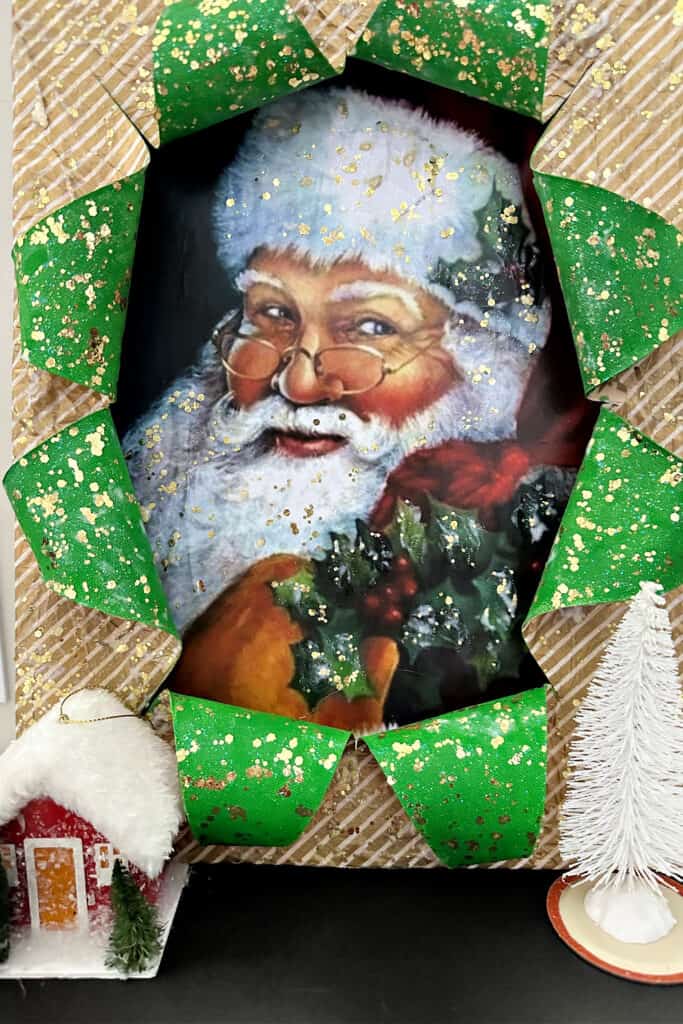
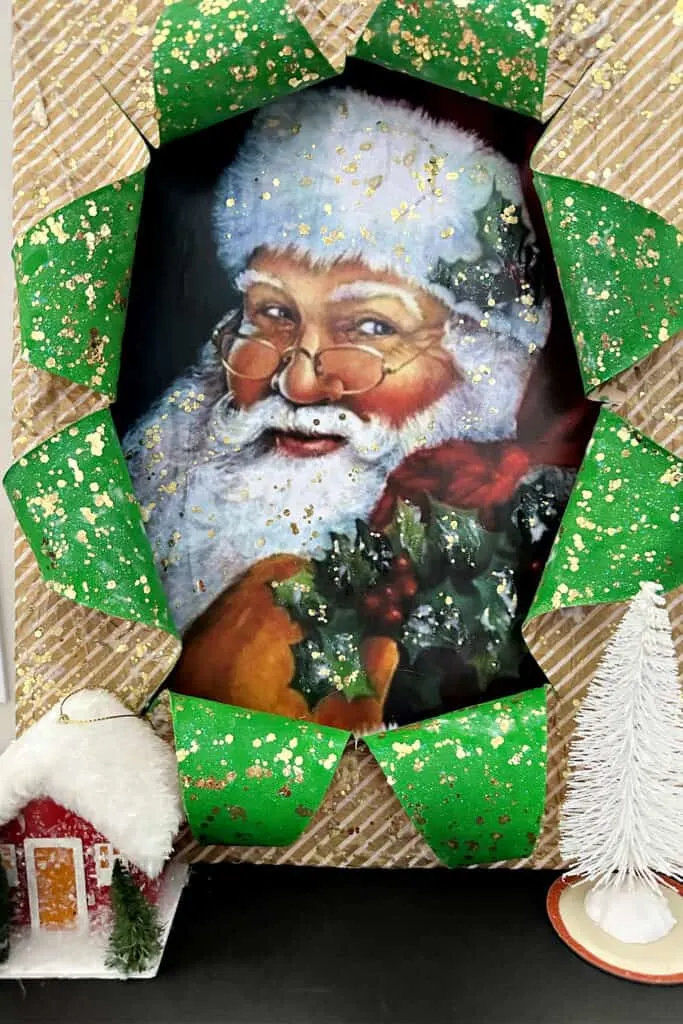
Step 6. Glue the canvas to the board
The final step is to glue the bottom board to the top canvas. I used hot glue, but if it doesn’t seem secure enough, add a bit of E-6000.
I’d love it if you would share this article with your friends on Pinterest by pinning the image below. It helps my blog grow and doesn’t cost a thing! 🙂
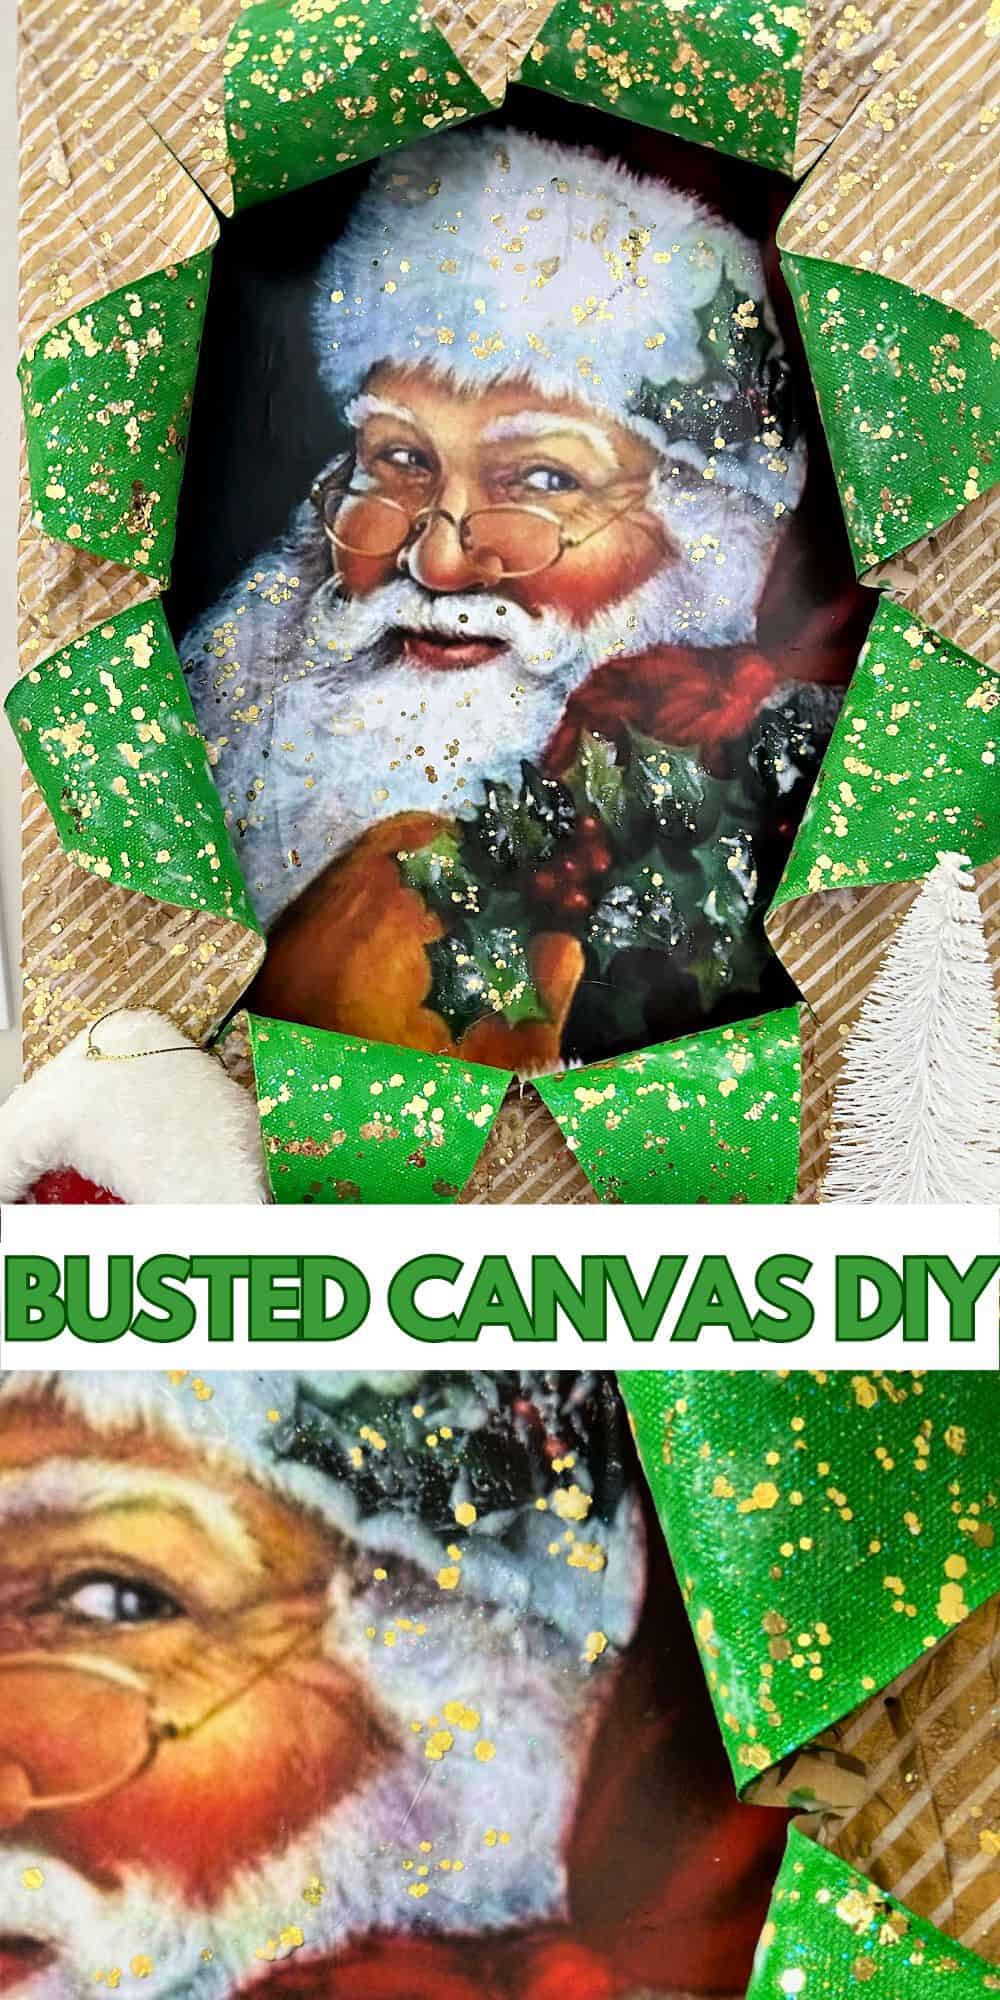
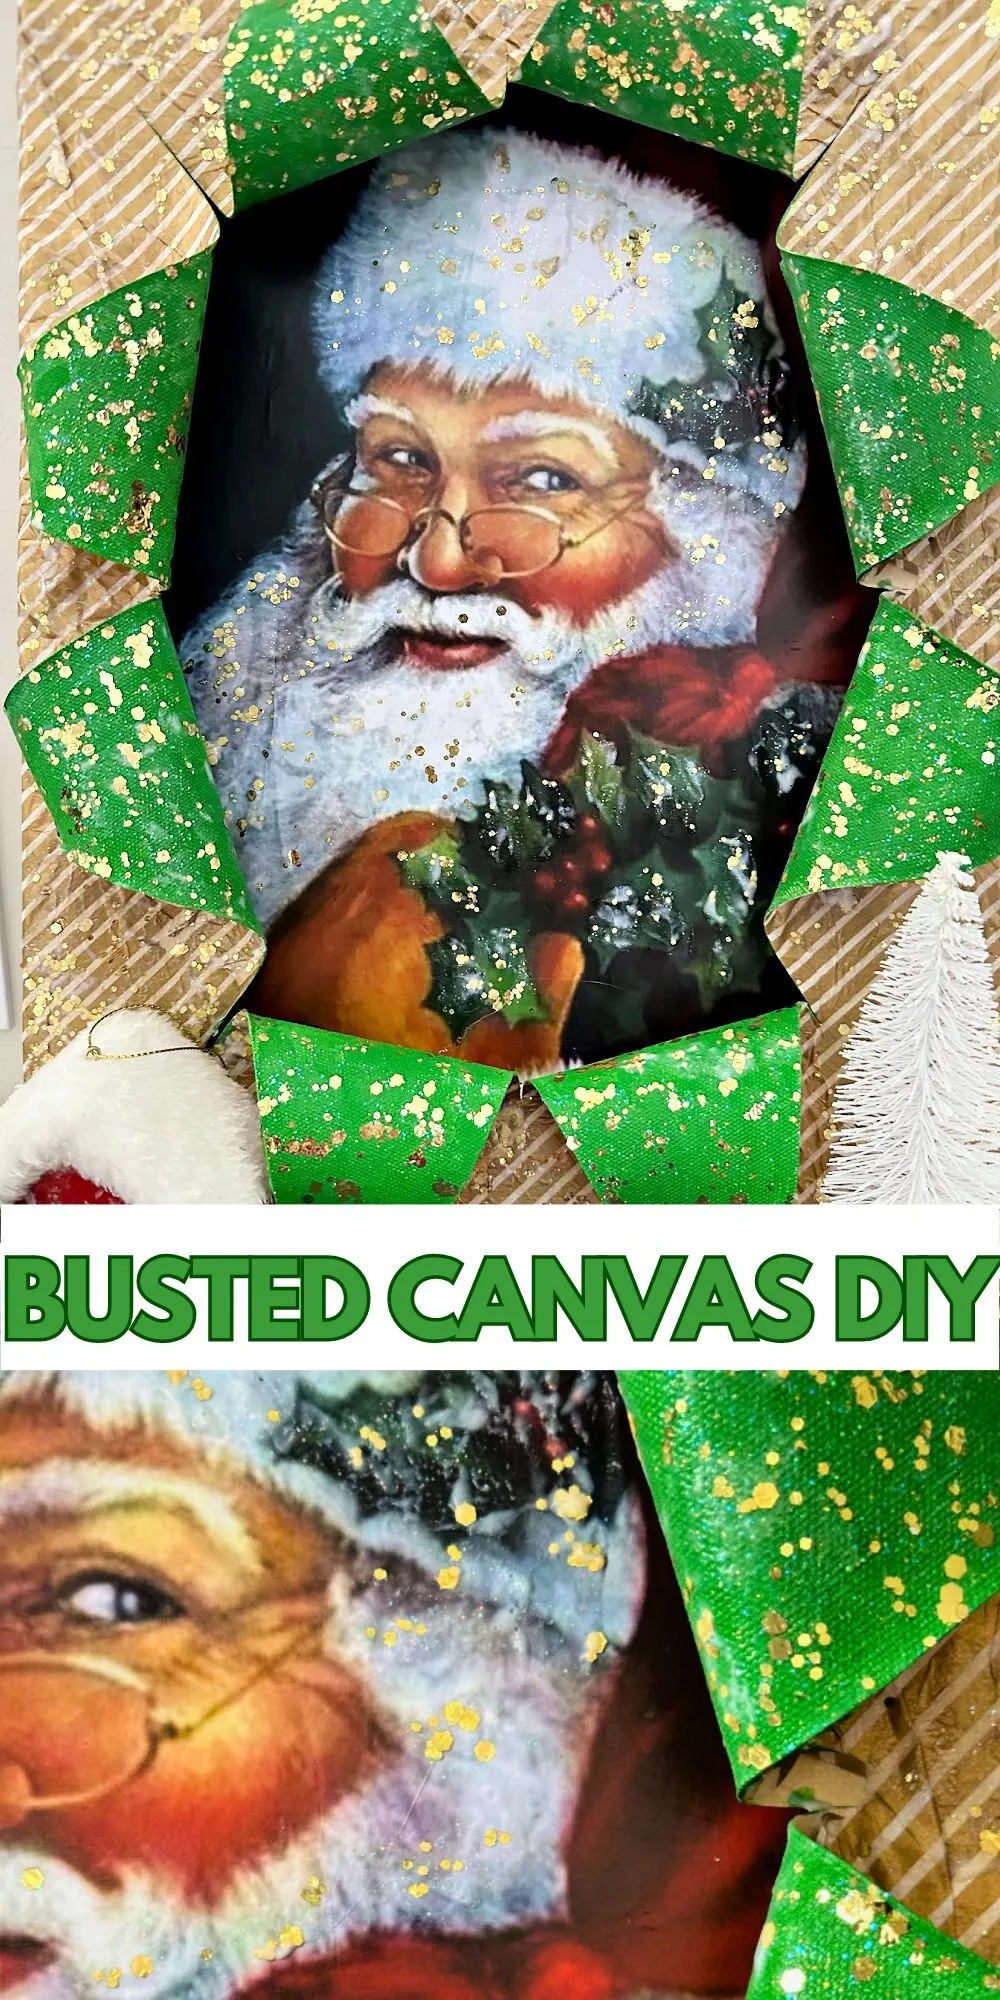
Tips for Crafts with Canvas
A few things I’ve learned that make canvas crafts easier:
- Wrinkle the tissue paper on purpose. The crinkled texture is what gives the front its vintage, aged look.
- Use a fresh craft knife blade. A dull blade snags and tears the canvas instead of cutting cleanly.
- Speed up drying with a heat gun. Just keep it moving so you don’t scorch the paper or warp the canvas.
- Pick contrasting layers. Choose a back design that’s a different color from the front, so the busted edges stand out.
- Go small first. Dollar Tree 8×10 canvases are a low-risk way to practice your cuts before you move up to 11×14.
Common Busted Canvas Mistakes to Avoid
- Cutting too close to the edge. Leave at least an inch or two of border so the canvas keeps its shape.
- Skipping the second coat of paint. Canvas is thirsty, and one coat looks streaky once the edges curl back.
- Adding the printable last. Adhere your image to the flat board before you glue the two canvases together, or you won’t be able to smooth out wrinkles.
- Using too little glue on the curled edges. If the bust-out pieces won’t stay put, add a bit more hot glue at the tips.
- Rushing the drying time. Wet Mod Podge under tissue paper can bubble and wrinkle in the wrong way.
More Busted Canvas Ideas
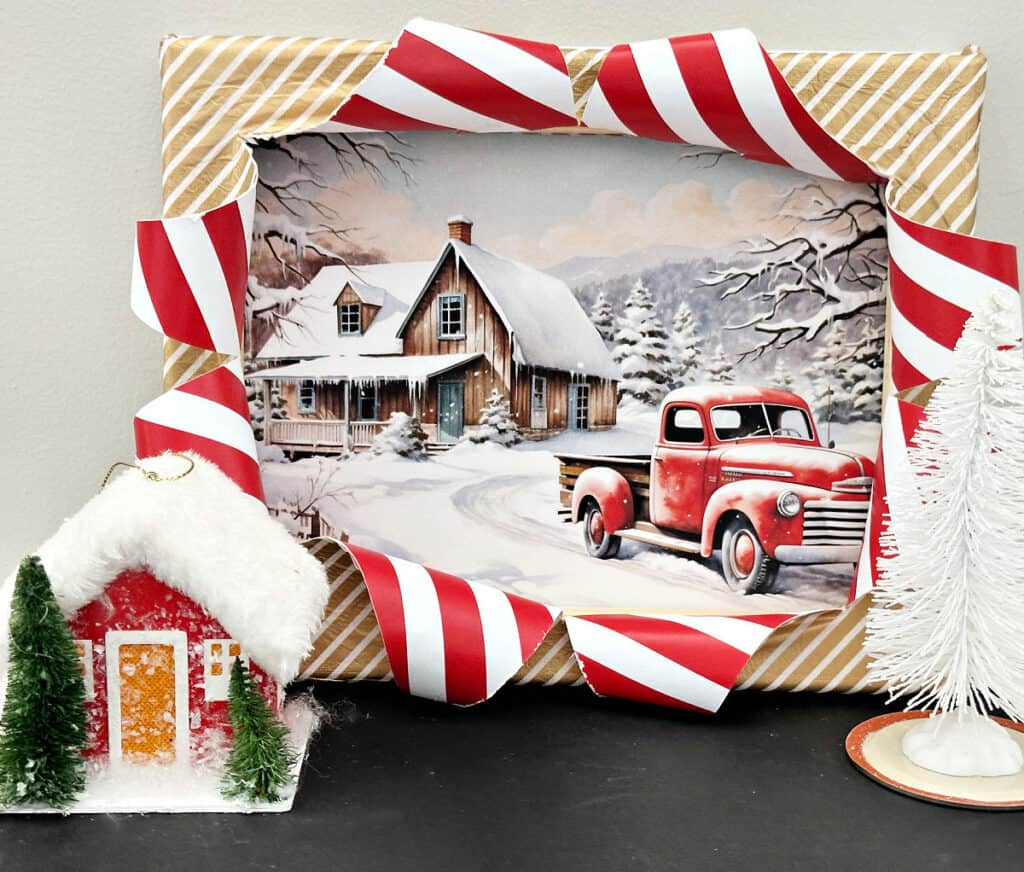
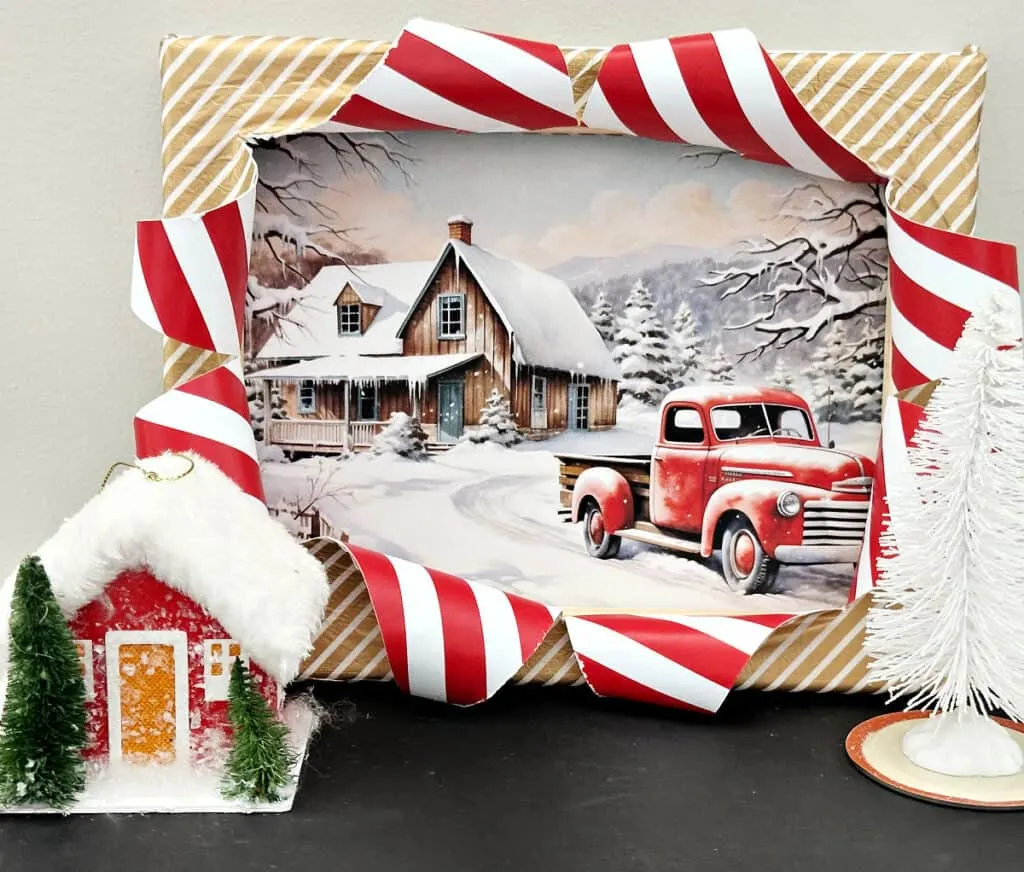
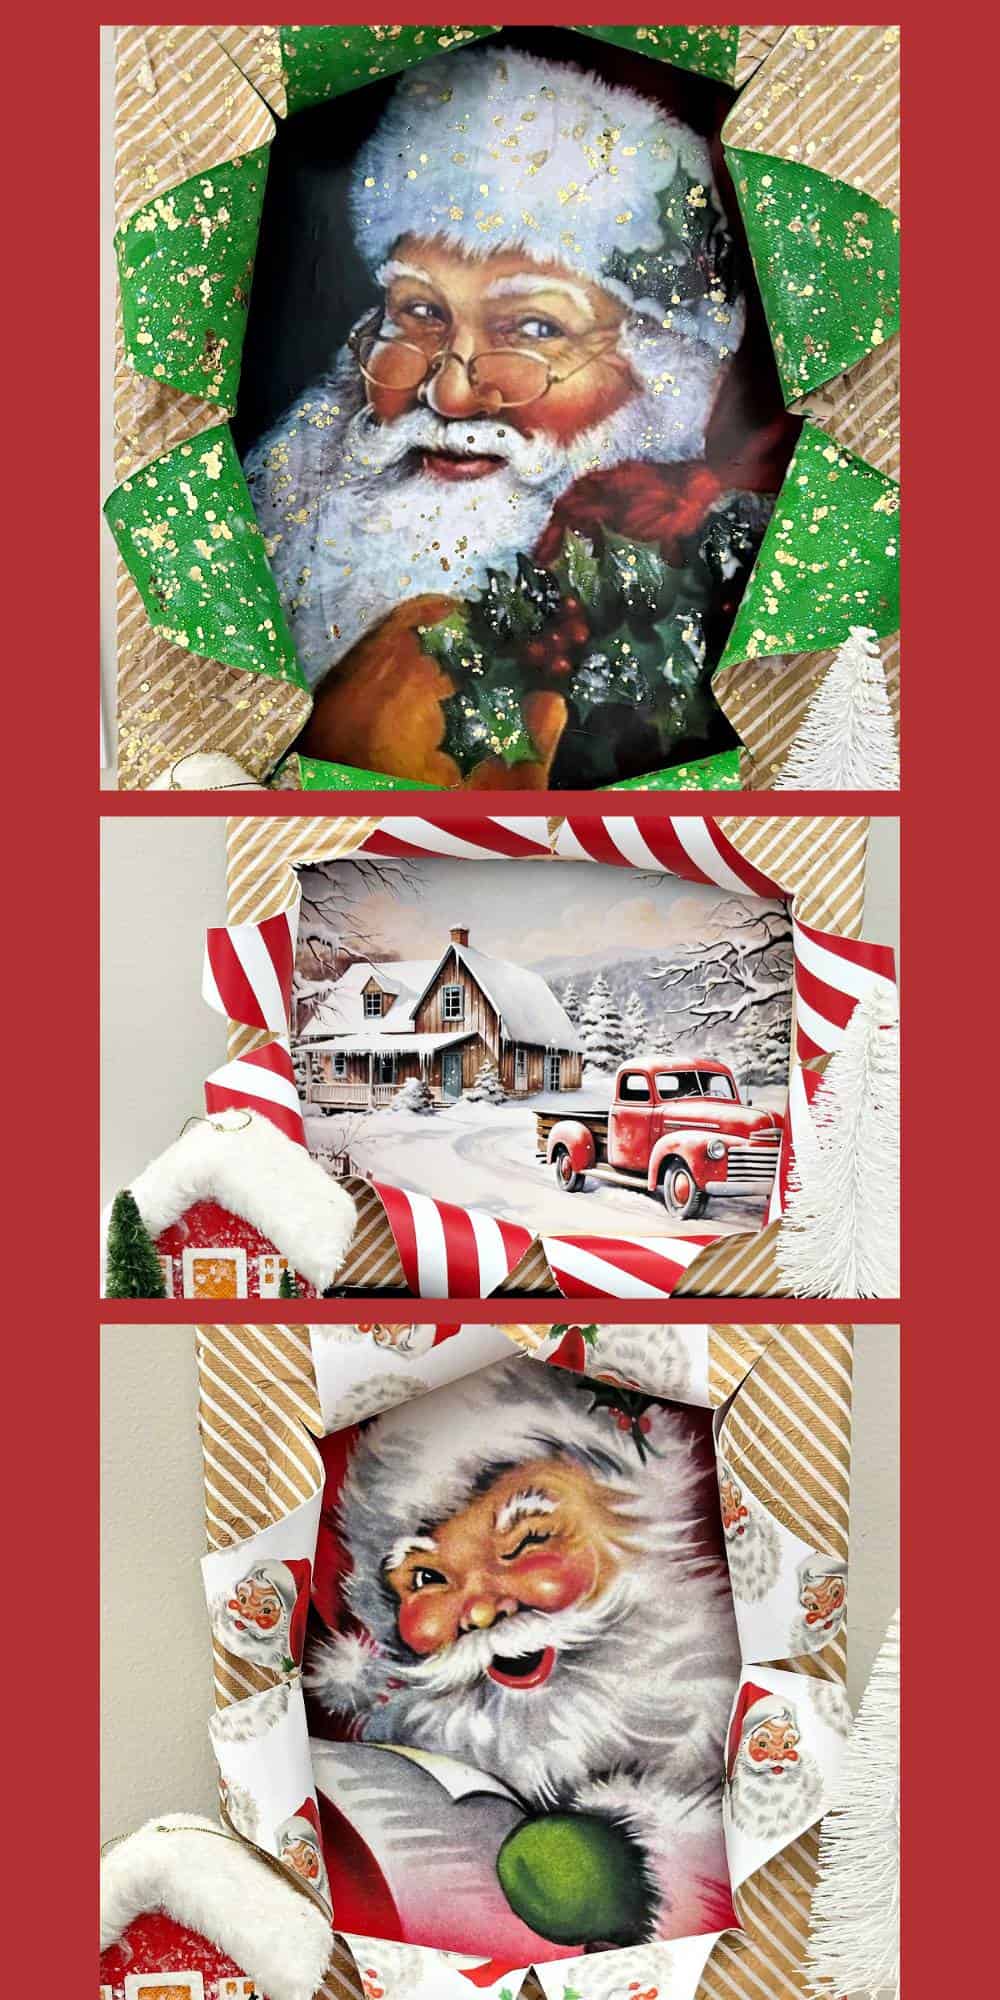
Here are final photos of the smaller 8×10 Christmas busted canvas crafts I made with the Dollar Tree canvases.
If you follow me on Facebook, you know I love all things little red truck, so this Christmas busted canvas is a favorite of mine.
Are you ready to jump on the viral busted canvas craft trend?
Want more busted canvas art ideas? Try my mini busted canvas vintage Santa ornaments, my busted canvas snow globe ornament, or my busted canvas fall truck decor.
Busted Canvas FAQ
A busted canvas is a DIY craft where a stretched canvas is cut and curled back so it looks torn open, revealing a printed image or decorative paper on a second canvas board underneath. You may also see it called exploding art.
Yes. For a busted canvas, hot glue works well for attaching the stretched canvas to the flat board. If it doesn’t feel secure, reinforce it with a bit of E-6000.
Absolutely. Mod Podge adheres paper, tissue and printables to canvas easily. It’s the main adhesive I use for the front, back and board in this project.
I use Mod Podge to attach paper and tissue, hot glue to secure the curled edges and join the two canvases, and E-6000 as backup for extra hold.
An 11×14 canvas gives you plenty of room for detail, while 8×10 canvases from Dollar Tree are great for beginners and smaller gifts.
Canvas is great for painted wall art, decoupage, ornaments, and seasonal decor. Try my oversized Christmas wall art made with this same Santa image.
Download your free vintage Santa printable
Remember I mentioned the free Santa Christmas printable? This is the Santa image I used. Simply save it to your computer for printing.



Are you ready to jump on the busted canvas craft trend? Share your Christmas canvas with me on Facebook or Instagram and tag @ourcraftymom. It totally makes my day!
For even more budget-friendly ideas, don’t miss this collection of 51 Dollar Tree Christmas crafts.
Thanks so much for stopping by. Happy crafting!


Follow me on social media below:
sara (birdzofafeather.ca)
Monday 16th of December 2024
So cute Michelle; love the red truck too!
Michelle James
Saturday 4th of January 2025
THanks so much for stopping by Sara. Happy New Year!!