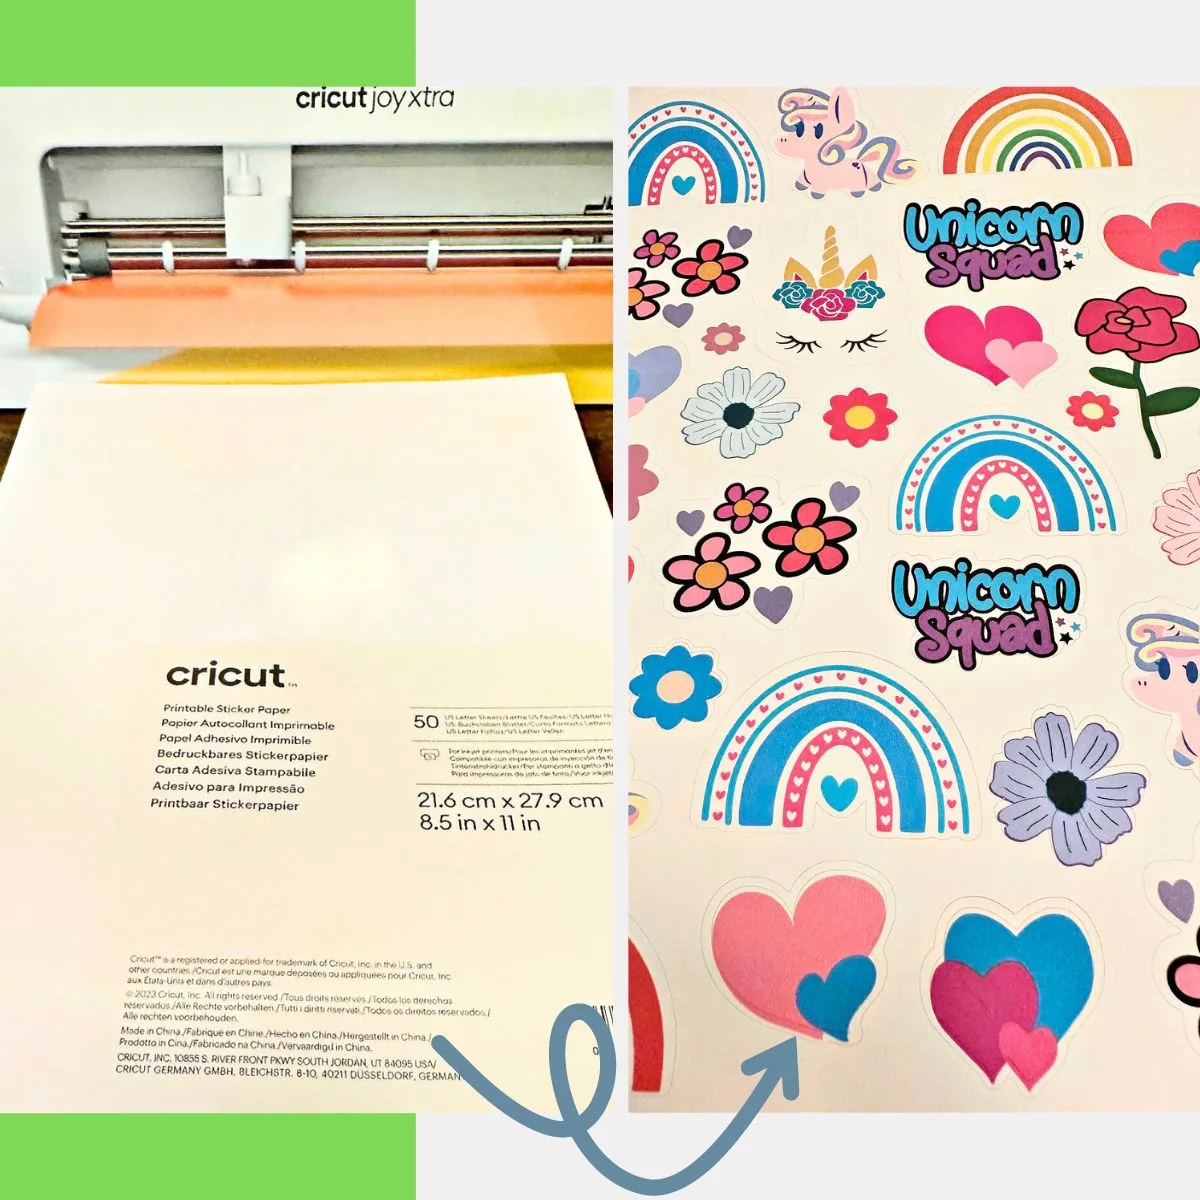
Let’s make beautiful full-color print and cut stickers at home with Cricut Joy Xtra. This step-by-step tutorial will show you how easy it is!
This is a sponsored post written by me on behalf of Cricut, all opinions are my own. This post may contain affiliate links, see my full disclosure policy here.
Print and Cut Stickers Cricut Joy Xtra
Today we are focusing on making print then cut stickers with the Cricut Joy Xtra.
You can follow this same tutorial to make full-color stickers using a Cricut Maker, Cricut Explore Air or Cricut Explore as well.
Before we get to how to make stickers at home, I want to highlight some of the top features of the Cricut Joy Xtra.
If you are not familiar with this handy little machine, it cuts, writes, draws, and foils.
This allows you to make really cool projects like full-color stickers, customized cards, t-shirts, decals & more.
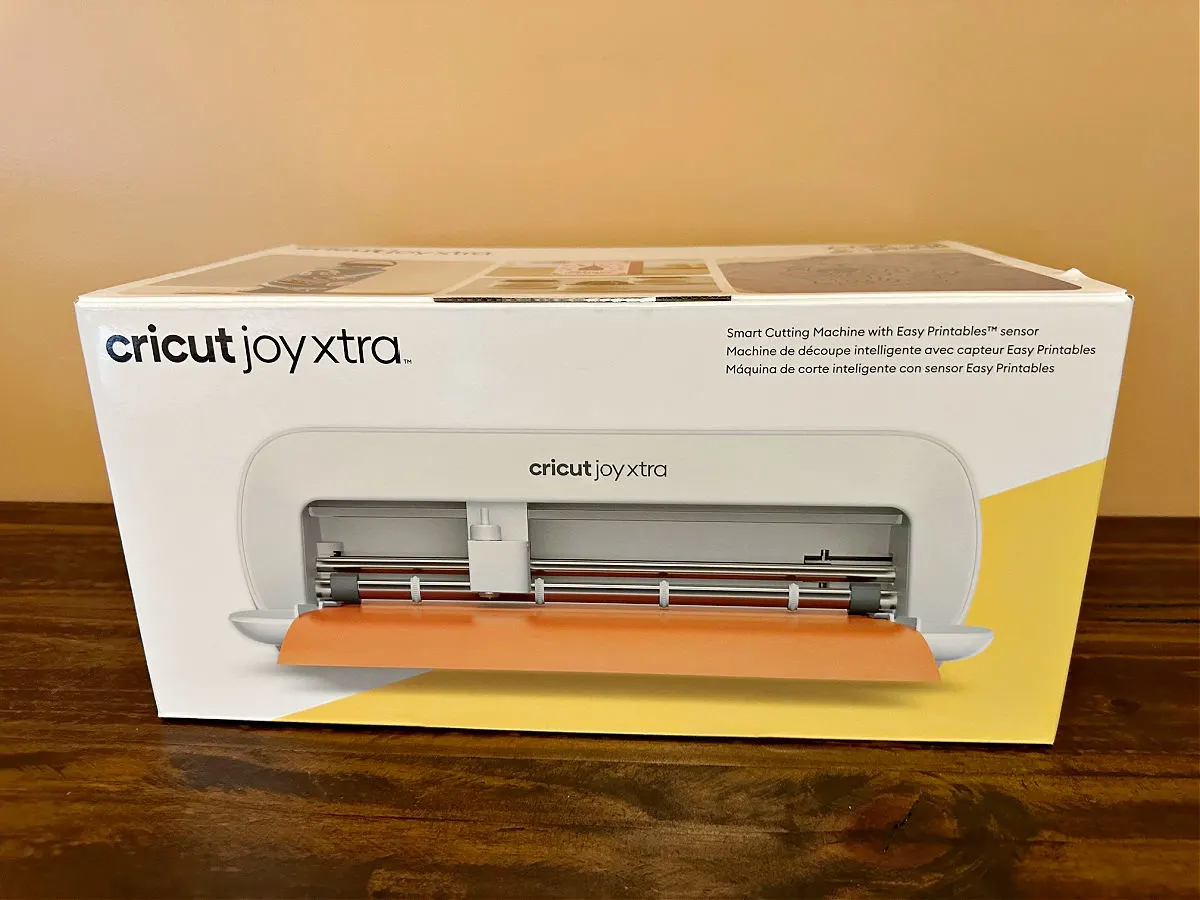
One of my favorite things about both this machine and the Cricut Joy is how lightweight it is which makes it perfect for on the go crafting.
The Joy Xtra weighs just 6 lbs and the Joy weighs just under 4 lbs.
Like many of you, I don’t have a dedicated craft room and set up an office/craft are in my bedroom.
This can make crafting a little difficult. With the Cricut Joy machines, I can easily set up at my kitchen table, desk, or even my coffee table!
Also, I visit family out of state often and easily pack up this DIY machine to craft with. My nieces are huge fans of crafting and love to draw, color and paint.
They were thrilled to look at all the stickers designs available and couldn’t wait to see the process.
I’ve scored huge brownie points by bringing this handy machine to visit over summer break.
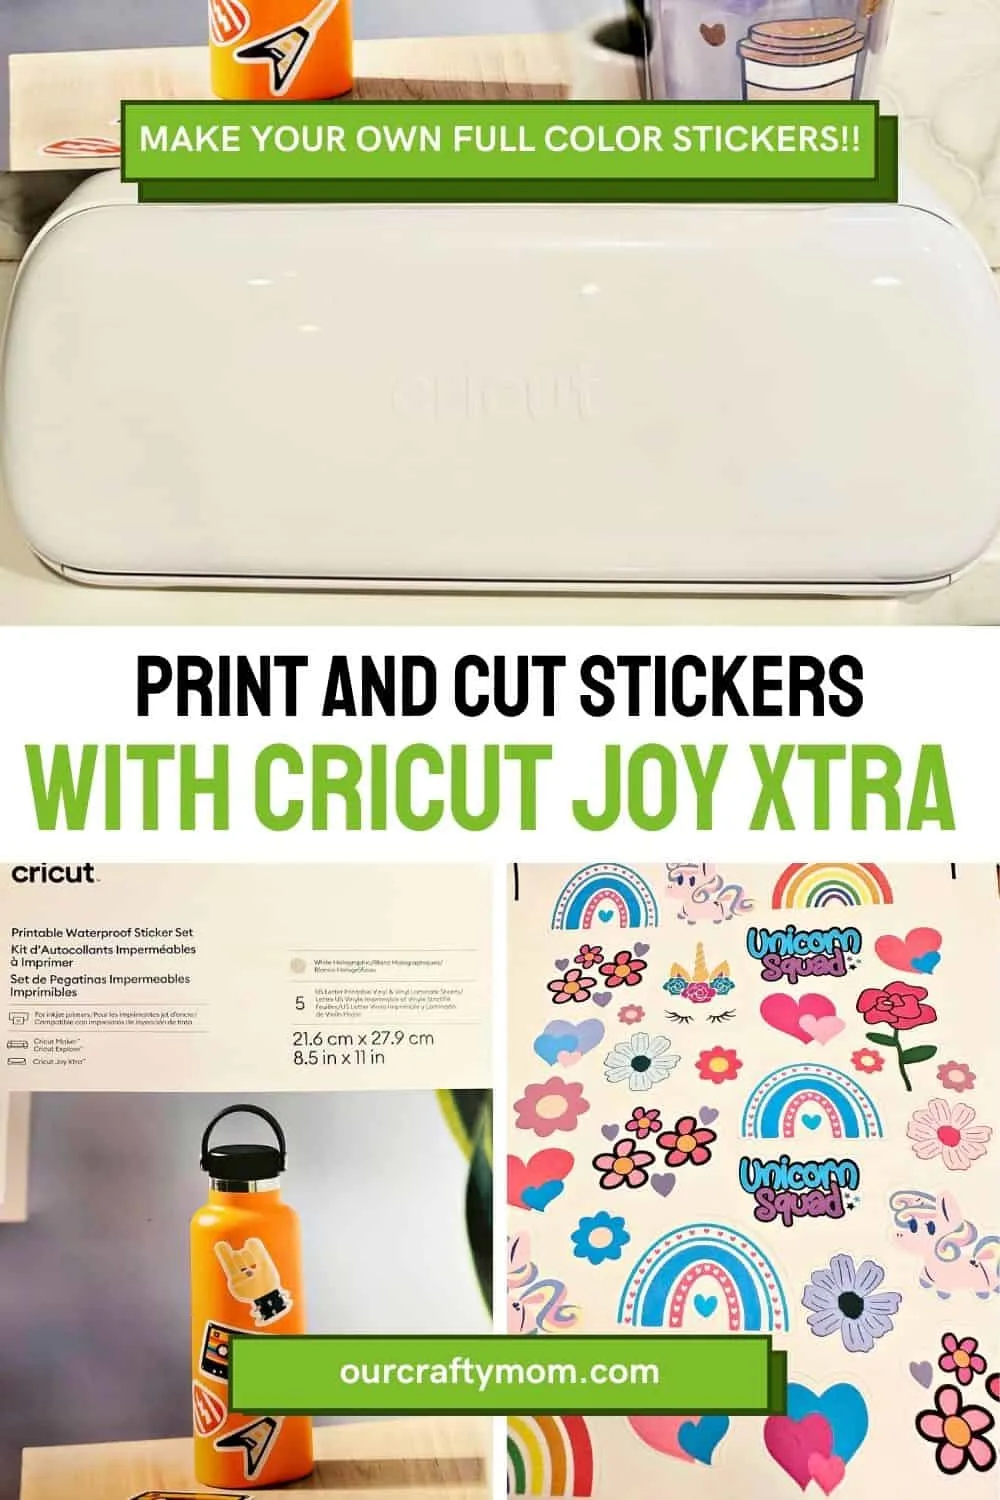
These are the stickers my nieces chose for their back to school notebooks and supplies.
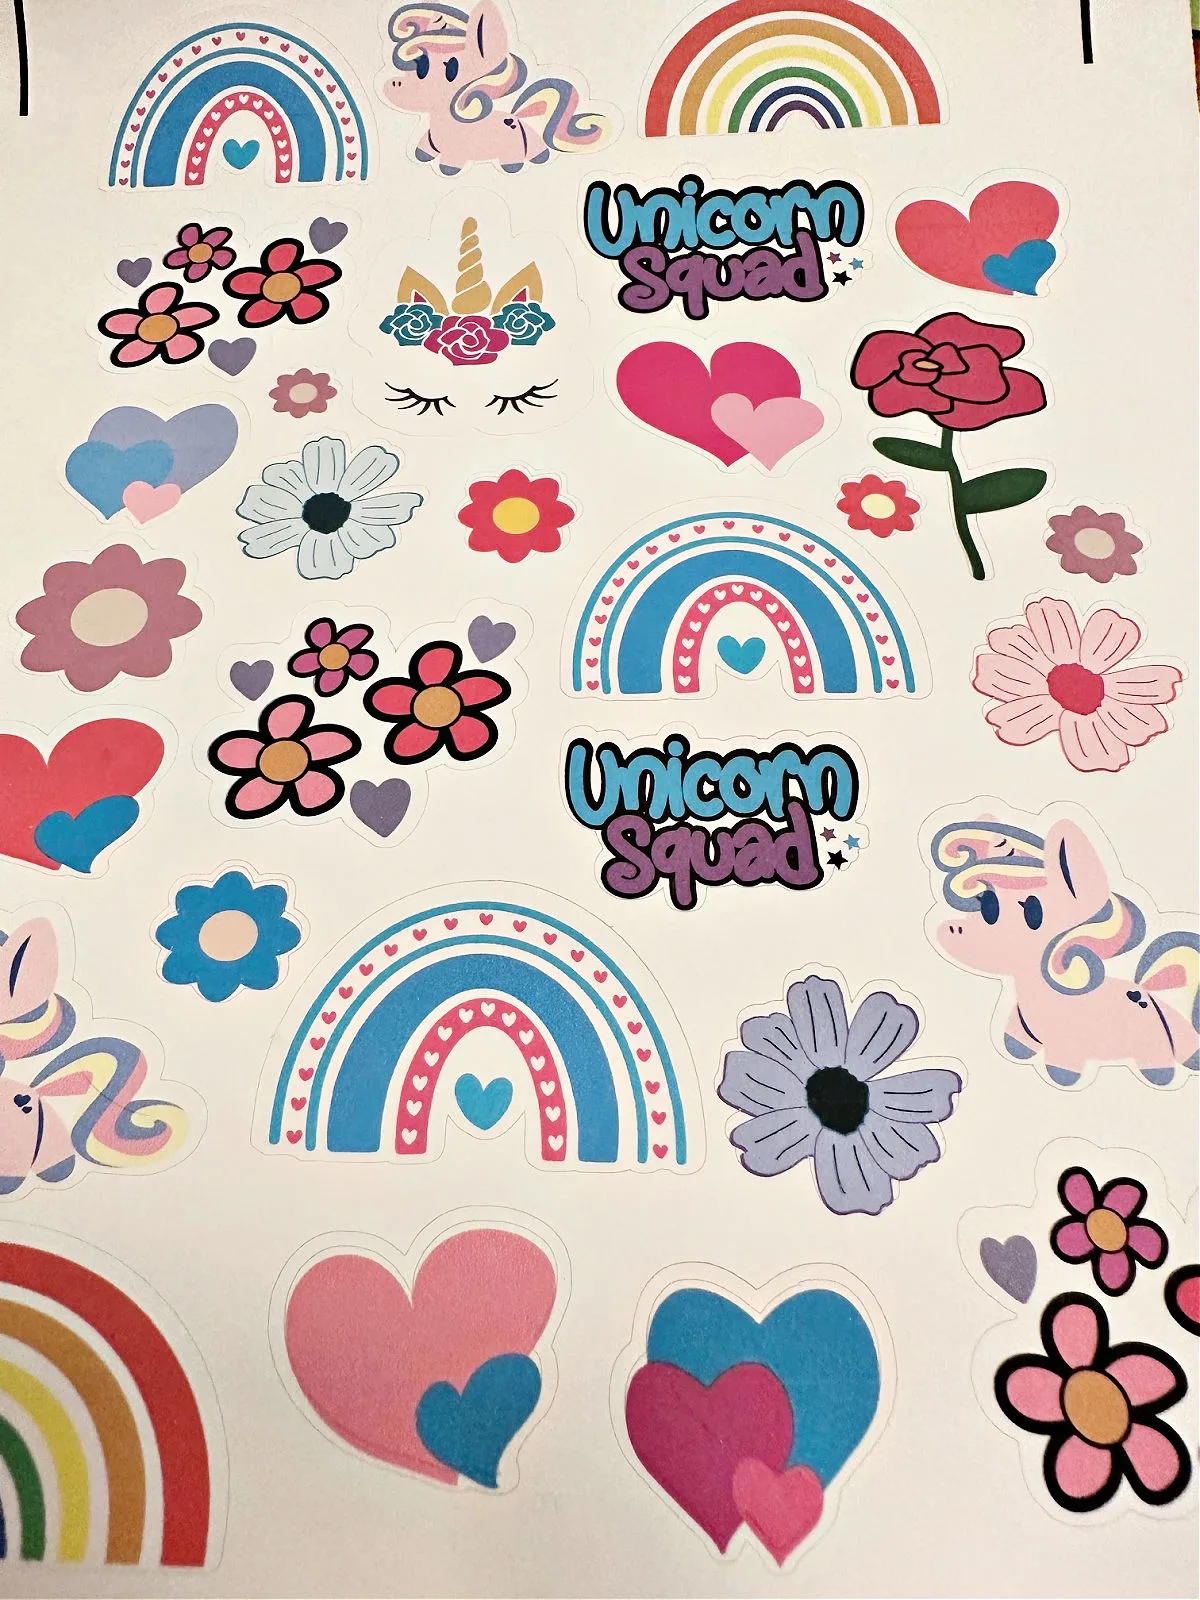
They are so cute and colorful!
Cricut Joy Xtra Features
Here are some of the top features:
- Works with 50+ materials, including vinyl, iron-on & cardstock
- Compatible with home inkjet printers to print then cut full-color designs
- Writes, draws, foils, and more
- Works with popular material sizes, including US Letter and A4
- Works with the Design Space app
- Compatible with Bluetooth
- Upload & cut your own designs or choose from Cricut Design Space library
Be sure to enter my discount code OURCRAFTYMOM10 for 10% off any cutting machine or heat press. (excludes: materials/accessories/mystery boxes/etc. US/CA only. Unlimited uses per code. Expires 12/31/24).
Supplies for Print and Cut Stickers
- Cricut Joy Xtra, Cricut Maker, or Cricut Explore
- Printable Waterproof Holographic Sticker Set
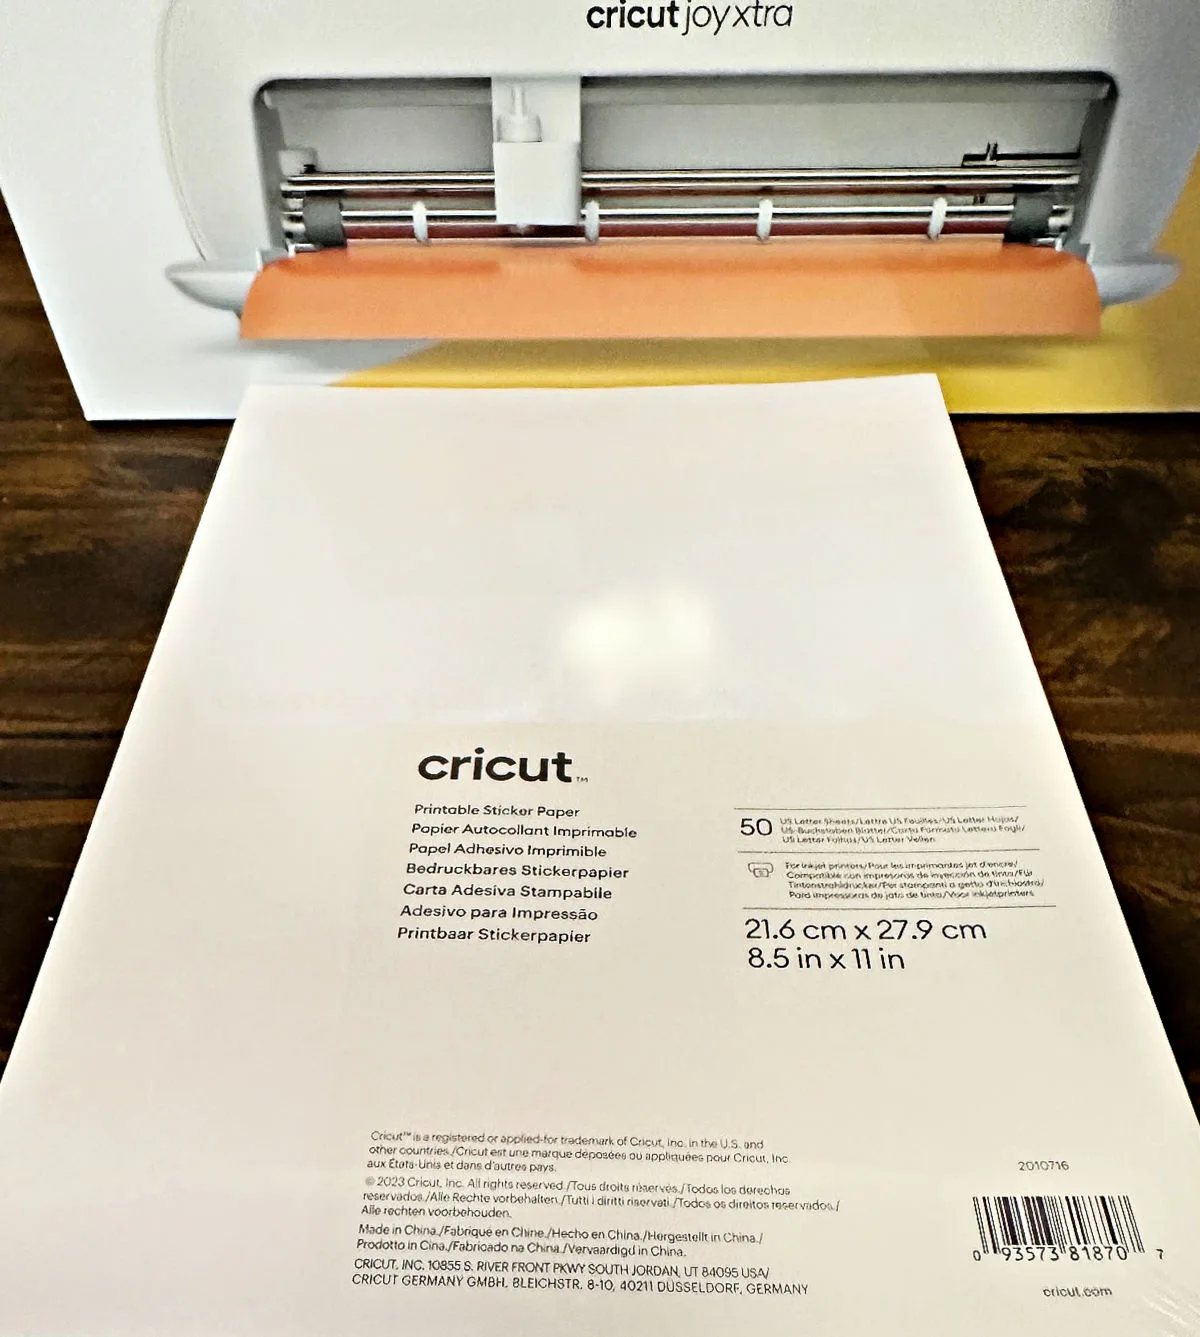
- Printable Sticker Paper
- Cricut Design Space
- HP Inkjet Printer – I have had this printer for about 2 years now and am very happy with it.
- Cricut Brayer
- Scraper
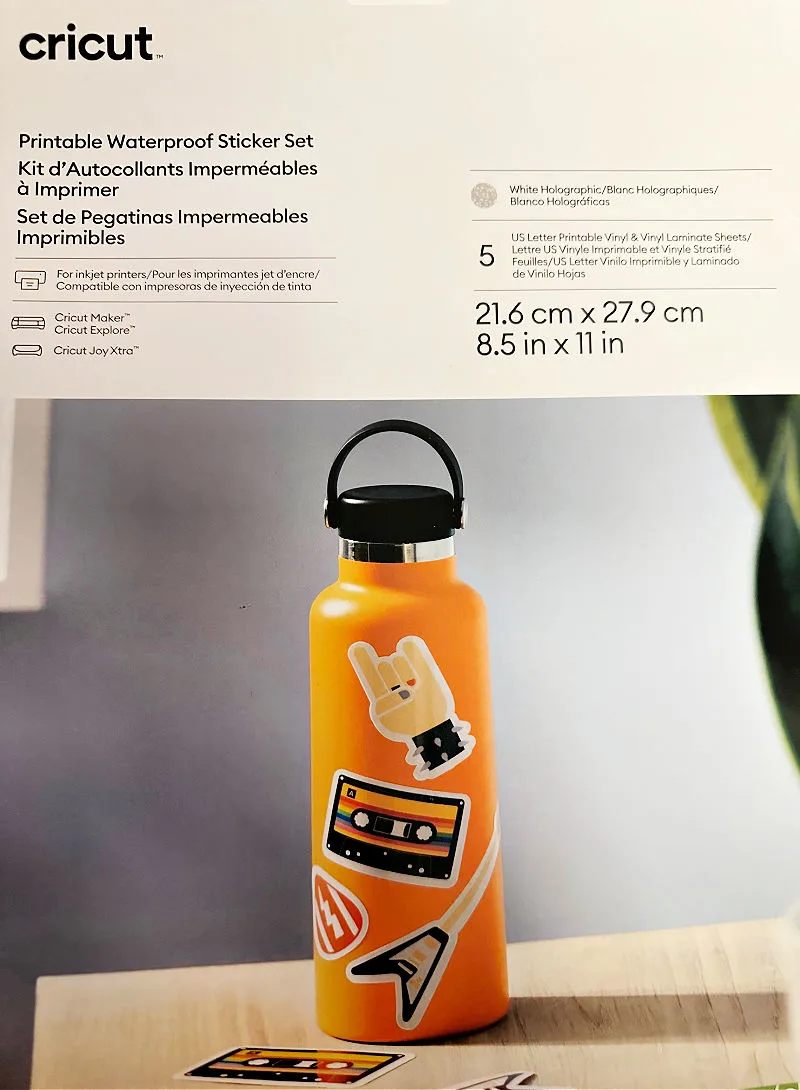
How to Print and Cut Stickers with Cricut Joy Xtra
Now that we’ve talked about some of the features of the Cricut Joy Xtra, let’s make some stickers!
Step 1. Calibrate your machine
While it may seem like calibrating your machine is not necessary, it’s actually one of the most important steps for creating stickers with Cricut.
You definitely don’t want to skip this step. To save sticker paper, you can use regular printer paper to practice before printing and cutting on sticker paper.
Step 2. Add your image
Next up, you want to add your image choice to Design Space, or choose one of the many beautiful print then cut images available in the library.
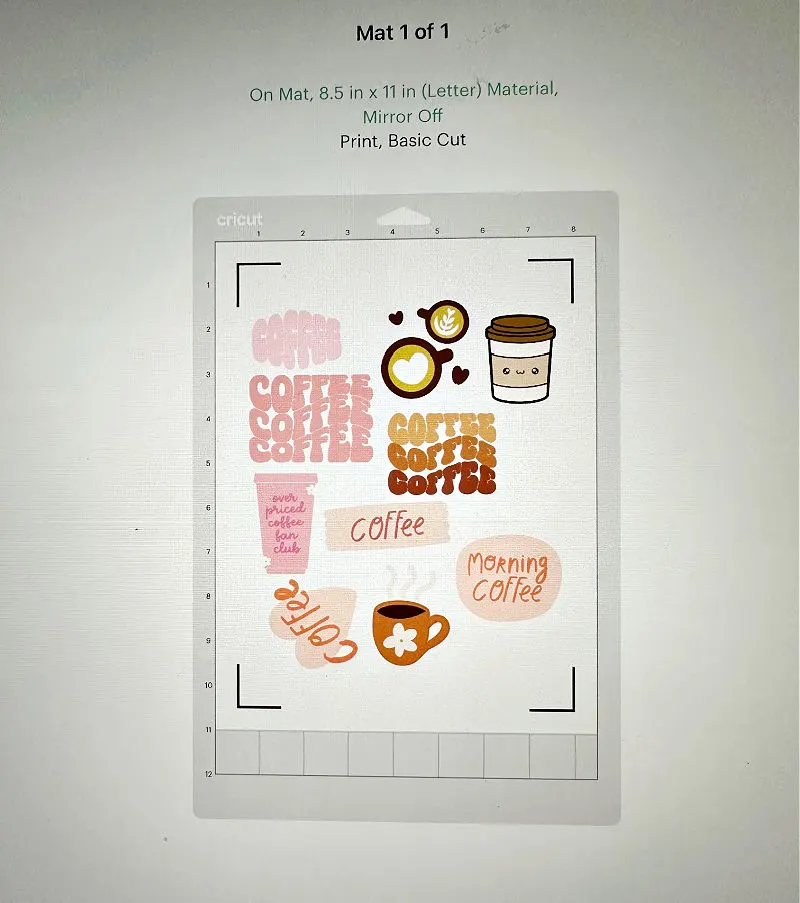
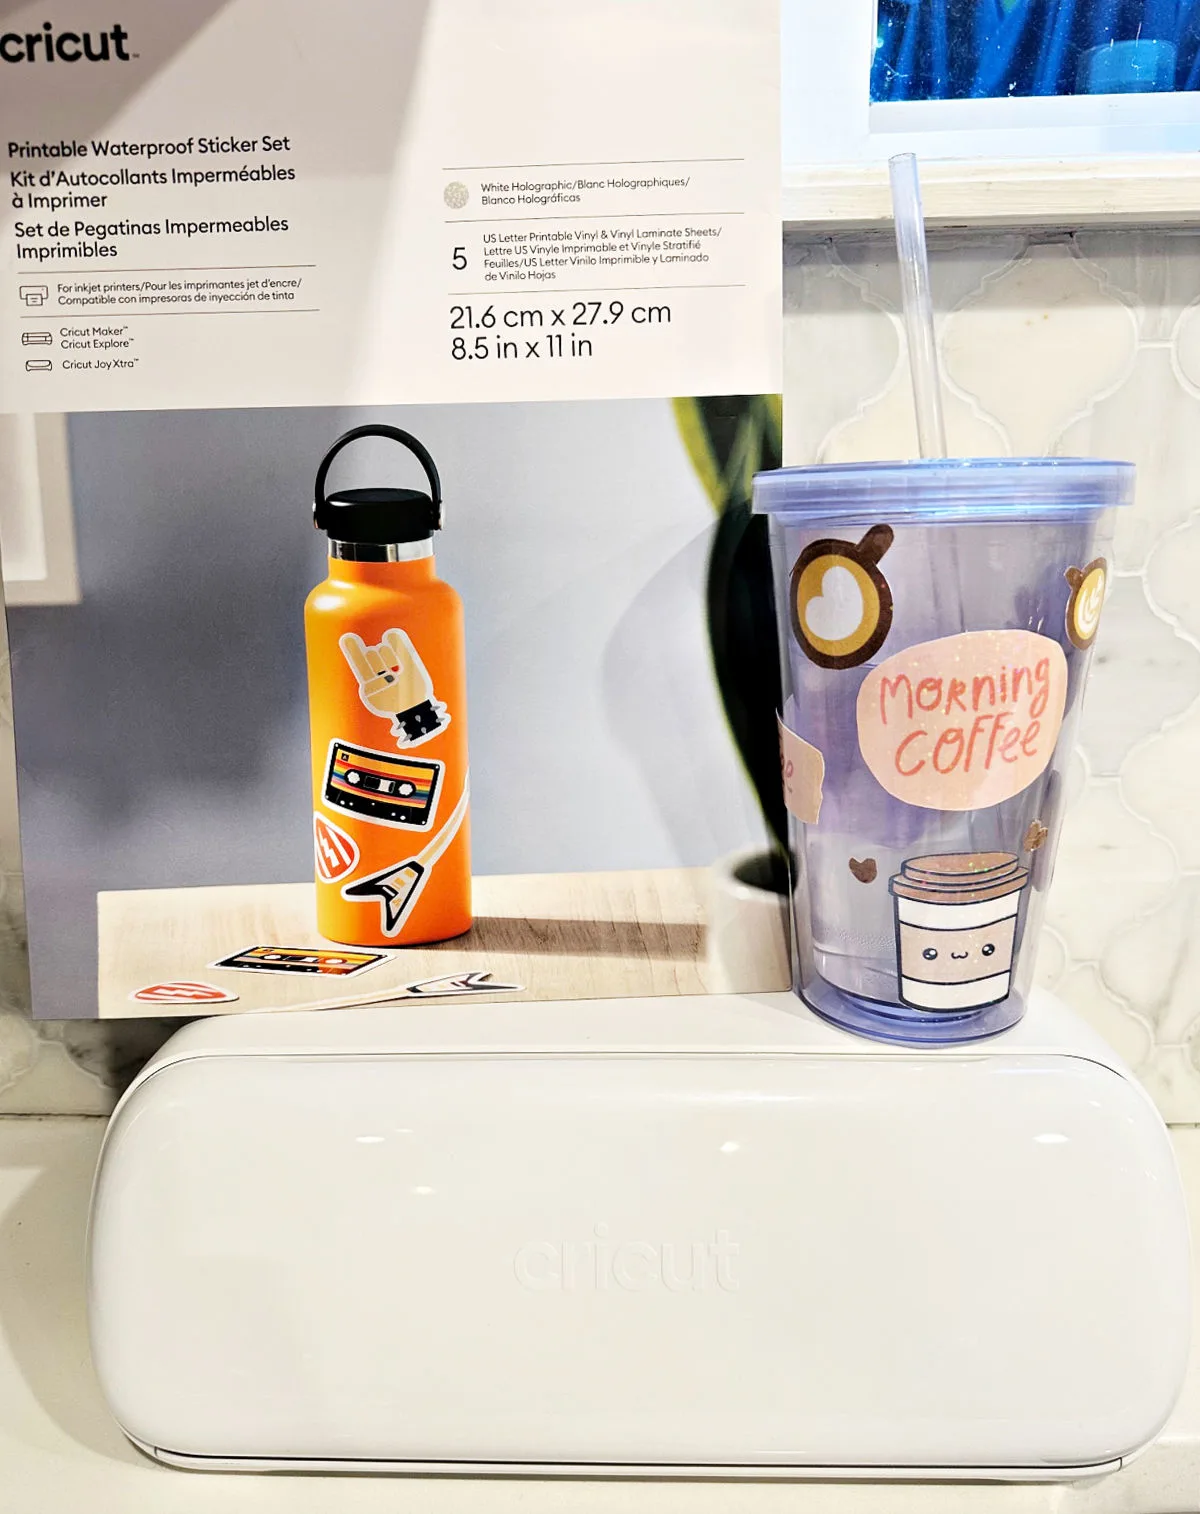
I chose the cutest coffee stickers in the library to add to my plain iced coffee tumbler.
The great thing about the sticker paper is it is waterproof, so it is perfect for kids water bottles and tumblers.
Think about making a fun back to school water bottle for the kids. You can customize it with their name and other embellishments.
Step 3. Print the stickers
Once you have added the image choice to your canvas, it’s time to print. Load your printer with the sticker paper.
Choose the print then cut feature in the program to send the image to your printer, then watch the magic happen!
Once you print the stickers on your inkjet printer you want to let the ink dry for a few minutes.
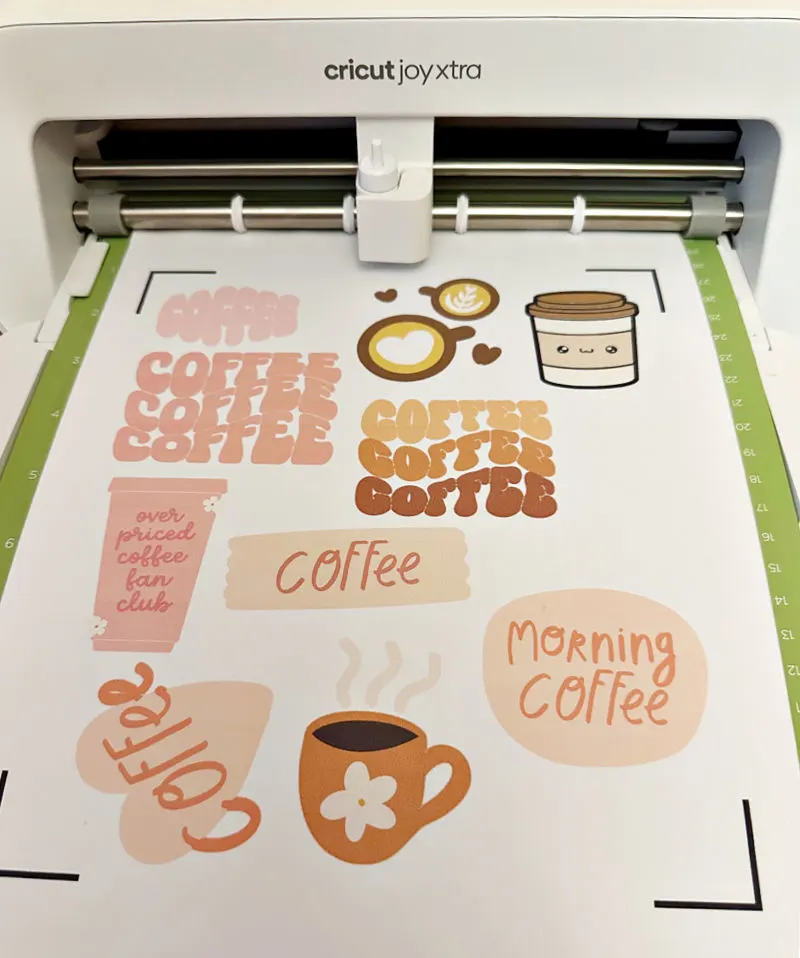
Then place the sticker sheet onto your cutting mat. You can use a brayer to secure the paper to the mat.
You don’t want to use your fingers to smooth the paper as you can release oils that will transfer onto the paper.
Step 4. Apply the laminate covering
Now it’s time to apply the laminate covering that comes in the sticker pack. This makes your stickers waterproof.
Simply remove the top strip on the back and line it up with the top of the sticker sheet. I love the white holographic paper used in this project.
Use a scraper tool to put it in place and remove the backing. Remove any bubbles with your brayer.
Now just load your mat into your machine and watch the magic happen.
Even after all these years of crafting with Cricut, I still get so excited when I hit that go button!
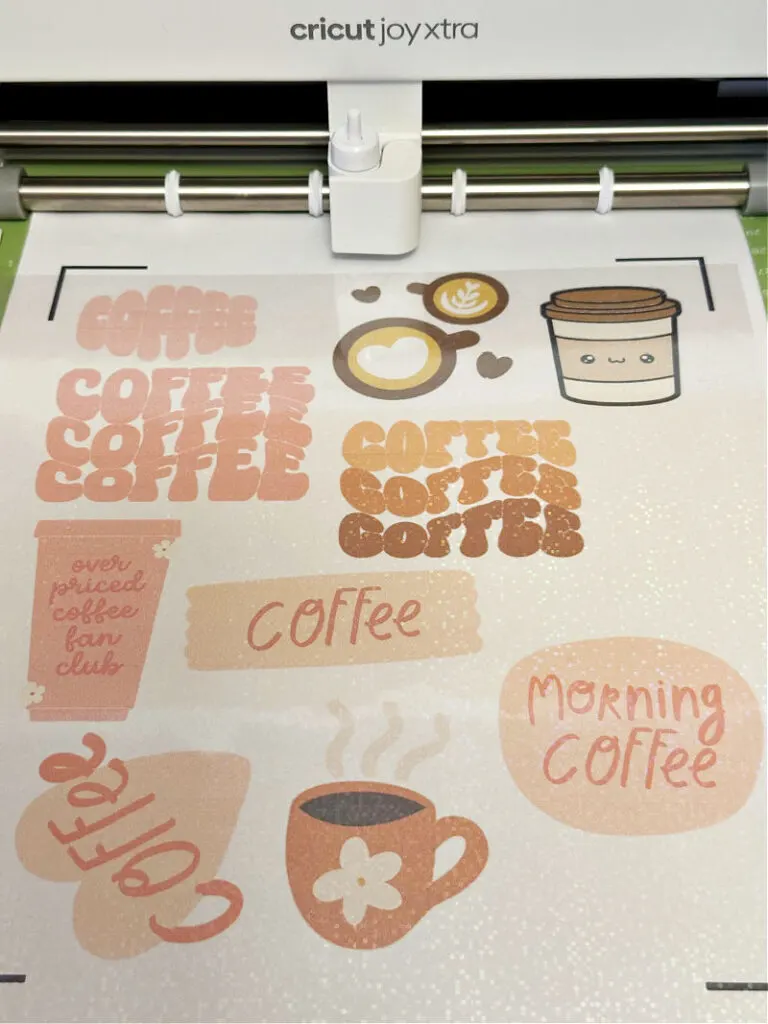
Step 5. Unload the mat and peel the stickers
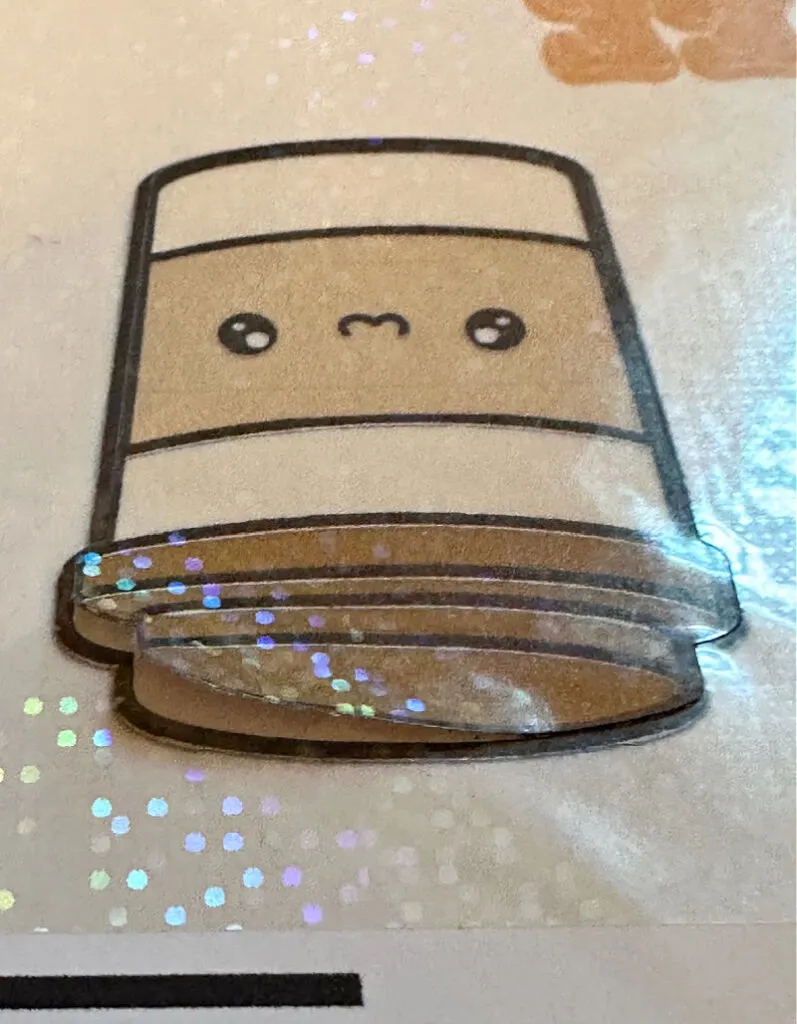
All that’s left is to unload the mat and remove your stickers. They are kiss cut which means you will be able to simply peel the stickers off the sheet.
Look at how adorable this little coffee cup is:
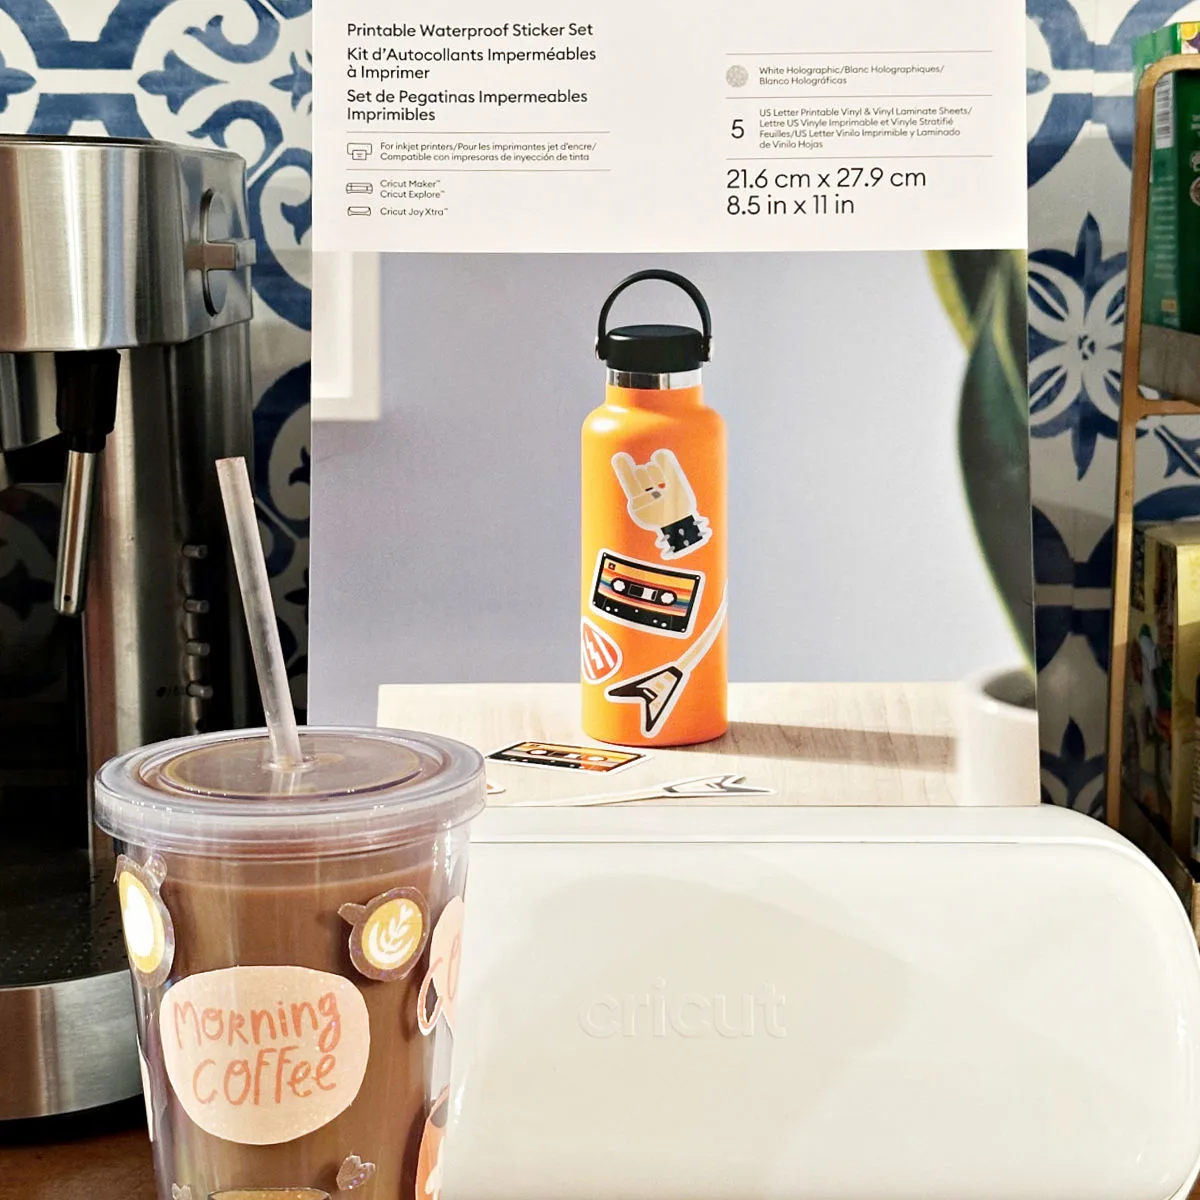
I took a plain tumbler and decorated it with the adorable stickers.
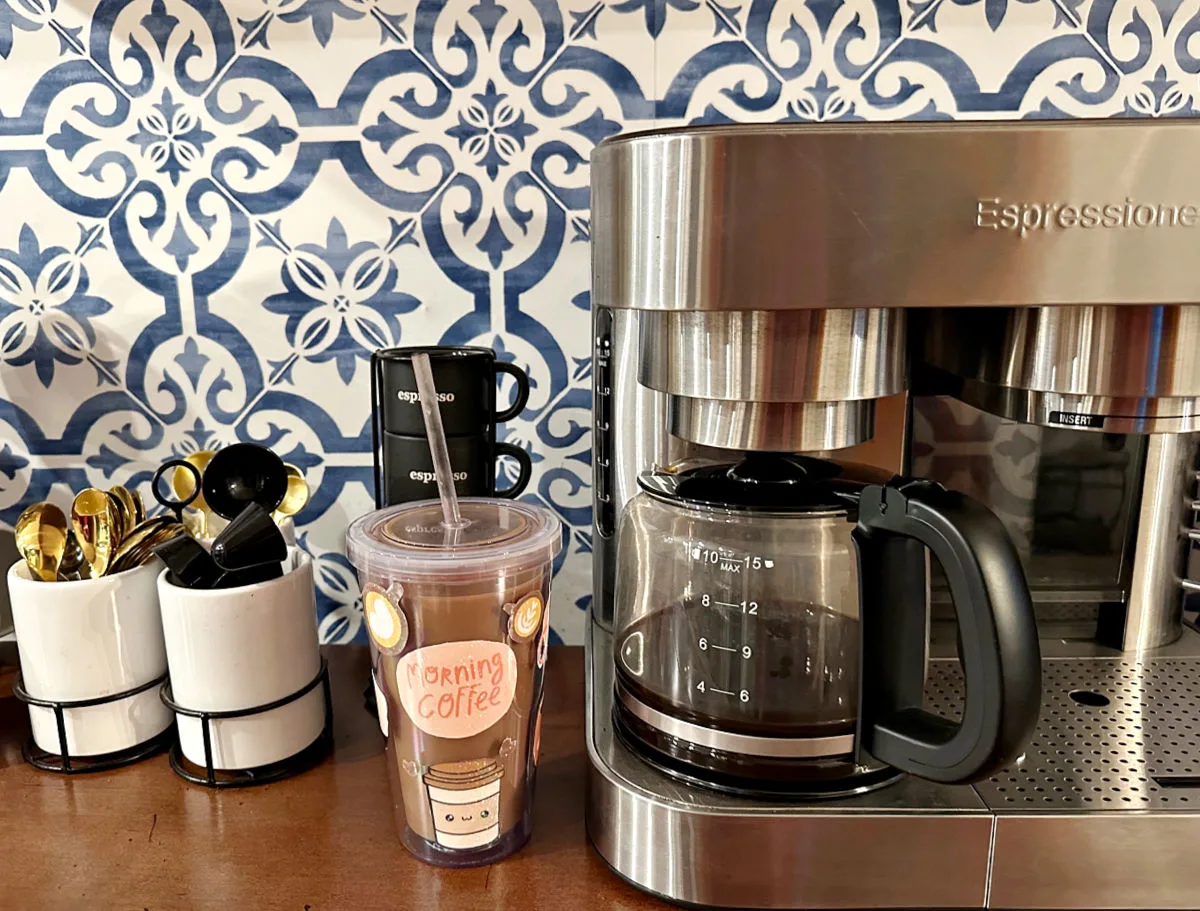
Now I can enjoy my morning coffee in a cup that I decorated myself.
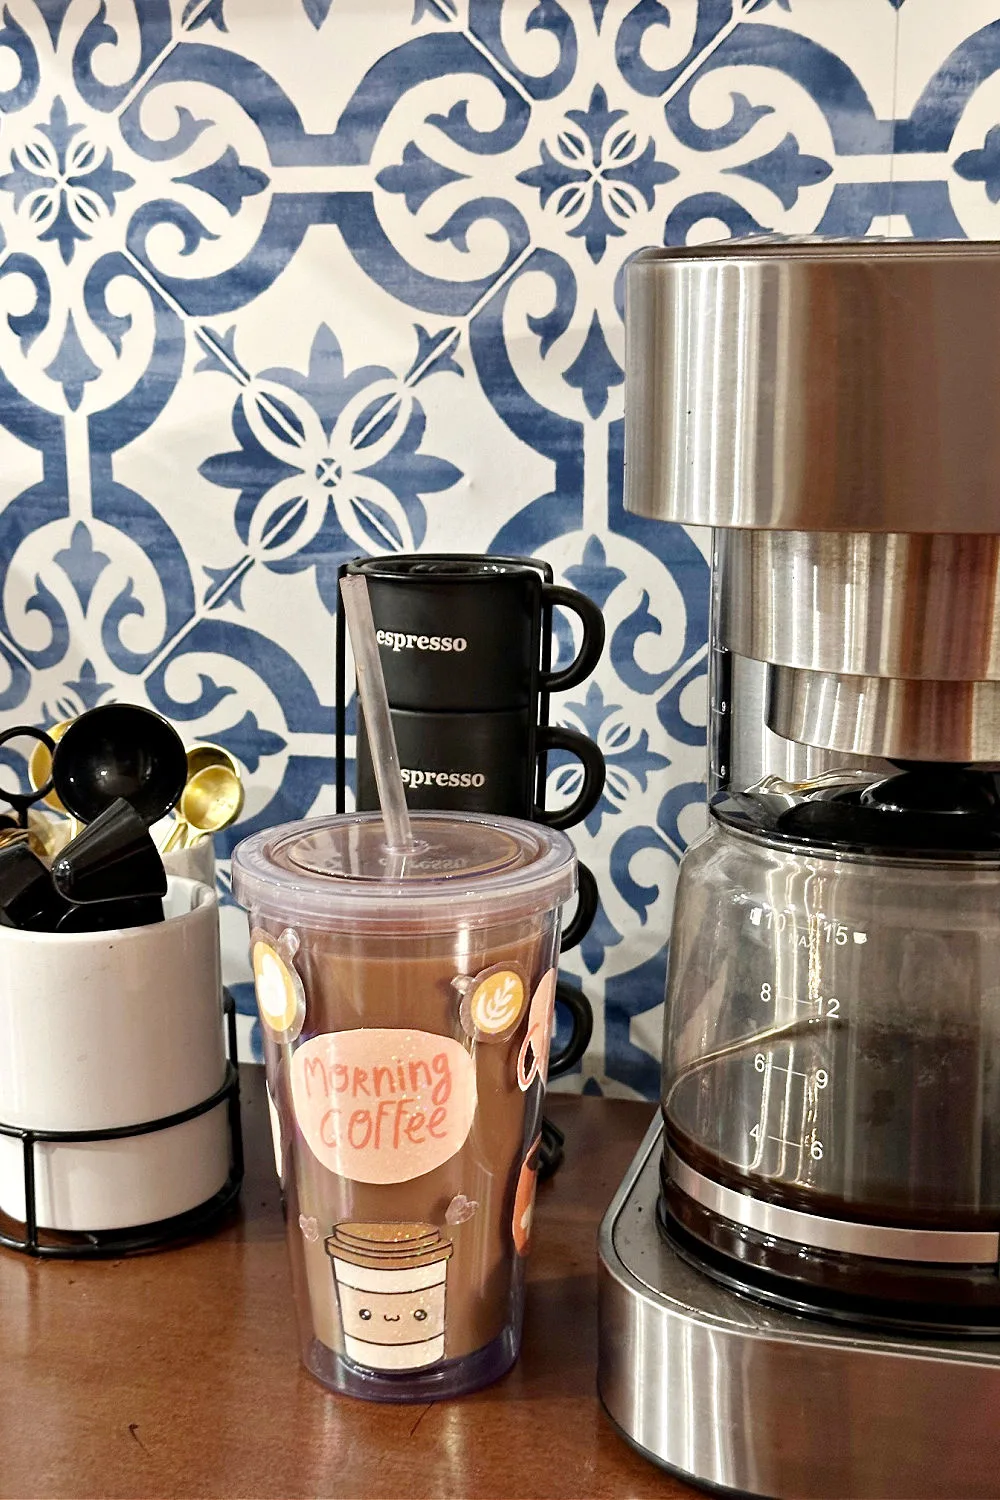
I hope you found these tips on how to make print and cut stickers at home with Cricut helpful.
If you have any questions, please feel free to ask in the comments below. I will do my best to help!
Why you will love creating stickers and more with Cricut
There are so many reasons why you will love making your own full color stickers, handmade cards, labels and more at home.
Here are some of my favorites.
- It’s cost-effective-have you seen the price of journaling stickers, full-color stickers or waterproof stickers at the craft store lately? Once you invest in a cutting machine, the possibilities are endless with what you can create.
- Make personalized gifts-with Cricut you can personalize gifts at a fraction of the cost of store-bought personalized items. Think about the holidays, birthdays, or just because. You can even consider a side hustle with beautiful handmade products.
- It’s fun-one of the best reasons for making your own stickers and other Cricut projects is, it’s just plain fun! It doesn’t matter if you are 7 & 9, like my nieces, or 50 something like me. There is nothing like that feeling you get when you make your own beautiful projects at home.
- It’s versatile-with sticker paper and your Cricut you can make back to school labels, teacher gifts, journaling stickers, tumbler designs, in literally hundreds of styles, and so much more!
- Cricut Design Space-easily download this free software that is also easy to learn.
- Cricut machine bundles-consider purchasing a bundle for a cost-effective way to get everything you need to get started.
- Cricut Community-the Cricut community is such a helpful and supportive community.
What do you think? Are you ready to make your own stickers?
If you do, please share it with us on Facebook or Instagram by tagging @ourcraftymom. It totally makes my day!
Save for later
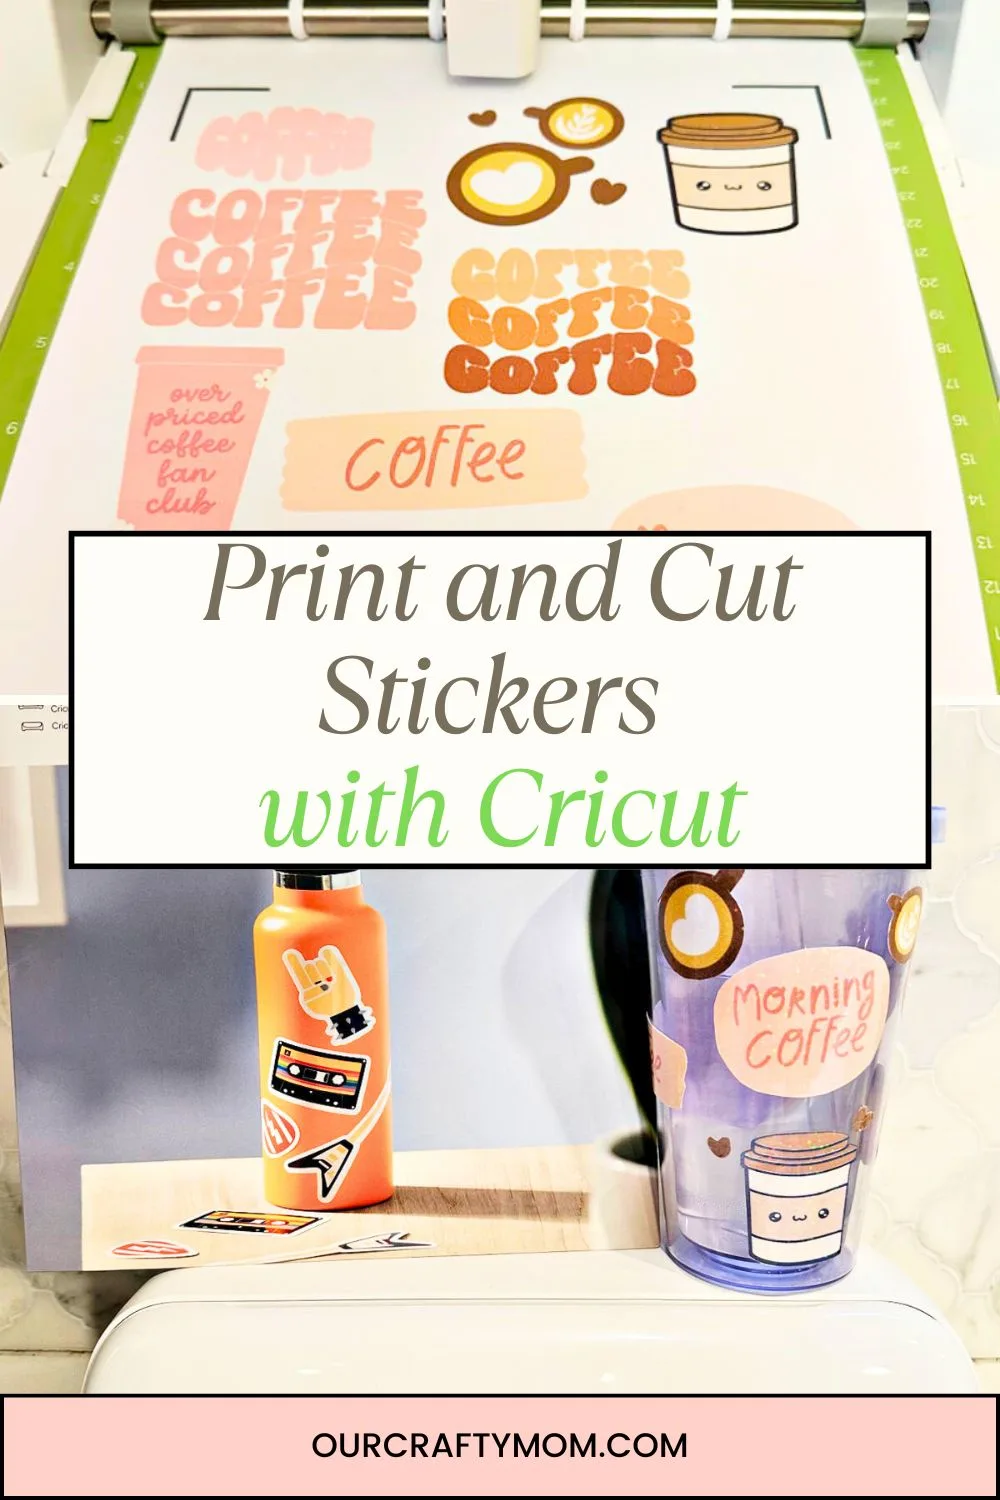
Also, you can share this article with your friends on Pinterest by pinning the below image.
It helps my blog to grow and doesn’t cost a thing! 🙂
Happy crafting!
Before you go…you may also want to check out these Cricut crafts and DIY projects:
- Cricut Infusible Ink vs. Iron-On
- Cricut Mug Press Tips and Tricks
- 15 Cricut Graduation Ideas
- Beachy Infusible Ink Coasters
- Baby Shower Decorations with Cricut
- Mother’s Day Cricut Ideas
- DIY Wine Gift Bag with Cricut Infusible Ink
- Pumpkin Spice Lovers Gift Bag with Cricut
- DIY Makeup Bag with Cricut Infusible Ink
Follow me on social media below:
