Let’s talk about Cricut infusible ink vs. iron-on vinyl. Specifically what the differences are and what will work best for your project.
With so many different types of materials to choose from when crafting with your Cricut cutting machine, it can sometimes be daunting to know what medium to use.
That’s not a bad problem to have, right? But, it definitely helps to see a side-by-side comparison to determine what to use for your craft project.
Today we are focusing on Cricut infusible ink vs. iron-on vinyl, also known as heat transfer vinyl (HTV).
We’ll start first with infusible ink-probably one of my favorite mediums to create with!

This is a sponsored post written by me on behalf of Cricut, all opinions are my own. This post may contain affiliate links, see my full disclosure policy here.
What is Cricut Infusible Ink?
Infusible ink is a process where a design is transferred by heat essentially “infusing” the ink to the material you are using.
You may have seen or heard about sublimation, as it’s taken the crafting world by storm!
Infusible ink is basically sublimation printing at home. When you first see the color of an infusible ink transfer sheet, it looks pale and dull.
The magic happens when you heat it! The colors become bright and vivid.
The design does not sit on top of the material, so you don’t have to worry about the design flaking, peeling or cracking. It’s really a cool process.

How To Use Infusible Ink
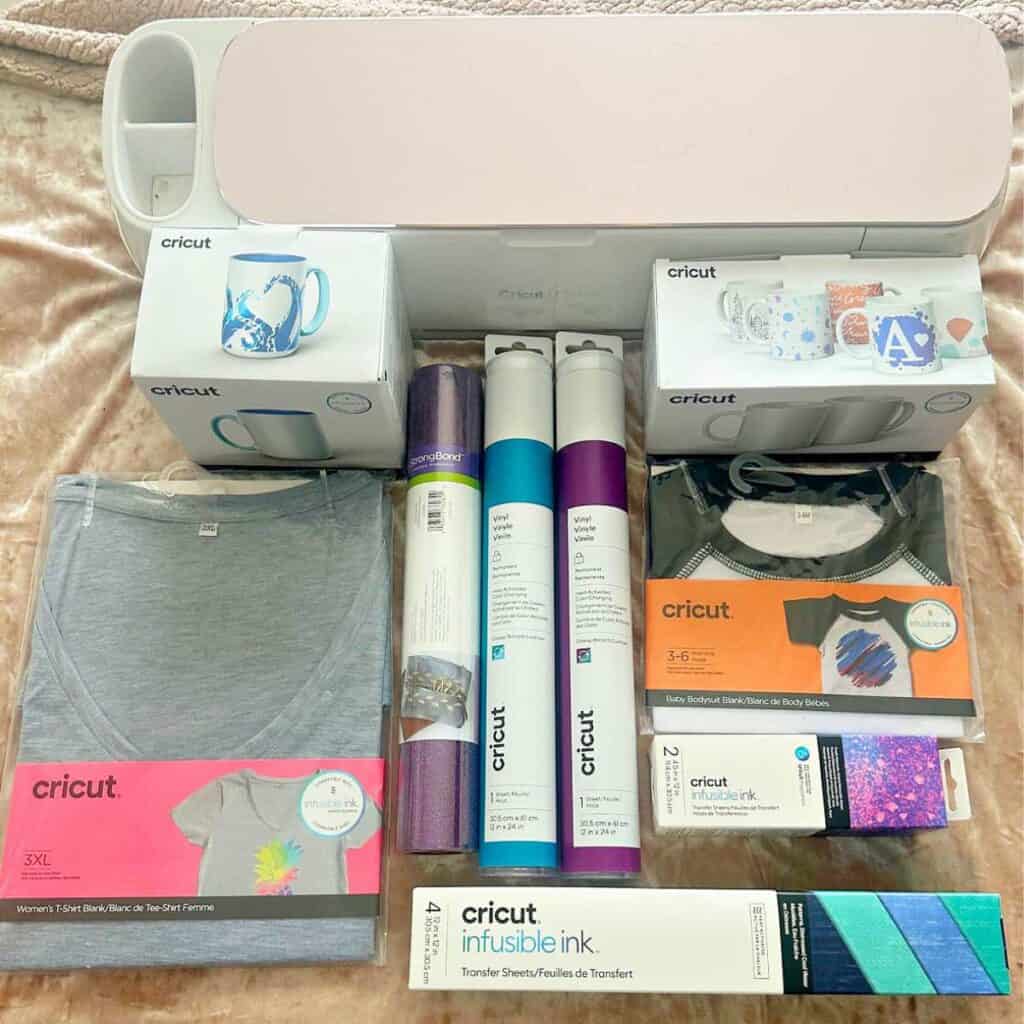
You can purchase infusible ink transfer sheets in different sizes, as well as infusible ink pens.
They even have transfer sheets sized specifically for mugs. Read all about the Cricut mug press here.
A huge plus to Cricut infusible ink vs. sublimation printing is you don’t need a special printer or machine, other than a cutting machine and heat press.
Infusible ink works with cutting machines including Cricut Joy, and all Cricut Maker and Cricut Explore machines.
You can use the Cricut Autopress and all Cricut EasyPress machines to transfer the design, as well as the Cricut Hat Press and Cricut Mug Press as mentioned above.
One thing to note is you can’t use a regular home iron with infusible ink. It requires high heat to activate that won’t work with a standard iron.
Let me show you the simple step-by-step tutorial on how to make a t-shirt using infusible ink transfer sheets.
Supplies for Infusible Ink T-Shirt
- T-Shirt-compatible with infusible ink
- Cricut EasyPress
- Cricut EasyPress Mat
- Infusible Ink Transfer Sheets
- Butcher Paper (included with infusible ink)

Be sure to enter my discount code OURCRAFTYMOM10 for 10% off any cutting machine or heatpress. (excludes: materials/accessories/mystery boxes/etc. US/CA only. Unlimited uses per code. Expires 12/31/23).
Step 1. Upload your design
Start by uploading the design you want to use in Design Space.
We are planning a trip to Salem, MA next month, so I decided to make a Hocus Pocus shirt.
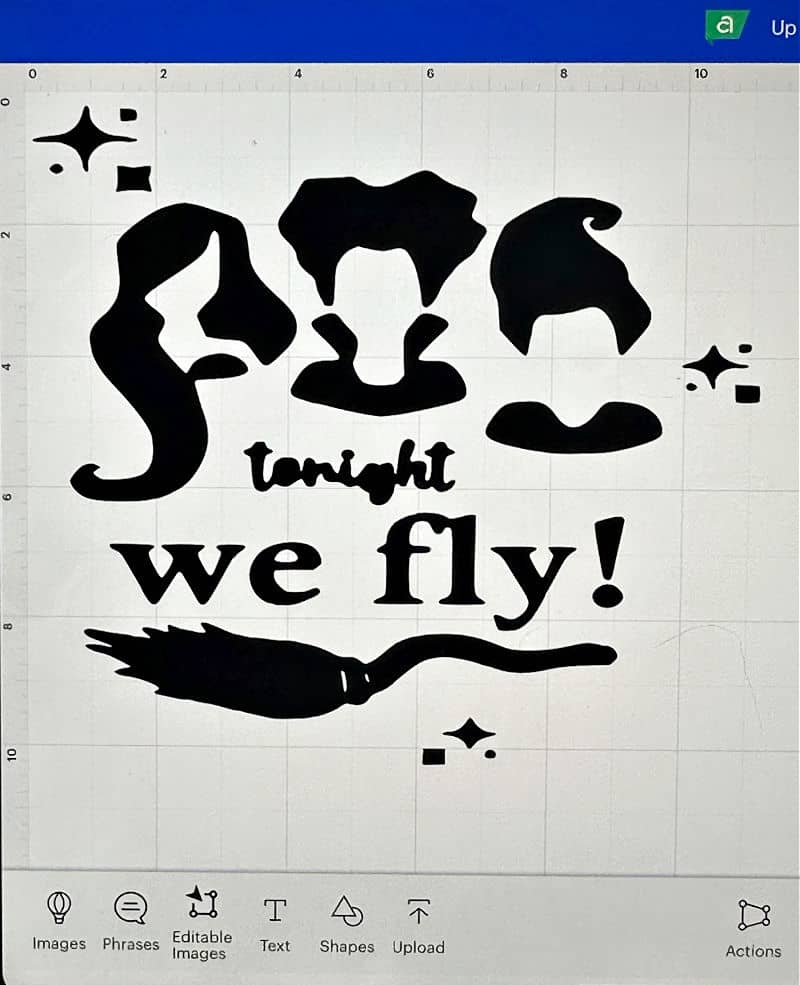
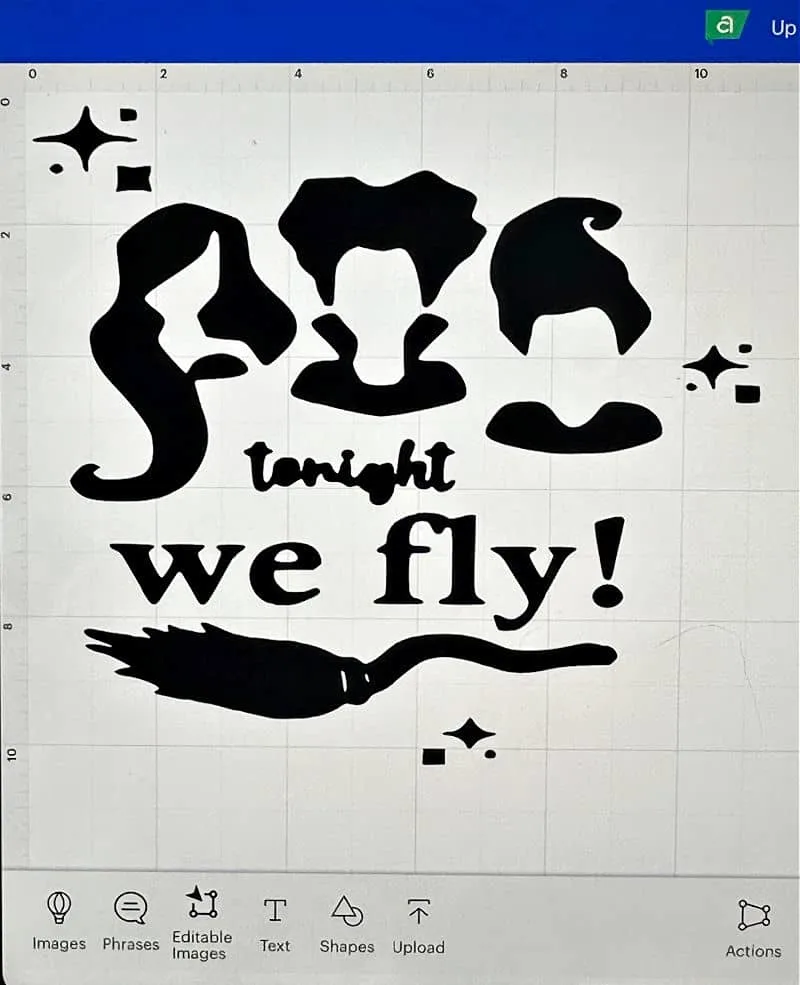
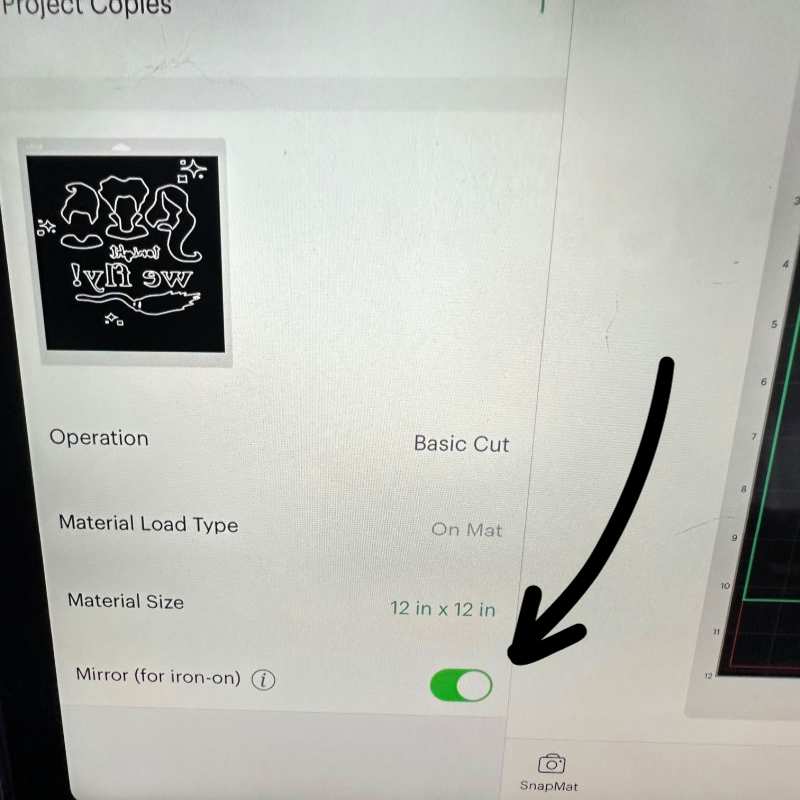
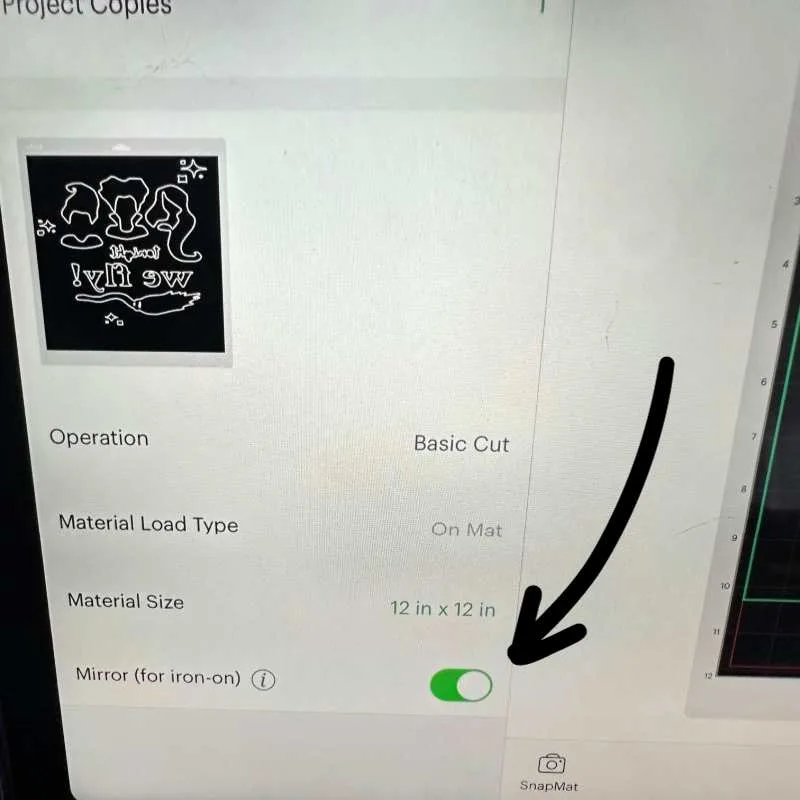
The most important step is to mirror the image. For a standard adult t-shirt sizing the image to 11.5″x11.5″ works great!
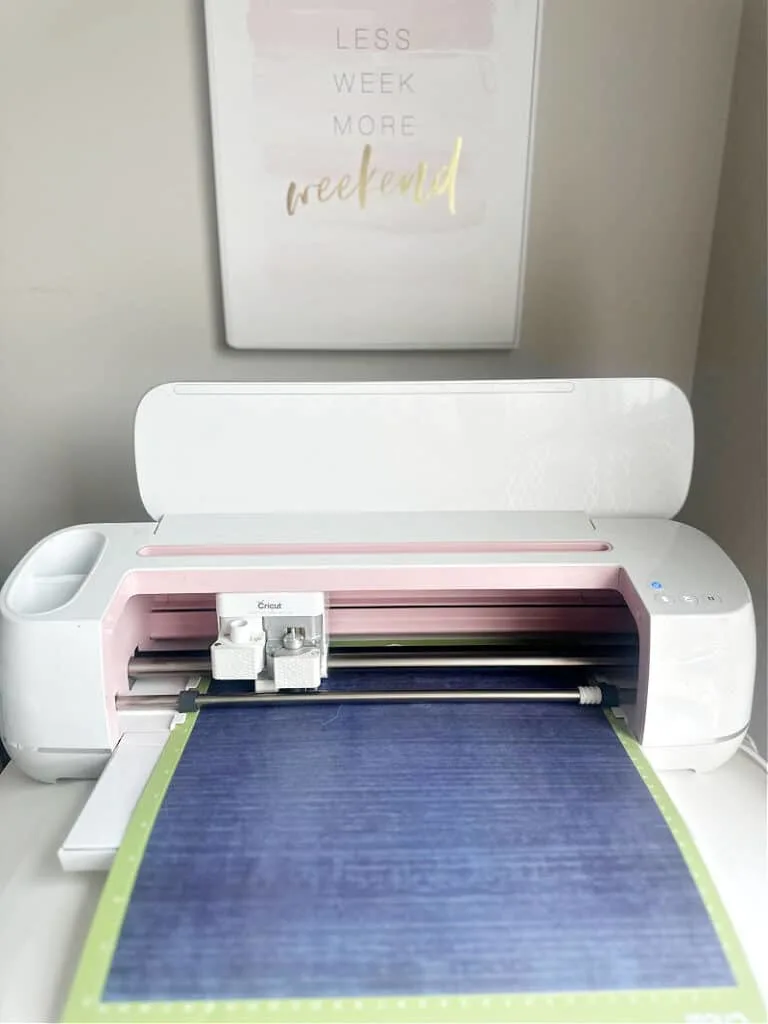
Step 2. Cut the Design
Once you have the design sized and ready to go, it’s time to cut the infusible ink transfer sheet.
The ink is placed right side up.

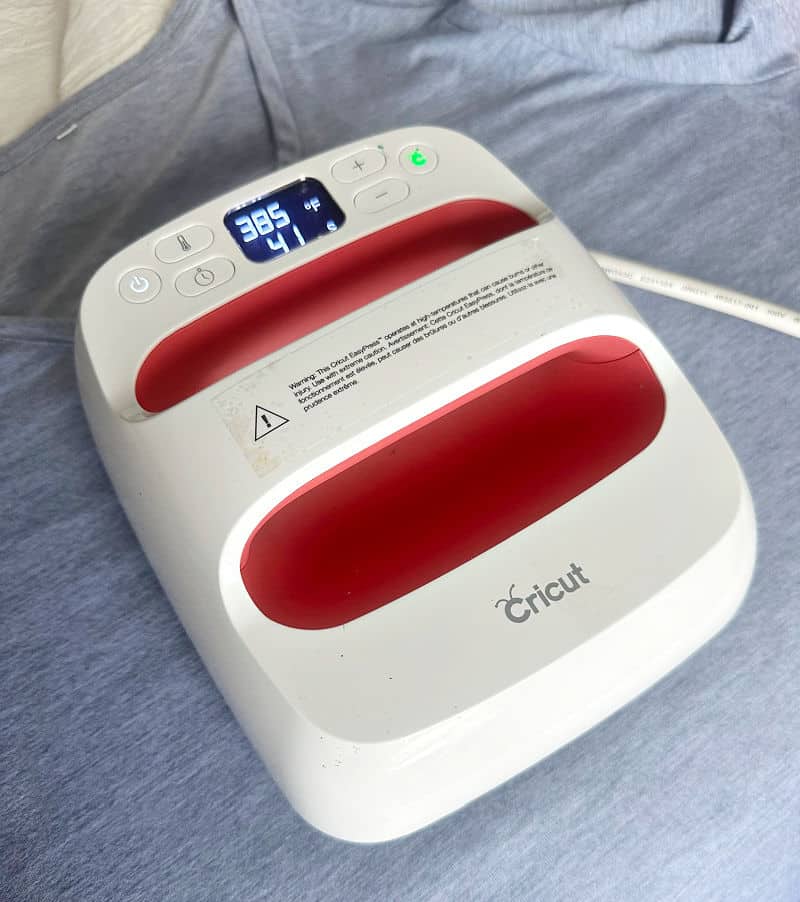

Heat up your Cricut EasyPress to 385 degrees.
Step 3. Cutting and Weeding
Now it’s time to weed your design. This is when you remove the negative part of your design, leaving the image that you want to transfer.
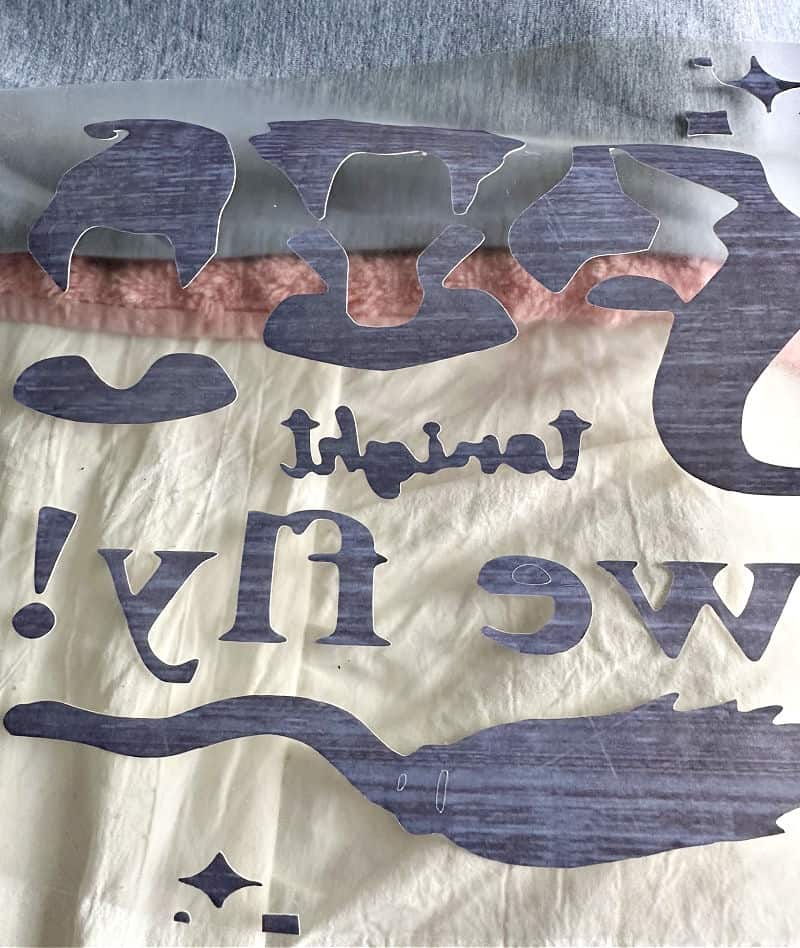
Step 4. Transfer the design
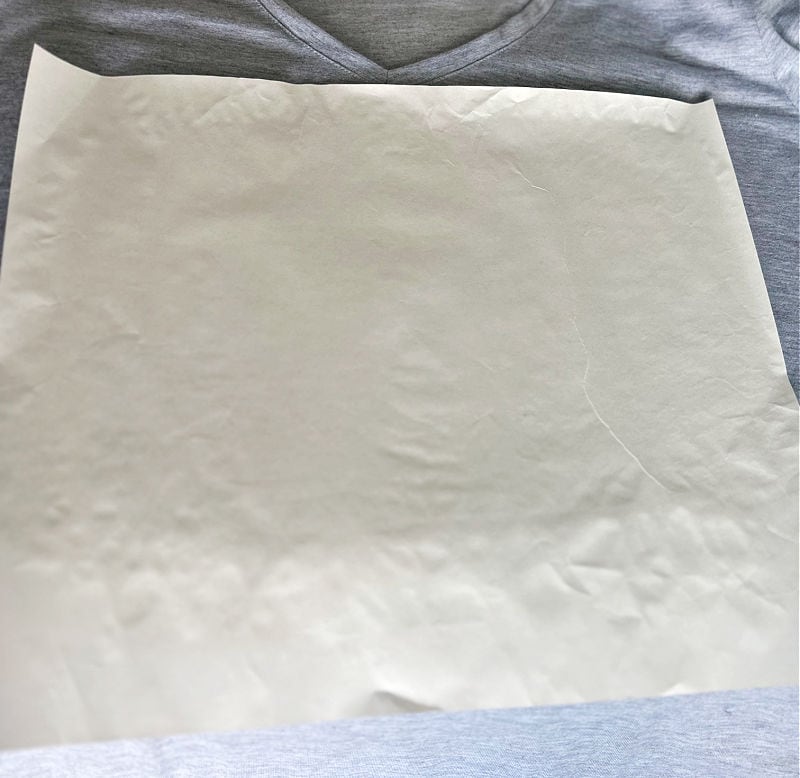
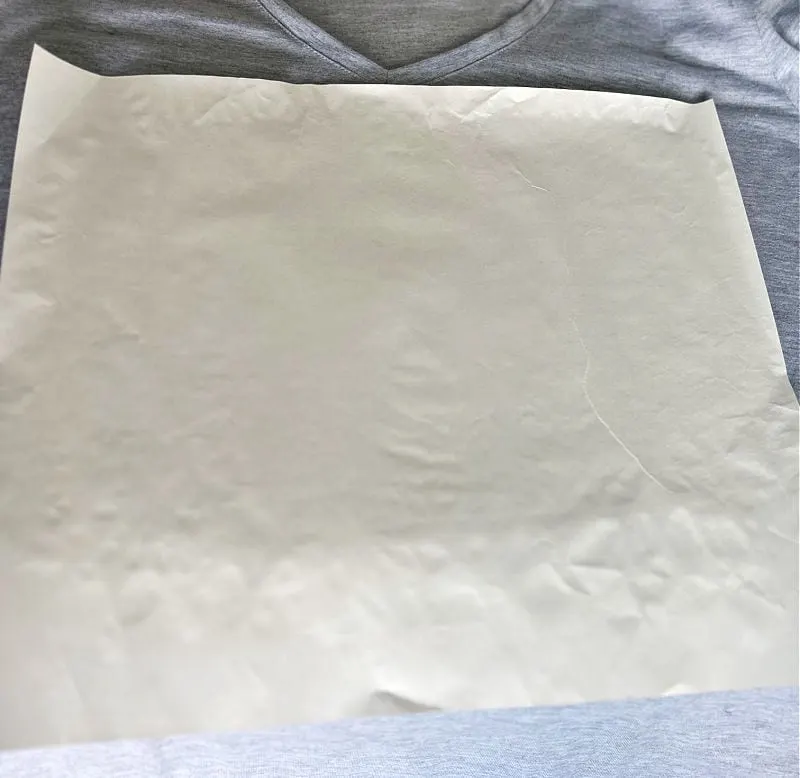
It’s important to place a piece of white cardstock (recommended) in between the t-shirt front and back.
Place a piece of butcher paper on top. You want to warm up the area first for about 15-20 seconds. Remove the butcher paper.
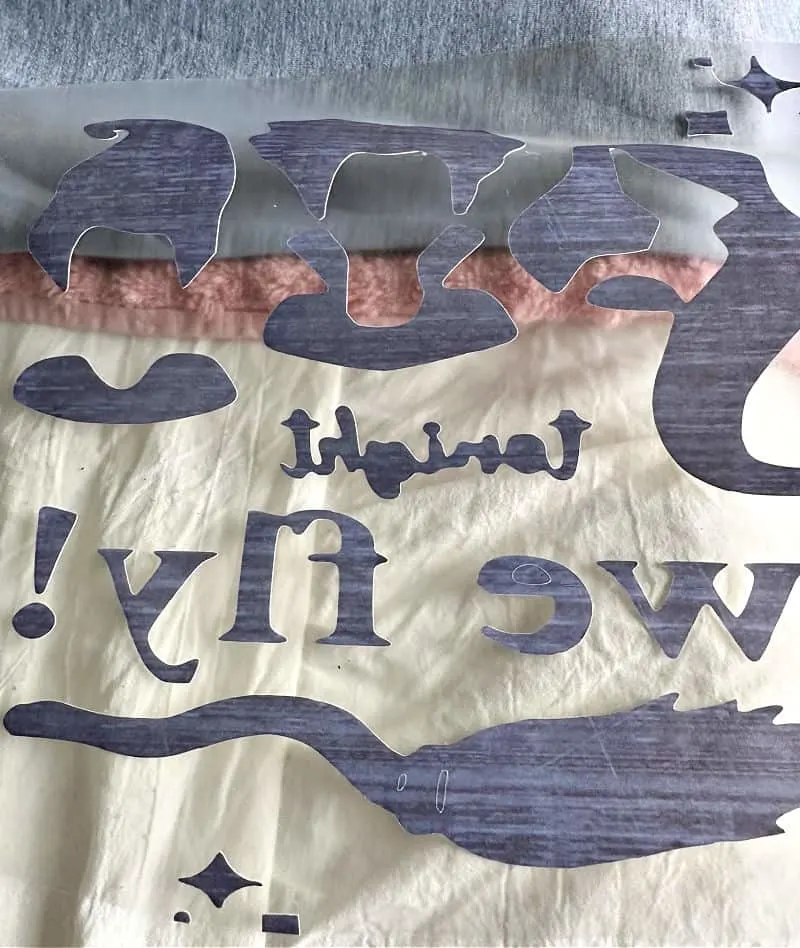
Next, place the design face down onto the t-shirt. A good rule of thumb is to use 2 fingers to place the image below the neck of the t-shirt.
Place the butcher paper back on and heat for 40 seconds. Apply light pressure and be sure to keep the EasyPress in one spot.
You do not want to use it like an iron, as it can cause the image to become blurry.


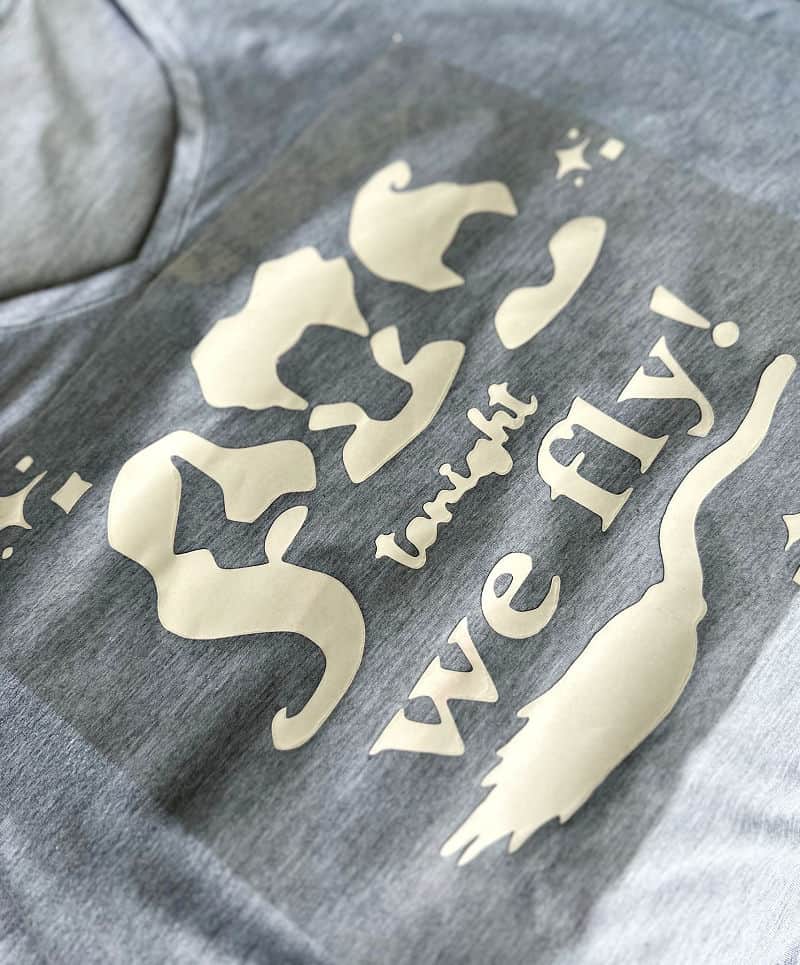
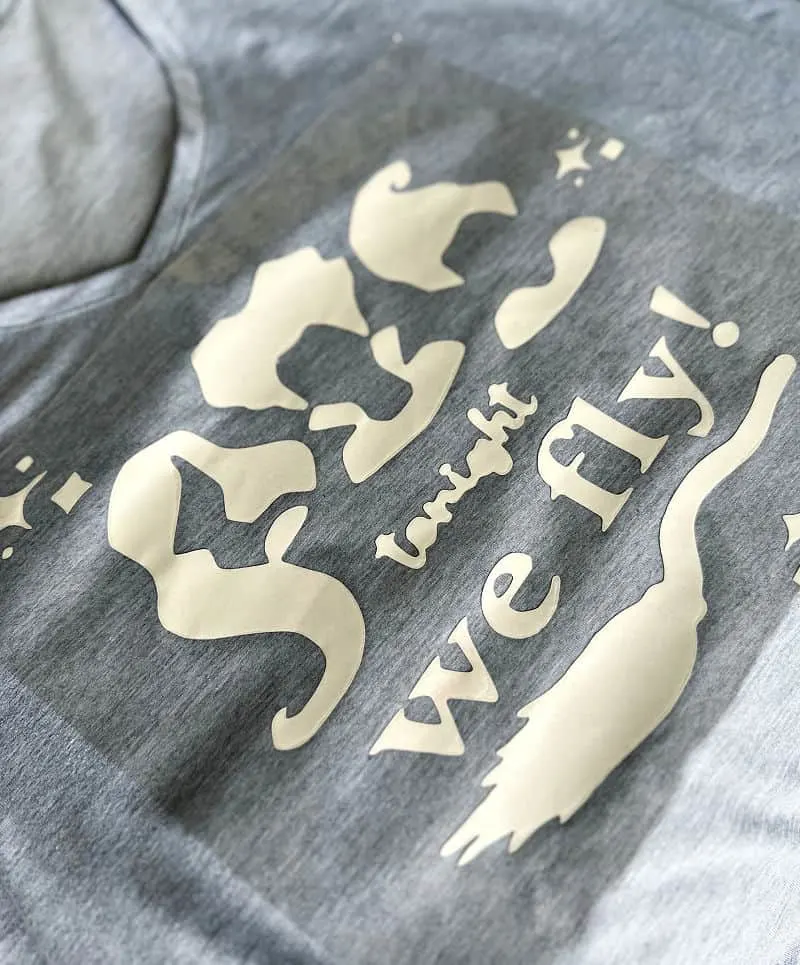
Carefully lift up the EasyPress and watch the magic happen! My design had a bit of a pattern to it.
But look at that gorgeous finish.
Here is a close-up so you can see how it is actually part of the t-shirt:


The shirt is ready to wear, no need to worry about it cracking or peeling even after several washes.

How Is Infusible Ink Different From HTV?
Here are a few of the main differences between infusible ink vs. iron-on vinyl.
- Iron-on can be applied to just about any surface with a regular iron or other heat press.
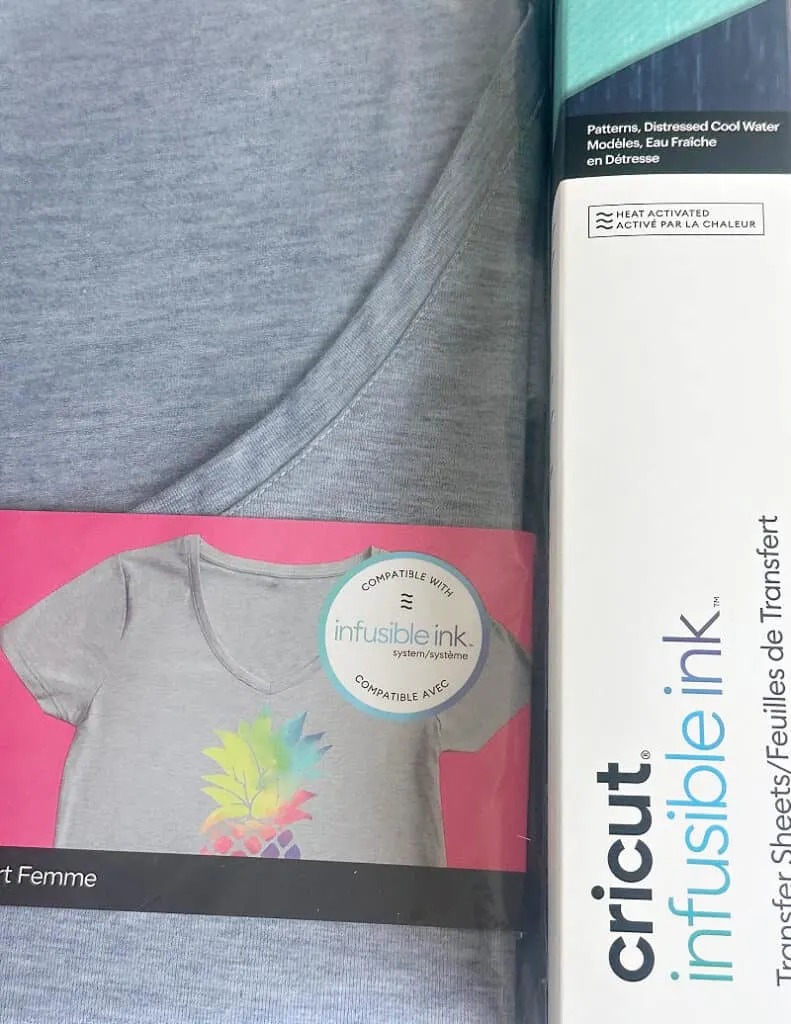
- Infusible Ink has to be applied to a “blank” that is compatible with infusible ink and requires a white or light colored fabric.
- Iron-on products can be used on any color fabric.
- You will need to use a Cricut Autopress, EasyPress or other heat press that reaches 400°F (205°C) for infusible ink. An iron will not work.
Now let’s make a onesie with iron-on or HTV so you can see the difference.
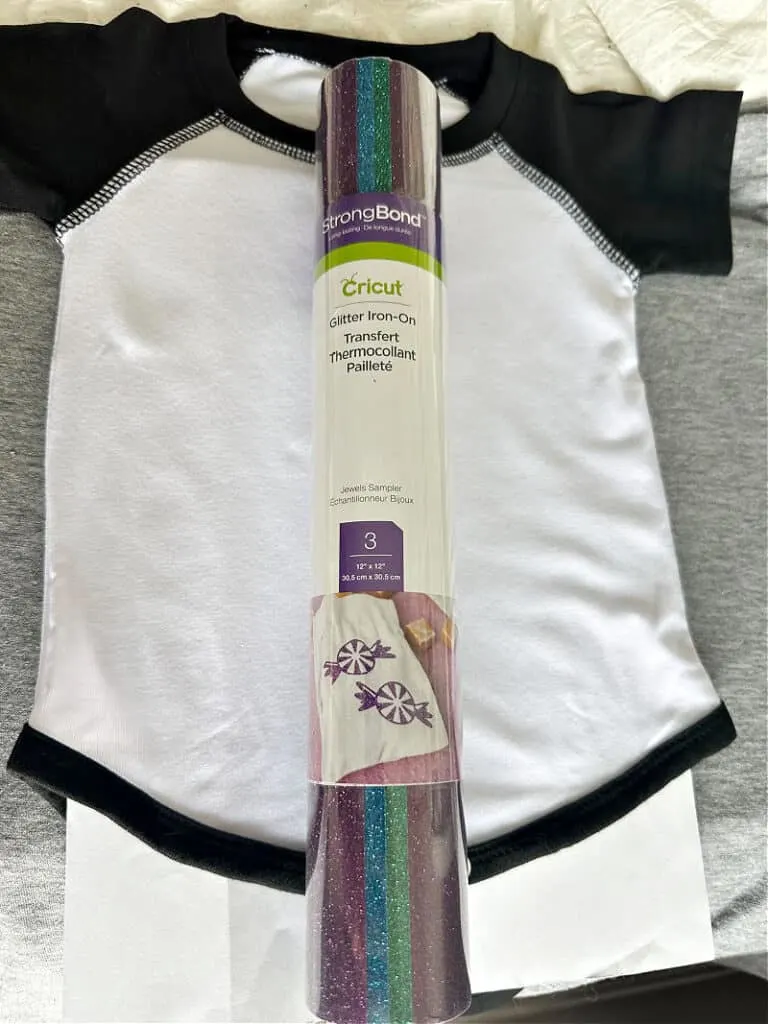
Supplies for Iron-On Shirt
- Baby BodySuit Blank – also compatible with infusible ink
- Glitter Iron-On Vinyl
- Butcher Paper


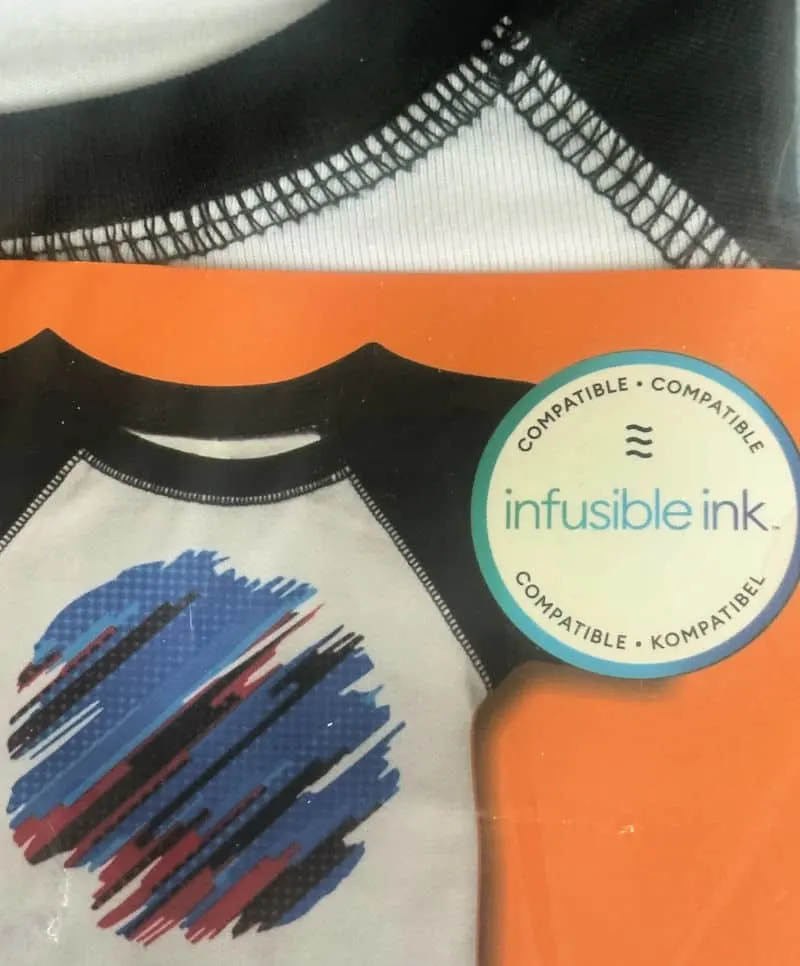
It’s so helpful to see the materials labeled if they are compatible with infusible ink.
This makes it so much easier when shopping!
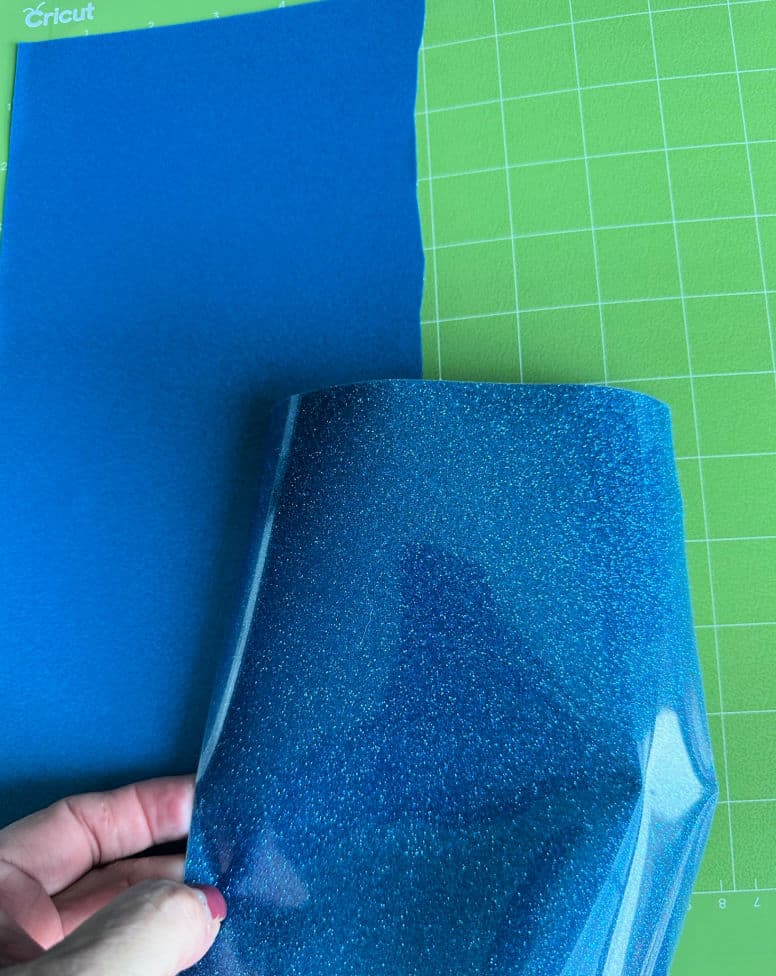
You follow the same steps shown above. The iron-on vinyl is placed face down on the mat as you can see below.

Choose your design. One of the things I love about using Design Space is you can easily create your own quotes or designs.
A blogging friend recently had a baby, so I wanted to send her a little gift. I created a funny text to add to a onesie.

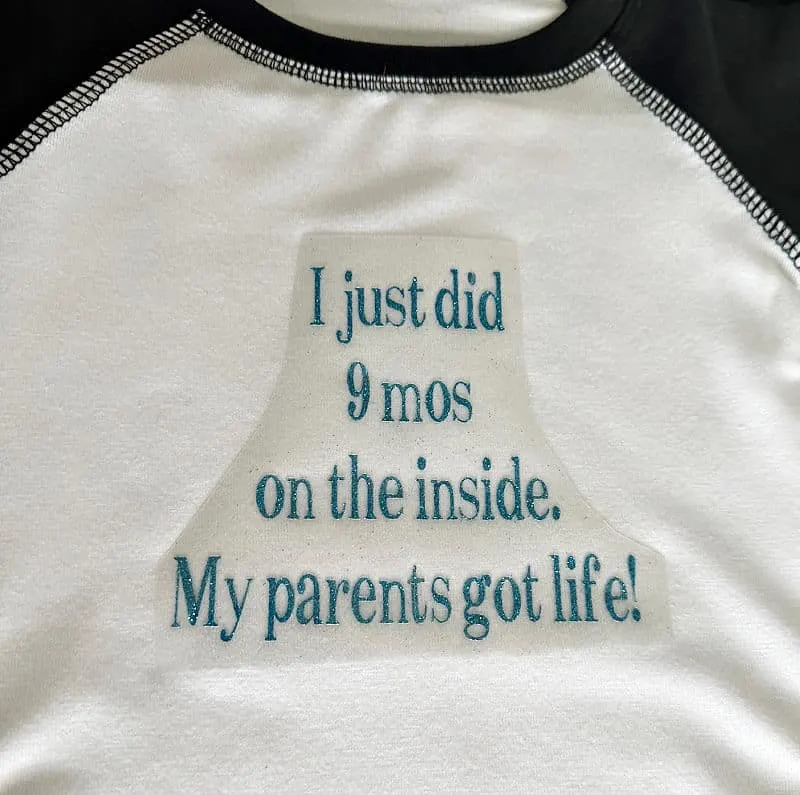
quick tip: for a onesie, size the design to about 5.5″.
You still need to mirror the image, so don’t forget to check that button.
Let the transfer cool for a couple of minutes prior to removing the top. This is called a “cold peel”.

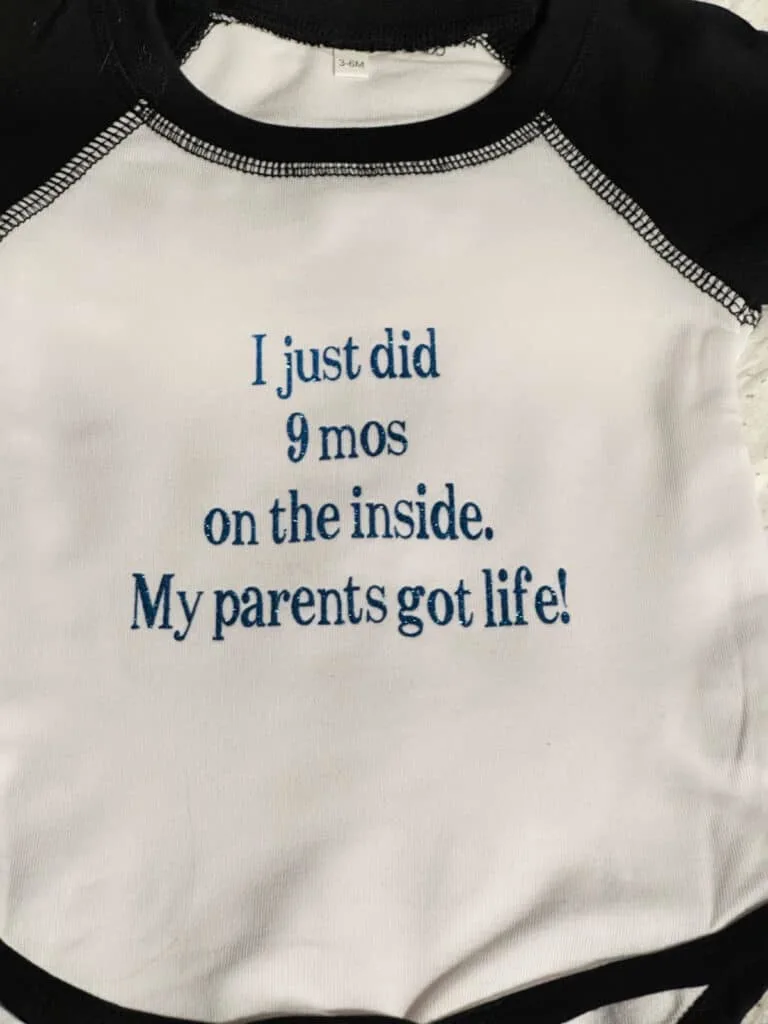
How cute is that?! I love the glitter HTV.
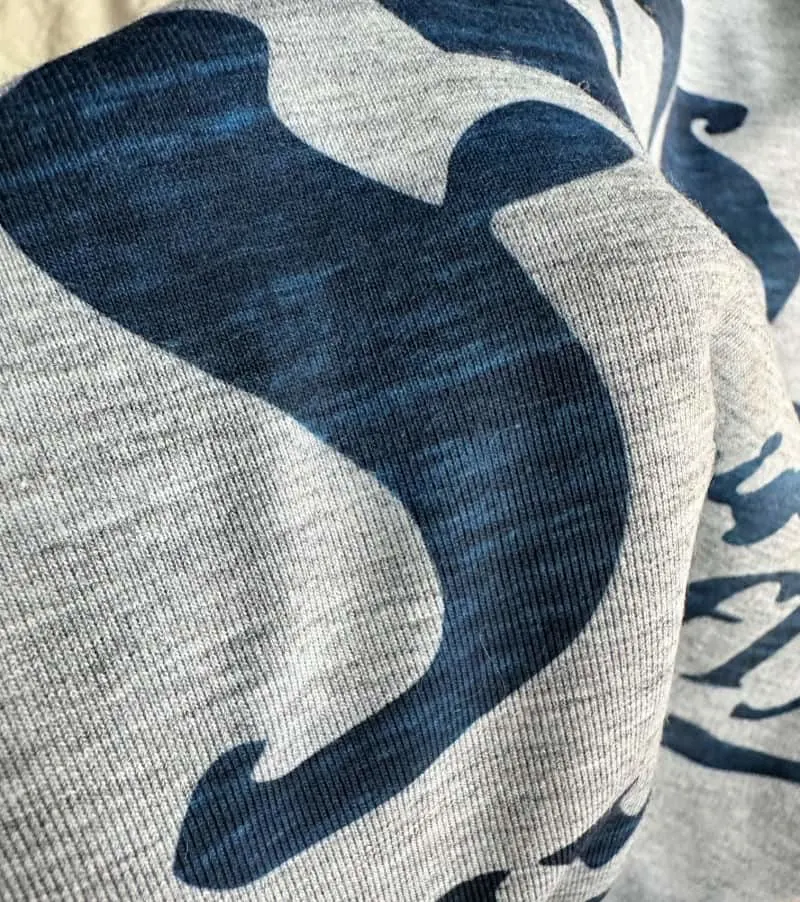
Here is a side by side showing the shirt made with infusible ink and the shirt made with iron-on vinyl.
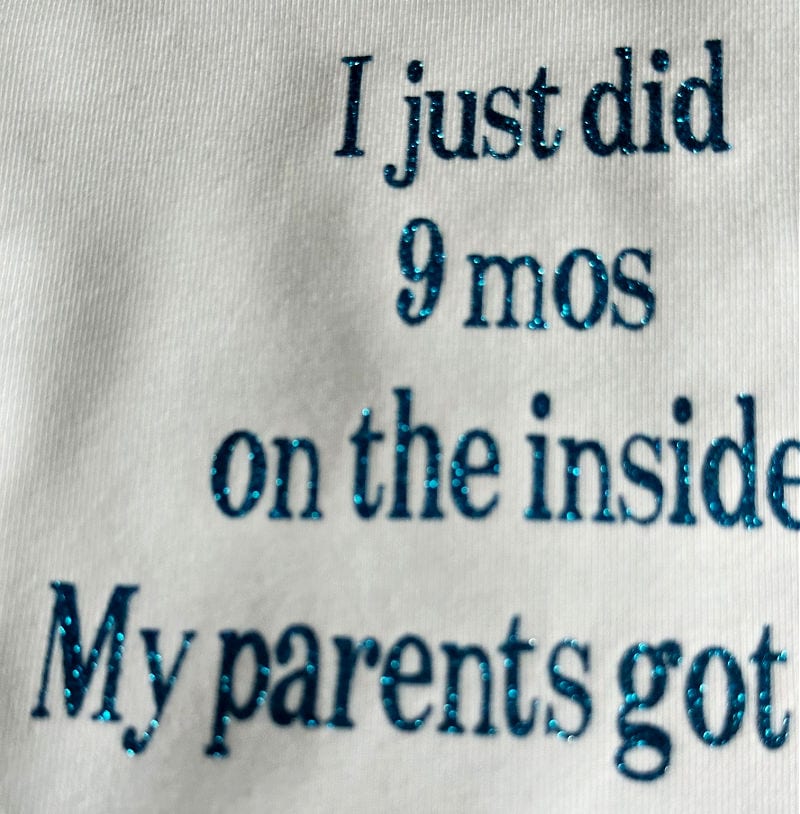
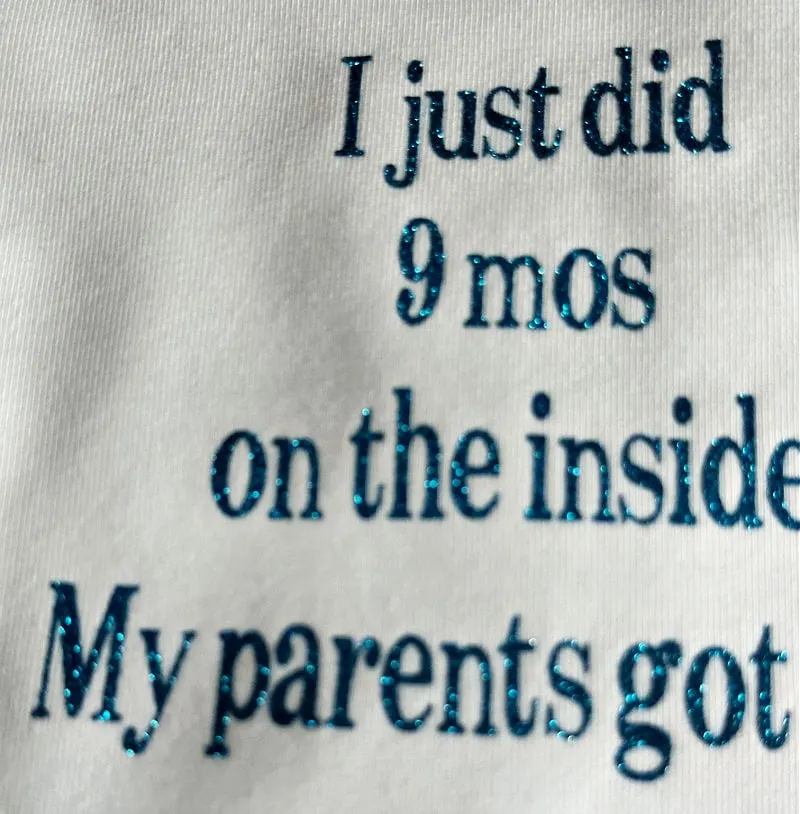
You can see how the iron-on sits on top of the shirt and is not “infused” into the shirt shown in the first image.
When To Use Infusible Ink Over Iron-on (HTV)
So the million dollar question is when do you use infusible ink and when do you use iron-on?
Here are some key takeaways:
- For sharp, vibrant designs that will not crack, peel or flake, infusible ink is the way to go.
- If you are making something with a dark-colored base material, or if you want to use wood or 100% cotton, go with iron-on (HTV).
- Also, if you want to create something with a specialty finish, like the glitter design shown above, those are only available with iron-on (HTV) products. Check out the amazing line including holographic, metallic/foil and all kinds of glitter colors.
Infusible Ink Does Not Replace Iron-on
One thing that is super important to know is that infusible ink is not meant to be a replacement to iron-on (HTV).
In fact, it can be used in combination with it to create absolutely amazing projects!
Cricut infusible ink and iron-on (HTV) are both great materials to use for different reasons.
I love the design finishes that iron-on offers and can’t imagine not working with it.
On the flip side, I also love that infusible ink is permanent, so there is no need to worry about peeling or cracking.
I’d love it if you would share this by pinning the below image:

I hope you found these tips on when to use infusible ink and when to use iron-on vinyl helpful.
If you have any questions, please let me know in the comments below. Happy crafting!
Before you go…you may also want to check out these Cricut crafts and DIY projects:
- Cricut Mug Press Tips and Tricks
- 15 Cricut Graduation Ideas
- Beachy Infusible Ink Coasters
- Baby Shower Decorations with Cricut
- Mother’s Day Cricut Ideas
- DIY Wine Gift Bag with Cricut Infusible Ink
- Pumpkin Spice Lovers Gift Bag with Cricut
- DIY Makeup Bag with Cricut Infusible Ink
You can find me on social media below: