This Pottery Barn ghost pillow dupe can be made for a fraction of the cost of retail. Don’t break the bank on Halloween decor-make your own!
Get the easy DIY instructions and save money on the popular Gus the ghost Halloween pillow. Did I mention it’s no-sew?
This post contains affiliate links at no extra cost to you. Please see my full disclosure here.
Pottery Barn Pillow Dupes
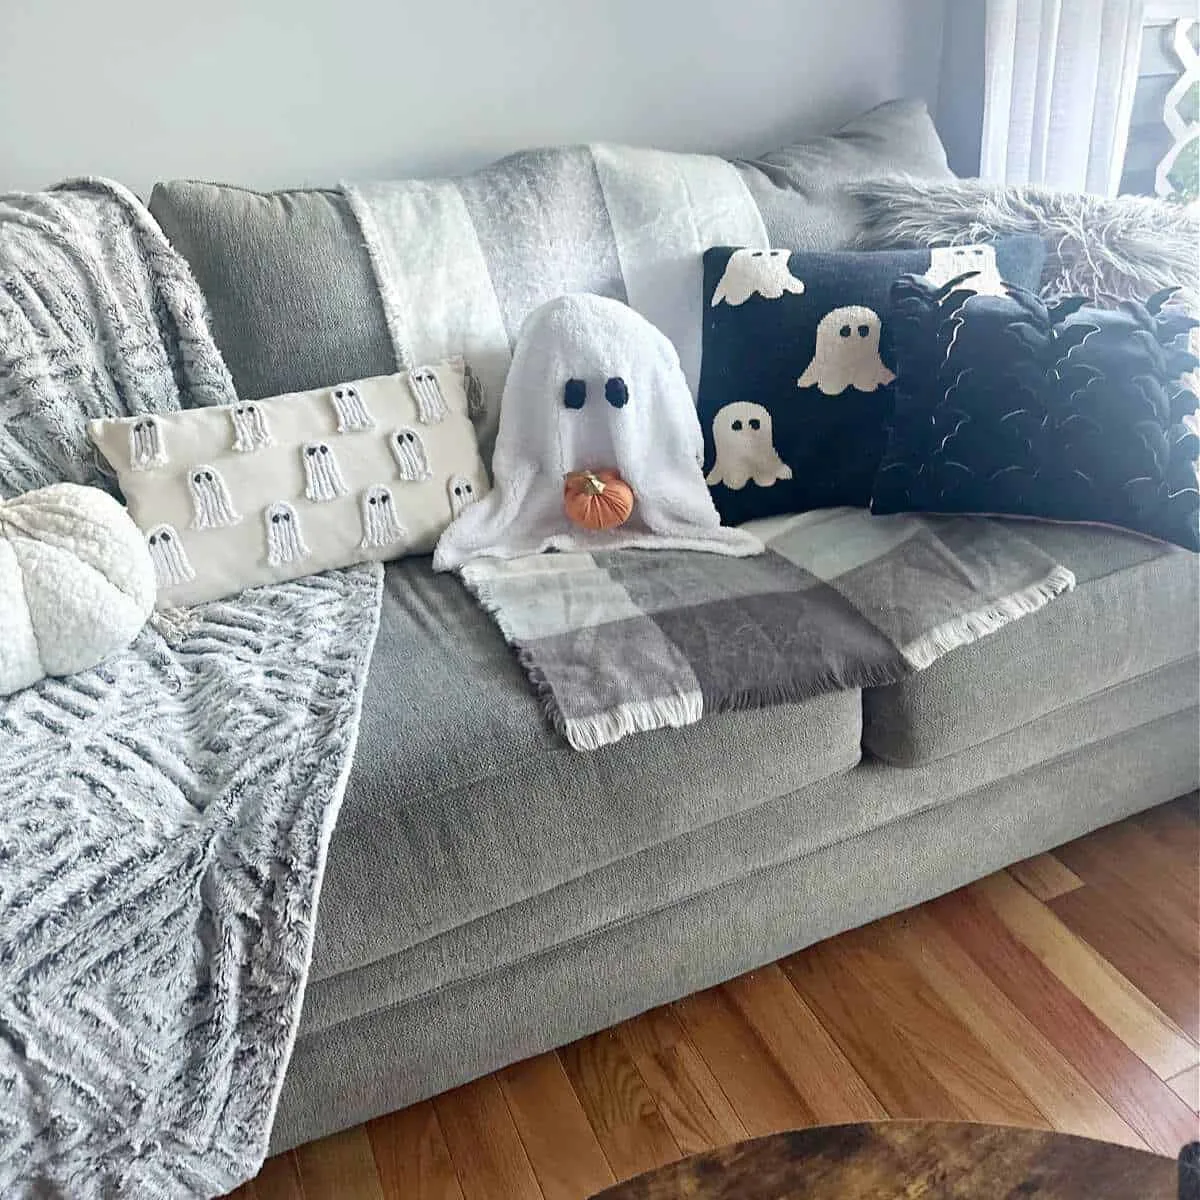
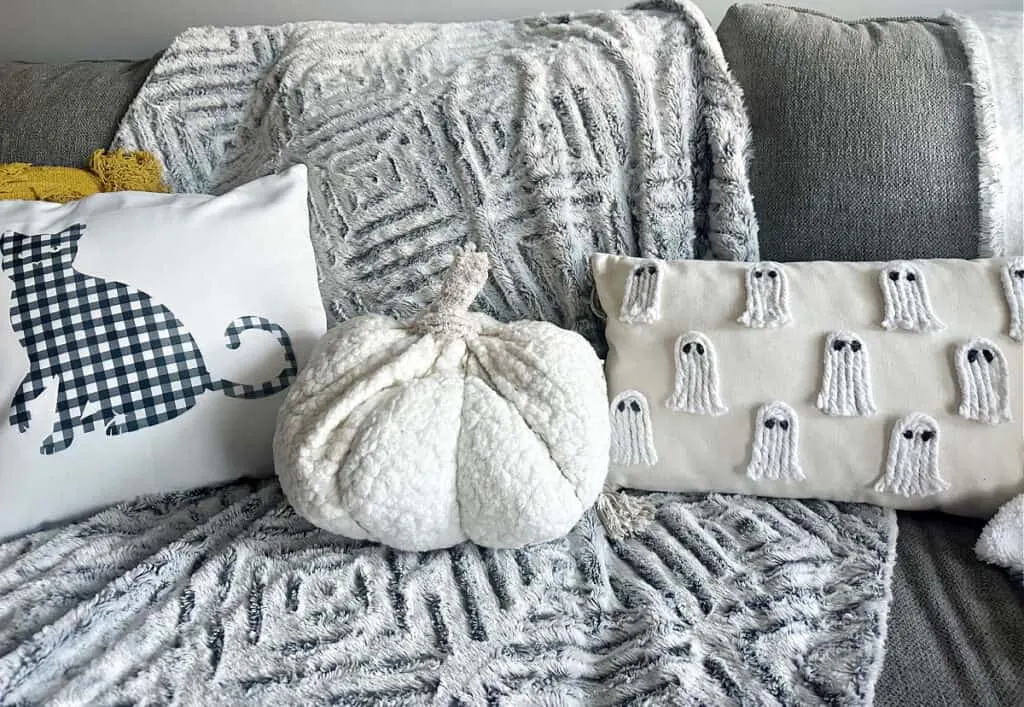
As you can see in the image above, this is not my first rodeo making Pottery Barn DIY Halloween pillows.
In fact, it’s not even my first time making ghost pillows. I can’t help it-they are so cute!
Not to mention my daughter is Halloween-obsessed and cheers me on with every idea.
But, at least they are made on a budget. 🙂
In case you missed it, be sure to check out these Pottery Barn inspired decorative pillows:
- Halloween bat pillow
- Tassel ghost pillow with Dollar Tree mop head
- Snowman pillow inspired by Pottery Barn
- Pumpkin pillow – I used the same tutorial shown in the snowman article
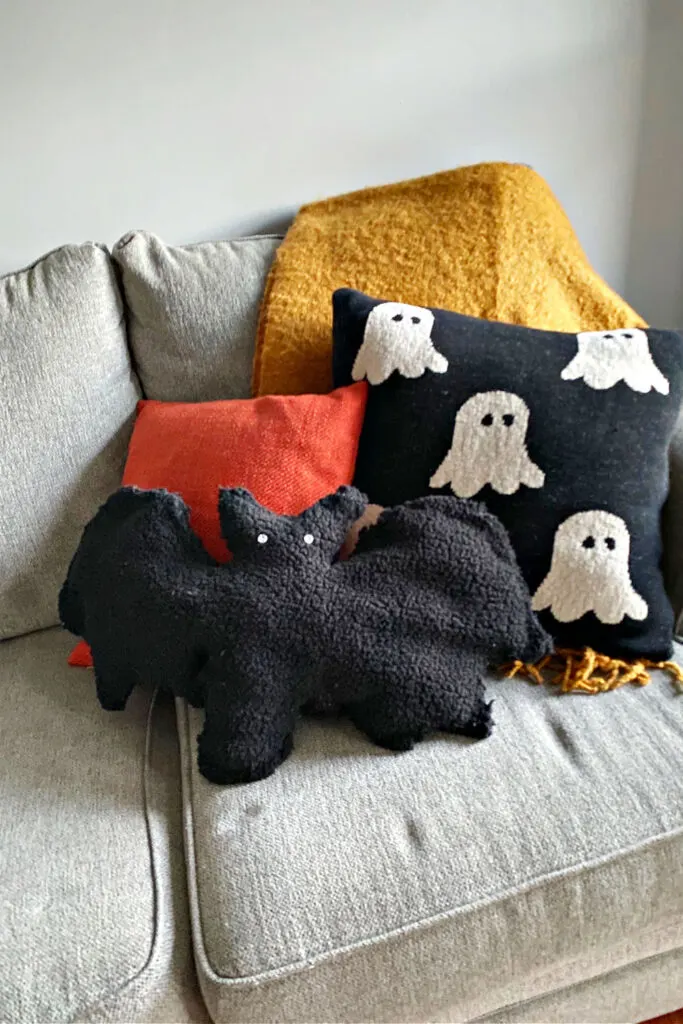
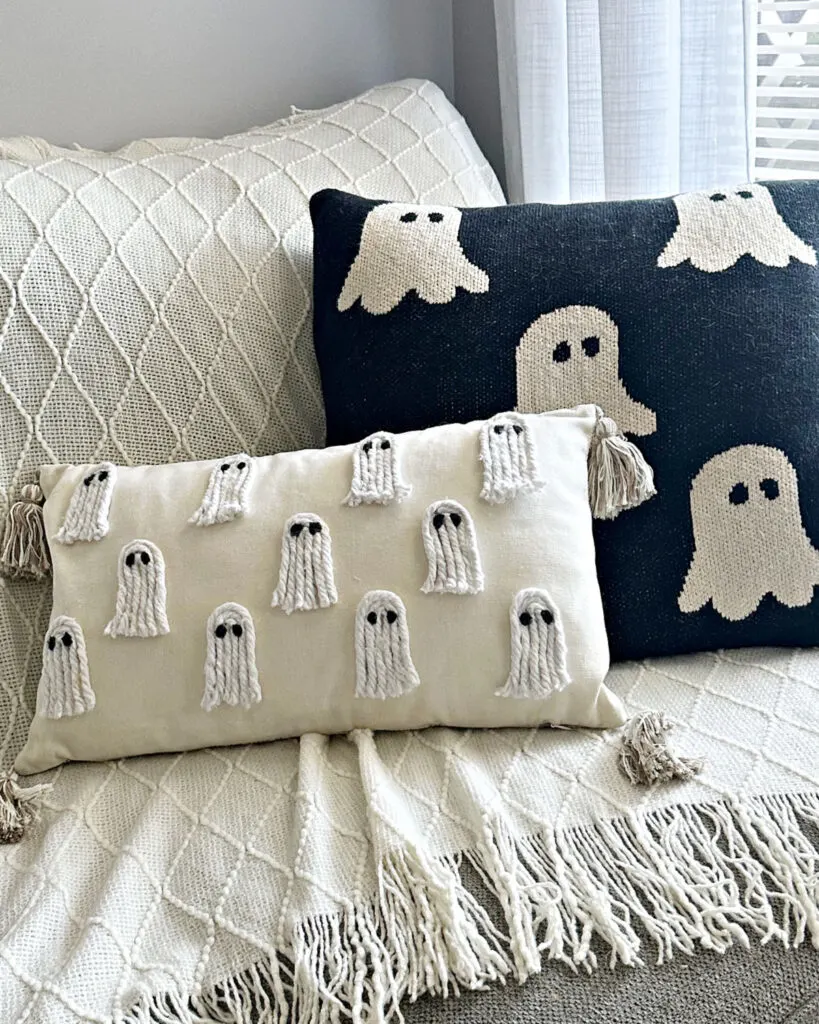
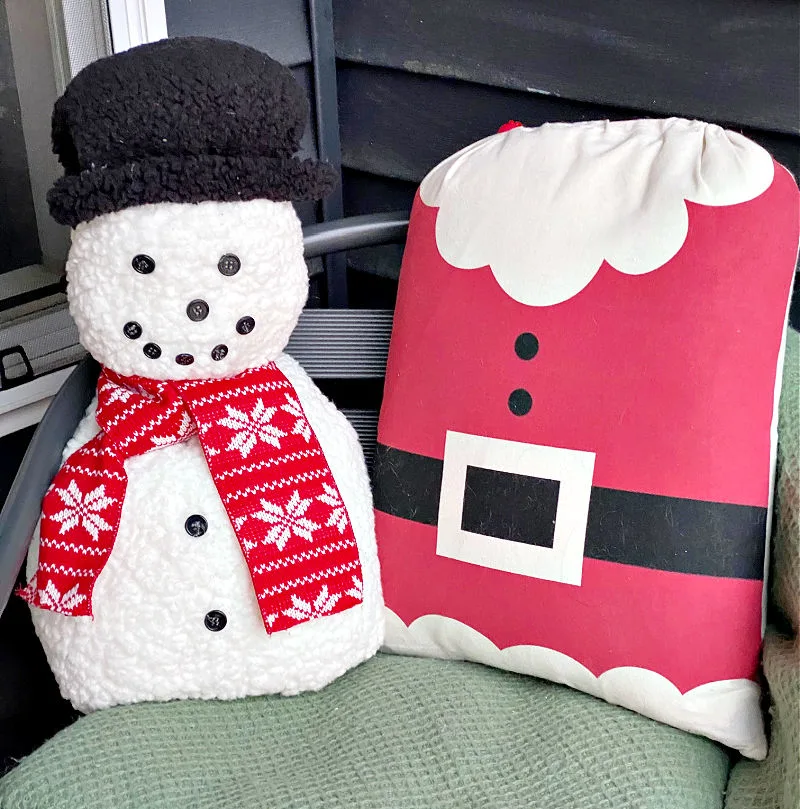
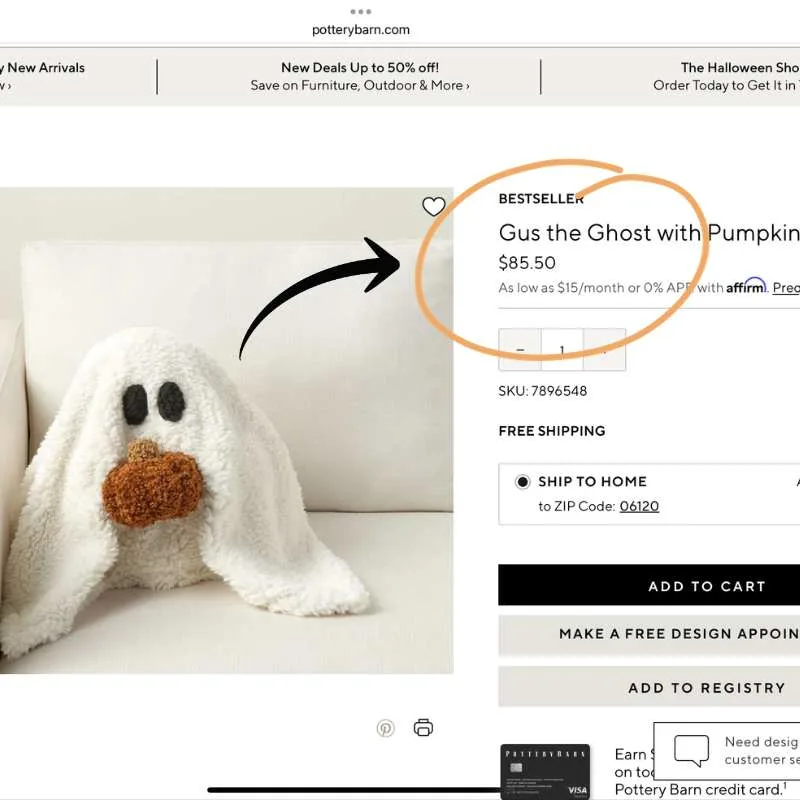
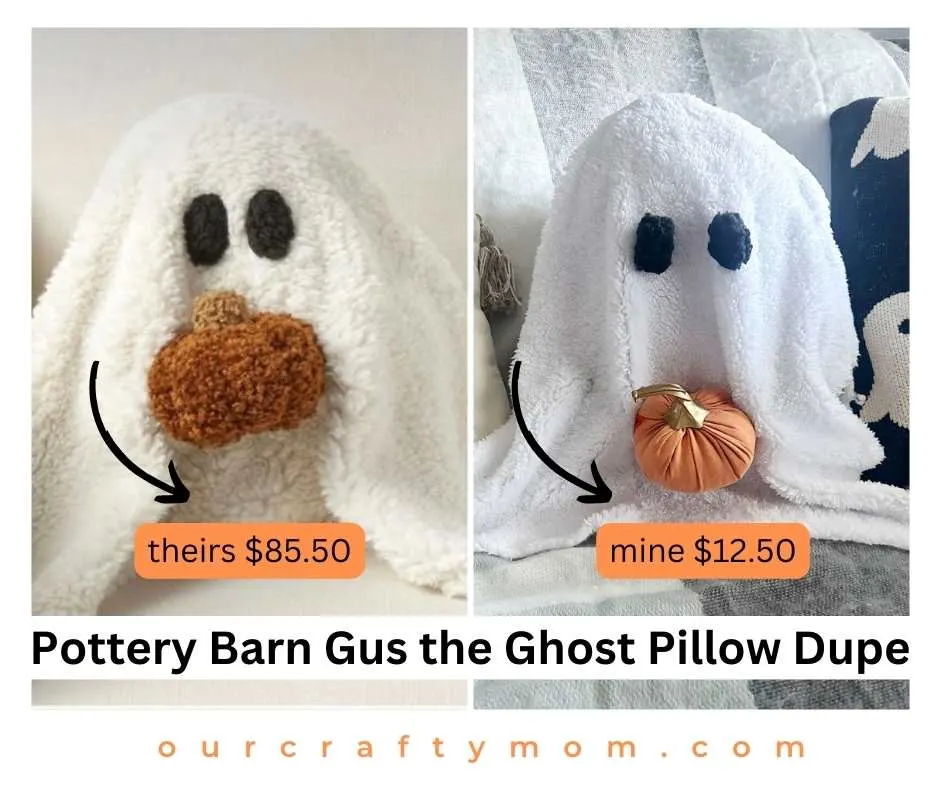
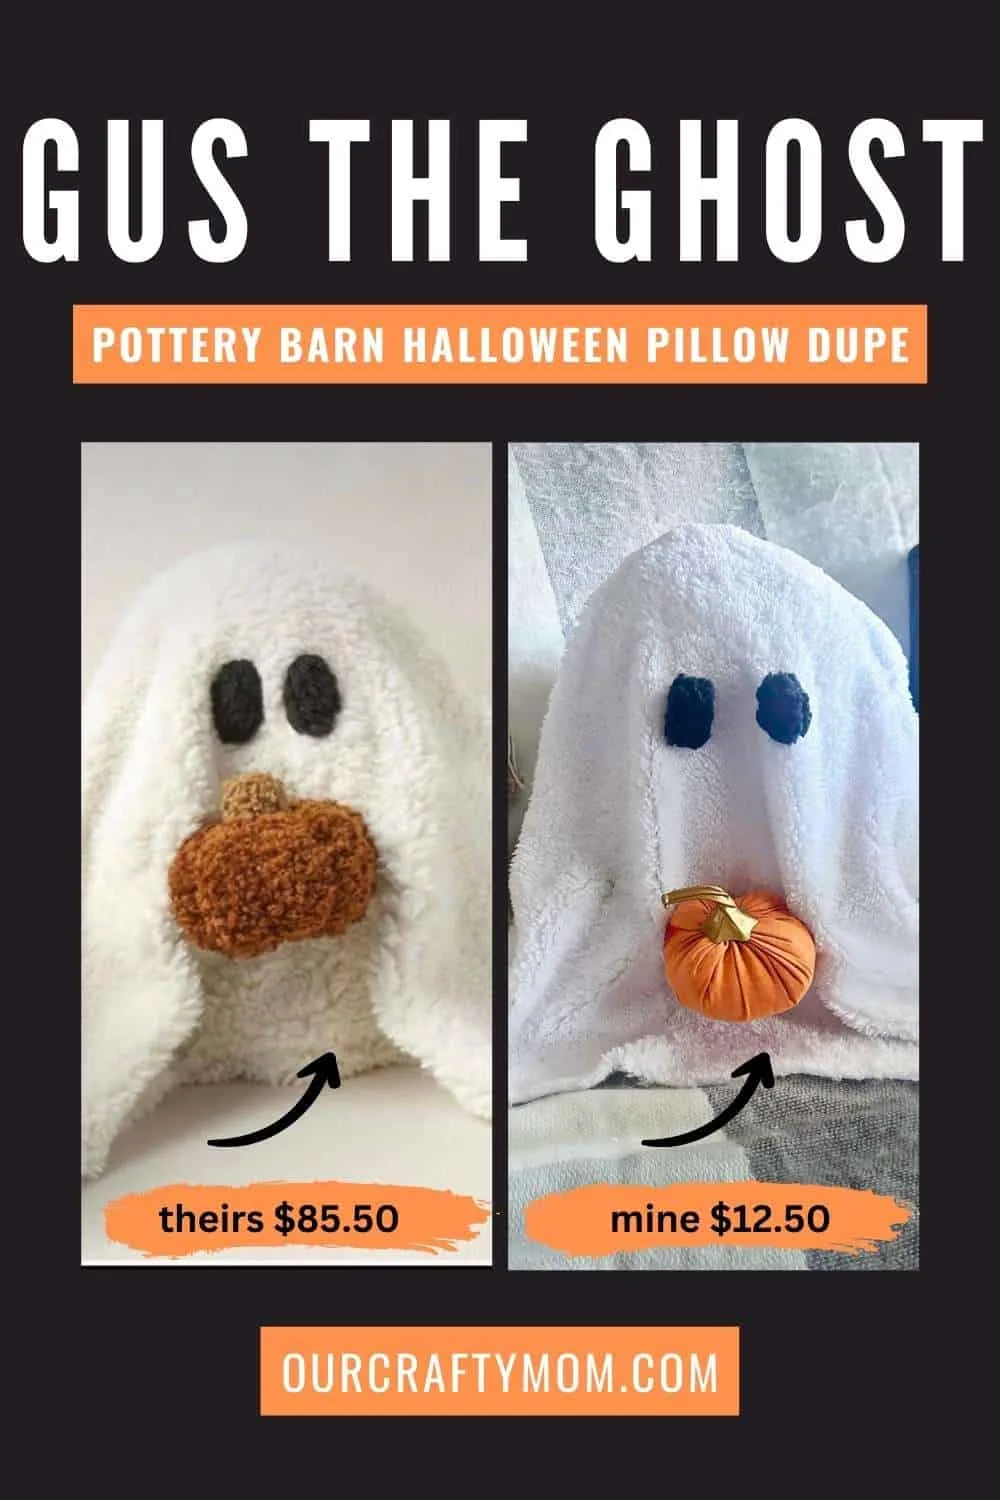
The ghost pillow covers at Pottery Barn run upwards of $85. The original Gus the ghost (without the pumpkin) is no longer available.
The minute I spotted this pillow, I knew I could make it for less. It becomes a challenge.
And, I try to use materials I already have in my craft closet.
If you follow me on Facebook or Instagram you know I am decorating my home this year with super cute DIY ghost decorations, so this cute little pillow will fit right in.
If you are a fan of ghost decor, you don’t want to miss this article with 21 Halloween ghost decorations
Last season I went with elegant black and white Halloween decorations, so ghost decorations will blend perfectly with the decor from last year.
Let’s make Gus, the Ghost!
Supplies to Make a Halloween Ghost Pillow
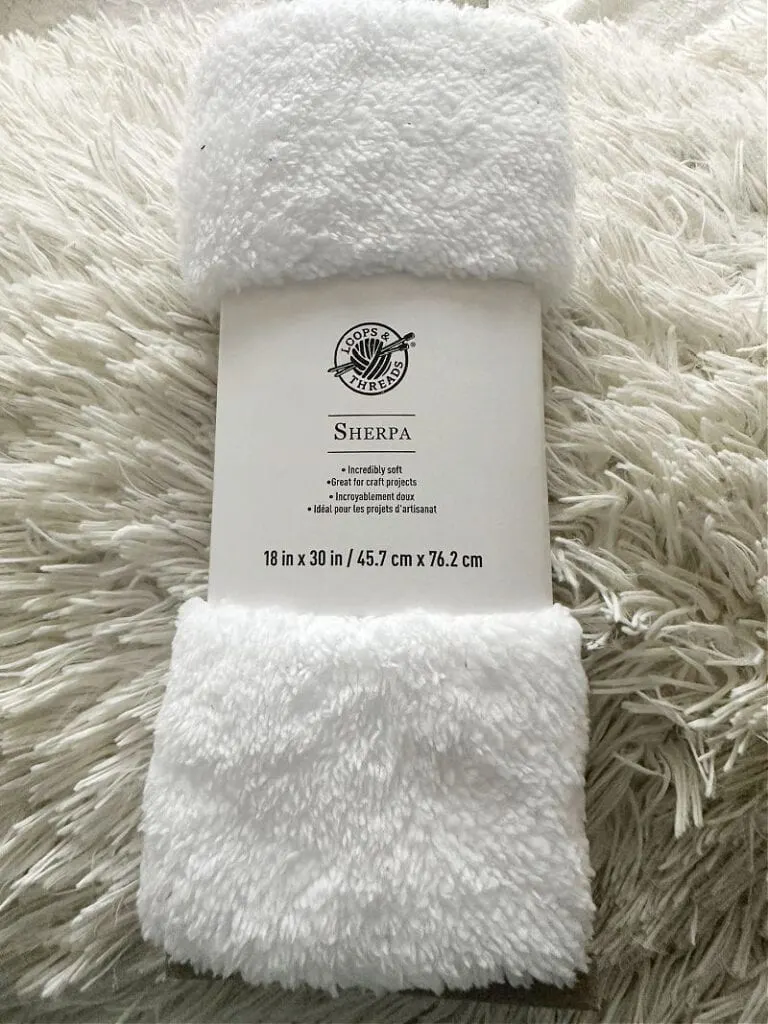
- White sherpa fabric-be sure to check Michaels, JoAnn Fabric and Crafts and Hobby Lobby
- Black sherpa fabric
- Old Throw Pillow-if you don’t have one, check thrift stores-good as new with a quick wash.
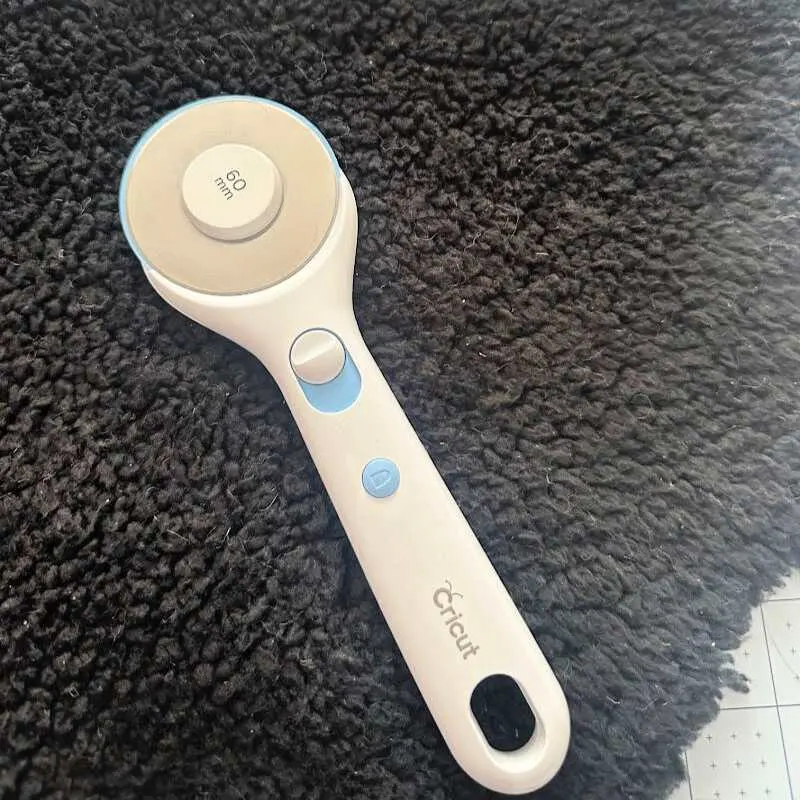
- Rotary cutter-you can use fabric scissors, but this is such a timesaver
- Self healing mat-I use this one from Cricut and love it! It’s 50% off as of this writing.
- Hot glue gun and glue sticks – this is one of my favorites!
How to Make a Ghost Pillow
The first thing you want to do is wrap twine around your throw pillow to create a rounded shape.
The pillow cover I used is 18″x18″.
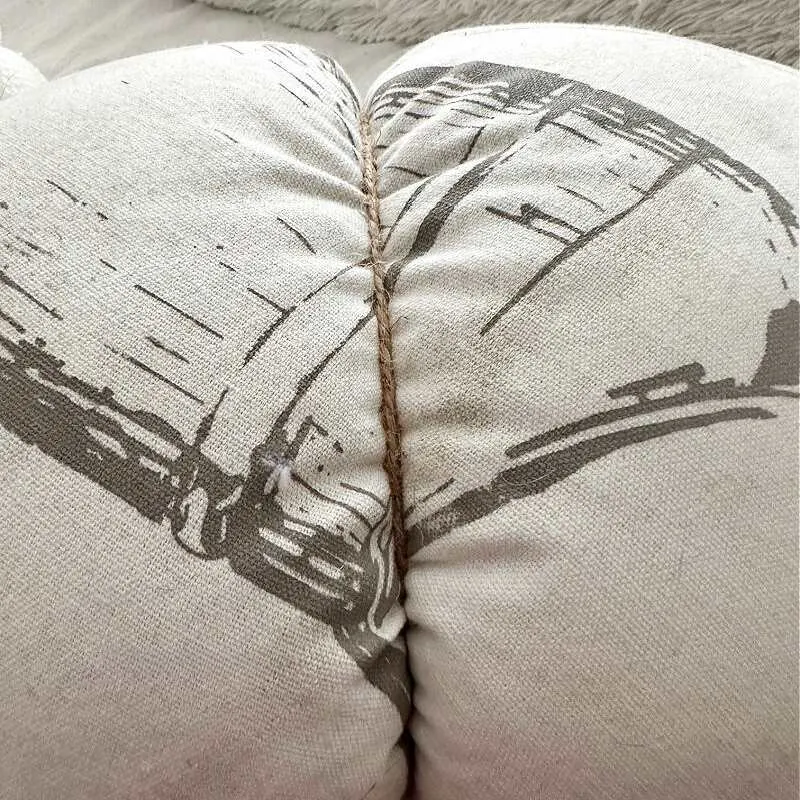
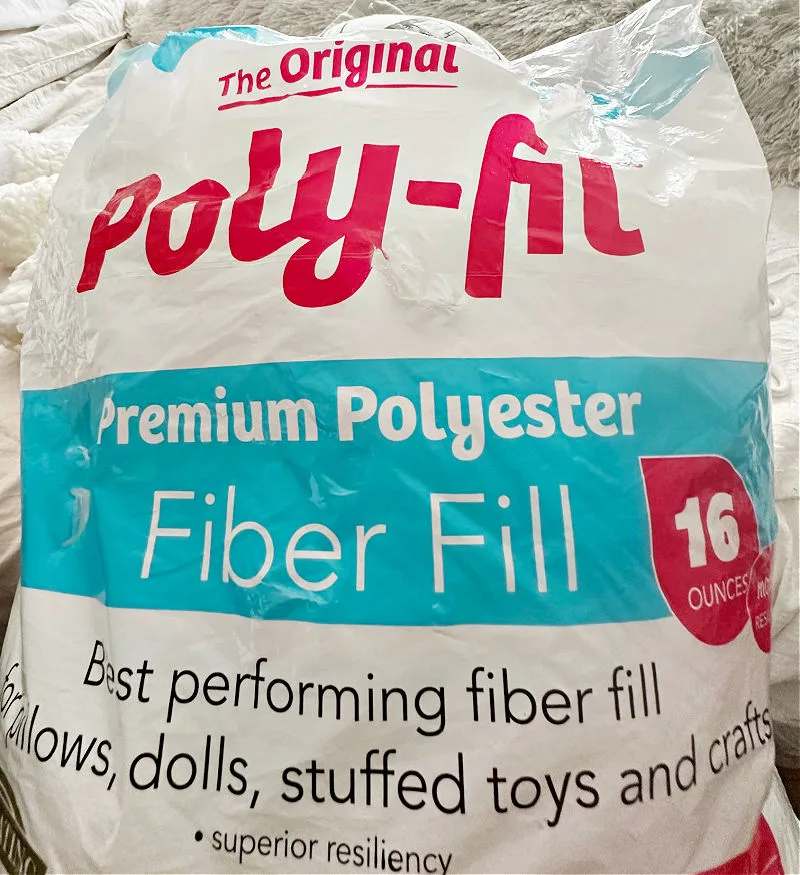
Once you have it tied with twine, begin adding poly-fil around the pillow to give it more softness.
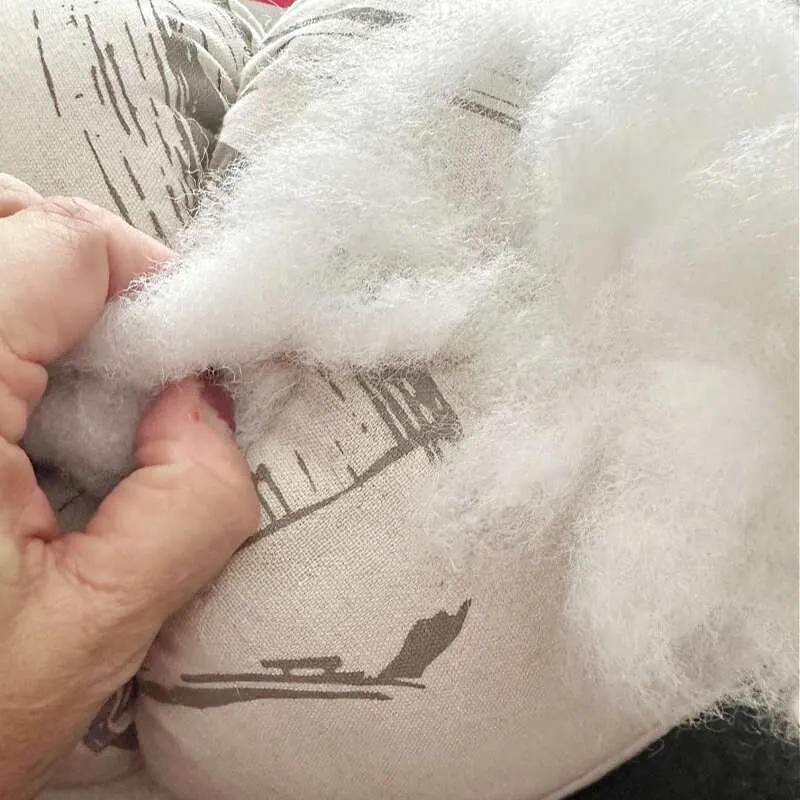
I just stuck it in the twine and added some hot glue directly to the pillow for other areas.
We will be using this strictly for decoration, so I wasn’t too worried about any of the poly-fil coming out.
Continue adding stuffing and form your oval ghost shape.
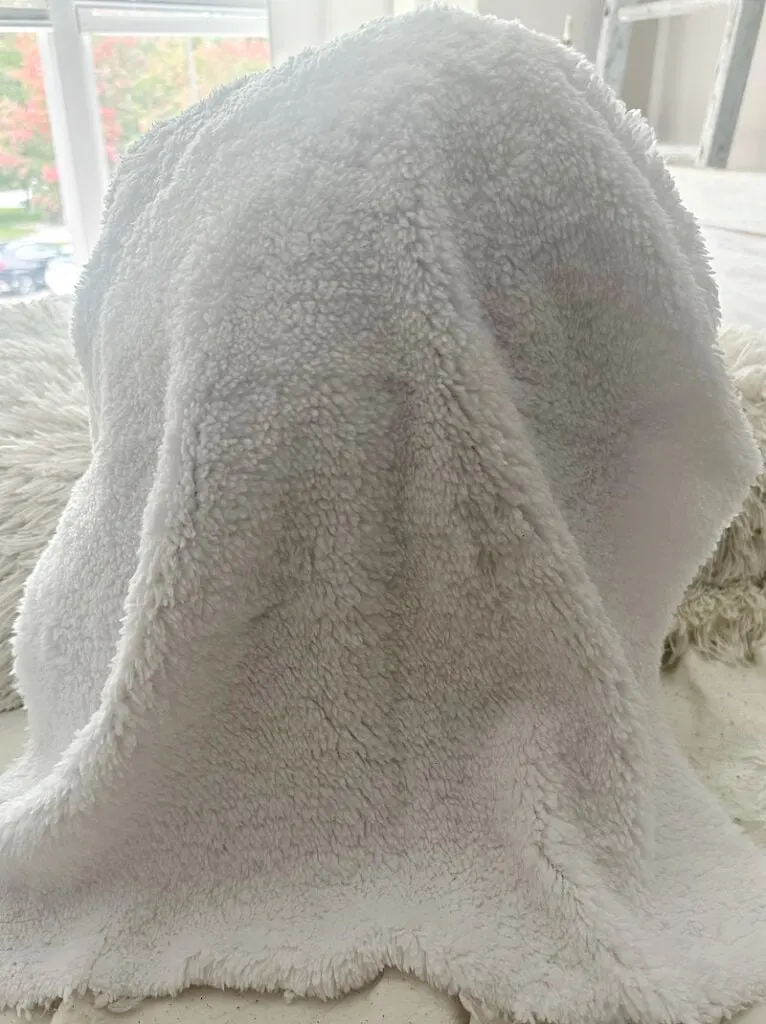
Once you are happy with the shape, place the sherpa fabric over the pillow form.
Add a dab of hot glue to the top of the head so the sherpa material is secure.
It doesn’t get much easier than this! You may need to squeeze it in certain areas to form the shape, especially the bottom.
If you want it to really sit flat, you can add poly-fil pellets to the bottom.
I was able to form a flat bottom, and did not have any of these in my stash, so I left them out.
Next up, you want to make the ghost eyes. You can use black felt, but I had black sherpa leftover from the bat pillow and that is what is used in the Pottery Barn version.
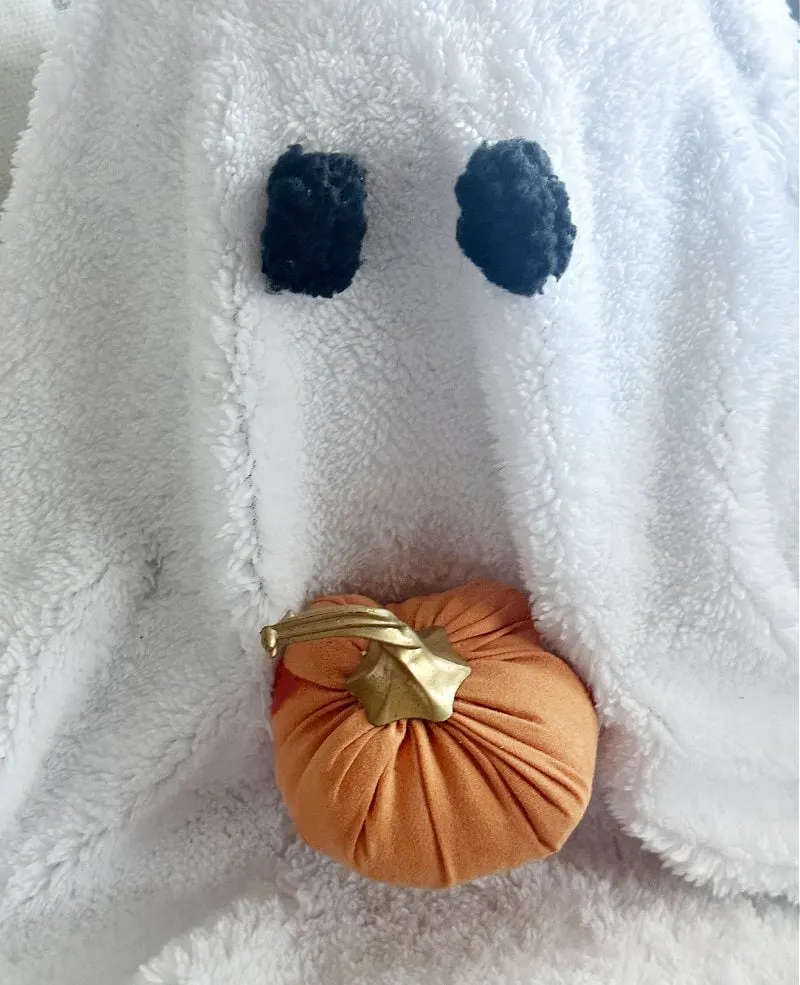
Simply cut an oval shape and hot glue them to the ghost pillow. The final step is to hot glue a fabric pumpkin to the center of the ghost.
Add a bit of a crease when you are gluing it, so it looks like the ghost is holding the pumpkin.
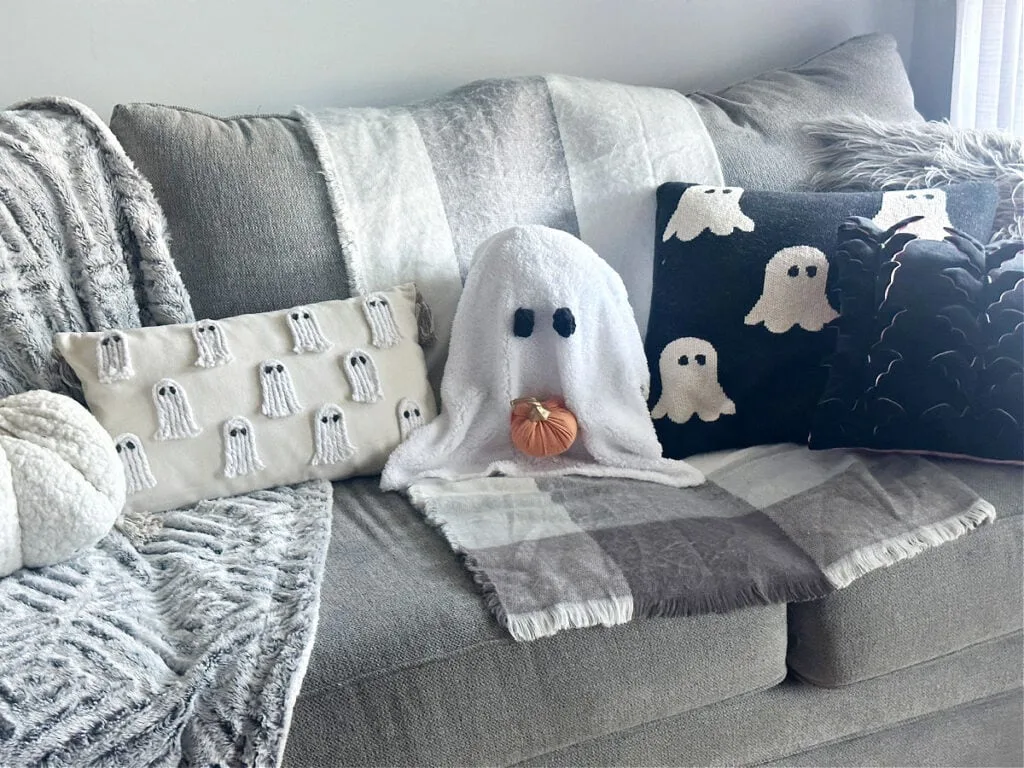
If I had orange sherpa for the pumpkin, I would have used that, but I’m pretty happy with the Dollar Tree pumpkin.
My daughter has a couple of bat pillows from Homegoods, so I borrowed the black and pink velvet one for Halloween.
Ghost Pillow Side by Side Comparison
There is nothing like a side by side comparison to really see the result.
Remember this is meant to be inspired by the original and does not have to be an exact replica.
I’m so stoked with how it turned out!
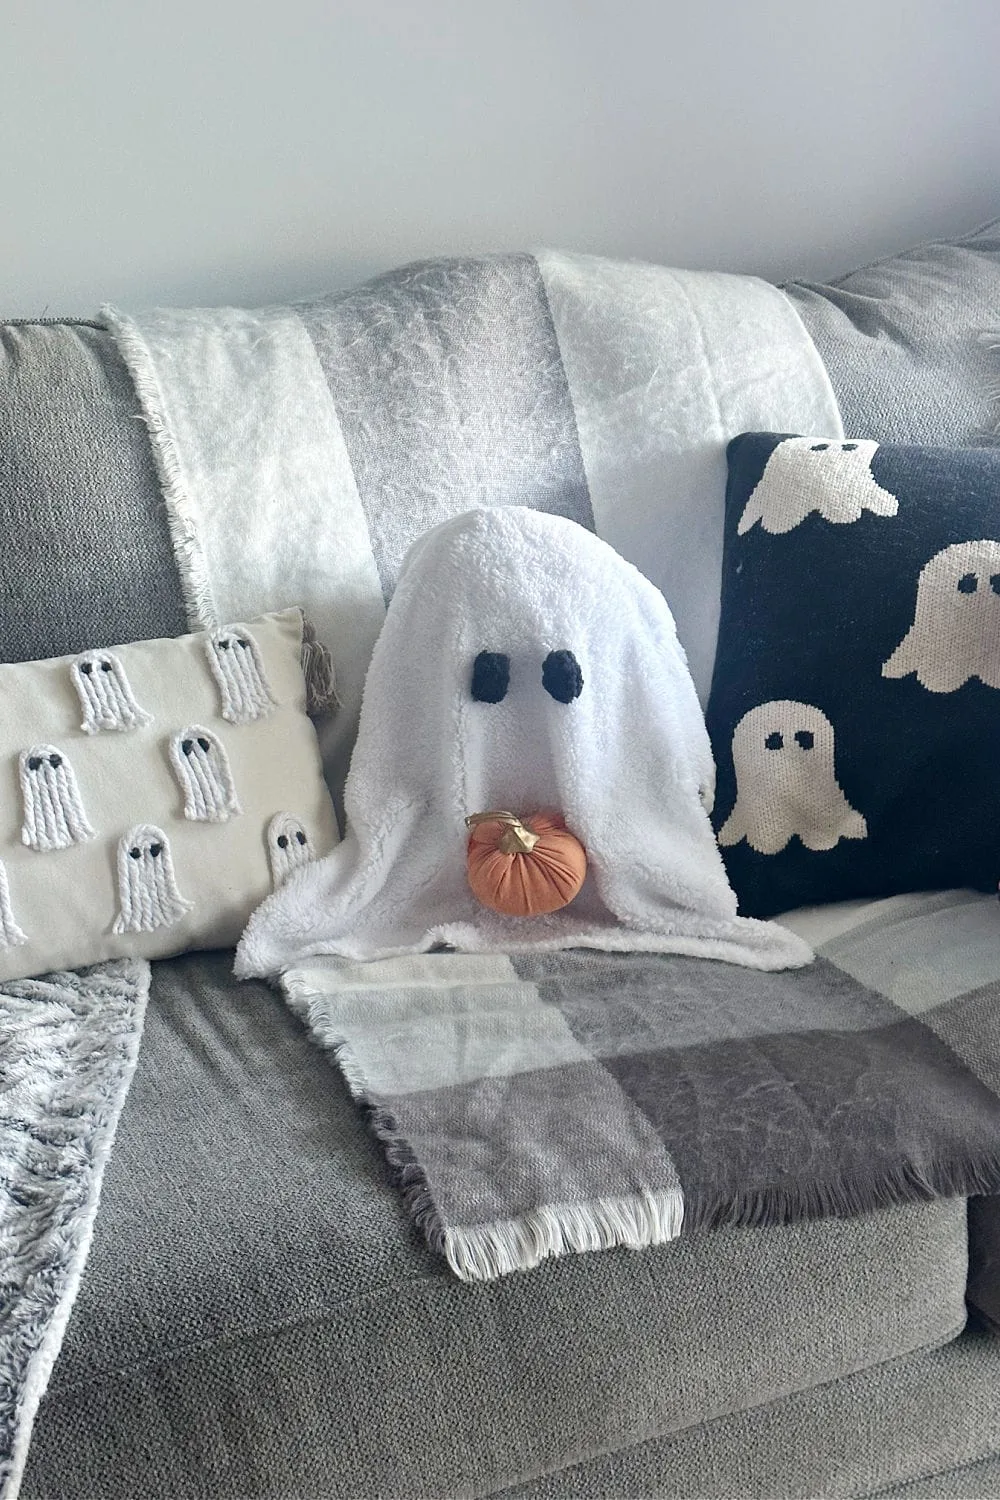
It is the perfect addition to the other Halloween pillows on my living room sofa.

What do you think of my handmade Gus the ghost pillow? Is this something you can see yourself making?
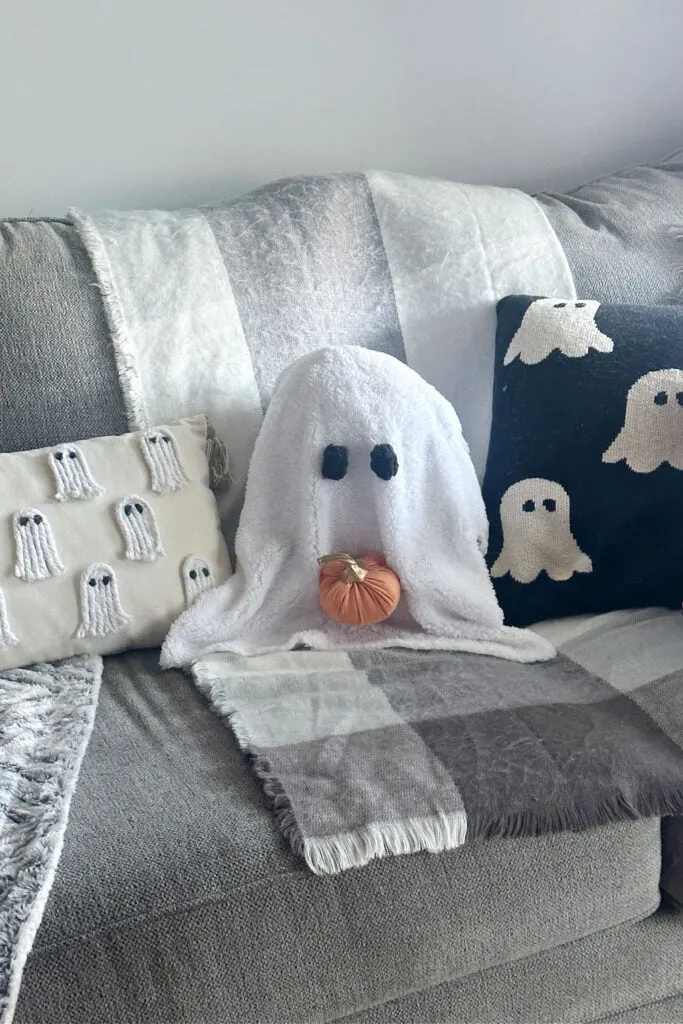
For under $13 it’s a budget-friendly version that can be made in about 30 minutes.
That’s a win in my book! If you would rather buy than DIY, here is the the link directly to the Pottery Barn Gus the ghost pillow.
I’d love it if you would share this with your friends by saving the below image to your favorite Halloween or home decorating board on Pinterest.
If you do give this little cutie a try, please tag me on Facebook or Instagram with #inspiredbyourcraftymom so I can see it.
That totally makes my day.
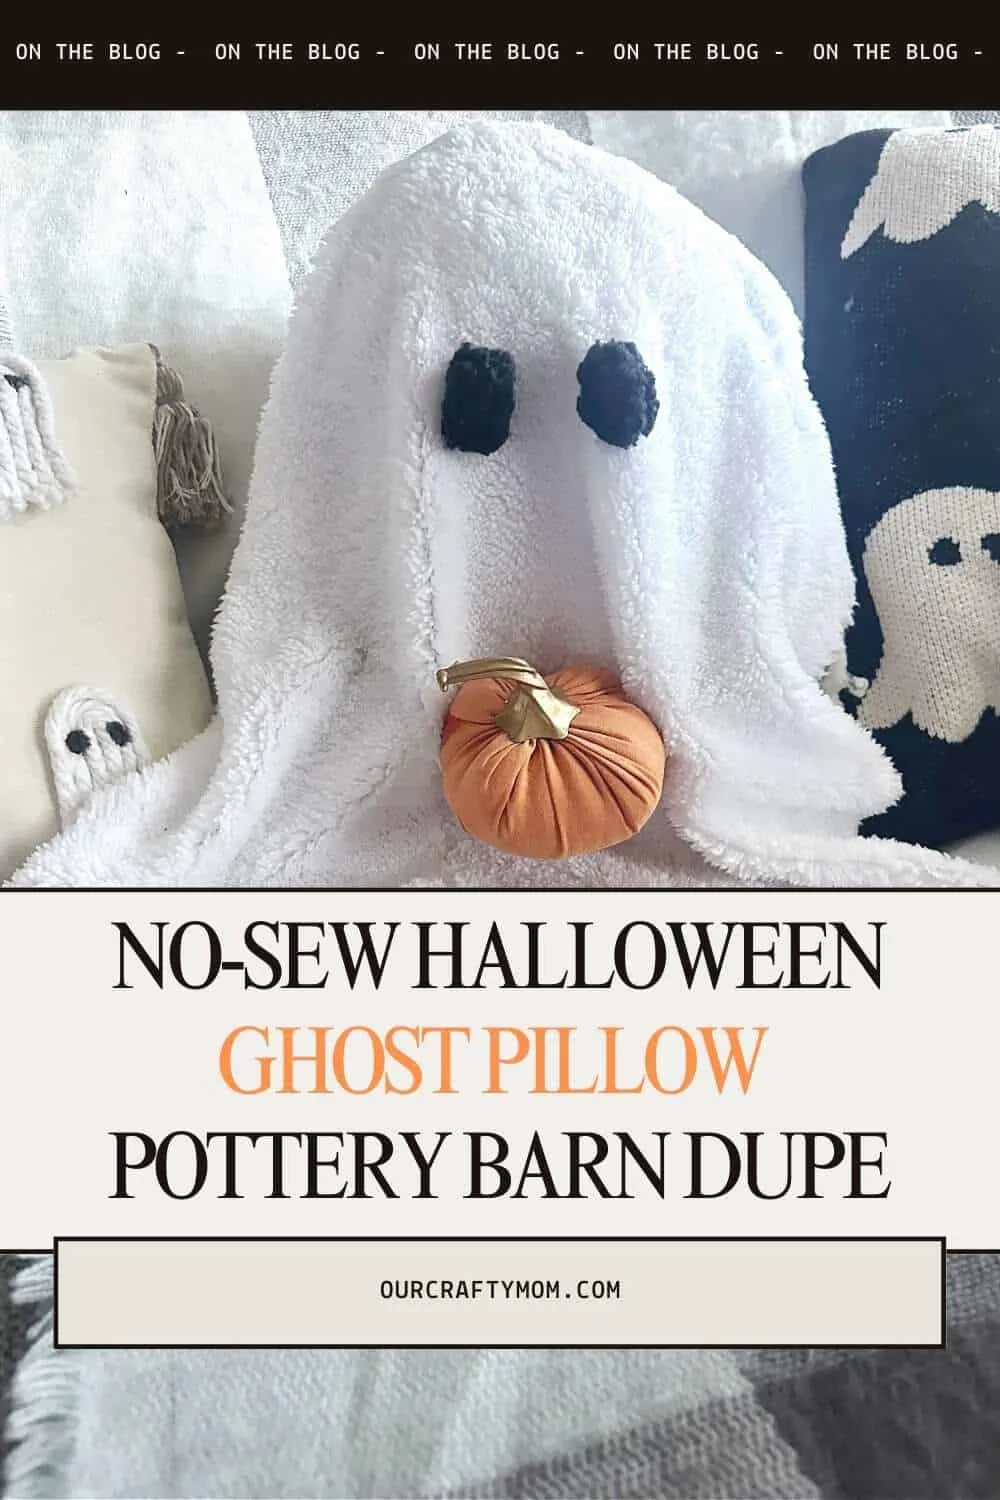
Sharing is caring…please PIN the below image:
Thanks so much for stopping by. Have a great day and happy crafting!
Before you go-check out these DIY Halloween crafts and home decorating ideas:
- Day of the Dead Pumpkin with Decoupage
- Stitch Halloween Pumpkin DIY
- Halloween Crafts Skull Candy Jar
- You’ve Been Booed Free Printables
- Hocus Pocus Party Ideas
You can find me on social media below:
