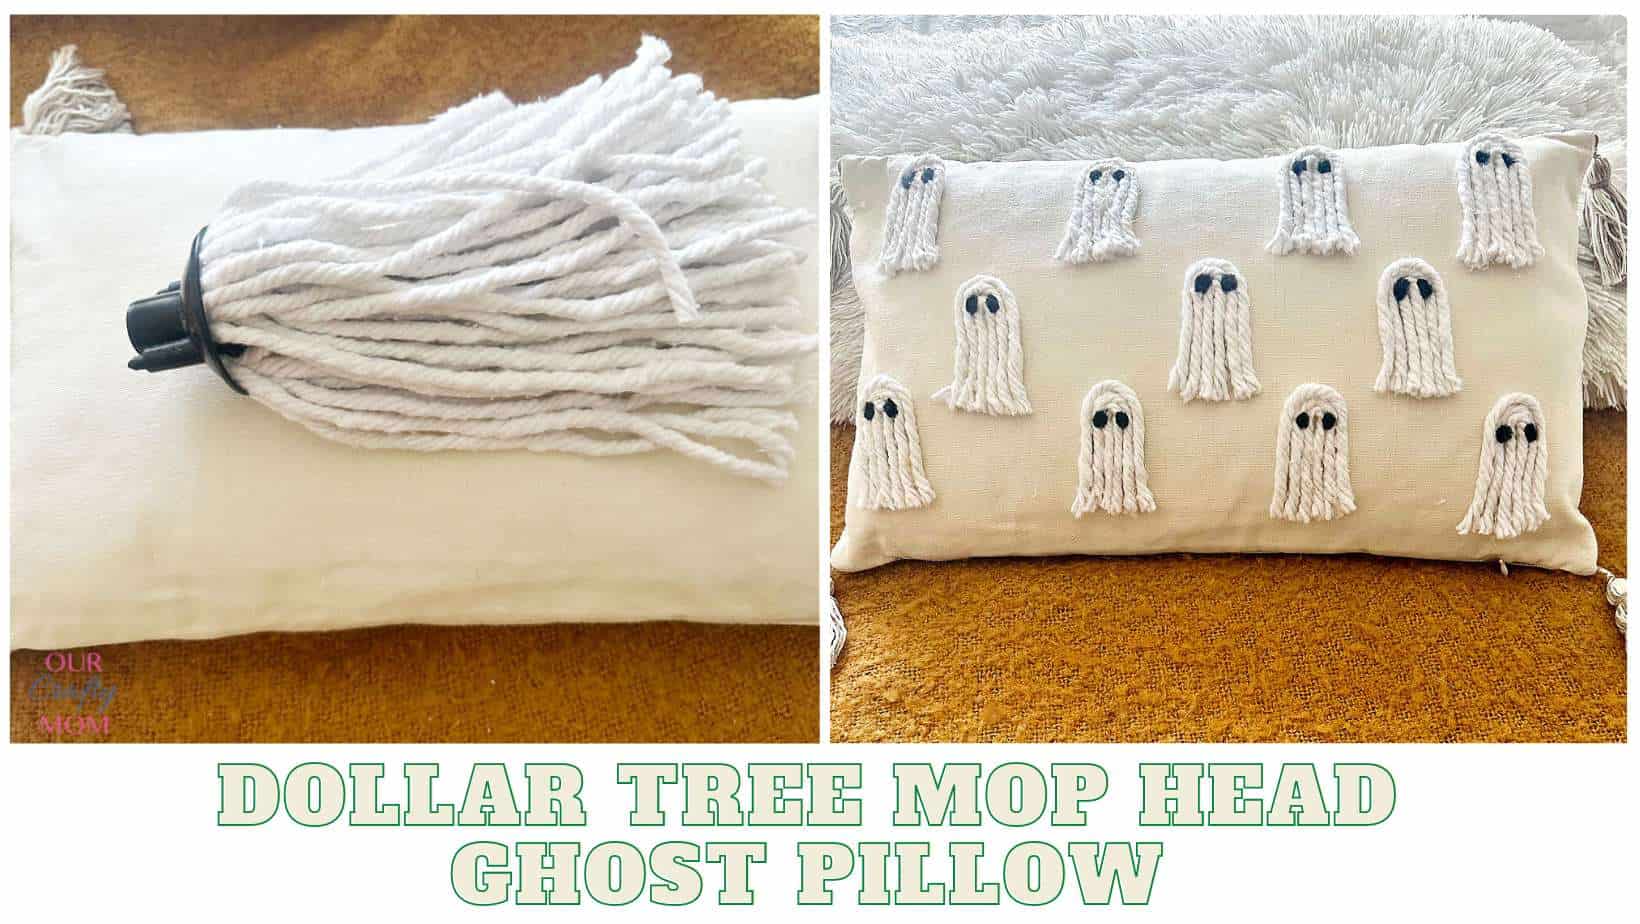
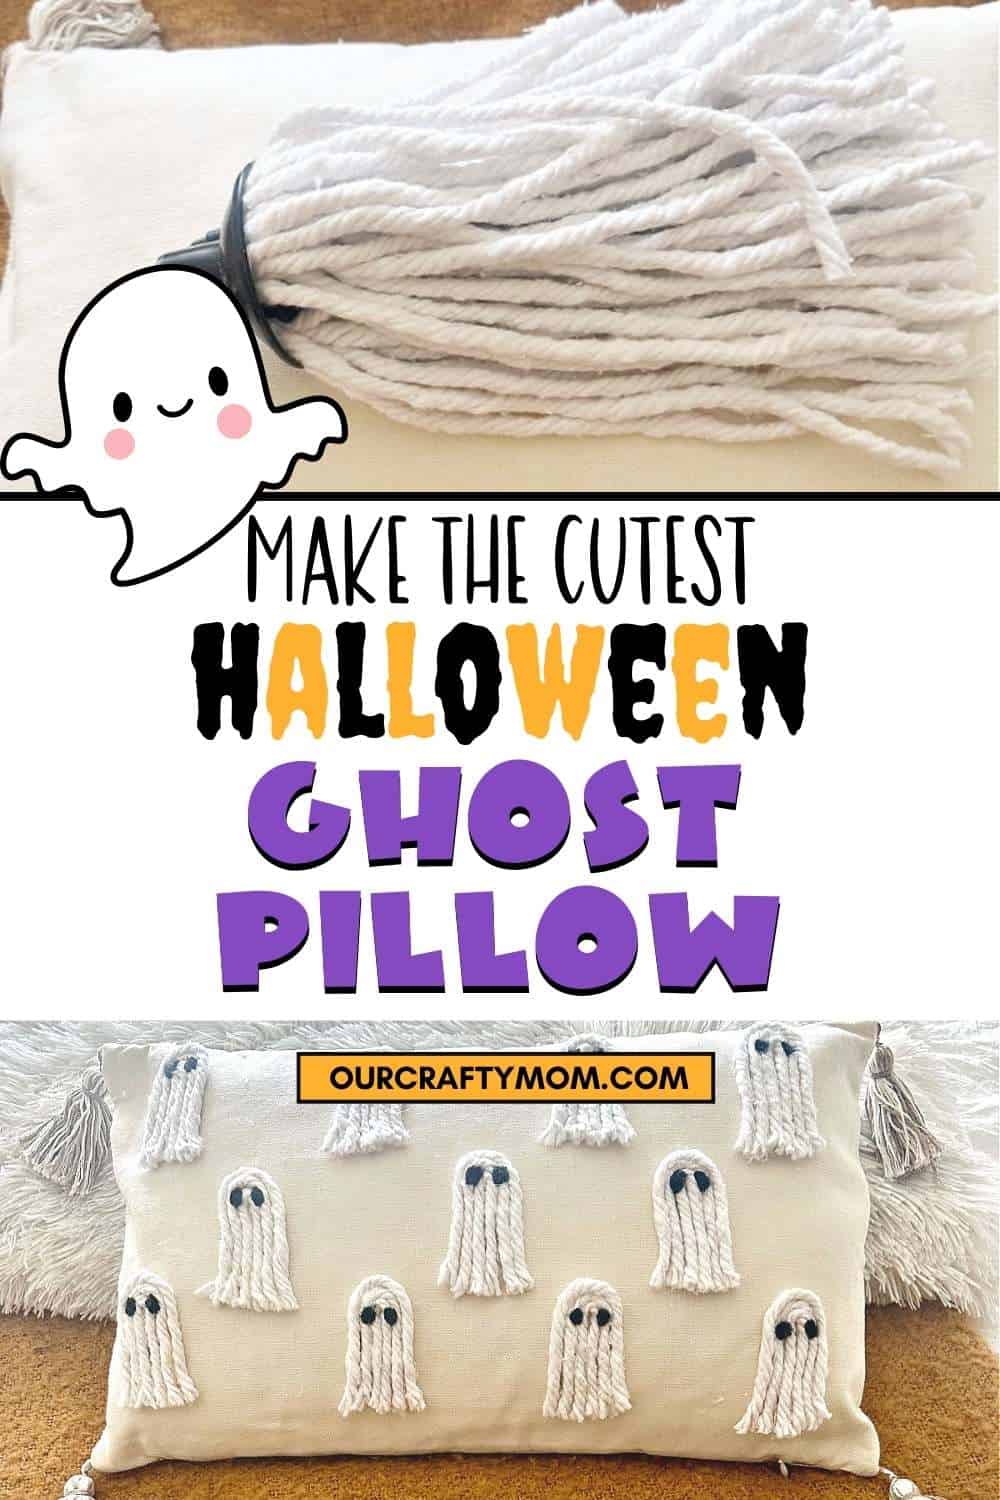
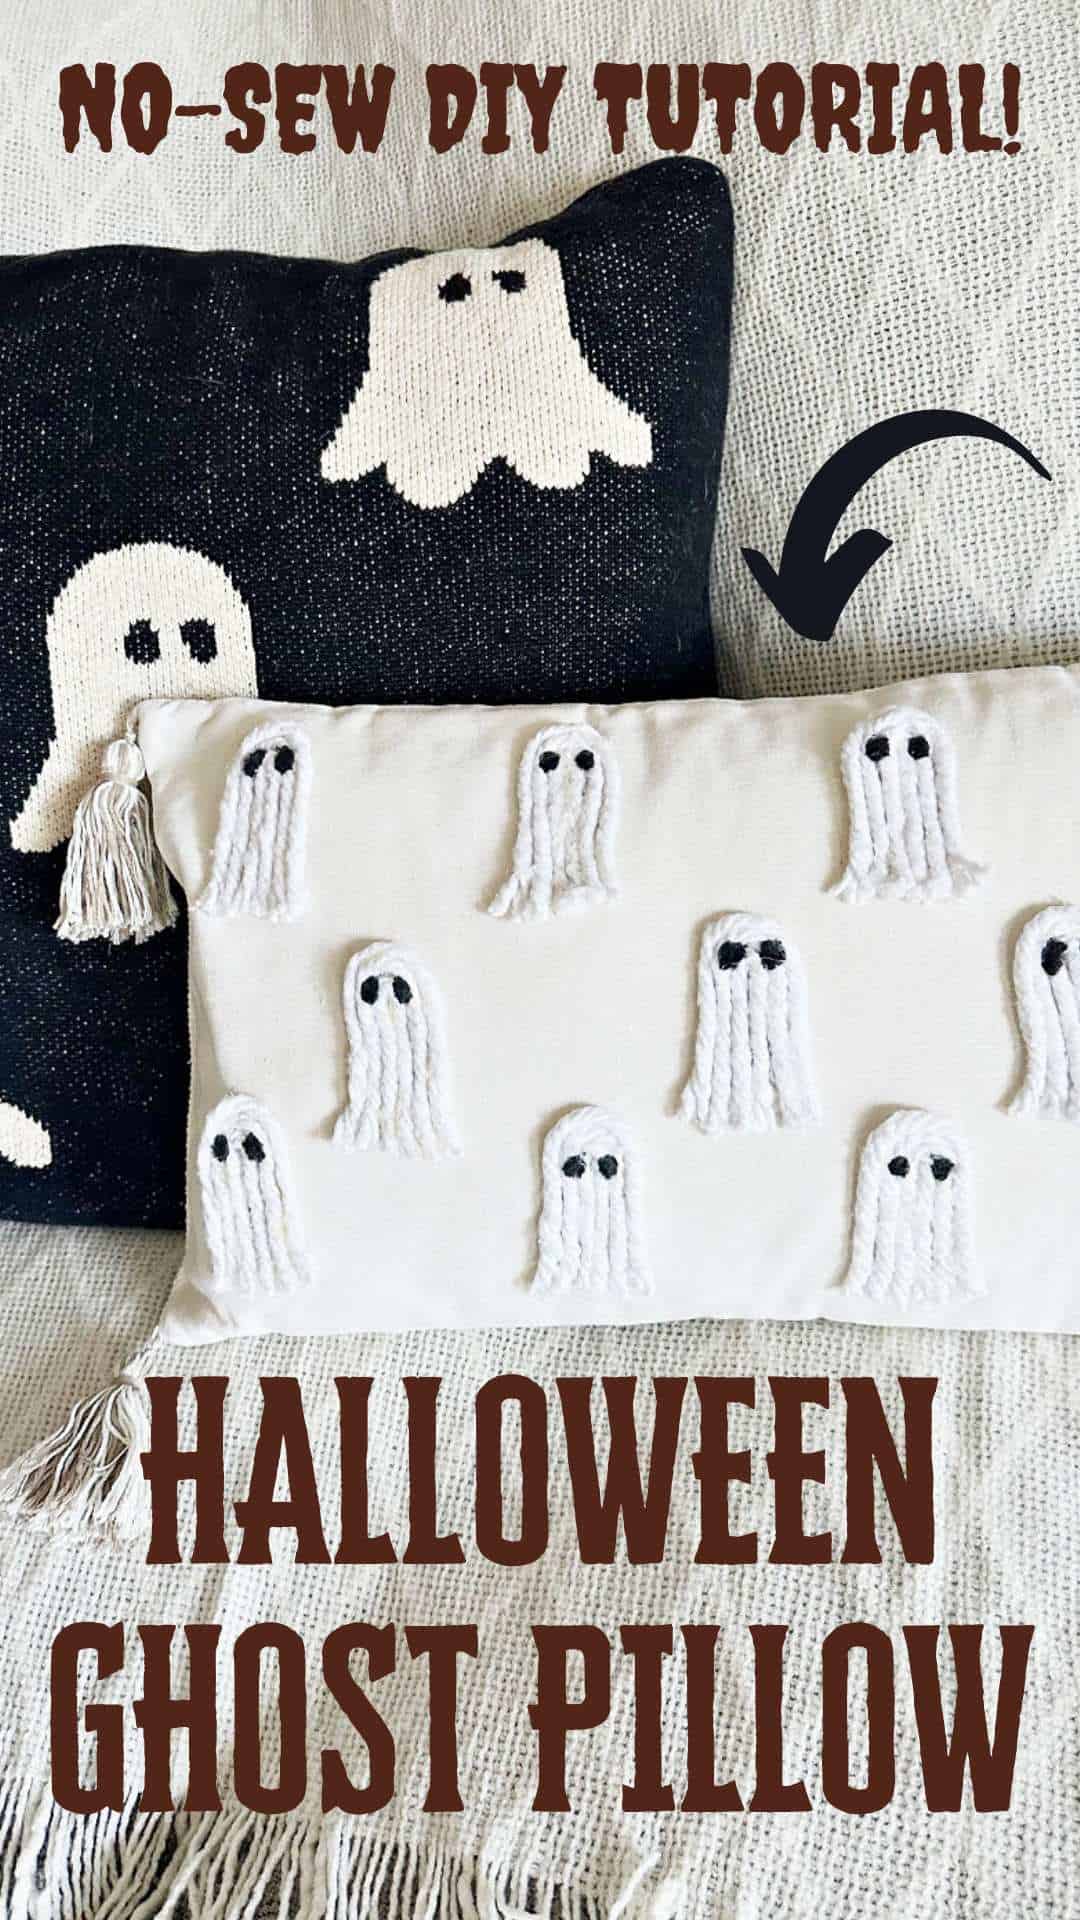
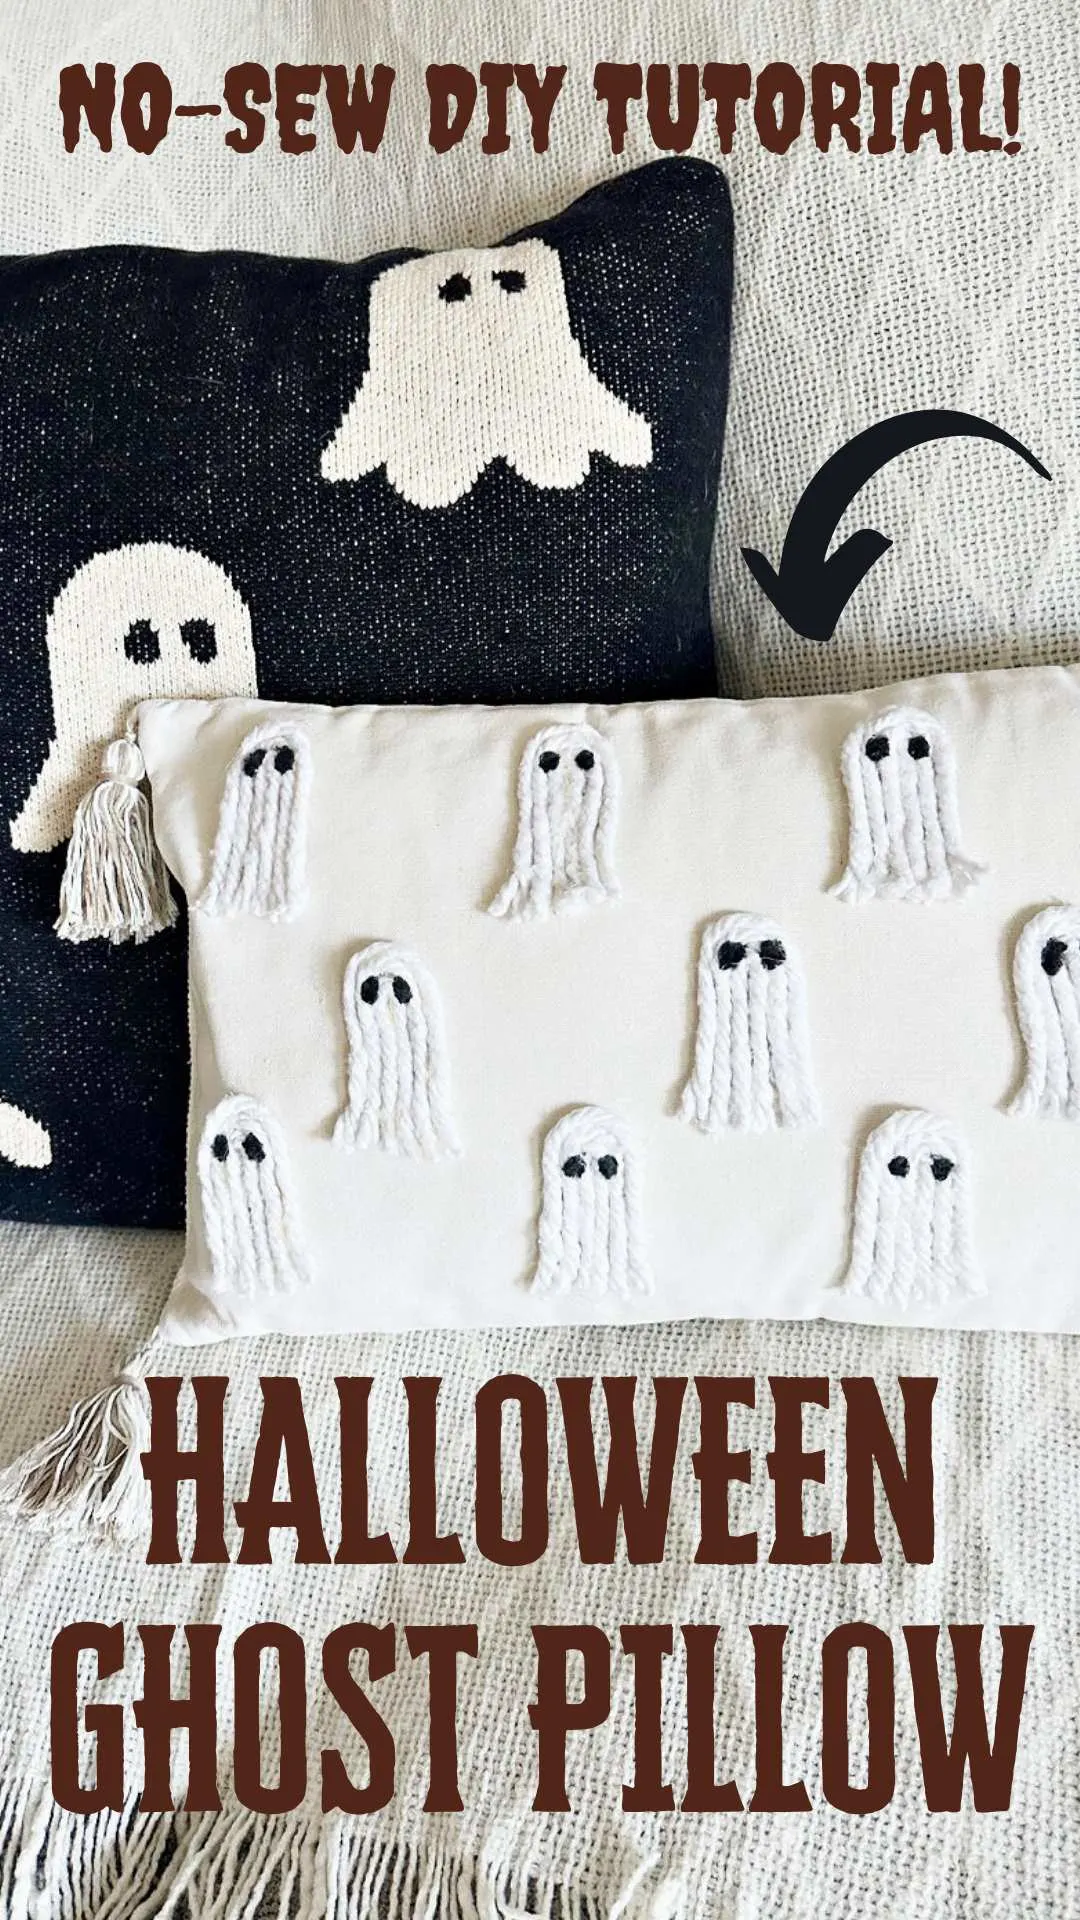
Looking for a budget-friendly Halloween ghost pillow? Check out my simple DIY tutorial for a no-sew pillow that’s the perfect HomeGoods dupe.
Get ready to add a touch of ghostly charm to your home decor this Halloween! My daughter (ok me too) fell in love with the HomeGoods ghost pillow that is trending on TikTok.
The price is a little high for my frugal Halloween budget. So what’s a crafter to do? Make their own of course!
This tassel pillow is so easy to make and no sewing machine is required, making it perfect for even beginner crafters.
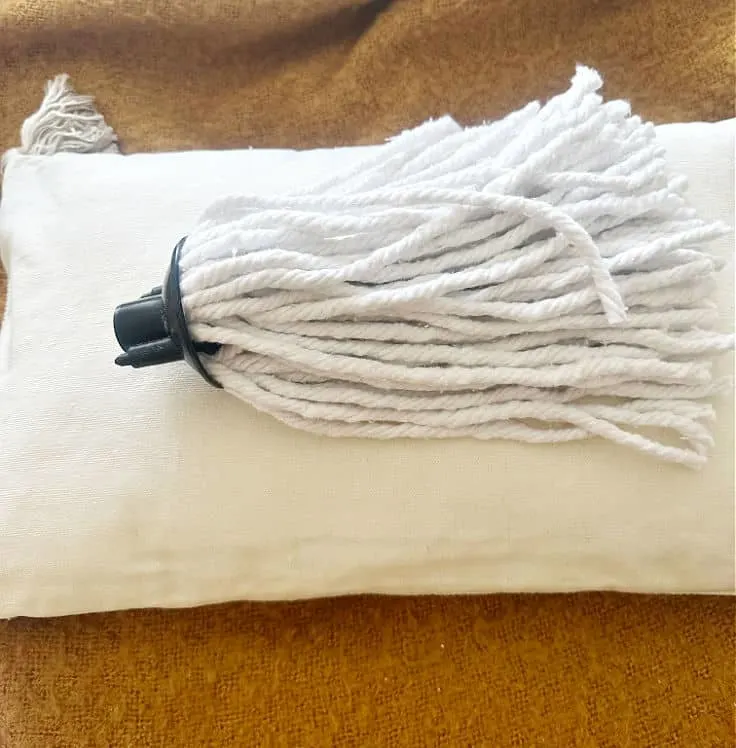
So grab a Dollar Tree mop head and a pre-made pillow and let the ghostly crafting begin. 👻

This post contains affiliate links at no extra cost to you. Please see my full disclosure here.
If you follow me on Facebook or Instagram you know I have a slight obsession with easy DIY throw pillows, specifically no-sew pillows.
That is because I CANNOT sew at all. Thankfully, there are a ton of decorative pillow forms and covers that you can buy for cheap.
My daughter has a slight obsession with TikTok and is always showing me viral TikTok DIY projects asking if I can make them.
Last year it was the viral bat pillow and snowman pillow that are Pottery Barn dupes.
Stay tuned because the pumpkin pillow is next! 🎃 This year it’s the cute HomeGoods dupe ghost pillow.

Why You Will Love This Halloween Ghost Pillow
- It’s a budget-friendly way to make homemade pillows without sewing.
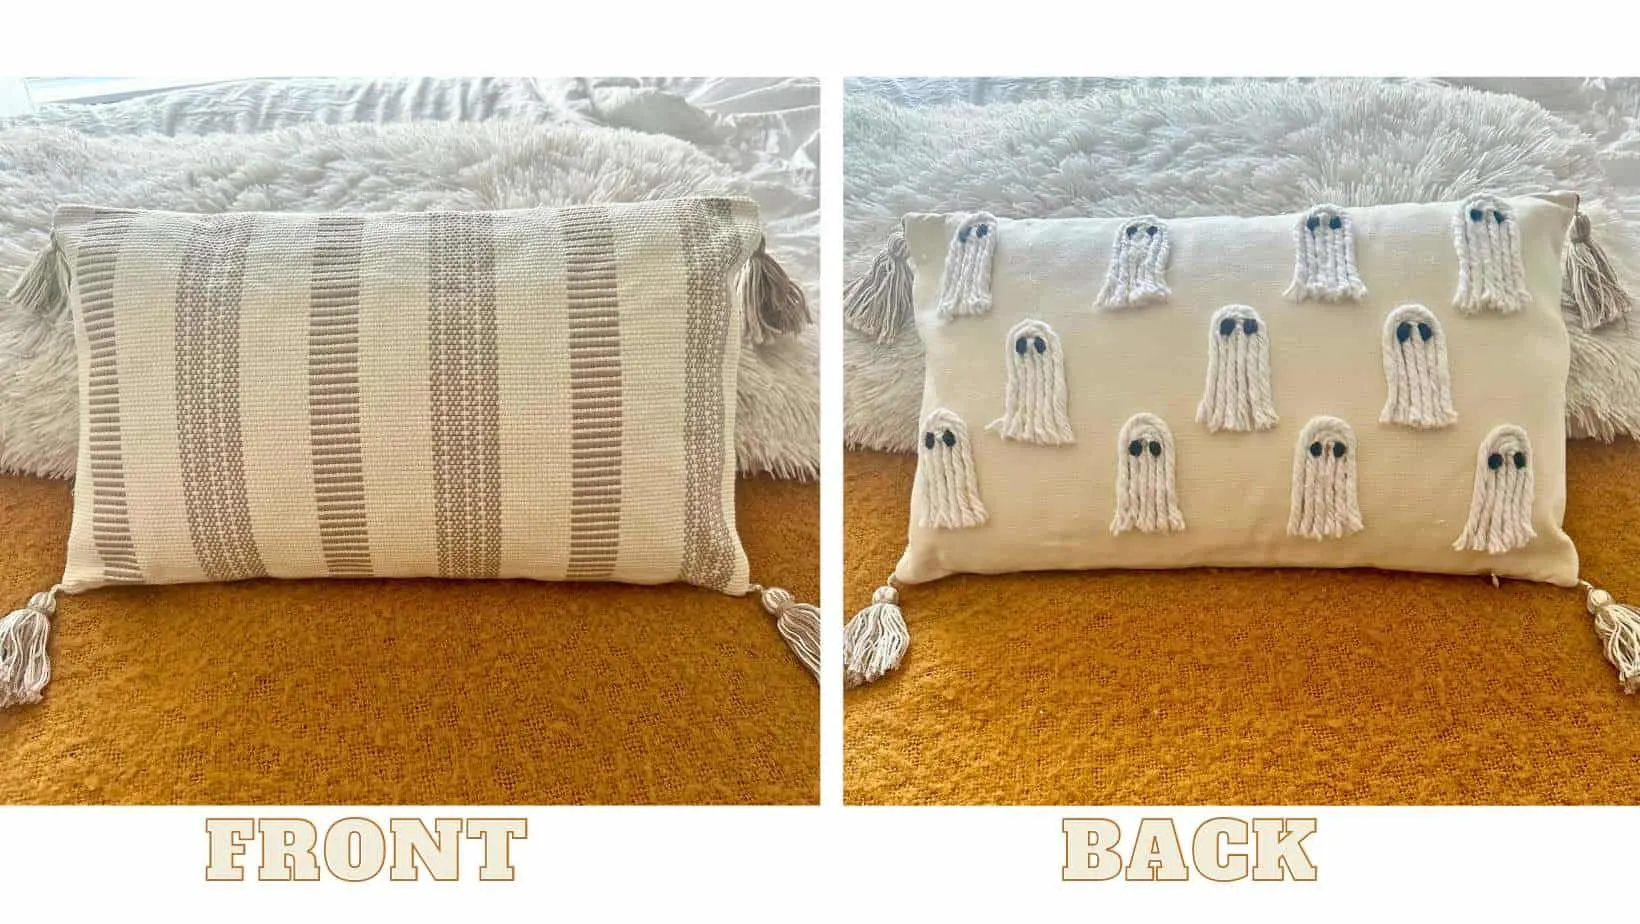
- It’s double-sided! One side can be used year round and the other side can be used for the Halloween season.
- You can easily find the supplies at Dollar Tree and your local craft or home store.
- It’s a fun DIY and super easy; if you can use a glue gun and scissors you can make it! 🙂
The Best Places to Find Pillow Covers and Pillow Forms
- Thrift store – don’t discount the thrift store for pillows. Give it a good washing and you are good to go!
- Amazon-my go to for pillow covers. Check out this set of 4 Halloween pillow covers I ordered to add to my Halloween decor. They are 18×18 and fit perfectly on this set of 4 pillow forms. Simply change out the covers for each season or holiday. It saves on storage and is a budget-friendly way to keep costs down.
- Cricut-If you want a plain white pillow cover, I LOVE the blank pillow covers from Cricut. They also fit the 18×18 pillow forms and are so reasonable at just $5.50 as of this writing.
- Decocrated Subscription Box-you may have heard me talk about Decocrated Curated Home in prior posts. I have been subscribing for 3 years and it is seriously like Christmas when the new box arrives. Guess what came in my fall box that I just received? You guessed it. This beautiful and neutral pillow. I can use the pillow year round on one side and flip it over for Halloween. I’ll share a full unboxing this week, but if you want to learn more about it now here is my affiliate link: Decocrated Quarterly Box. Enter code Deco15 to save 15%.

Halloween Ghost Pillow Supplies
- Dollar Tree Mop Head
- Blank Pillow- I used the pillow in the Decocrated Quarterly Box.
- Hot Glue Gun and Glue Sticks-this is my favorite.
- Craft Scissors

How To Make a Halloween Ghost Pillow
Here is a step-by-step tutorial to make a ghost pillow. I’m also sharing a printable DIY card below to make it even easier for you.
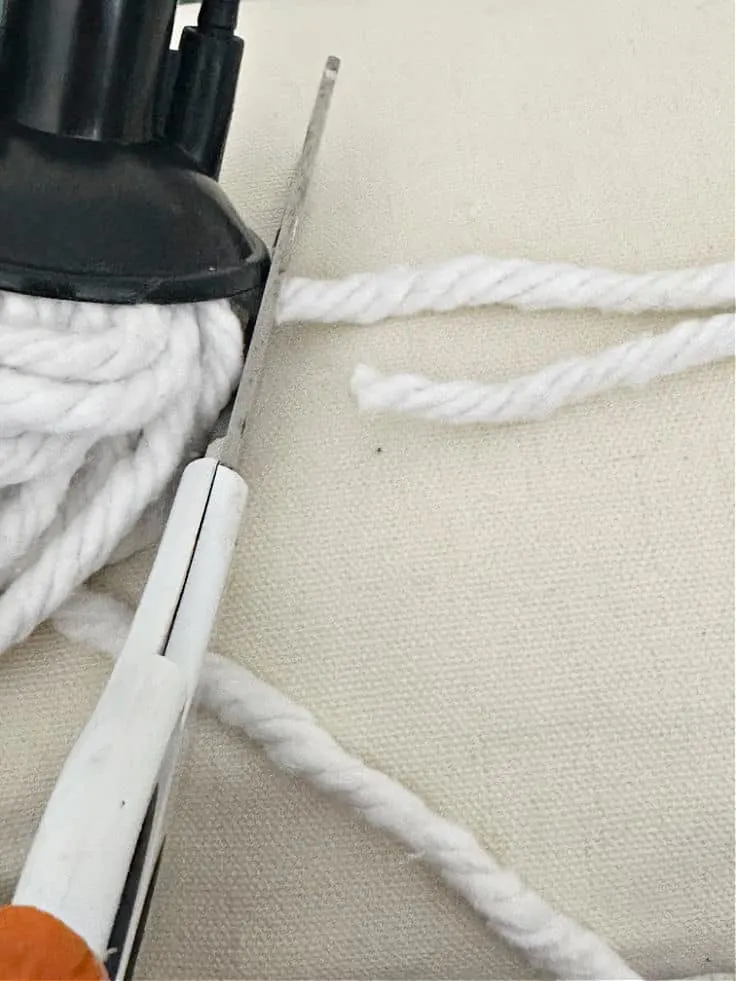
Step 1. Cut the yarn from the mop base
Use your craft scissors to cut the individual yarn strings where they meet the base of the mop head.

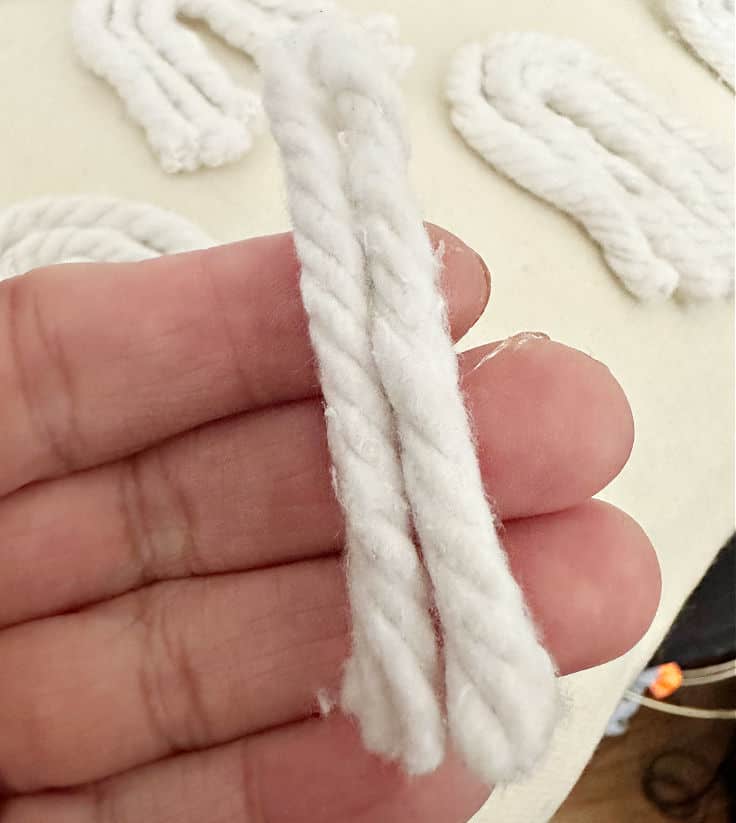
Step 2. Cut 33 pieces of yarn
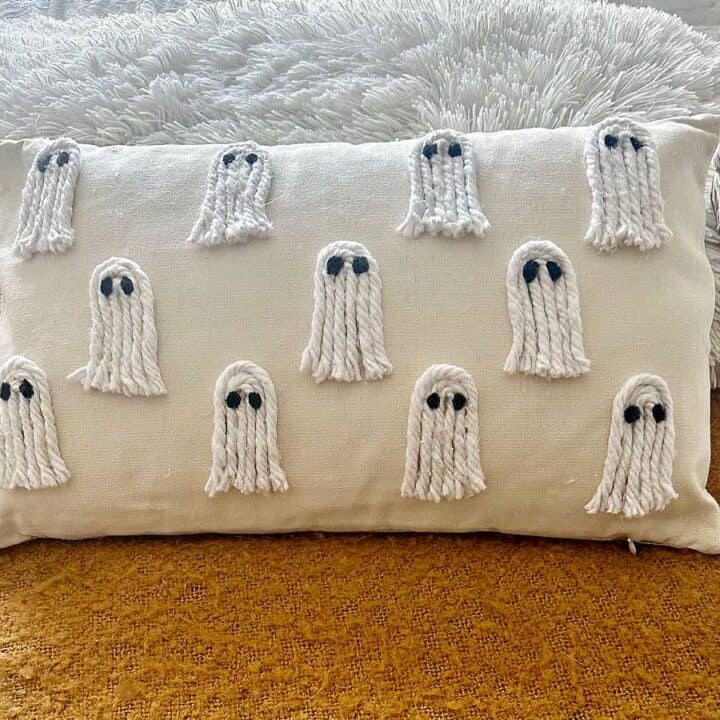
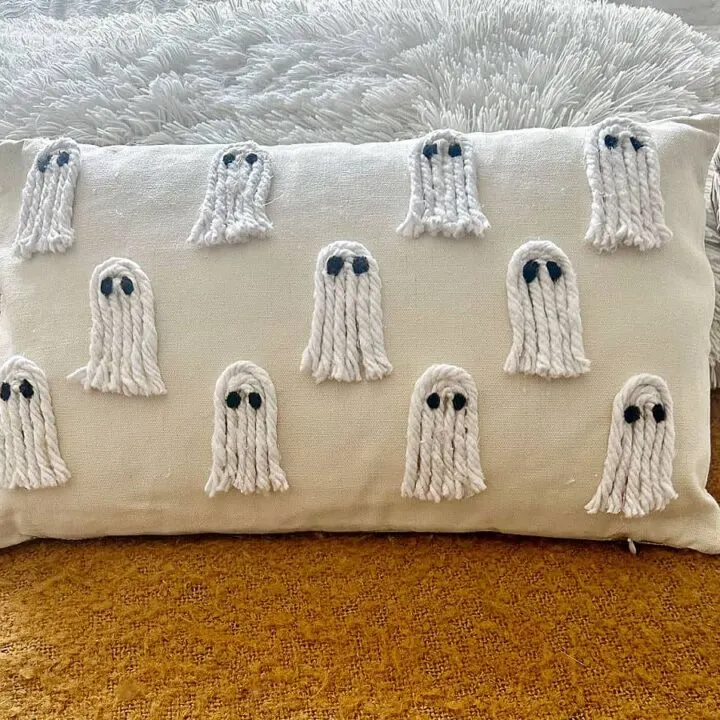
Determine how many ghosts you will be making for your pillow size. I chose to add 11 ghosts for my lumbar style pillow form.
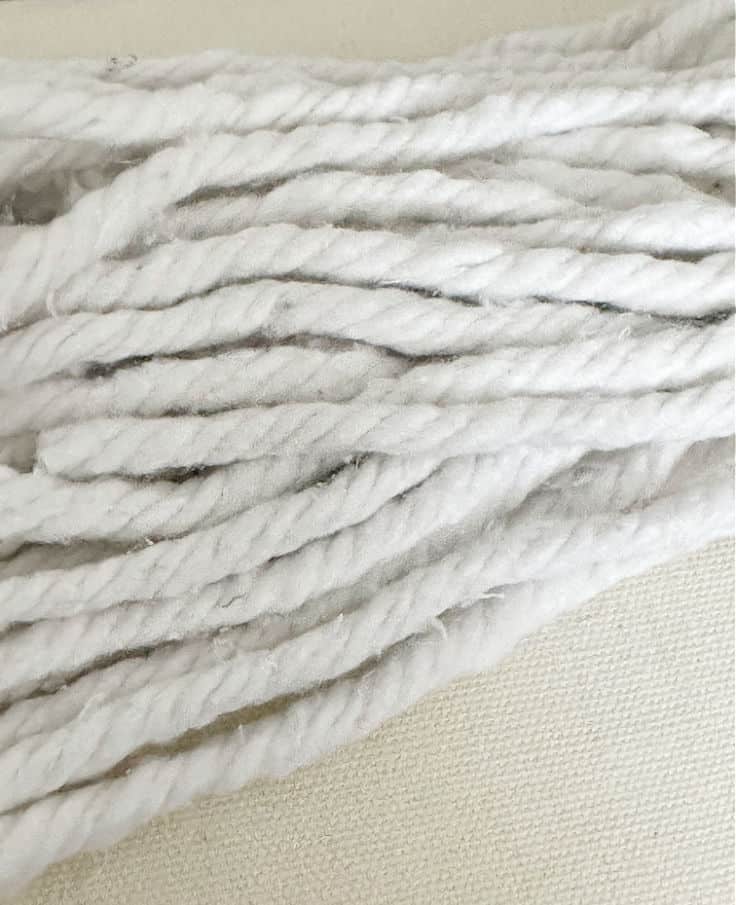
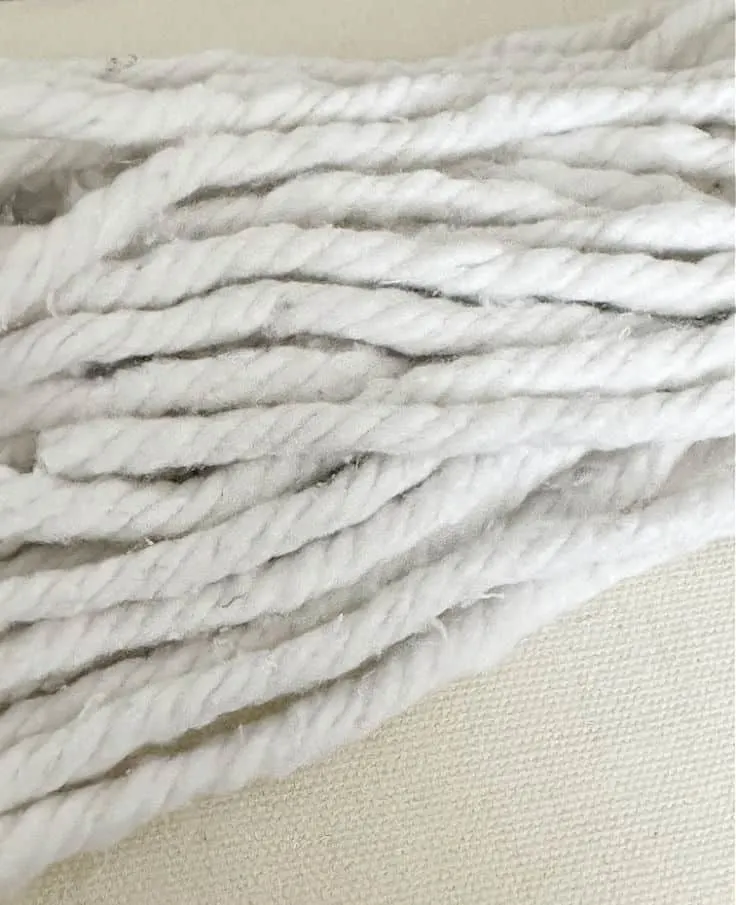
If you have a standard square pillow you may need more ghosts. Each ghost uses 3 yarn strands.
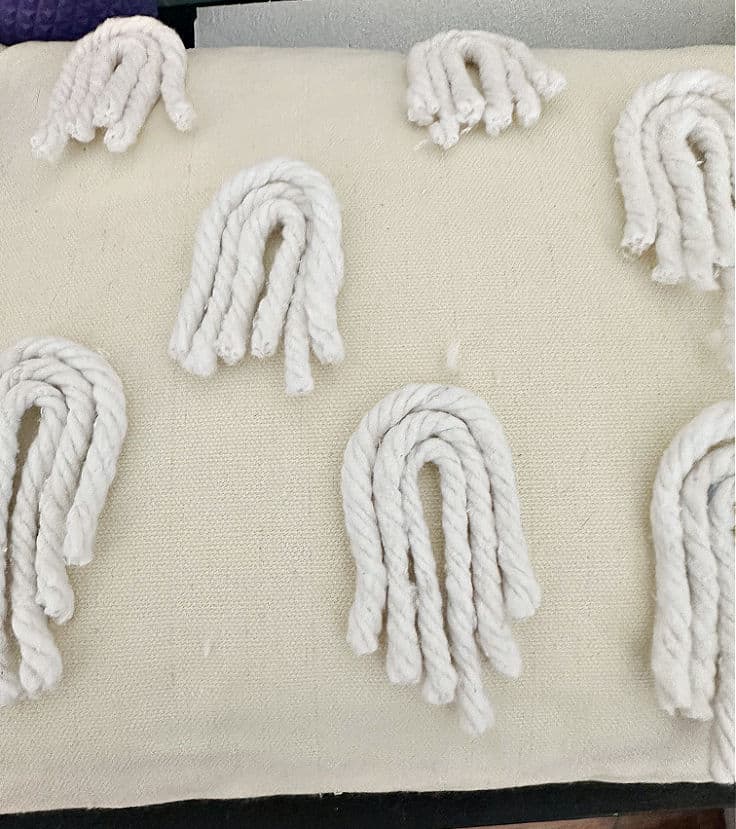
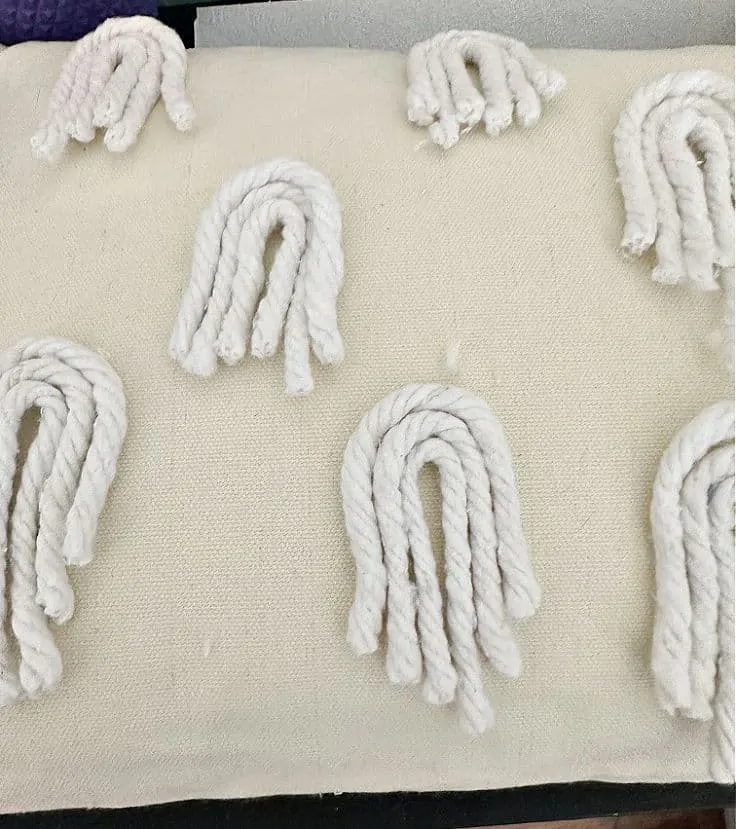
Step 3. Determine placement
To get an idea of how many ghosts you will need and the placement, lay the 3 strands of yarn for each ghost on your pillow before gluing.
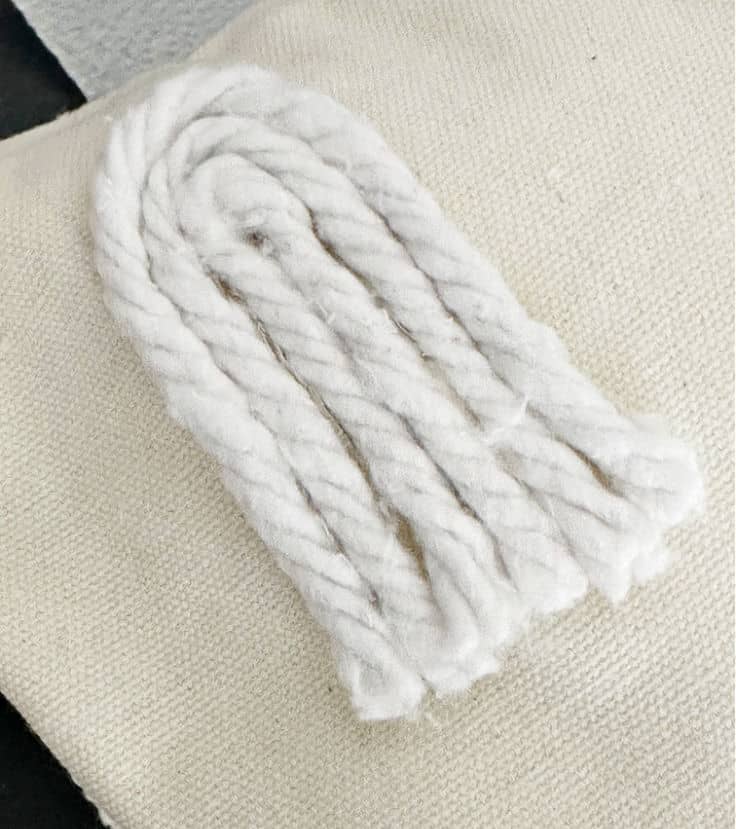
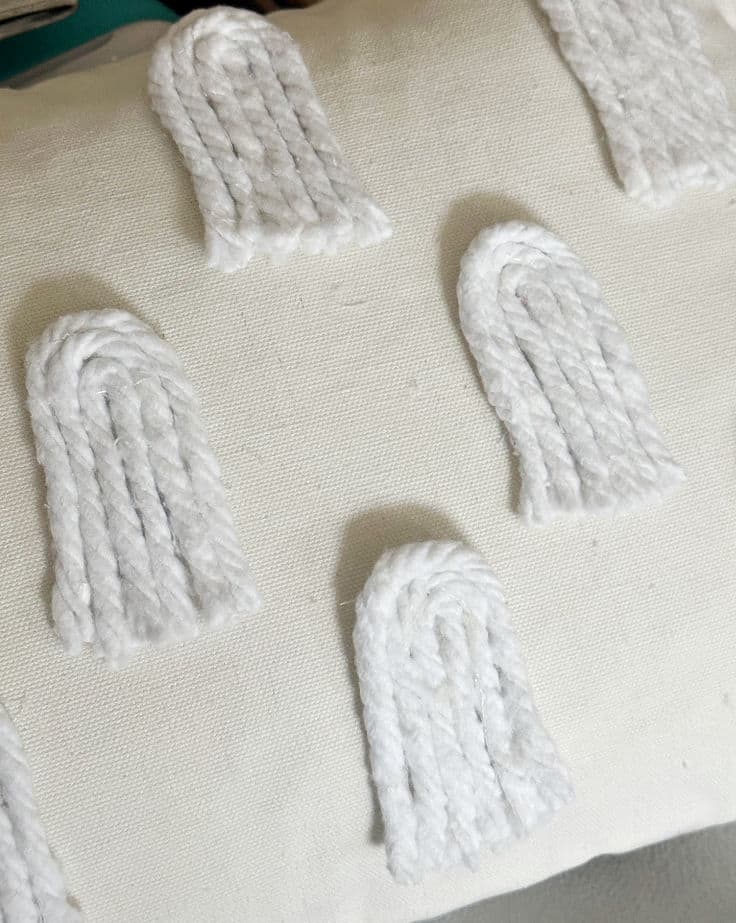
Step 4. Glue the yarn
Start by gluing the middle yarn piece together first. Don’t overdue it with the glue as it will leak onto the front side.

Step 5. Repeat with remaining yarn
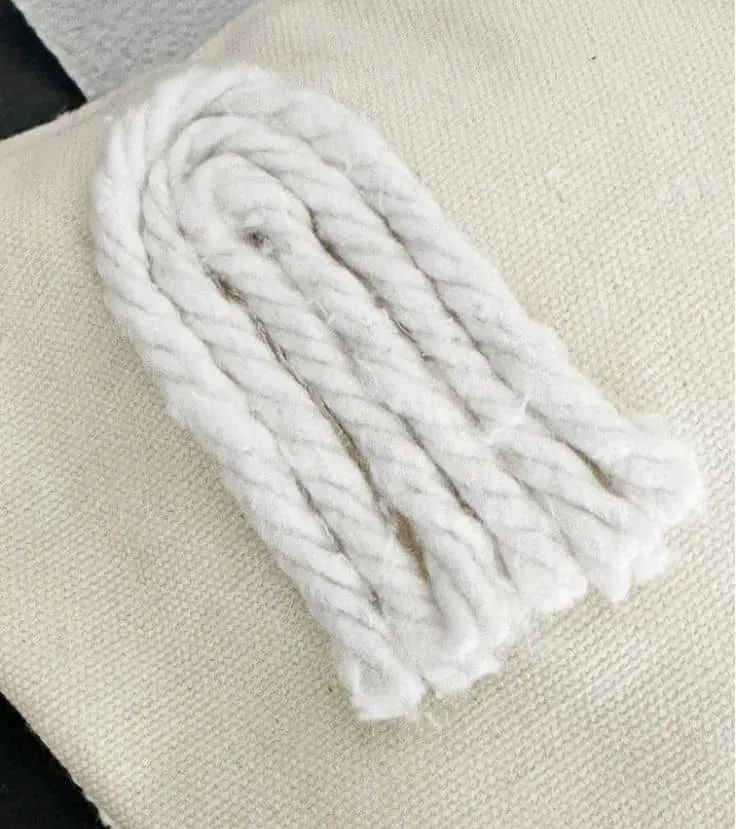
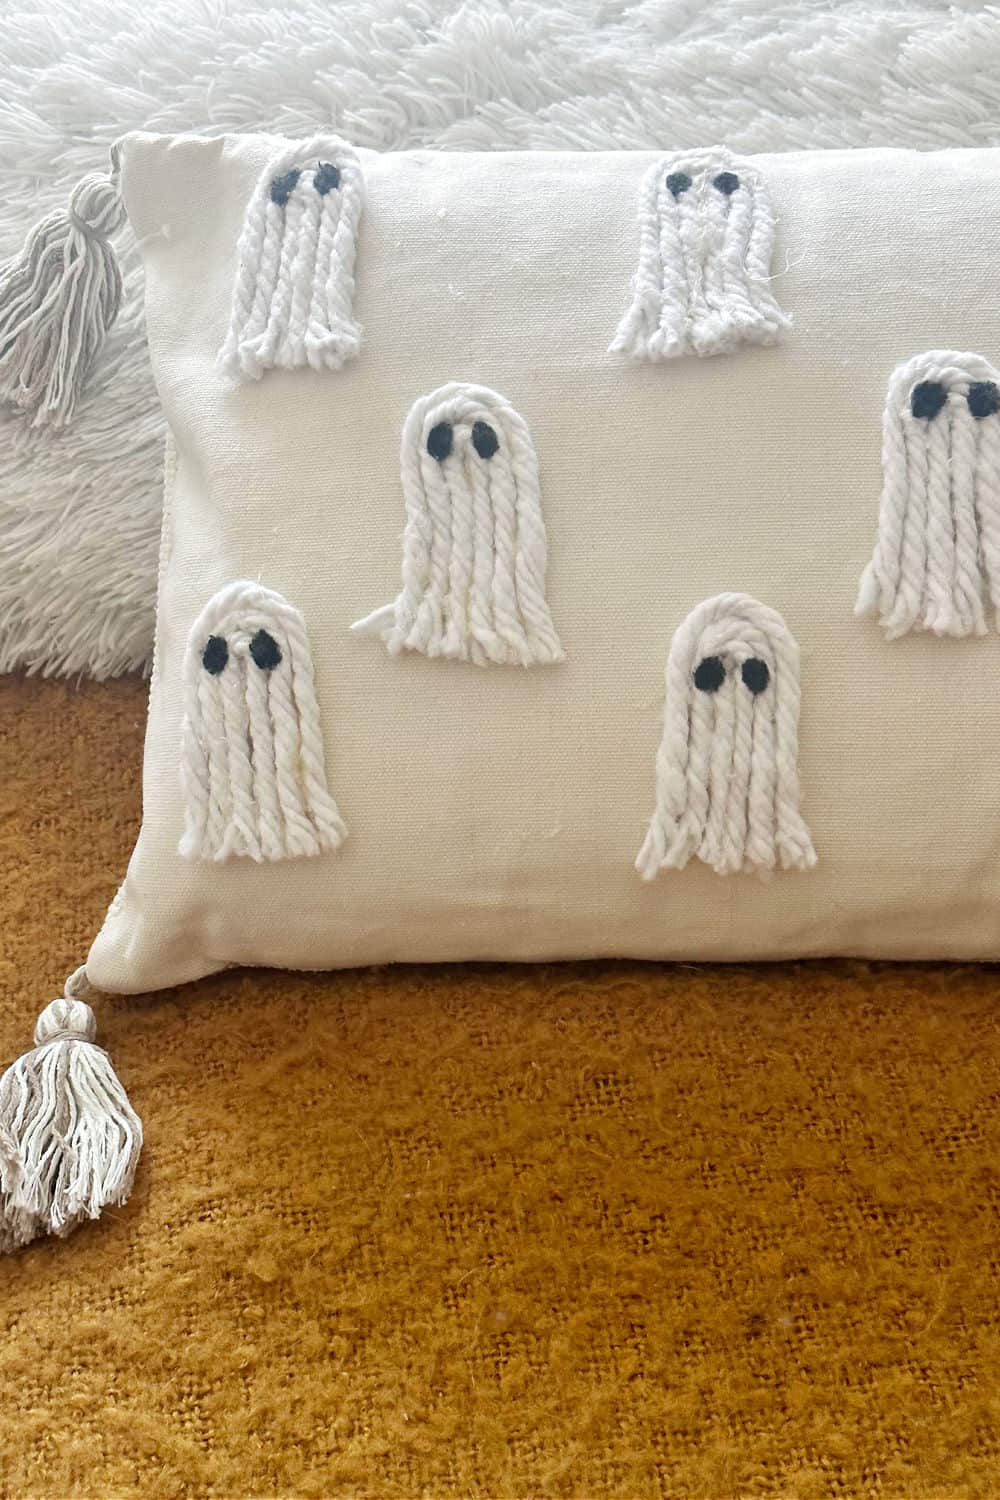
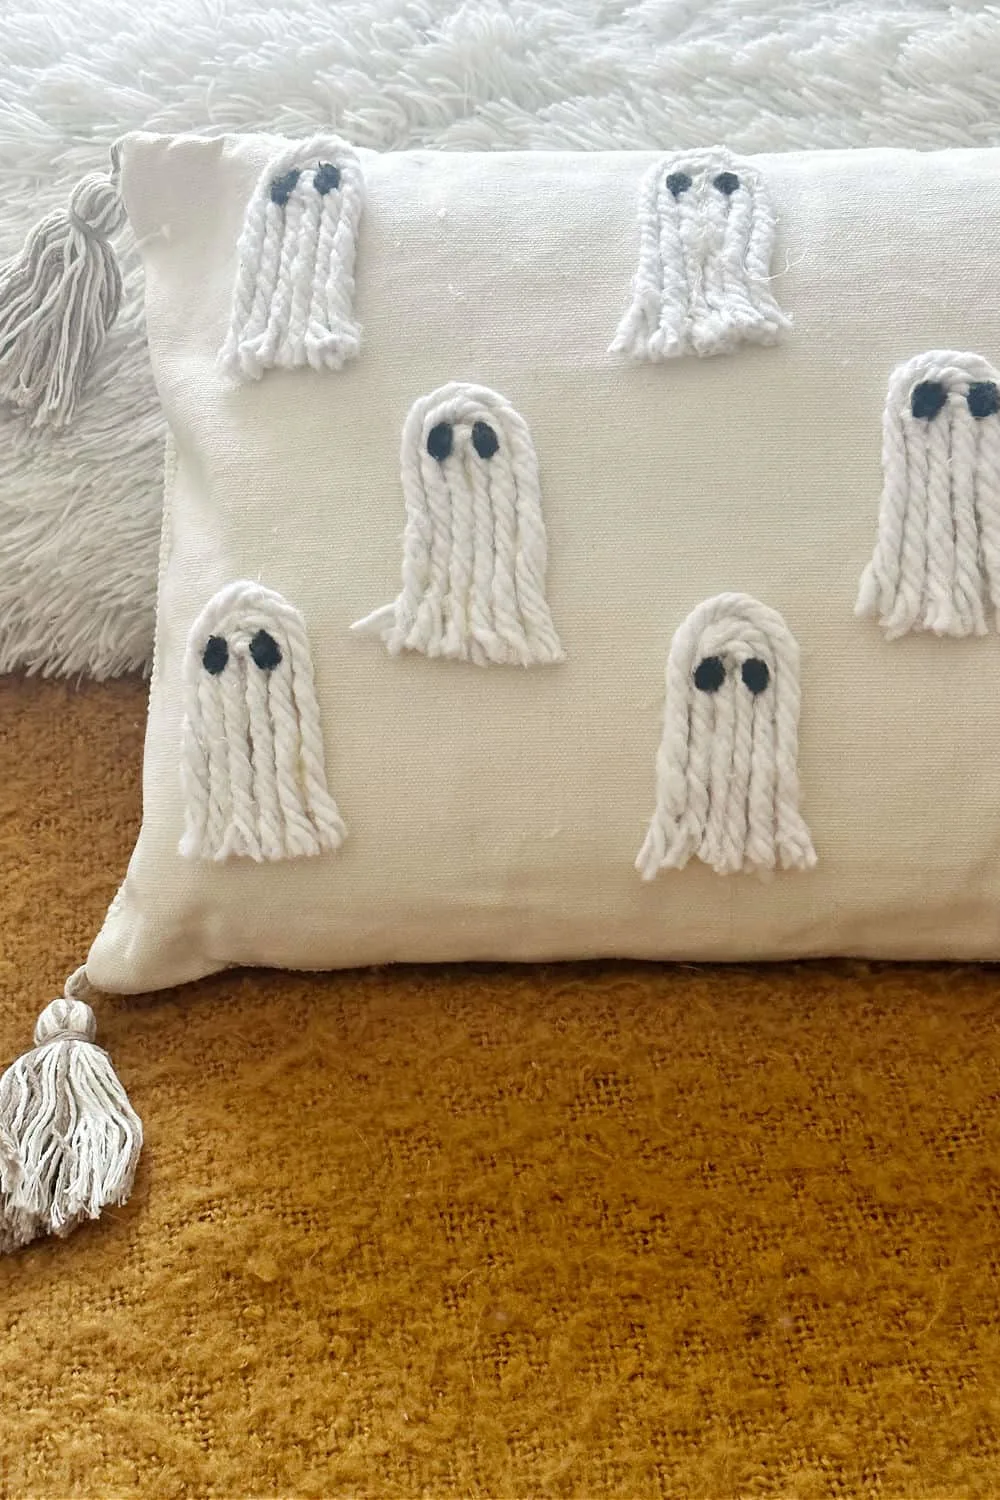
Next up, hot glue the 2nd and 3rd piece to the middle piece for each ghost. Squeeze the pieces together so they are close together.
I left mine with a bit of room between each yarn strand, but that is totally up to you.
Step 6. Glue each ghost to pillow
Now it’s time to glue each ghost where you want them on the pillow. Add a good amount of glue to the back, but don’t make it too thick for the same reason noted above.

Step 7. Add ghost eyes
The final step is to create eyes. There are a couple of ways you can add ghost eyes. I originally cut out circles of felt, but liked the look of painted eyes better.
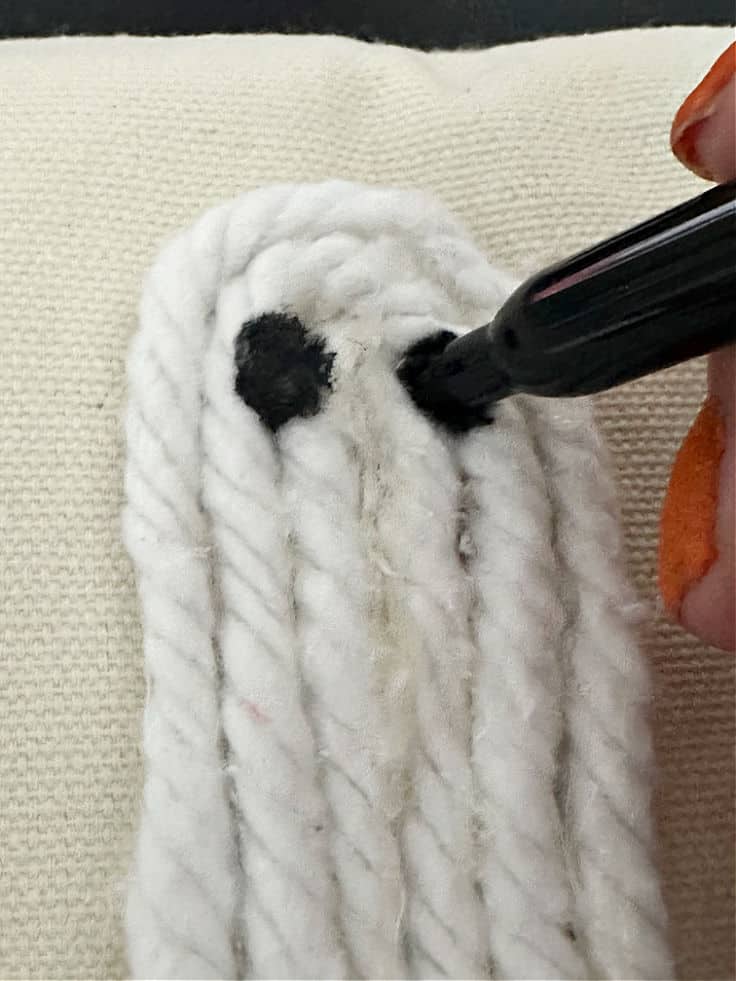

Simply use a black sharpie to create a pair of eyes on each ghost. Don’t worry about them being exact, as no two ghosts are alike. 👻
You can also paint them on, but a sharpie saves drying time.
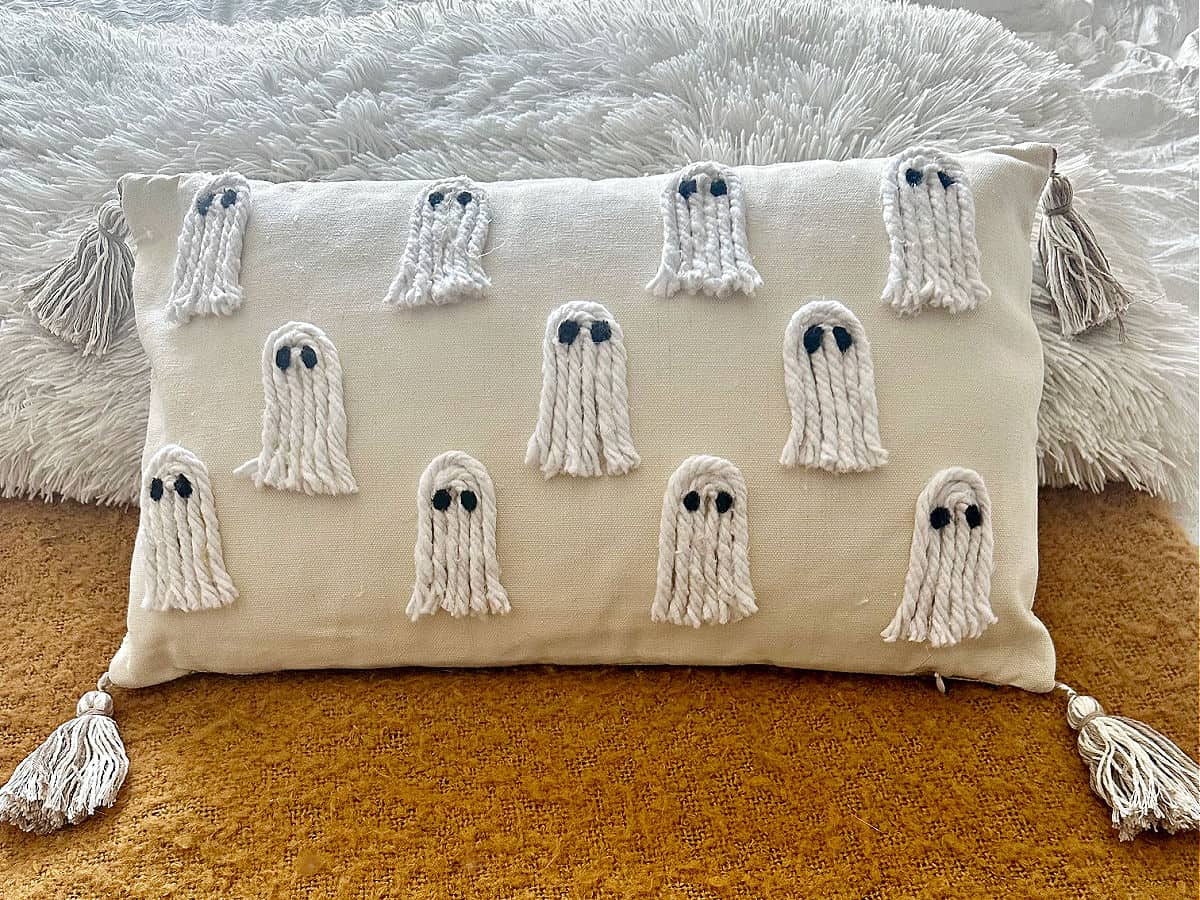
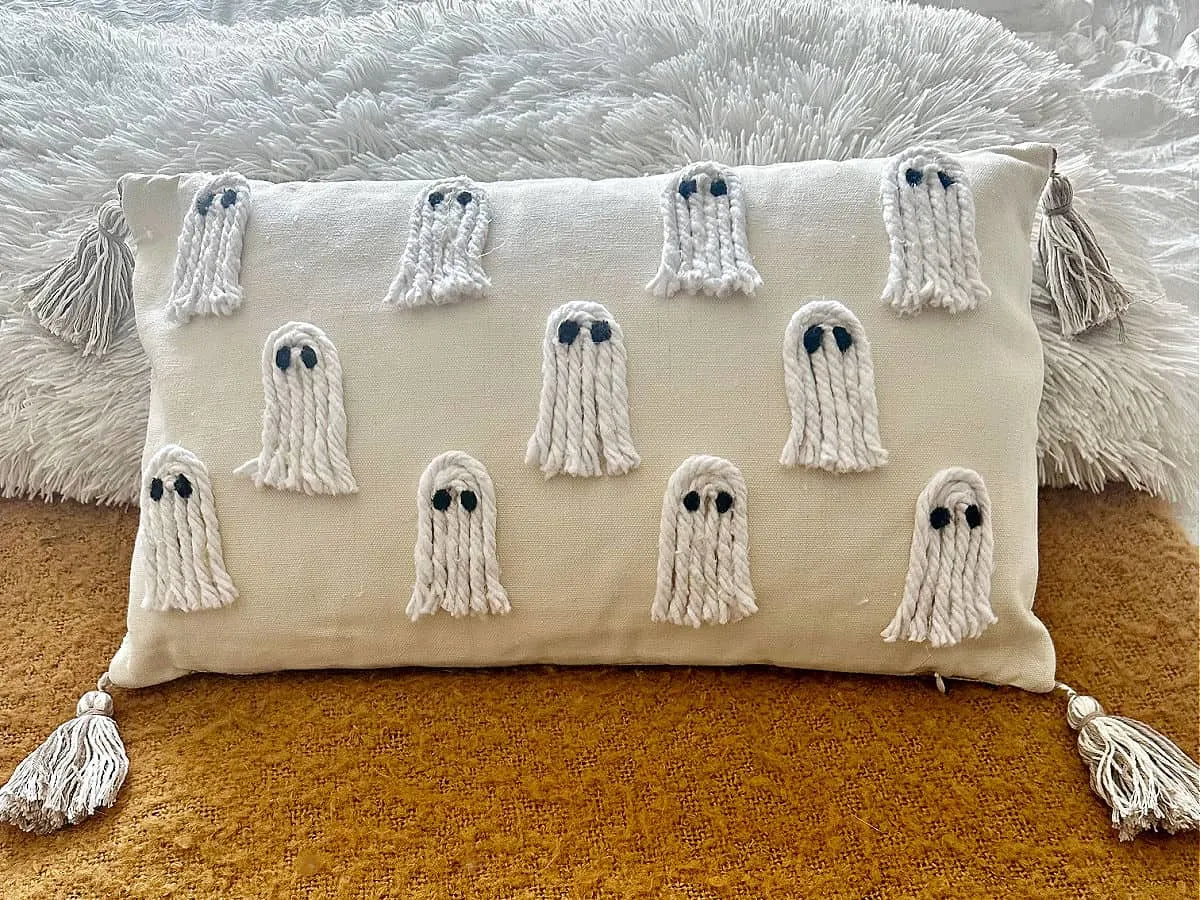
That’s all there is to it! A super cute, easy-to-make DIY Halloween ghost pillow that can be enjoyed for years.

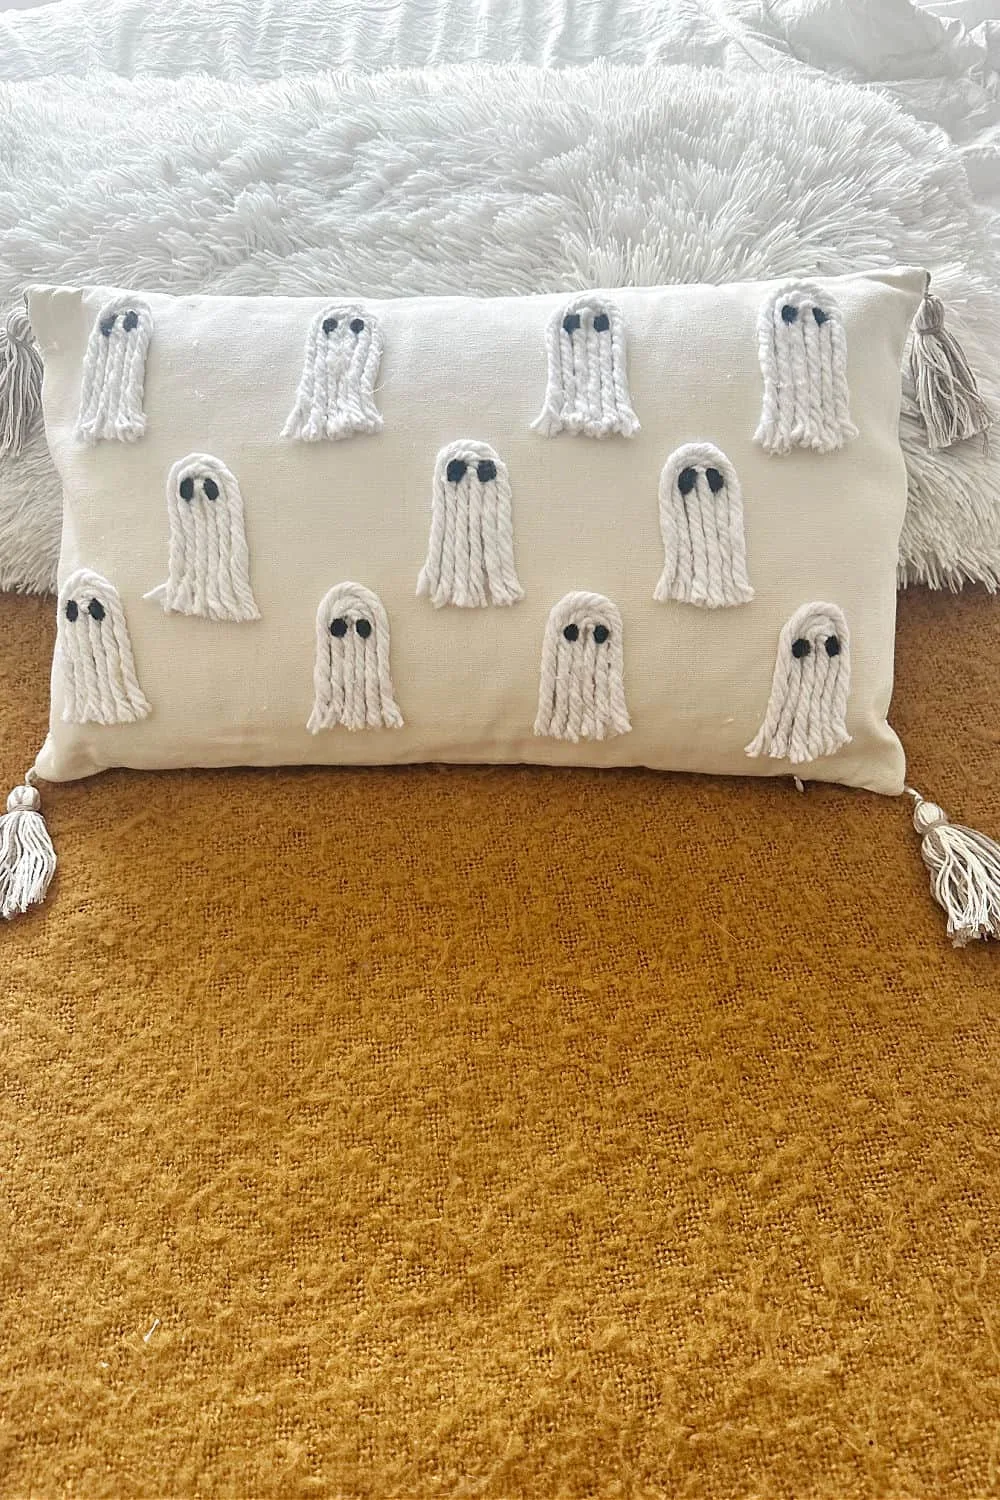
So keep your eyes open the next time you are at the home store or craft store for a neutral pillow cover that you can turn into a darling Halloween pillow.
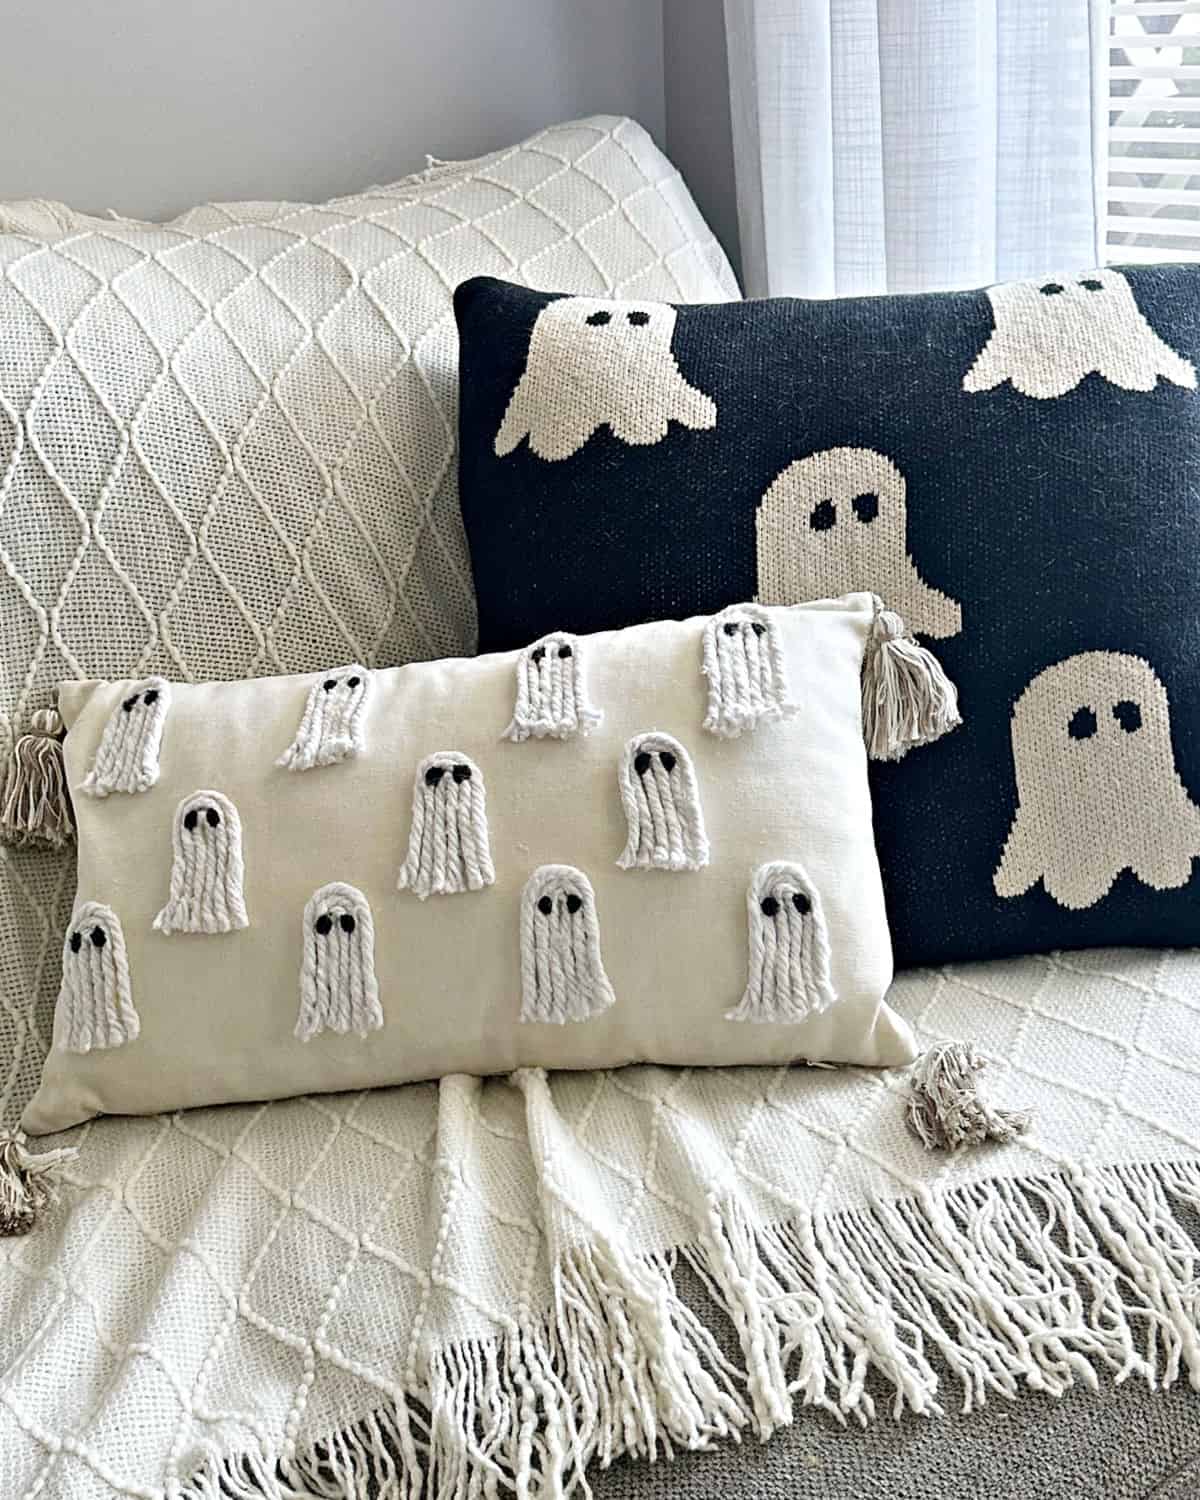
Here it is on my sofa with the Halloween pillow my daughter purchased last year at HomeGoods.
I searched on their website and can’t find the link for you, but I did find a lumbar ghost pillow on Amazon HERE.
The pretty ivory throw is also from the Decocrated Fall Box.


I hope you enjoyed this quick and easy craft project. Leave a comment below and share pics if you make one, or tag @ourcraftymom on social media so I see it. 🙂
Thanks so much for stopping by.
I’d be so grateful if you would share this on Facebook or save it to your favorite craft board on Pinterest.

Get ready to spookify your home this Halloween with a DIY ghost pillow that’s so easy, it’s scary! Happy Halloween and happy crafting! 🎃👻
Halloween Ghost Pillow
Get ready to spookify your home this Halloween with a DIY ghost pillow that's so easy, it's scary! Happy Halloween and happy crafting!
Materials
- Dollar Tree Mop Head
- Blank Pillow
Tools
- Hot Glue Gun and Glue Sticks
- Craft Scissors
Instructions
- Cut the yarn from the mop base.
- Cut 33 pieces of yarn for 11 ghosts.
- Lay the ghosts on the pillow for placement before gluing.
- Glue the yarn together starting with the center piece.
- Glue the 2nd and 3rd piece to create the ghost.
- Glue each ghost to the pillow by adding hot glue to the back of the ghost and pressing firmly to the pillow.
- Create ghost eyes using paint, a sharpie or felt.
Recommended Products
As an Amazon Associate and member of other affiliate programs, I earn from qualifying purchases.
-

 FLO-PAC Cotton Mop Head for Cleaning, 16 Ounces, Tan
 -
 Mr. Pen- Fabric Scissors, Sewing Scissors, 8 inch Premium Tailor Scissors, Heavy Duty Scissors, Sharp Scissors, Fabric Shears, Heavy Duty Scissor, Sharp Scissors, Sewing Shears, Utility Scissors
 -
 Surebonder Cordless Hot Glue Gun, High Temperature, Full Size, 60W, 50% More Power - Sturdily Bonds Metal, Wood, Ceramics, Leather & Other Strong Materials (Specialty Series CL-800F)
See even more DIY Halloween Crafts, Recipes and Home Decor:
- DIY Halloween Wreaths Perfect to Greet Trick or Treaters
- Easy DIY Pumpkin Diorama
- 20 Cricut Halloween Project Ideas
- Dollar Tree Day of the Dead Pumpkin
- Halloween Witch Door Hanger
- 15 Tasty Halloween Treats Kids Will Love
- Easy Air Fryer Halloween Donuts
More DIY Throw Pillows:
Google Web Story: DIY Halloween Ghost Pillow
You can find me on social media below:
Leslie
Wednesday 18th of October 2023
Love this idea! And when I saw the whole mop head laying there I thought it looked like Cousin It with a hat on!!! Thats a bonus inspiration from you!! Thanks for sharing!