Learn how to paint Christmas ball ornaments the easy way! Craft beautiful, custom holiday decorations with simple steps and stunning results.

This post contains affiliate links. This means if you click the link and buy something, I may receive a percentage of sales at no extra cost to you. Please see my full disclosure here.
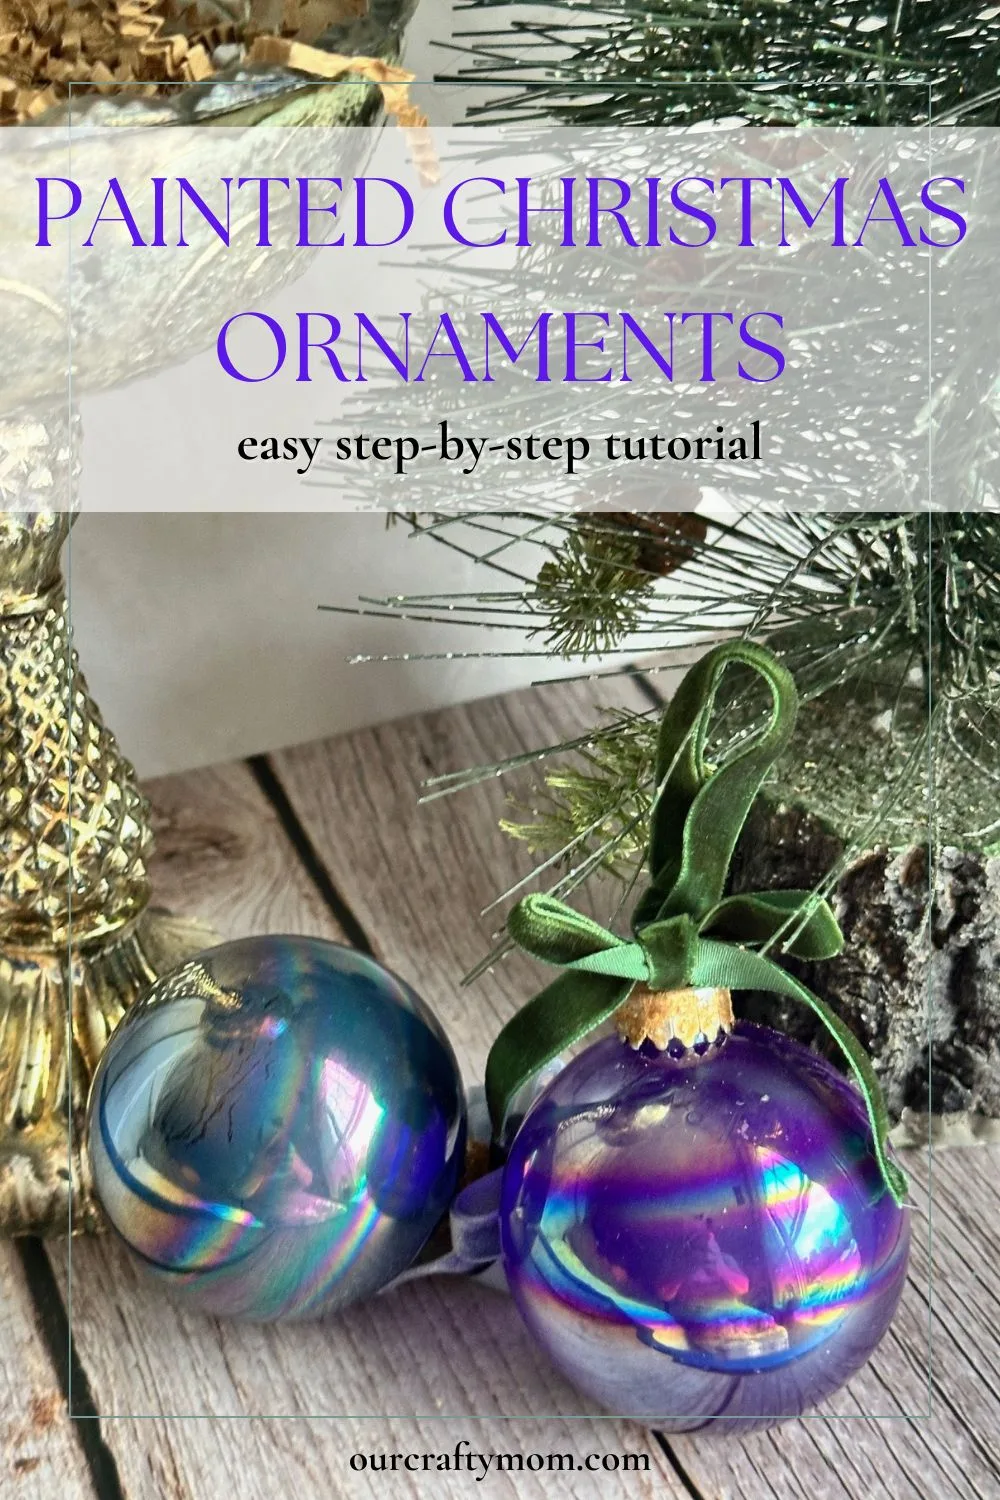
Christmas Ball Ornaments
There’s something so special about making your own handmade ornaments for the Christmas tree or to give as gifts.
They add a personal touch that store-bought decorations just can’t match, and crafting them has become a favorite holiday tradition for many.
Whether you’re creating keepsakes with your kids or adding a bit of DIY charm to your decor, handmade ornaments make the season feel even more meaningful and memorable.
Each year I craft a few new ornaments for my tree and to gift to friends and family. Be sure to read to the bottom of this post where you will find links to some of my most popular DIY ornaments.
The great thing about this Christmas craft is that you only need a few supplies, making it very affordable even though it looks high-end.
Supplies for Painted Ball Christmas Ornament
Here is what you need:
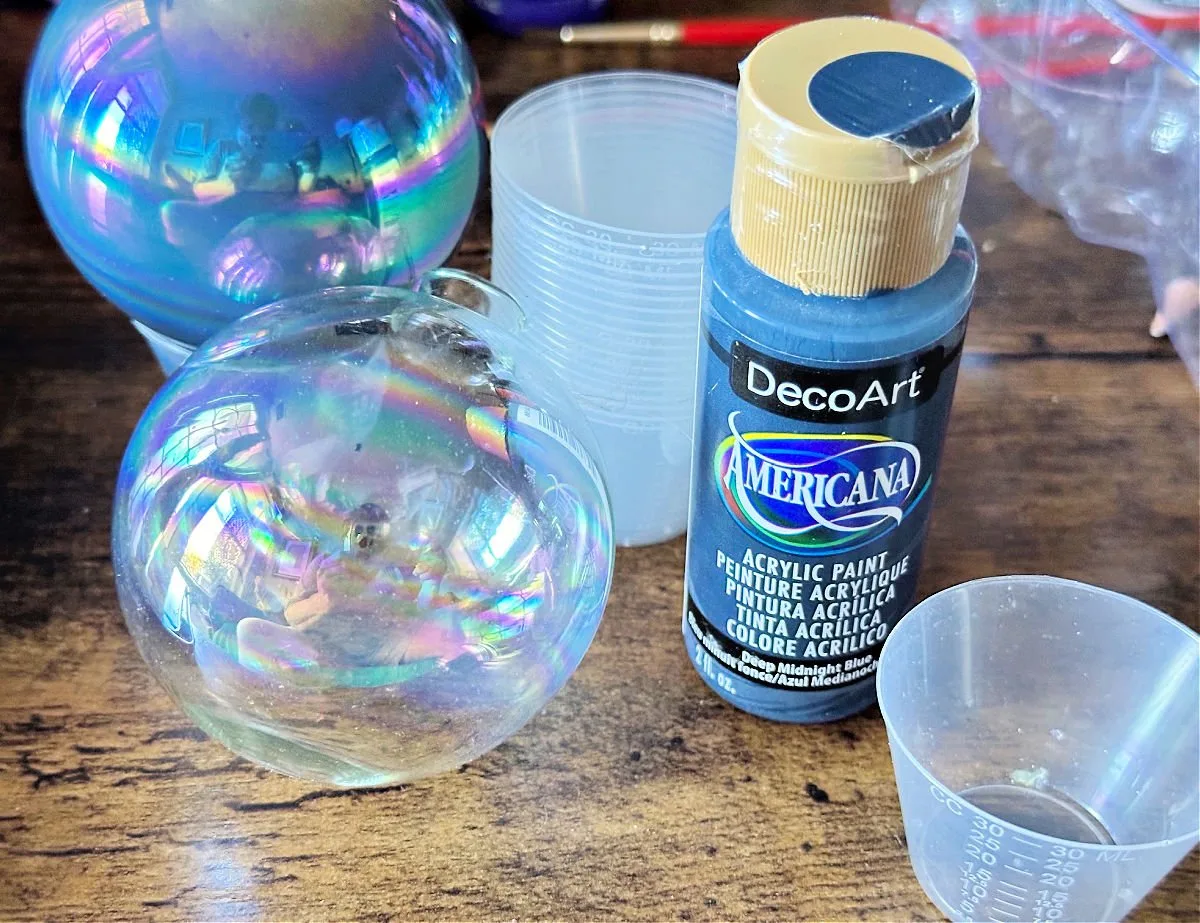
- Glass Ball Ornaments: I used iridescent glass ornaments that I found for $2 at the thrift store. You can also use shatterproof plastic ornaments.
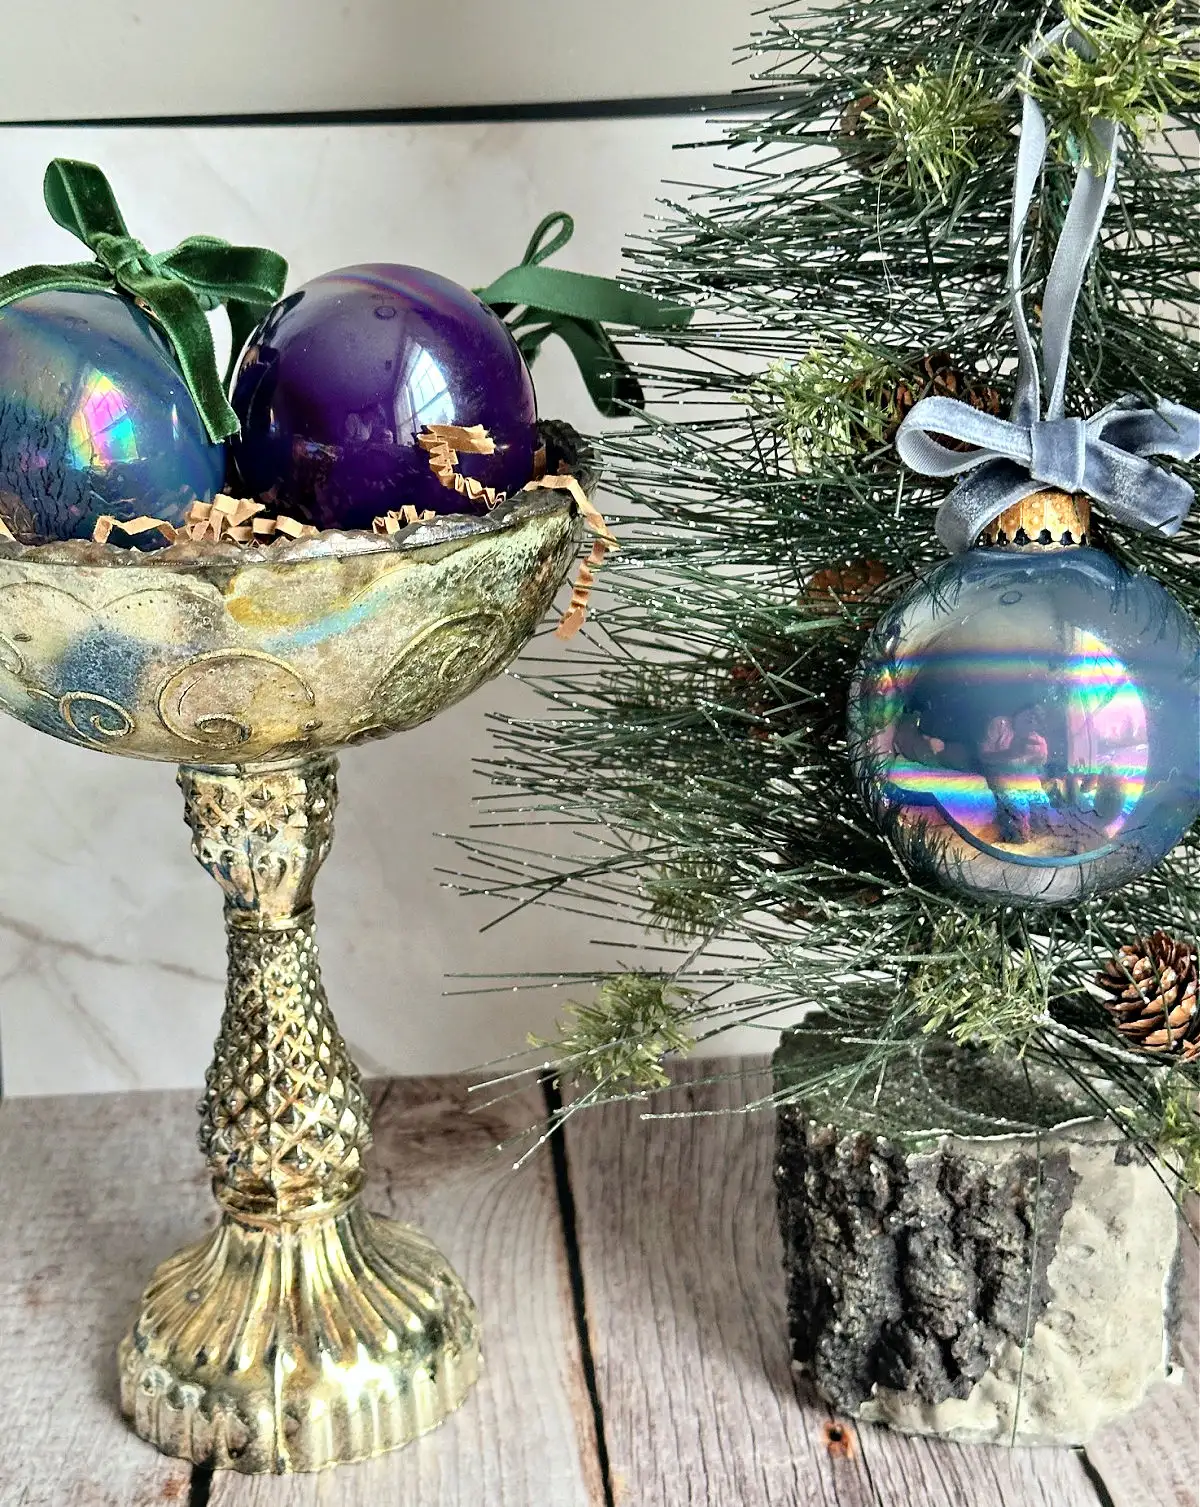
- Acrylic Craft Paint: I used midnight blue and purple iris
- Small Plastic Cups: these are the perfect size to hold the ornaments while the excess paint is draining.

Step 1. Clean the Ornaments
The first step whenever crafting with glass is to remove any dust or fingerprints. Rubbing alcohol works great.
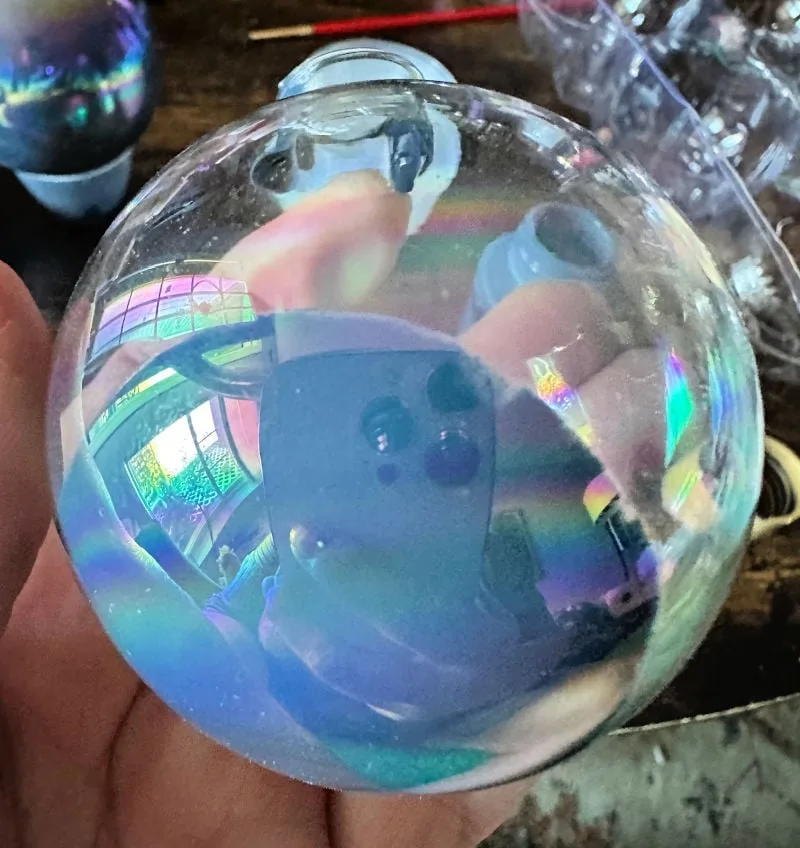
Step 2. Add Paint and Swirl
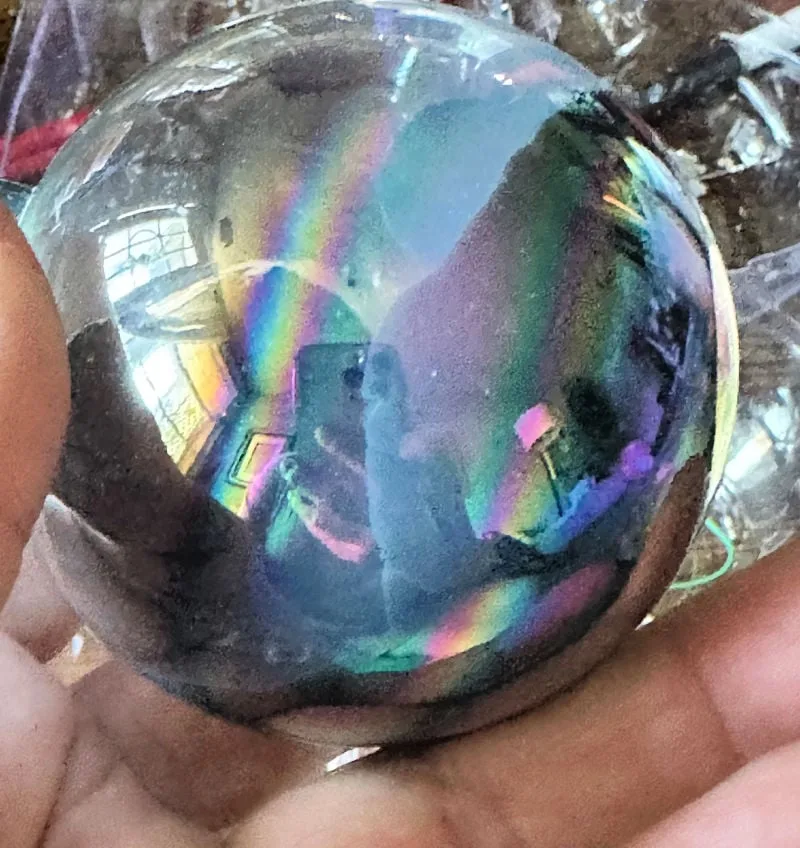
Start by pouring the paint directly into the ornament. You can start out with a small amount to cover the bottom and slowly start rolling the paint so it moves around to cover the entire ball.


Step 3. Add More Paint
Continue this process until the ornament is completely covered. Once covered, place the ball upside down in a plastic cup and let any excess paint drip out.
Step 4. Let Dry and Add Ribbon
Let the paint completely dry. I usually let them sit a couple of hours. Pour any excess paint back into your bottle.
Add a pretty ribbon for hanging and you are done!
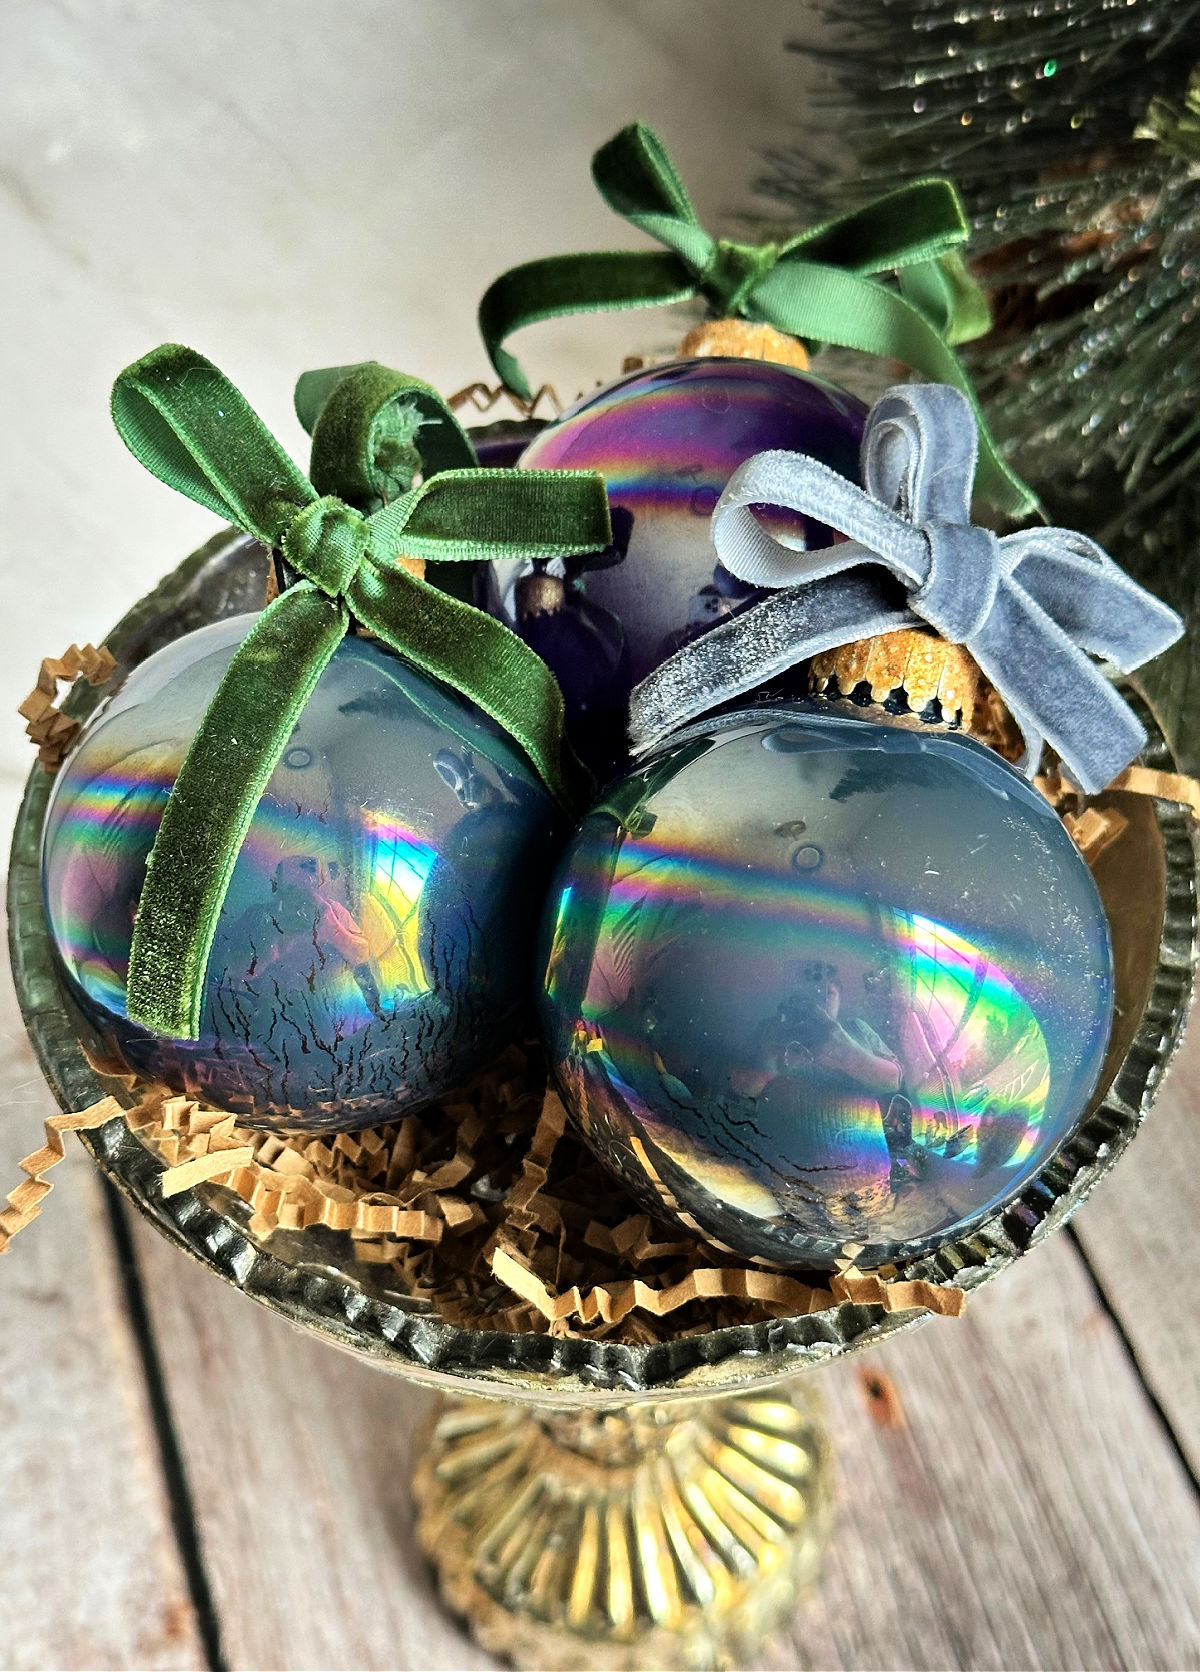

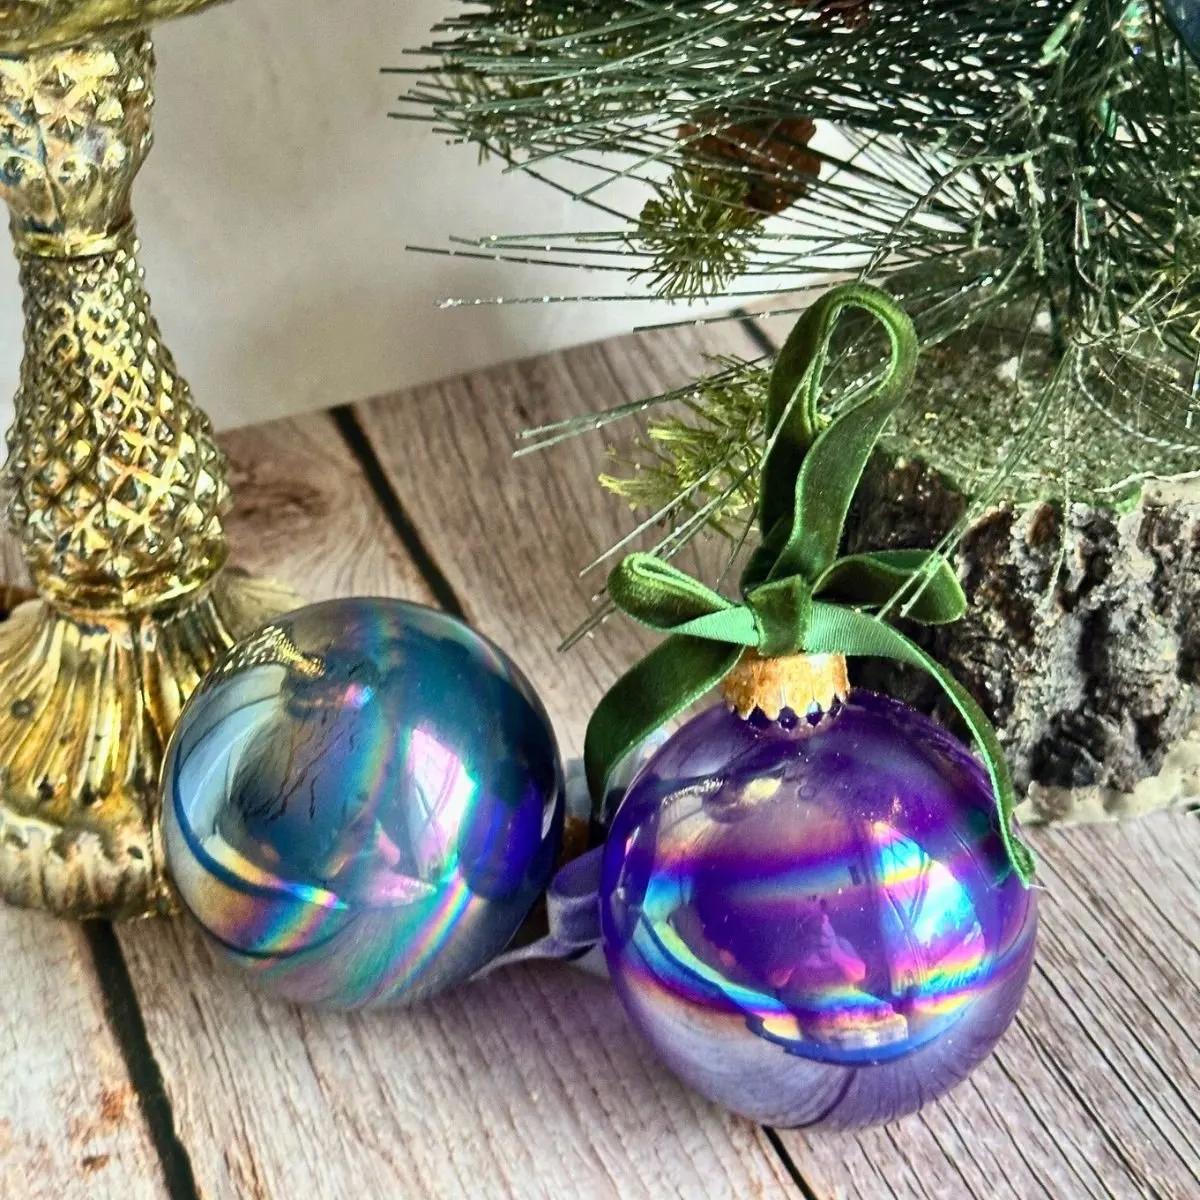
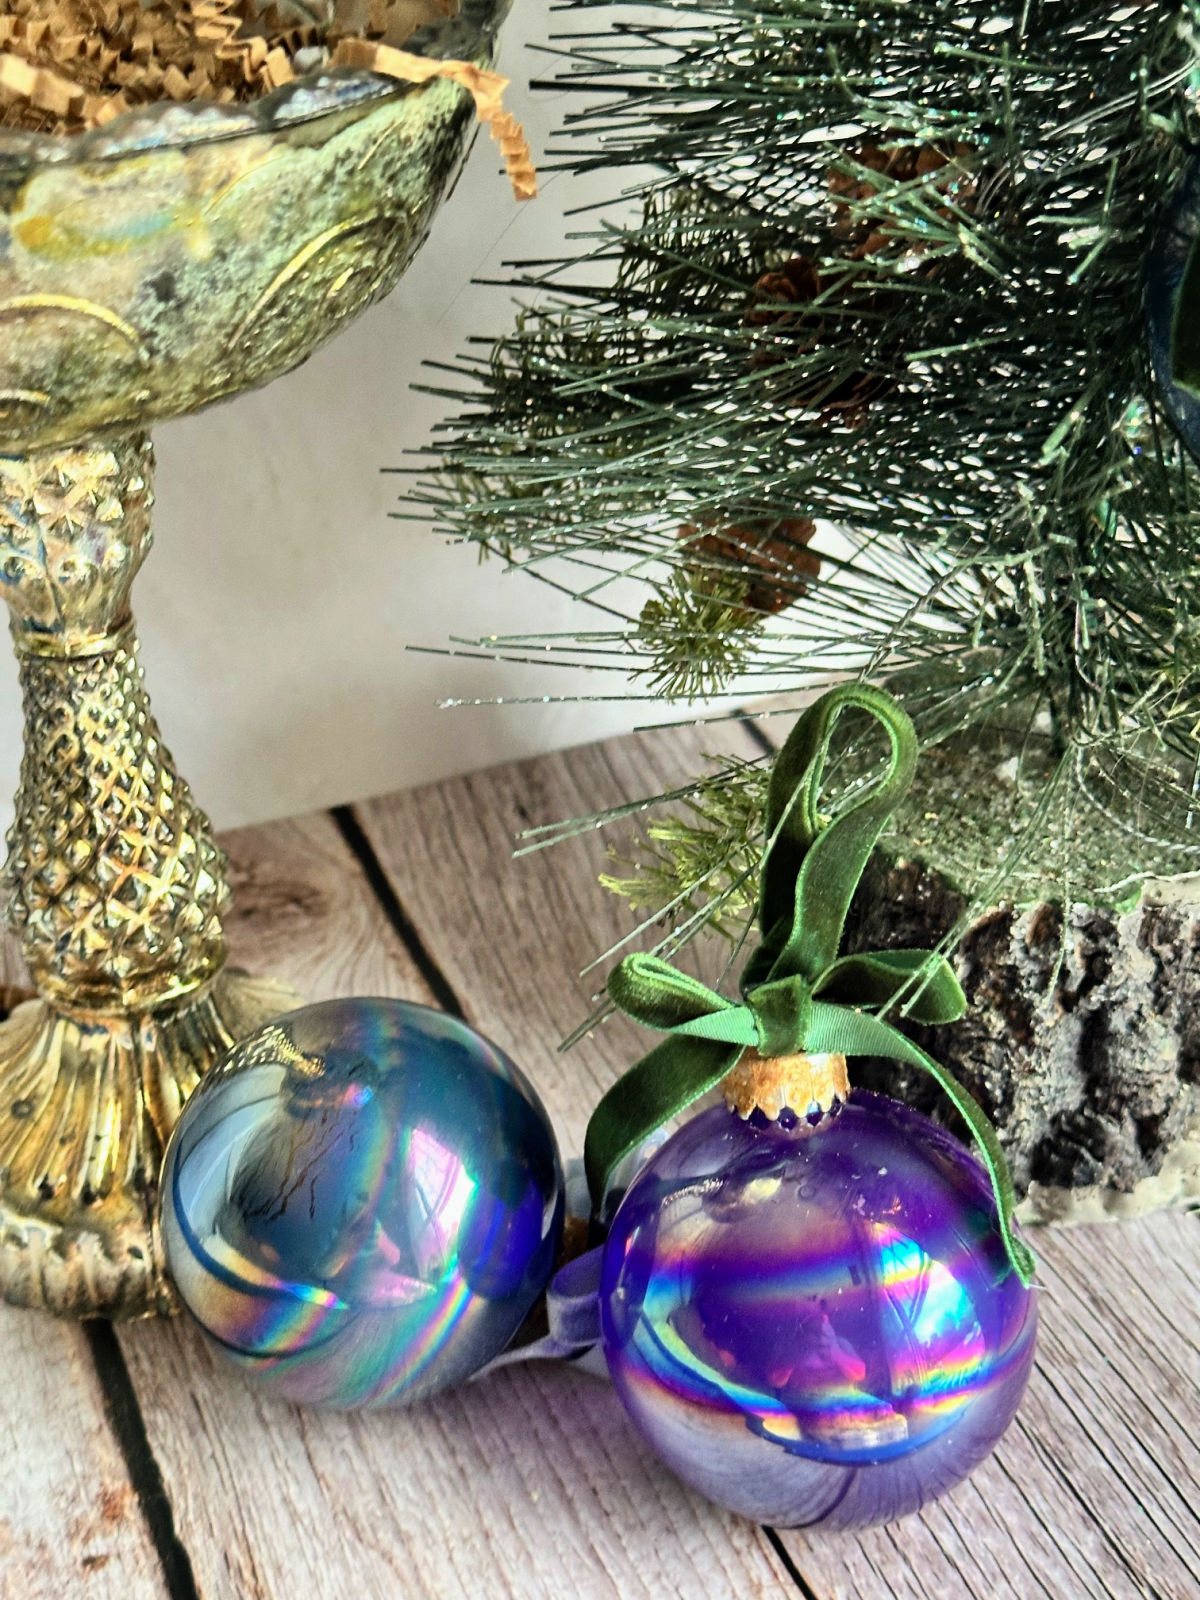
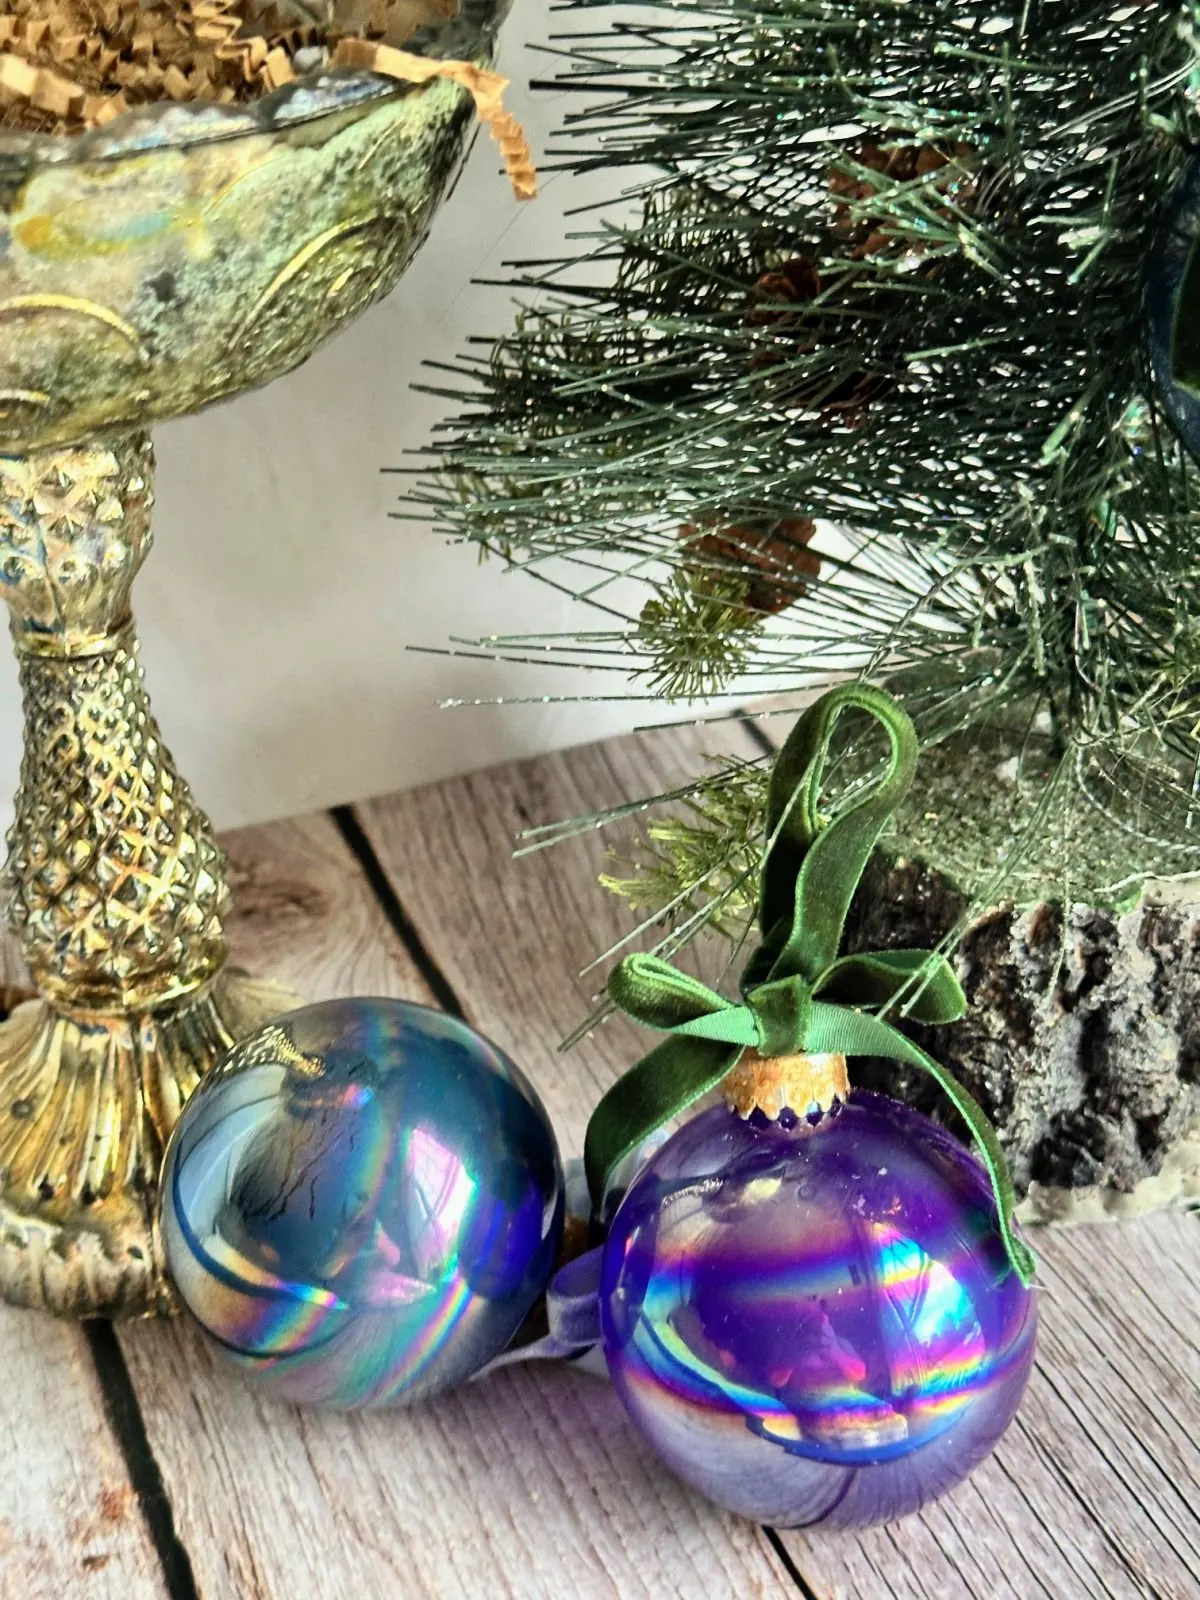
See how easy that was? Now you will have beautifully painted glass ornaments that you can make in whatever colors that you like.
The iridescent balls create the coolest finish with a rainbow effect across the ornament. I recommend using iridescent if you can.

If you want to customize them, you can even add vinyl with a name or monogram using a Cricut.


Save For Later
I’d love it if you would share this article with your friends on Pinterest by pinning the below image.
It helps my blog grow and doesn’t cost a thing! 🙂

If you do make your own handmade ornaments, be sure to share it with us on Facebook or Instagram.
Just tag @ourcraftymom. You never know who you may inspire.
Become a VIP newsletter subscriber and get instant access to my library of free printables (including wall art, gift tags, and more!).
Click HERE to join today. I share new printables FREE with subscribers each month as a thank you for visiting.
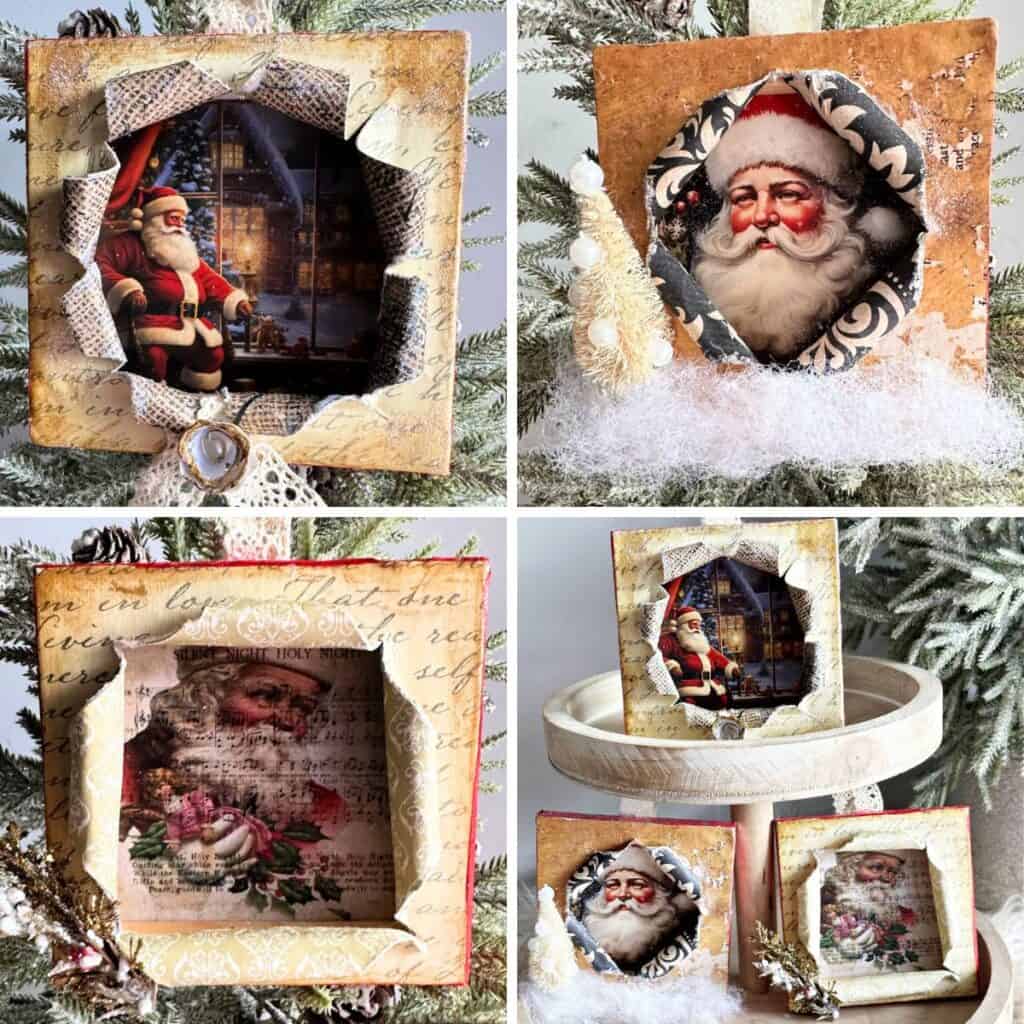
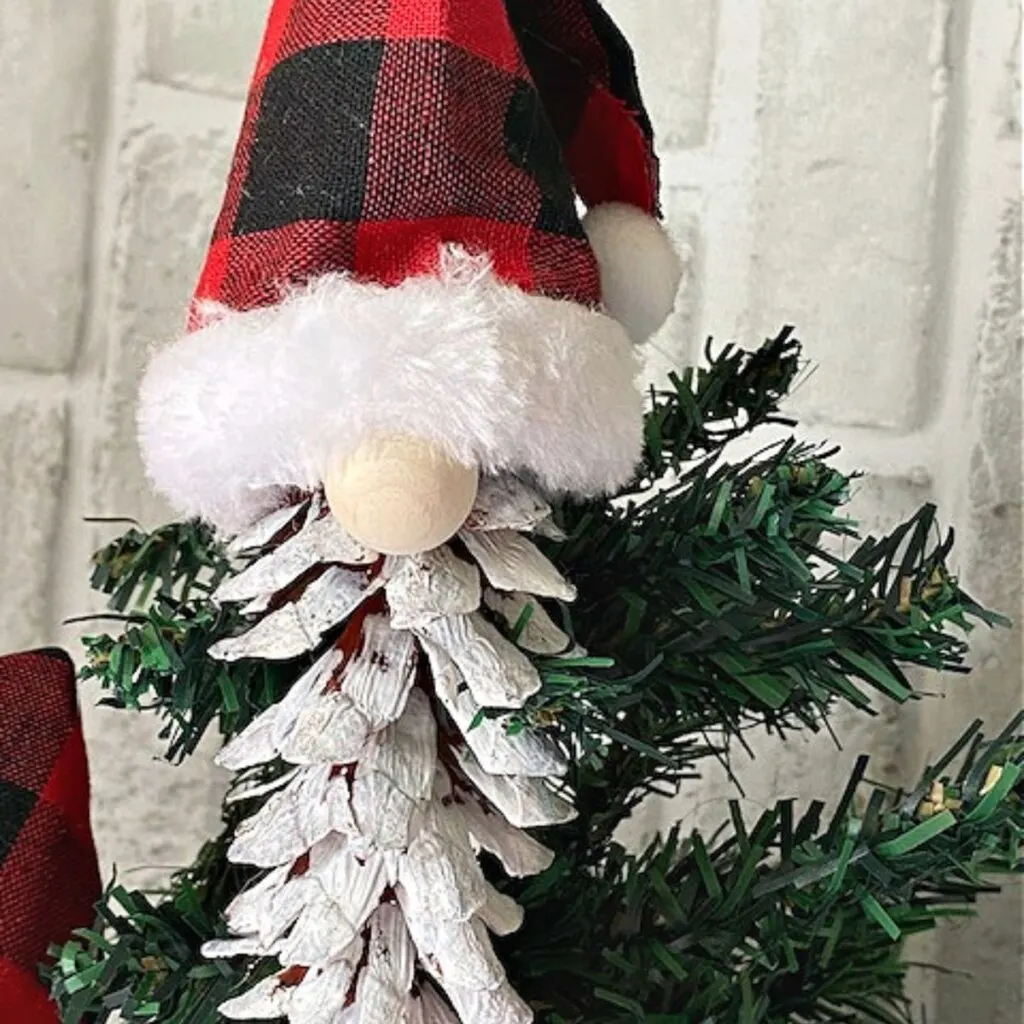
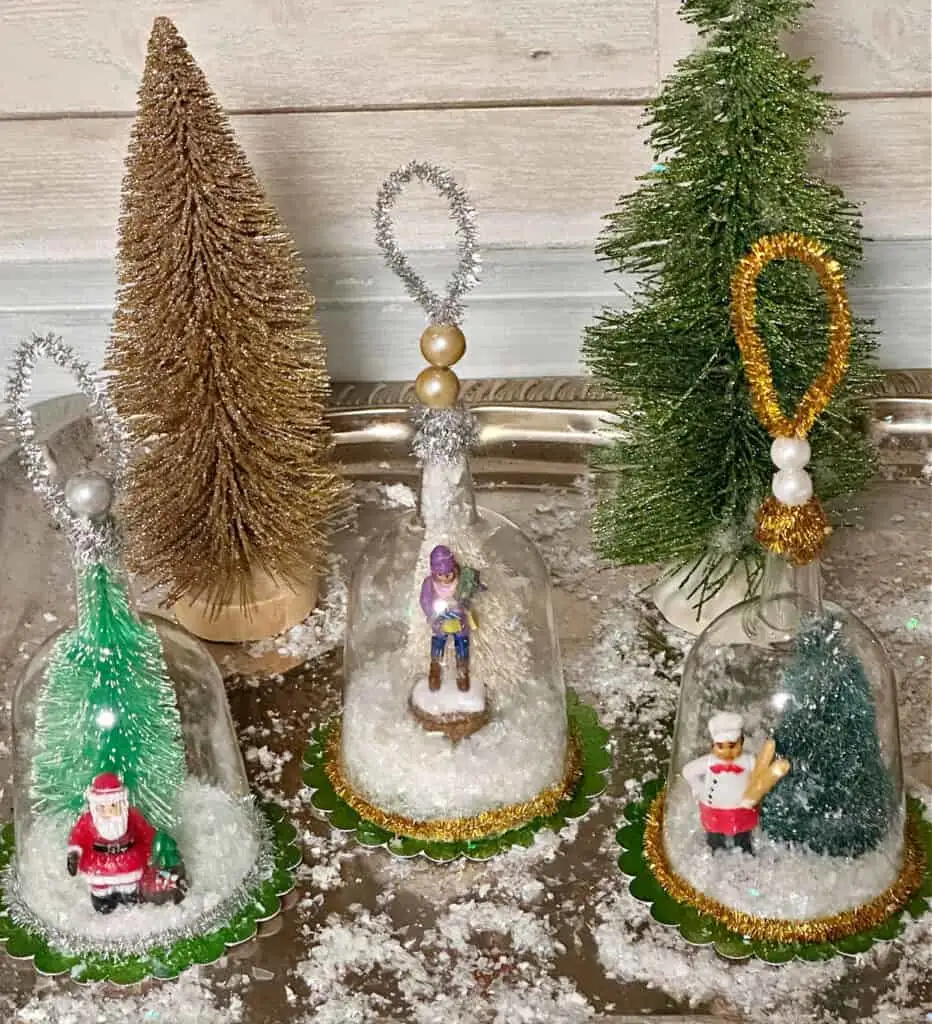
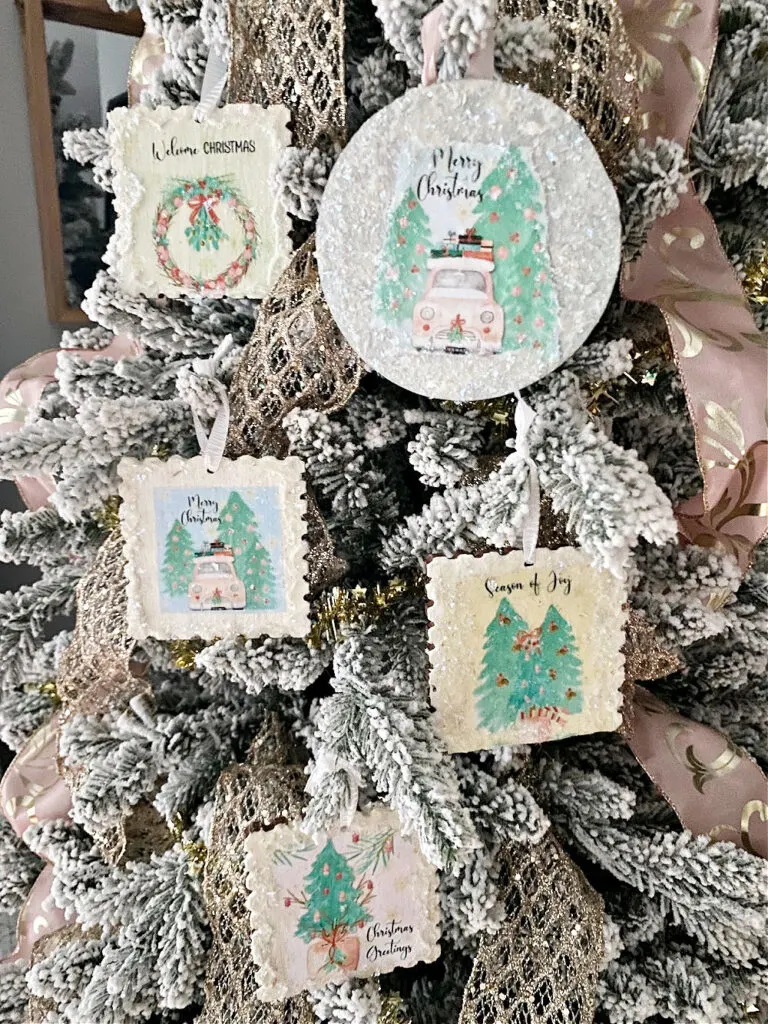
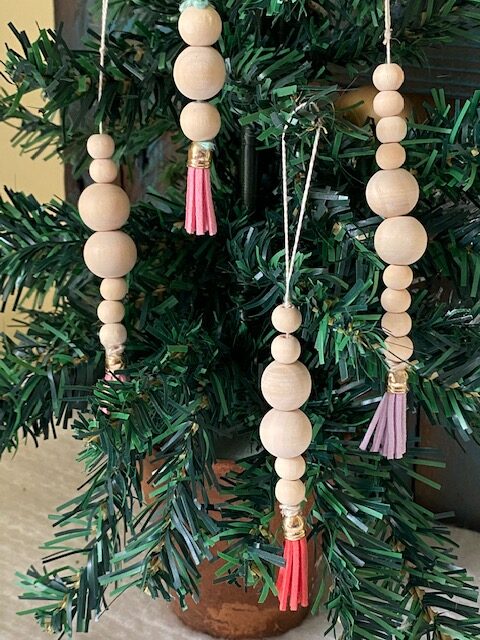
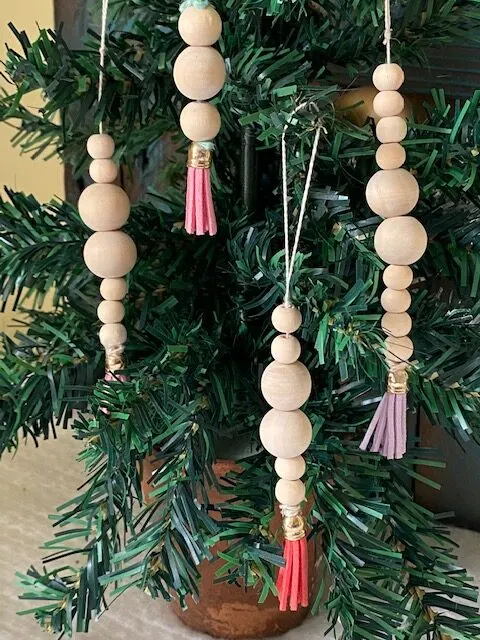
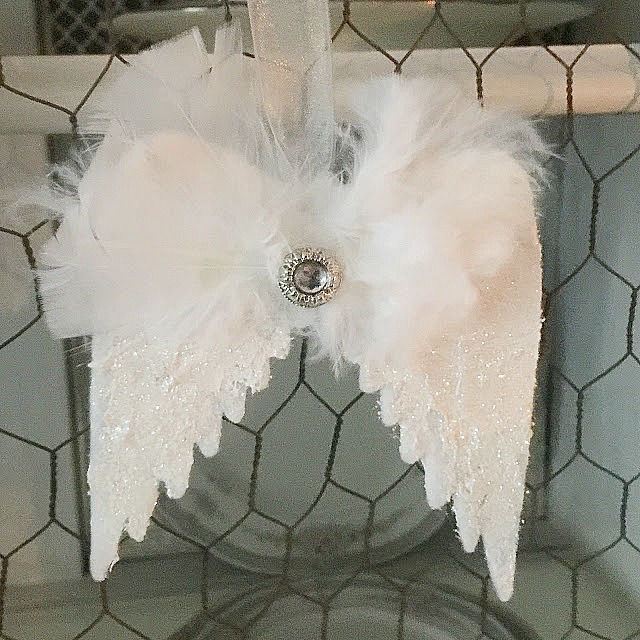
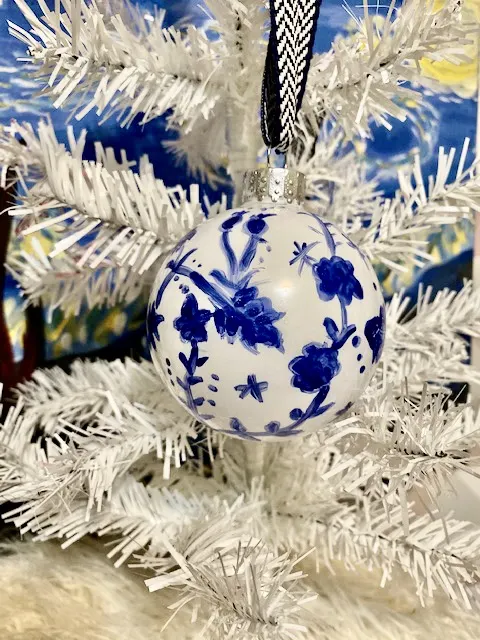
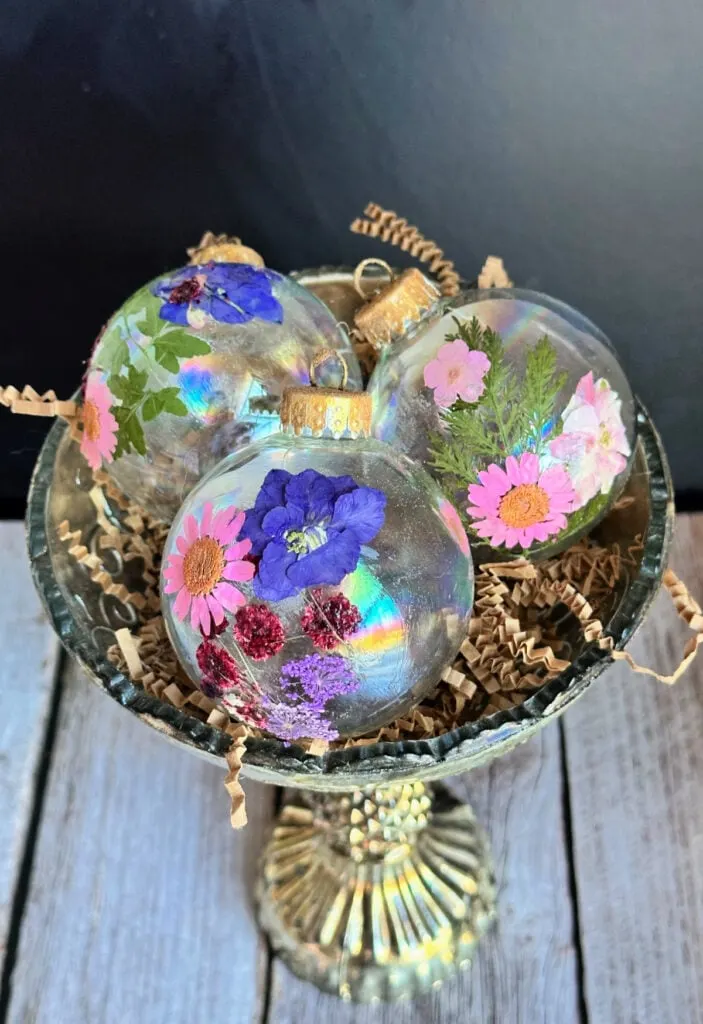
Here Are a Few of my Most Popular DIY Christmas Tree Ornaments
Just click on the image and you will be taken directly to the post and tutorial.


Thanks so much for stopping by. Happy crafting!


For even more budget-friendly Christmas ideas, you don’t want to miss this amazing collection of 81 Dollar Tree Christmas Crafts and these 37+ DIY Dollar Tree Christmas Ornaments.
Follow me on social media below: