Turn an old headboard into a gorgeous DIY coastal headboard using Saltwash.
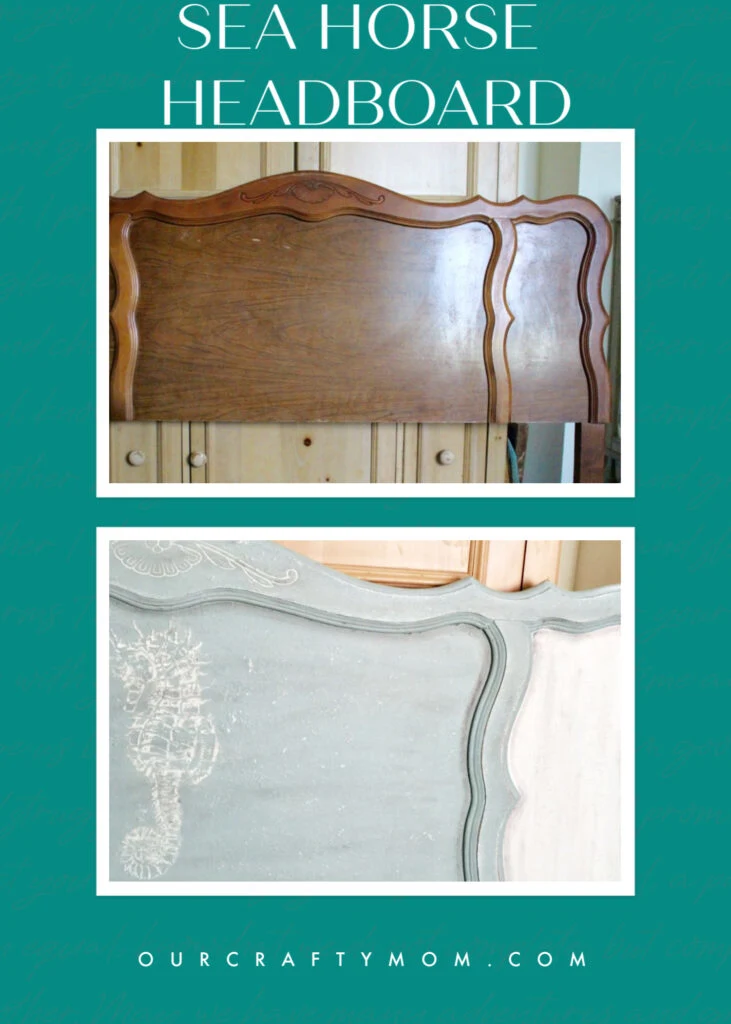
Welcome to Our Crafty Mom! It’s my favorite time-Fab Furniture Flippin’ time! I have been having so much fun experimenting with Saltwash-our June sponsor.
The theme for this month is Coastal Inspirations and that is right up my alley!
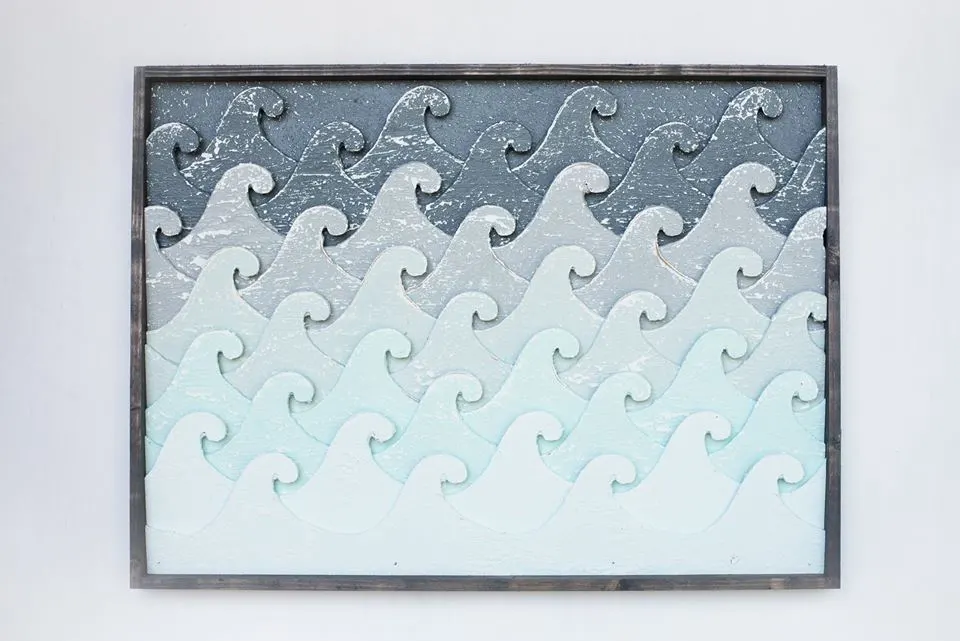
Image courtesy of Saltwash
Disclosure: I received free product from Saltwash in exchange for writing a review on the blog. Although this post is sponsored all opinions are 100% mine. I only promote product I believe in!
If you are not familiar with Saltwash, you are in for a treat.
Saltwash is an actual sea salt additive that you put into your paint to give your furniture that beautiful, time worn look that we all love.
Having lived in New England my entire life, some of my favorite memories are of visiting Cape Cod, Massachusetts every year.
I remember even at an early age admiring the beautiful antique shops along Main Street full of gorgeous seaside Coastal furniture.
That is the look you can achieve with Saltwash!
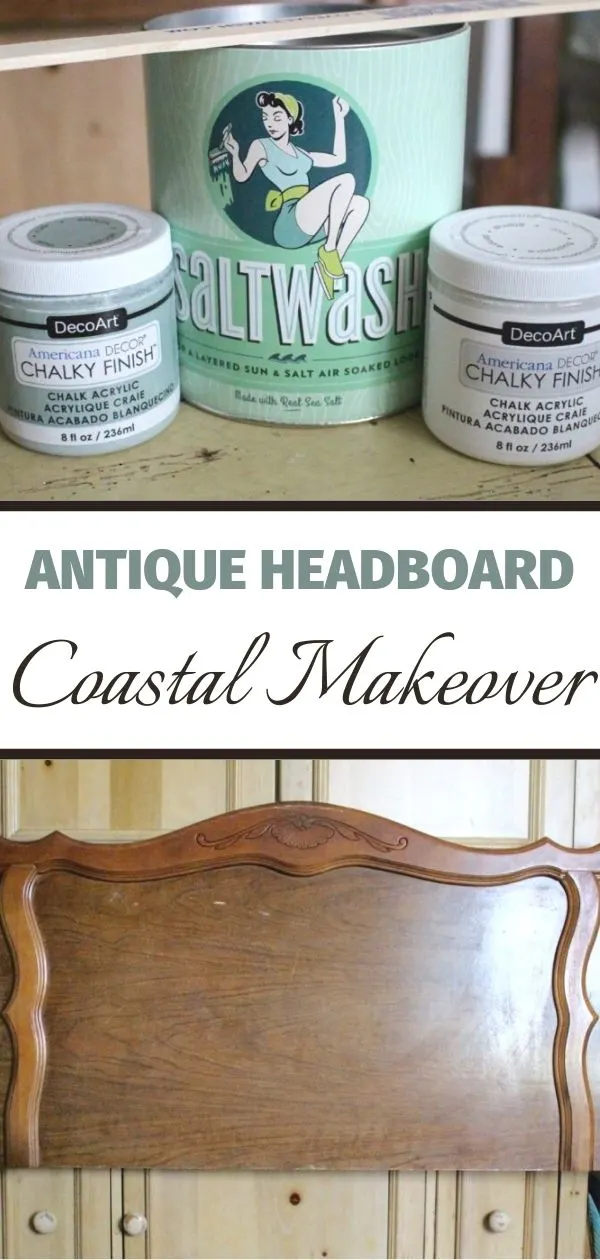
I started with this vintage French Provincial headboard that my Dad gave me.
DIY Coastal Headboard Makeover With Saltwash
The lines of the headboard are just beautiful:
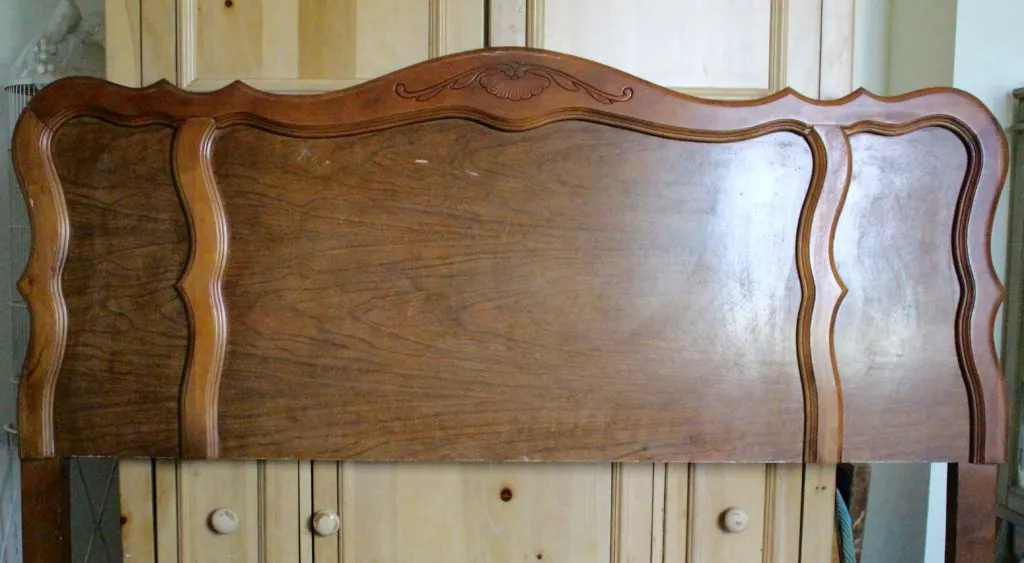
As with any piece, I first gave it a good cleaning and then repaired one side that needed to be reattached, but other than a few scratches, it was in great shape.
I am using the headboard in my daughter’s room, which has soft muted tones of greens and grays.
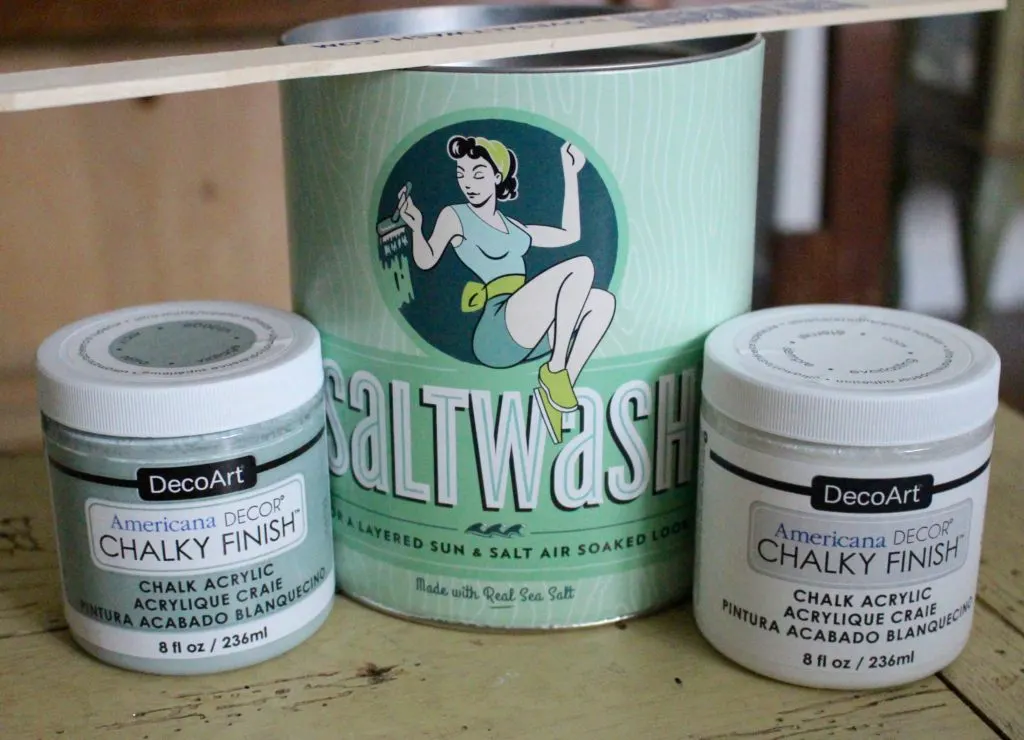
Here are the colors I went with.
Doesn’t the Saltwash packaging just make you smile?
You can use Saltwash with any paint and it is colorless, so it retains the paint color.
The application process is very simple, but I admit I was a little nervous to use it at first because I have never used a paint additive before.
Let me say my fears disappeared quickly and the fun began even quicker.
You add 20-25 oz of Saltwash with the included scoop to one quart of paint.
That means I have a whole lot of Saltwash left for other pieces, yay.
You only use Saltwash in the base coat, basically applying thick layers of frosting like texture.
Please refer to the video on Saltwash for a full tutorial.
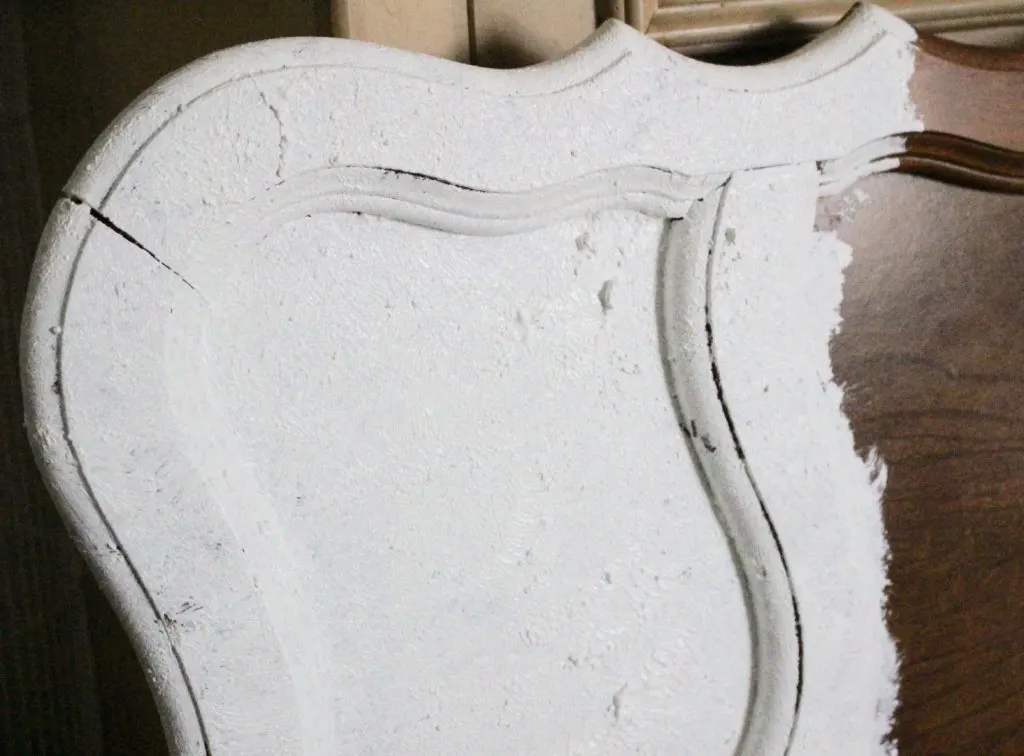
I gave the entire headboard a nice thick basecoat in white and let it dry.
I knew this was going to be so cool. You can just see the texture.
After about 15 minutes I went back and lightly brushed the entire piece with my brush to reduce some of the peaks.
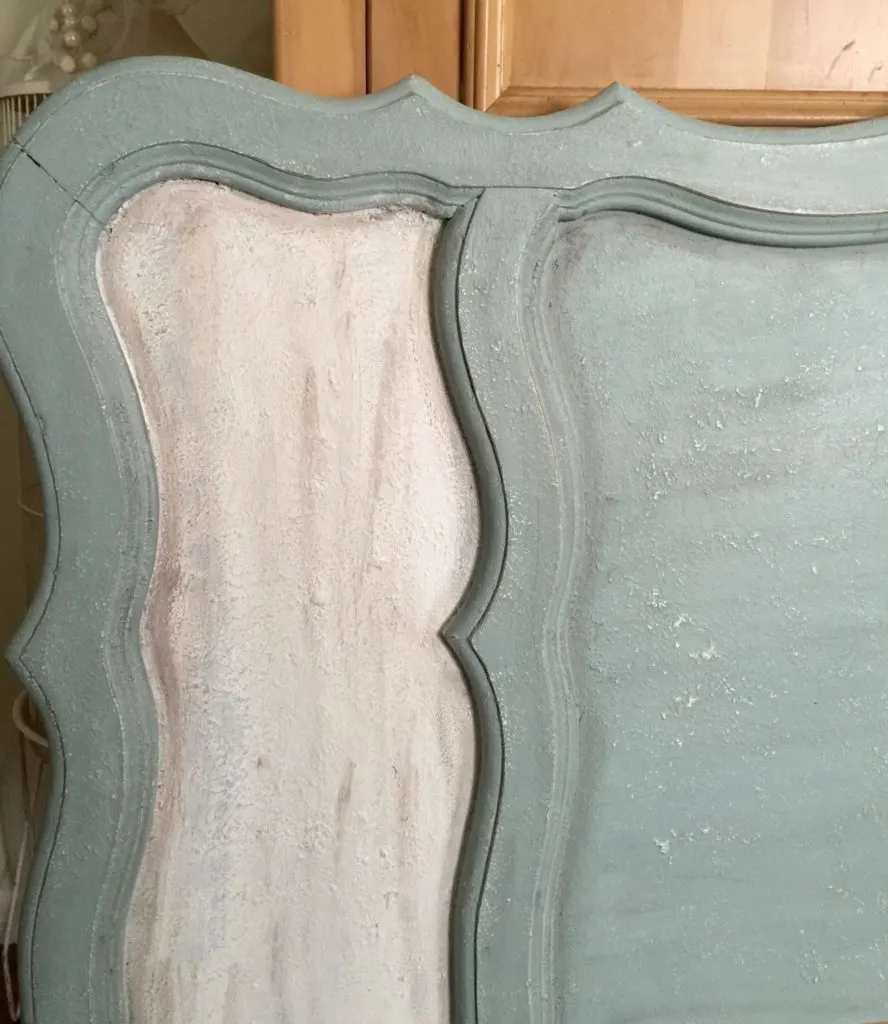
Next I gave it a coat of the main aqua color and added white chalk paint to the outer panels.
Nothing says “Coastal Inspiration” more to me than a seahorse.
Luckily, my daughter loves seahorses and I just happened to have a seahorse stencil.
However, I really wanted to make it look as if the seahorse was engraved in the wood.
I felt with the age and style of the headboard it would be more fitting.
This was not an easy process, but I am thrilled with the results.
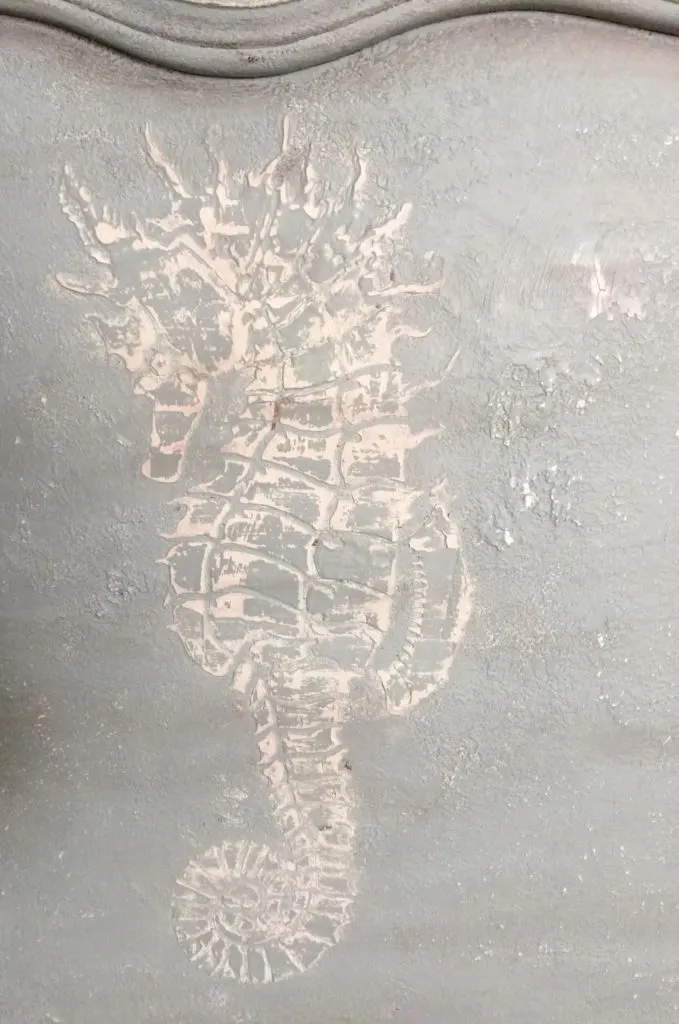
I used plaster filler thickly applied to the stencil letting it dry overnight.
I used a very liberal amount giving it an almost fossil like appearance the next day-it was very cool.
I also added plaster to the detailing at the top of the headboard, which really made it stand out.
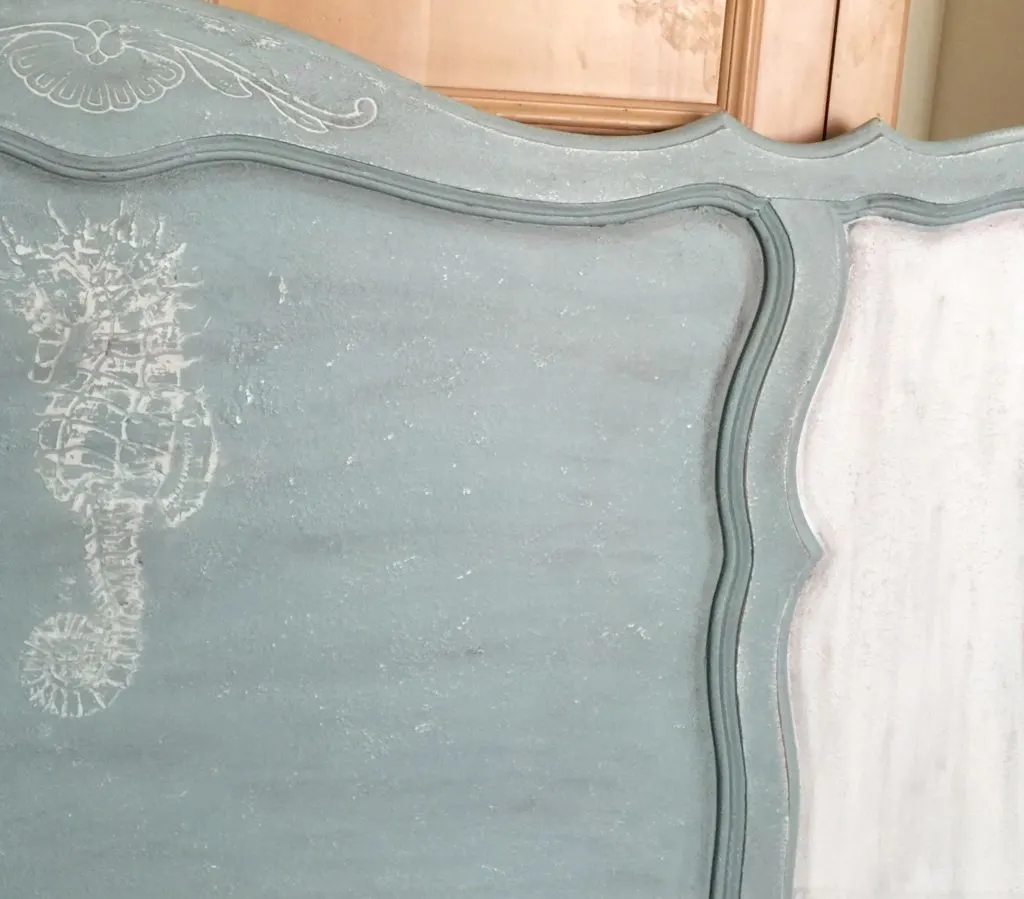
Next, I sanded it down and then went over it with the aqua paint again.
I repeated this process until I was happy with it.
I sanded the body of the headboard to reveal the base coat which really showcases the Saltwash finish.
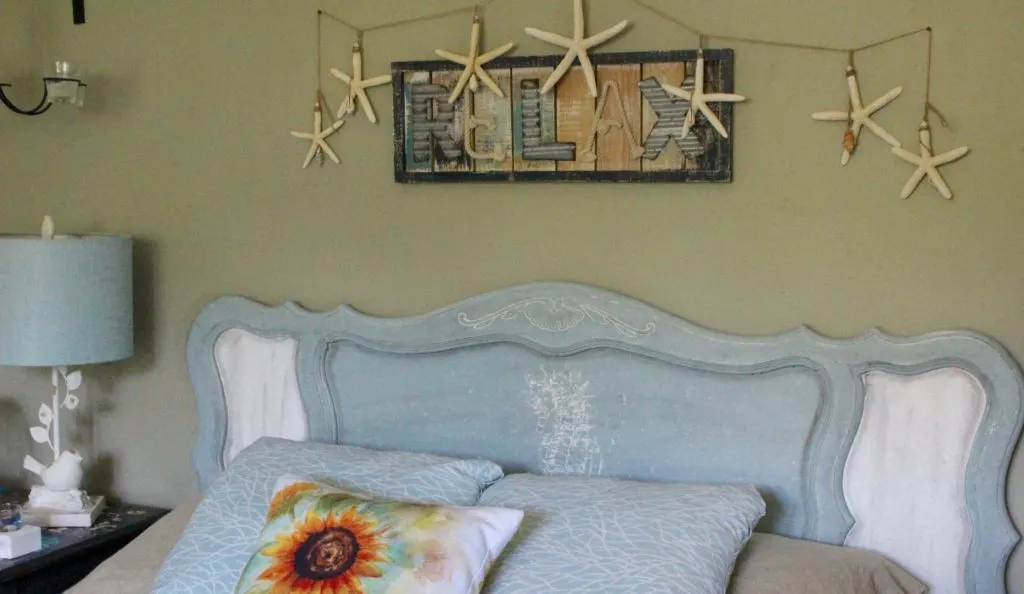
A clear and dark wax completes this unique Coastal Headboard.
See all that chippy, aged goodness? That is the effect of Saltwash.
Here it is all set up in my daughter’s room! I don’t know who loves it more!
You will be amazed at all the talented participants! The Fab Furniture Flippin’ Contest is open only to participants who have signed up through the group Facebook page.
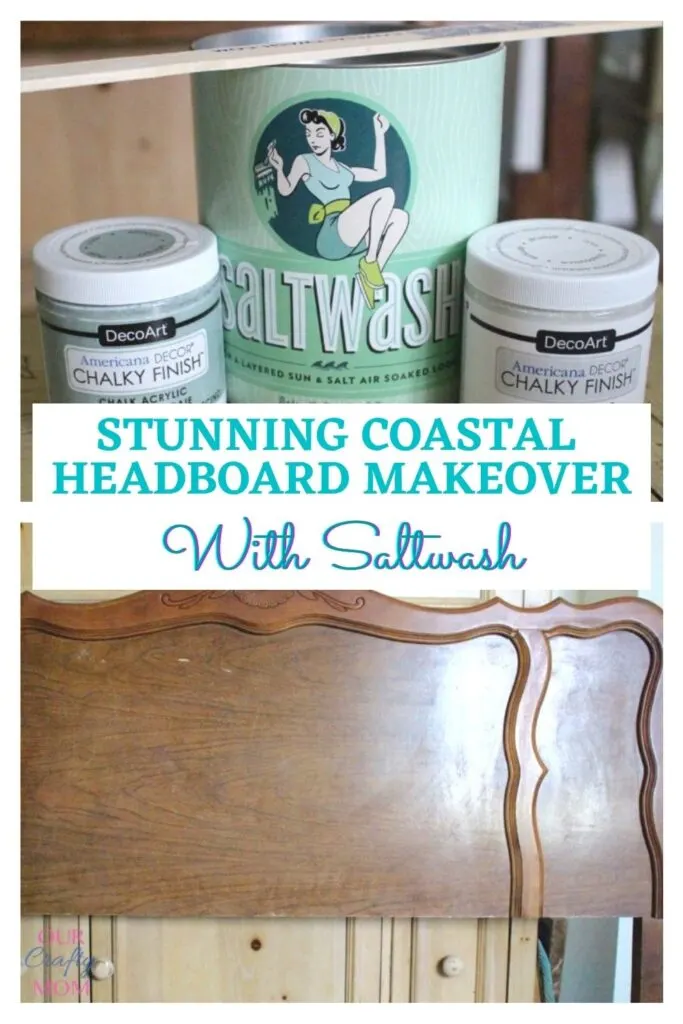
Sharing is caring…please PIN the below image:


9 Easy Thrift Store Furniture Makeovers to Tackle This Weekend
Wednesday 16th of January 2019
[…] Headboard Makeover with Saltwash […]
DIY Tutorial - How To Easily Create A Raised Stencil Effect
Sunday 6th of May 2018
[…] you liked this raised stencil effect, you can see how I used it on a Sea Horse Headboard here. A huge thank you to Stencil Revolution for collaborating on this project. I would love it if you […]
Home Matters Linky Party #93 - Sharing Life's Moments
Wednesday 1st of March 2017
[…] Michelle shares her Coastal Headboard Makeover With Saltwash […]
Laurie
Friday 2nd of December 2016
Wonderful look on the saltwash headboard. I Have small furniture shop...love using saltwash on many of the pieces I work with it's a great cover up for nicks and dings.
Lorelai
Wednesday 6th of July 2016
This is so pretty! It may have been difficult, but I agree with you that it was worth it! Thanks for sharing!