Looking for a fun and easy way to decorate your home for Valentine’s Day? These DIY cone trees with ribbon are perfect!
They’re simple to make, and you can customize them however you want.
Plus, they’re a great way to use up any extra ribbon lying around. So why not give it a try?
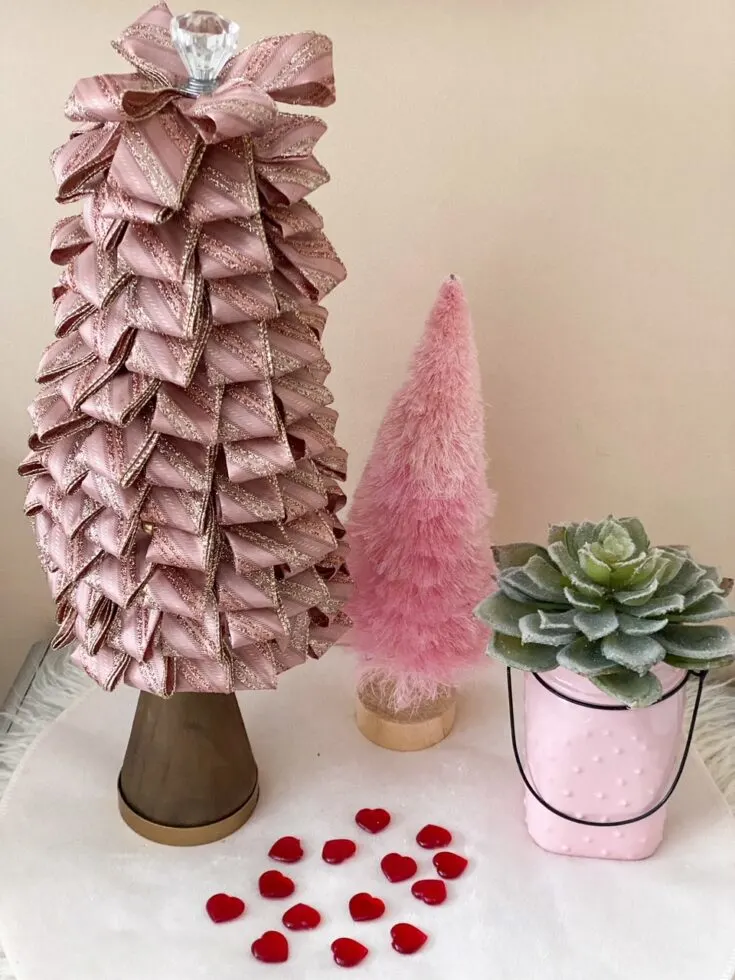
I don’t decorate much for Valentine’s Day, but I do like to add a few touches here and there.
My mantel is something I enjoy decorating for each holiday.
This post contains affiliate links at no extra cost to you. Please see my full disclosure here.
You may have seen the winter cone trees I made HERE.
Since I had some beautiful pink and gold ribbons leftover from my pastel-themed Christmas tree, I decided to use them to make this beautiful ribbon tree.
Thankfully I had a foam craft cone in my stash, but if you don’t have one, you can use poster board or cardstock like I used to make these glitter trees.
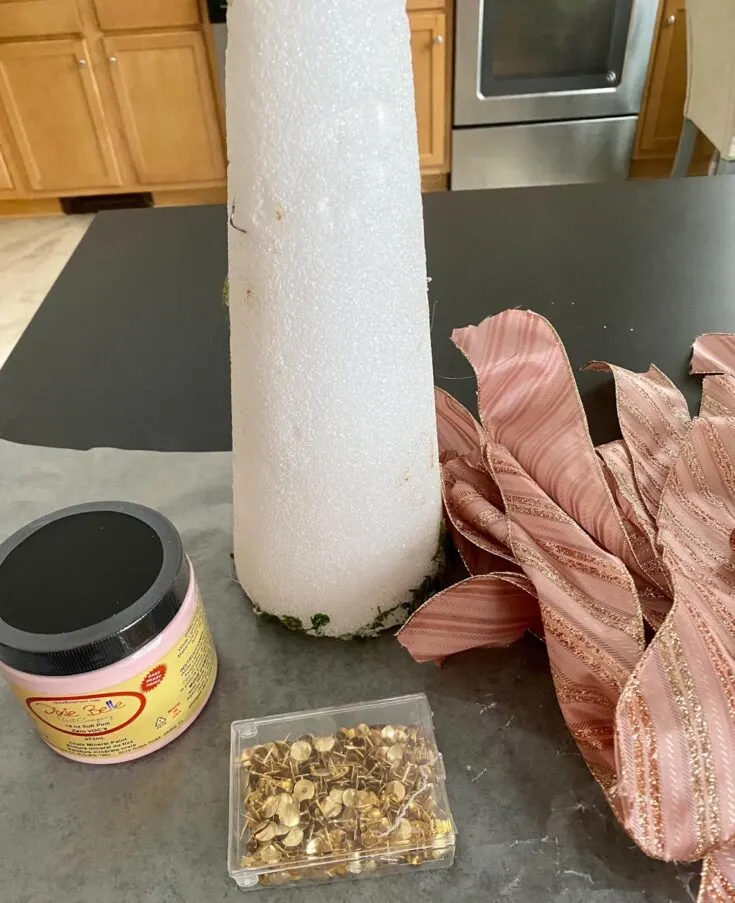
Supplies Needed for DIY Cone Trees
- Foam Tree Cone
- Cordless Hot Glue Gun – this is my favorite!
- Wide Ribbon – I used 2 1/2″
- Fabric Scissors
- Pink Paint – I used Dixie Belle in Soft Pink
- Foam Brush
- Gold Thumb Tacks
How to Make Your Cone Trees with Ribbon
Step 1.
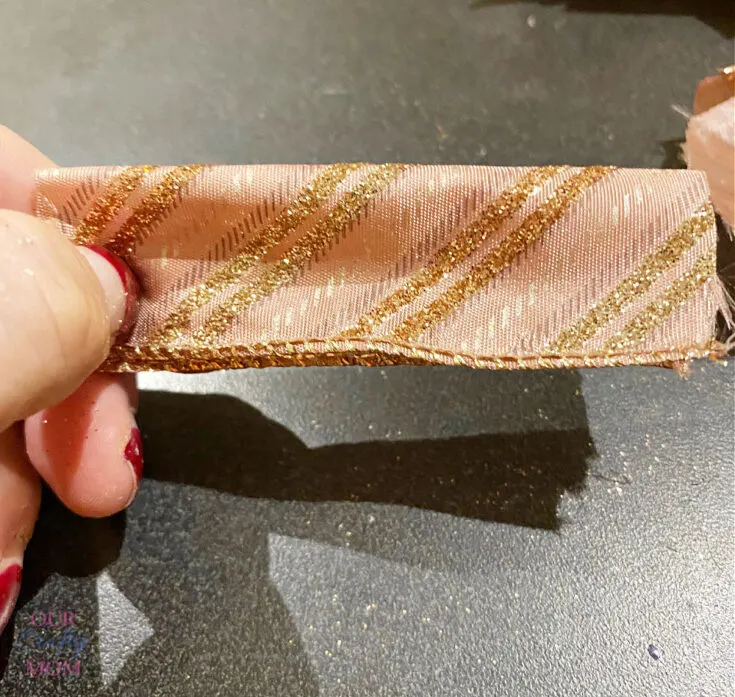
Start by cutting a pile of ribbon pieces about 6″ long. I didn’t count how many I cut, but it helped speed up the process to cut a bunch beforehand.
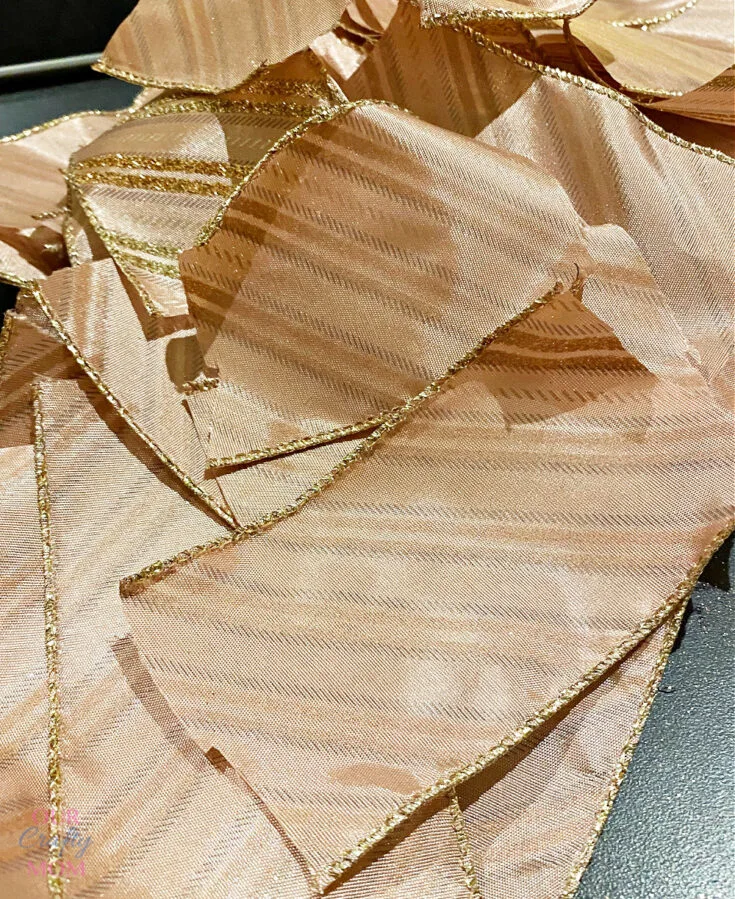
Don’t worry about the edge being clean-cut because it will be folded in half, so you won’t see it.
Step 2.
Fold the ribbon in half widthwise and again lengthwise.
If you use a narrow ribbon you won’t have to fold it widthwise, but I wanted to use my leftover ribbon.
Step 3.
Originally I planned to hot glue each piece, which would have taken FOREVER.
Thankfully I looked in my craft stash and saw a container of gold thumbtacks.
They made this step so easy.
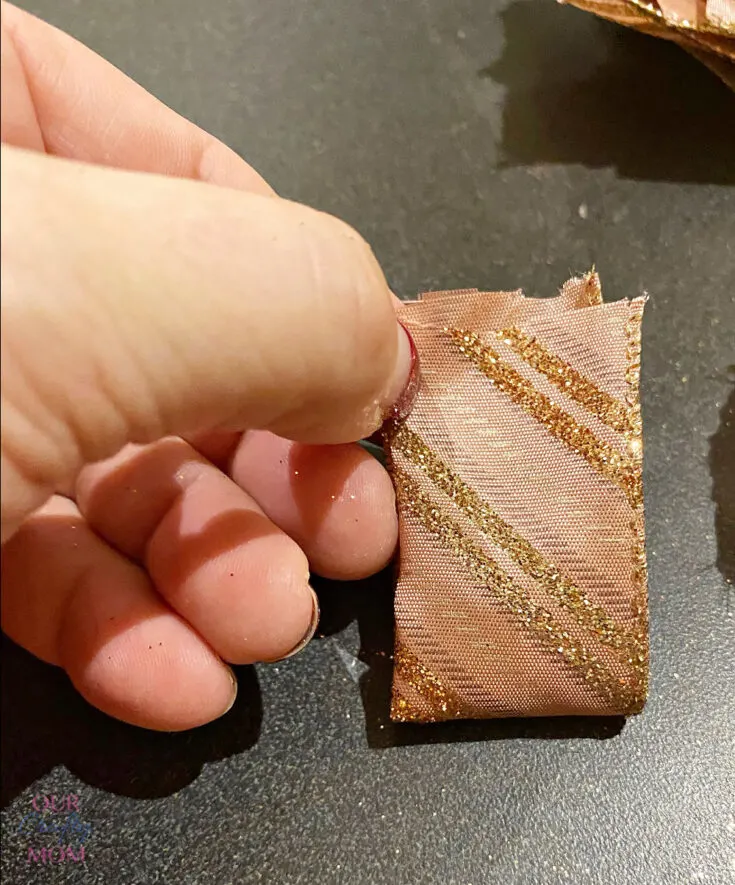
Take the loops and push them through the foam and secure them with the thumbtack.
I did add a dab of hot glue to the end of the thumbtack to make sure it would hold.
Step 4.
Start at the top of the cone and secure each folded ribbon piece to the cone with the thumbtack.
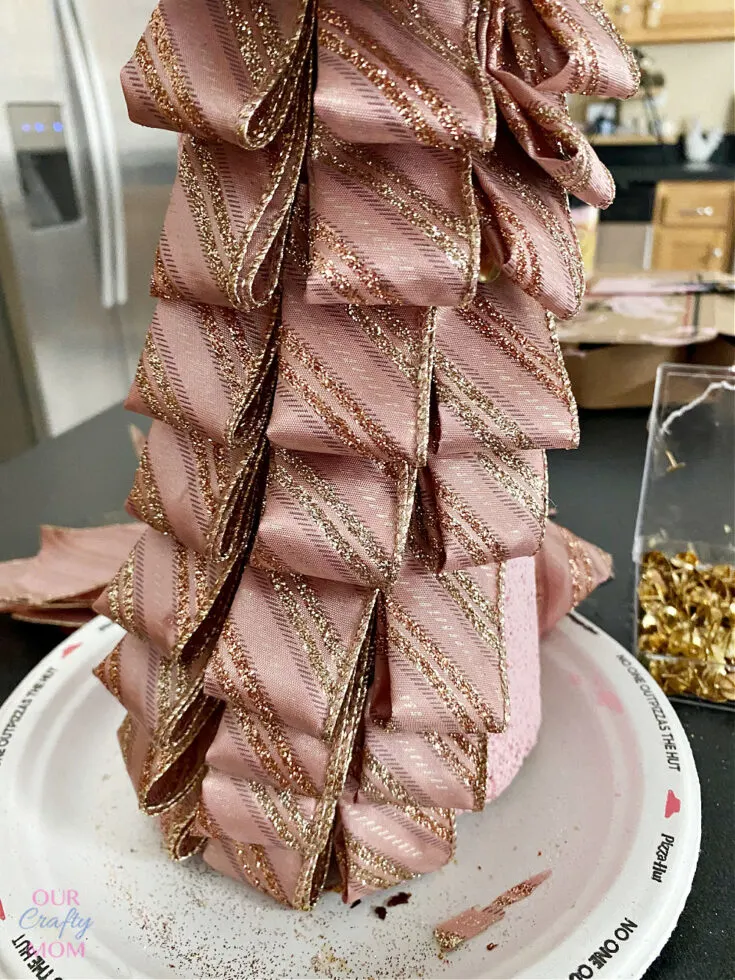
The great thing about these gold thumbtacks is they blend really well with the rose gold ribbon, so if you happen to see one it won’t look out of place.
Isn’t the shimmer in this ribbon so pretty?
Step 5.
Continue to add all of the ribbons until the foam is covered.
For the final step, I added a pretty crystal knob to the top of the tree.
This is totally optional but it gives it a bit of glam.
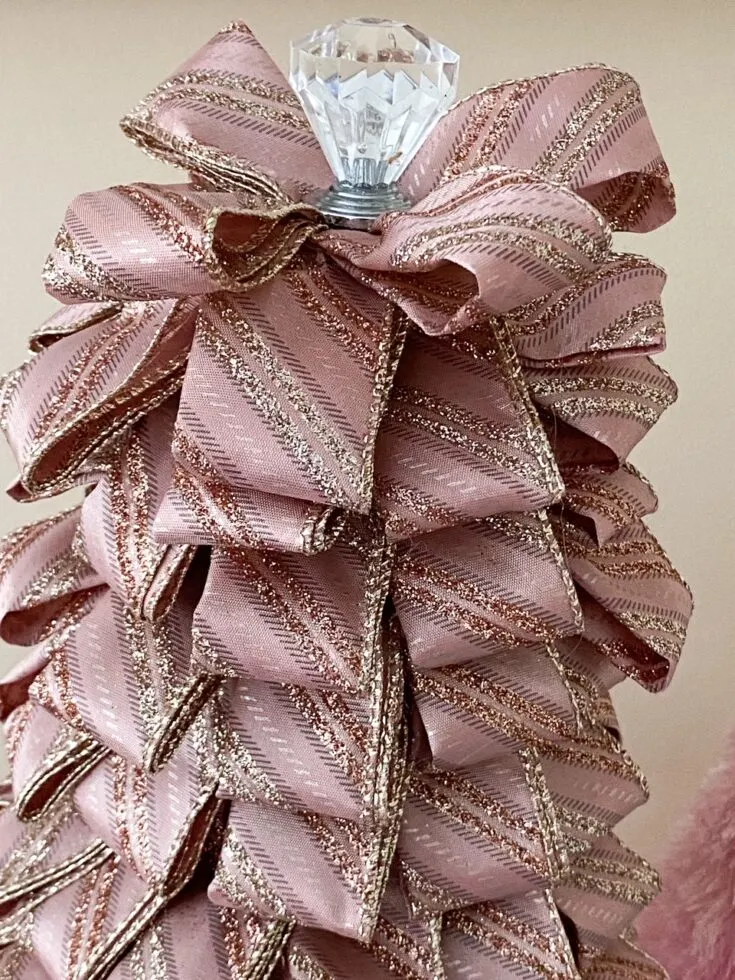
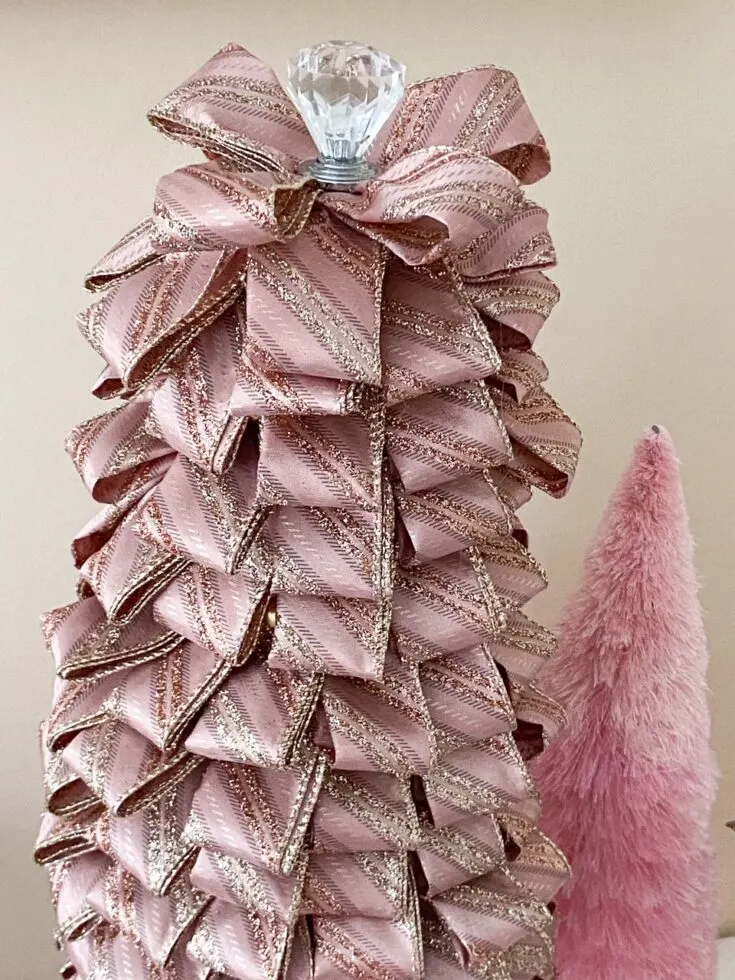
I’m so thrilled with how this DIY cone tree turned out.
This is something that can actually be used year-round if it goes with your decor.
It’s not just limited to Valentine’s Day.
Plus, you can change out the color ribbon you choose for any holiday.

Ideas for other ways to use the cone trees with ribbon
- You can also use it as part of a beautiful centerpiece.
- Make small ribbon trees to use as place cards at a dinner party.
- Create two cone trees to anchor a mantel.
- Create a pretty vignette in an entryway or on a buffet table.
Tips for making this project go smoothly and efficiently
- Take your time and have fun with it.
- Don’t worry about lining the ribbons up perfectly. You can add smaller pieces in between if it looks uneven.
- Cut your ribbon ahead of time. It saves a ton of time.
Before you go, I’d love for you to subscribe to my email.
It’s a great way to stay current on all the fun crafts, easy recipes, and home decorating ideas.
If you do make this craft project, be sure to share photos of your finished projects.
I’d love to feature them on Facebook or Instagram.
Thank you for visiting. Happy crafting!
Sharing is caring…please PIN the below image:

Gail @Purple Hues and Me
Saturday 8th of January 2022
What a pretty way to use up leftover ribbon, Michelle! Your tree looks fabulous!