Create spooky ceramic Halloween plates with Cricut Access and a Cricut machine. Transform your dollar store finds into one-of-a-kind decor.
Get ready to add some spooktacular charm to your Halloween table setting with the help of Cricut!
If you’re a fan of DIY crafts and dollar store bargains, then this article is a treat just for you.
In this step-by-step guide, we’ll show you how to transform plain ceramic plates from the dollar store into hauntingly beautiful Halloween decorations using your trusty Cricut machine.
From a creepy skeleton, to a wicked witch and more, get ready to impress your guests with these budget-friendly tricks that will make your treats even more delightful.
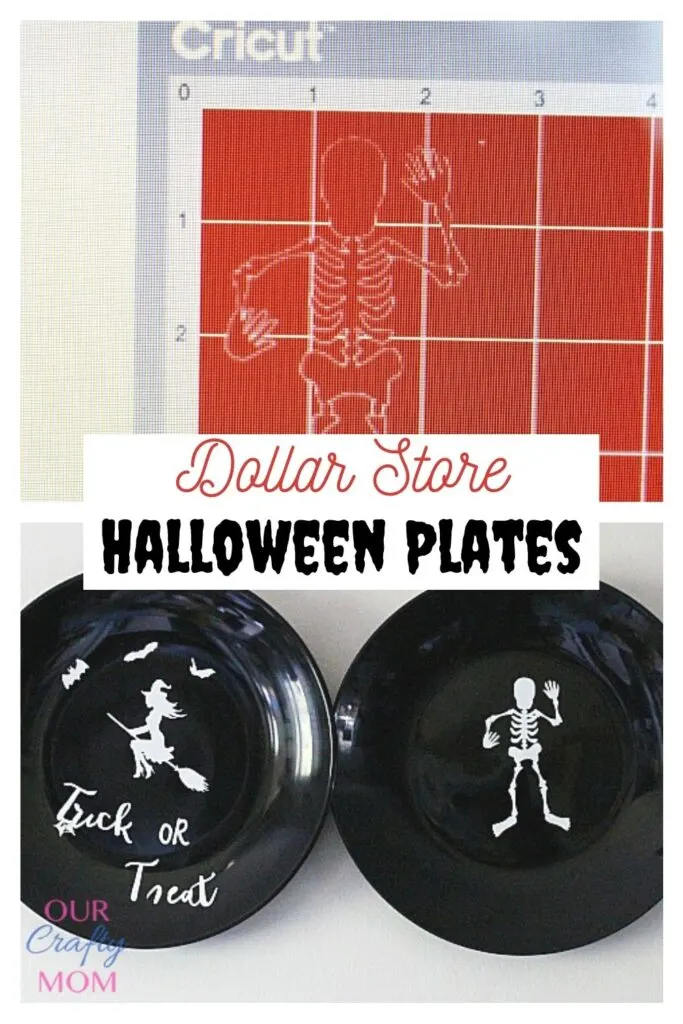
Ceramic Halloween Plates
Welcome. I had so much fun making these DIY dollar store ceramic Halloween plates.
If you’ve visited here before, you all know how much I love dollar store crafts and my Cricut!
As an avid crafter I love being able to make things for my home or as gifts. Cricut allows me to do that and so much more.
Card making and paper crafts are two of my favorite hobbies and Cricut opens up a world of possibilities in this area.
This post contains affiliate links at no extra cost to you. This post is sponsored by Cricut. Please see my full disclosure here
So I am thrilled to be teaming up with over 40 bloggers to share Halloween projects all made using the Cricut AND all made in under 15 minutes!
This is part of the Craft Lightning challenge hosted by The Country Chic Cottage, 30 Minute Crafts and 100 Directions

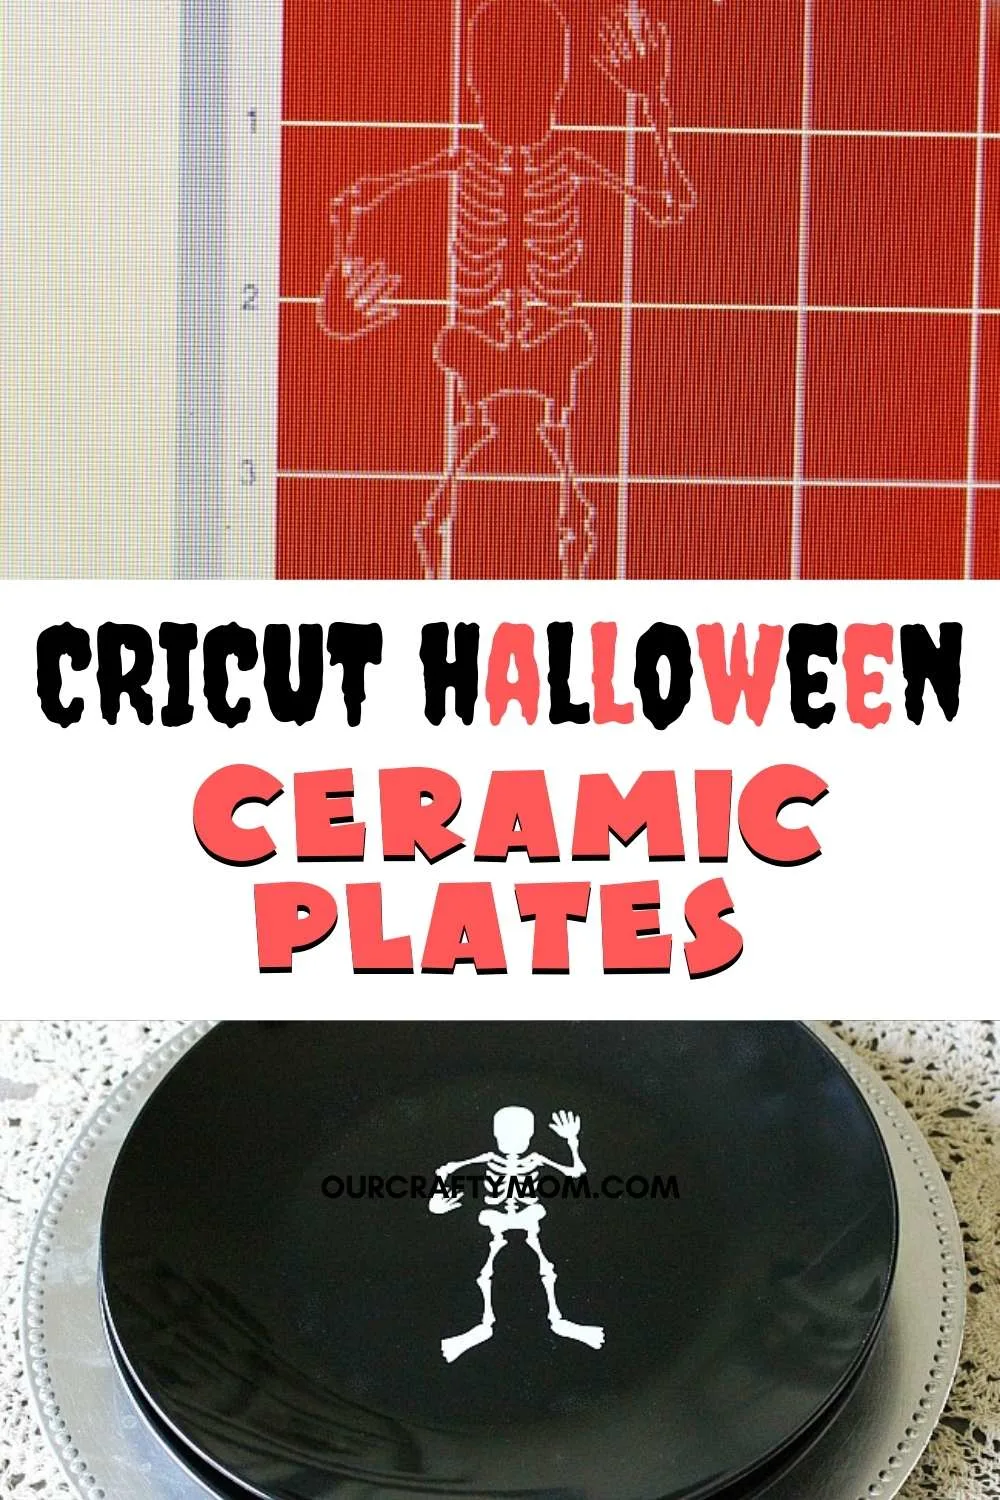
For my project, I created quick and easy DIY Ceramic Halloween Plates.
Let me show you how simple it is!
Halloween Plates Supplies
- 4 Black Dollar Store Plates
- White Vinyl
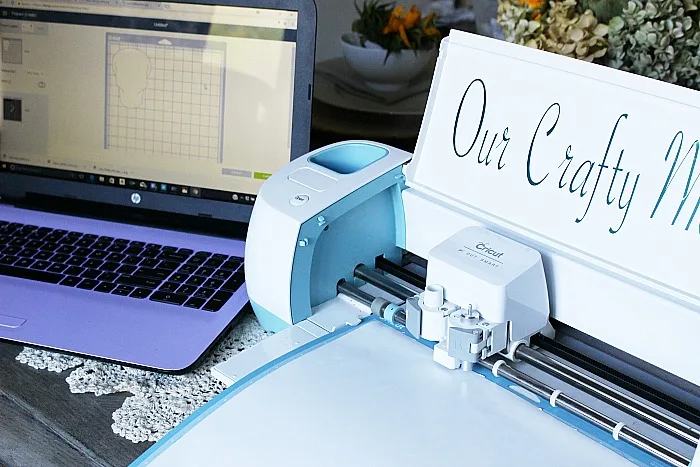
I used my Cricut Explore Air™ 2 machine for these DIY Halloween Plates.
The plates are a good size, I believe a 12″ plate. I used my Cricut Explore Air, but you can also use your Cricut Maker for this fun Halloween decor.
As the challenge is under 15 minutes, I stuck to silhouette style images that were one color and layer.
However, you certainly could use images that are more detailed if you like.
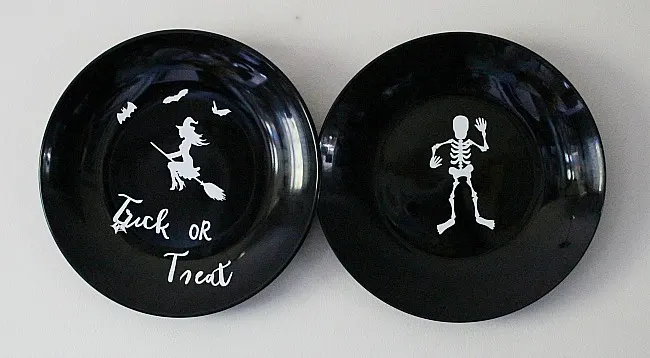
I really like the contrast of the white against the black.
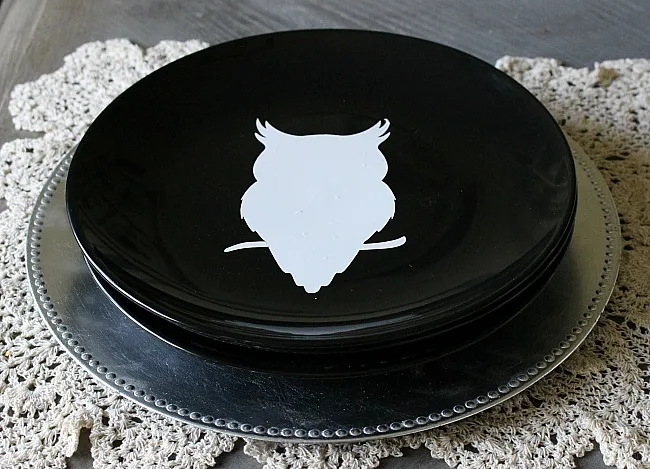
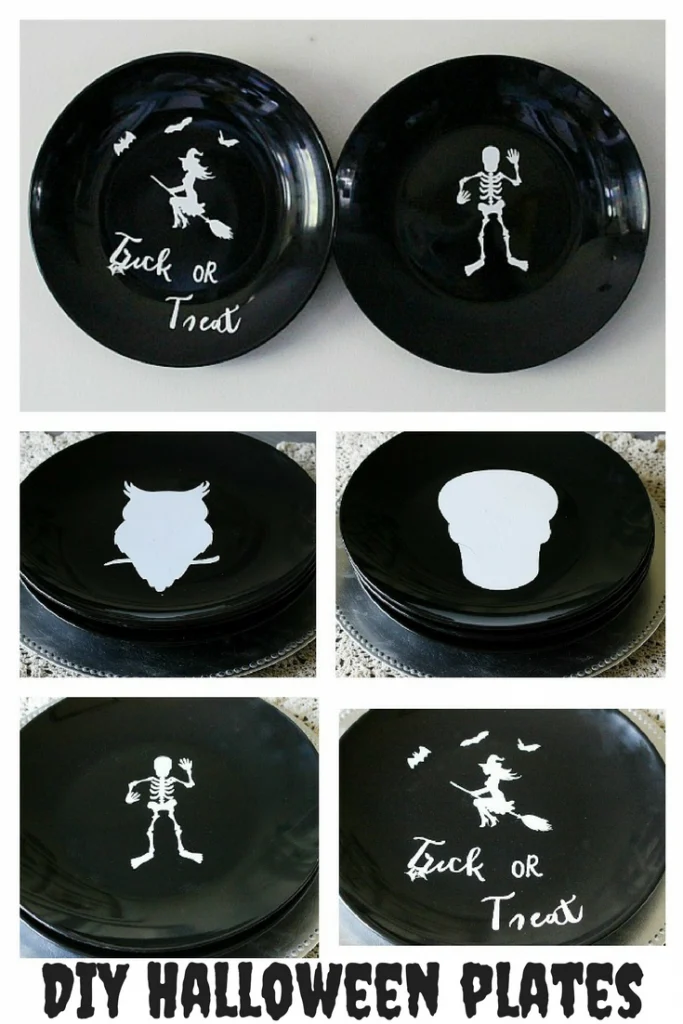
I went with an owl, a skull, skeleton and a witch; all classic Halloween images.
You can find so many free SVG images on Pinterest.
However, if you want thousands of images without having to search check out Cricut Access Premium
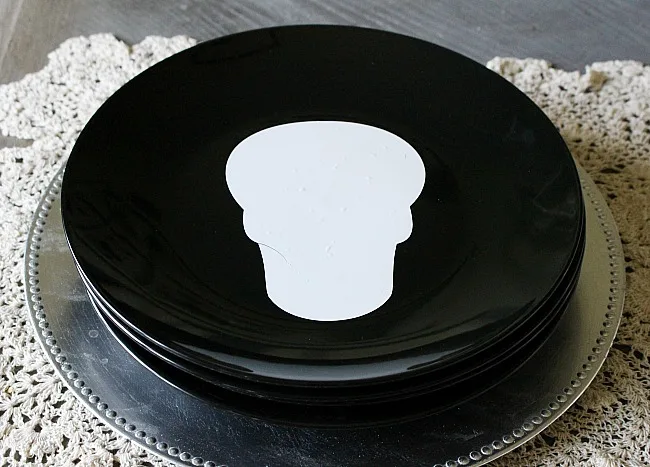
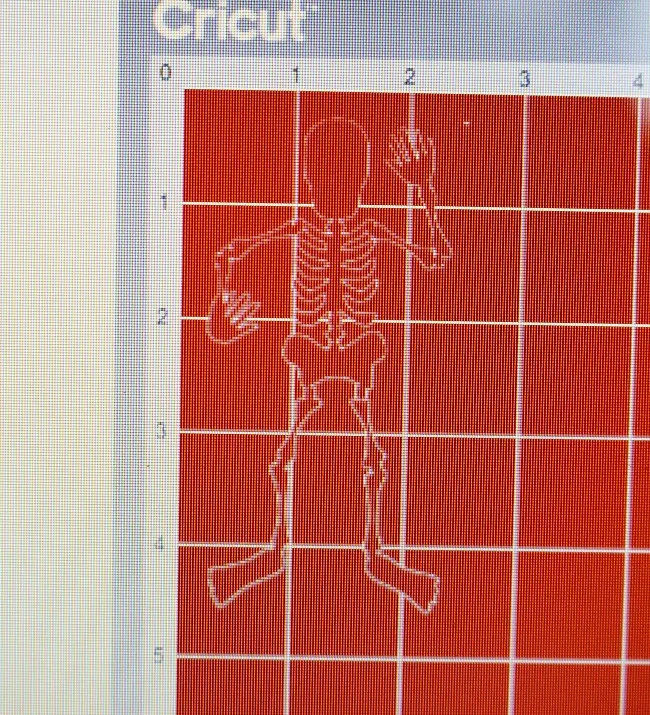
Just make the image the size you want.
I found for the plates about 4.5″ was a good size to fit in the center of the plate.
Adhere the vinyl to the plate using a credit card to remove any air bubbles. Now for the best part.
Cricut is giving one lucky reader the new Cricut Maker.
This baby is on my Christmas list along with the new Heat Press.
Check out all the details and enter below. Good luck!
**CLOSED**

Eve
Friday 27th of September 2019
Hello, Did you use permanent vinyl? Did you sealed it? Thanks
ourcraftymom
Monday 30th of September 2019
Hi! I used temporary vinyl, as I like to change things a lot. Also, I did not seal them as I was going to hang them. Thanks for visiting!
Merry Monday Link Party #171 | Our Crafty Mom
Friday 1st of February 2019
[…] is giving one lucky reader the NEW Cricut Maker! See my DIY Halloween plates and enter the giveaway here. Now, let’s get to the […]
Leanna
Tuesday 19th of September 2017
This is a great idea, you can make dollar store plates look like Pier One. Now I have to go and find out what a heat press is. Any chance on a blog post about them, with some inspiration.
Fun Halloween Crafts to Make with Your Cricut - The Country Chic Cottage
Saturday 16th of September 2017
[…] Spooky plates […]
Nicole
Friday 15th of September 2017
Cute and easy Halloween craft idea with the Cricut. What a great giveaway! Stopping by from the #HomeMattersParty linky.