Make a gorgeous DIY resin wood table, using a live edge wood slab, with this easy tutorial.
This DIY epoxy resin wood table was so much easier to make than I thought it would be and I love how it turned out.
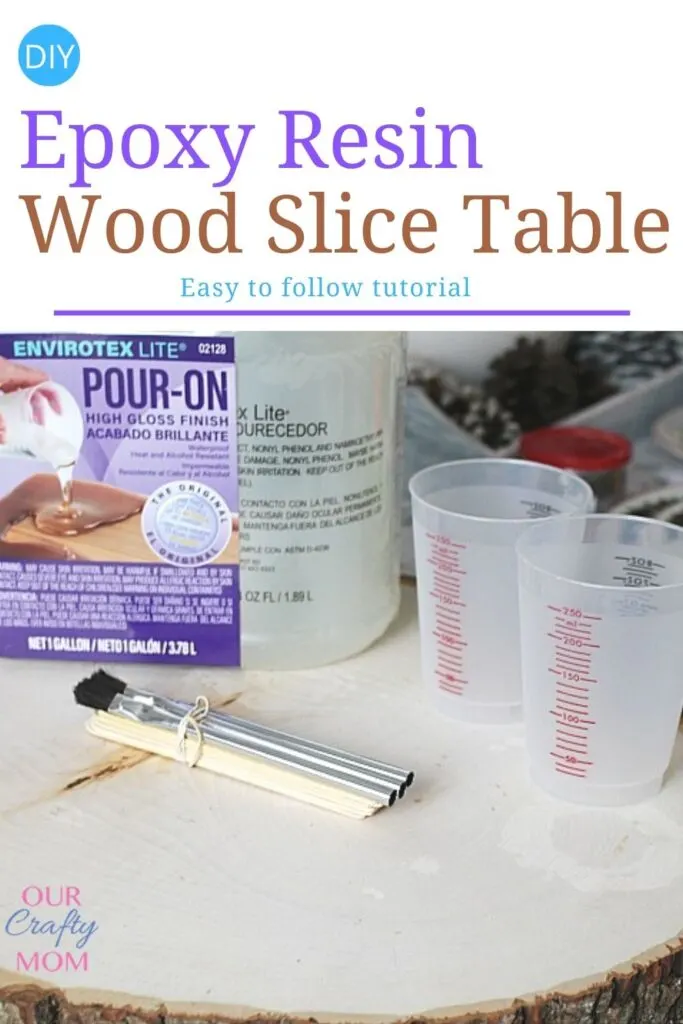
This post is sponsored by ETI Envirotex and we are featuring the Envirotex Lite Pour-On High Gloss Finish.
ETI has been in business since 1969 and were considered the resin trail blazers creating a formula known for being a superior, clear and waterproof product that has yet to be matched.
You can check out their website and products here.
The theme for this month’s Contest is “Showstopping TOPS”.
I will be sharing a DIY Resin Wood Table with a stunning table top.
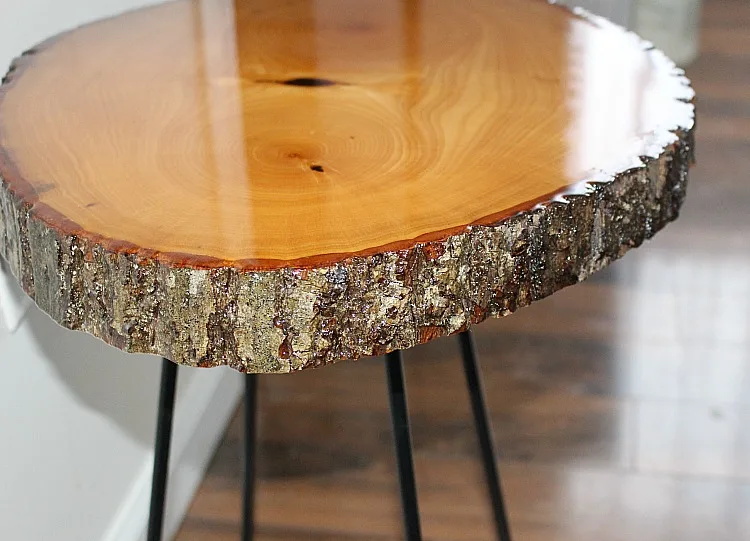

This was my first time working with resin and I will admit I was a little nervous.
Once I read the directions and saw that everything you needed, right down to the mixing cups were provided, I relaxed and had fun with it.
Here is an easy tutorial:
DIY Resin Wood Table
Supplies
- Wood Slice Basswood Country Round 13.75″
- Wrought Iron Table Legs (thrift store)
- Envirotex Lite Pour-On High Gloss Finish
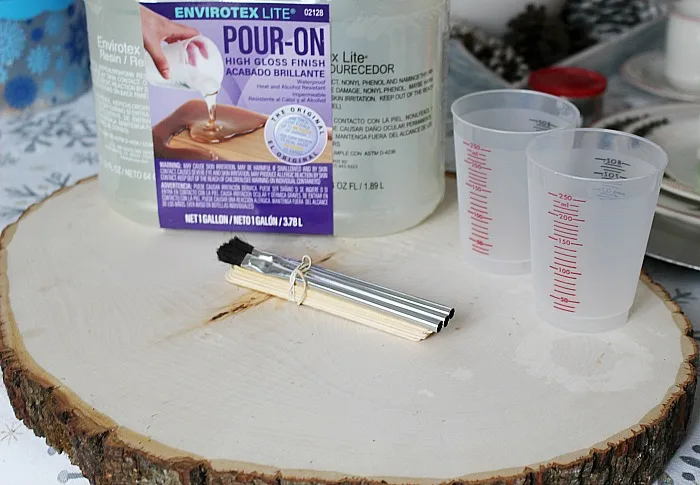
I followed the directions to a T, as it does state how important it is to have the exact measurements in order for the product to work properly.
As I wanted the grain of the wood to show, I sanded the wood top down a little first.
Next, I mixed equal parts resin and hardner and poured it slowly on the wood piece.
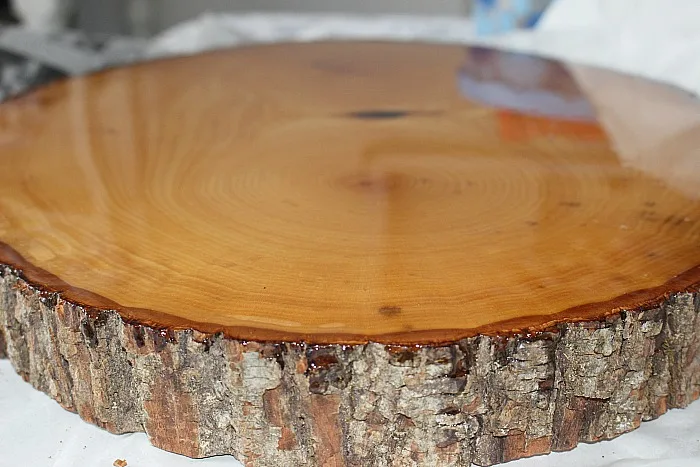
This was immediately after pouring it on.
I went back in with a brush and filled in the sides as I wanted the bark covered as well.
It gave it a nice rich sheen. After about 15 minutes you will start to see air bubbles form.
You literally just breathe on it and they will disappear.
It’s a pretty cool process! I left it to dry for about 5 hours.
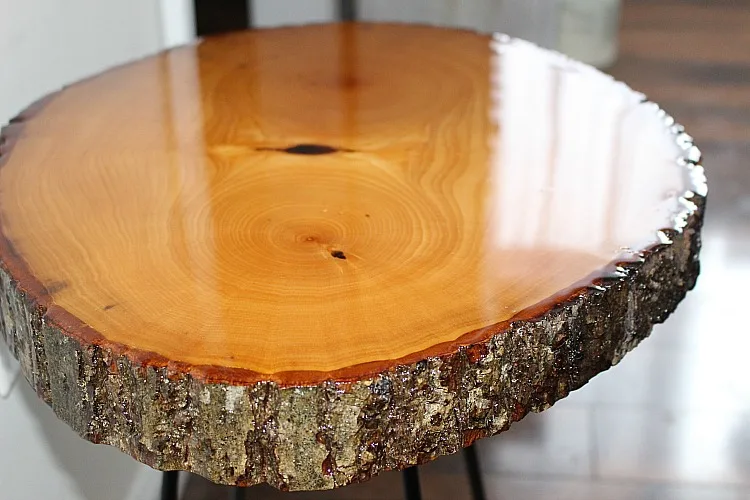
This table top is so smooth and gorgeous! I love how it turned out.
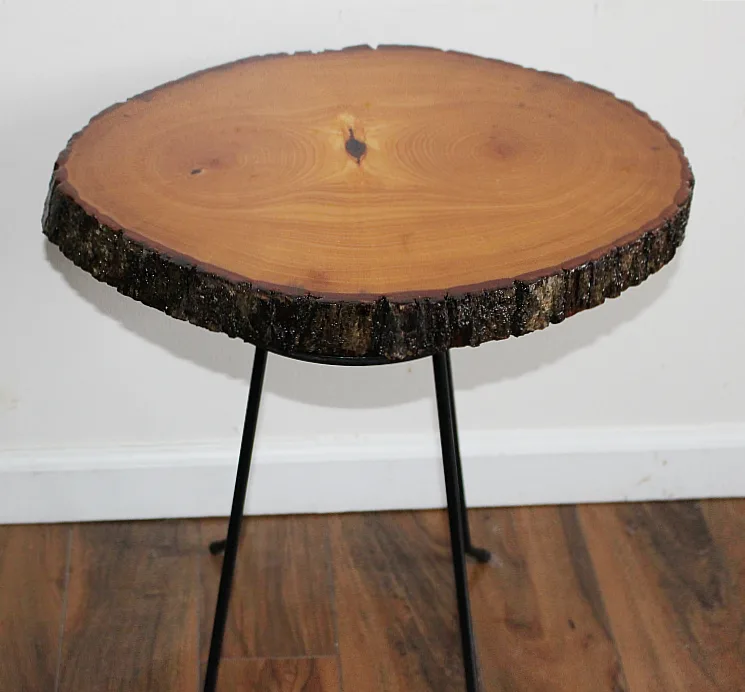
Next, I attached the legs to the bottom of the wood and it was done!
I absolutely love this product and have enough left over to do another project.
Wouldn’t a large console table, or coffee table be cool?

**PIN FOR LATER**
Google Web Story: Resin and Wood Slab Table
You may also like these DIY wood tables:
Thank you so much for visiting. Have a great weekend!
I’d love it if you would follow me on social media:

Dee
Thursday 21st of April 2022
Did you have to dry the wood before you started your project?
ourcraftymom
Thursday 21st of April 2022
Hello, the wood definitely has to be dry, but this piece I bought here https://www.amazon.com/gp/product/B00B4F66UI?ie=UTF8&tag=ourc0a-20&camp=1789&linkCode=xm2&creativeASIN=B00B4F66UI&th=1 and it is already kiln-dried so it is ready to use. If you use a piece from outside be sure to let it dry at least 8 weeks or longer. Hope that helps!
Pink
Wednesday 23rd of September 2020
This looks great! Thank you for shari g this!! I can’t wait to try it. Would there be any benefit to staining the wood prior to putting this gloss finish on? Or is by putting this gloss on producing the same affect so it’s not necessary?
Abby
Tuesday 4th of February 2020
Did you also seal the bottom? I’m worried about the moisture messing with slice so I’m curious if it’s helpful and/or you did it
ourcraftymom
Wednesday 5th of February 2020
Hi! I did seal the entire piece. Like you, I was worried about it cracking or drying out. It has held up great. In fact, I’m just making a coffee table next week. ????
20 est la table des projets de bricolage Accueil - diy
Monday 30th of September 2019
[…] […]
stephen micheal
Thursday 26th of September 2019
Thank you so much for posting this guide with detailed information. Keep up the good work