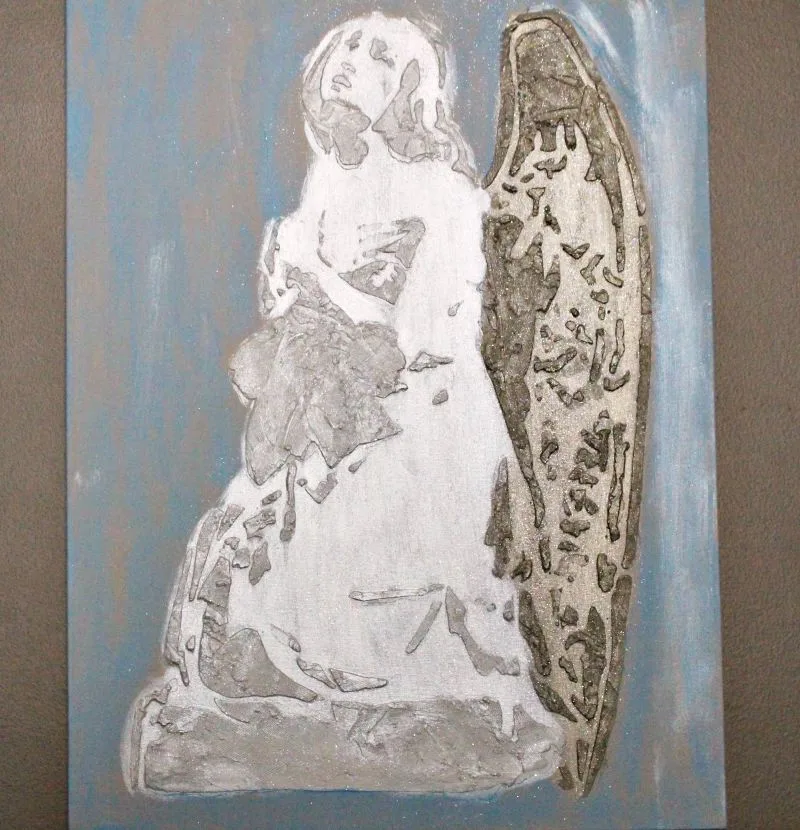
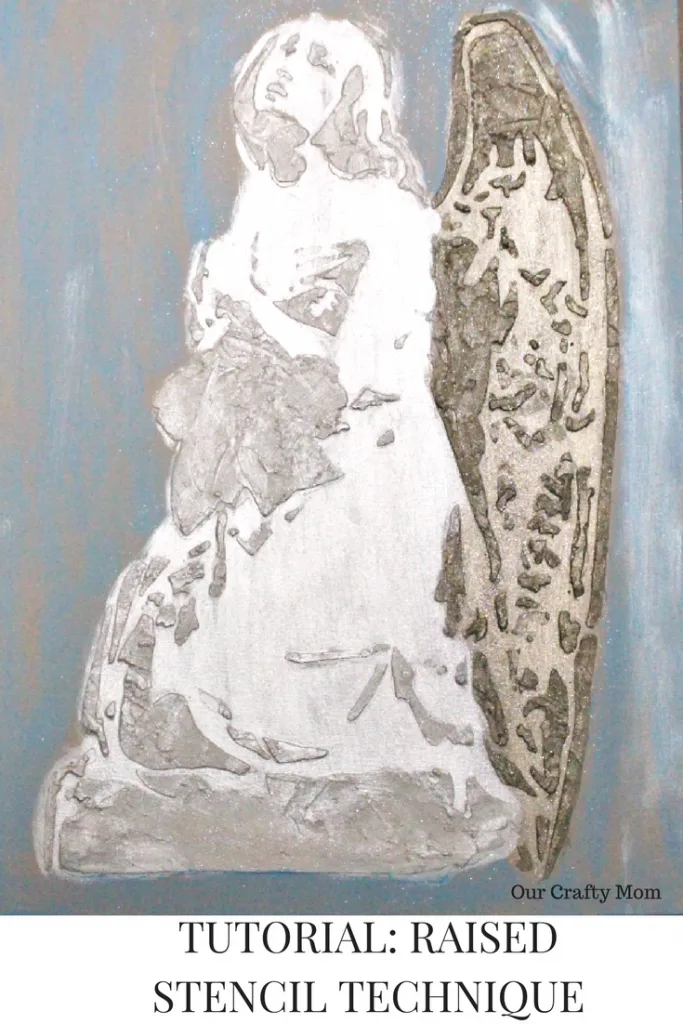
A DIY raised stencil effect is the perfect way to give this gorgeous Angel Stencil texture and dimension.
One of the many things I love about blogging is finding great companies to partner with and also introduce you to.
So when Stencil Revolution reached out to me to see if I wanted to try out their stencils, I was thrilled.
I have been stenciling for many years, but stencils have come such a long way. Both in stencil designs and also in the quality of product.
Gone are the days when paint would bleed under the stencil. These stencils are laser cut to give you some of the cleanest cuts out there. They are totally reusable and can be washed easily.
This post is sponsored by Stencil Revolution and contains affiliate links at no extra cost to you. Please see my full disclosure here.
Some things are just meant to be and as soon as I saw this angel stencil I did a little happy dance.
I collect angels and don’t have any angel art work. I knew immediately I wanted to create a DIY raised stencil effect on this piece.
The angel wings come to life with this raised effect. Let me show you my easy and inexpensive trick for this look, that you can use on any stencil.
DIY Tutorial – How To Easily Create A Raised Stencil Effect
Supplies
Angel Stencil
Spackle (Dollar Store)
Blank White Canvas
DecoArt Glamour Dust Crystal
DecoArt Pearl Americana Decor Metallics
DecoArt Gold Americana Decor Metallics
DecoArt Americana Multi-Surface Satin Acrylic Paint Sky Blue
DecoArt Americana Acrylic Paint, Oyster Beige
ELMERS Repositionable Mounting Spray Adhesive
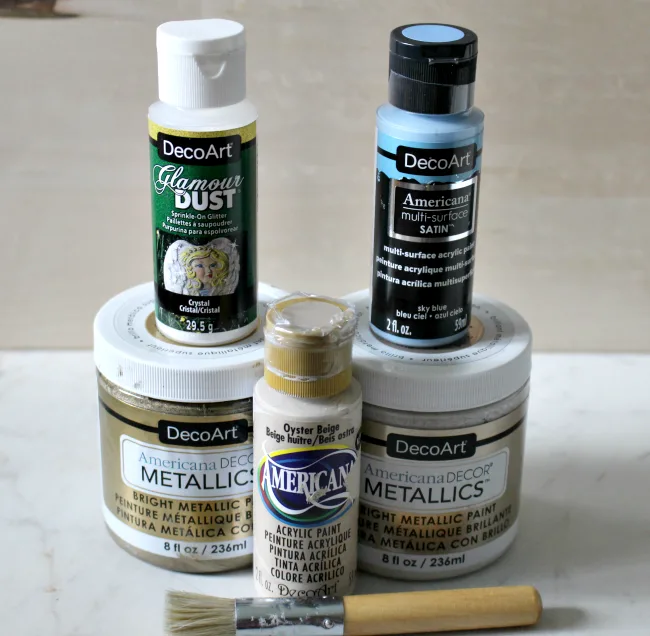
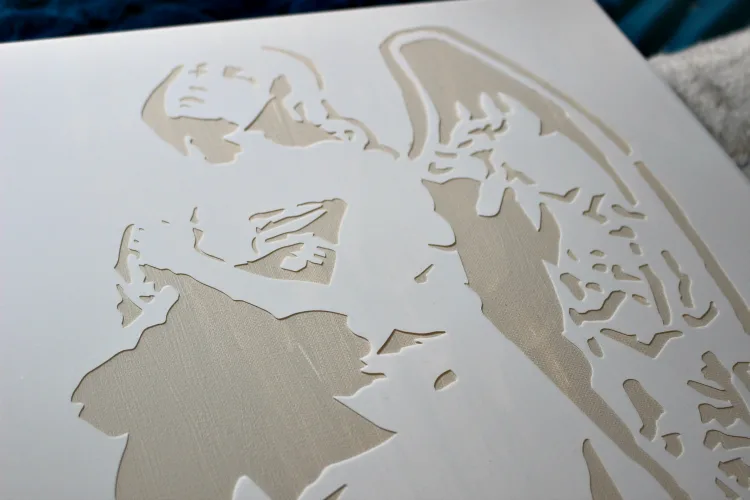
I started by painting the entire canvas with two coats of Oyster Beige. Then I sprayed a little spray adhesive to the stencil and laid it on top of the canvas.
They sell embossing pastes and creams to create a raised stencil effect. However, to keep costs down, I use good ol’ spackle from the Dollar Store.
You can use a small putty knife to add the spackle to the canvas.
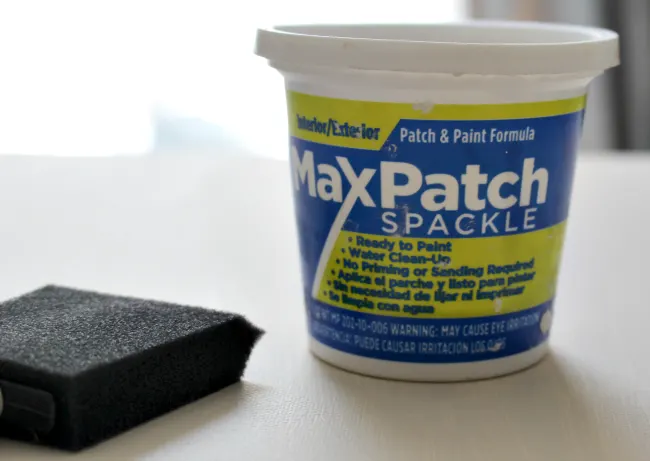
Be sure to get the spackle in all the open grooves of the stencil. You can take the stencil off once it is covered, but let it dry overnight.
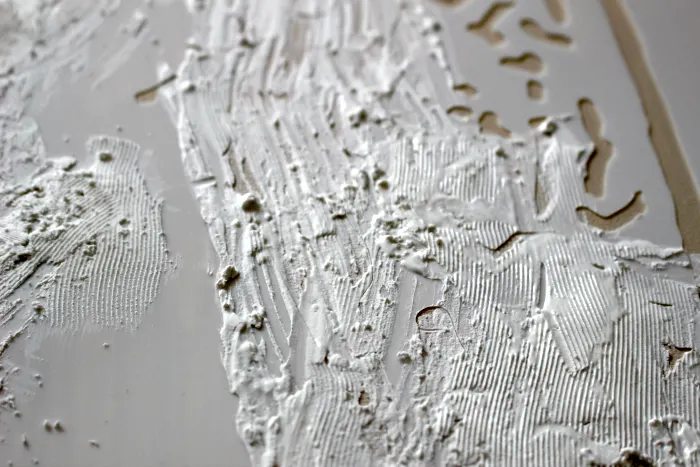
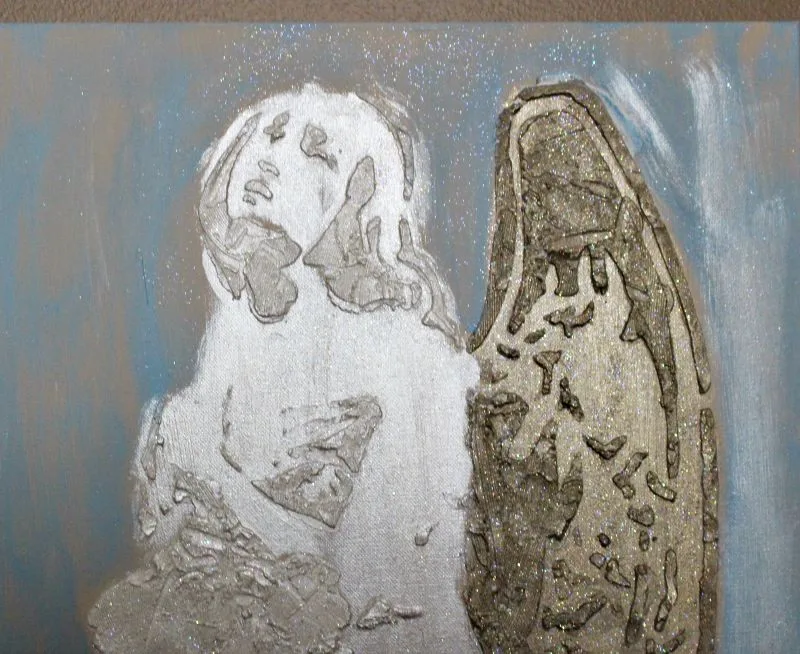
You can see how the detail of the stencil really shows up with this raised effect.
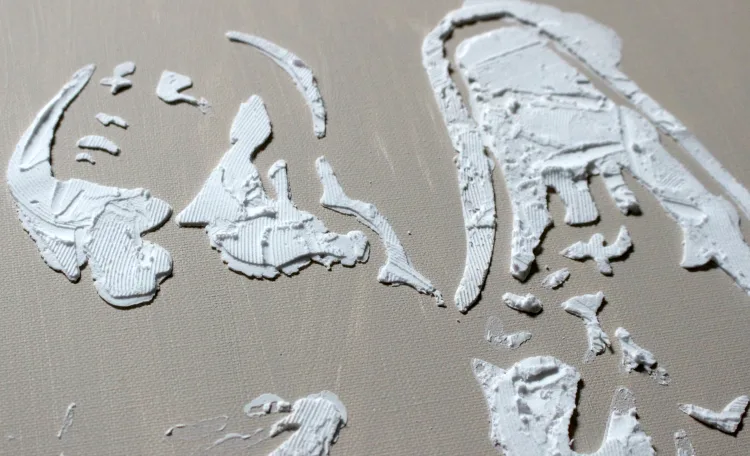
For this angel I wanted to keep it light, but elegant. Nothing says elegant more than gold right?
The metallic gold paint really give the angel wings the elegant effect I was hoping to achieve.
I not only painted the raised areas in gold, but also the flat part of the wings as well. While I was at it, I added Glamour Dust while the paint was wet.
Because we all know everything is better with sparkle!
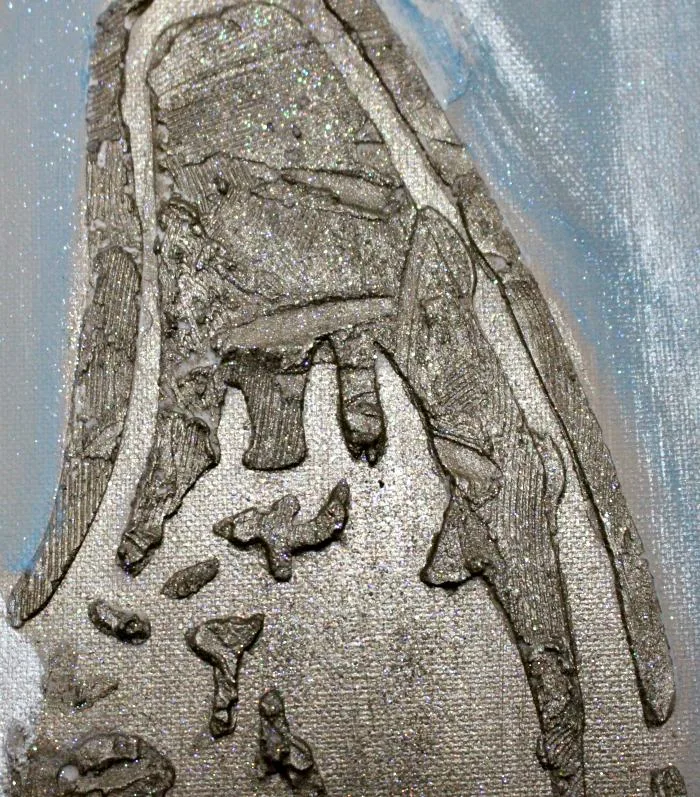
The body of the angel was painted with a Pearl Metallic color and Glamour Dust. I love the pearl effect of this metallic paint. It seems made for an angel!
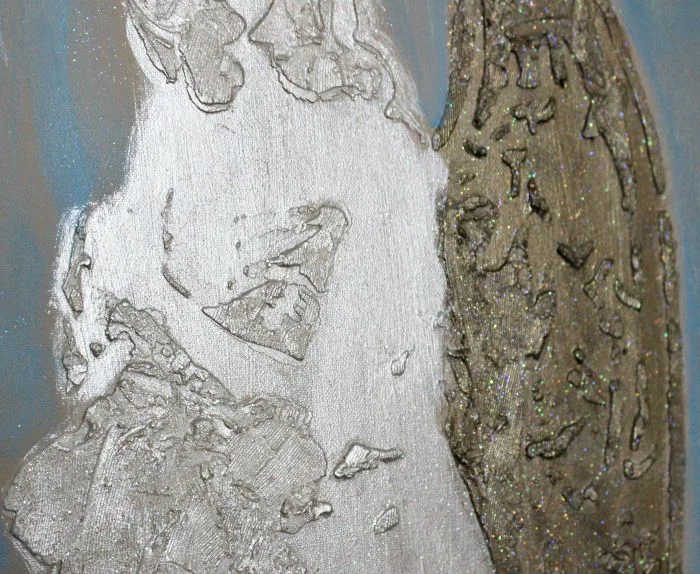
Once the entire angel was painted, I decided to lightly paint a pretty sky blue around it. This definitely completed the piece.

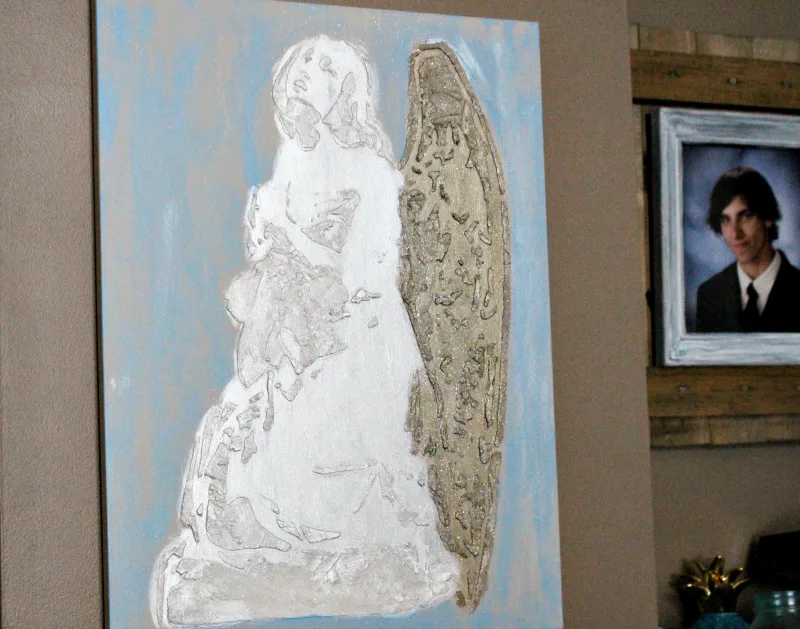
I couldn’t be happier with this finished project. Angels are very comforting to me and signify loved ones lost.
This angel is hung right on the side of my bed where I can see it before going to sleep, and first thing when I wake.
I am hoping this will become a treasured piece that will be passed on to my daughter someday.
[Tweet “DIY Tutorial – How To Easily Create A Raised Stencil Effect Our Crafty Mom @StnclRev @DecoArt_Inc #stencils #angelart #wallart #raisedstencil #canvas #artwork #ad #ourcraftymom #decoart #metallics #decoartmedia”]
If you liked this raised stencil effect, you can see how I used it on a Sea Horse Headboard here.
A huge thank you to Stencil Revolution for collaborating on this project. I would love it if you would follow me on social media below and also subscribe to my email so you never miss a post!
Facebook
Pinterest
Instagram
Twitter
**DON’T FORGET TO PIN**

Leanna
Wednesday 1st of August 2018
wow this angel is spectacular. I need to create this for Christmas. It’s such a beautiful statement piece I just love it
Pamela
Monday 2nd of July 2018
I'm totally a "newbie" here...you ladies are unbelievable....the talent...creativity...craftsmanship...and love that goes into each DIY...I'm like a kid in a toy store....running from toy to toy...can't decide on what I want to try first....
Kim~madeinaday
Friday 11th of May 2018
I love this!! It is gorgeous. I would not have thought to use spackle! You are so clever. Sharing! #MM Kim
Jenny
Friday 11th of May 2018
Michelle, this angel is beautiful, comforting, and peaceful. The glamour dust gives it a wonderful sparkle. I’m sure your daughter will Cherish it. Thanks for sharing at #HomeMattersParty
Jann Olson
Wednesday 9th of May 2018
Love the texture! Thanks for sharing with SYC. hugs, Jann