Looking for a fun and easy Easter project? These DIY wooden carrots made from repurposed spindles are not only adorable, they are budget-friendly too!
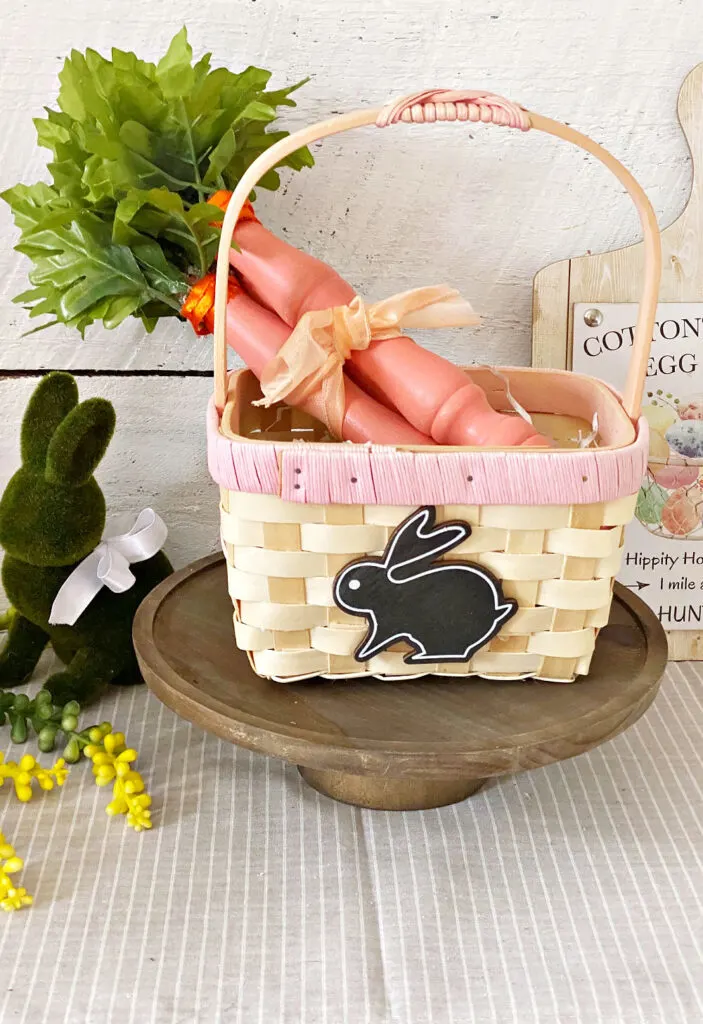
I’m sharing these super cute DIY wooden carrots as part of this month’s Thrifty Style Team’s challenge.
I’ve said it before but it bears repeating, I look forward to this challenge every month! 😀
There are 14 talented bloggers sharing thrifty decorating ideas with you and this month is all about spring.

This post contains affiliate links at no extra cost to you. Please see my full disclosure here.
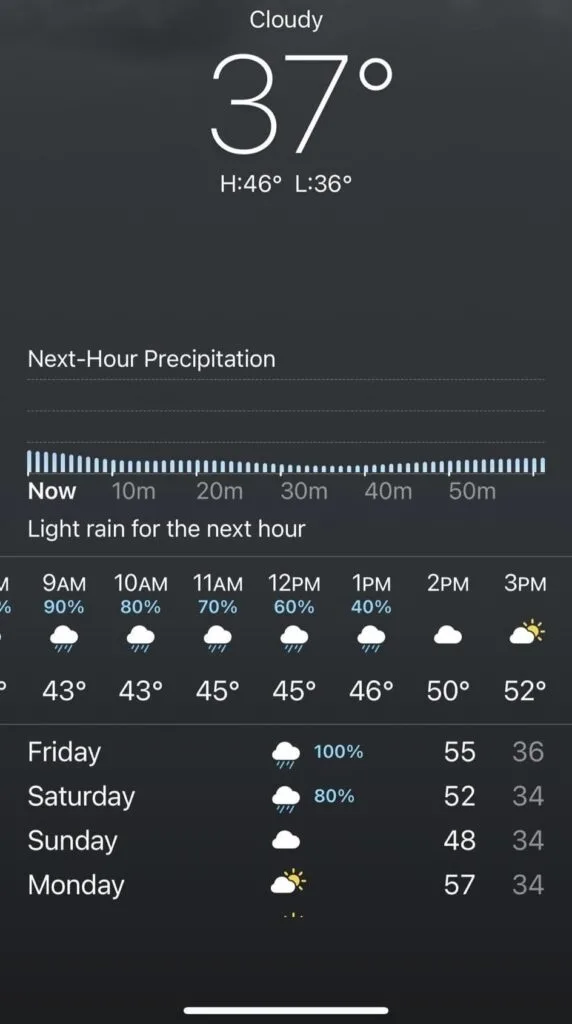
Be sure to check out their projects linked at the end of this post. While the calendar says spring, Mother Nature did not get the memo here in New Hampshire.
This is our current temperature:
But inside it is spring with all the good things it brings including sunshine, bunnies, and wooden carrots!
These are the second set of wood carrots that I’ve made.
The first were Wood Bead Carrots you can see HERE.
If you have any broken chairs or tables in your basement or garage, don’t throw them out.
You are going to want to take off those spindles and re-purpose them into the most adorable carrots.
They also make really pretty DIY candle holders.
So let’s get to this simple spring Easter decor DIY.
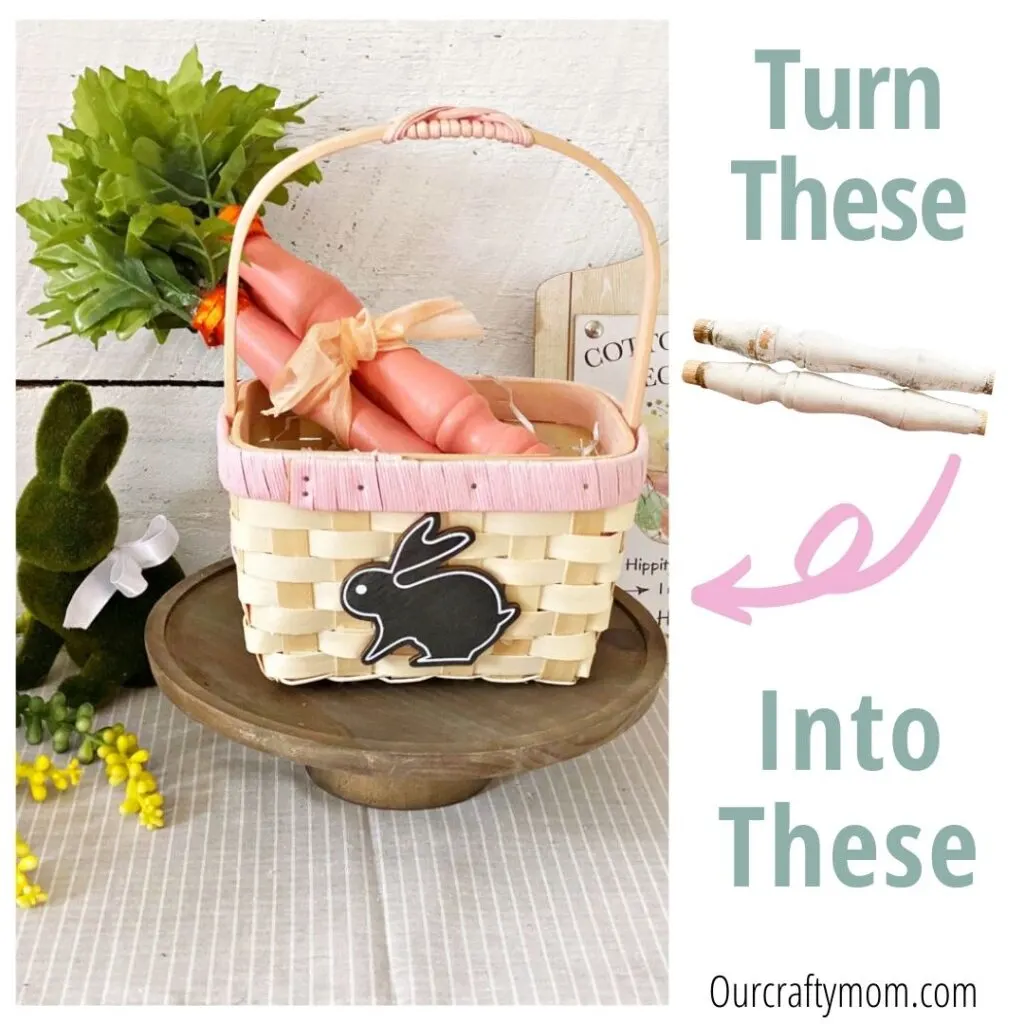
Supplies for DIY Wooden Carrots
- Wooden Spindles – check yard sales, flea markets, thrift stores, even curbside!
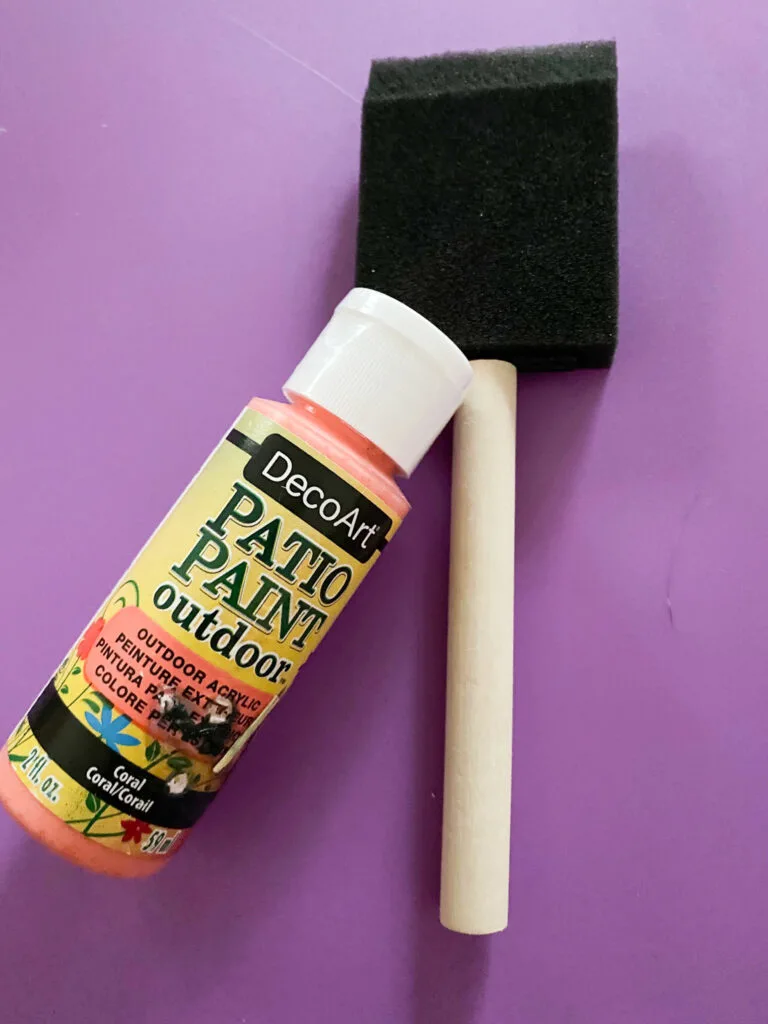
- DecoArt Craft Paint – coral
- Foam Brush
- Narrow Orange Ribbon
- Faux Greenery or green raffia
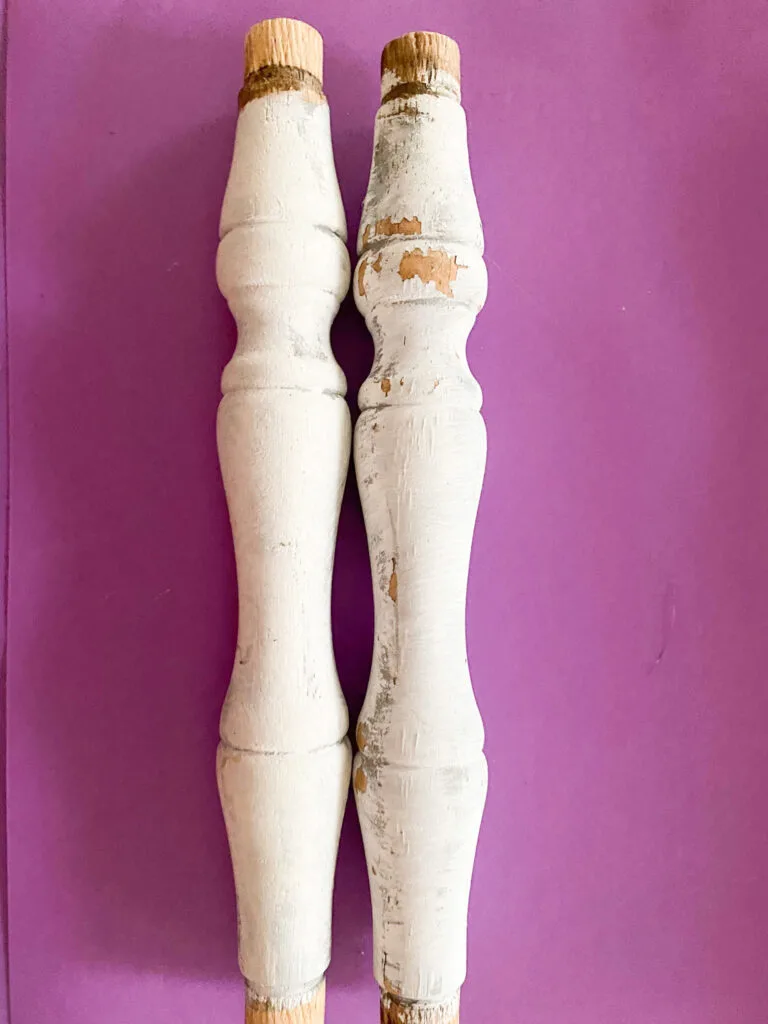
How to Make Wood Carrots
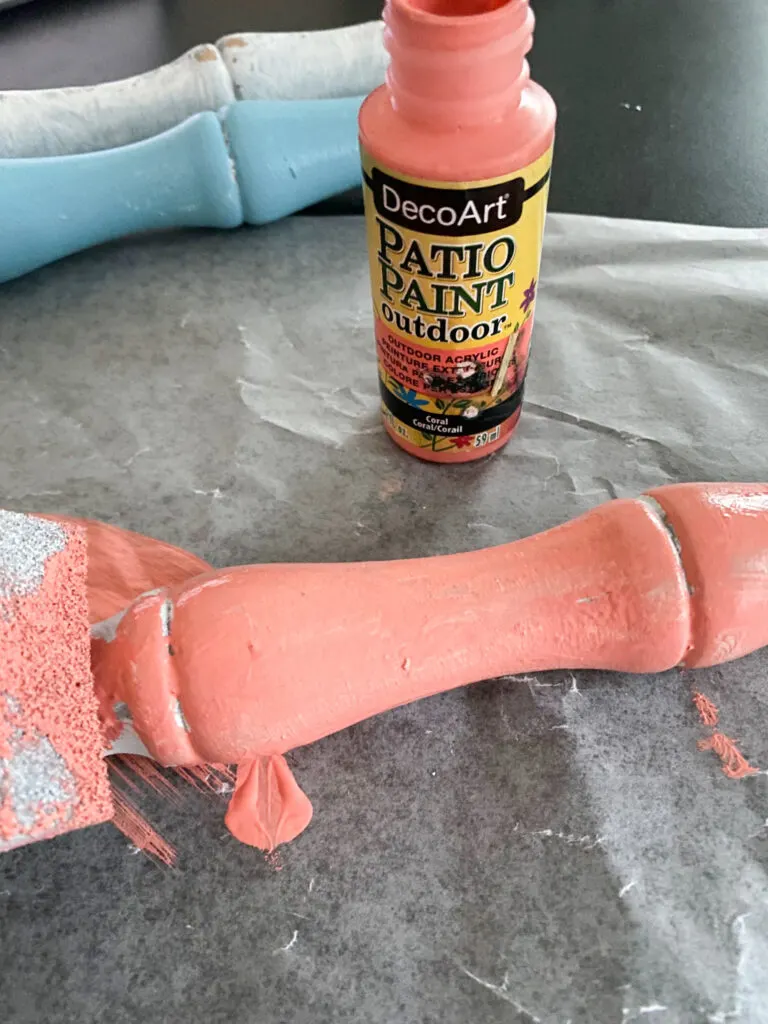
Step 1. Paint the Spindles
Start by painting the spindles with craft paint. I didn’t have a classic orange in my craft closet so I went with this pretty coral color.
I absolutely love how they turned out!
Sometimes unplanned crafts make the best projects.
You will need 2-3 coats to get full coverage, or you can choose a light distressed finish. Let dry.
Step 2. Add Greenery or Raffia
Once the paint is fully dry it’s time to fire up the glue gun and attach some greenery to your soon to be carrots.
I always try to use the supplies that I have on hand and found some faux greenery in my stash that looked perfect for carrots.
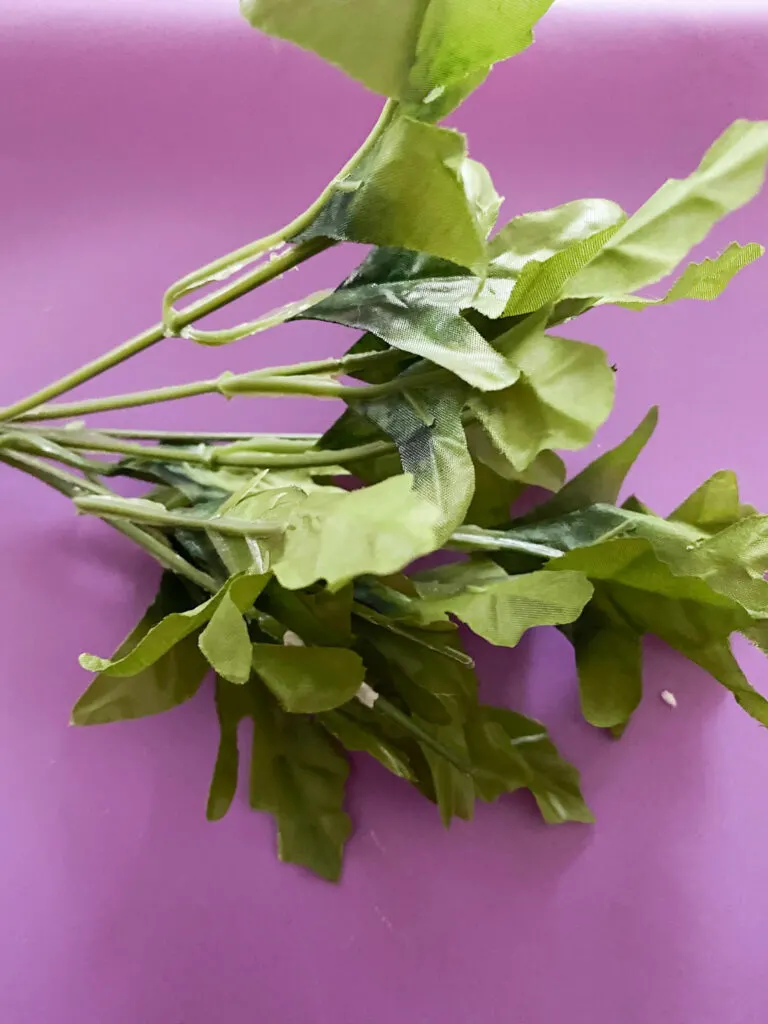
If you don’t have any on hand you can pick some up at the dollar store.
Another option is to use green raffia.
Step 3. Add Ribbon
To cover up the ends of the greenery and any hot glue, use a narrow ribbon or twine.
This also adds a little texture and dimension.
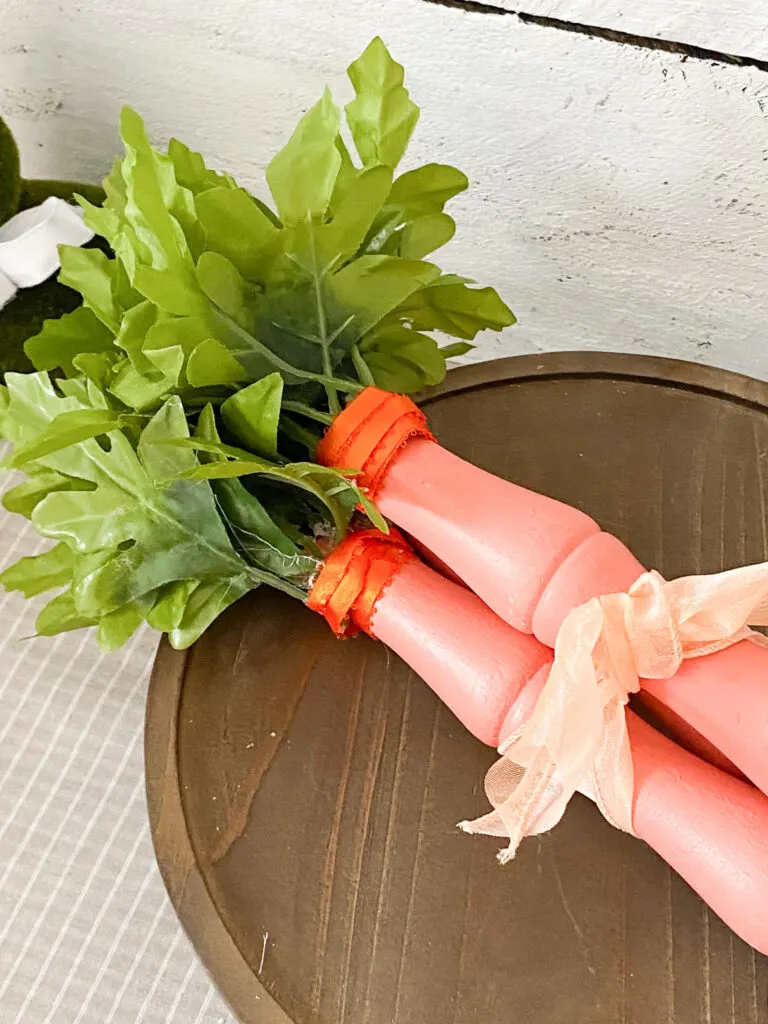
That’s all there is to making your own DIY Wooden Carrots from repurposed spindles.
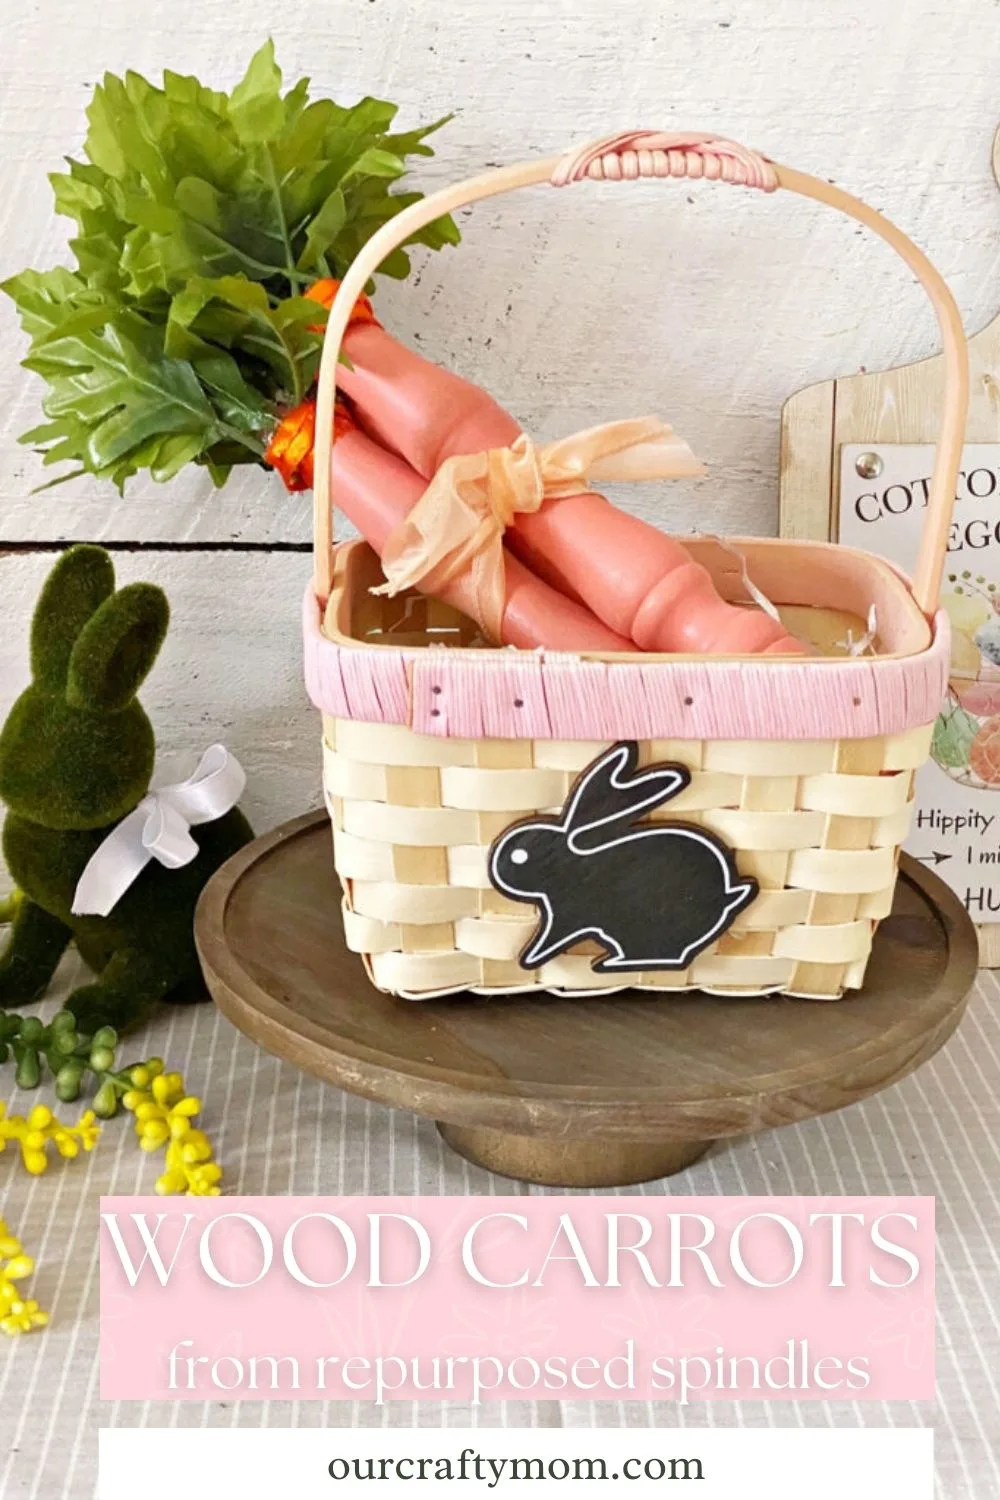
I ended up making 3 of these little cuties and think they look just darling in this bunny basket.
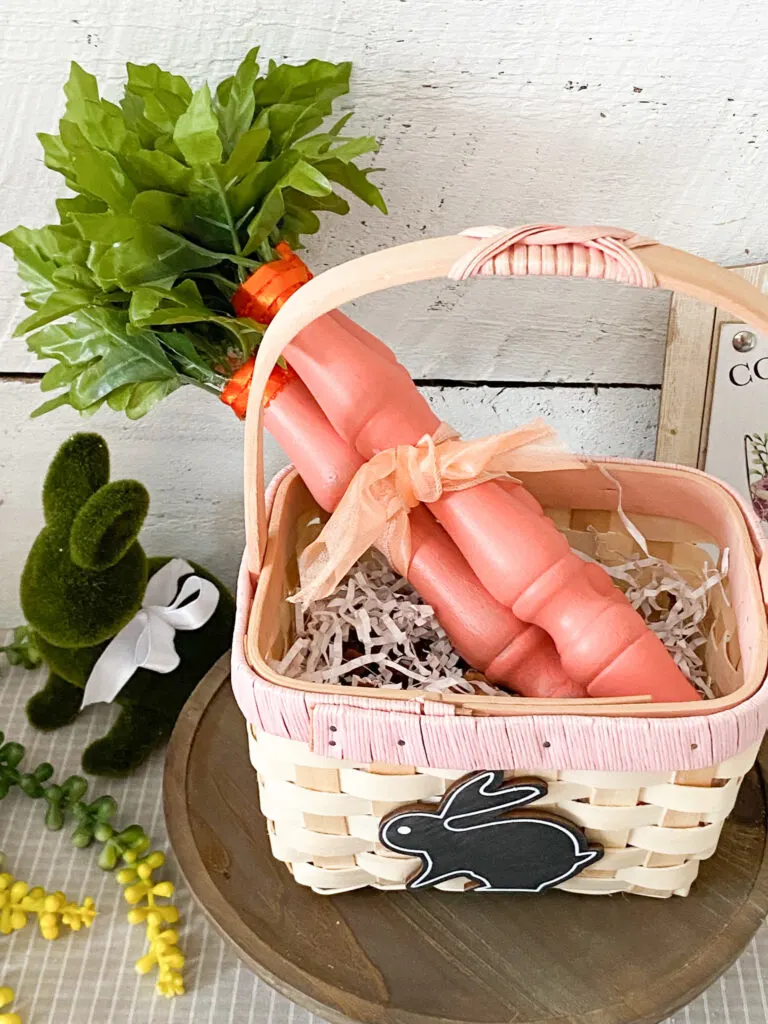
They look just as cute wrapped in ribbon displayed on a round tray.
You could also place them in a clear glass vase on a mantel or shelf.
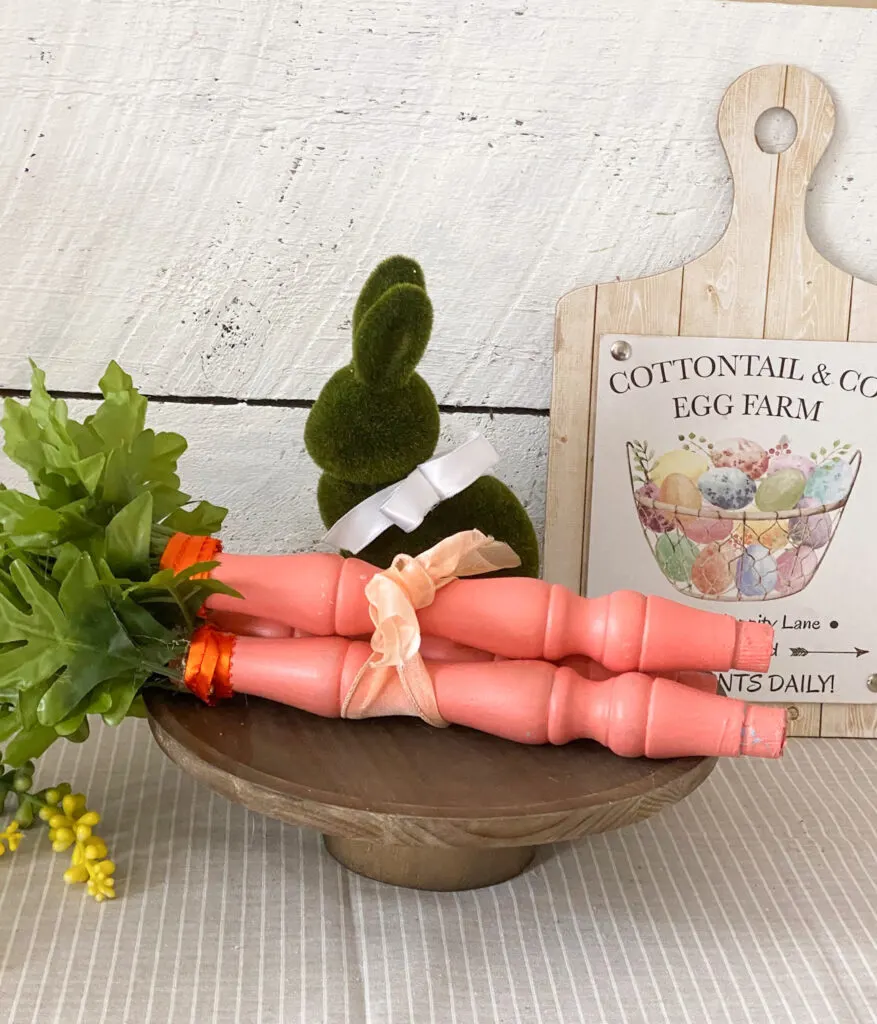
I hope you enjoyed this super simple Easter craft. I’d love to hear how you would decorate with these wooden carrots.
Do you have any old spindles that you could re-purpose?
Visit the talented bloggers below to see their thrifty spring home projects.
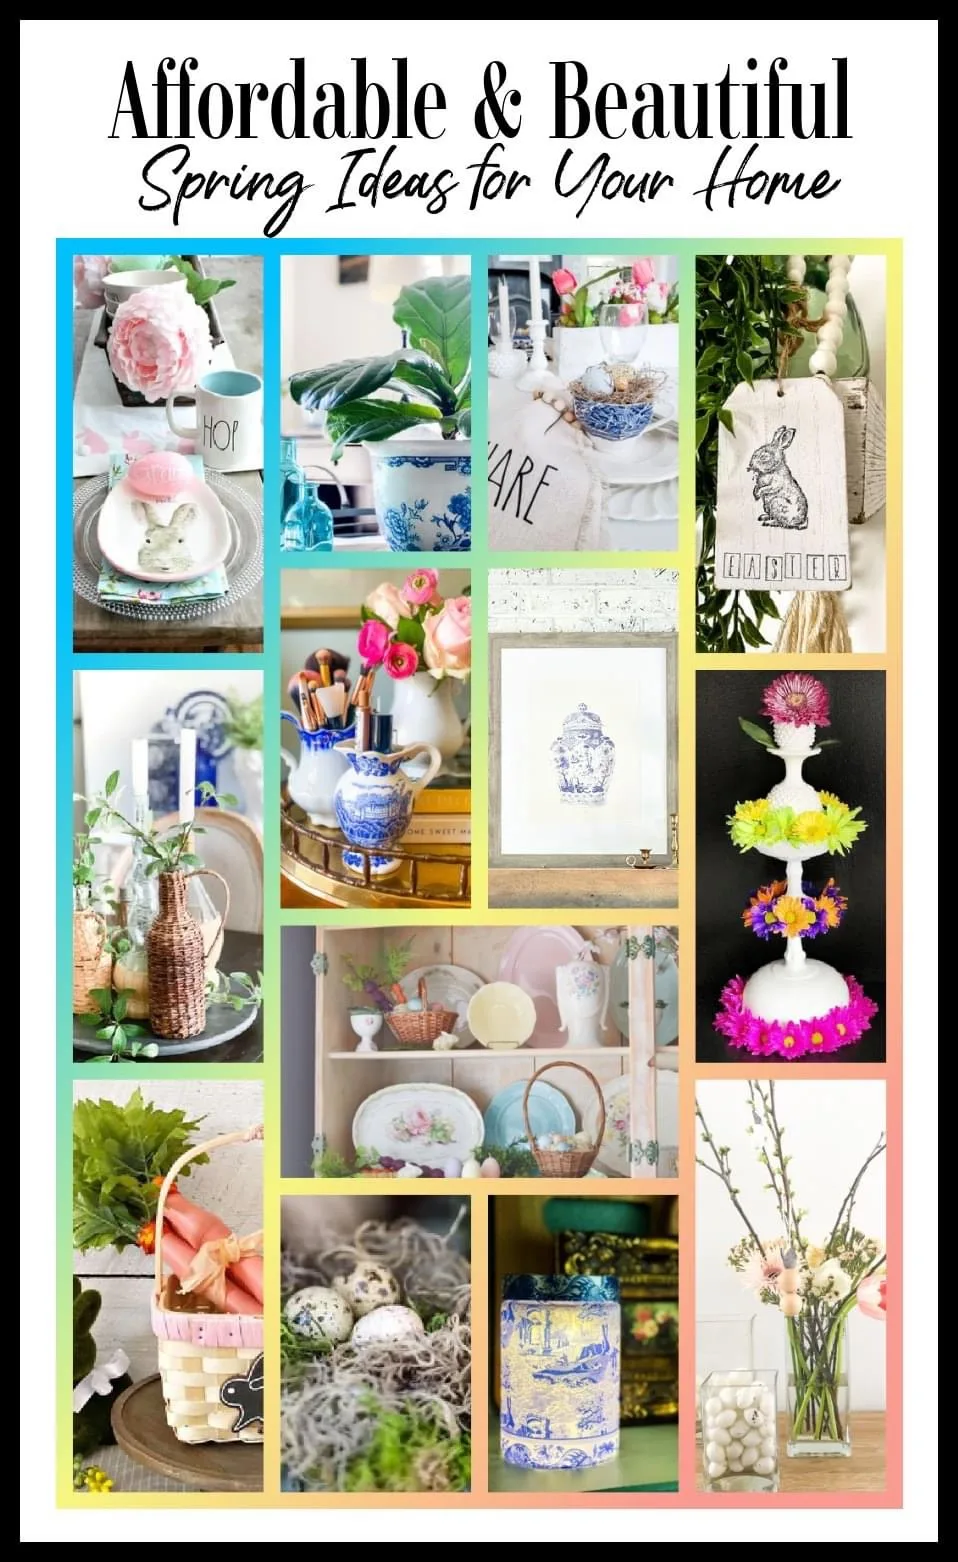
- Redhead Can Decorate – Thrift Store Milk Glass Flower Tower
- Our Crafty Mom – DIY Wooden Carrots
- DIY Beautify – 5 Must Make Spring and Easter DIYs
- 2 Bees In A Pod – Wicker Bottle Centerpiece
- The How To Home – Bead Garland Tag DIY
- Postcards From The Ridge – Free Antique Ginger Jar Printable Art
- Lora B. Create & Ponder – DIY Hutch Makeover Tips (with Vintage Style)
- The Tattered Pew – Scripture Eggs
- I Should Be Mopping the Floor – 11 Uses for a Vintage Creamer Pitcher
- Cottage On Bunker Hill –7 Pretty Cottage Style Easter Decorating Ideas
- Amy Sadler Designs – Chinoiserie Lantern
- Songbird – Easy DIY Wood Bead Bunnies Easter Decor
- My Family Thyme – How to Decoupage a Pretty Planter
Thank you so much for stopping by. Happy spring! 😀
You can find me on social media below:

Vicki and Jenn 2 Bees in a Pod
Thursday 14th of April 2022
Michelle - your crafted carrots are super cute and creative. We love this super unique idea!
Kristi
Monday 11th of April 2022
Such an adorable idea, Michelle! Perfect for springtime. xoxo, Kristi
Jennifer Howard
Sunday 10th of April 2022
Well, this is a clever idea!! Super cute for Easter.
Lora Bloomquist
Saturday 9th of April 2022
These are so fun to make and decorate with. I made a bunch a while back and have had so much fun pulling them out each Spring.
Lynne Zemaitis
Saturday 9th of April 2022
Michelle, these are adorable! What a creative and clever idea! Happy Spring!