
Learn how to turn simple Dollar Tree supplies into a charming farmhouse pumpkin door hanger for a perfect budget-friendly fall decor idea.
This post contains affiliate links at no extra cost to you. Please see my full disclosure here.
Pumpkin Door Hanger
Table of Contents
You may have seen my Dollar Tree fall haul that I shared recently on Instagram.
Having a craft and home decorating blog, I have to get supplies early, especially at Dollar Tree because they always sell out.
Case in point, I had a reader message me saying she has not been able to find any of the orange foam pumpkins that are very popular for makeover.
Here are a few of my favorites Dollar Tree pumpkin crafts:
One of the things I picked up was a metal pumpkin wreath form and boy am I glad I did because they are long gone!
I went back to get a couple of more and was kicking myself.
So I knew I wanted to make something fabulous with this one lone pumpkin.
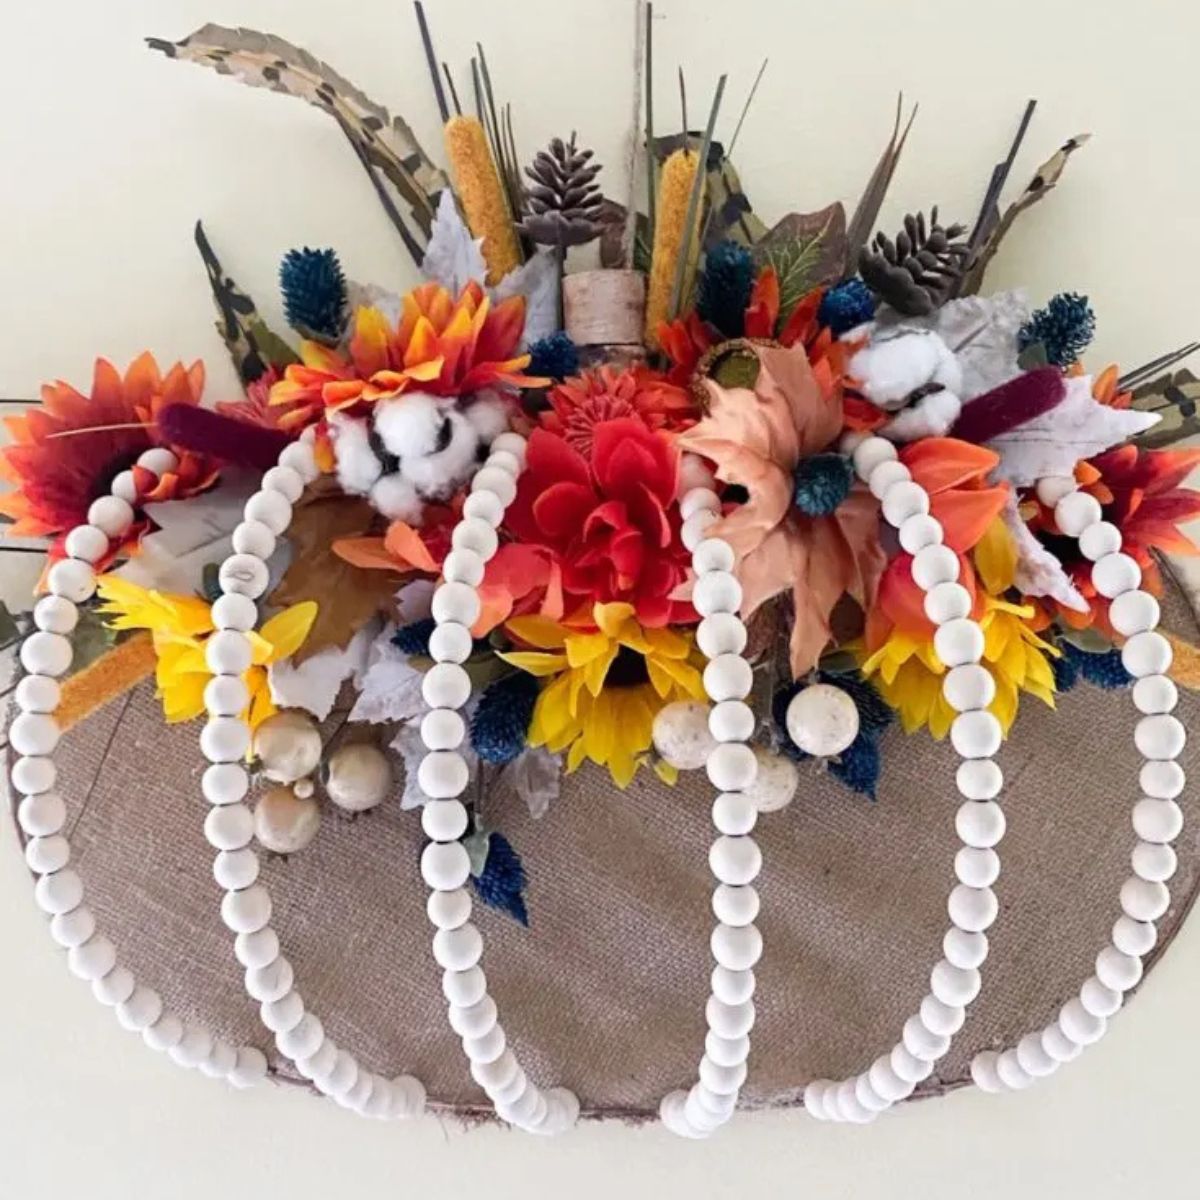
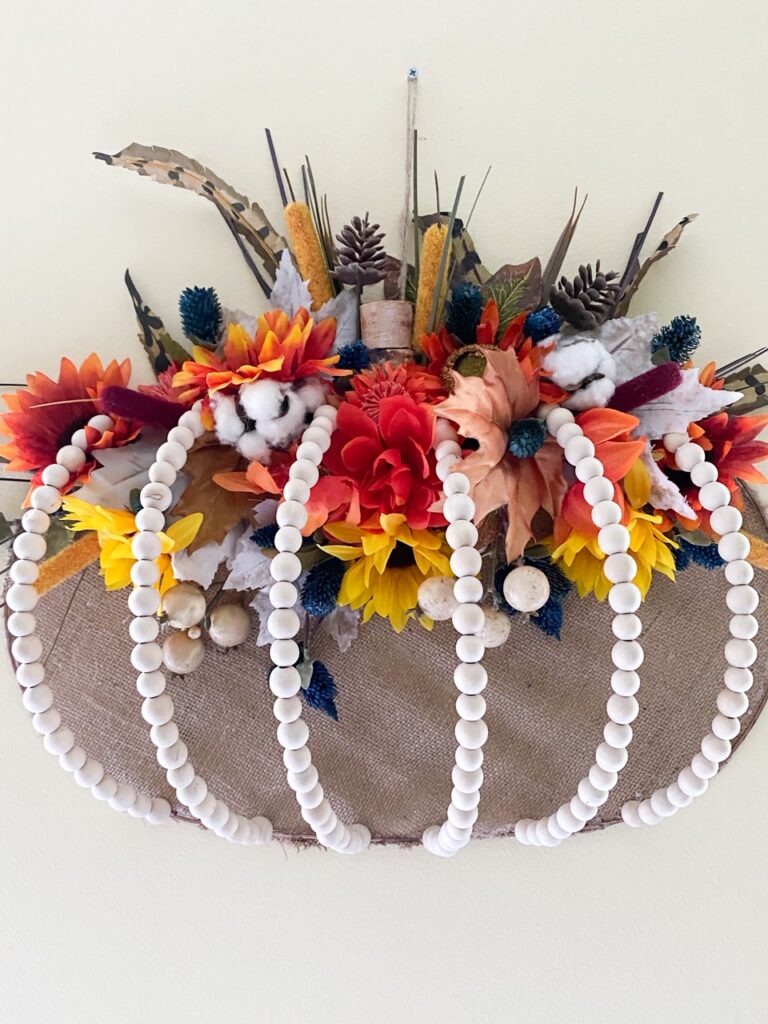
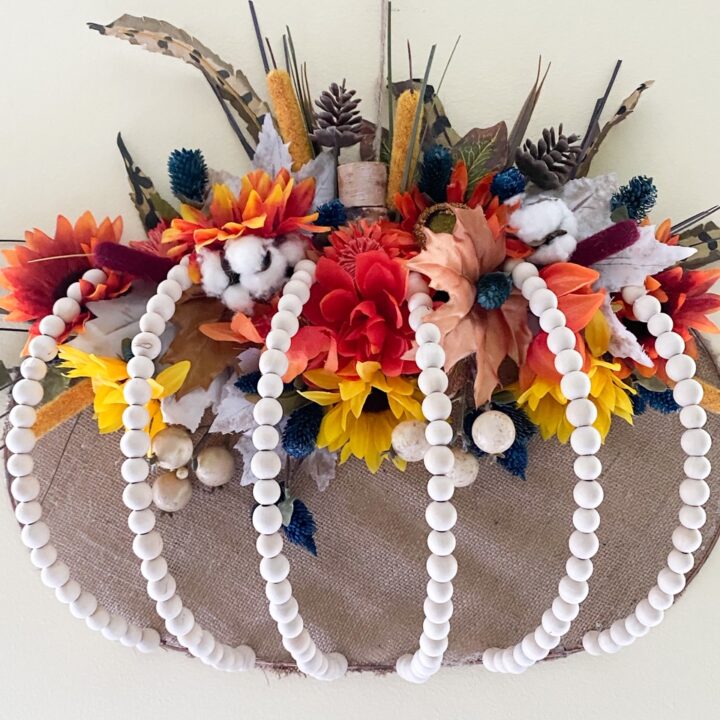
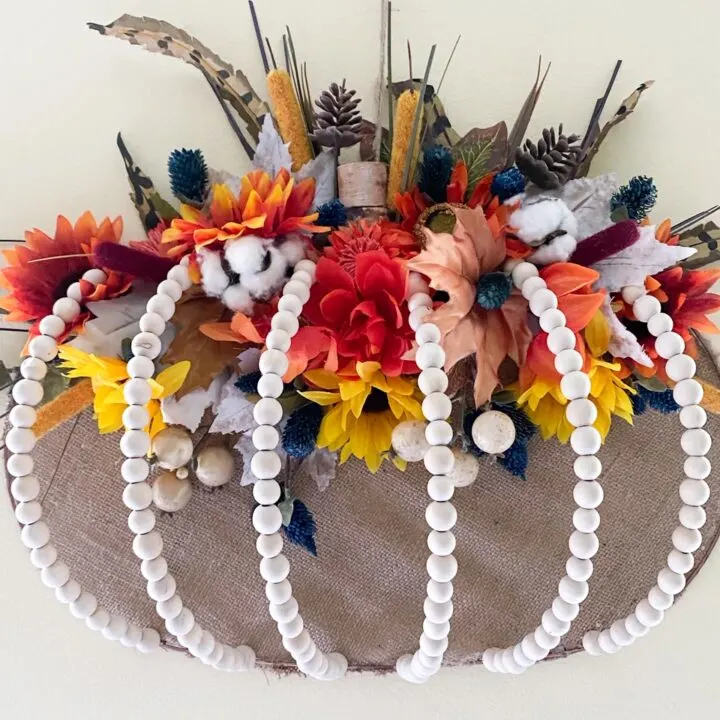
I’m kind of in love with it, ha, ha! It has a farmhouse style to it with natural wood beads and burlap backing.
I’m going with blues and oranges for my fall decor this year.
It’s a little non-traditional, but I’ve never really been a traditional girl.
📌 Quick Overview
- Make a farmhouse-style pumpkin door hanger using budget-friendly Dollar Tree supplies
- See the full materials list and step-by-step instructions below
- Get styling tips for hanging it indoors or out, plus ideas for transitioning it into Thanksgiving decor
- Skip to the FAQ for quick answers on substitutions and care
1. Materials You’ll Need
Materials List
Gathering everything ahead of time makes this project go quickly — most of these are one trip to Dollar Tree.
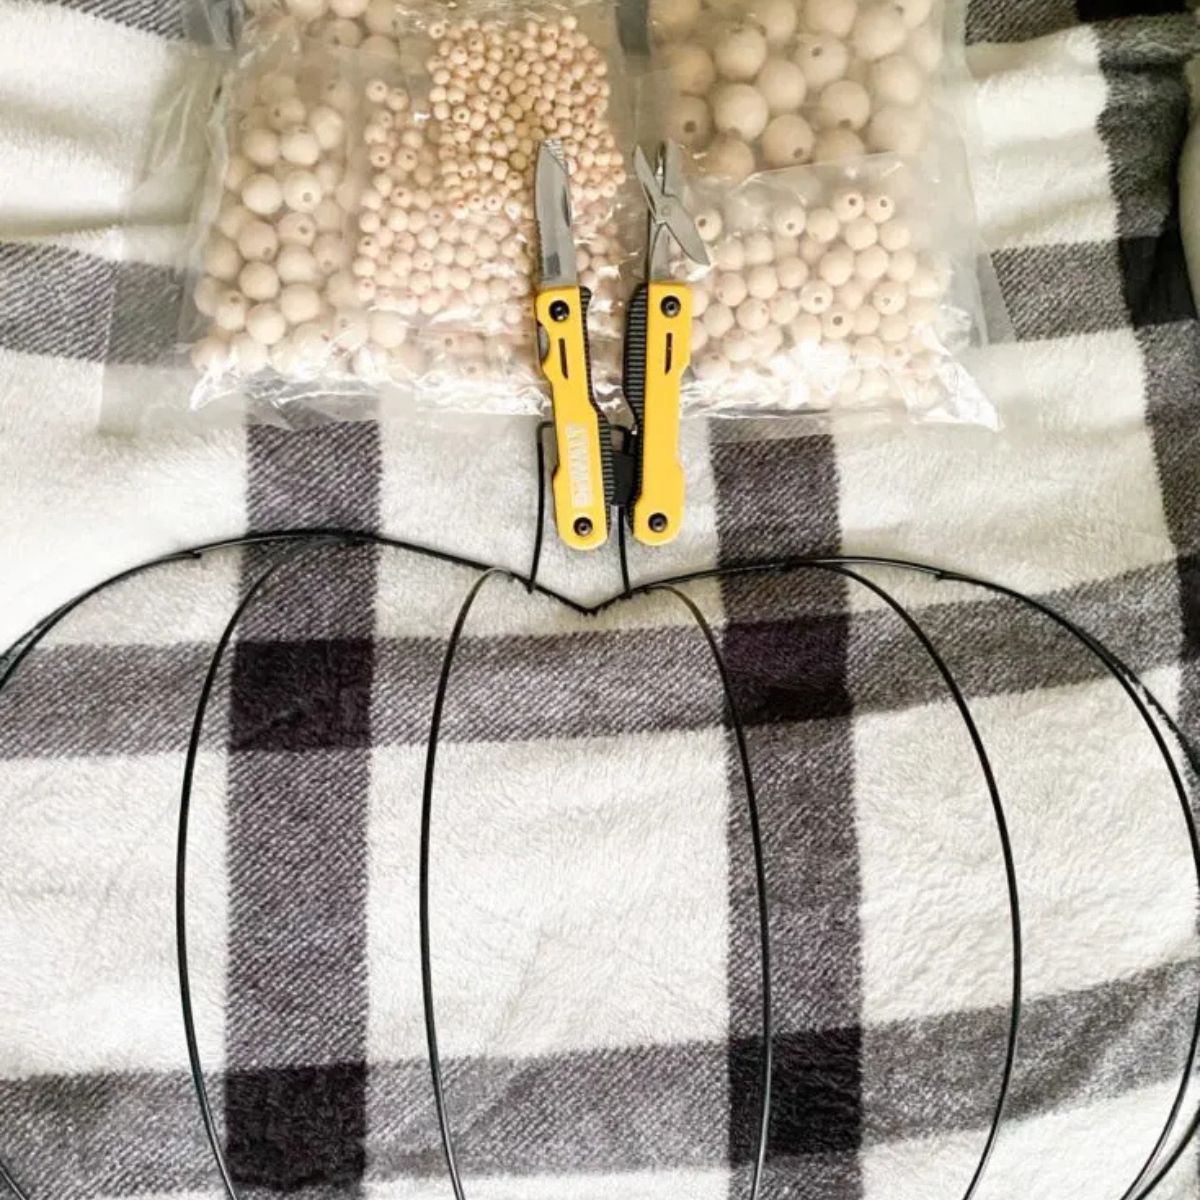
- Door hanger base (I used a Dollar Tree wire pumpkin wreath form if you prefer a rounder shape)
- 2–3 faux pumpkins (foam or plastic, small to medium size)
- Faux stems, leaves, or florals in fall colors (wheat, eucalyptus, or mini sunflowers all work well)
- Burlap or ribbon for a bow or wrap
- Wood Beads
- All In One Multi-Tool
- Hot Glue Gun and Glue Sticks
- Acrylic paint in cream, sage, or terracotta (optional, for a farmhouse finish)
- Small paintbrush
- Command hook or wreath hanger for the door
Substitutions: No wire pumpkin door hanger on hand? A wood wreath form, an old picture frame, or even a flattened cardboard cutout works just as well as a base. If your local Dollar Tree is out of faux florals, fall stems and small pumpkins from the craft aisle or the dollar bins at Target are a close match.
2. Step-by-Step Assembly
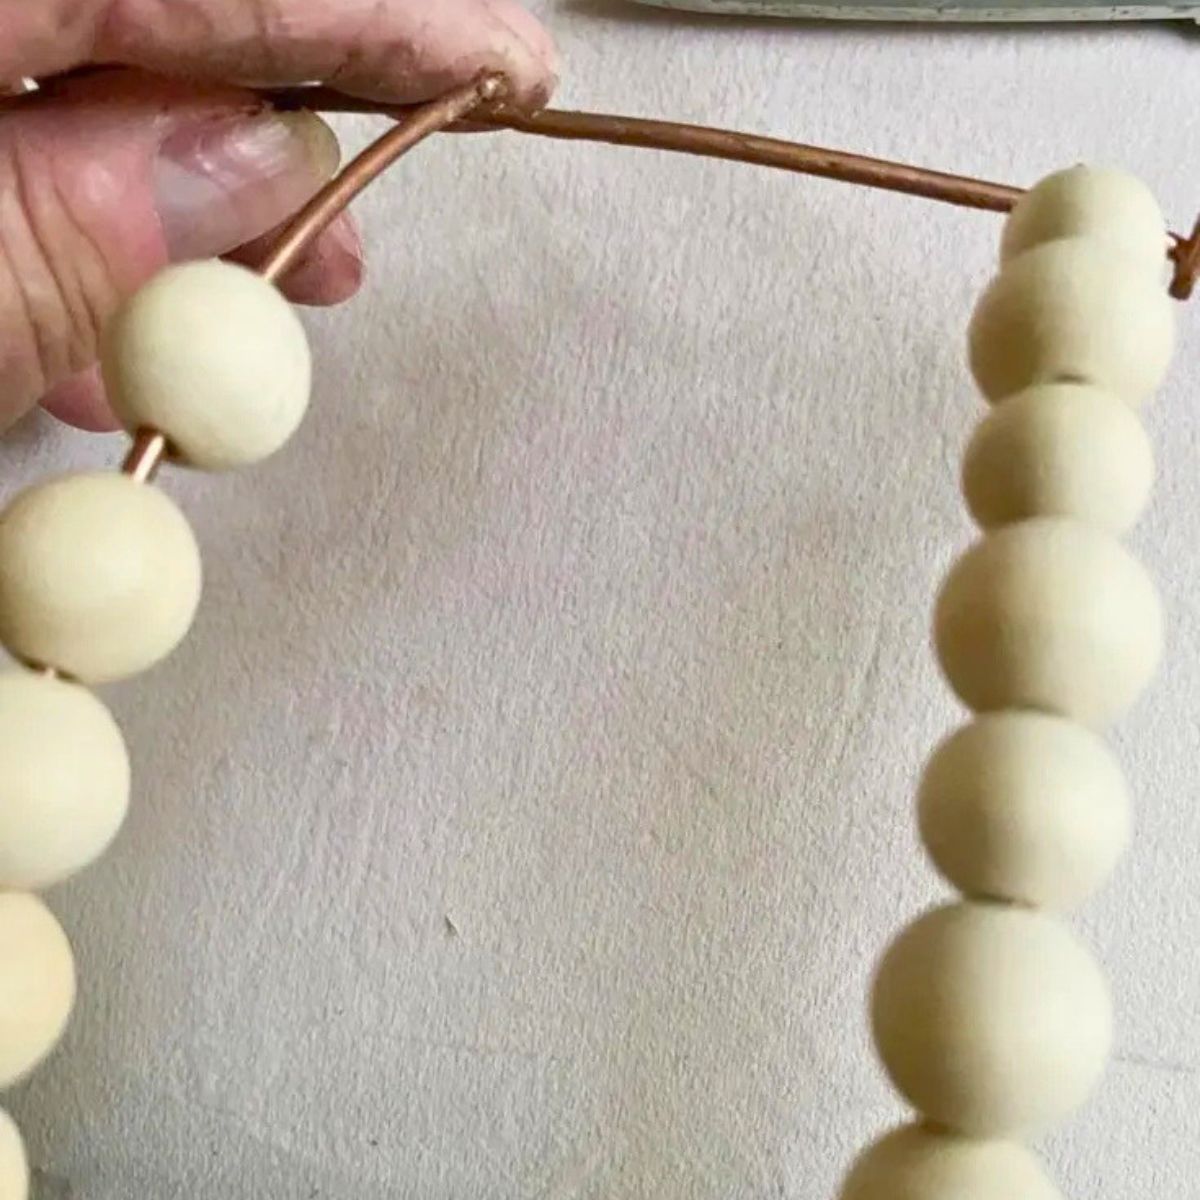
- Attach wood beads. Add wood beads to each piece of wire through the hole in the beads until it is filled with beads. Use a multi-tool to snip the wire.
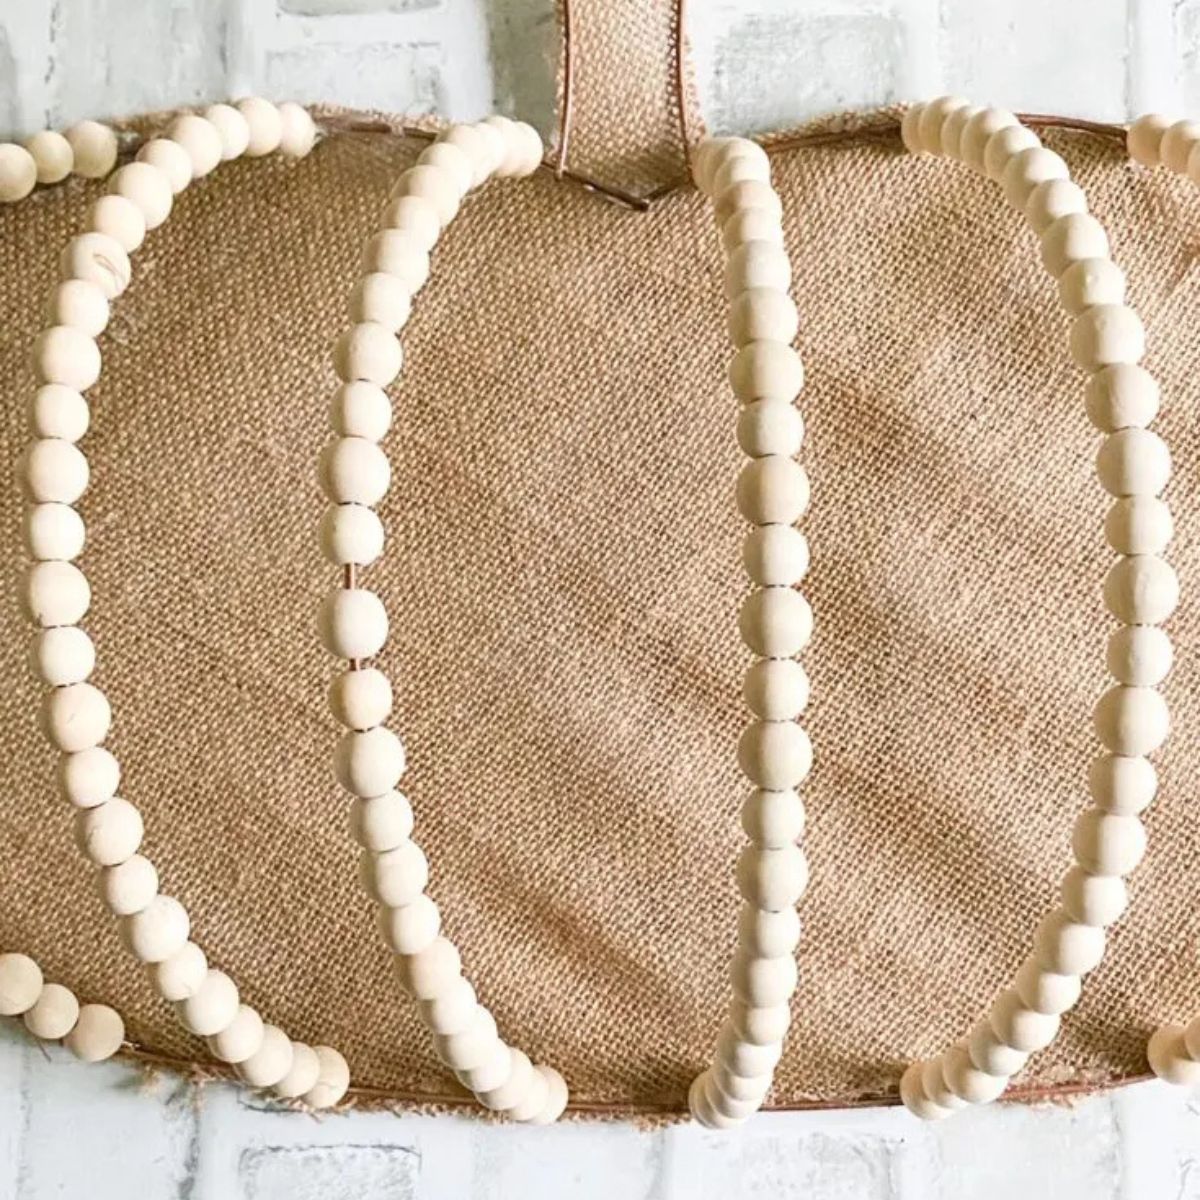
2. Attach burlap. Lay the pumpkin form onto a layer of burlap and cut around it. Secure the burlap to the pumpkin using a hot glue gun.
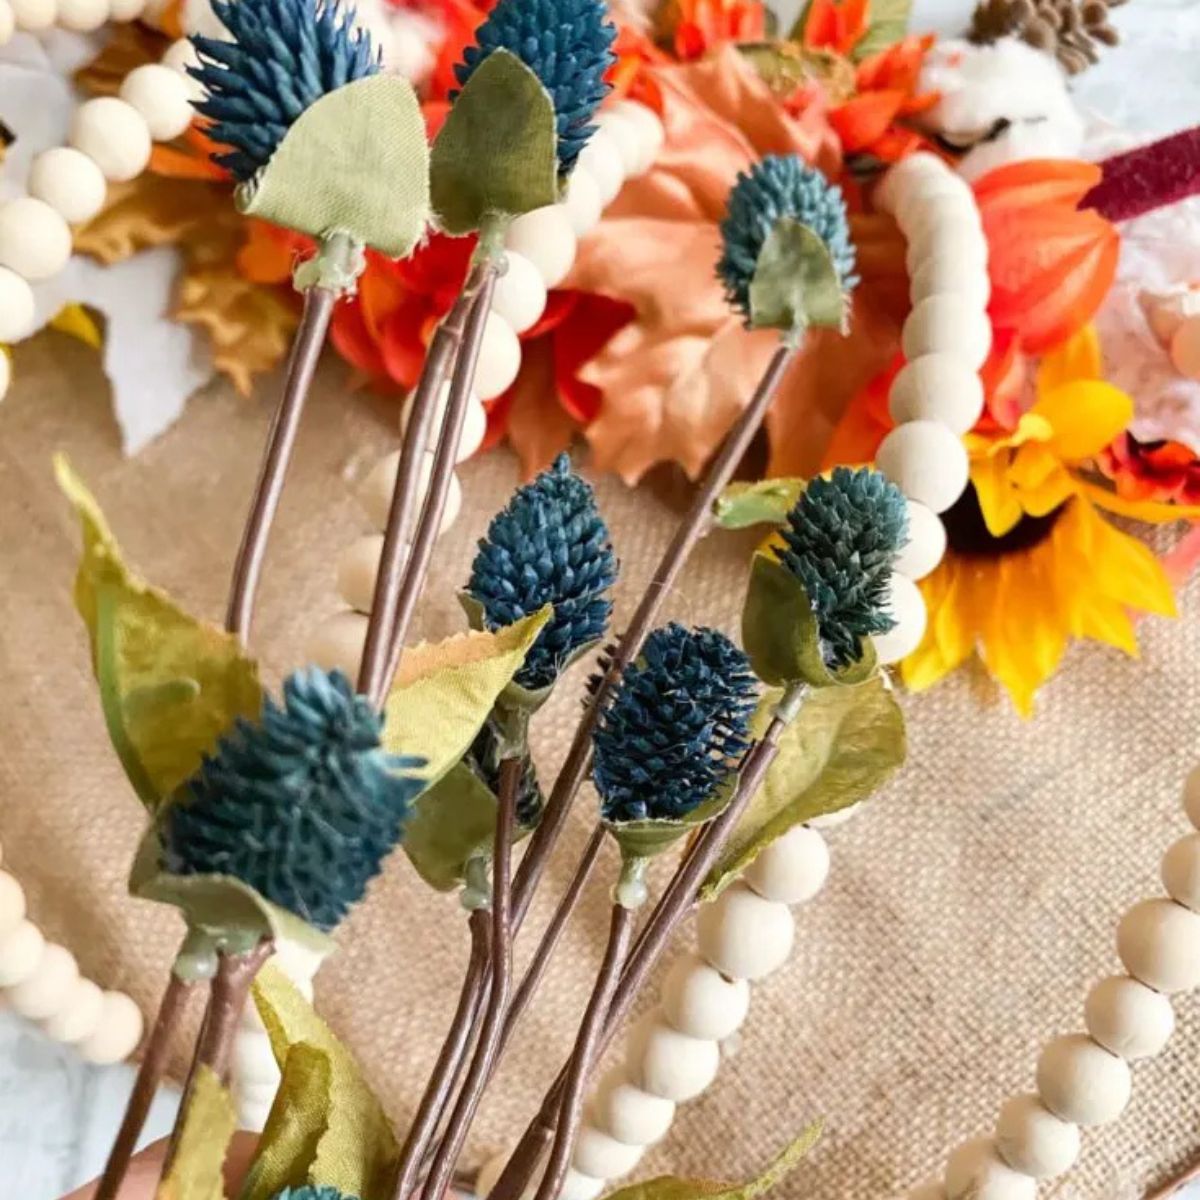
3. Arrange before you glue. Lay your fall leaves, stems, and florals on the base first to plan your layout. This saves you from gluing something down and wishing you’d placed it differently.
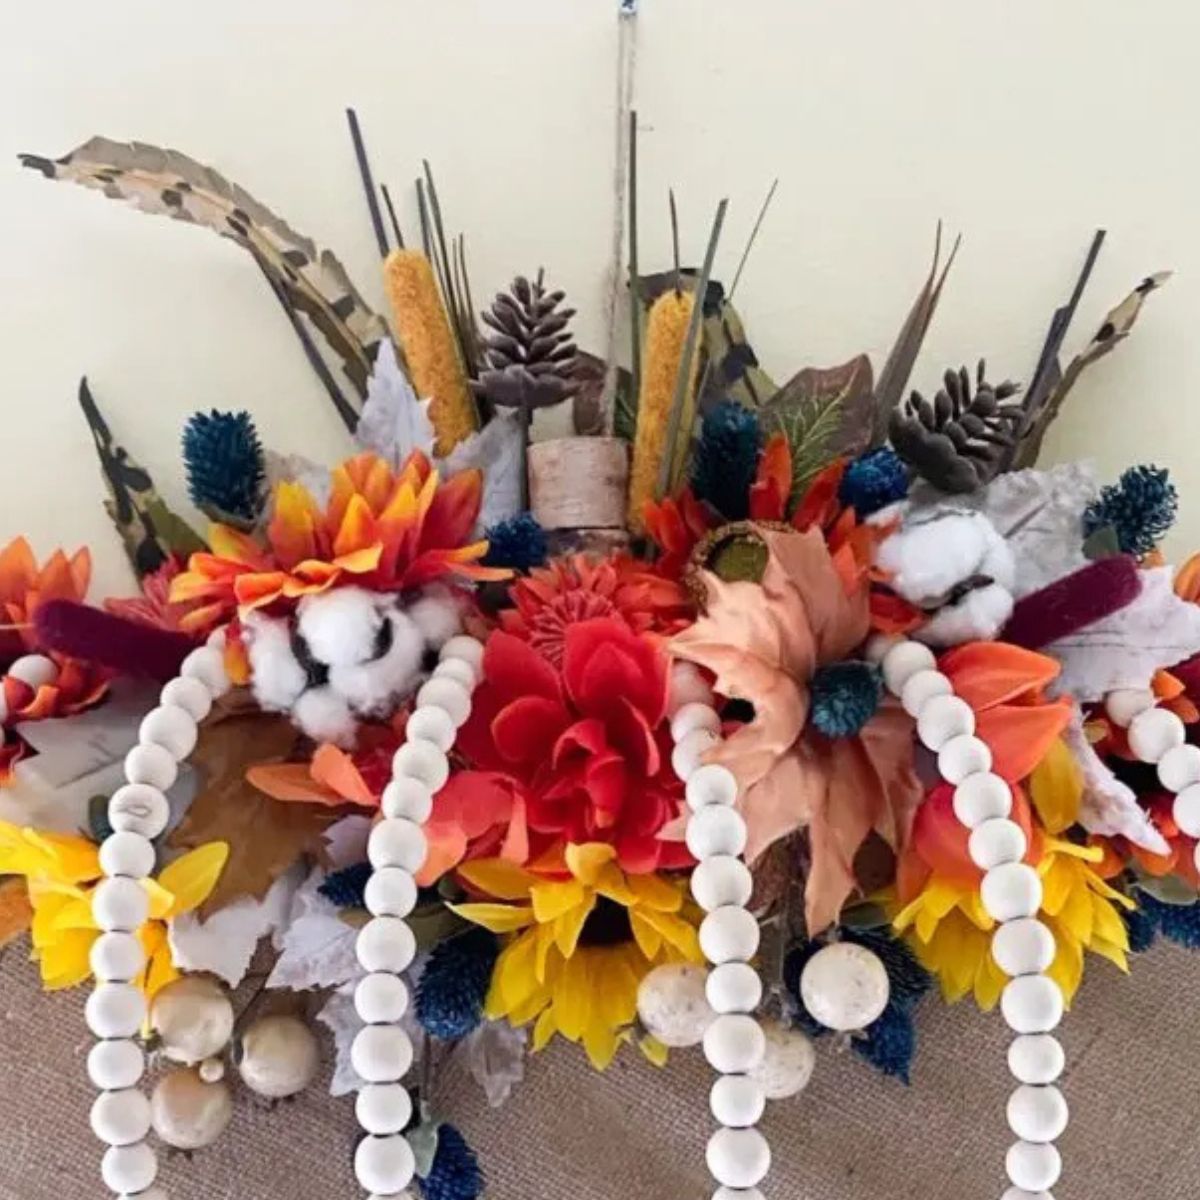
4. Attach the largest elements first. Glue your main florals in place, then build outward with smaller stems and greenery.
5. Let it set. Give the glue about 15 minutes to fully cure before hanging, especially if you’re adding a lot of florals.
6. Hang and style. Use a Command hook or over-the-door wreath hanger so you don’t damage your door or frame.
I’m seriously loving how this pumpkin door hanger turned out.
The colors are so vibrant and it’s a nice change from a standard grapevine wreath.
Looking for more fall wreath inspiration? Enjoy these Dollar Tree pumpkin wreath form ideas.
3. Styling & Placement Tips
Tips for Styling Your Pumpkin Door Hanger
- Front door vs. interior: If you’re hanging it outdoors, choose weather-resistant faux pumpkins (foam holds up better than paper mache) and avoid ribbon that bleeds color in rain.
- Balance the size: For a standard front door, aim for a hanger roughly 12–16 inches wide so it doesn’t get lost against the door.
- Mix textures: Combining smooth pumpkins with textured elements like burlap, wheat stems, or dried flowers gives the piece a more layered, farmhouse look.
- Seasonal transitions: Swap the ribbon color and add a few mini gourds to transition this same base from early fall into Thanksgiving without starting from scratch.
- Storage: Store flat in a shallow bin or hang it in a closet between seasons to keep the pumpkins from getting crushed.
4. Frequently Asked Questions
Can I make a pumpkin wreath with Dollar Tree supplies? Yes — Dollar Tree sells wire pumpkin wreath forms, faux pumpkins, and florals that work perfectly for a budget-friendly DIY pumpkin wreath. The same materials and steps used for this door hanger can be adapted to a round wreath form.
What can I use instead of a wire door hanger base? A wooden wreath form, foam wreath base, or even a flattened piece of cardboard cut into a pumpkin door-hanger shape all work as substitutes if you can’t find the wire pumpkin style.
How long does this project take to make? Most people can complete this door hanger in 30–45 minutes.
How do I keep my pumpkin door hanger from fading outside? Choose foam or plastic pumpkins over paper mache, and consider a light coat of clear matte sealant spray to help protect the color from sun exposure.
Can I reuse this craft for Thanksgiving decor? Definitely. Swap out a bright orange ribbon for a deeper rust or plaid one, and add a few mini gourds or wheat stems to shift the look from Halloween-adjacent fall decor to a Thanksgiving-ready piece.
I hope you enjoyed this DIY Dollar Tree pumpkin wreath. Let me know in the comments below if this is something you could see yourself making.
Pin For Later
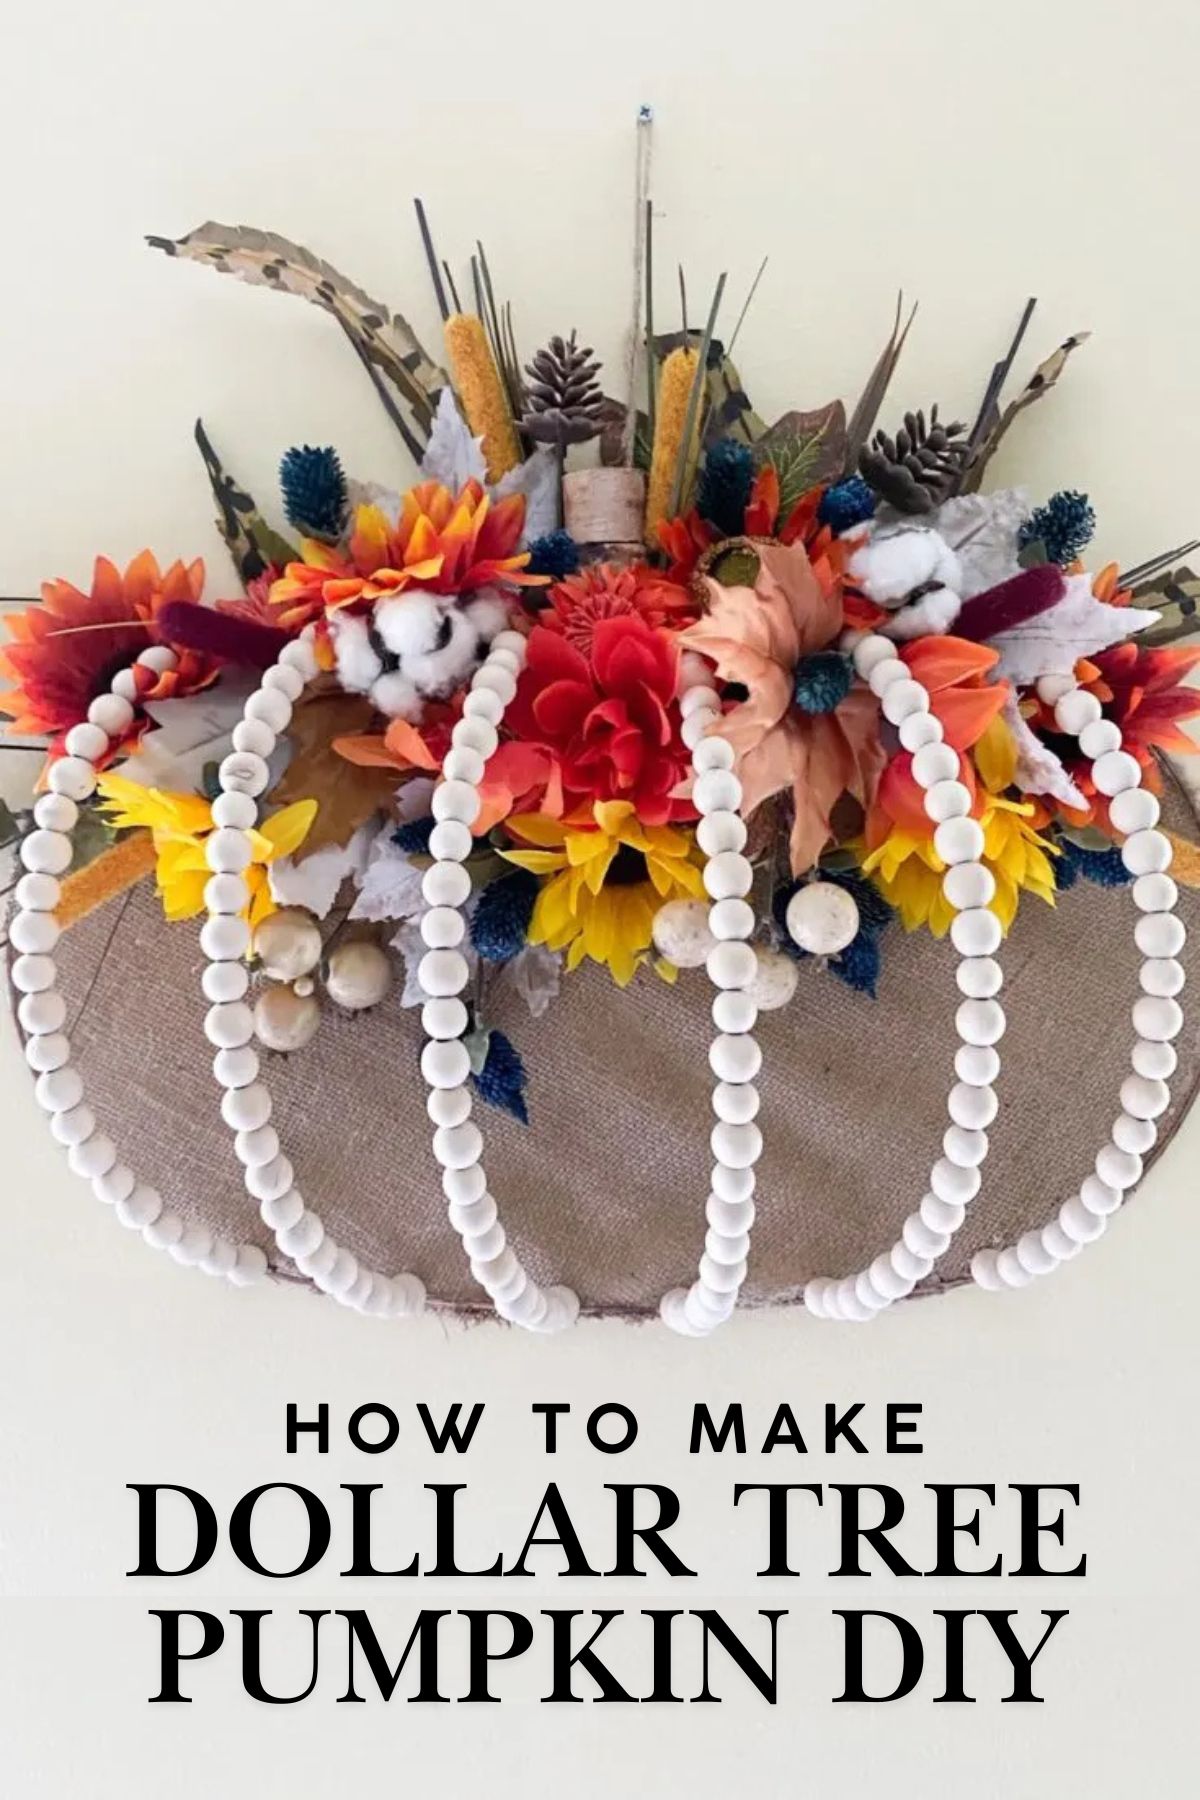
Share this article with your friends on Pinterest by pinning the below image.
It helps my blog grow and doesn’t cost a thing! 🙂
Have a great day and happy crafting!
Even More Fall DIY Decor and Crafts
You may also like this dollar store pumpkin topiary, this Pottery Barn inspired terracotta pumpkin tutorial, and these fall candle holder centerpiece.
Fabulous Farmhouse Pumpkin Door Hanger From Dollar Tree
See how easy it is to make a gorgeous farmhouse pumpkin door hanger with almost all of the supplies from the Dollar Tree. This fall wreath will look great on a front door, or even hanging up inside your home as a lovely addition to your fall decor.
Materials
- Dollar Tree Pumpkin Metal Wreath
- Sunflower Stems
- Fall Dahlia Stems
- Fall Leaves
- Cotton Stems
- Fall Feather Stems
- Wood Beads
- Burlap
Tools
- Cordless Hot Glue Gun
- All In One Multi-Tool
Instructions
- Snip the wire at the top of pumpkin form using tin snips or wire cutters.
- Add wood beads to each piece of wire until it is filled with beads.
- Lay the pumpkin form onto a layer of burlap and cut around it.
- Secure the burlap to the pumpkin using a hot glue gun.
- Hot glue a wood stem for the top of the pumpkin.
- Add the fall leaves and floral stems using hot glue.
- Tie a piece of twine to the back for hanging.
Recommended Products
As an Amazon Associate and member of other affiliate programs, I earn from qualifying purchases.
-
 DICOBD 1000pcs Wooden Beads Natural Round Wood Beads Loose Beads for Jewelry Making Home Farmhouse Decoration 7 Sizes (6mm 8mm 10mm 12mm 14mm 16mm 20mm)
 -
 CleverDelights 9" Premium Burlap Roll - 10 Yards - No-Fray Finished Edges - Natural Jute Burlap Fabric
 -
 DEWALT DWHT72419L 2 Piece Multi-Tool Gift Set
 -
 Surebonder CL-800F 60-Watt Cordless High Temperature Glue Gun
You can find me on social media below:
Peggy
Wednesday 30th of August 2023
How did you attach the wire you snipped back? Does the burlap hold it in place
Marian
Monday 17th of October 2022
I made one but definitely took longer than an hour
Becky Lee
Monday 3rd of October 2022
Adorable
Cricket
Friday 9th of September 2022
How did you reattach the beaded wires to the frame? What kind of glue did you use?
Wendy Warden
Wednesday 13th of October 2021
Hi, how do you reattach wires to the form after putting the beads on them? Thanks!!
ourcraftymom
Thursday 14th of October 2021
Hi Wendy. I line it up right where the frame is and hot glue it. You won't even see it due to the added flowers. Hope that helps.