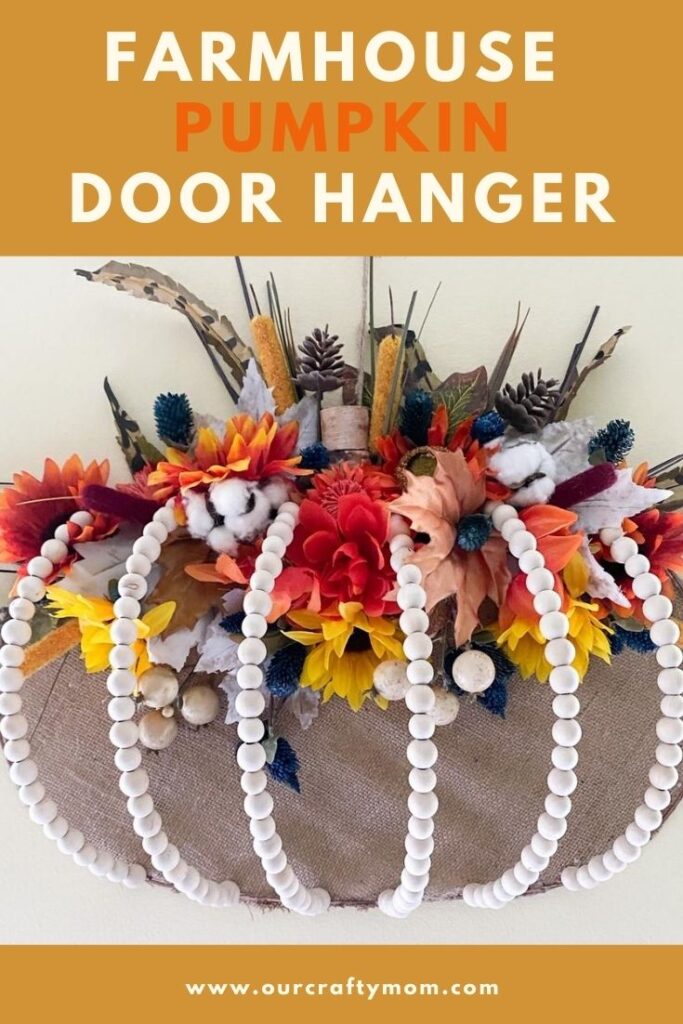
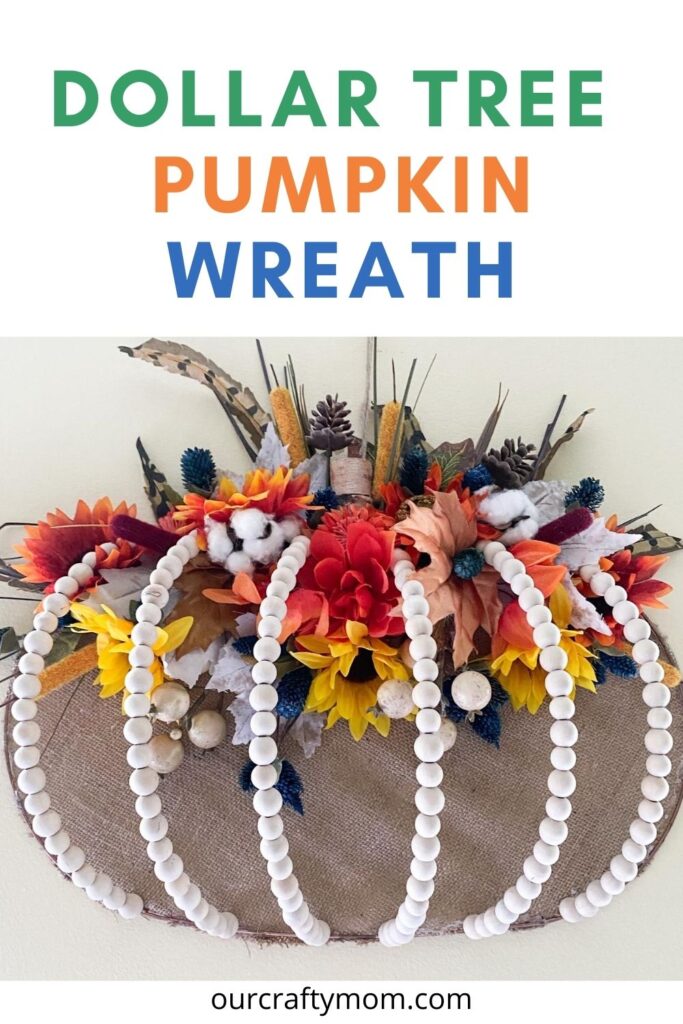
This farmhouse pumpkin door hanger uses Dollar Tree supplies and is a beautiful addition to your fall decor.

This post contains affiliate links at no extra cost to you. Please see my full disclosure here.
Pumpkin Door Hanger
You may have seen my Dollar Tree fall haul that I shared recently on Instagram.
Having a craft and home decorating blog, I have to get supplies early, especially at Dollar Tree because they always sell out.
Case in point, I had a reader message me saying she has not been able to find any of the orange foam pumpkins that are very popular for makeover.
Here are a few of my favorites Dollar Tree pumpkin crafts:
One of the things I picked up was a metal pumpkin wreath form and boy am I glad I did because they are long gone!
I went back to get a couple of more and was kicking myself.
So I knew I wanted to make something fabulous with this one lone pumpkin.
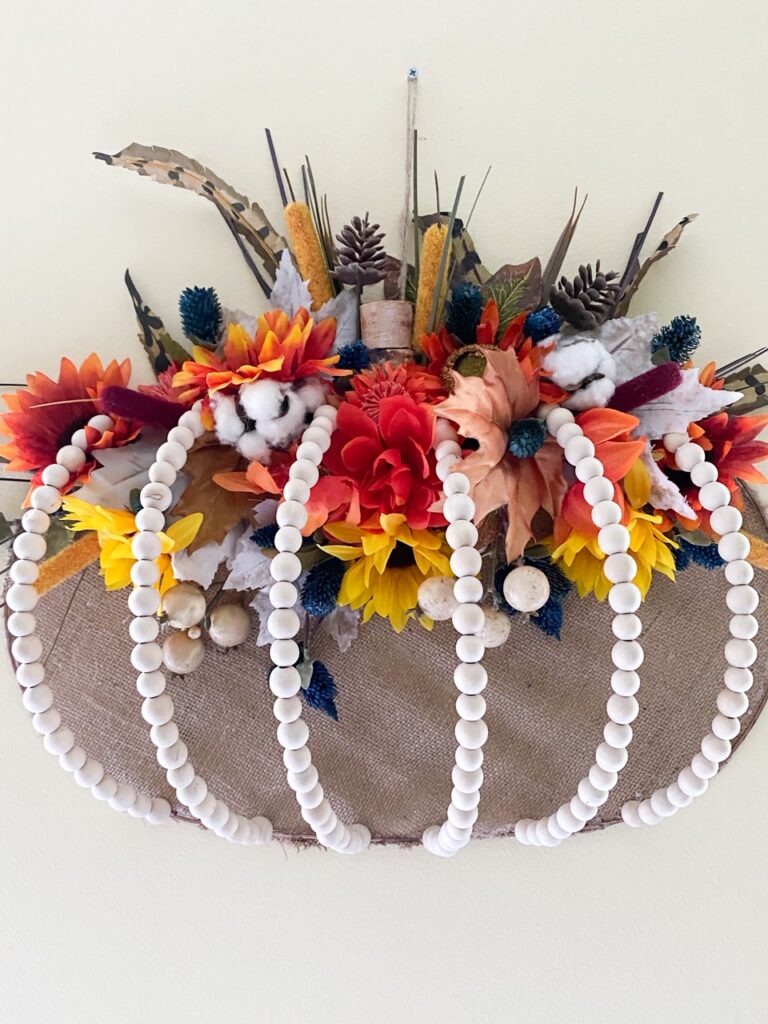
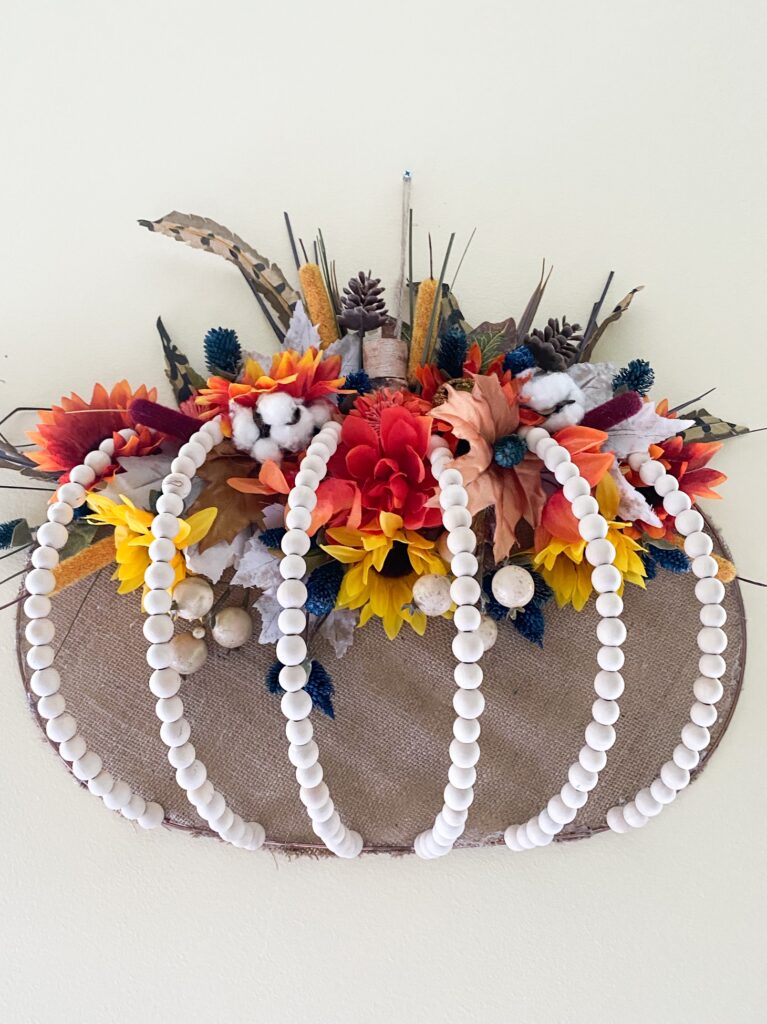
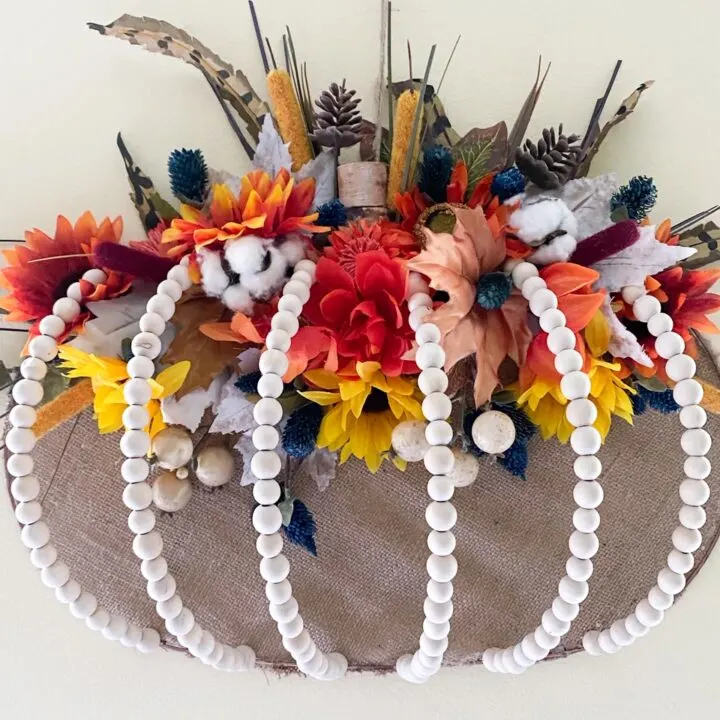
I’m kind of in love with it, ha, ha! It has a farmhouse style to it with natural wood beads and burlap backing.
I’m going with blues and oranges for my fall decor this year.
It’s a little non-traditional, but I’ve never really been a traditional girl.

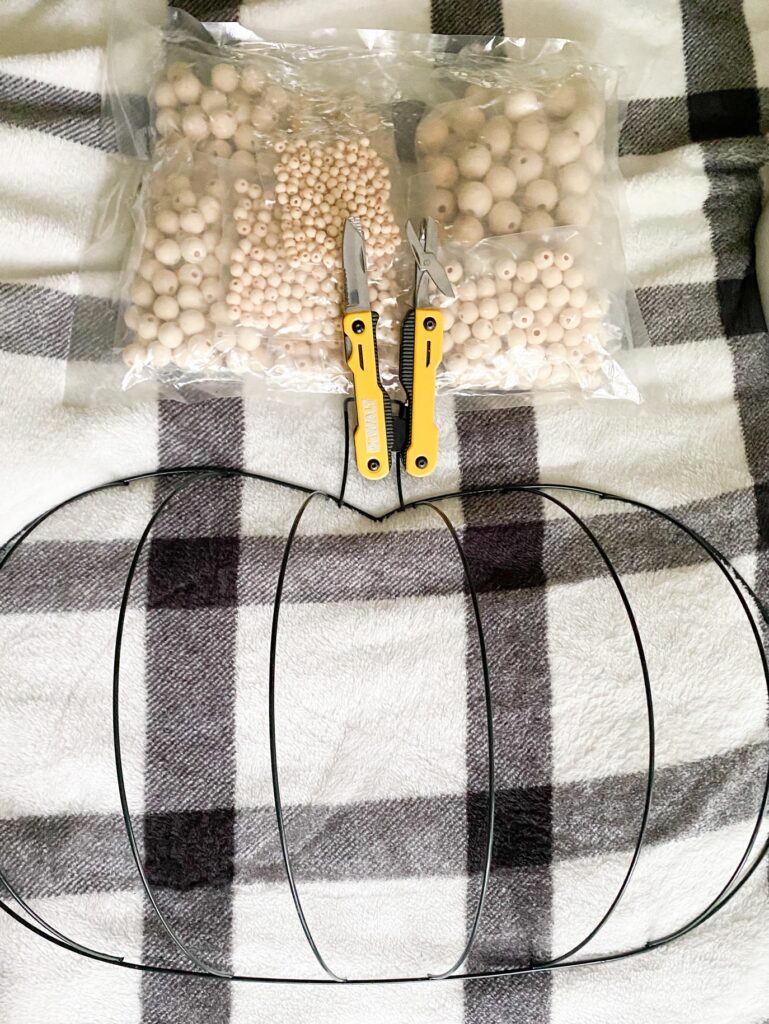
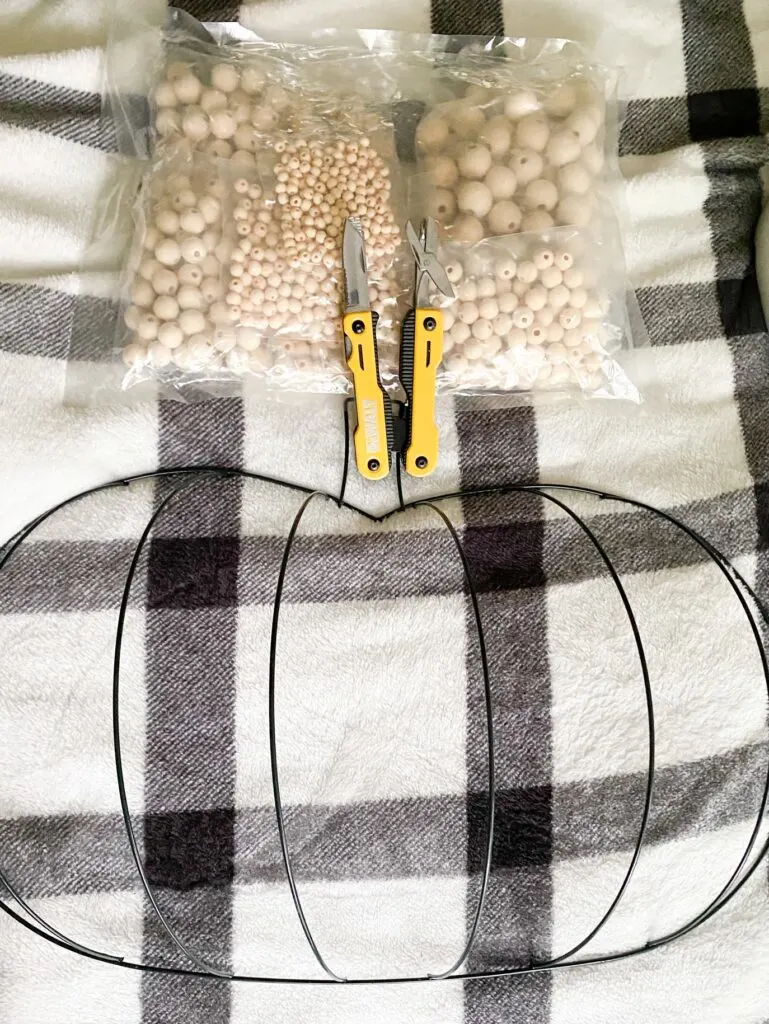
Here is what you need to make your own farmhouse pumpkin door hanger:
- Dollar Tree Pumpkin Metal Wreath
- Sunflower Stems
- Fall Dahlia Stems
- Fall Leaves
- Cotton Stems
- Fall Feather Stems
- Wood Beads
- Burlap
- Cordless Hot Glue Gun
- All In One Multi-Tool
Instructions For Farmhouse Pumpkin Door Hanger
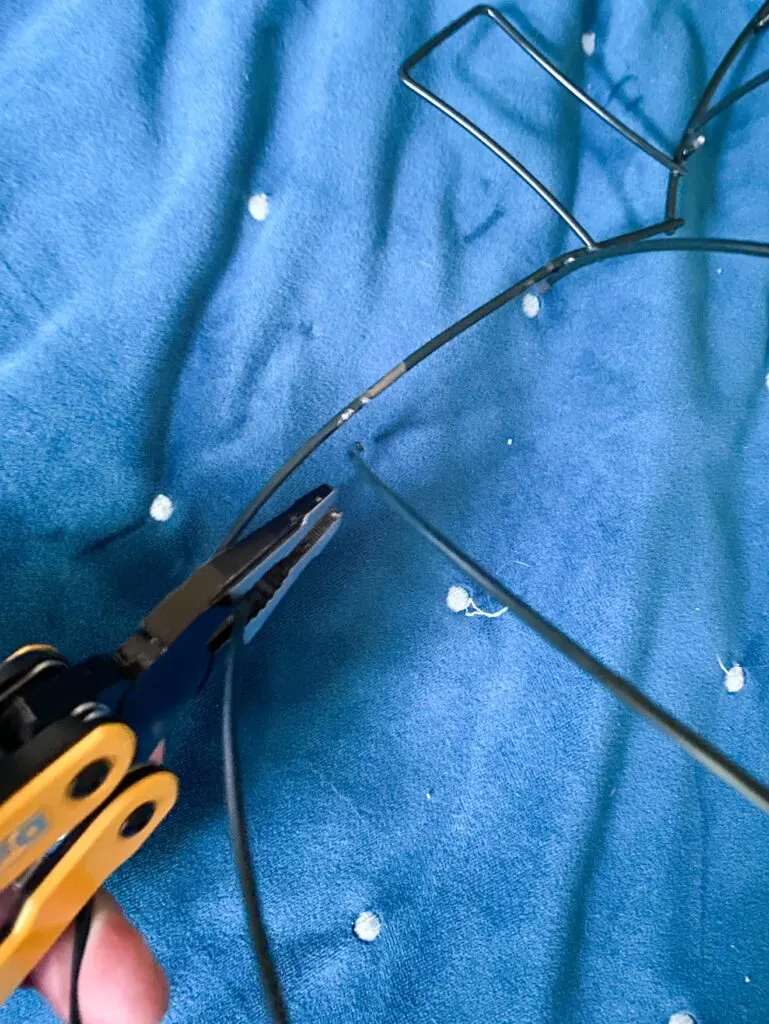
Step 1. Snip the wire
Snip the wire at the top of the pumpkin form using tin snips or wire cutters.

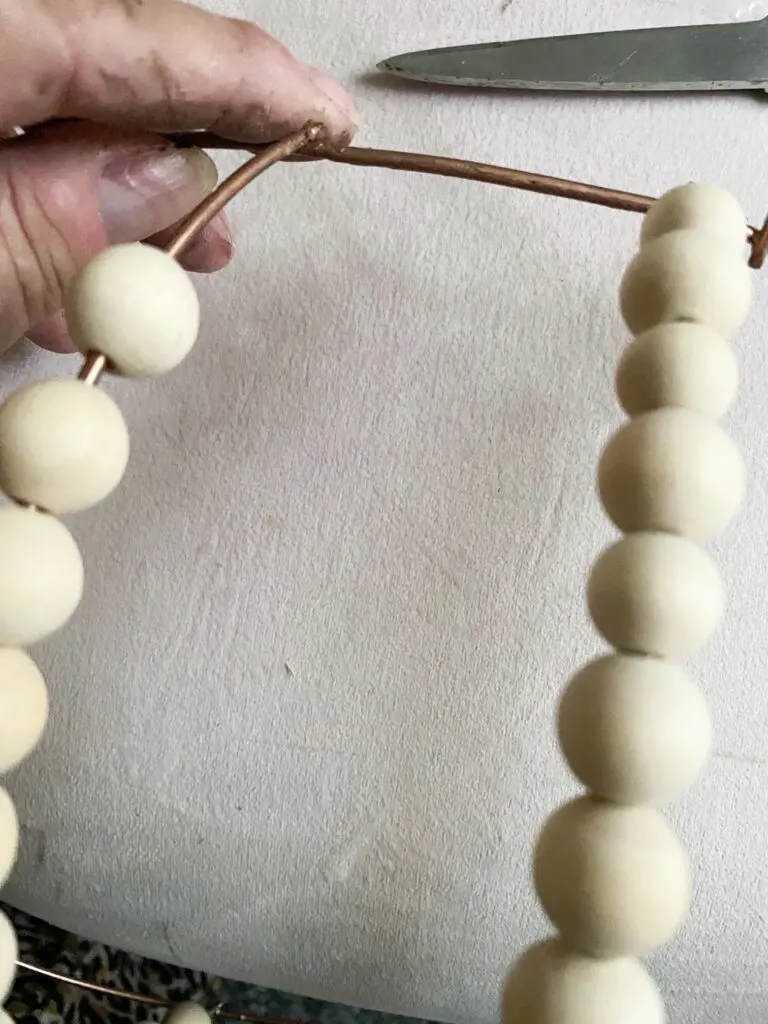
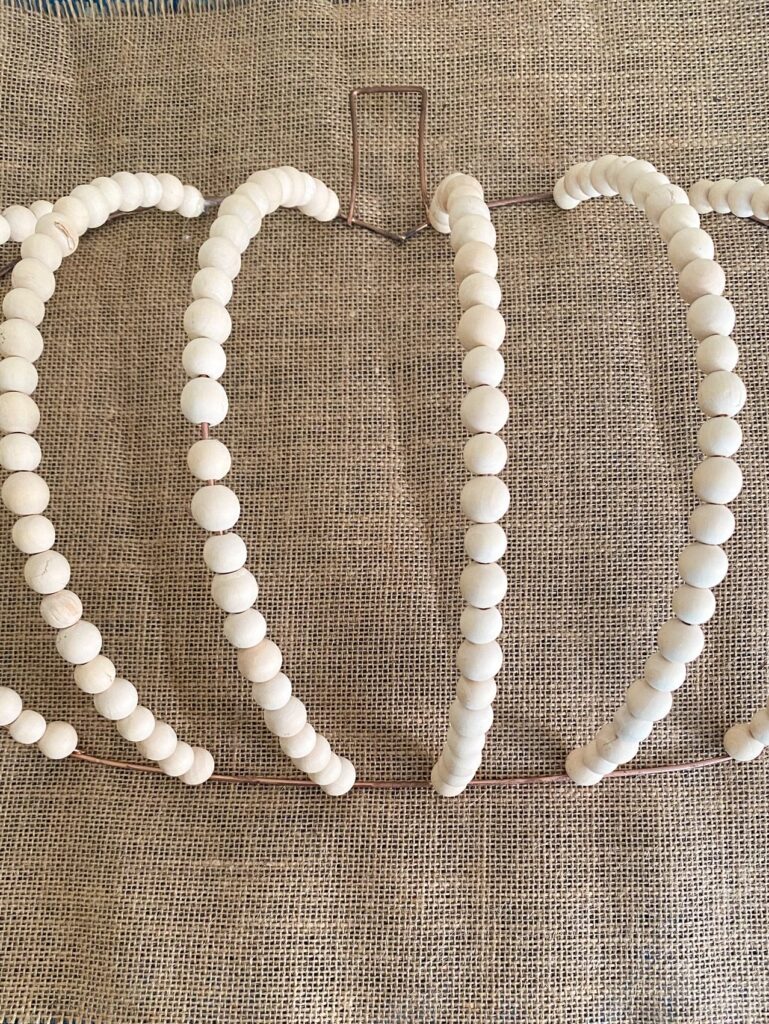
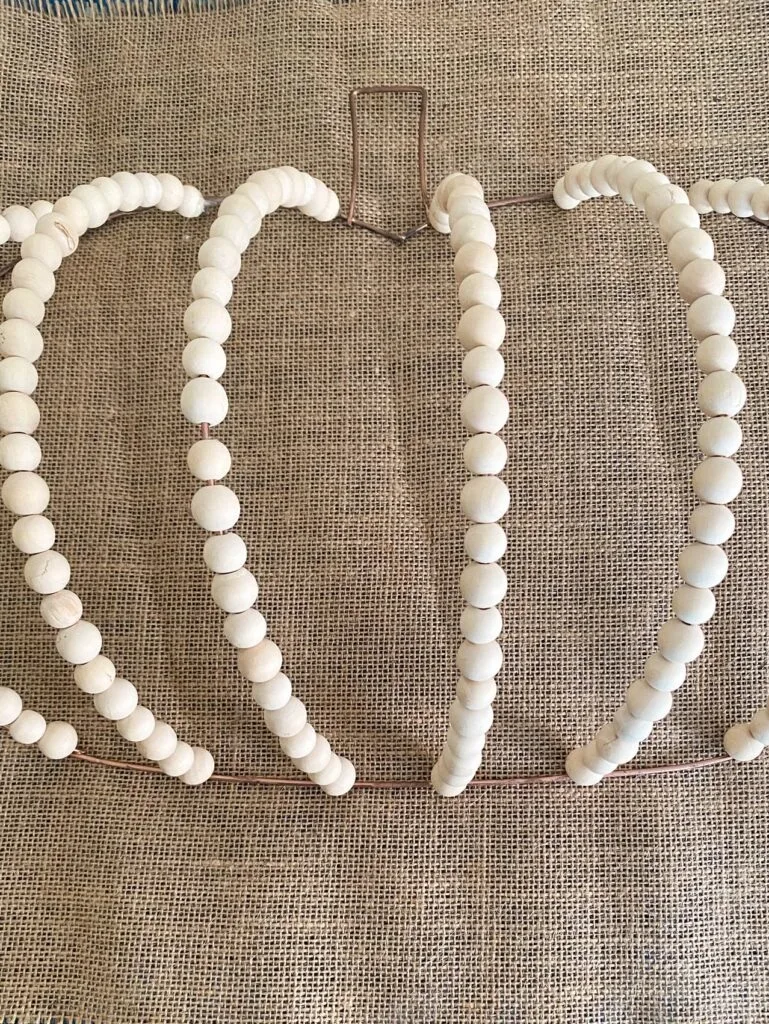
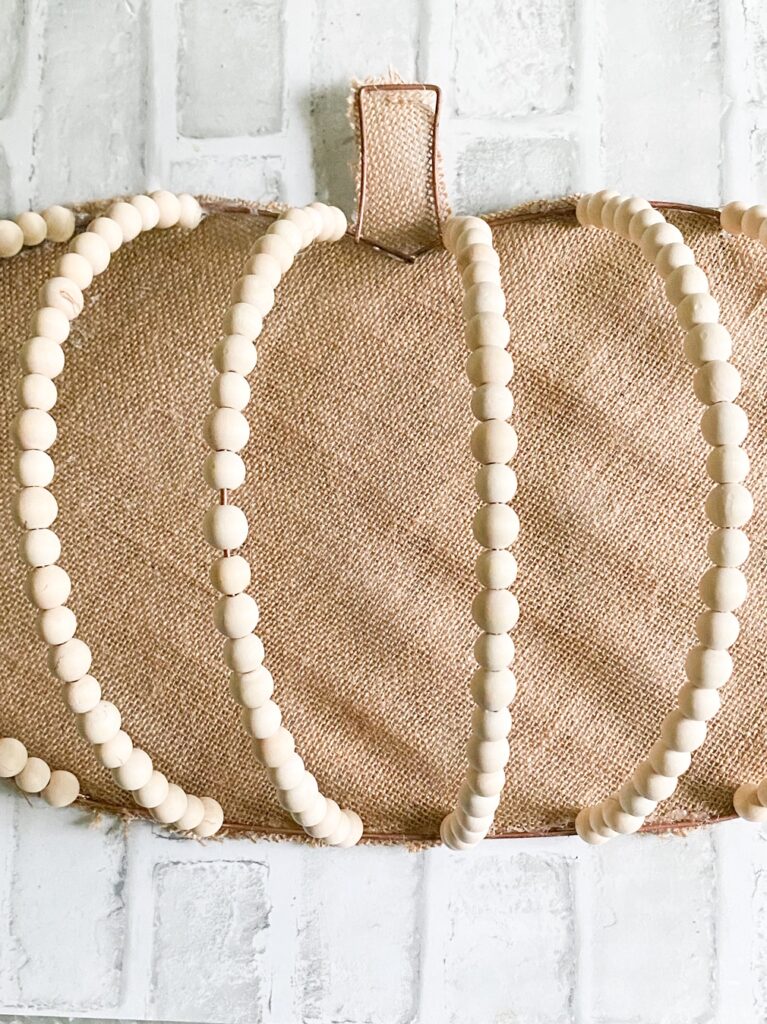
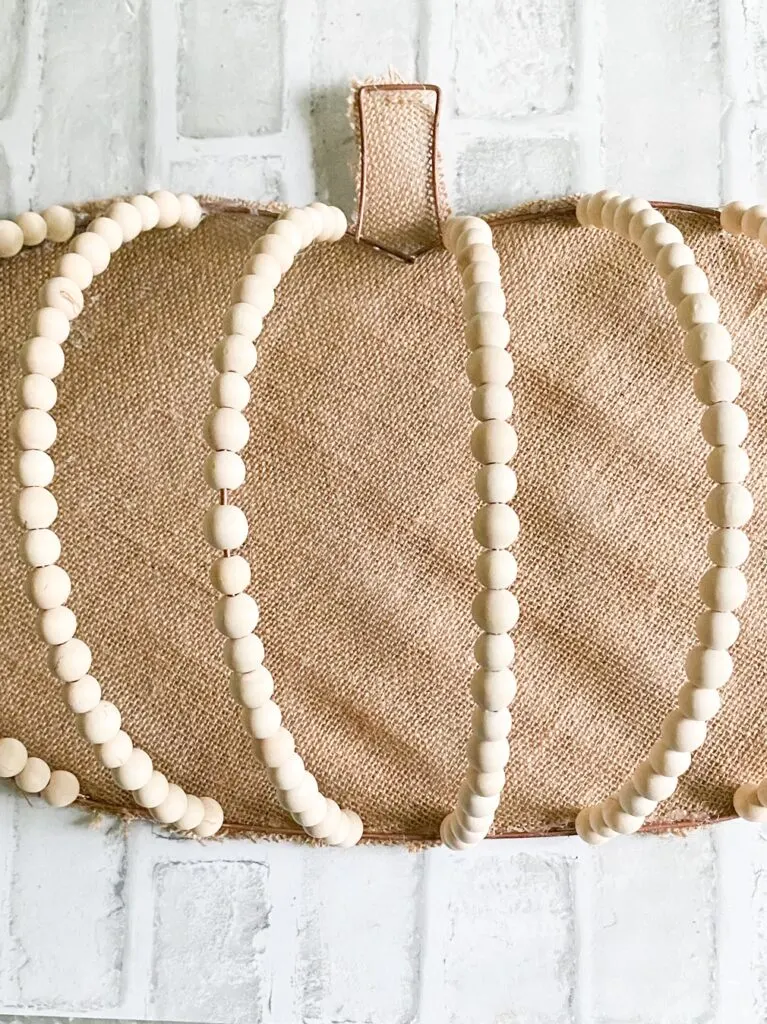
Step 2. Add wood beads
Add wood beads to each piece of wire through the hole in the beads until it is filled with beads.
I also used copper spray paint for the wire pumpkin, but that is totally optional.

Step 3. Cut burlap
Lay the pumpkin form onto a layer of burlap and cut around it.
Step 4. Hot glue burlap to the wire wreath form
Secure the burlap to the pumpkin using a hot glue gun.
It’s easier to add the glue directly to the wire and carefully press the burlap down. Don’t burn your fingers!
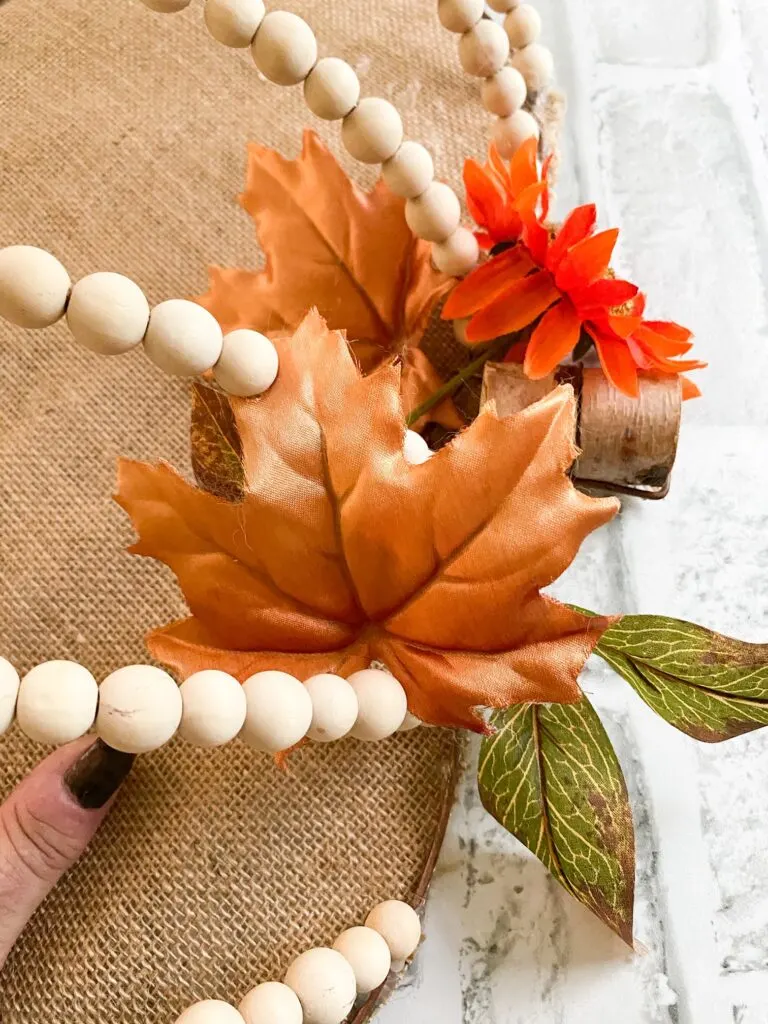
Step 5. Glue wood stem
Hot glue a wood stem for the top of the pumpkin.
Then add the fall leaves and floral stems using hot glue.
Start at the top and continue adding until you are happy with the placement.

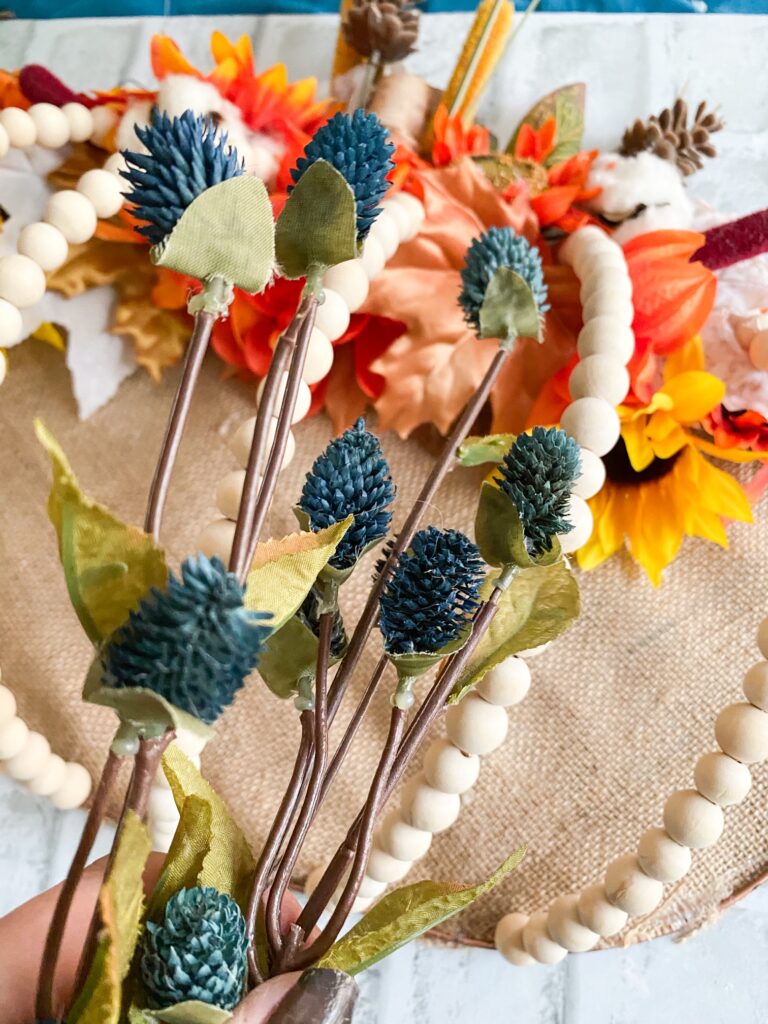
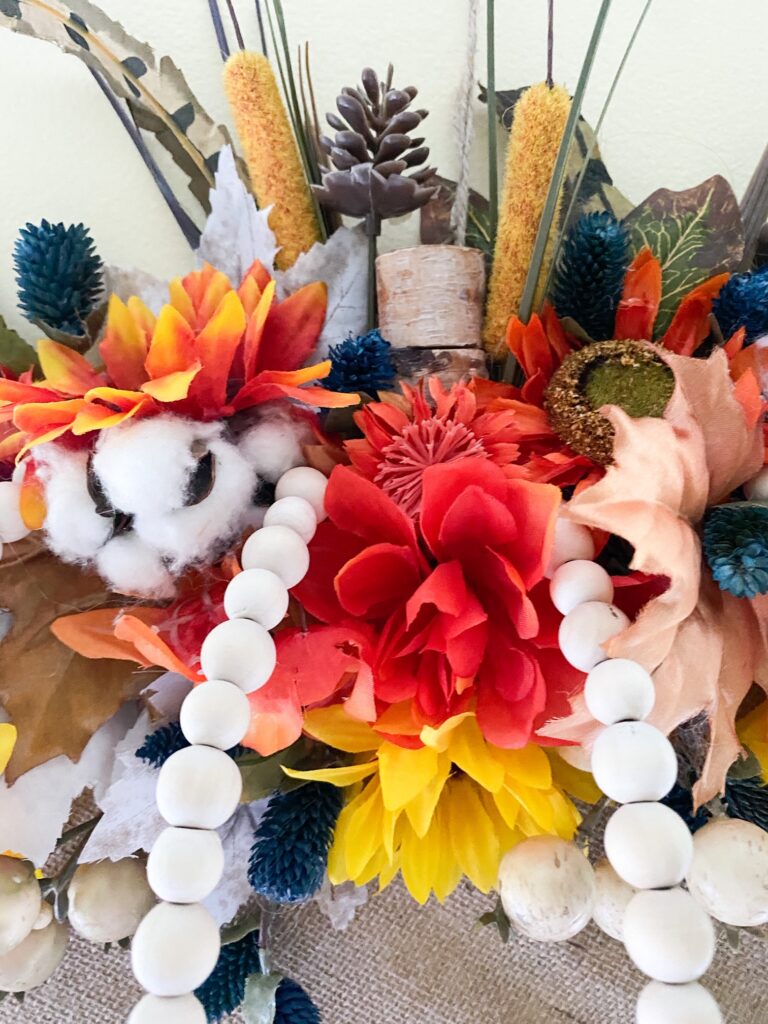
Step 6. Glue flowers
Save the statement flowers for last. In this case, the beautiful blue stems were added last to give a nice pop of color against the deep oranges and yellows.

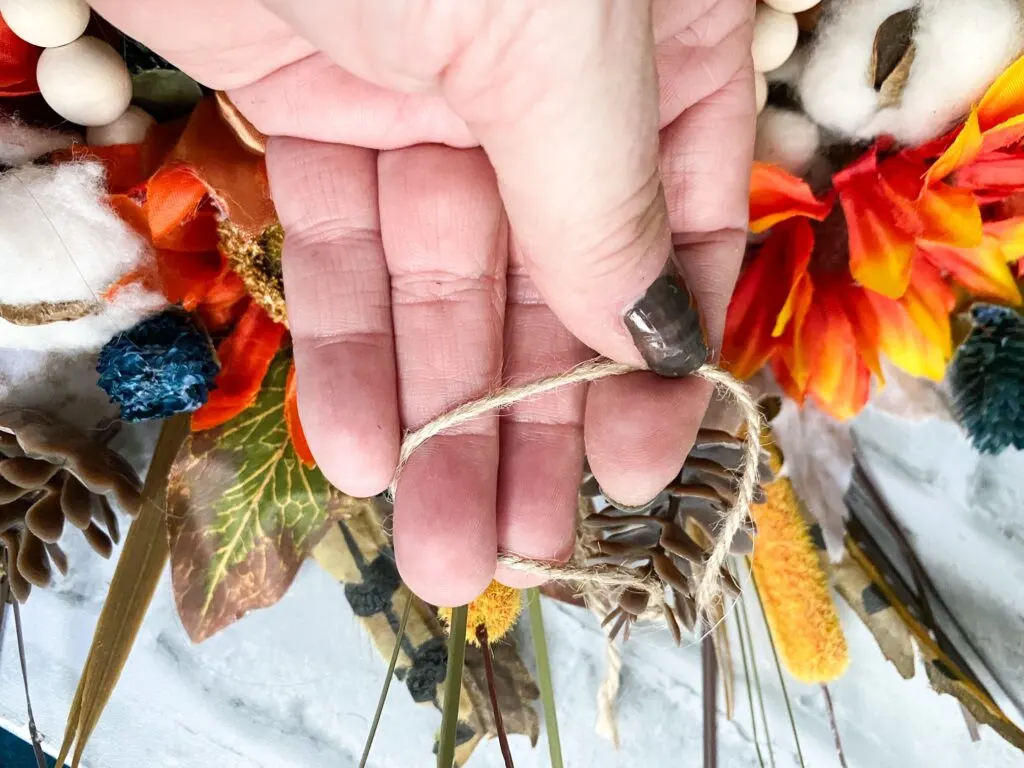
Step 7. Add twine for hanging
Tie a piece of twine to the back for hanging.

I’m seriously loving how this pumpkin door hanger turned out.
The colors are so vibrant and it’s a nice change from a standard grapevine wreath.

This would also look great hanging up inside the house, or added to a mirror or chalkboard for dimension and texture.

I hope you enjoyed this fall wreath. Let me know in the comments below if this is something you could see yourself making.


Have a great day and happy crafting!

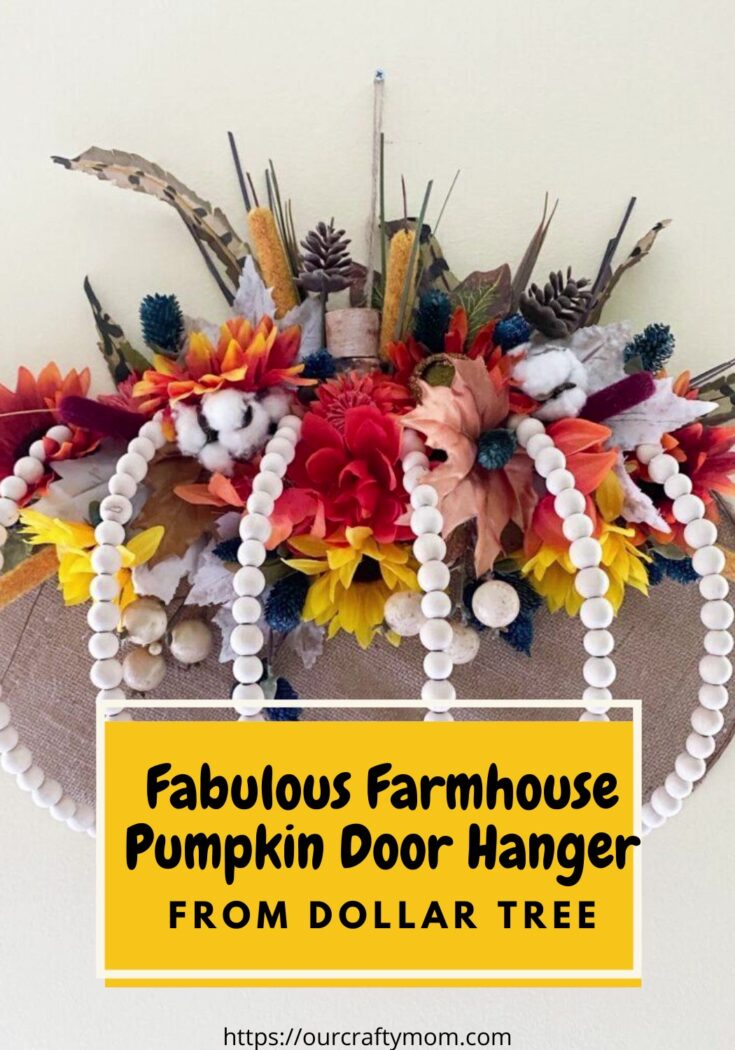
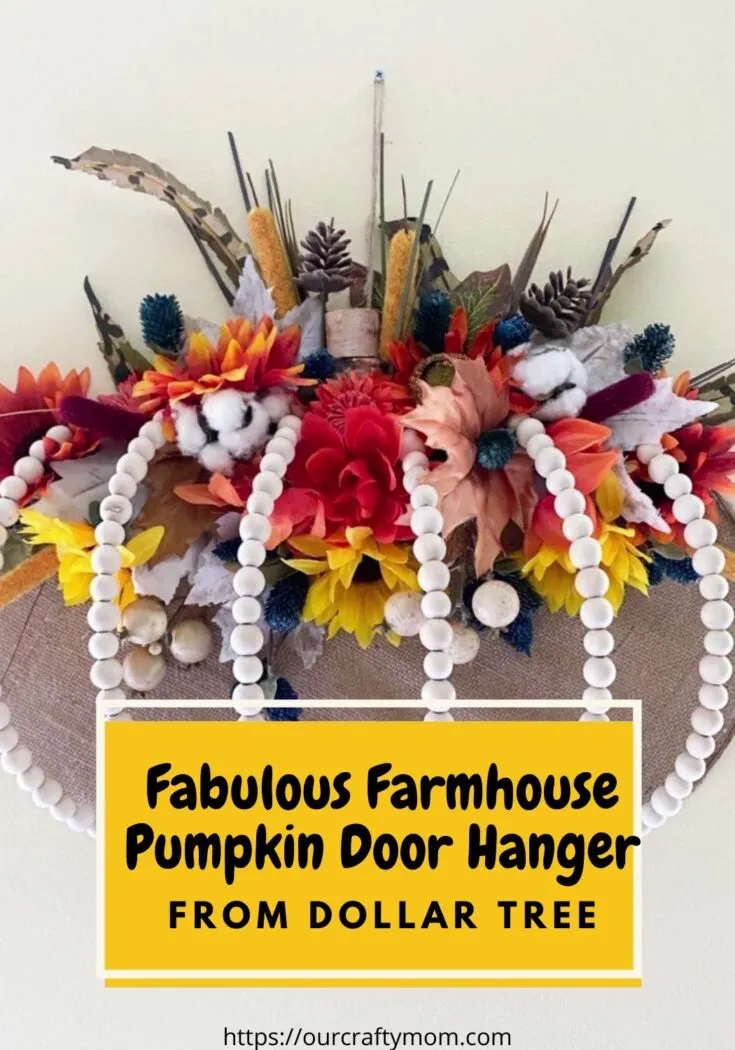
Fabulous Farmhouse Pumpkin Door Hanger From Dollar Tree
See how easy it is to make a gorgeous farmhouse pumpkin door hanger with almost all of the supplies from the Dollar Tree. This fall wreath will look great on a front door, or even hanging up inside your home as a lovely addition to your fall decor.
Materials
- Dollar Tree Pumpkin Metal Wreath
- Sunflower Stems
- Fall Dahlia Stems
- Fall Leaves
- Cotton Stems
- Fall Feather Stems
- Wood Beads
- Burlap
Tools
- Cordless Hot Glue Gun
- All In One Multi-Tool
Instructions
- Snip the wire at the top of pumpkin form using tin snips or wire cutters.
- Add wood beads to each piece of wire until it is filled with beads.
- Lay the pumpkin form onto a layer of burlap and cut around it.
- Secure the burlap to the pumpkin using a hot glue gun.
- Hot glue a wood stem for the top of the pumpkin.
- Add the fall leaves and floral stems using hot glue.
- Tie a piece of twine to the back for hanging.
Recommended Products
As an Amazon Associate and member of other affiliate programs, I earn from qualifying purchases.
-

 DICOBD 1000pcs Wooden Beads Natural Round Wood Beads Loose Beads for Jewelry Making Home Farmhouse Decoration 7 Sizes (6mm 8mm 10mm 12mm 14mm 16mm 20mm)
 -
 CleverDelights 9" Premium Burlap Roll - 10 Yards - No-Fray Finished Edges - Natural Jute Burlap Fabric
 -
 DEWALT DWHT72419L 2 Piece Multi-Tool Gift Set
 -
 Surebonder CL-800F 60-Watt Cordless High Temperature Glue Gun
You can find me on social media below:
Google Web Story: Dollar Tree Farmhouse Pumpkin
Peggy
Wednesday 30th of August 2023
How did you attach the wire you snipped back? Does the burlap hold it in place
Marian
Monday 17th of October 2022
I made one but definitely took longer than an hour
Becky Lee
Monday 3rd of October 2022
Adorable
Cricket
Friday 9th of September 2022
How did you reattach the beaded wires to the frame? What kind of glue did you use?
Wendy Warden
Wednesday 13th of October 2021
Hi, how do you reattach wires to the form after putting the beads on them? Thanks!!
ourcraftymom
Thursday 14th of October 2021
Hi Wendy. I line it up right where the frame is and hot glue it. You won't even see it due to the added flowers. Hope that helps.