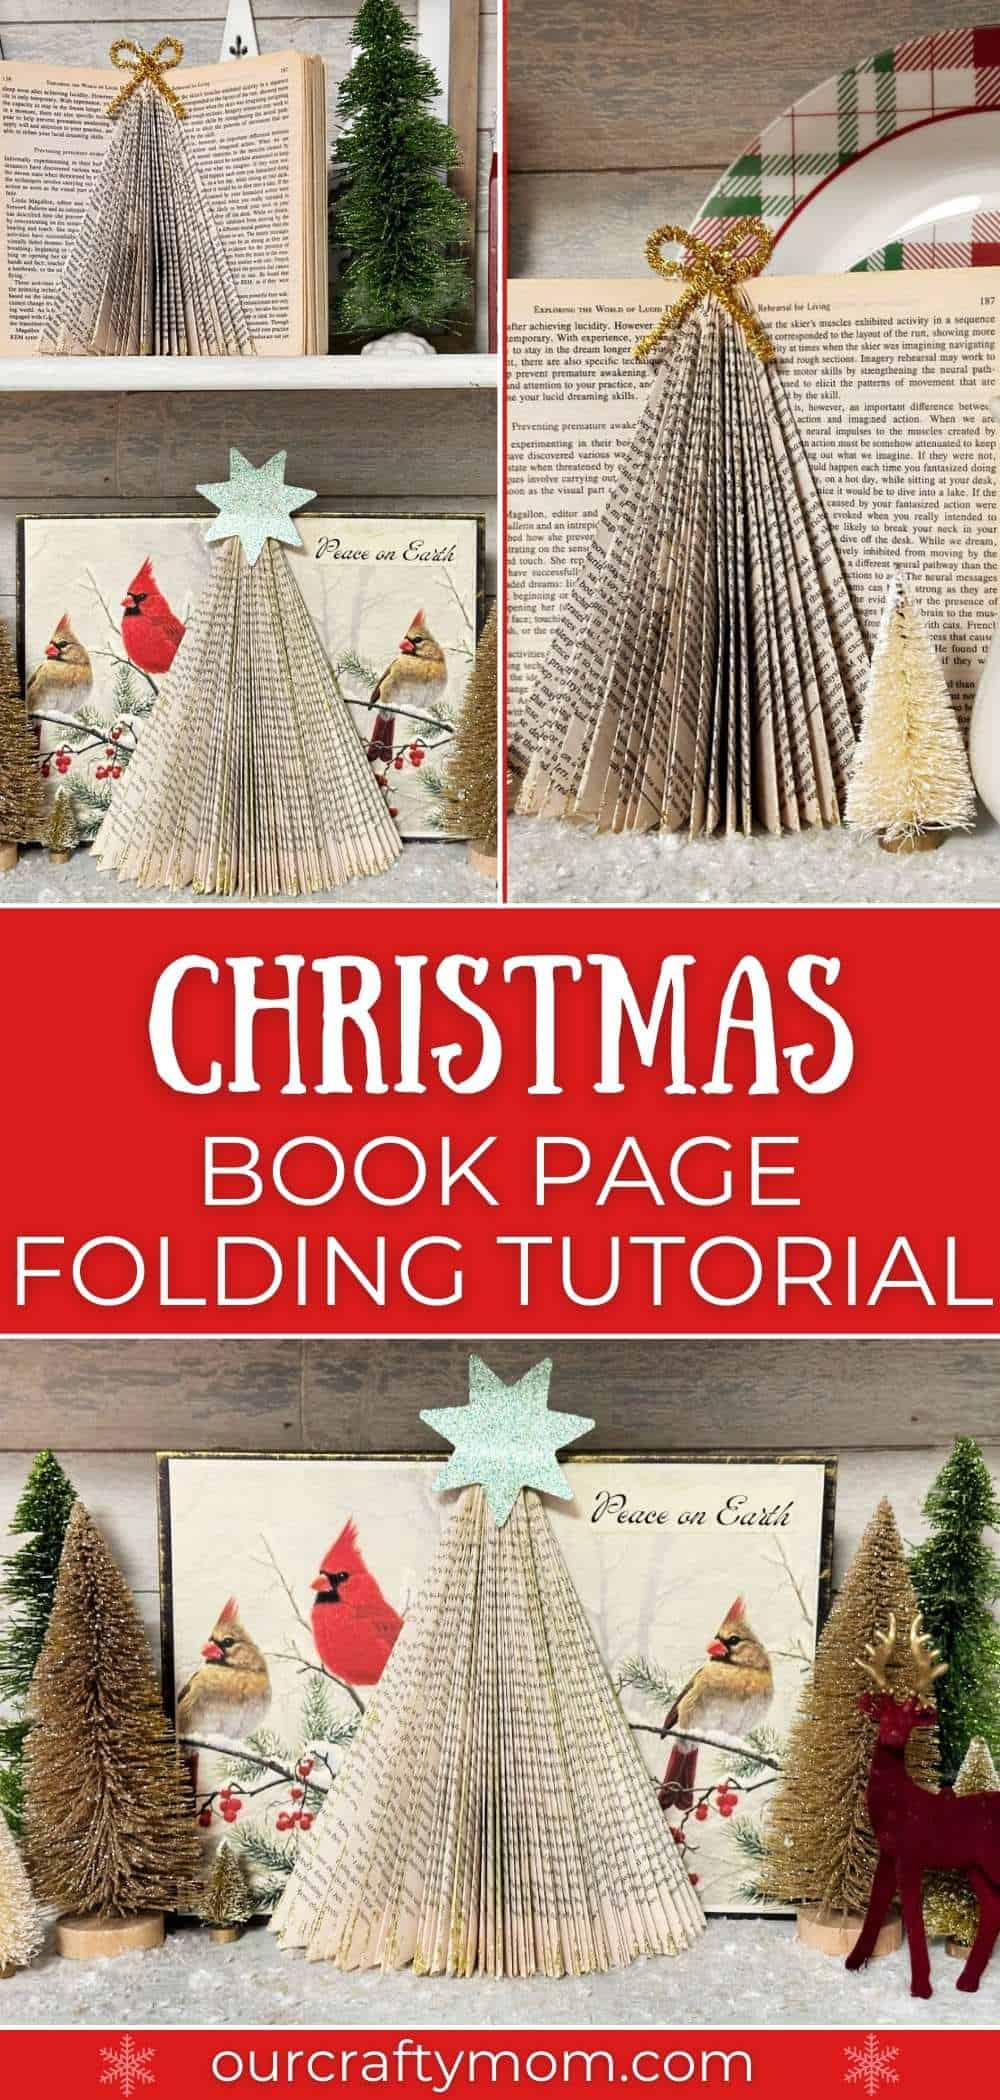
Folded book art is such a cool craft and it’s much easier than it looks to get beautiful designs.This Christmas tree took less than an hour!
I’ve been wanting to try folded book art for several years. It always looked intimidating to me.
But, I’m happy to tell you it is a super simple craft. Once you learn the 3 folds you will be whipping up all kinds of folded book designs in no time!
Let me show you the step-by-step instructions so you can make your own book Christmas tree.
This post contains affiliate links at no extra cost to you. I may earn a small commission on these products. Please see my full disclosure here.
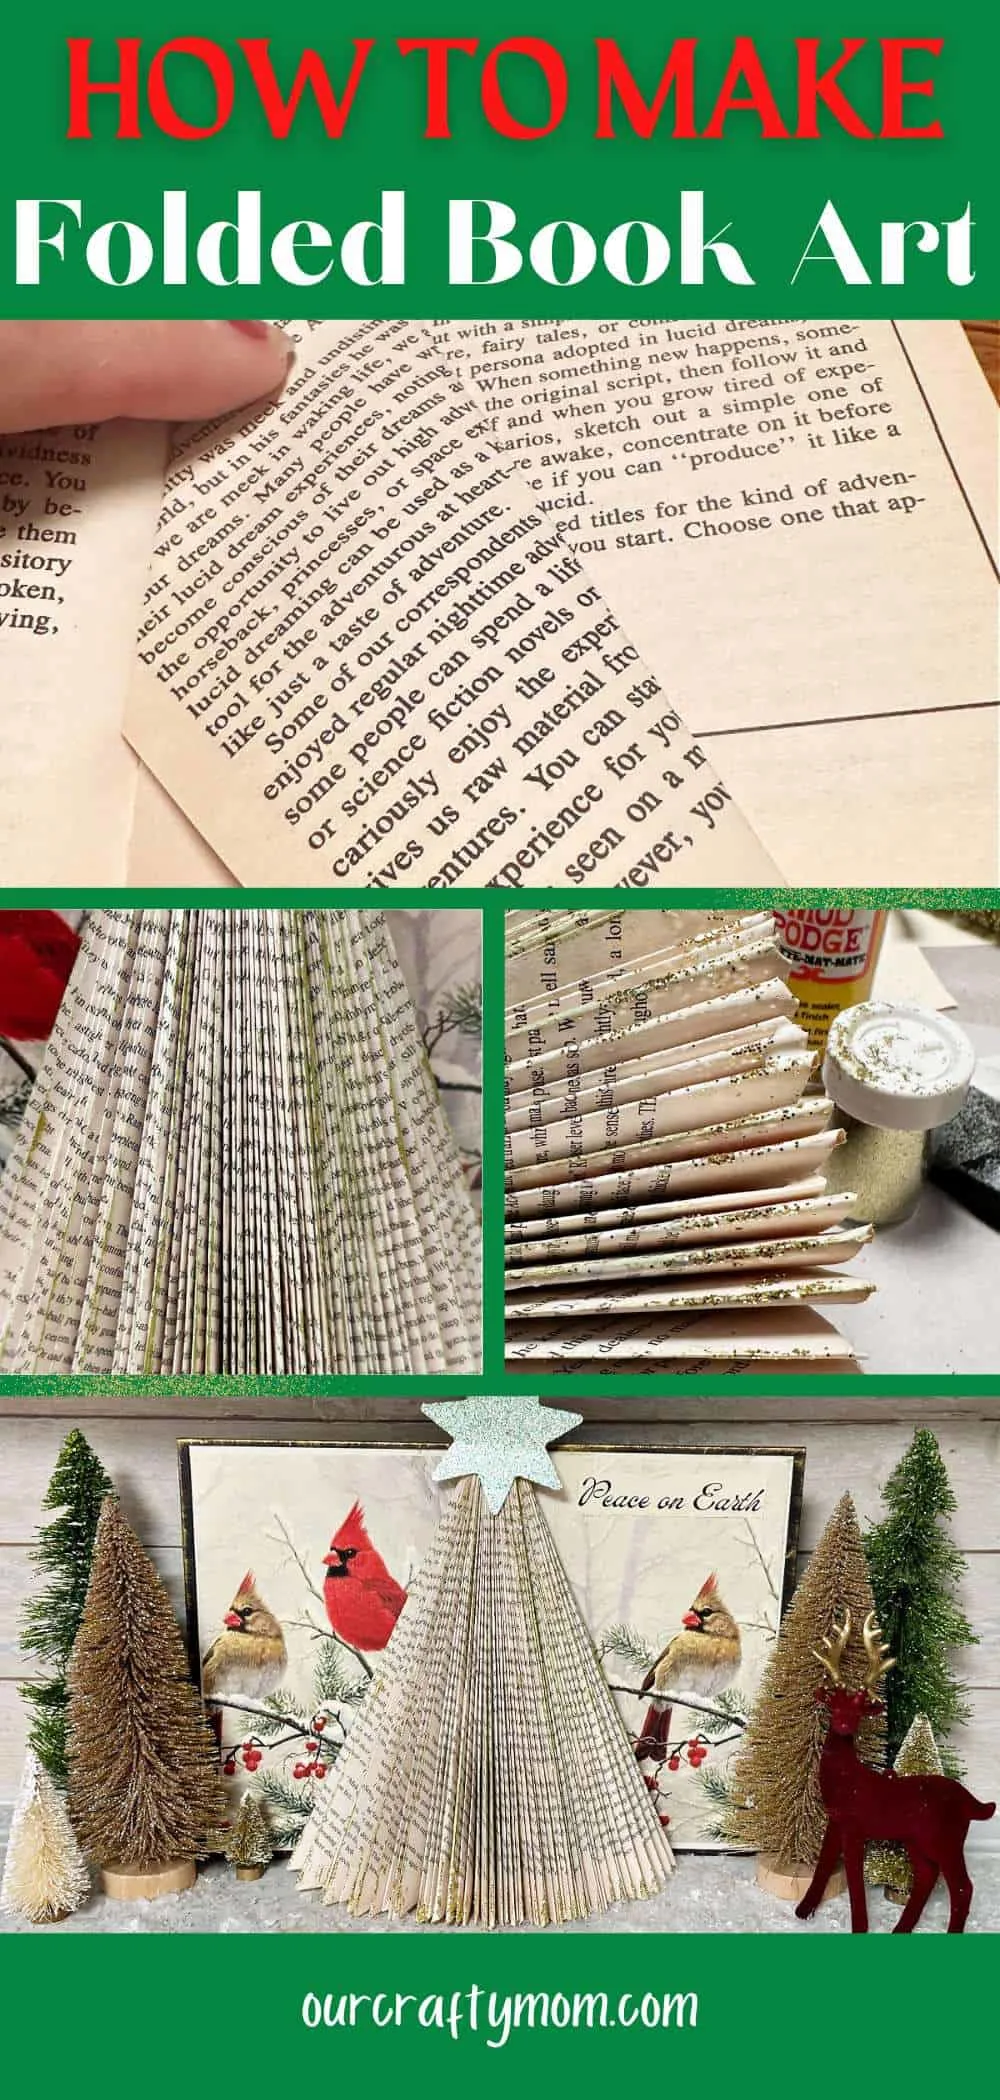
Christmas Tree Folded Book Art
There is a certain amount of joy you get when transforming an old paperback book into a festive Christmas tree simply by folding the pages.
It’s a straightforward holiday craft for adults that you can make while watching your favorite Christmas movie.
While there are detailed book folding patterns, we are starting out easy with a Christmas tree.
This makes a great Christmas decoration. Keep reading to see a few ways to decorate with them.

Folded Book Art Supplies
- Used Paperback or Hardcover Book – 300 pages is recommended
- Cordless Hot Glue Gun
- Craft Knife
- Gold Glitter
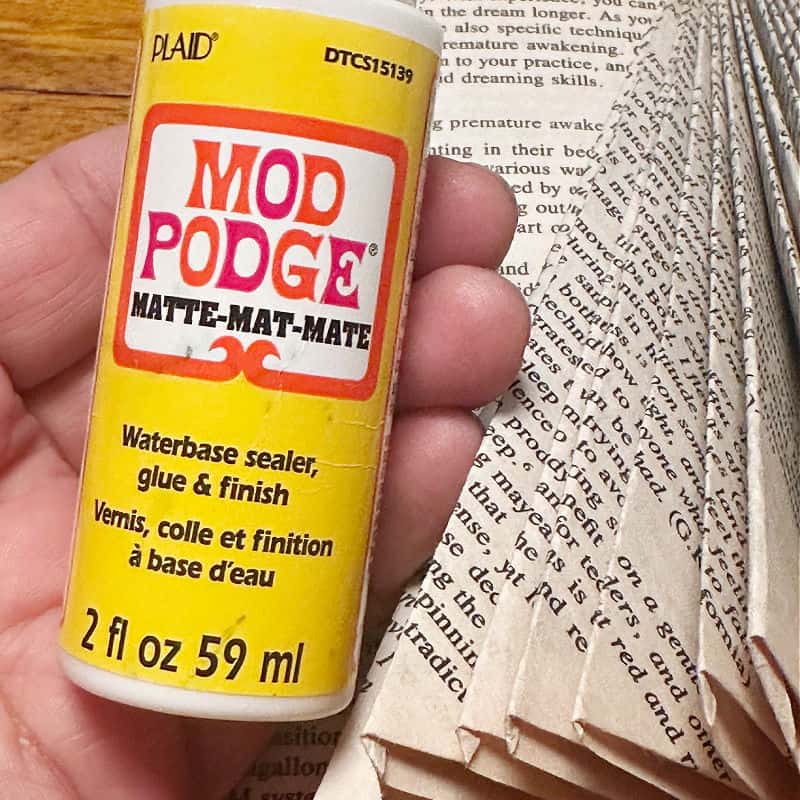
- Mod Podge
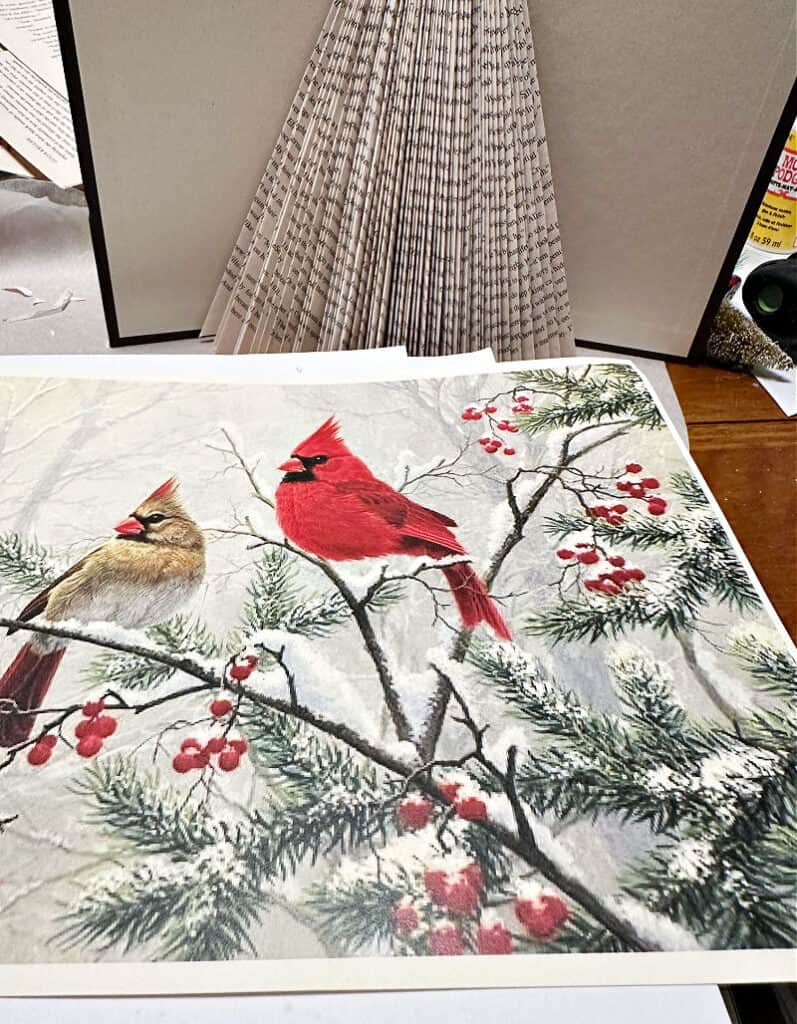
- Free Red Cardinal Printable (horizontal) Red Cardinal Printable (vertical)
If you don’t have an old book to use, stop by the thrift store. You can usually find one for a dollar or two.
How to Make a Folded Book Christmas Tree
Whether you use a paperback or hard cover you start by breaking the binding so it is easier to work with.
To do this, bend the book open and back so it is cover to cover. Press on the binding so it becomes more pliable and easy to work with.
Now you will begin with the folded pages in the center of the book.
If you are using a hardcover remove the book sleeve. You can dispose of this as we won’t be using it.
For the size you see in these images, I folded 100 pages in the center of the 300 page book, so you will start folding on page 100.
The first 100 pages and last 100 pages will remain unfolded.

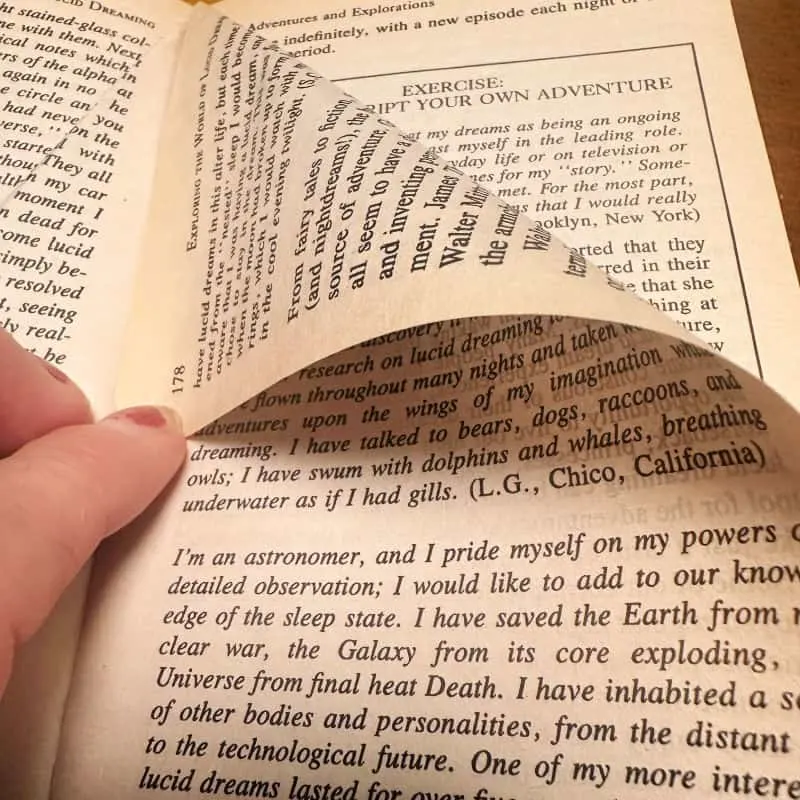
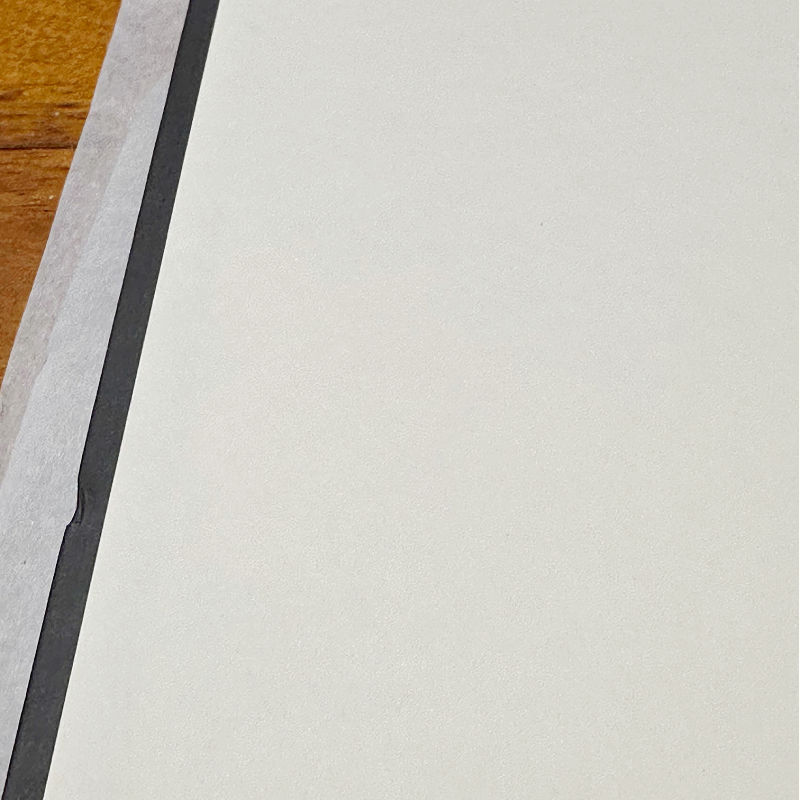
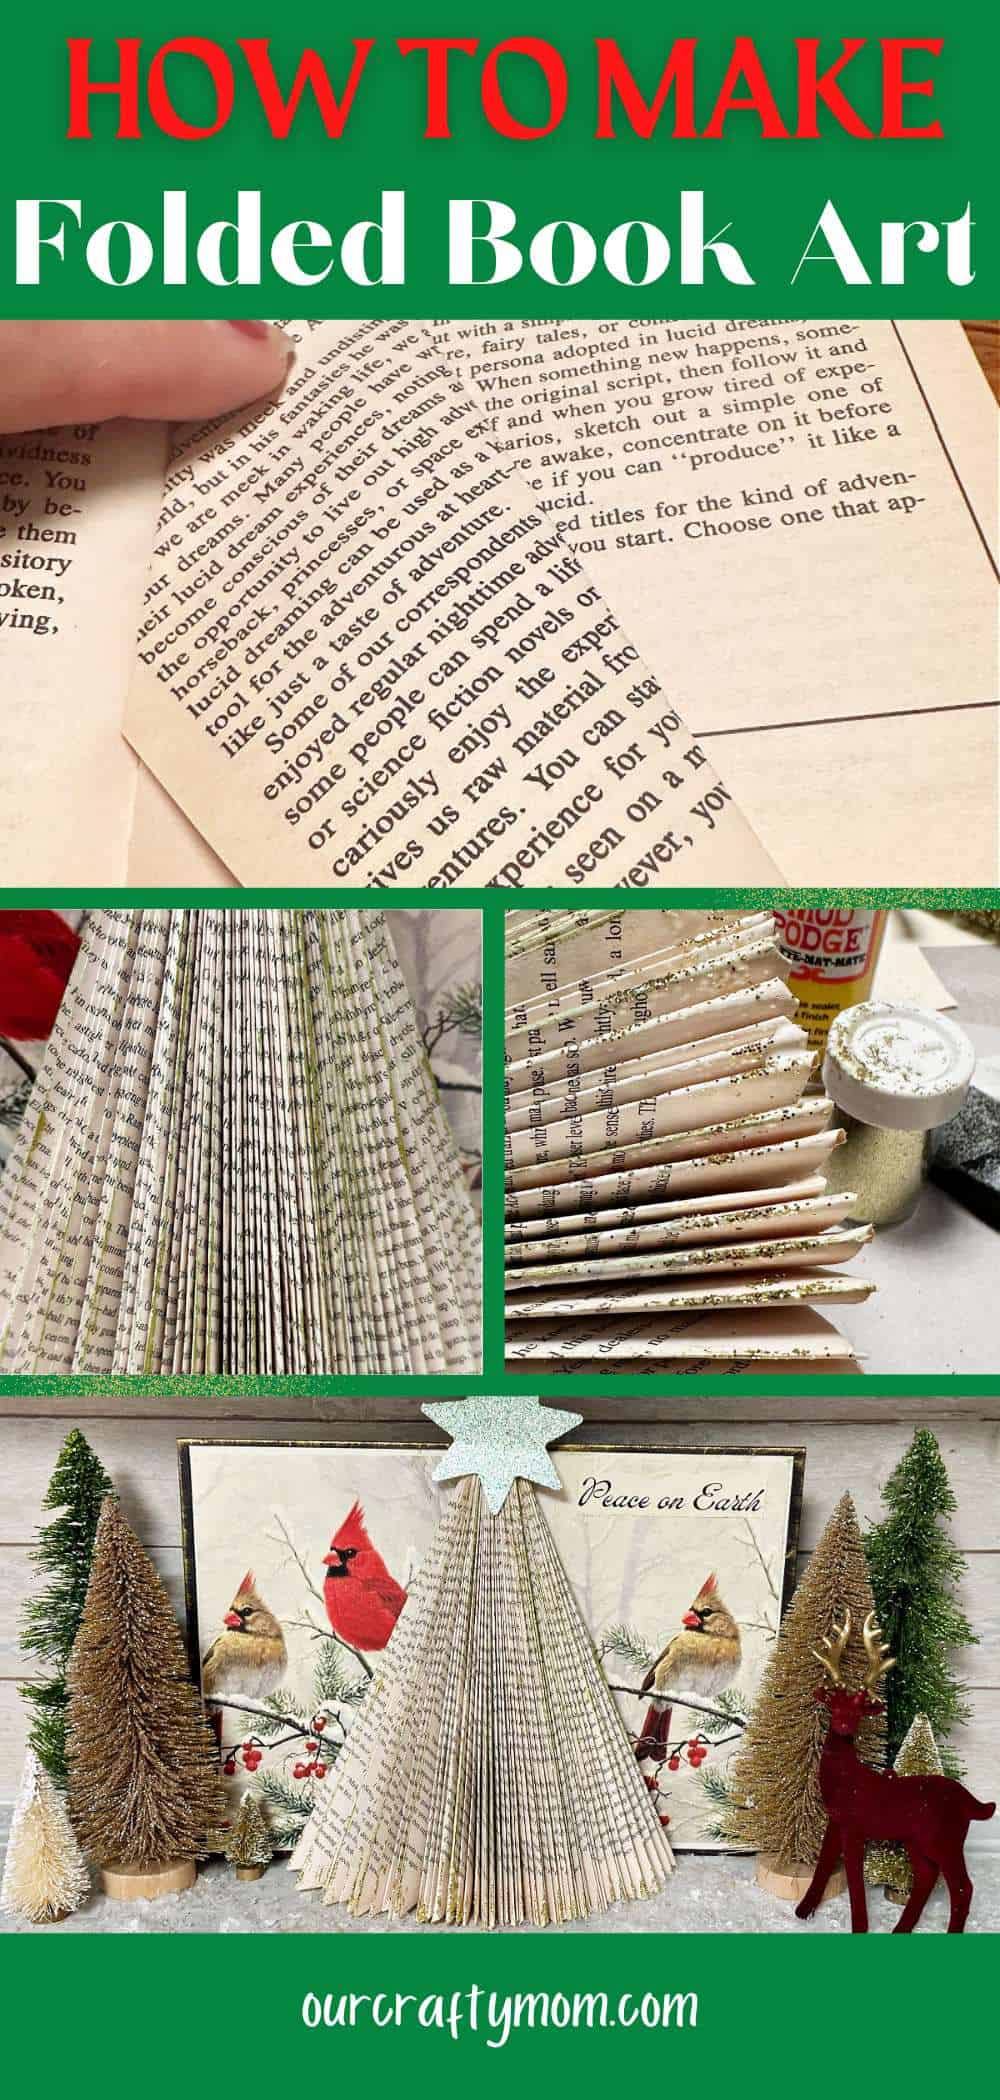
Start at the top right corner and fold about 1/4 way down to the center of the book. Press to crease the fold.
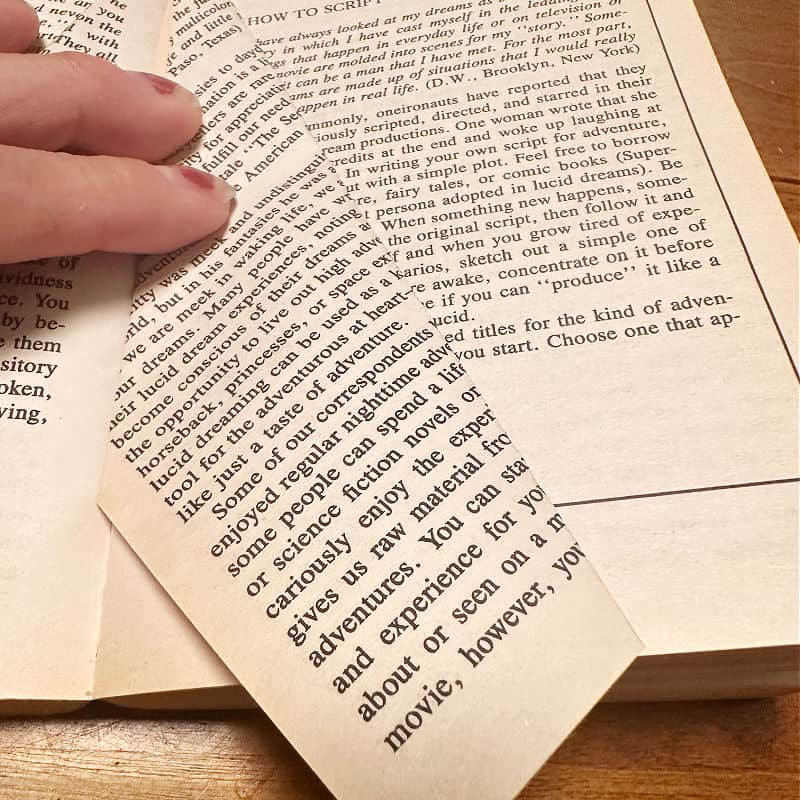

Fold the page again to meet the center of the book.
Once you have these two folds you will be left with a small triangle piece at the bottom.
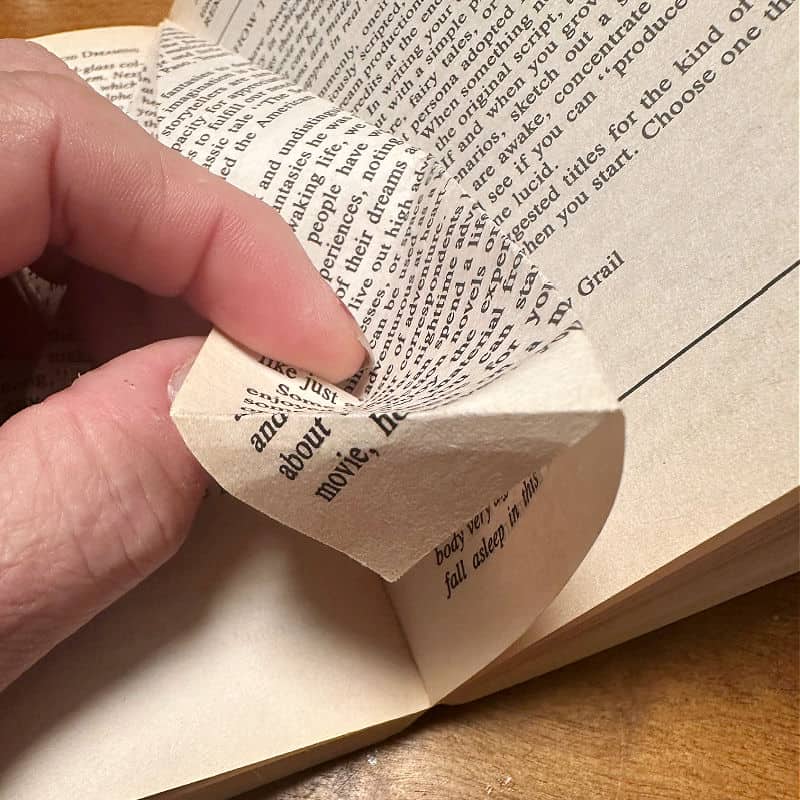

Fold this triangle piece under and crease so the book pages sit flat at the bottom.

Congratulations! You completed your first folded book page.
Now, settle in with a good movie, or play some festive Christmas music and continue with the folded pages until you have all 100 done.
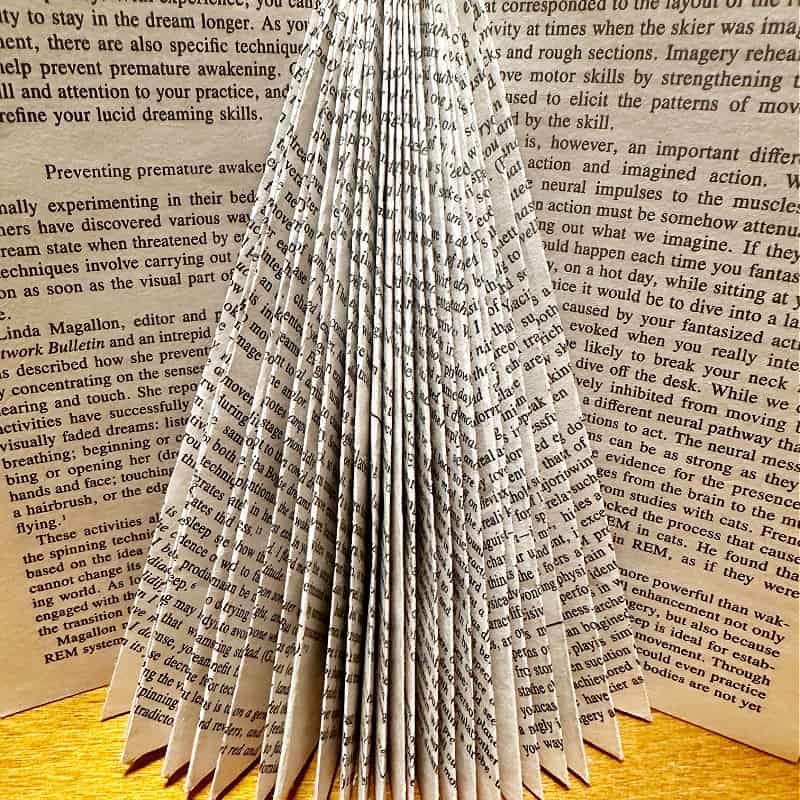

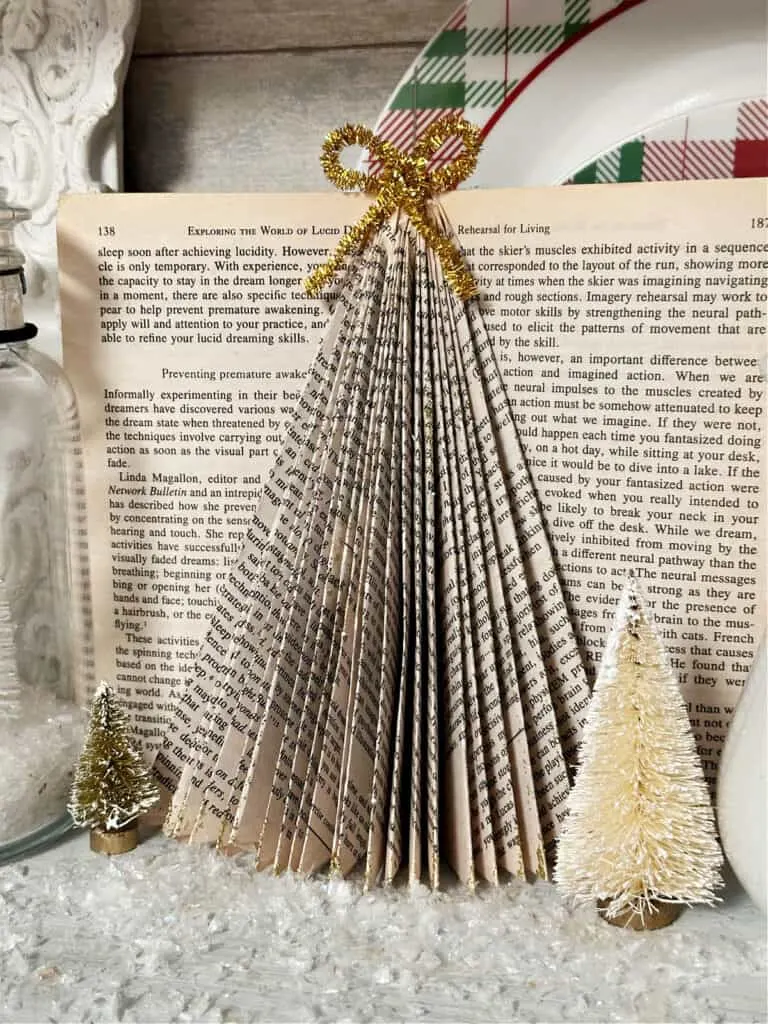
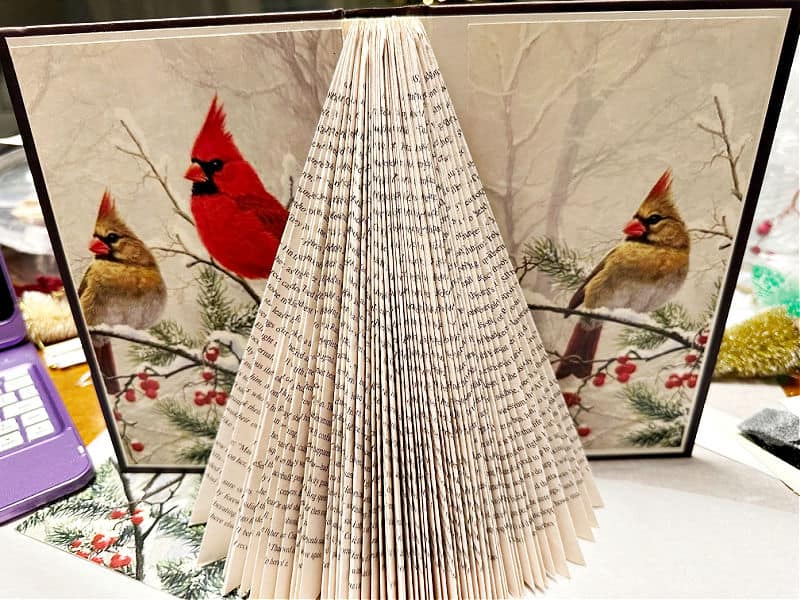
Once you finish the folding the book will stand on its’ own.
Book Folding Template
Here is a template you can print for easy reference.
There is also a printable DIY card at the bottom of this post to make this project as easy as possible.
You can also comment below or message me if you have any questions.


Decorate Your Christmas Tree Folded Book Art
Now for the fun part! You can stop here and have a beautiful and unique Christmas tree.
You can go as simple or as detailed as you want.
Here are a couple of embellishments you can add to your book art.
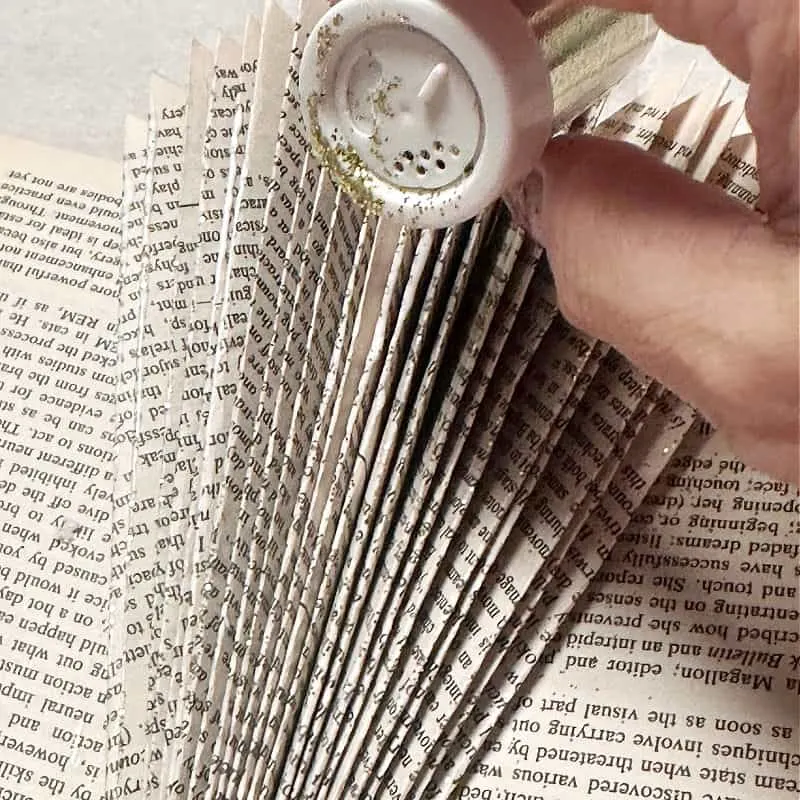
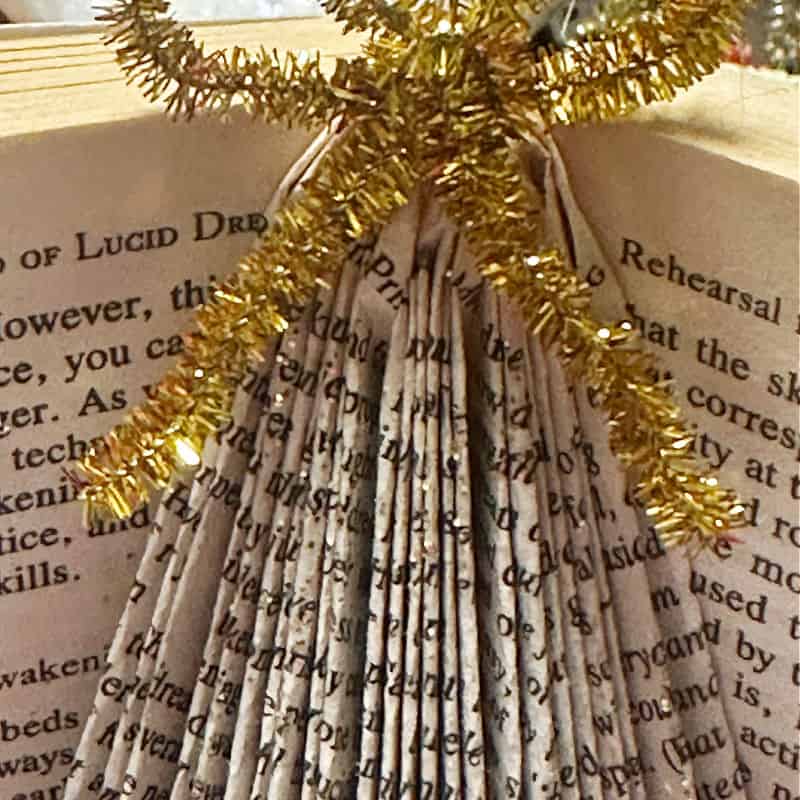
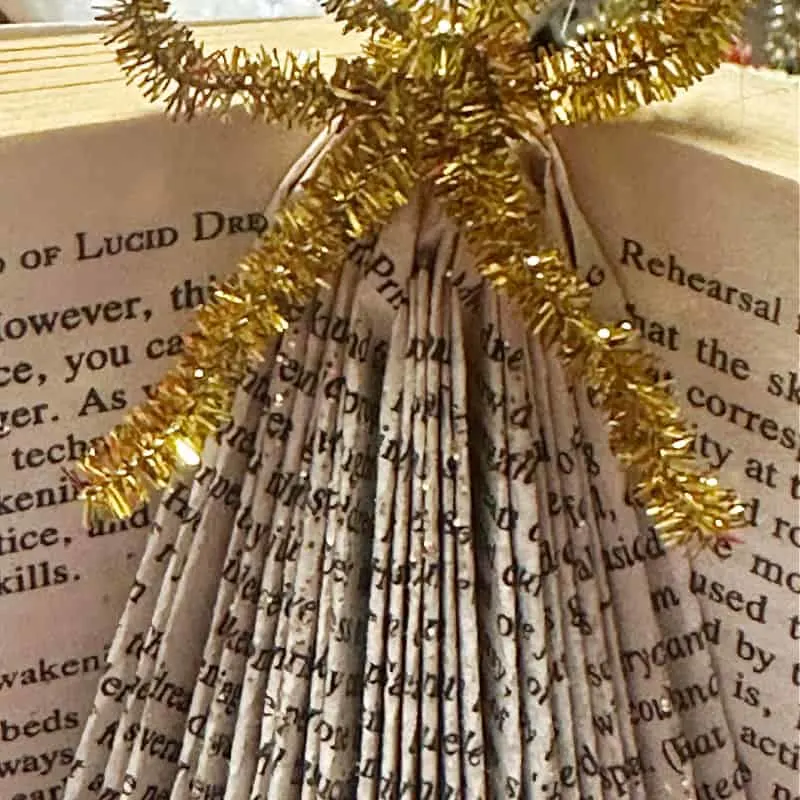
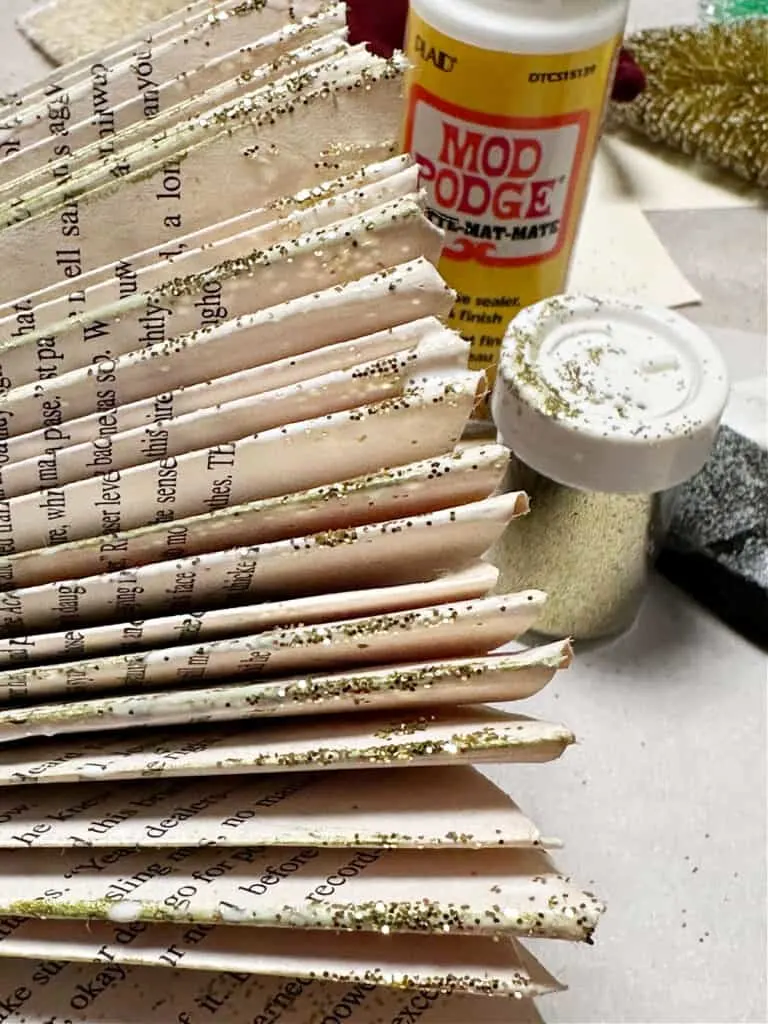
Add extra detail with a bit of mod podge and gold glitter.
It is tough to see in the photos, but the glitter really makes it sparkle.


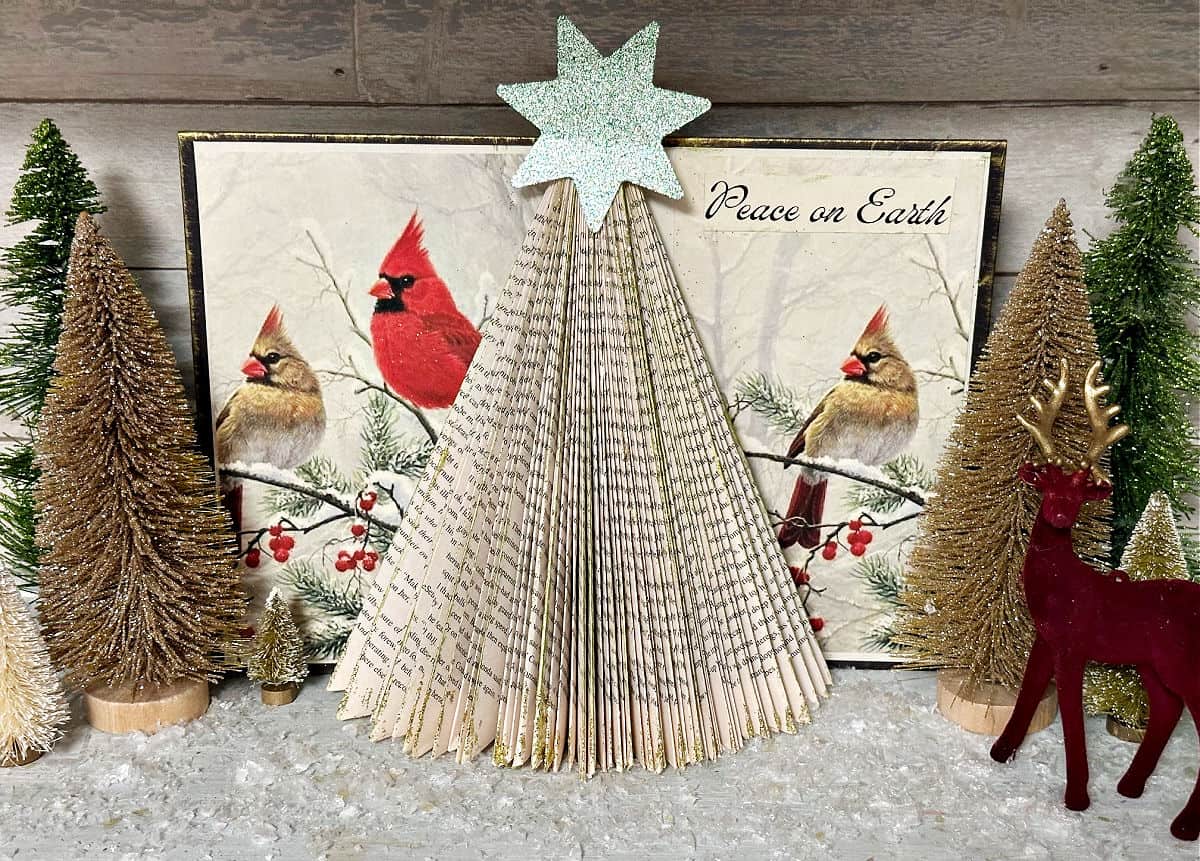
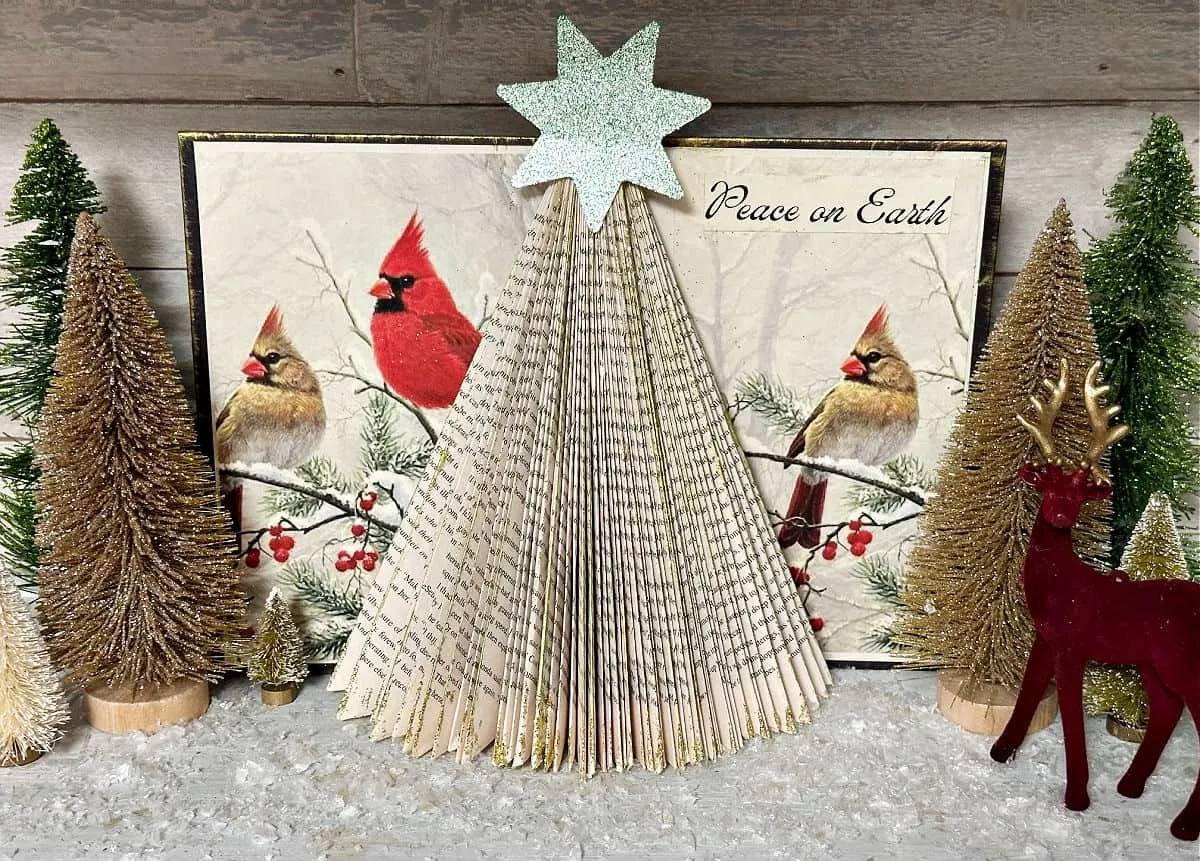
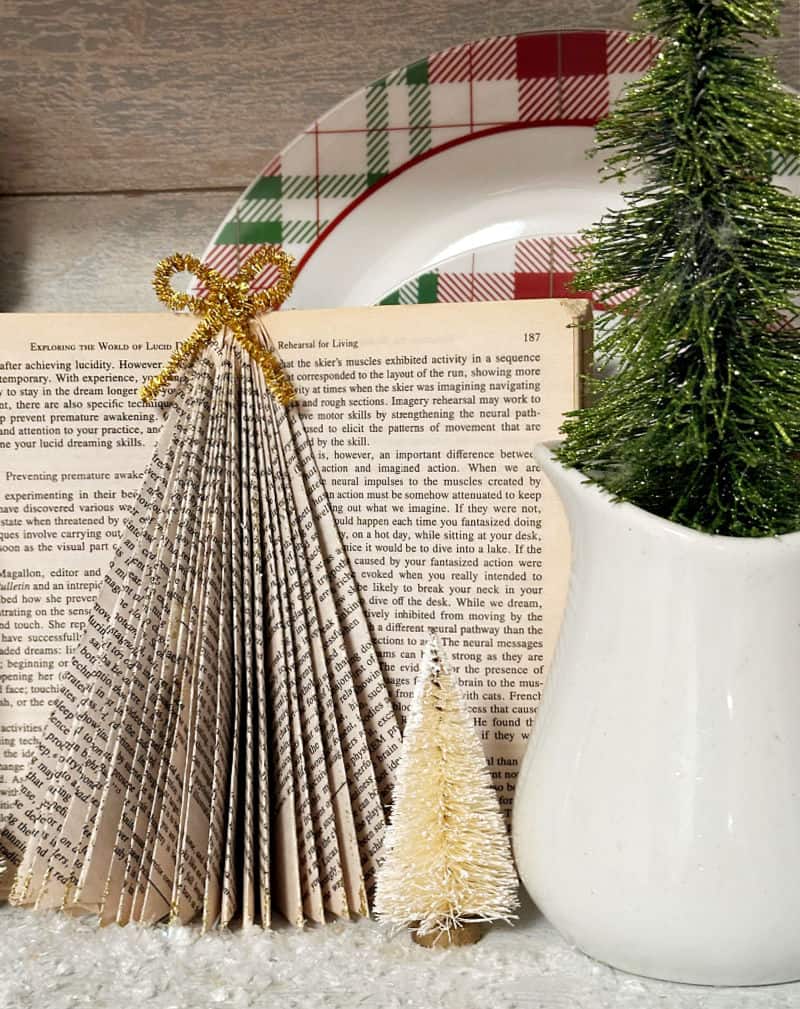
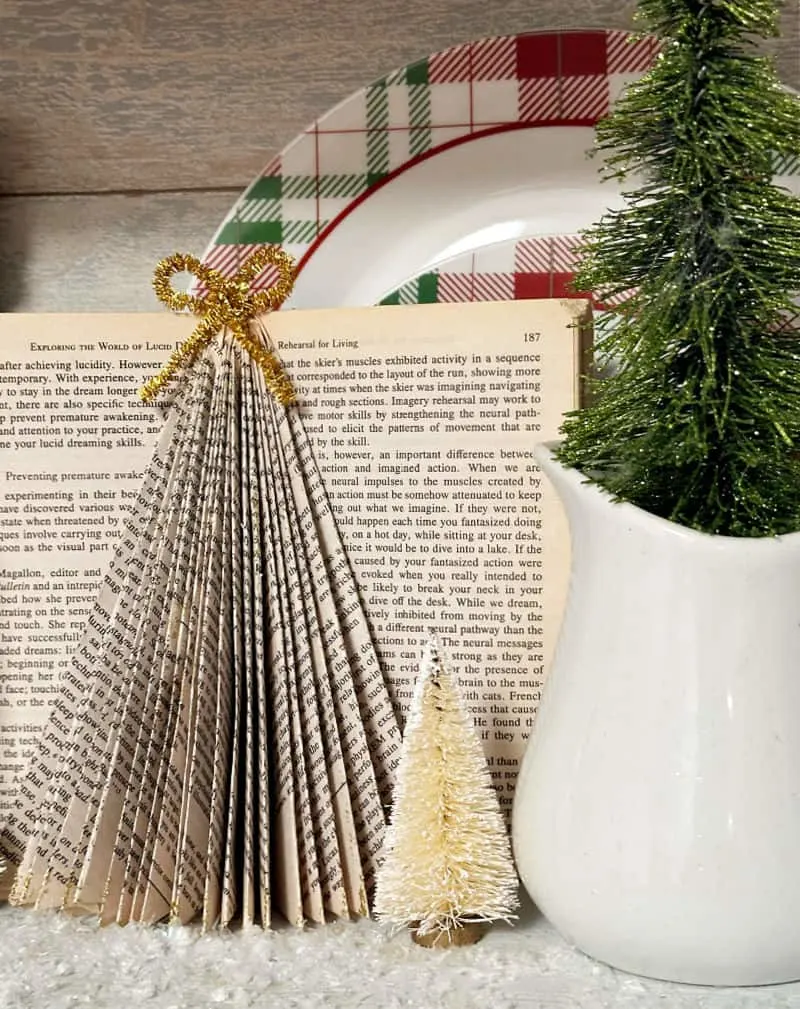
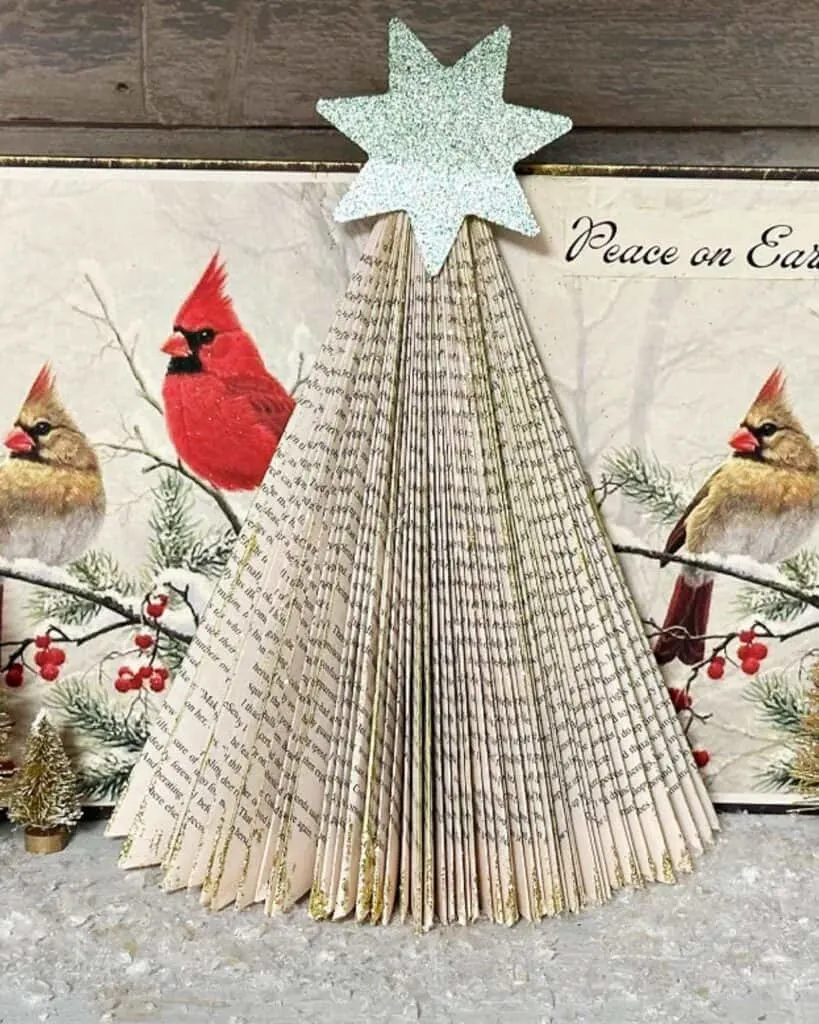
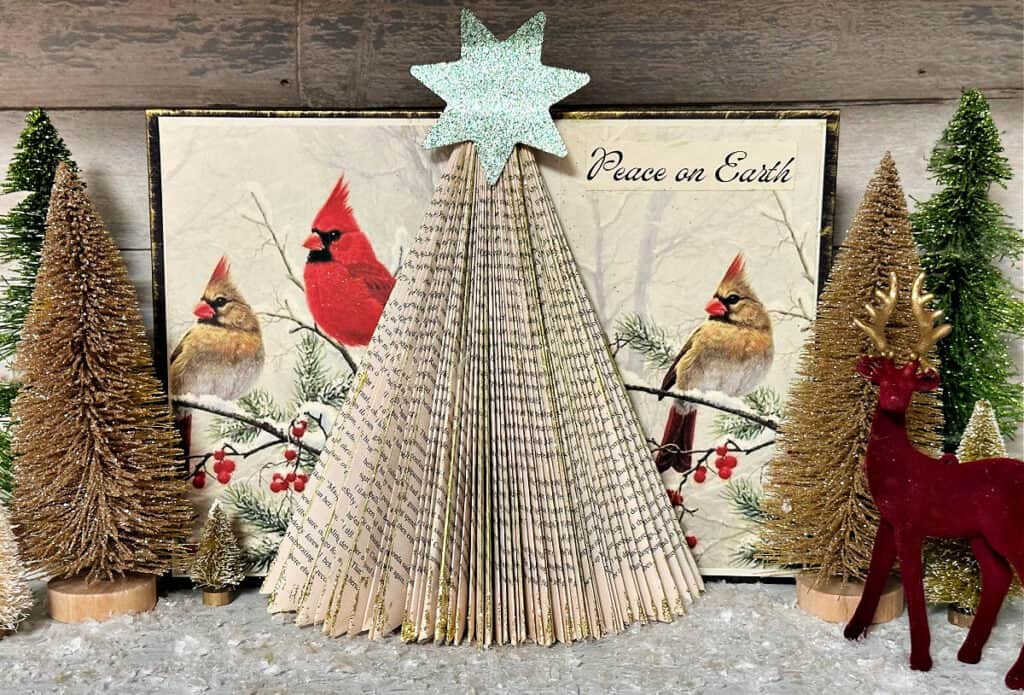
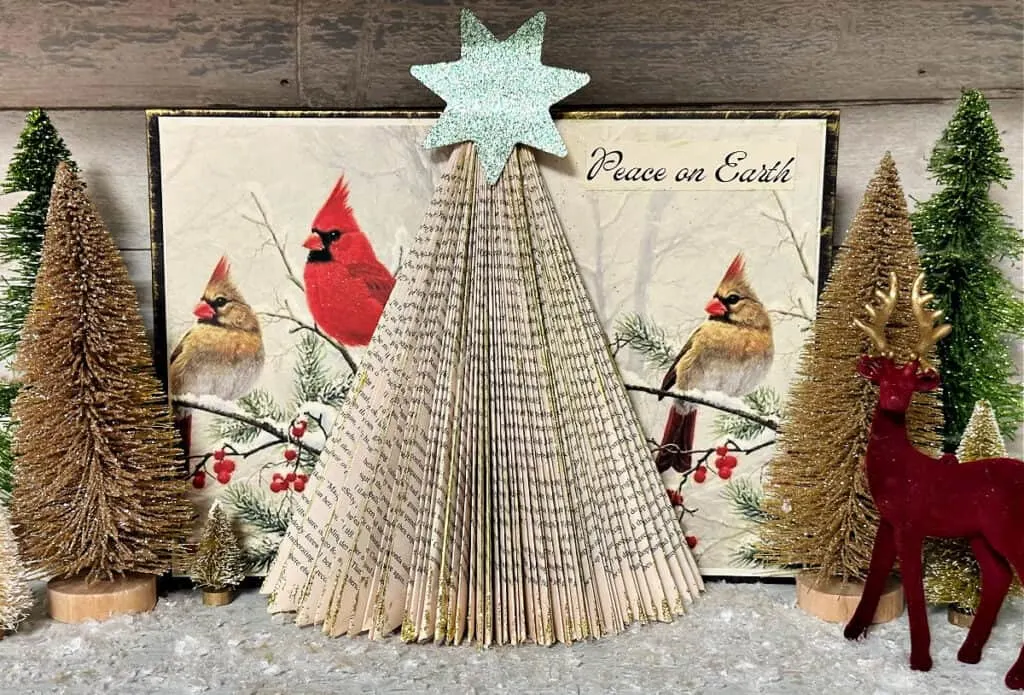
To display the folded book art I added it to my hutch with a few of my favorite bottle brush trees and sprinkled sparkly snow around it.


This is a simple, but beautiful way to decorate with your Christmas tree.
Decoupage Book Cover
If you follow me on Facebook you know I love decoupage crafts.
To really take the hard cover book to the next level, I decided to decorate the front and back of the book with a red cardinal winter scene you can download here.
I used a craft knife to cut out the unfolded pages so just the Christmas tree will be left in the middle.
My plan is to use them to make another book page craft.
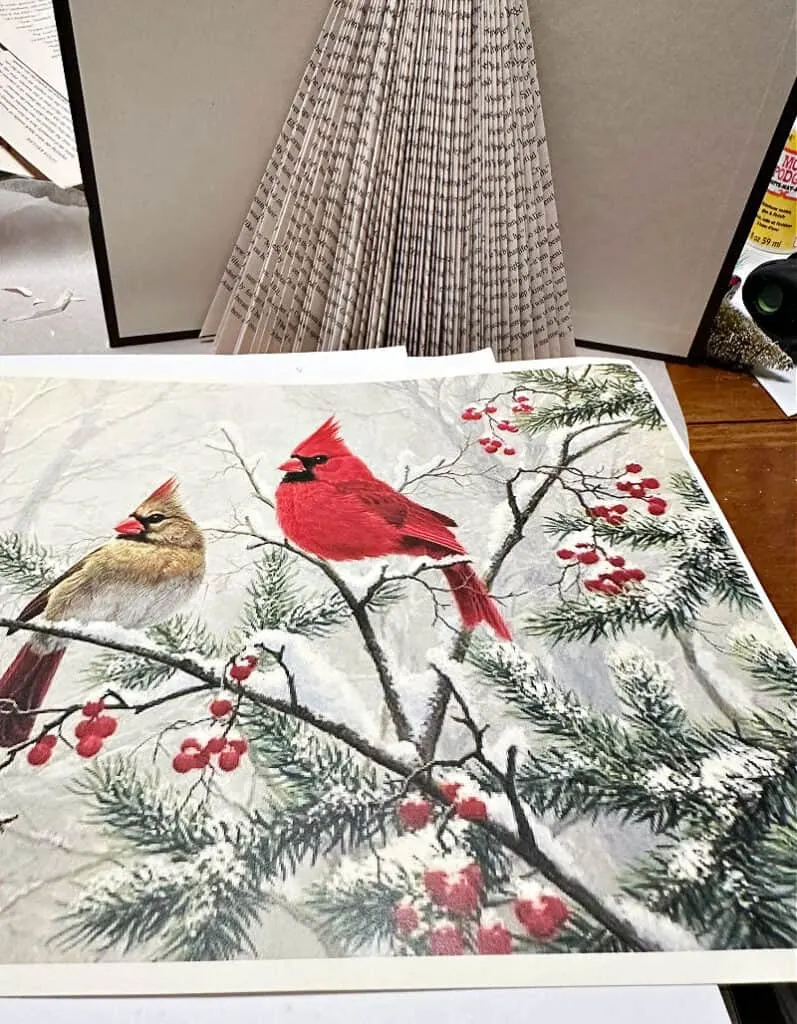
Now simply cut the printable image to fit the book cover.

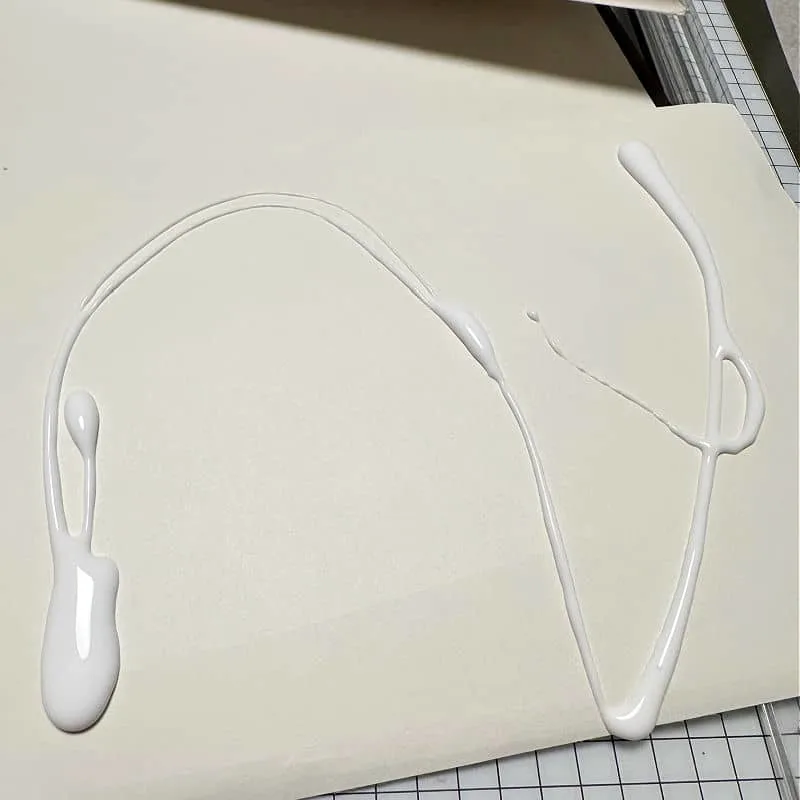
Add mod podge to the back of the cardinal image and place it face up onto the book cover.
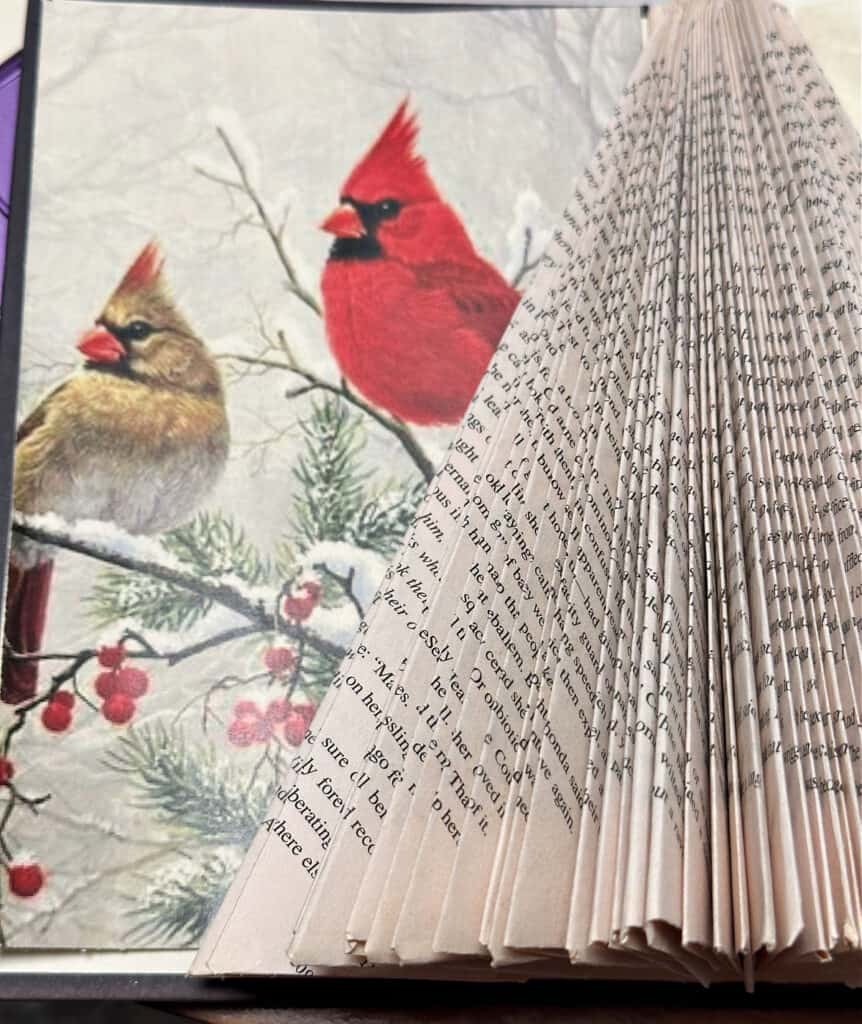

Smooth out the surface so there are no wrinkles.

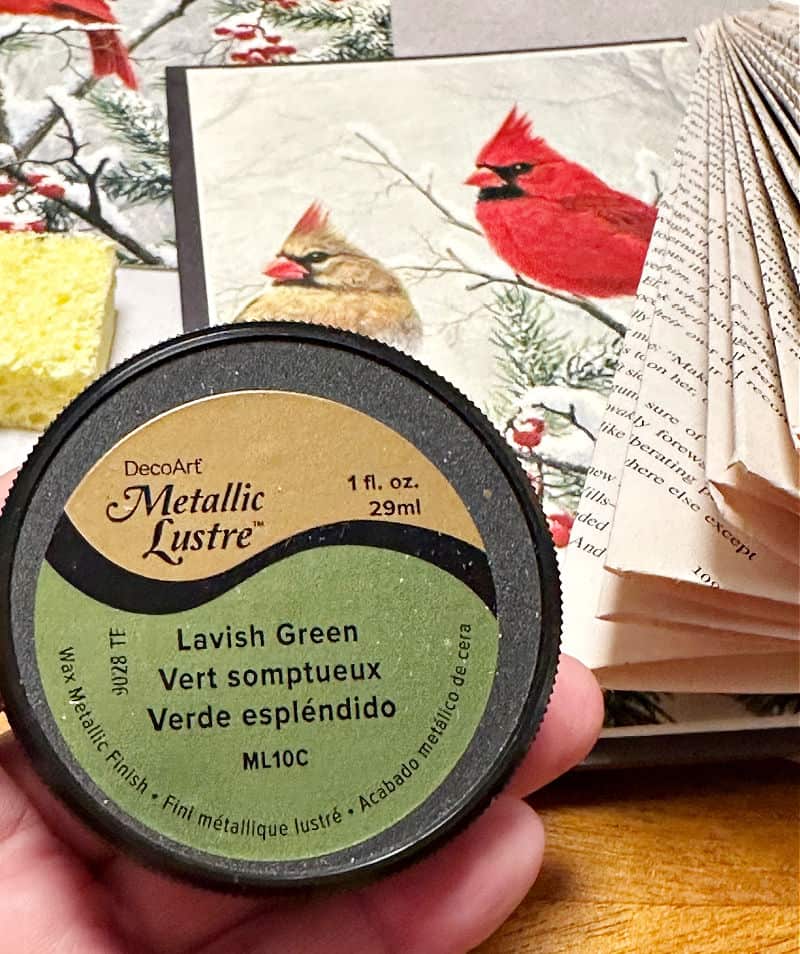
For a bit of extra detail, I used DecoArt Metallic Lustre Wax to the book pages and the outer edges of the book.

I also went a little heavier with gold glitter along the bottom of the book pages. You can never have too much glitter!

For the top of the tree, I cut out a star on my Cricut with glitter cardstock.

This is one of my most favorite crafts, so I took a bunch of photos of it displayed on my hutch.
Get creative with your Christmas tree and make it your own. The possibilities are endless!


Make several for gifts or to style in a vignette as shown in the image below:


Please share this with your friends on Pinterest by pinning the below image. It helps my blog to grow and doesn’t cost a thing! 🙂

Hopefully, you found this tutorial helpful and will make your own folded book art.
If you do give it a try, please share it with me on Facebook or Instagram by tagging @ourcraftymom.
I’ll be sharing an angel book later this week, so be sure to stop by for that. 🙂
Thank you so much for stopping by. Happy holidays!
You can find me on social media below:
Google Web Story: Christmas Tree Folded Book Art
Ms Kitty
Monday 20th of October 2025
Good afternoon, this is so beautiful. I will be making this with a craft group I run, but I have a question. I printed out the cardinal background. Well, it printed out in a rectangle and very small. I tried to enlarge it, but it still prints out as a rectangle. It's winder than long. So my question is... How did you get it to print out as a tall rectangle like a book? Am I doing something wrong?
Michelle James
Sunday 26th of October 2025
Hi Ms. Kitty. I am so glad you like the printable. I did update this post with a vertical printable and kept the horizontal. Both links are in the supplies list. However, I've also attached it here for you. https://ourcraftymom.com/wp-content/uploads/2025/10/Red-Cardinal-Printable.jpg Happy crafting!
Pamela Robison
Wednesday 23rd of October 2024
I love it. The strange thing that I remember making one of these when I was in a 7th grade private school in New England as a class project. I'm now 71, and I had been milling around in my thoughts about making one since I was living in a situation that had cramped all creative endeavors. I love making things with my hands and hate being idle in front of the TV.... I am starting one tomorrow morning ( as it t the middle of the night presently). Thank you so much for this. -Pam
Michelle James
Thursday 31st of October 2024
Thank you for sharing your story! I am a New Englander as well from RI now in NH! Crafting at night in front of the tv is the best! Please share a pic of your finished book if you can. Have fun with it! :)