A quick guide on how to dry oranges in the oven with simple styling ideas for beautiful garlands, wreaths, and seasonal decor.


This post contains affiliate links. This means if you click the link and buy something, I may receive a percentage of sales at no extra cost to you. Please see my full disclosure here.
I’ve been wanting to make dried orange slices to use in my holiday decorating for several years.
I’m not sure why I waited so long, because it is not difficult. However, it is time consuming.
After seeing how they look on my mantel, it was totally worth the effort. The good news is, you can make these without a dehydrator.
In fact, you only need a few kitchen staples to make your own festive dried orange slices. Let’s get to it.
Supplies Needed for Dried Orange Slices
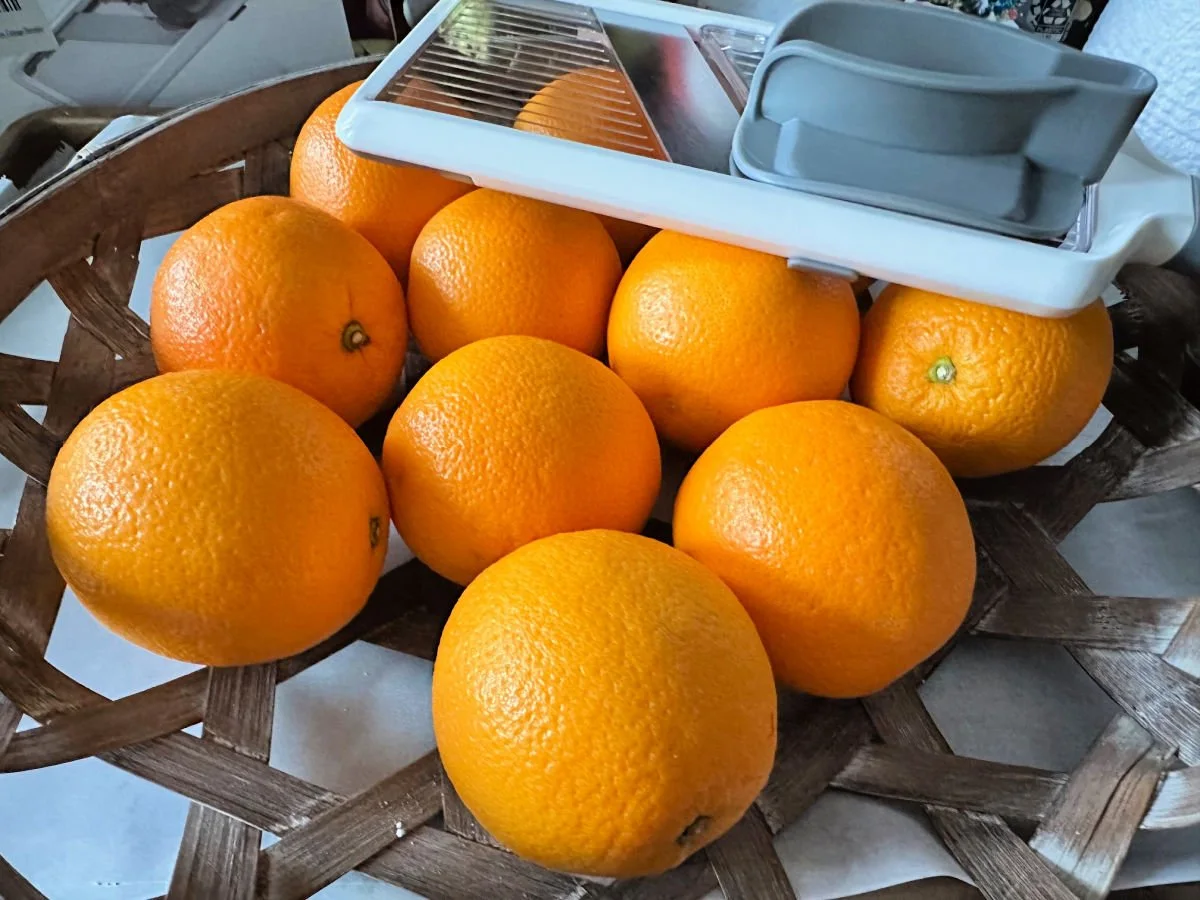
- Oranges – I used navel oranges. You can also add in tangerines and blood oranges for color variation if you like.
- Paper Towels
- Parchment Paper
- Sheet Pan
- Mandoline Slicer-or sharp knife
- Cutting Board

How to Make Dried Oranges in the Oven
The main tip I have for you with drying orange slices is to bake them low and slow. Plan a day when you are going to be home, turn on some good music and enjoy the process!
It took me 6 hours to bake this entire 8 lb bag. but I have a ton of slices to use in my decor. I’ll share a few decorating ideas at the bottom of this post.
Step 1. Pre-heat Oven
Set your oven to 200°F (90°C). Baking at a low temperature is the most important step for drying the slices evenly without burning them.
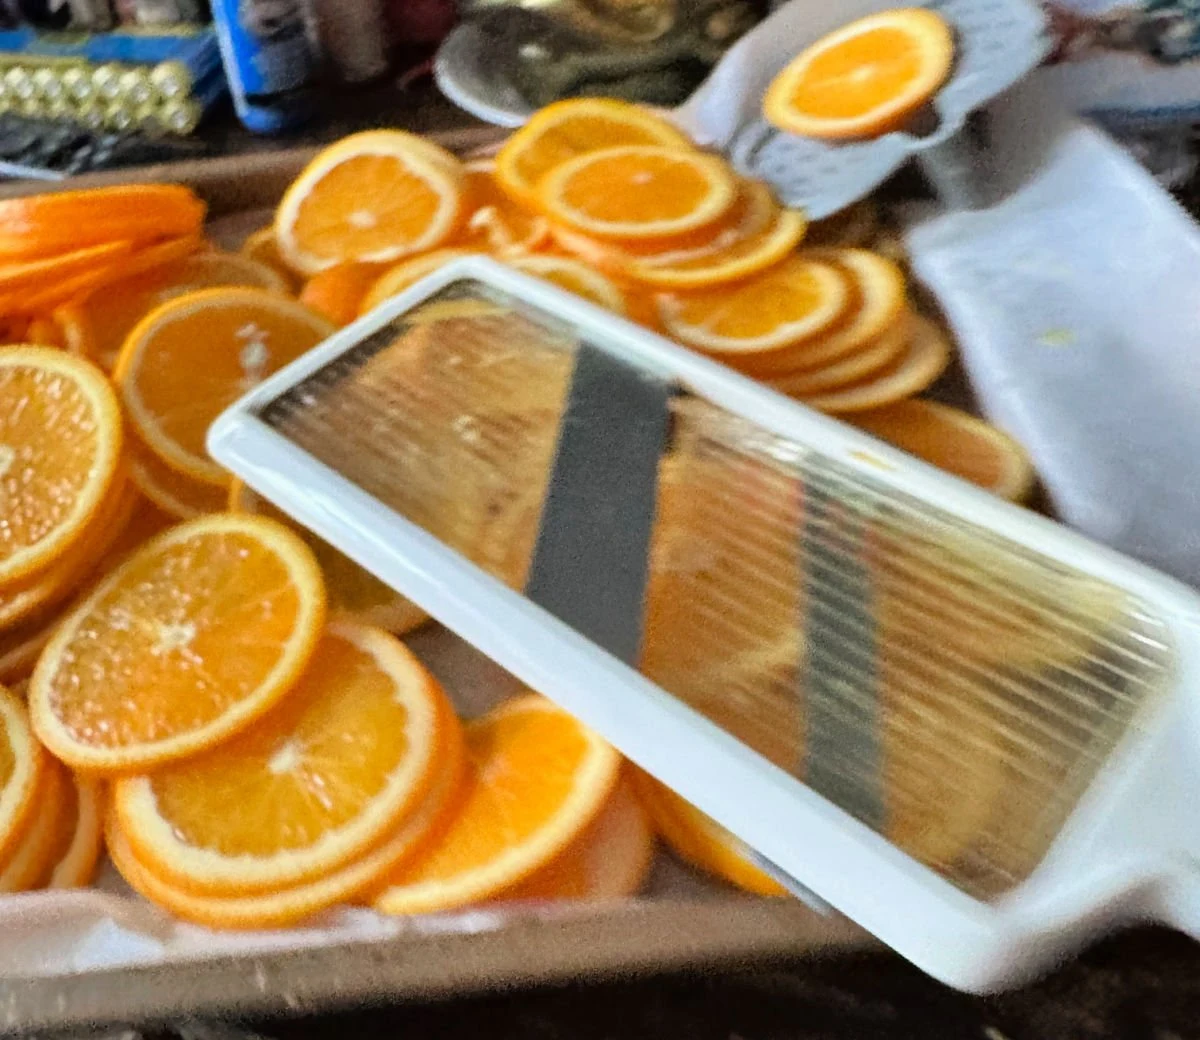
Step 2. Slice the Oranges
Use a sharp knife or mandolin to slice the oranges into thin, even slices about 1/8″-1/4″ thick. I bought this mandolin specifically with this project in mind.
I knew I would have difficulty slicing all of the oranges with a knife. It was worth every penny and cut like butter!

Save any orange scraps to add to flavored water, cocktails or for desserts.

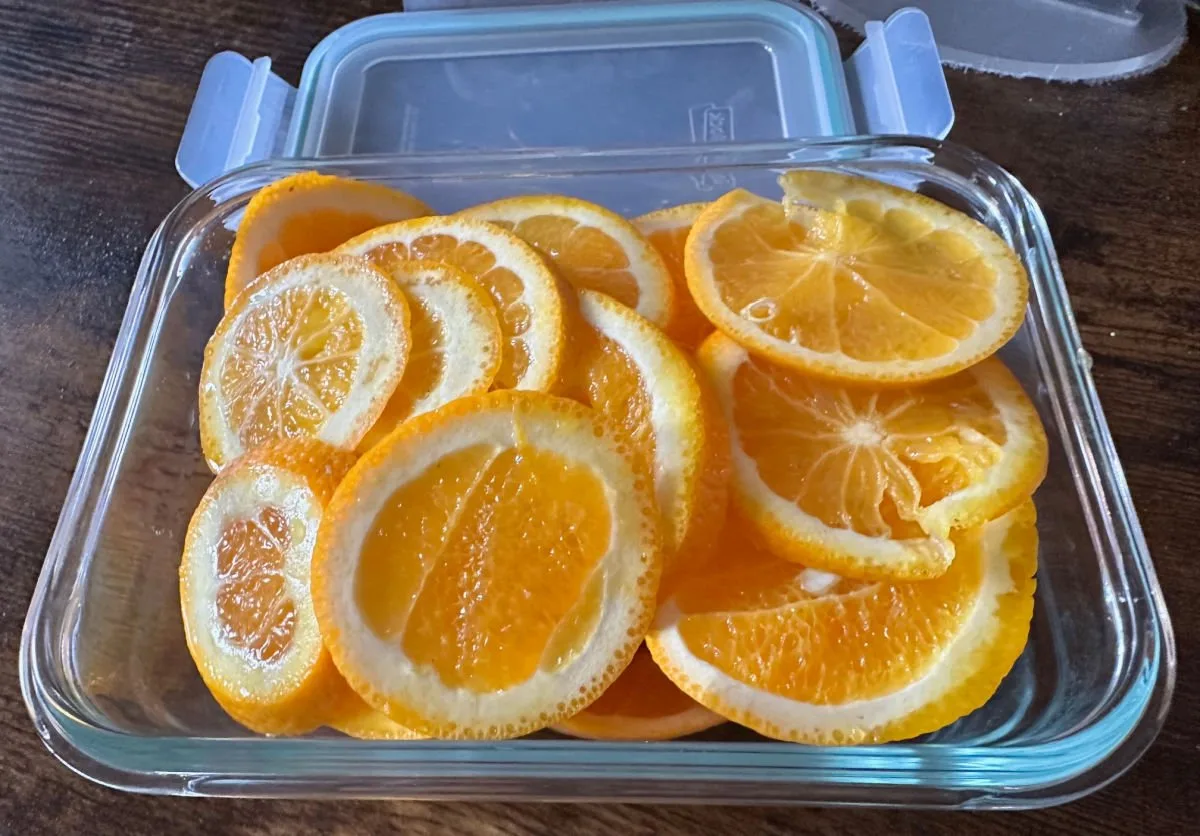
Step 3. Place on Baking Sheet
Line a baking sheet with parchment paper and place the oranges in a single layer, without touching.
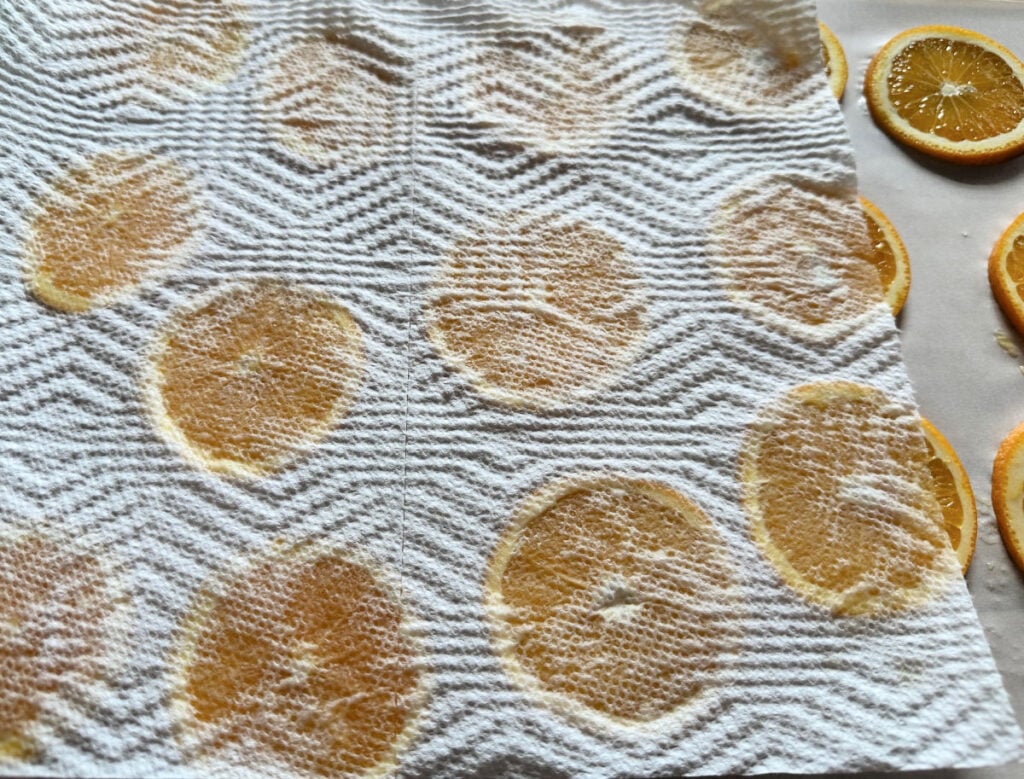
Be sure to pat the oranges dry with a paper towel on both sides. This helps with the drying process and helps them dry evenly.
One thing I missed was removing the seeds. They look better without the seeds. 🙂
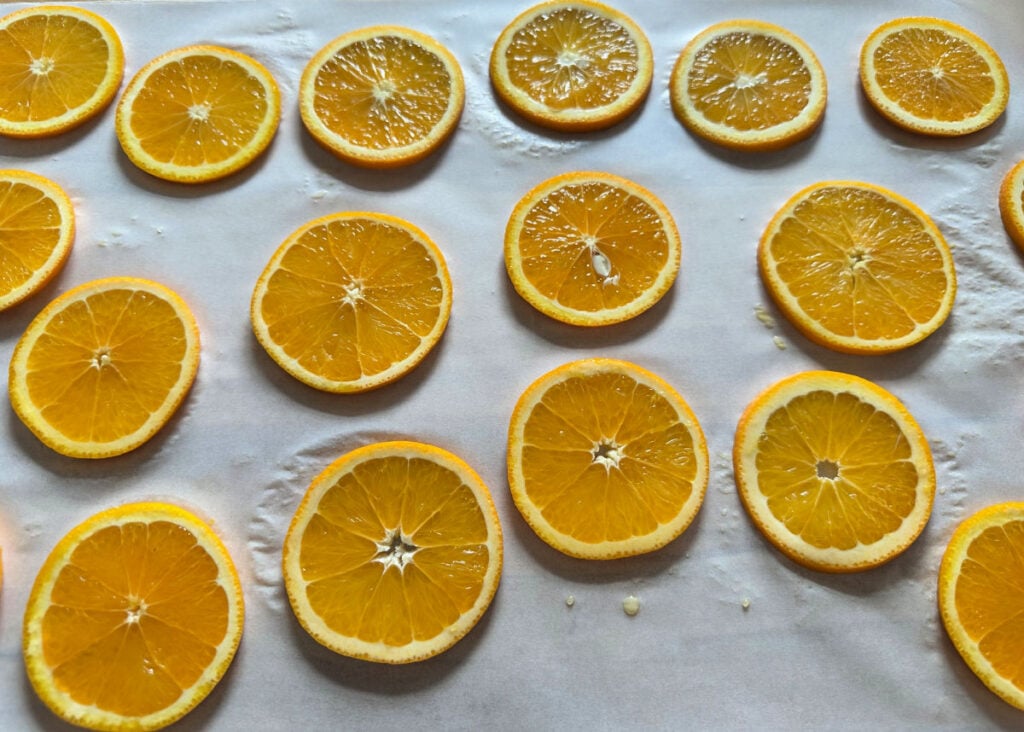


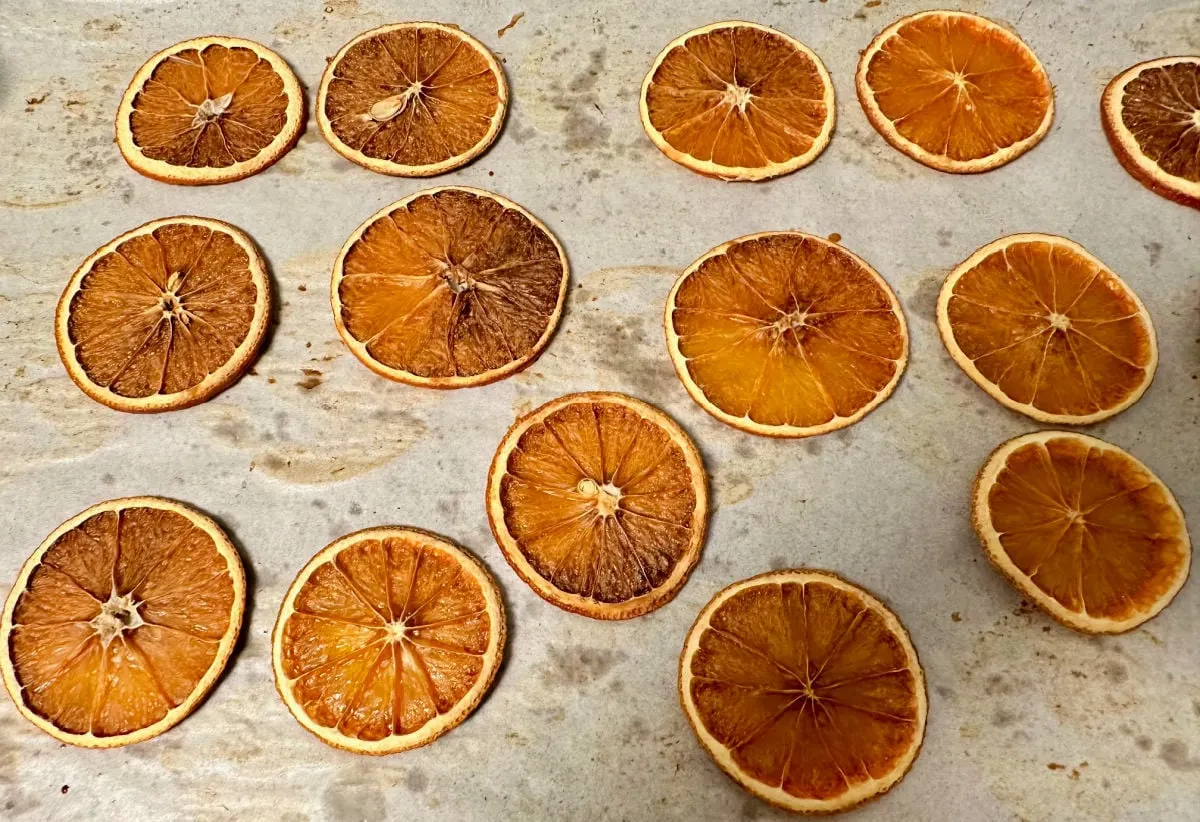
Step 4. Bake Low and Slow
Place the cookie trays in the oven and bake for 2-4 hours. It is important to flip the oranges every 40 minutes.
The exact time will depend on your oven and the thickness of the oranges. They will get a translucent finish.
Mine took 3 hours each batch. I made two batches of two trays.

Step 5. Let Cool Overnight
It helps to let them sit overnight to completely dry. They will harden and make it easier for decorating purposes.
If you’re saving your dried orange slices, protect them by sealing each one with a clear craft spray.
Dried Orange Slices Decor
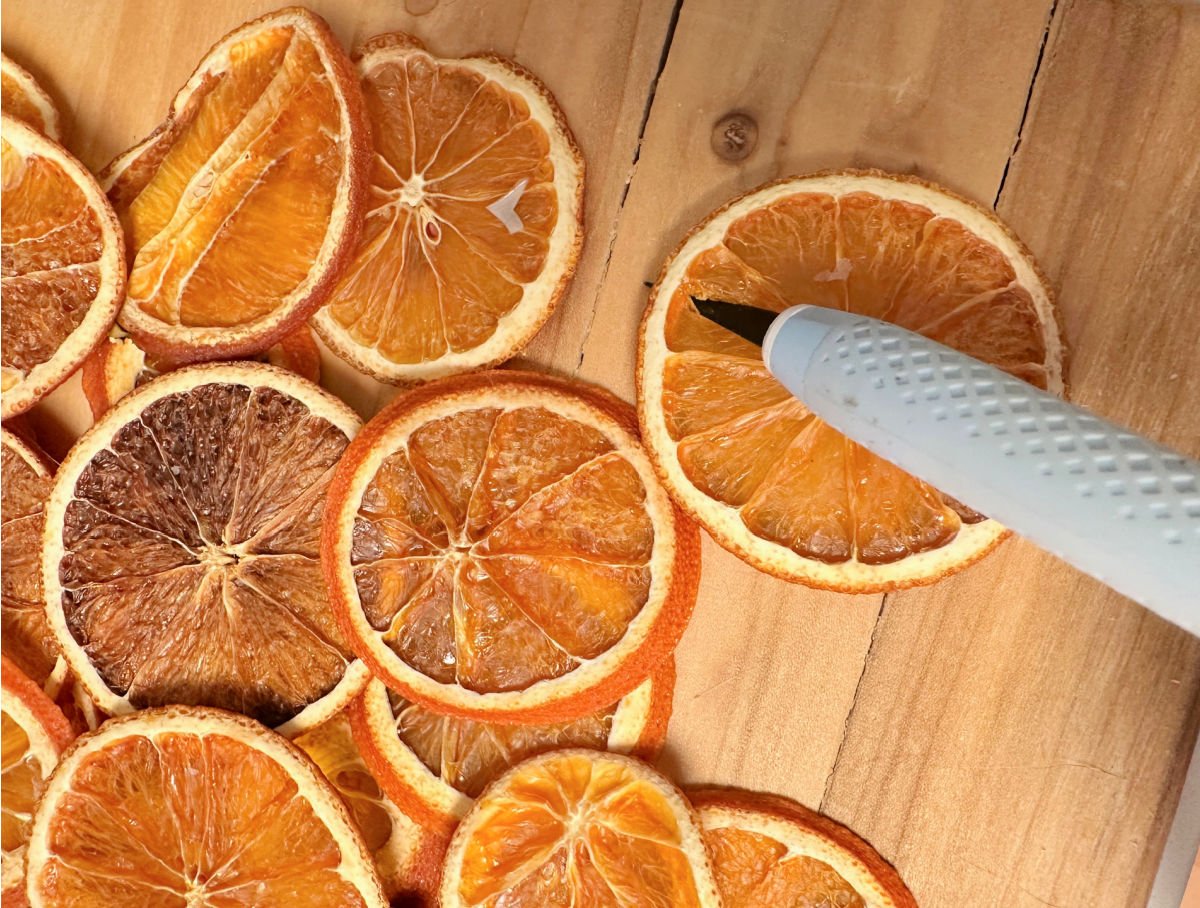
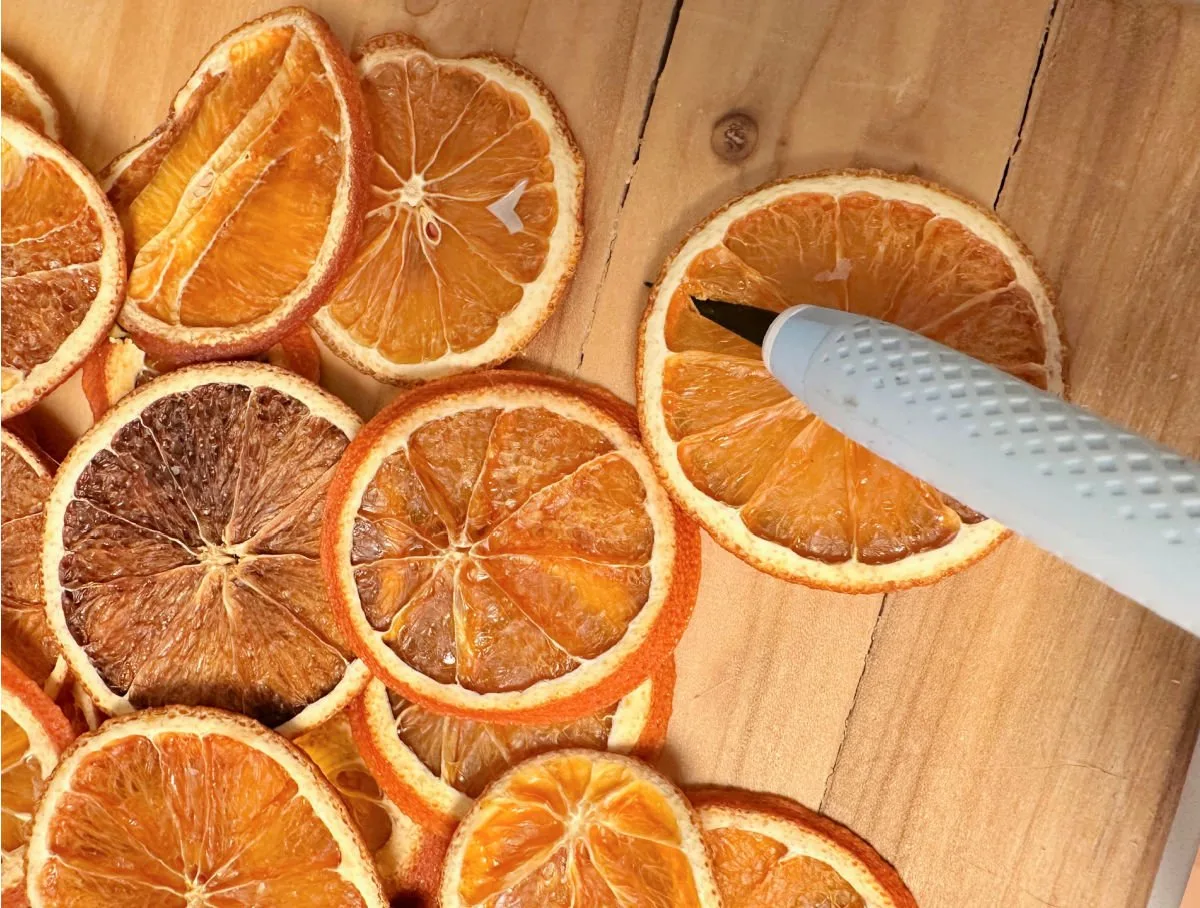
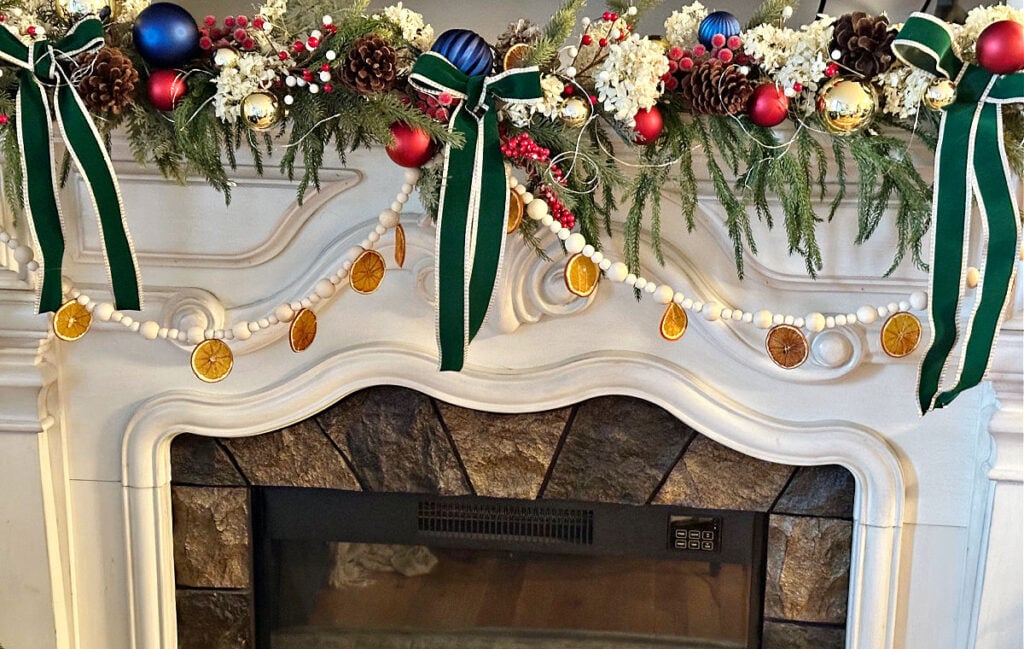
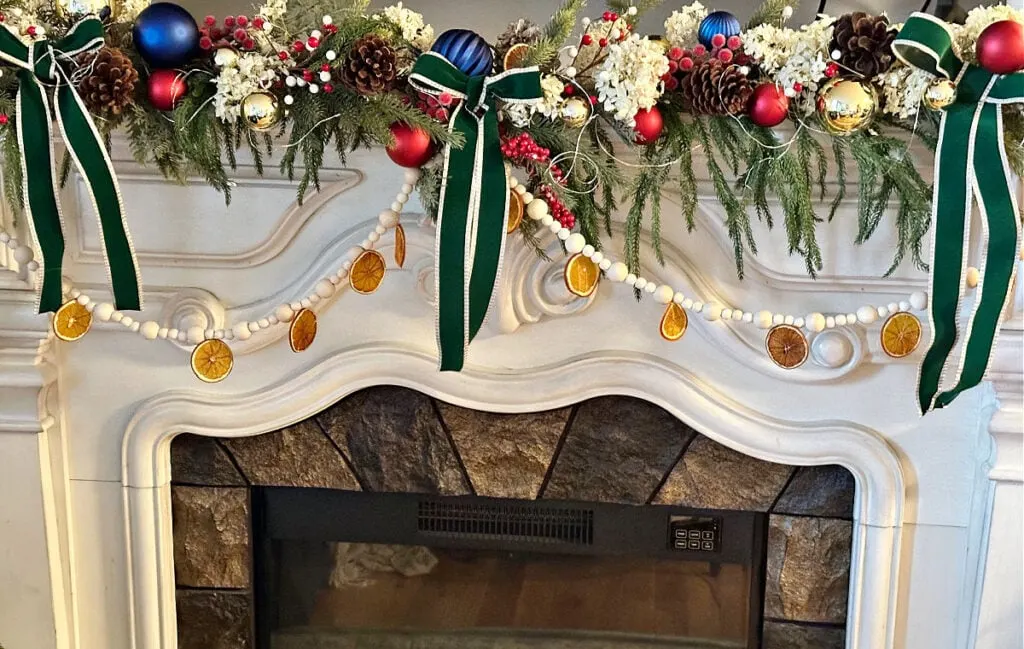
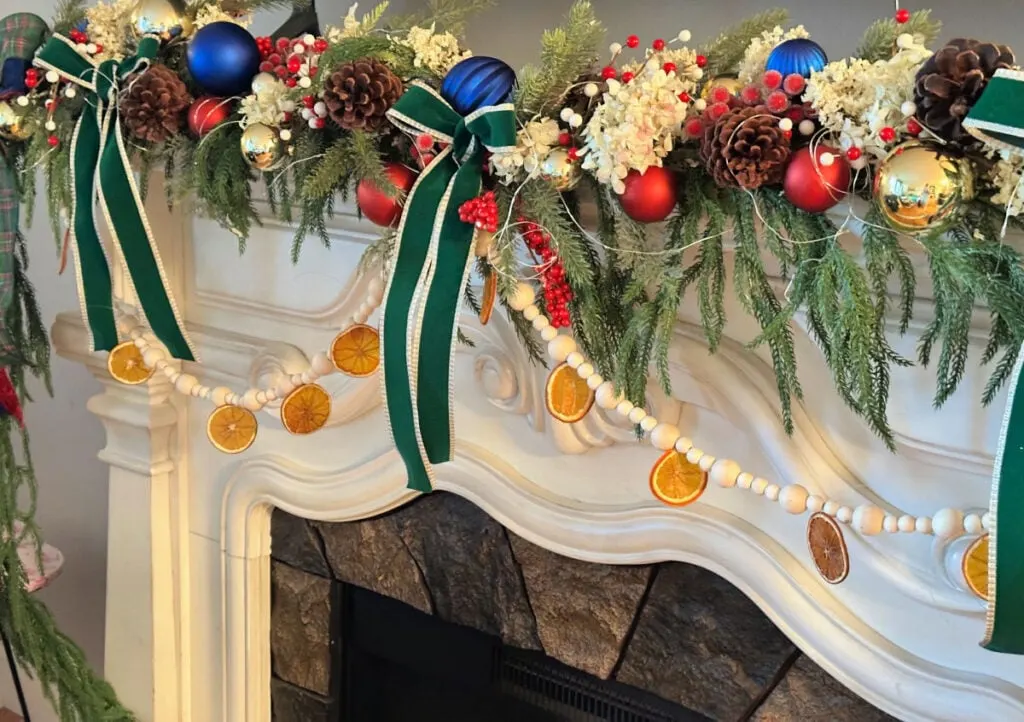
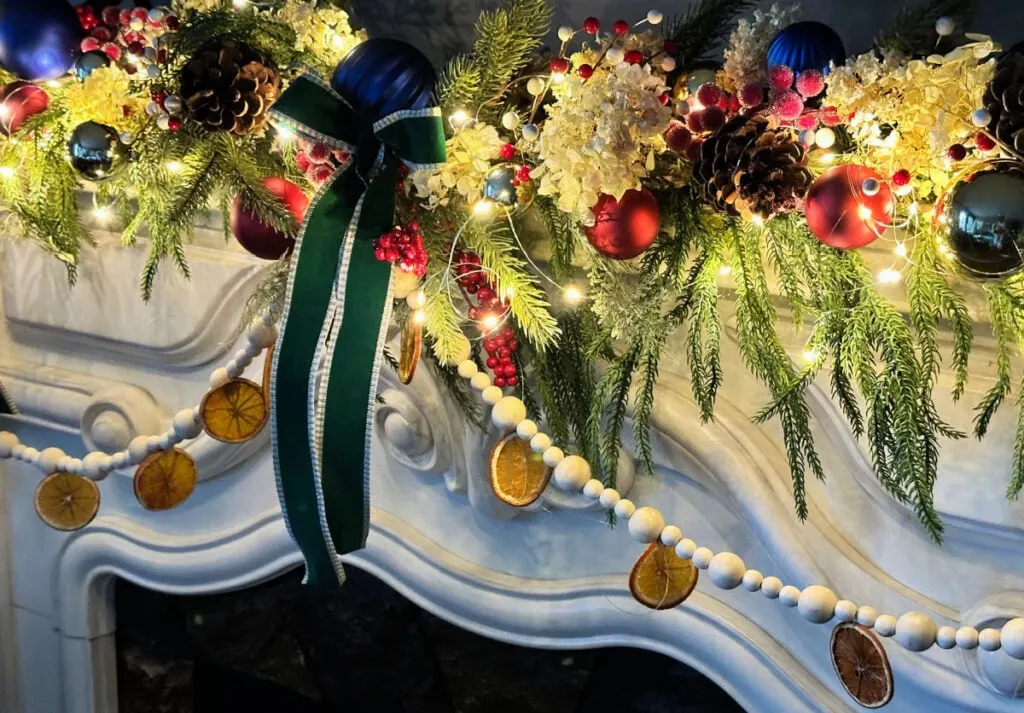
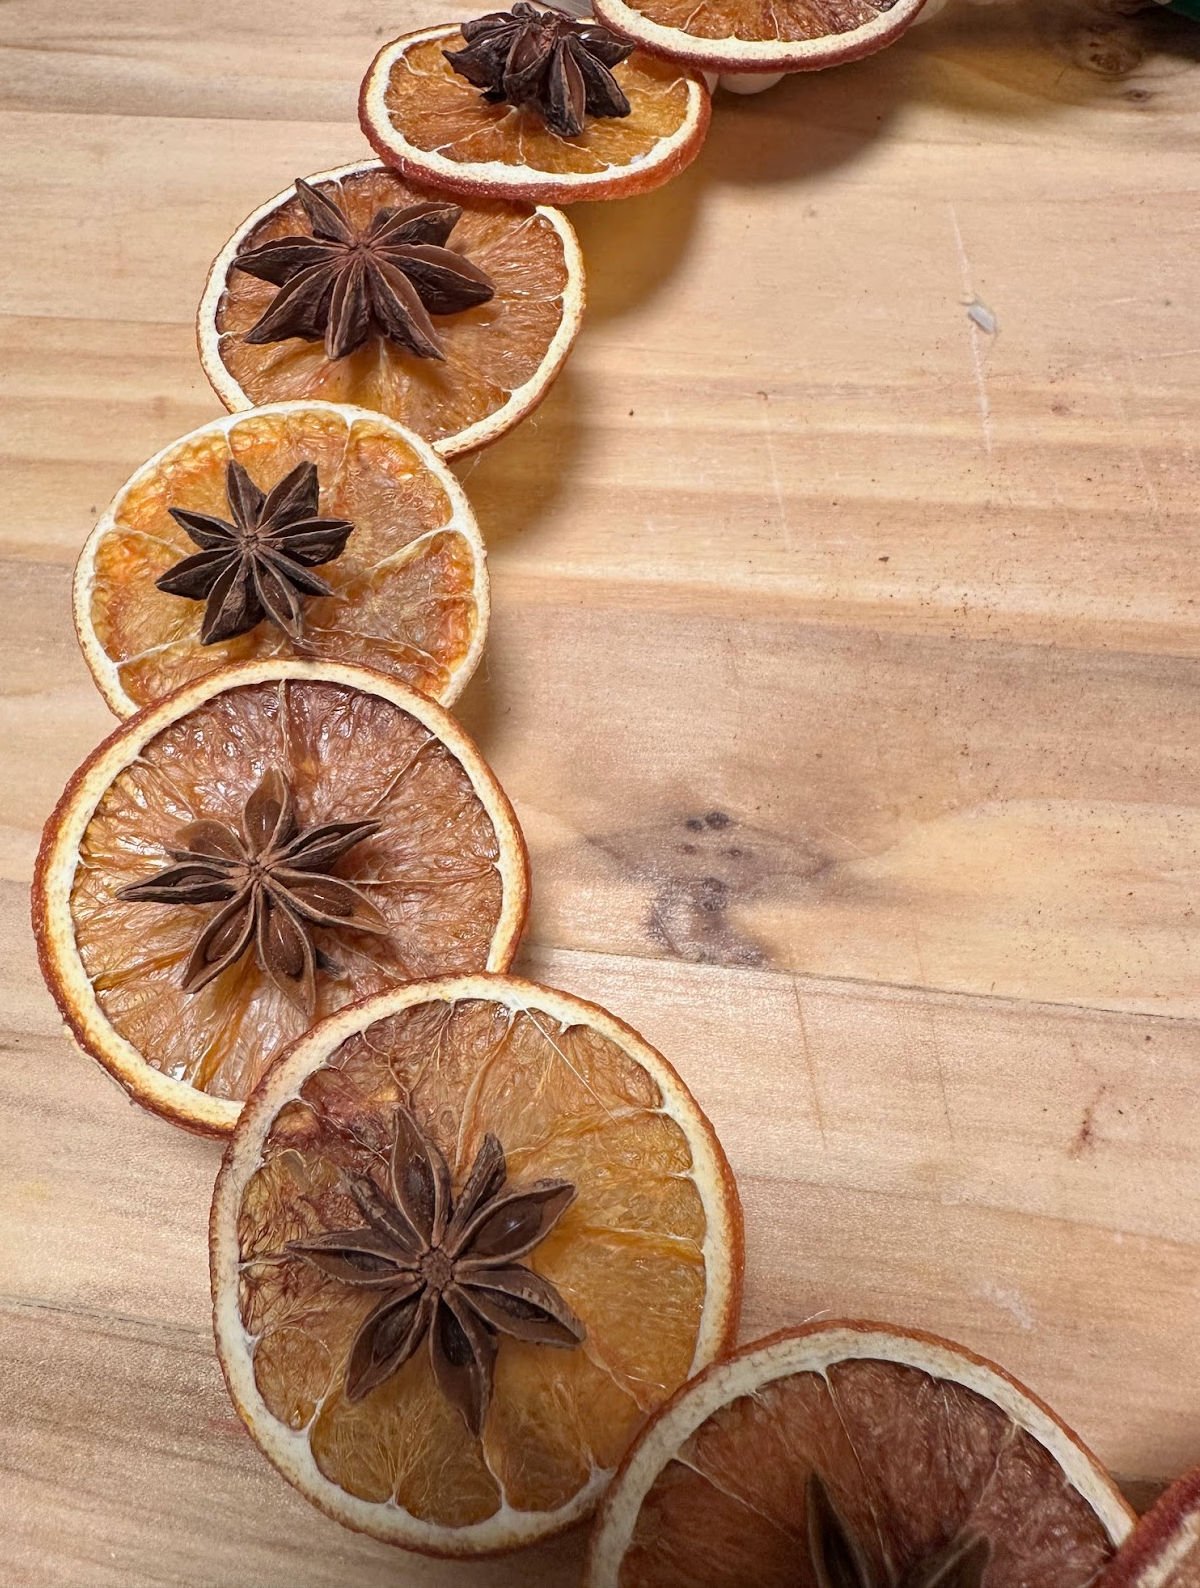
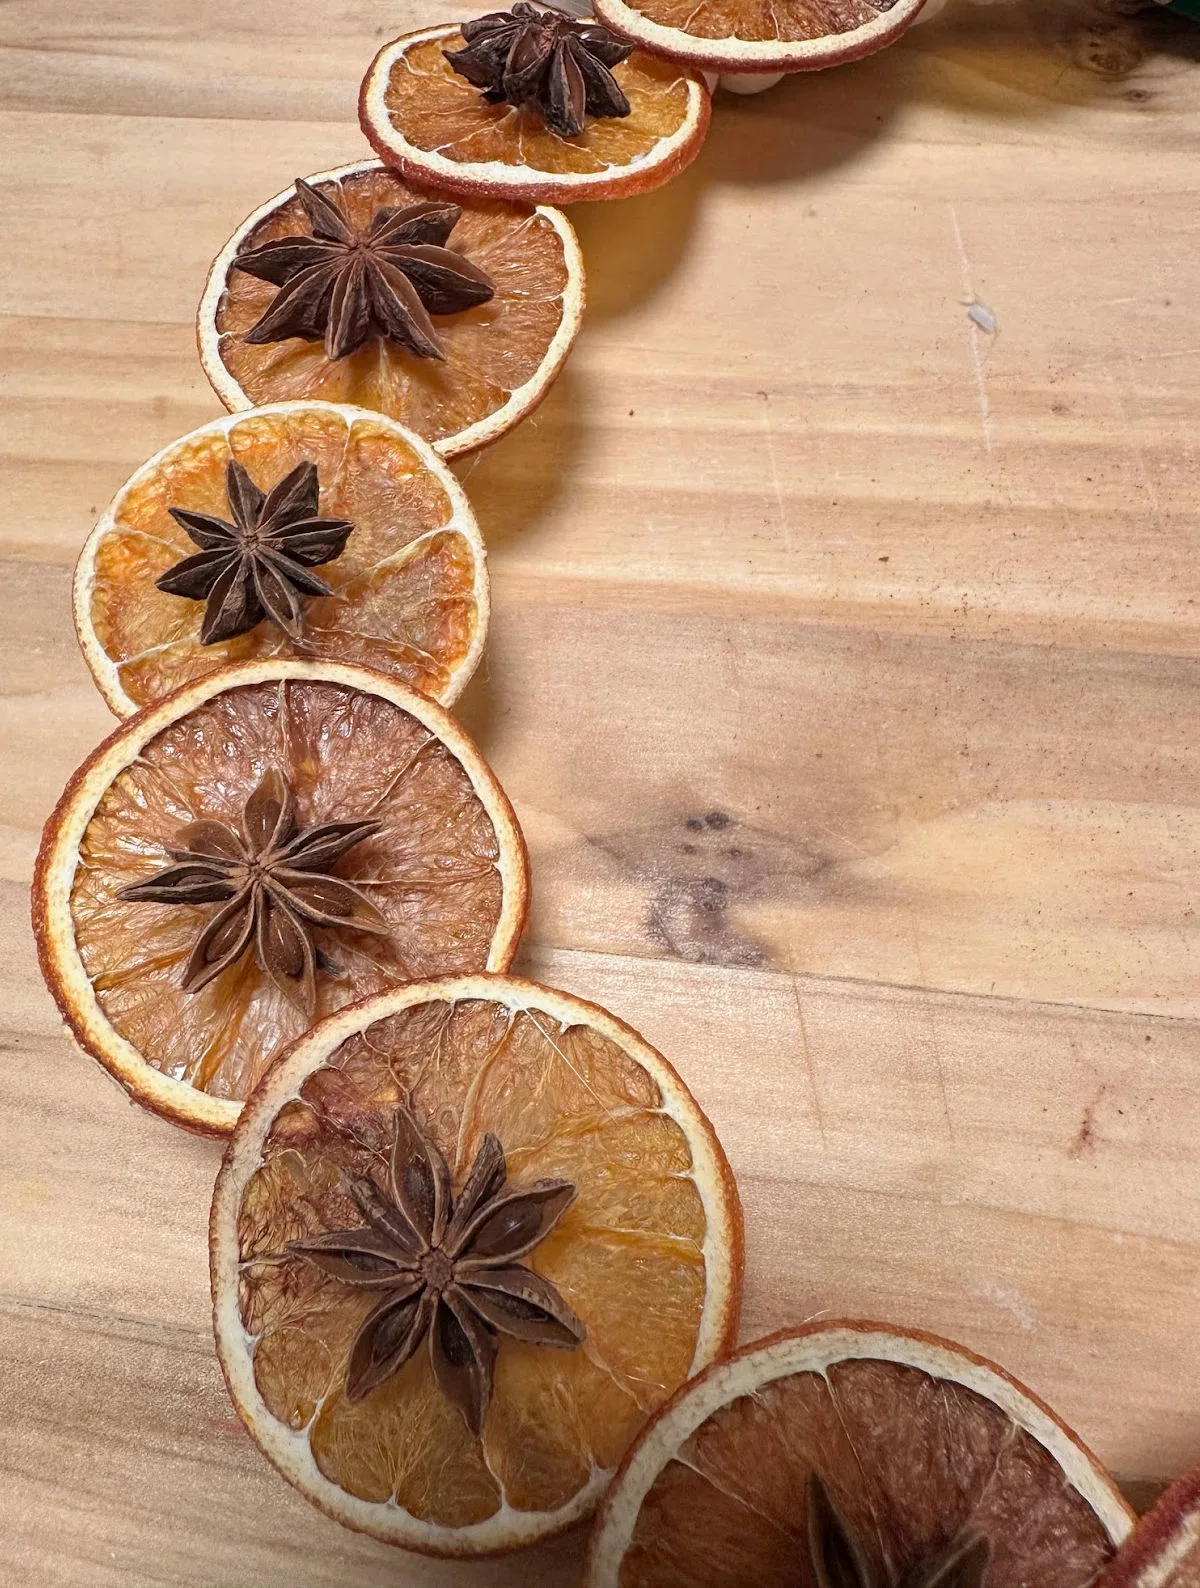
Now you are ready to craft with your dried oranges. The first thing I made was an orange slice garland.
Simply use a craft knife to place a hole at the top of the orange. They are fragile, so don’t press too hard, or they may tear.
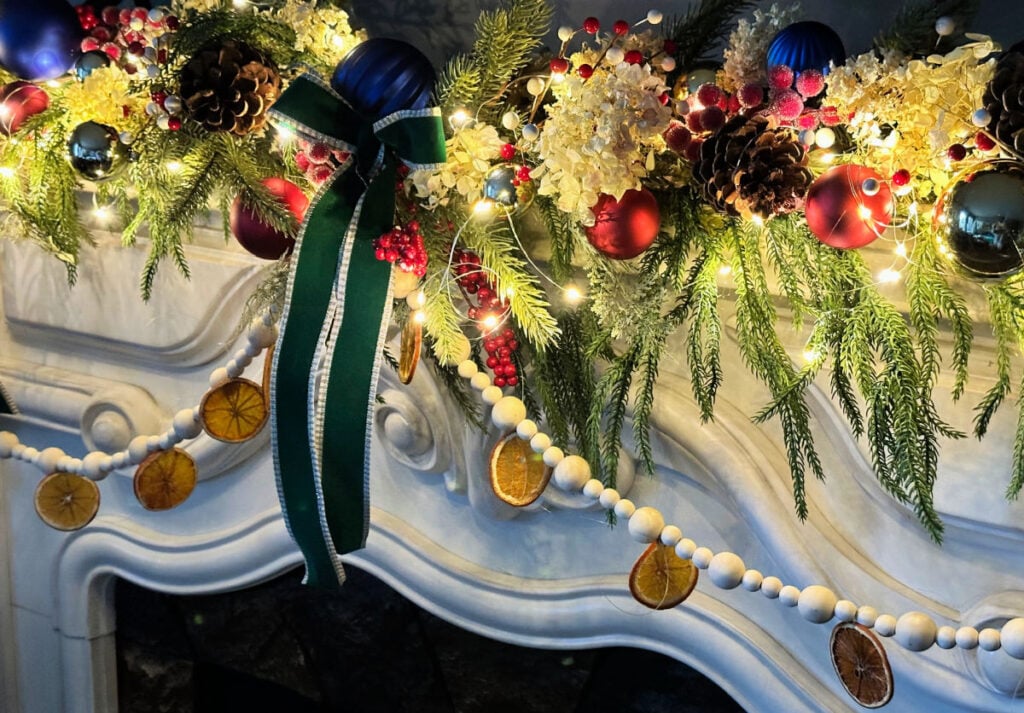
They look beautiful attached to a wood bead garland on my mantel.

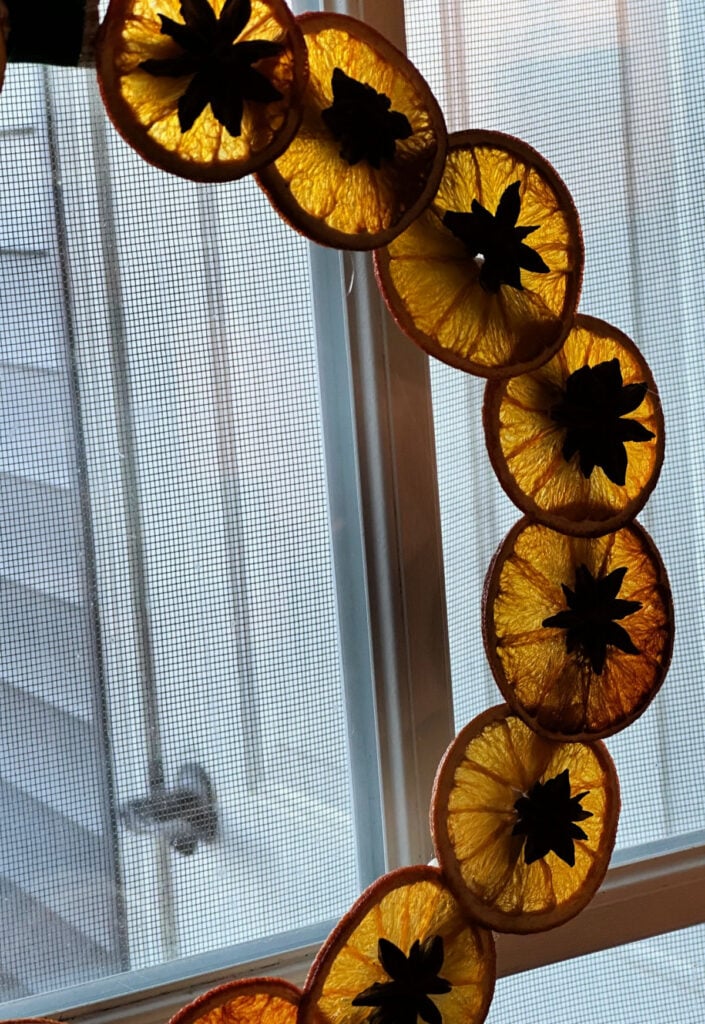
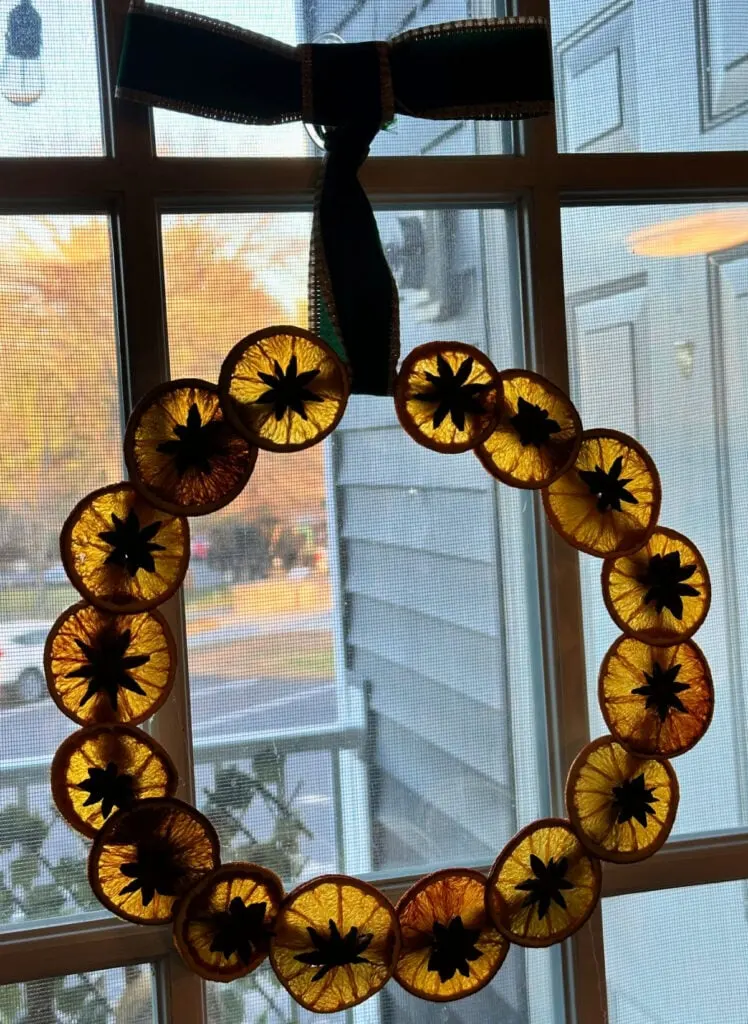
I also created a pretty orange slice wreath with star anise in the centers and hung it on a door.
It almost looks like stained glass when the light hits it.


Dried Orange Slices Decor
Here are some other decorating ideas:
- Ornaments: Use a small hole punch or needle to thread twine or ribbon through each slice, then hang them on your tree for a warm, natural glow.
- Table Centerpieces: Scatter dried orange slices across your holiday table or place them in a bowl with star anise, cinnamon sticks, and cloves for a beautifully fragrant display.
- Gift Toppers: Add a dried orange slice to wrapped gifts with rustic twine for a charming, eco-friendly finishing touch.
- Potpourri and Simmer Pots: Bundle dried orange slices with pine sprigs, cinnamon sticks and seasonal spices for a cozy gift set, or include them in homemade potpourri for a naturally scented present.
- Add to Cocktails or Desserts: Dried orange slices make stunning garnishes for cocktails and add a bright, decorative touch to cakes, cookies, and holiday desserts.
Save For Later
I’d love it if you would share this article with your friends on Pinterest by pinning the below image.
It helps my blog grow and doesn’t cost a thing! 🙂


If you make your own dried orange slices, be sure to share it with us on Facebook or Instagram.
Just tag @ourcraftymom. You never know who you may inspire.
Thanks so much for stopping by. Happy holidays!


Typically 2–4 hours at a low temperature, depending on slice thickness and oven type.
Aim for ¼-inch slices. You want them thin enough to dry evenly but thick enough to hold their shape.
Use a low temperature (around 200°F), flip slices every 30–45 minutes, and remove any thinner pieces early if they dry faster.
Here Are a Few of my Most Popular DIY Christmas Crafts
- DIY Glass Angel from a Dollar Tree Find
- 81 Dollar Tree Christmas Crafts
- 37+ DIY Dollar Tree Christmas Ornaments
- Large Christmas Wall Art
- Folded Book Art with Printable Cardinal
- Old World Santa Christmas Tray
Follow me on social media below: