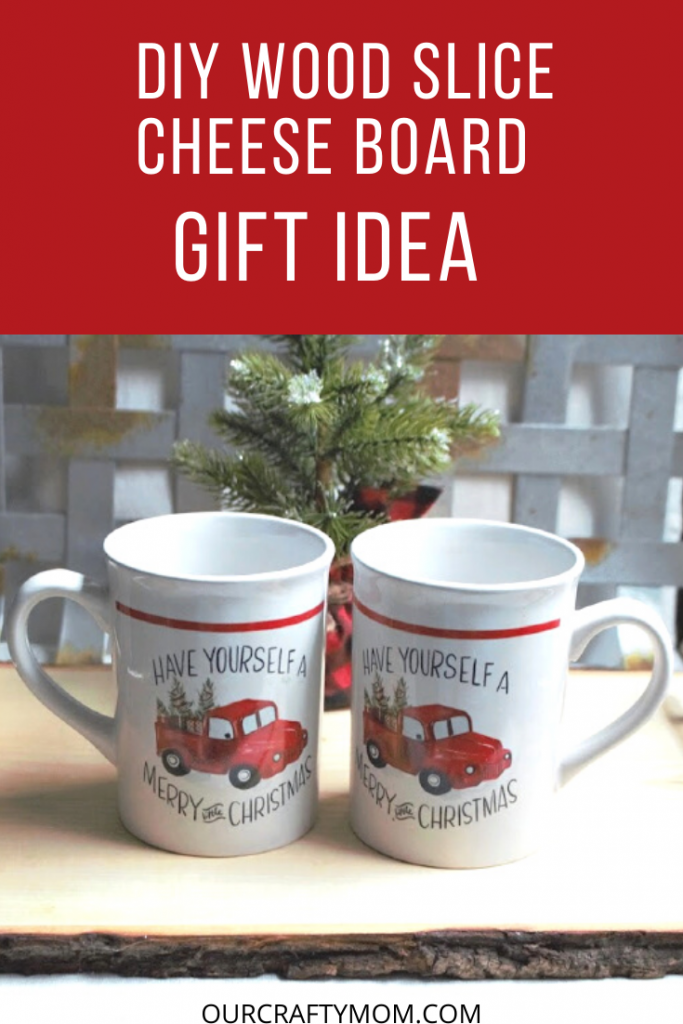
See how easy it is to make a DIY wood slice cheese board for holiday gift giving and entertaining.

This post contains affiliate links at no extra cost to you. Please see my full disclosure here.
With the holidays just around the corner, we are all thinking about gift giving and entertaining. I decided to consolidate the two with this easy DIY wood slice cheese board.
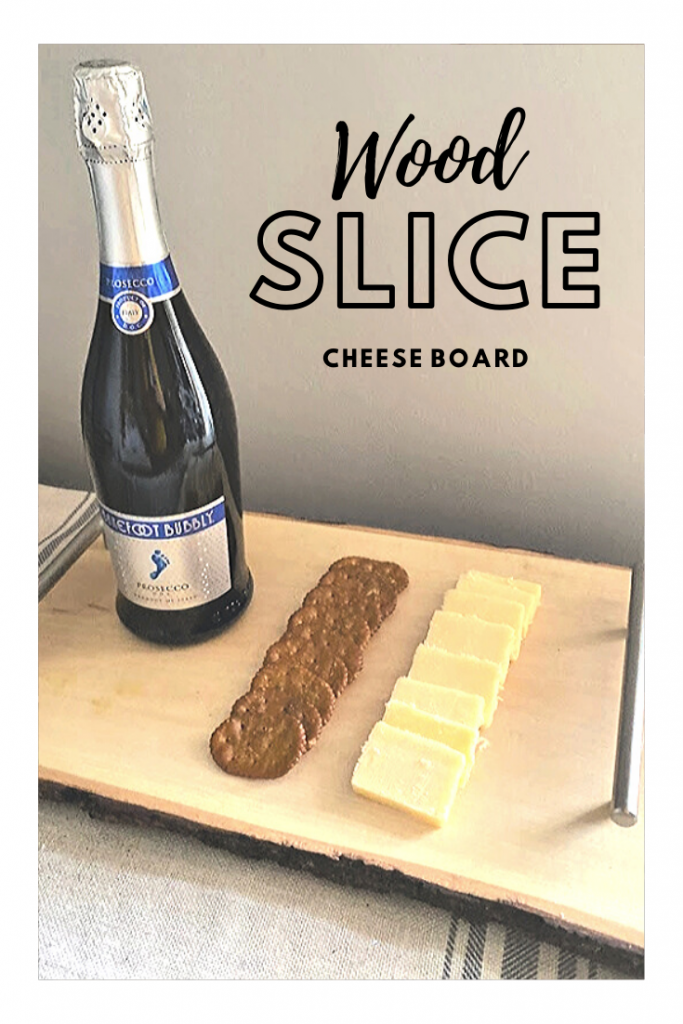
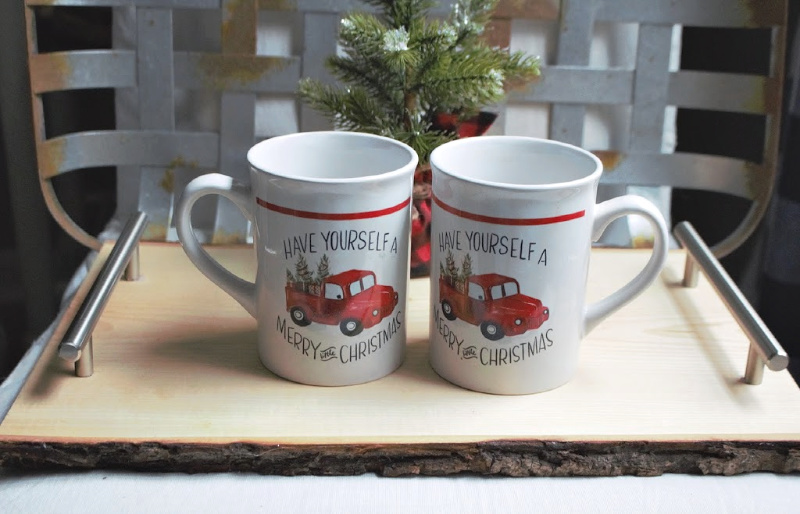
It’s so versatile and can be used not only to serve cheese and crackers, but also as a serving tray for breakfast in bed.
We spent Thanksgiving with my sister and she put out a great charcuterie board. It was very popular and I immediately thought of making a few cheese boards for gift giving this year.
I plan to put together a gift basket with wine, cheese, crackers, and one of these wood slice cheese boards.
DIY Wood Slice Cheese Board

If you’ve visited here before, you’ve heard me mention my Dad and how he builds chicken coops in his retirement. He always gives me scrap wood to use in my DIY projects.
When I told him I wanted to make some cheese boards, he asked if I wanted wood slices to use. He has a good friend who owns a lumbar yard.
I did a little happy dance, as I LOVE wood slice projects.
But I had no idea he was planning to give me about a full trees worth! I have all different sizes and shapes, so get ready to see lots of tree slice projects coming up.
Next week I’ll be sharing a gorgeous coffee table with acrylic legs. Now let’s get to this cheese board.

Supplies
- Wood slice
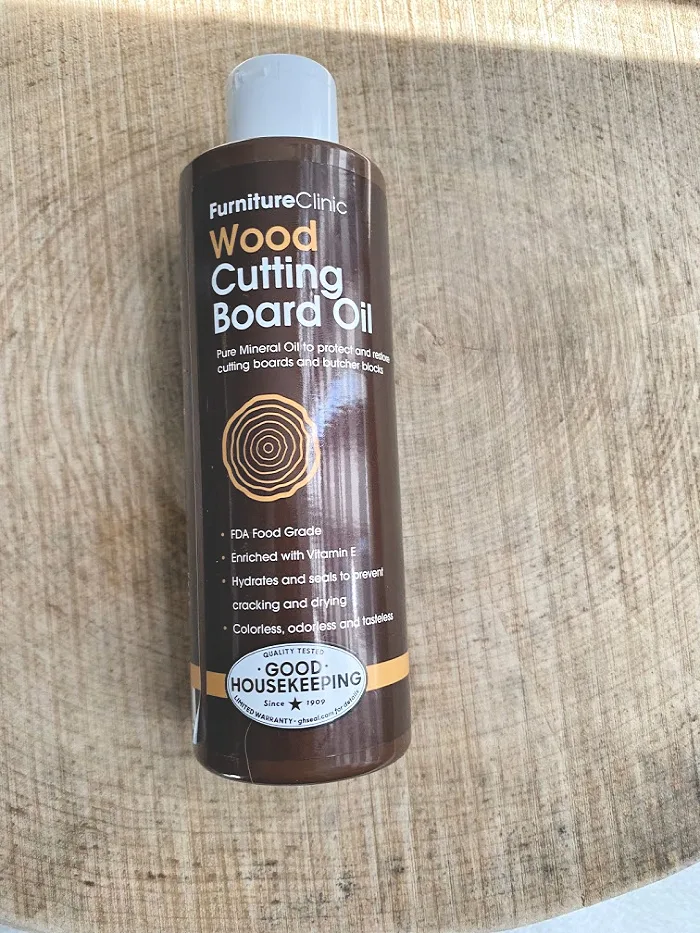
- Cutting Board Food Safe Mineral Oil
- Large Drawer Pulls
- Orbit Sander – I have this one.
- Sanding Discs – I used 80 & 120 Grit
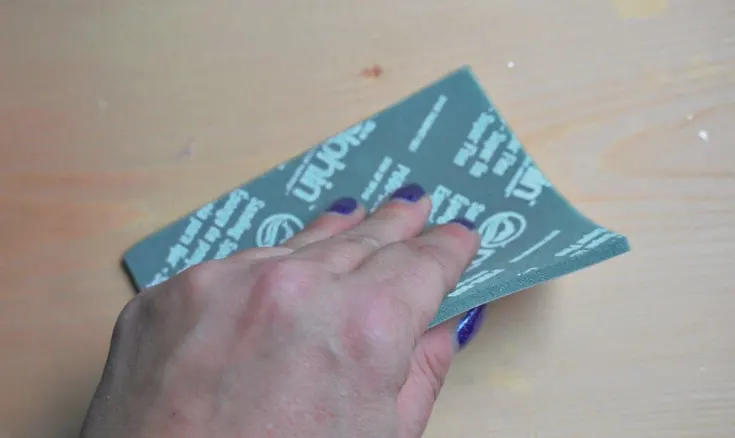
- Sanding Sponge
Step 1.
Use a wire or nylon brush around the edges of the wood slice to remove any loose bark.

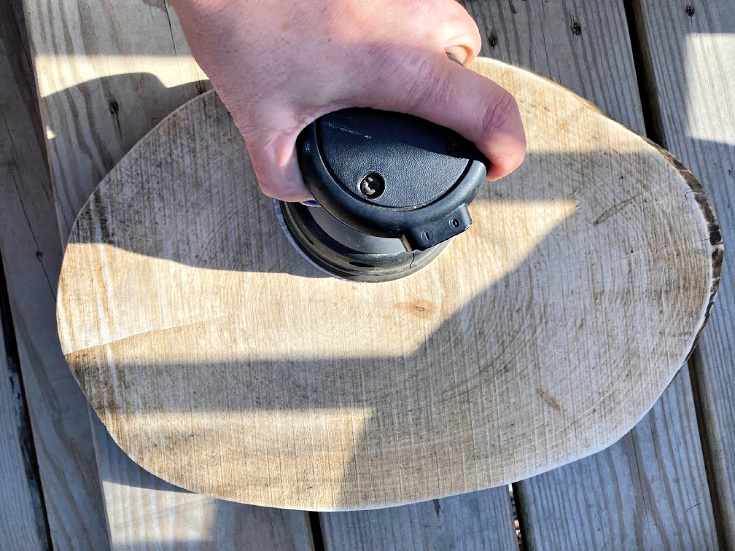
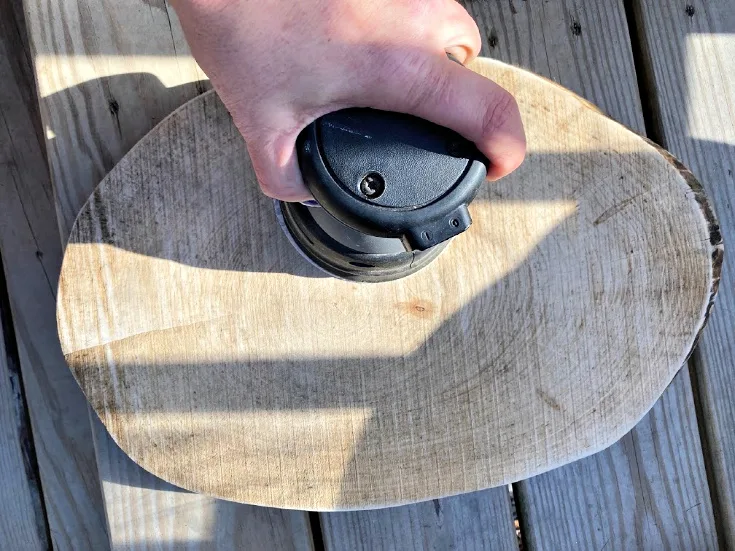
Step 2.
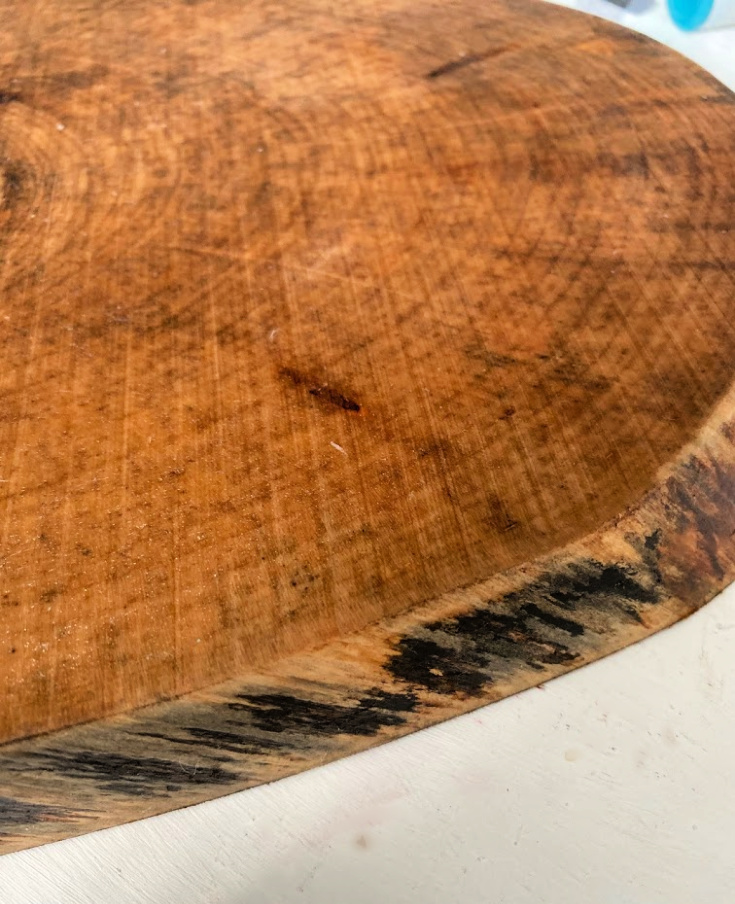
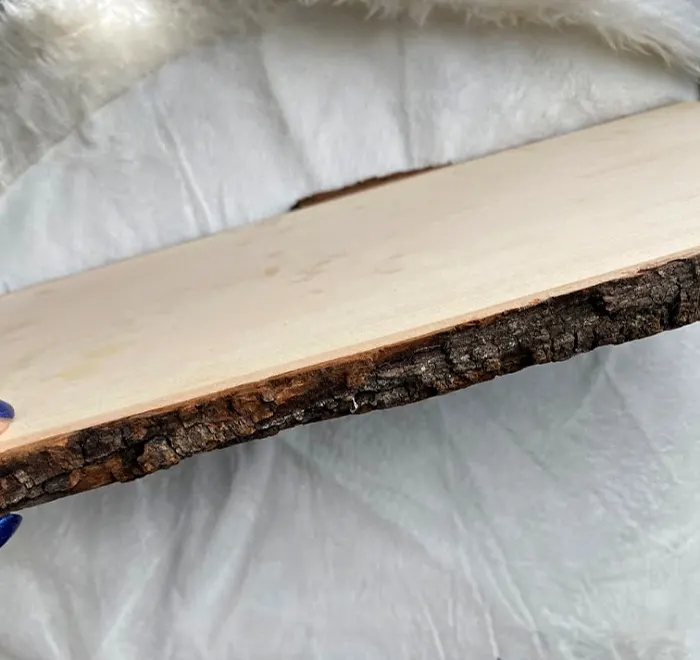
Use the orbit sander to make the wood slice nice and smooth. You can leave the bark on, or remove it so it has a live edge look.
Step 3.
Lightly dampen a soft cloth to remove any dust.

Step 4.
Prepare the wood by baking it in the oven, on a foil-lined baking sheet, on low at 200 degrees F for 45 minutes on each side.
[Tweet “How To Make A Wood Slice Cheese Board Gift Idea @ourcraftymom #christmasideastour #diycheeseboard #woodslicecheeseboard”]

Step 5.
Coat the wood slice with food safe mineral oil. The board will soak up the mineral oil, so you will need to add several coats. Let it dry overnight and add a final coat the next day.

Step 6.
Attach the handles.


I hope you enjoyed this holiday gift idea. Is this something you could see yourself making? If you don’t want to cut your own wood slice, you could also purchase them to save some time.
Please PIN the below image:


How To Make A Wood Slice Cheese Board Gift Idea
This DIY cheese board makes a great gift for the holidays. You can package it up with wine, cheese and crackers and bring it as a hostess gift to your next party.
Materials
- Wood Slice
- Wood Cutting Board Food Safe Mineral Oil
- Cabinet Drawer Pulls
- Damp Rag
Tools
- Random Orbit Sander
- Sanding Discs 80 & 120 Grits
Instructions
- Prepare the wood slice by sanding it to a smooth finish.
- Use a brush to remove any loose bark.
- Remove any loose dust with a wet rag.
- Bake the wood in the oven at 200 degrees for about 45 minutes on each side.
- Allow to dry then cover with 2-3 coats of food safe mineral oil.
- Let dry overnight then add a final coat of mineral oil.
- Add the handles.
Are you ready for more ideas? I’m thrilled to be teaming up with a talented group of bloggers for the Christmas Ideas Tour hosted by Angie from Postcards From The Ridge.


Here are some great ideas for your mantel, porch, table, plus handmade gift ideas and gift wrap ideas.
Be sure to visit everyone to see all the details.
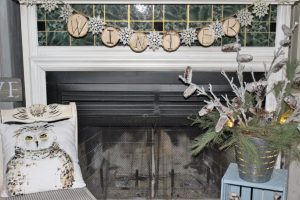
Christmas Mantels

Top Row : Worthing Court // Hearth & Vine
Bottom row: Virginia Sweet Pea // 2 Bees in a Pod // Nourish & Nestle
Christmas Porches & Decks

Top row: Postcards from the Ridge // Petticoat Junktion
Bottom row: Chatfield Court // Lora Bloomquist // Our Southern Home
Christmas Tablescape Ideas

Handmade Gift Ideas

Top row: Exquisitely Unremarkable // Domestically Speaking
Bottom Row: Our Crafty Mom // House of Hawthornes // Bliss Ranch
Gift Wrap Ideas


For more wood slice projects, check out these ideas:
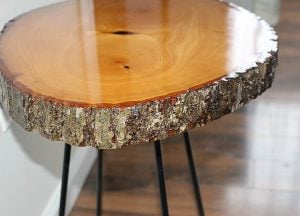

DIY Resin Wood Slice Side Table

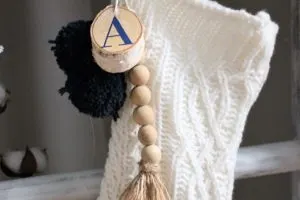
Wood Bead Christmas Stocking Tag
You can also follow me on social media below:
Diane Price
Tuesday 17th of November 2020
What an awesome gift idea! Can't wait to try this at home. Thanks for sharing!
How To Make The Ultimate DIY Charcuterie Board
Thursday 26th of December 2019
[…] is a handmade wood slice serving board that I made for my daughter’s […]
Christy @ Our Southern Home
Tuesday 10th of December 2019
What a beautiful idea! I'd never heard of using this oil to create a food safe surface. Such a great idea!
20 Best Hostess Gifts
Monday 9th of December 2019
[…] […]
Julie
Thursday 5th of December 2019
I would like 4 of these babies! You did a great job!!!