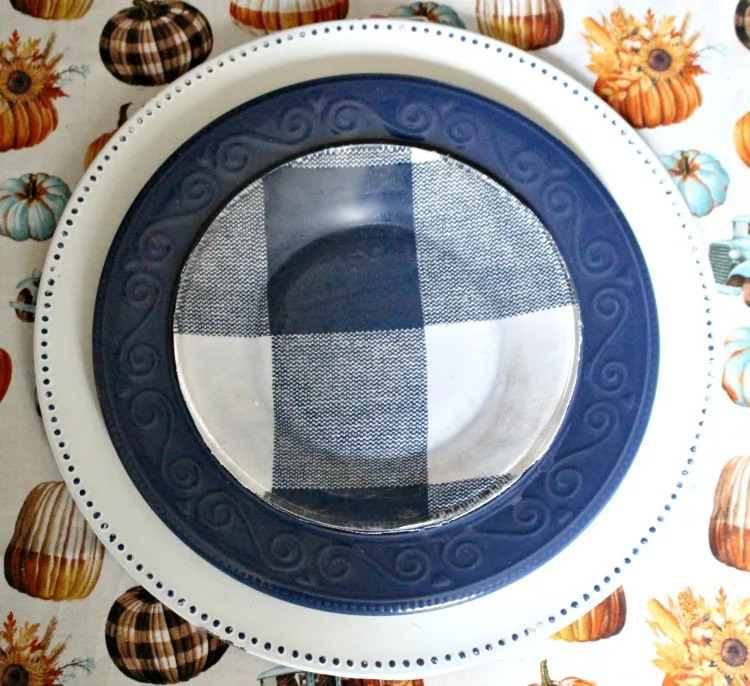
Pick up a few Dollar Store glass plates, some buffalo check fabric, and mod podge, to make quick and easy decoupage plates.
This post contains affiliate links at no extra cost to you. Please see my full disclosure here.
Hello and welcome! If you follow me on Facebook or Instagram, you know I have a slight obsession with buffalo check.
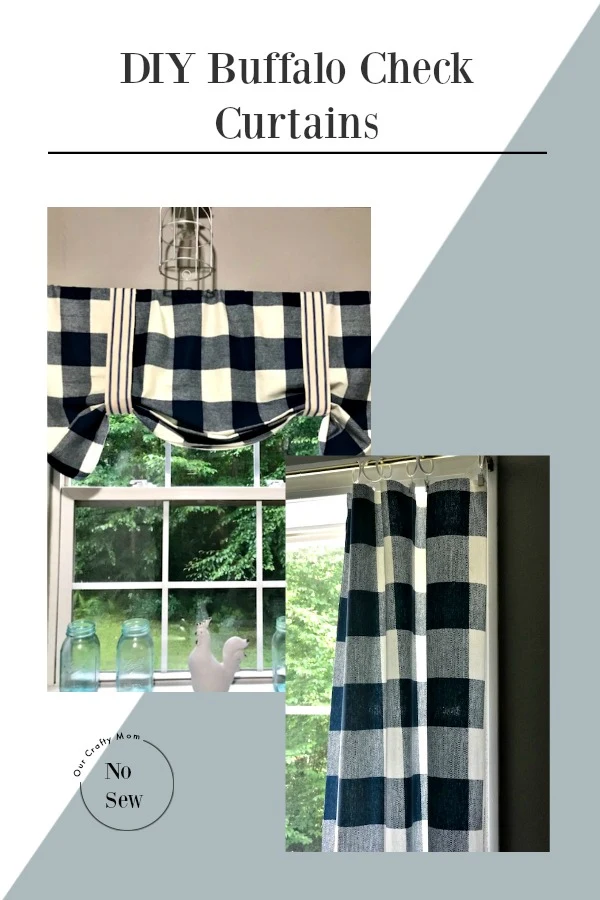
One of my favorite DIY’s so far were the buffalo check curtains I made for my kitchen shown here:
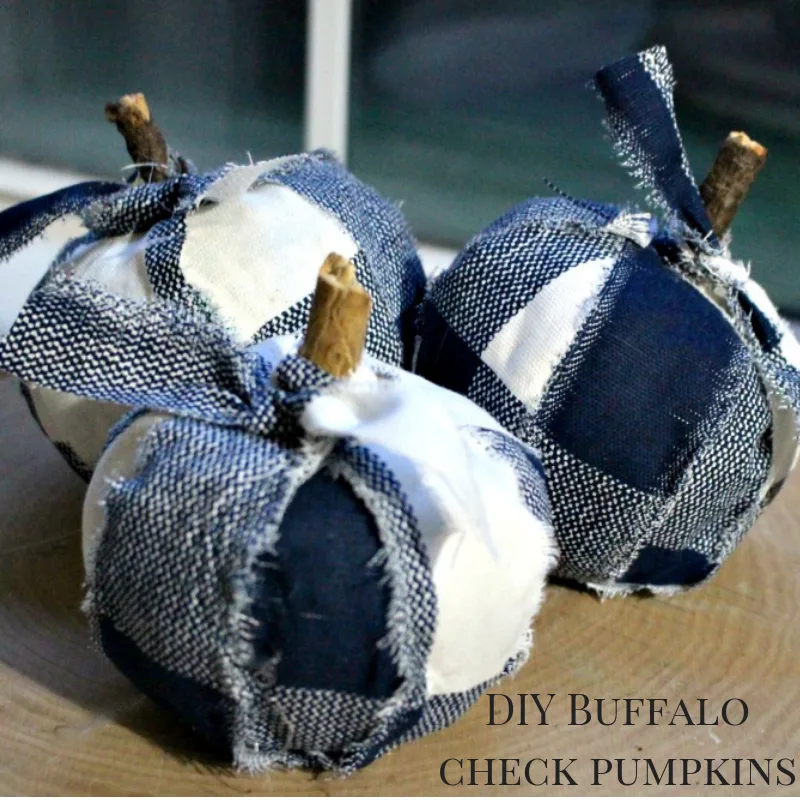
There was quite a bit of scrap fabric left from the curtains, so I used them to make buffalo check pumpkins. Because my fall decorating would not be complete without it!
I love to participate in tablescape blog hops and have a Thanksgiving one coming up. What better accent plates to use than buffalo check.
Back to the fabric store, I went, with coupon in hand, to grab another yard of my favorite navy and white pattern.
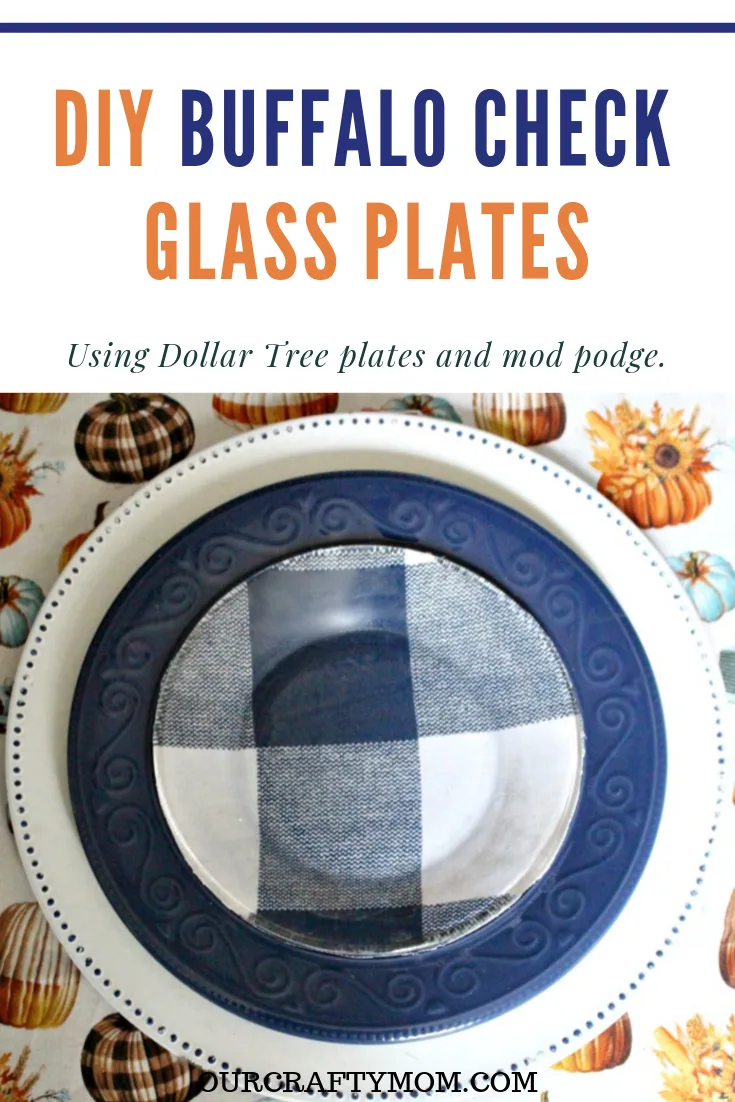
To make these decoupage plates, here is what you will need:
How To Make Buffalo Check Plates
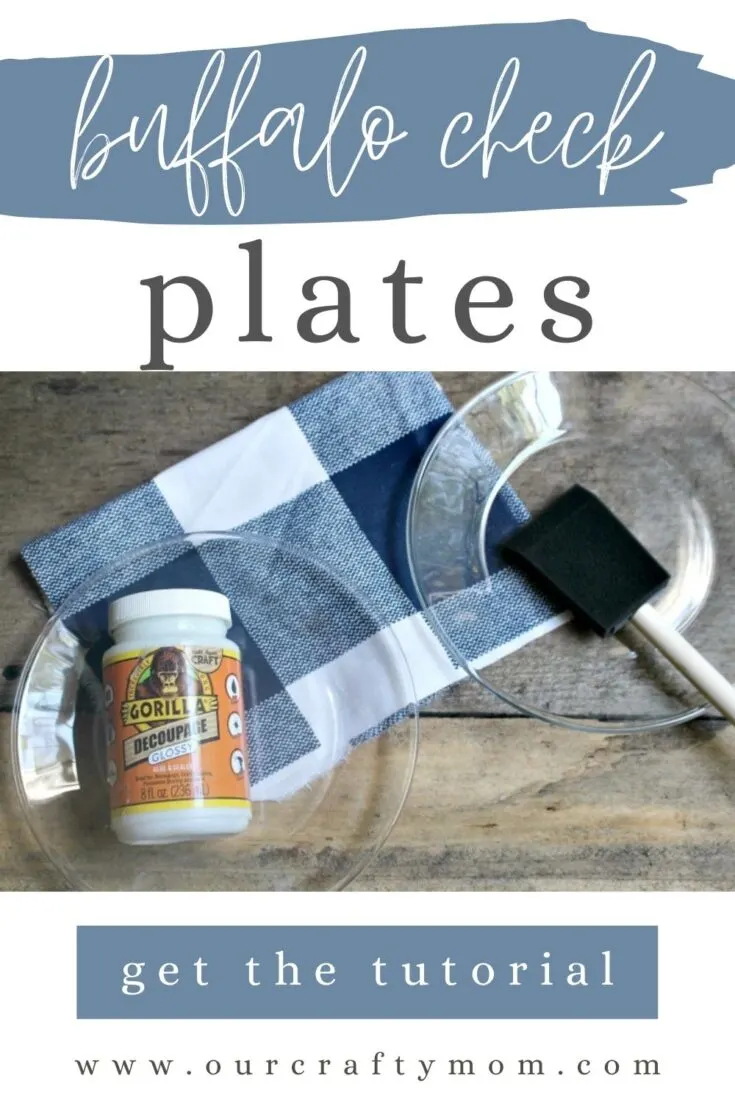
Supplies needed to mod podge glass plates
- Clear Glass Salad Plates — mine are from the dollar store. I used salad plates, but you can also use dinner plates or glass chargers.
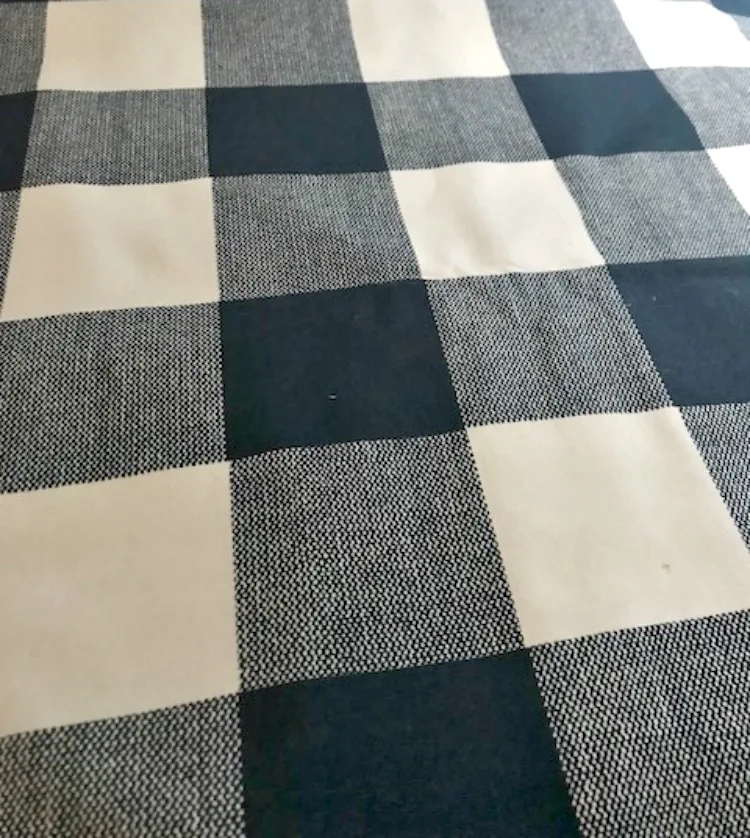
- Buffalo Check Fabric – I bought a yard but only used about 1/2 yard.
- Dishwasher Safe Mod Podge
- Fabric Scissors
- Foam Brushes
Instructions
Step 1
- Place one of your plates upside down on top of your fabric. Use a piece of chalk to draw a circle around the plate about an inch larger.
- Repeat this process with all four plates.
Step 2
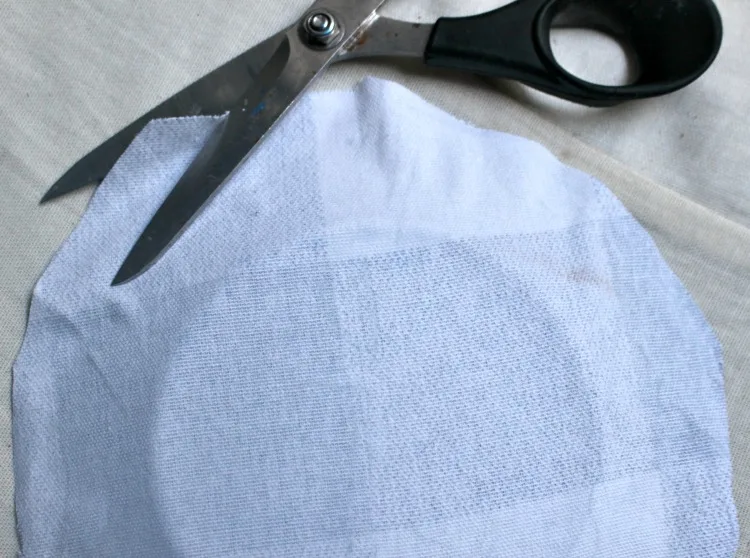
- Use your fabric scissors to cut the four pieces of buffalo check fabric.
Step 3
- Clean each plate with glass cleaner and paper towels to remove any fingerprints from the glass.
Step 4
- Use the foam brush to paint an even coat of mod podge all over the back of the plate.

Step 5
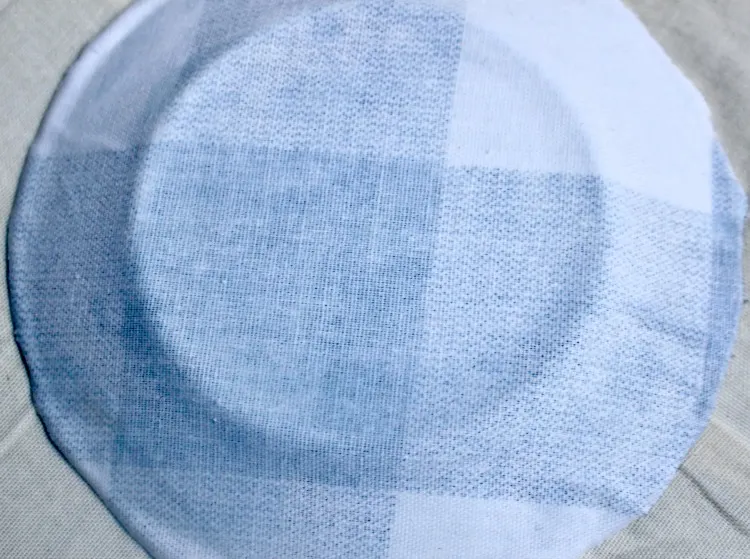
- Place the buffalo check fabric circle, right side down, on top of the plate and gently smooth it using a credit card or mod podge smoother to remove any creases.
Step 6
- Paint a light, even coat of mod podge over the entire back surface of the plate and allow it to dry overnight.
Step 7
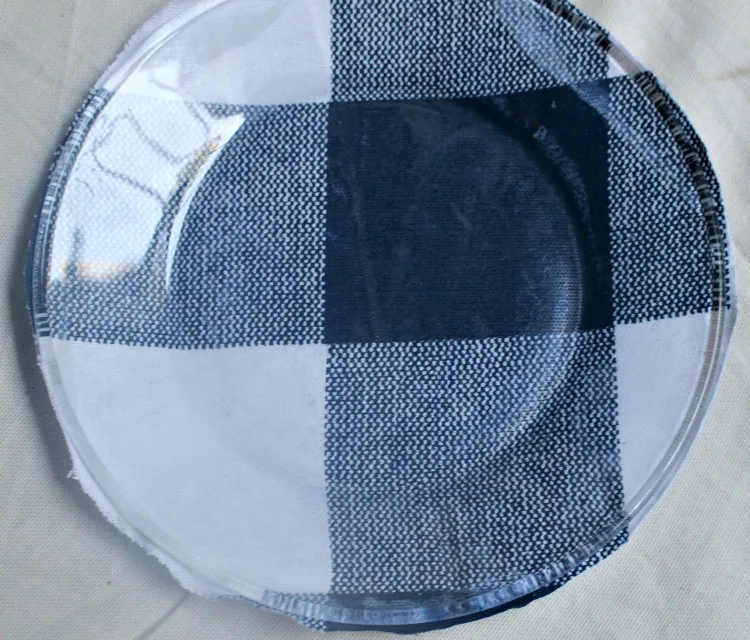
- Using very sharp scissors, cut away the excess fabric around the edge of the plate.
Step 8
- Paint 2-3 additional coats of mod podge to the back of the plate. Be sure to let it dry between coats.
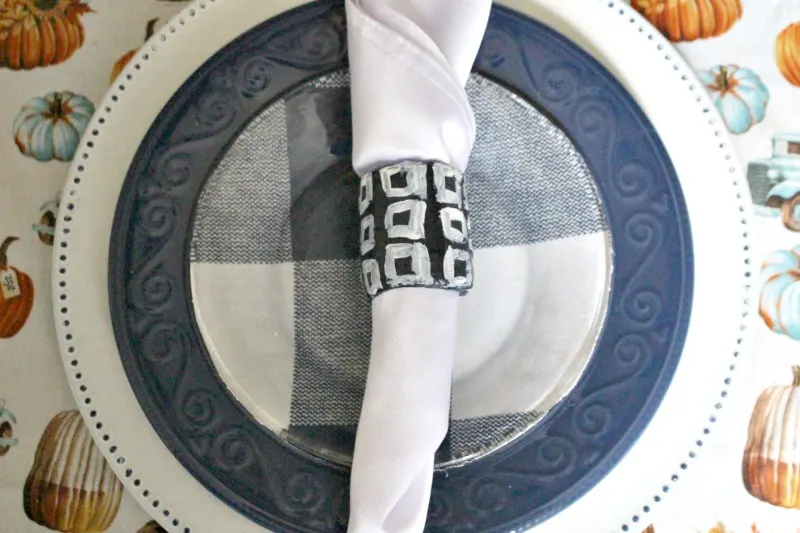
Wait at least 2-3 days before using the plates to allow the mod podge to set.
As the mod podge is only on the back of the plates, you will be able to eat off of them. These should not be washed in the dishwasher, as the fabric will come off.
Your best bet is to hand wash them lightly and avoid soaking them. They are perfect as dessert plates.
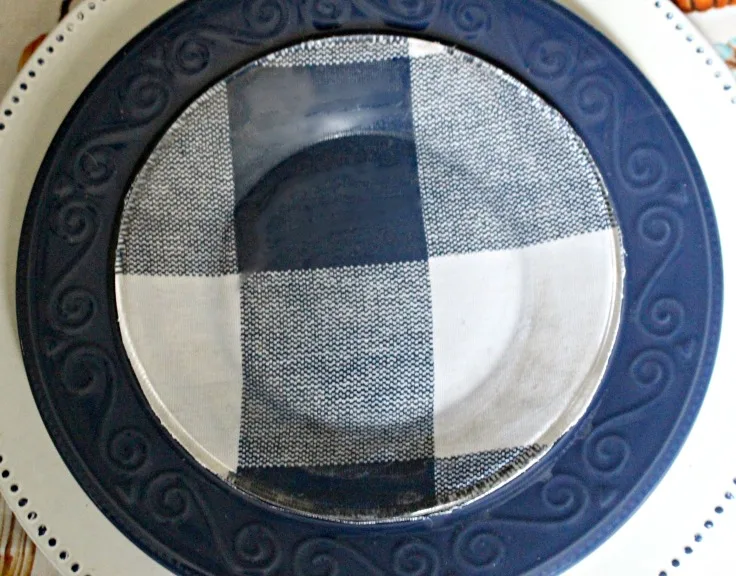
One of the many things I love about crafting is you can save so much money. I’ve seen buffalo check plates in the home stores for at least 5x what I paid to make my own.
Imagine the cute plates you could make for Christmas with this same process? Check out the fabric section at the craft store and be sure to use a coupon for extra savings.
I’m planning on making more of these for gifts this year. You can stack a bunch of four with a pretty ribbon like I show here:
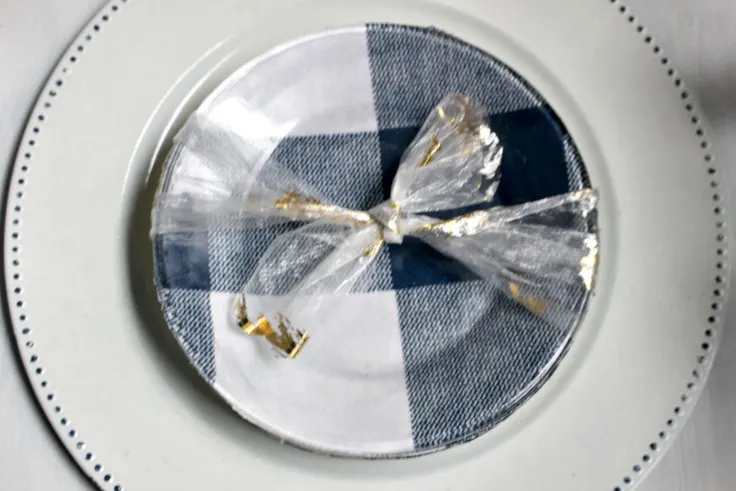
Add a cute gift tag and you are all set. Or how about an individual plate filled with cookies as a hostess gift?
Use a Santa fabric and have these be cookies for Santa plate. Too cute, right?
[Tweet “How To Make Beautiful Buffalo Check Plates With Mod Podge @ourcraftymom #pinterestchallenge #buffalocheckplates #modpodgecrafts #modpodgerocks”]

How To Make Beautiful Buffalo Check Plates With Mod Podge
Learn how to make your own beautiful buffalo check plates with this simple tutorial.
Materials
- Clear Glass Salad Plates
- Buffalo Check Fabric – I bought a yard but only used about 1/2 yard.
- Dishwasher Safe Mod Podge
Tools
- Fabric Scissors
- Foam Brush
Instructions
- Place one of your plates upside down on top of your fabric.
- Use a piece of chalk to draw a circle around the plate about an inch larger.
- Repeat this process with all four plates.
- Use your fabric scissors to cut the four pieces of buffalo check fabric.
- Clean each plate with glass cleaner and paper towels to remove any fingerprints from the glass.
- Use the foam brush to paint an even coat of mod podge all over the back of the plate.
- Place the buffalo check fabric circle, right side down, on top of the plate and gently smooth it.
- Paint a light coat of mod podge over the entire back surface of the plate.
- Allow to dry overnight.
- Using very sharp scissors, cut away the excess fabric around the edge of the plate.
- Paint 2-3 additional coats of mod podge to the back of the plate. Let it dry between coats.
- Wait at least 2-3 days before using the plates to allow the mod podge to set.

Kathy
Monday 29th of January 2024
I have made these cute little plates for years an years. Once everything is good an dry I sprayed the backs with clear paint dry an do it again. I can then wash them rather quickly. 🌹
Michelle James
Monday 12th of February 2024
That's a great tip!! Thank you for visiting!
Andrea
Monday 22nd of February 2021
I love these Buffalo plaid plates. Do you mind telling where the navy plates came from?
ourcraftymom
Thursday 25th of February 2021
They are actually from Dollar Tree! :)
SHARYN
Saturday 4th of January 2020
I am already planning mod podge plates with the Easter theme. Could I use paper napkins or paper table cloth if I don't see any fabric I like? thank you
ourcraftymom
Wednesday 8th of January 2020
I think napkins would be too thin for plates. I've used napkins on smaller items like plastic eggs and they tear easily and are hard to work with. There are so many pretty fabrics at the craft store now if you can find one you like I would stick with that. Good luck!
Vicki Adkins
Friday 3rd of January 2020
Hi there! I tried to do this project, but the Modge Podge streaked. I used a foam brush with a light coat of Modge Podge. I tried using two different fabrics and both streaked. Any ideas why? Yours look wonderful.
ourcraftymom
Wednesday 8th of January 2020
Hi! I made some at Halloween too and they streaked a little as well. The only thing I did differently was use a very light coat to adhere it to the plate and then made sure I added a heavier coat to the back to secure it. I also went around and pushed the fabric down and tried to work out the mod podge while it was drying.
Monique
Friday 3rd of January 2020
Made the same idea using Christmas fabric....also made "cookies for Santa" ones for kids. Easy/peasy.....