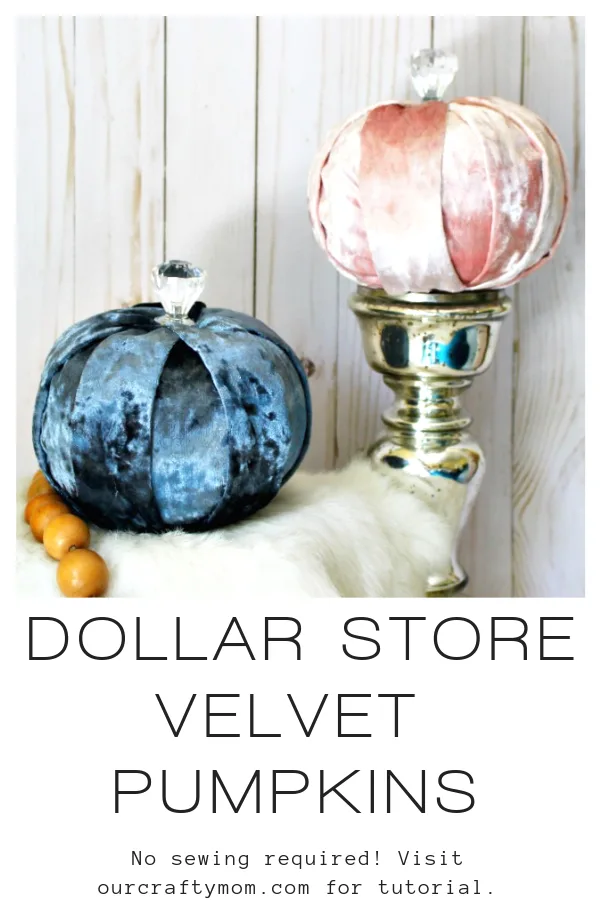
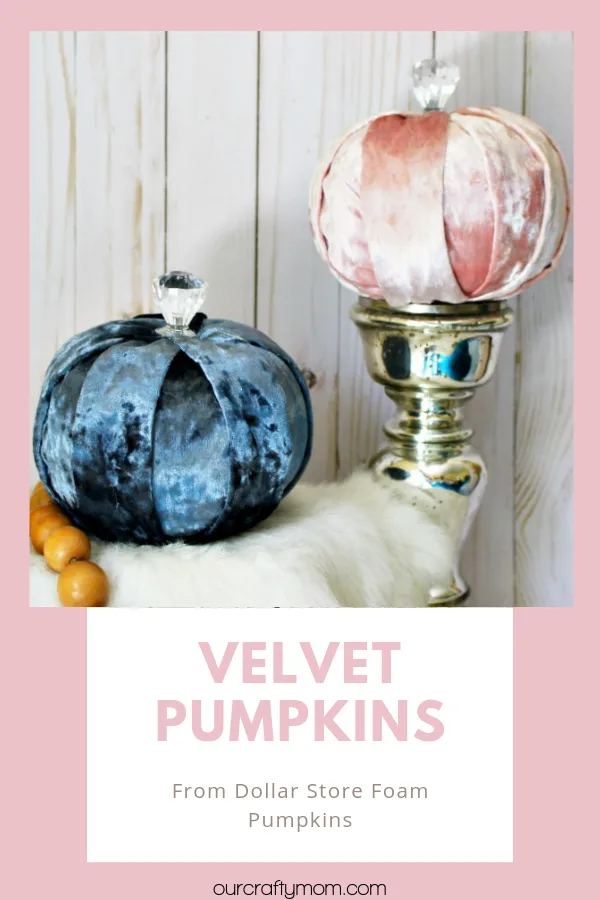
Learn how easy it is to make beautiful DIY Dollar Tree velvet pumpkins that are no-sew!
These pumpkins make fabulous fall decorations that you won’t want to put away when the autumn season is over. Let me show you how easy they are to make.
This post contains affiliate links at no extra cost to you. Please see my full disclosure here.
Dollar Tree Velvet Pumpkins
I’m seriously so excited to share these DIY velvet pumpkins with you!
If you follow me on Facebook you know I love me some dollar store crafts and fall decor is probably my favorite to create.
I fell in love with the gorgeous velvet pumpkins that I was seeing at all the home stores, but they were way too pricey for my budget.
So what’s a crafter to do? Make their own of course!
The next obstacle I had to overcome was, that I don’t sew. Not even a little.
But I’ve said it many times before. I can no-sew with the best of them.
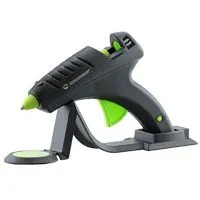
All I need is my favorite cordless glue gun and I’m ready to roll!
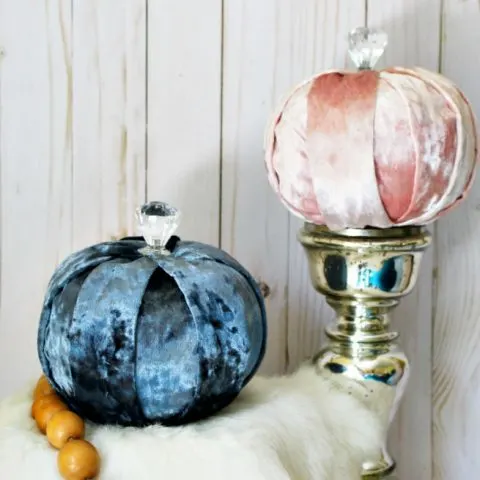
Here is the simple no-sew tutorial for these glamorous velvet pumpkins.
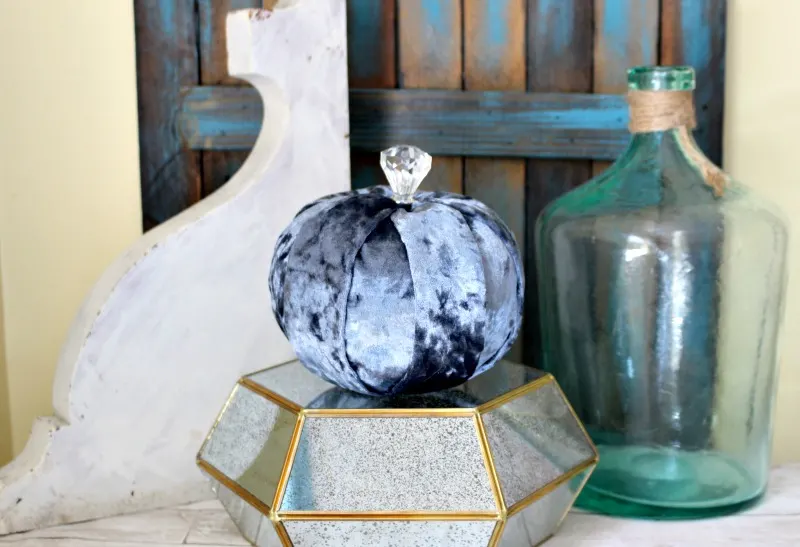
Supplies Needed For DIY Dollar Tree Velvet Pumpkins
- Dollar Tree Foam Pumpkins
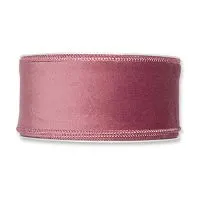
- Velvet Ribbon – mine is from Michaels. I used 3 Yards 2-3″ wide. You can also use velvet fabric.
- Hot Glue Gun and Glue Sticks – this is my favorite!
- Scissors
- Glass knobs or preserved real pumpkin stems
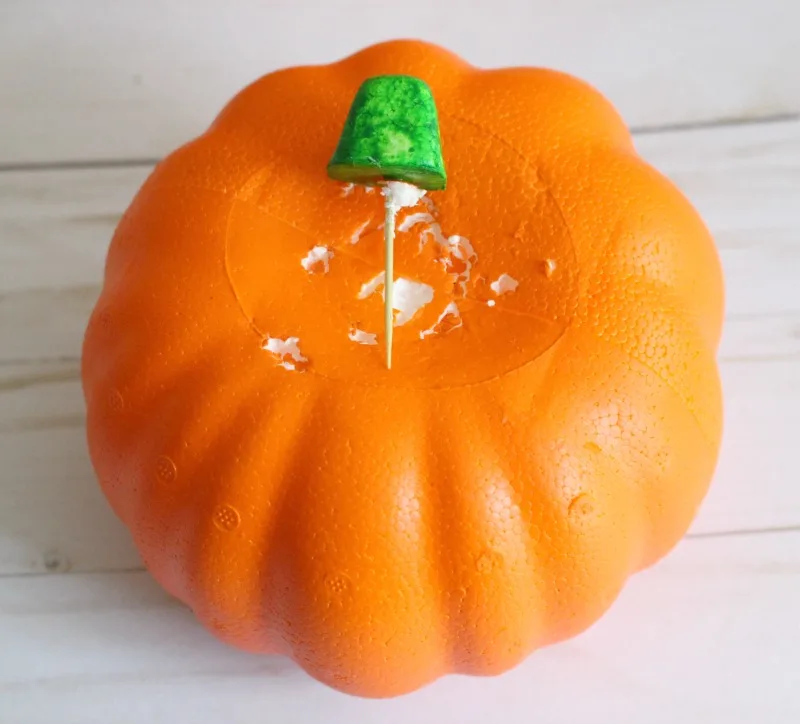
Step 1. Remove the Pumpkin Stem
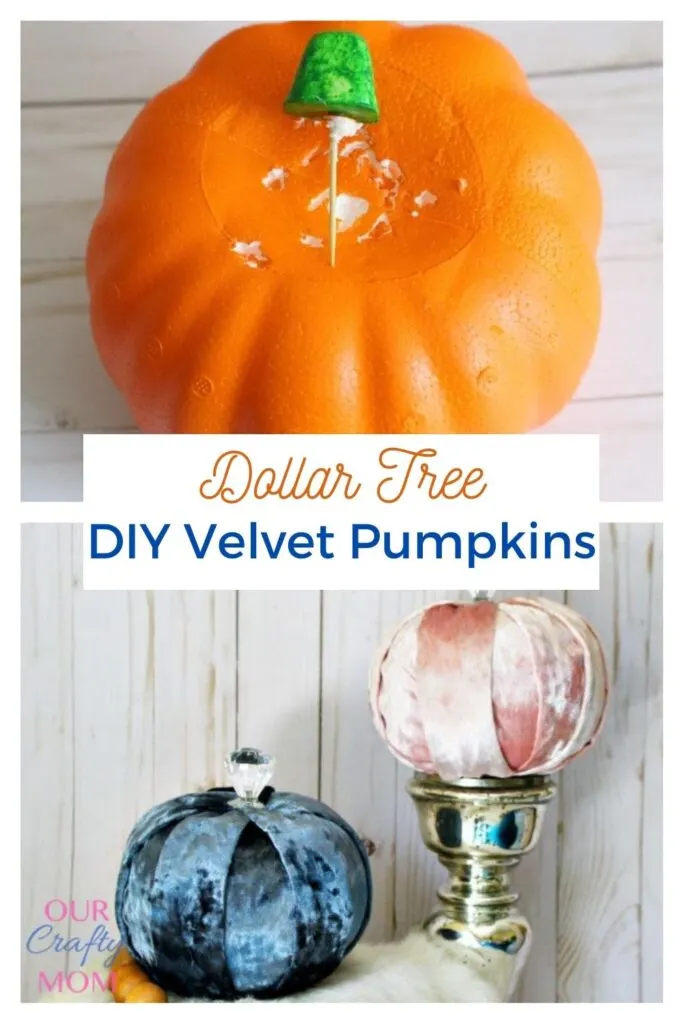
The first step is to remove the stem from the foam pumpkin. It pulls out easily. Replacing the stem makes a big difference.
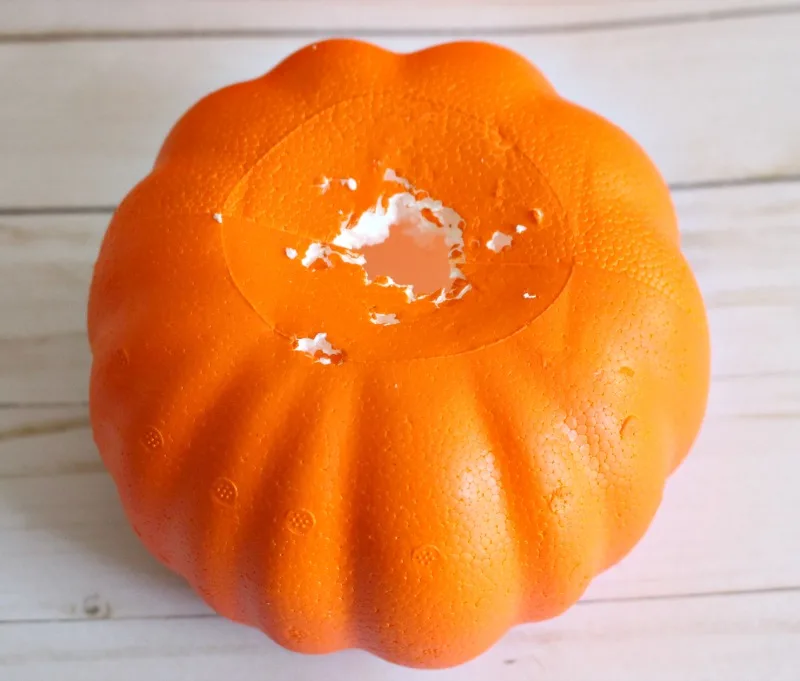
Step 2. Cut a Hole in the Dollar Tree Foam Pumpkin
Cut a hole in the center of the dollar store pumpkin. You can use a craft knife or scissors.
Step 3. Hot Glue Strips of Velvet
Hot glue your strips of fabric until the pumpkin is covered. You can push the velvet into the hole on top of the pumpkin.
If using velvet fabric trace a circle onto the fabric and cut with your fabric scissors as shown in these leopard velvet DIY pumpkins.
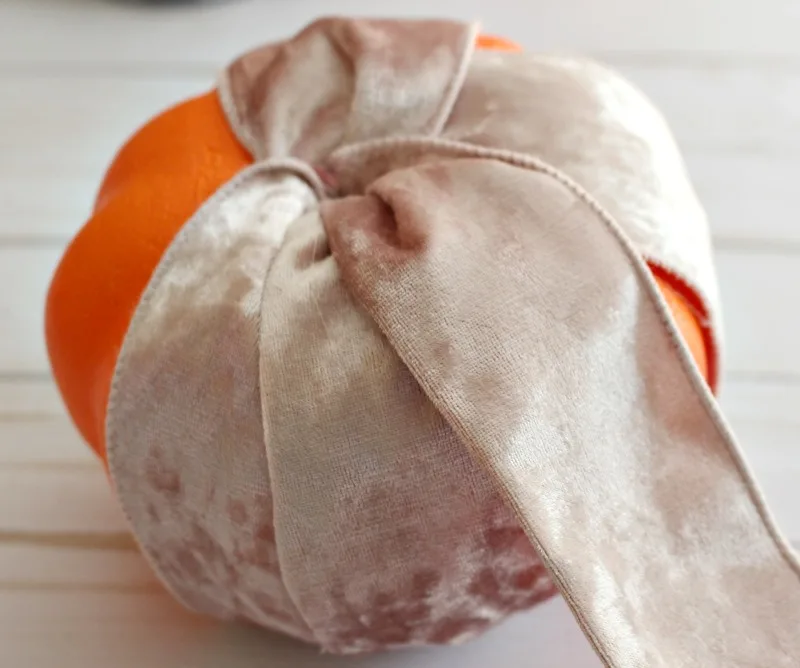
Step 4. Glue the Stem
Add a dab of hot glue to the glass knob and secure it to the top of the pumpkin.
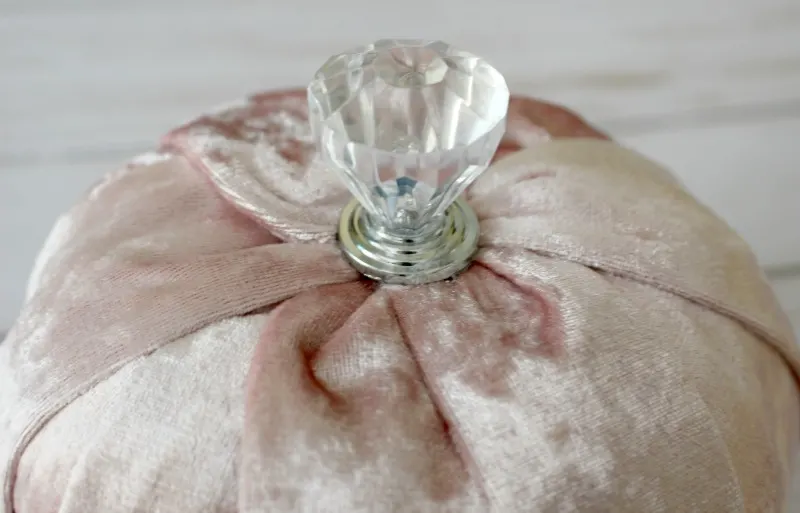
See how easy that was? There are gorgeous colors of velvet ribbon, so you can really be creative and make these your own.
Wouldn’t these make nice gifts too?
I have a few more to finish, as I plan to display them in a large dough bowl.
It’s always fun to see a before and after picture, so check this out:
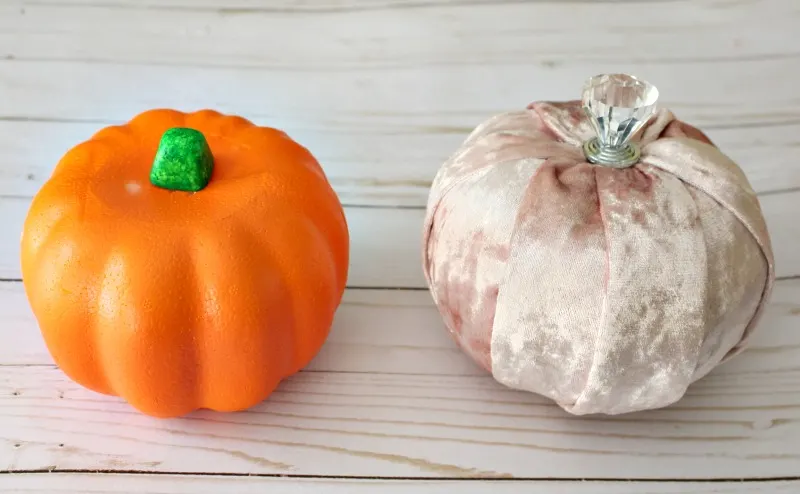
What a difference! These would be so cute at a table setting with a place card attached for Thanksgiving.
How would you display these beautiful pumpkins in your home? Here are a few popular ideas.
How to Decorate With Velvet Pumpkins
- Display several in a dough bowl for a quick and easy fall centerpiece.
- Create a fall vignette on a coffee table with a stack of books, tray and a couple of pretty pumpkins in different colors.
- Place a few colorful pumpkins on your fall mantel or buffet.
- Line a dining room table with eucalyptus garland, fall florals and velvet pumpkins for a gorgeous centerpiece idea.
Sharing is caring…please PIN the below image:
You may also like these DIY dollar store pumpkin makeovers:
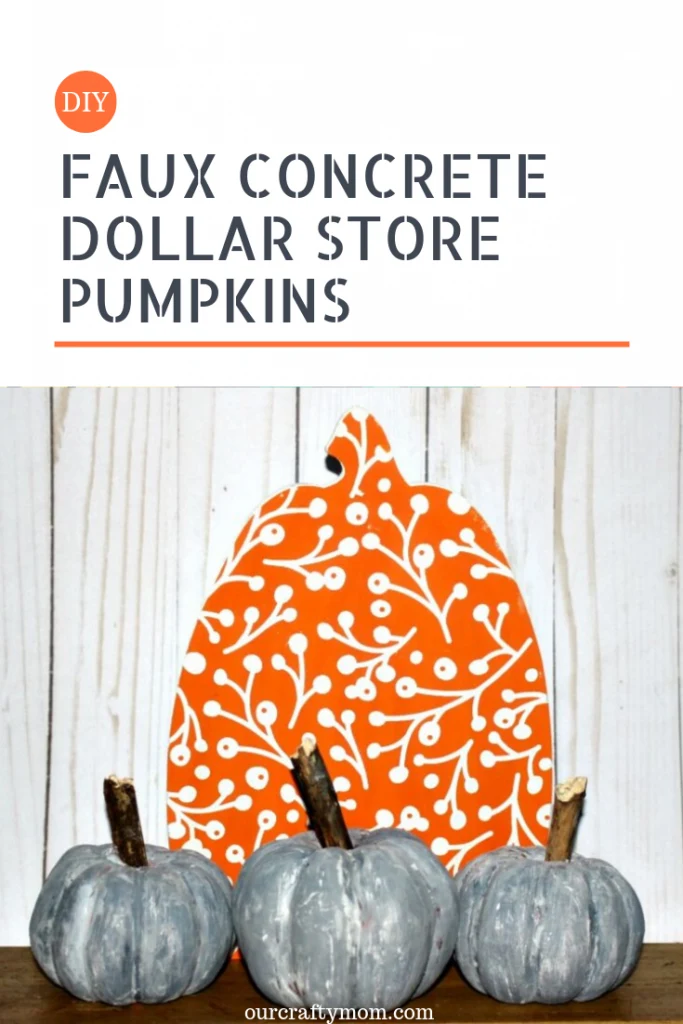
Dollar Store Faux Concrete Pumpkins
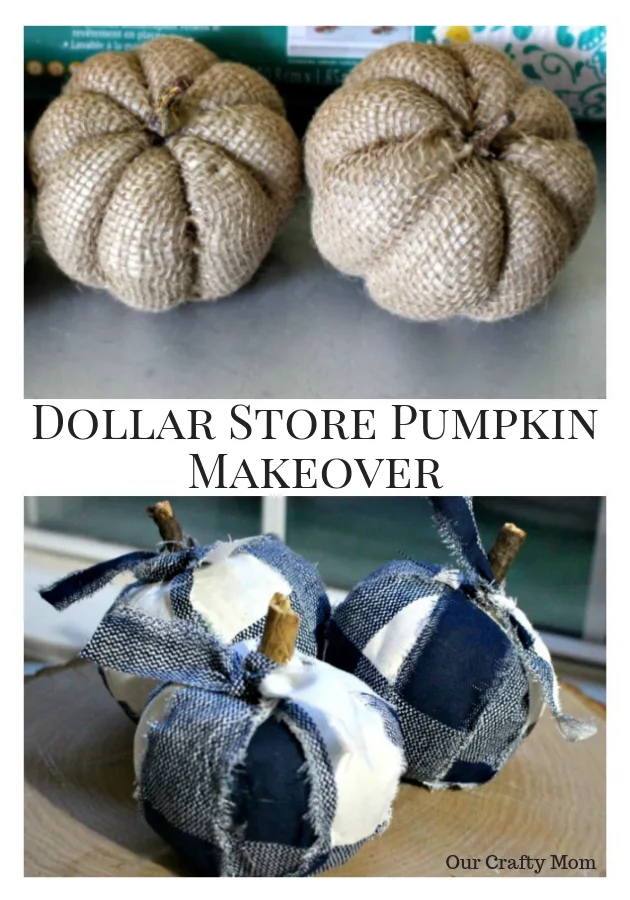
Buffalo Check Dollar Store Pumpkins
Thank you so much for stopping by. For even more DIY dollar store crafts, check out these fall ideas from my blogging friends.
Dollar Store Fall Decor
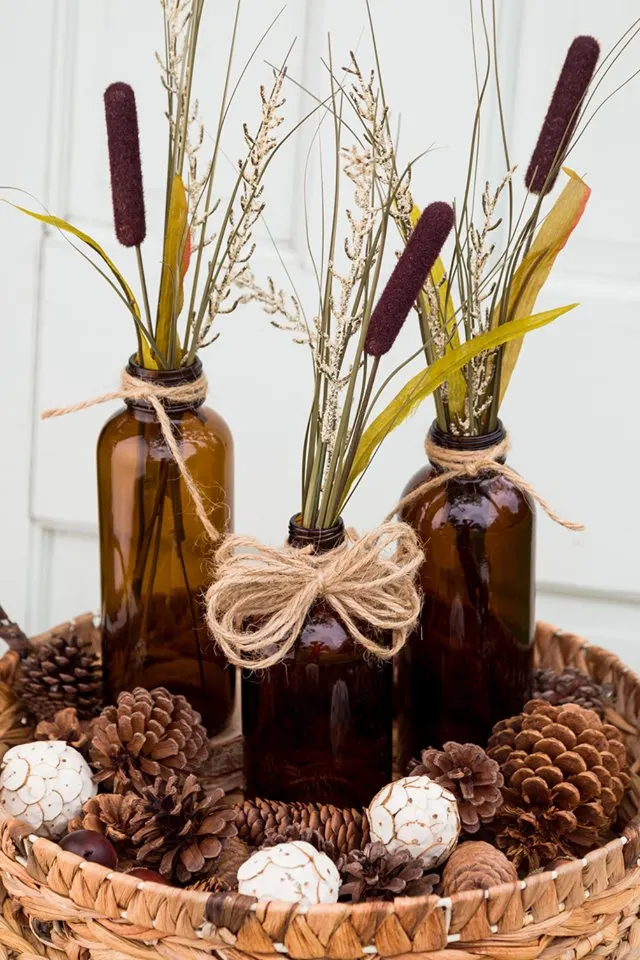
- Fall Decorating Ideas from Kippi At Home
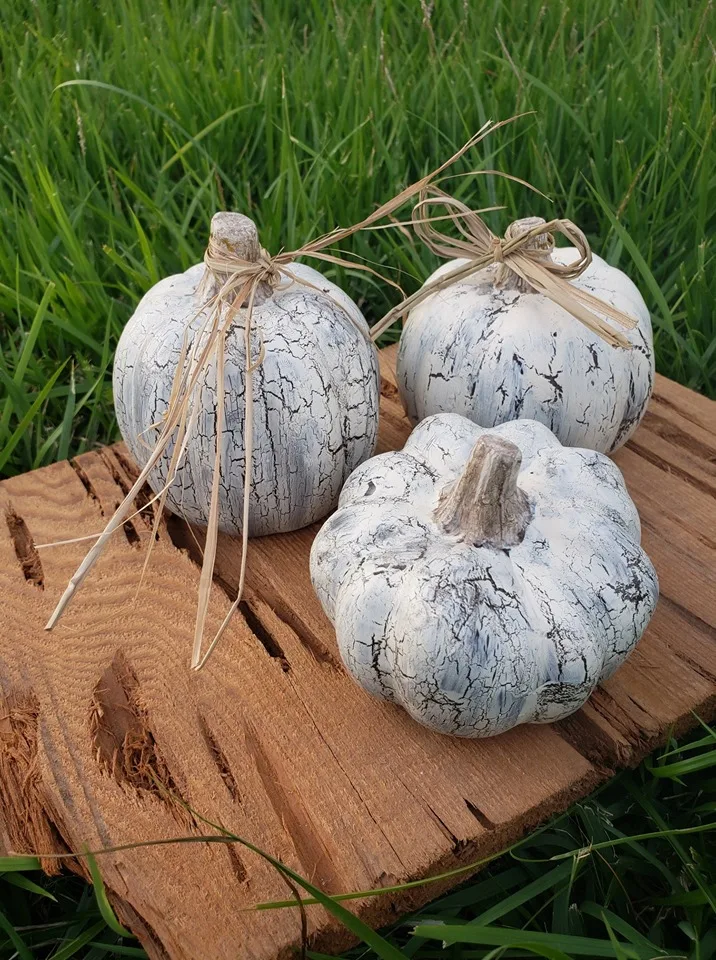
- Dollar Store DIY Fall Decor from Mama Dares To DIY
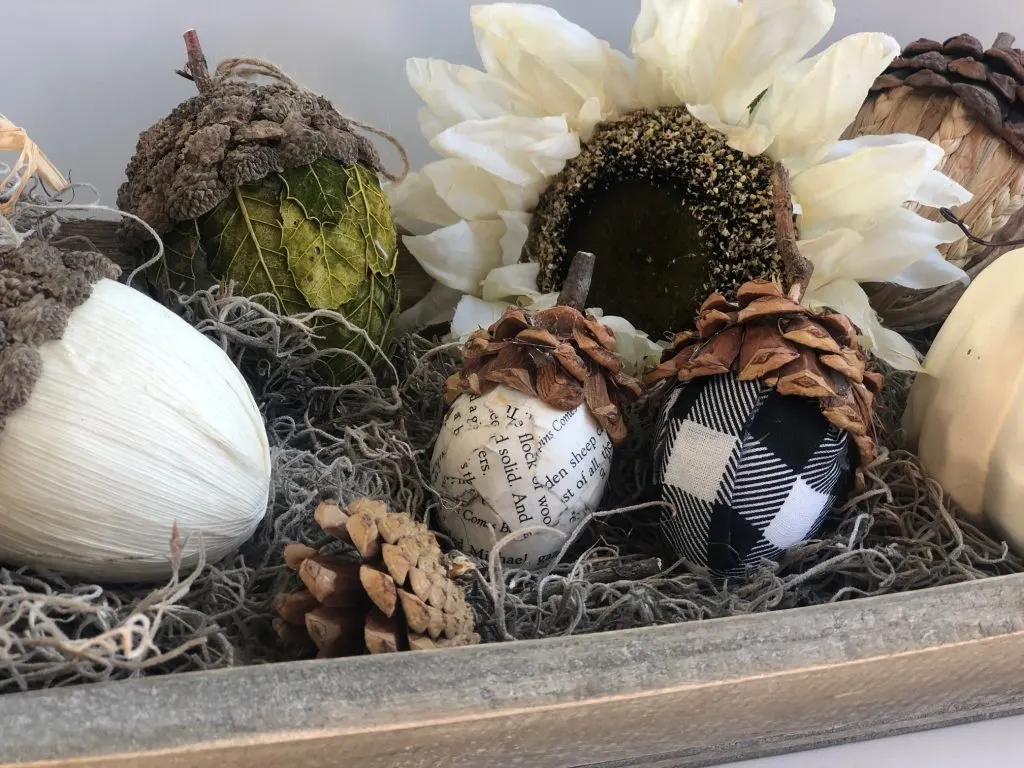
- Dollar Tree Pumpkins To Fall Decor from Just That Perfect Piece
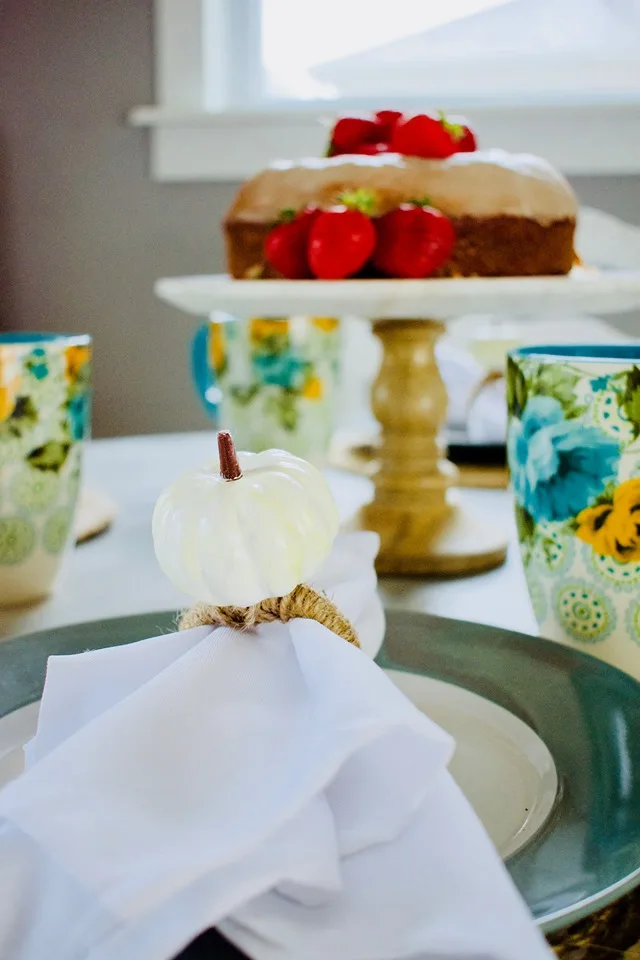
- Dollar Store Fall Decor from Southern Yankee DIY
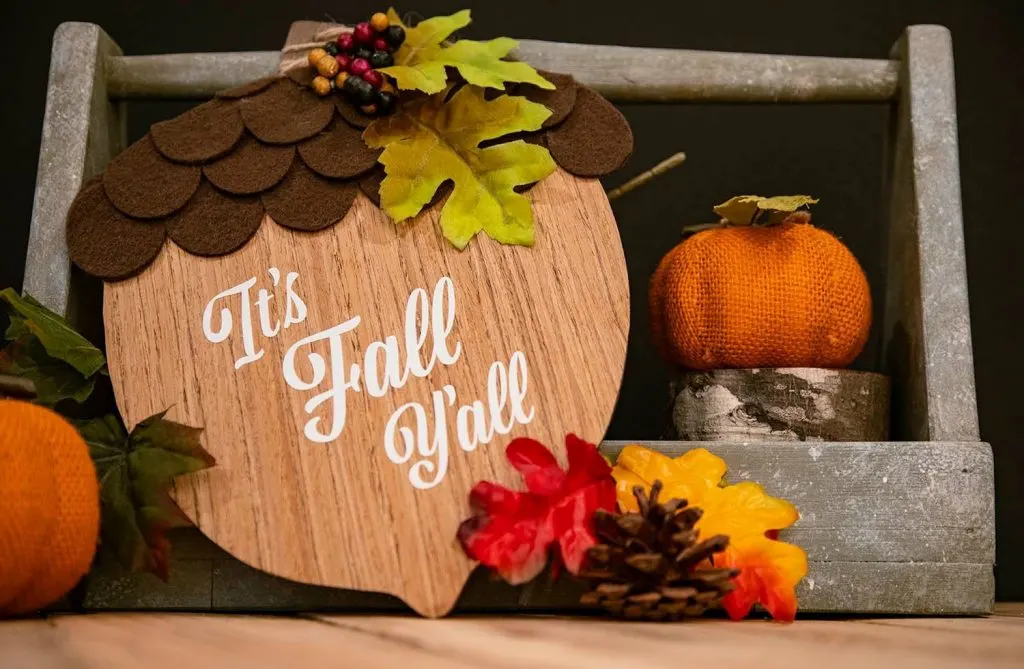
- Fall Dollar Store Acorn Door Hanger from Olivia O’hern
Sharing is caring…please PIN the below image:
How To Make Beautiful DIY Dollar Store Velvet Pumpkins
Transform Dollar Store foam pumpkins into beautiful velvet pumpkins with just ribbon and a hot glue gun. No sewing is required!
Materials
- Dollar Store Foam Pumpkins
- Velvet Ribbon 2"
- Glass Knob
Tools
- Hot Glue Gun
- Fabric Scissors
Instructions
- Remove stem from foam pumpkin.
- Cut a small hole in the center of the pumpkin.
- Cut strips of velvet ribbon 6" long.
- Add velvet strips to the pumpkin by pushing one end of the ribbon into the pumpkin hole and adding a dab of hot glue to the opposite end to glue to the pumpkin.
- Attach the glass knob to the top of the pumpkin with hot glue.
Notes
You can use this same tutorial with any type of wide ribbon or fabric.
Recommended Products
As an Amazon Associate and member of other affiliate programs, I earn from qualifying purchases.
The Dollar Tree near me opens at 8 am EST and closes at 9 pm EST. Be sure to check your local store for exact hours.
Apple pay is not accepted at Dollar Tree as of this writing.
Dollar Tree is only closed 2 days a year, on Thanksgiving and on Christmas day. However, check the local Dollar Tree near you to confirm.
You can also follow me on social media below:

Showgatur
Thursday 31st of October 2019
Michelle, These velvet pumpkins are looking so adorable. Simply, you have presented an awesome DIY Dollar Store.
Chic Dollar Tree Pumpkin Makeover -DIY · Just That Perfect Piece
Friday 25th of October 2019
[…] what Michelle at Our Crafty Mom did with her pumpkins. They so royal!! Love […]
Announcing the 2019-20 Creative Team for Ideas for the Home by Kenarry + Fabulous Fall Ideas
Tuesday 8th of October 2019
[…] Michelle’s Fall Craft: How To Make Beautiful DIY Dollar Store Velvet Pumpkins […]
Quick And Easy Decoupage Dollar Store Pumpkins
Thursday 26th of September 2019
[…] Dollar Store Velvet Pumpkins […]
Meet Me At The Pumpkin Patch Fun Fall Tablescape
Thursday 26th of September 2019
[…] navy buffet received pretty touches of fall as well with DIY velvet pumpkins and decor from the Decocrated Fall Box. It’s my favorite […]