Painted table tutorial: tips to help you makeover your worn out table quickly and easily with paint. Let’s make your old table look new again.
If you have followed me for any length of time, you know I love to makeover furniture.
I’ll never forget how proud I felt when I refinished my first piece about 15 years ago.
This table makeover was created in collaboration with Jolie Paint and contains affiliate links. However, all opinions and love for this paint are 100% mine! Please see my full disclosure here.
It was a small side table that had beautiful legs, but was scratched and worn.
I found it at the flea market for $5 and can still see the look my husband gave me when I showed him.
You know the look, the “are you kidding me” look!
Once I gave it a couple of coats of paint and it became his nightstand, he got it.
He started bringing stuff home for me that he scored at yard sales and it became a fun thing.
There really is a sense of pride when you take something worn out and ready for the trash and give it new life.
Over the years I’ve used many different kinds of paint and some I prefer over others.
It’s fun to experiment with new paint. When I went to Alt Summit in March, I was thrilled to meet the team from Jolie Paint, see a demo of their products and try out the paint.
It was pretty much love at first “brush stroke” with this beautiful matte finish paint and I couldn’t wait to makeover a piece of furniture with it.
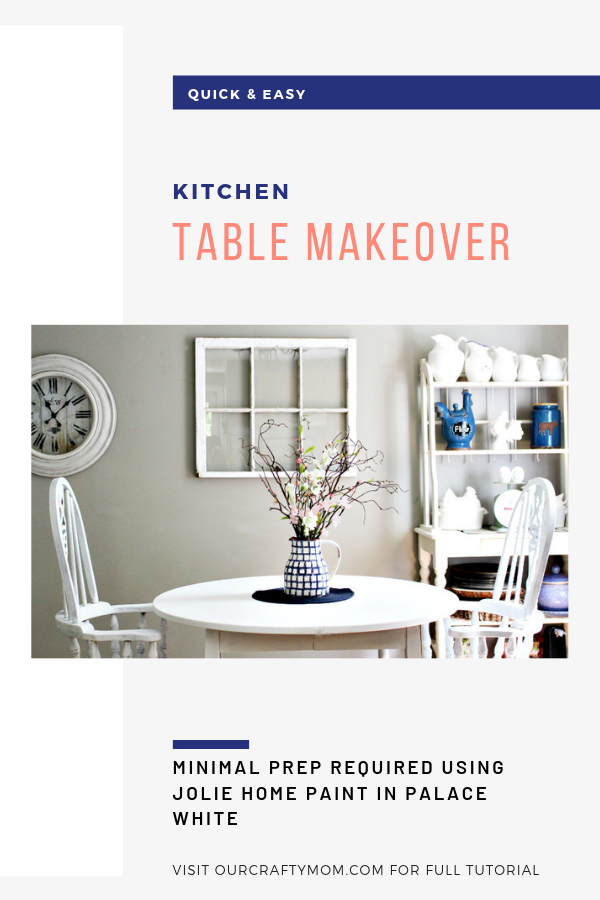
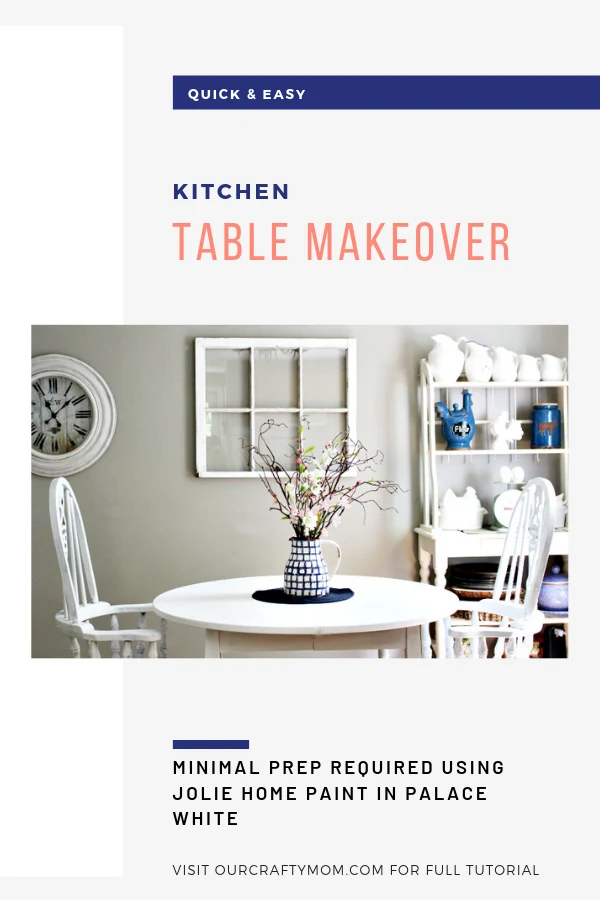
The kitchen table was the perfect piece to makeover.
Let me show you the easy steps I used.
Painted Table Tutorial
The table was given to me a few years ago for my daughter to use in her first College apartment.
It was not the best quality, but it was going to be used in a College apartment, so I knew it would be abused-or well loved!
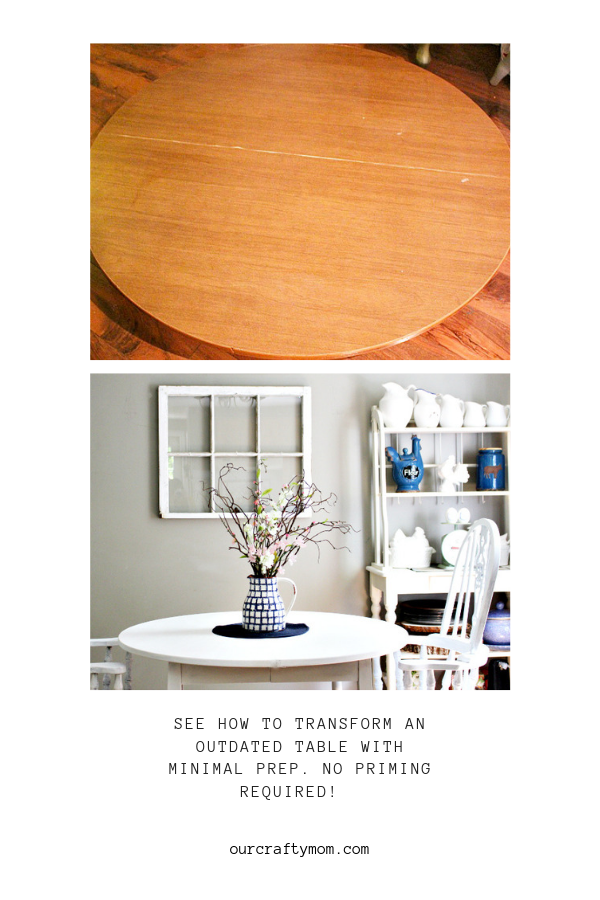
Here is what it looked like when it was given to me:

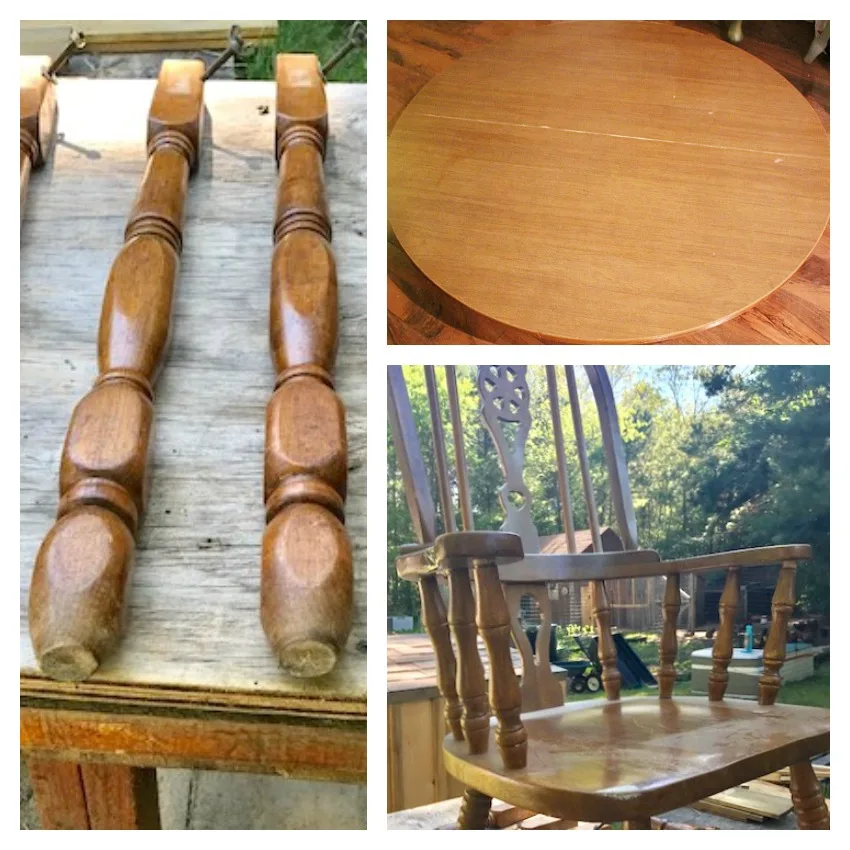
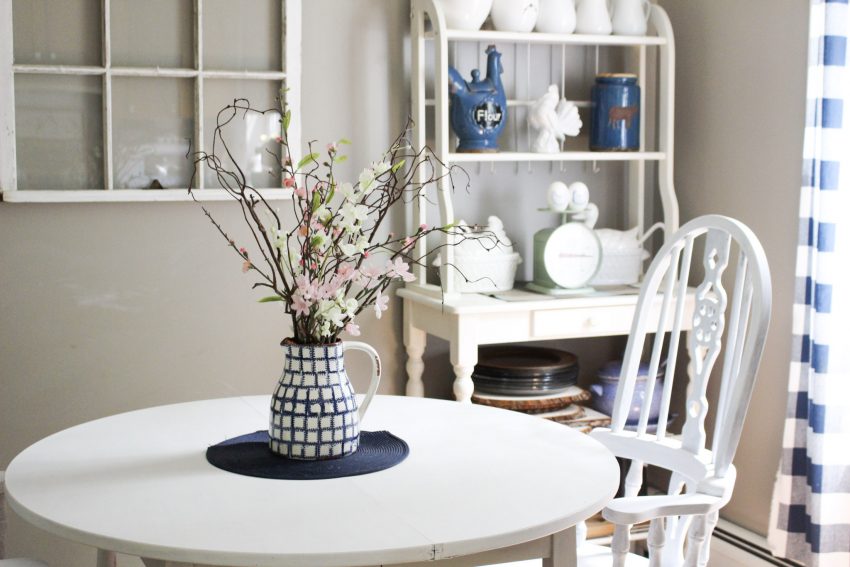
The chairs are pretty cool and have great detail.
There are only two, so I’m on the hunt for two more.
Fingers crossed I can find a style that will compliment these.
The table was previously painted a light gray color and had a stenciled medallion in the center.
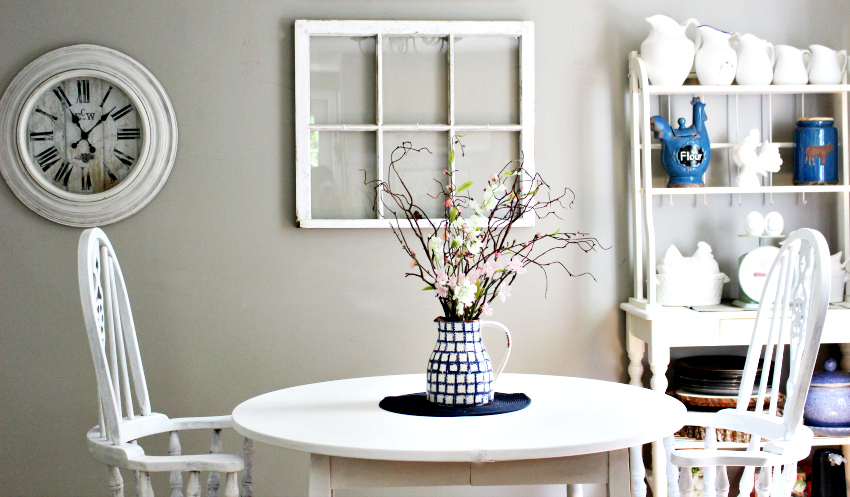
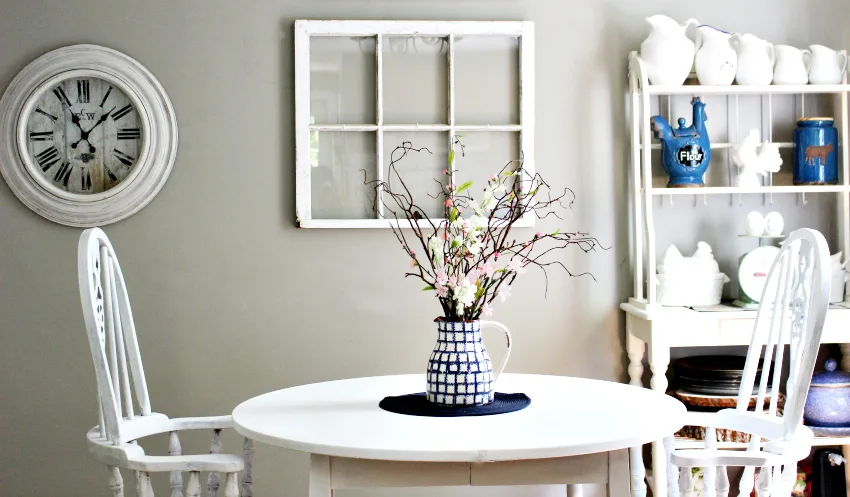
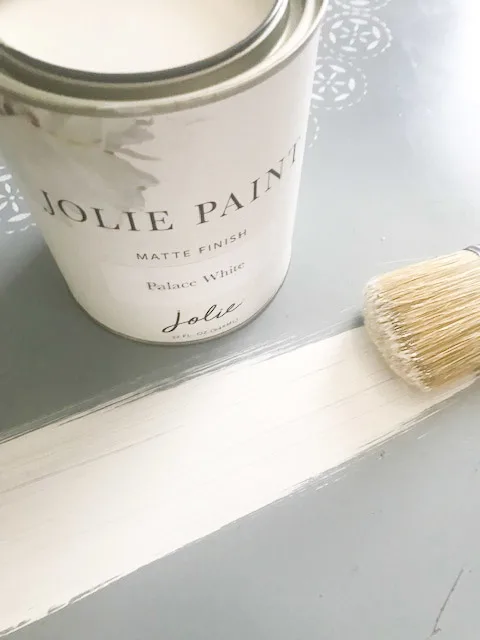
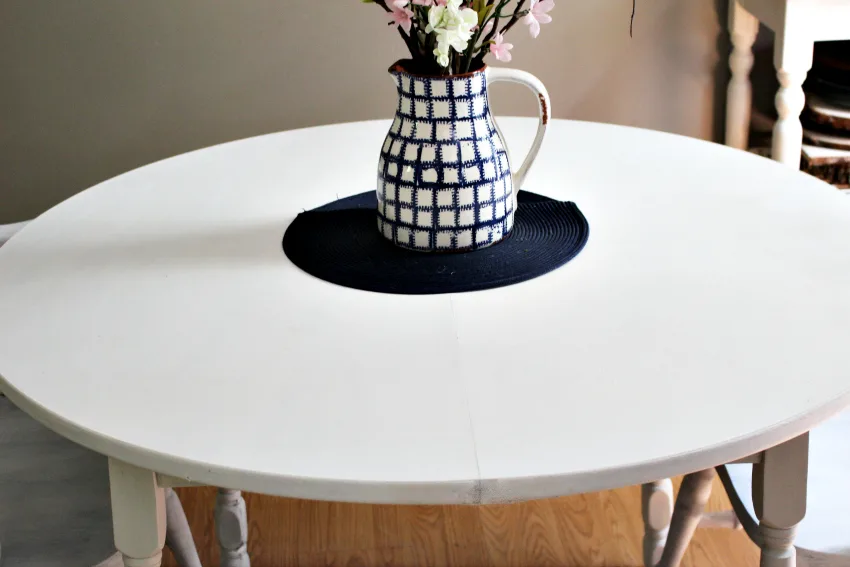
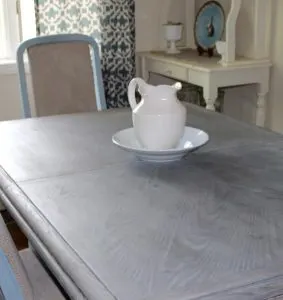
For this makeover, I went with a gorgeous shade of white called Palace White.
It’s clean and crisp, but has a hint of warmth. Look at this beautiful color:
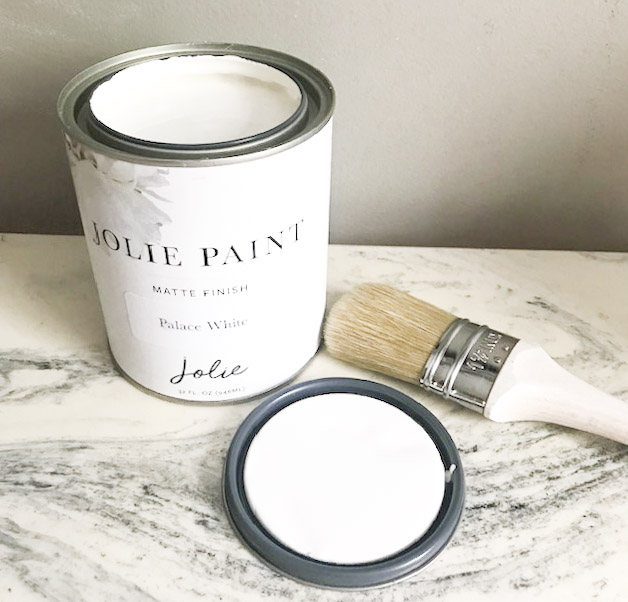
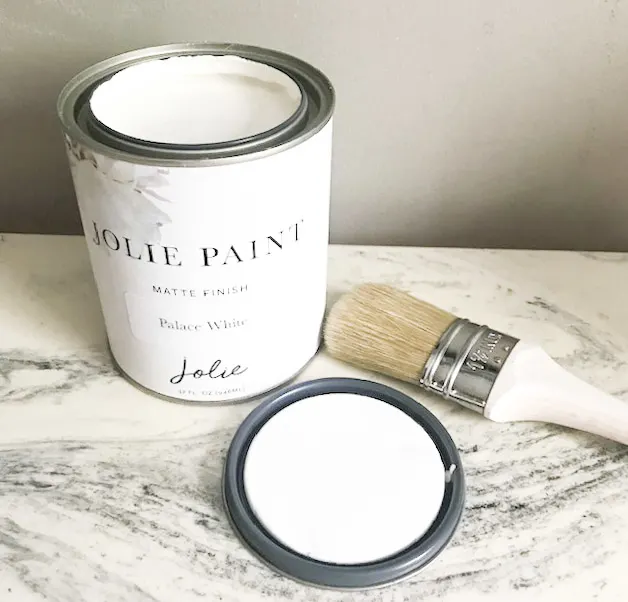
Table Supplies
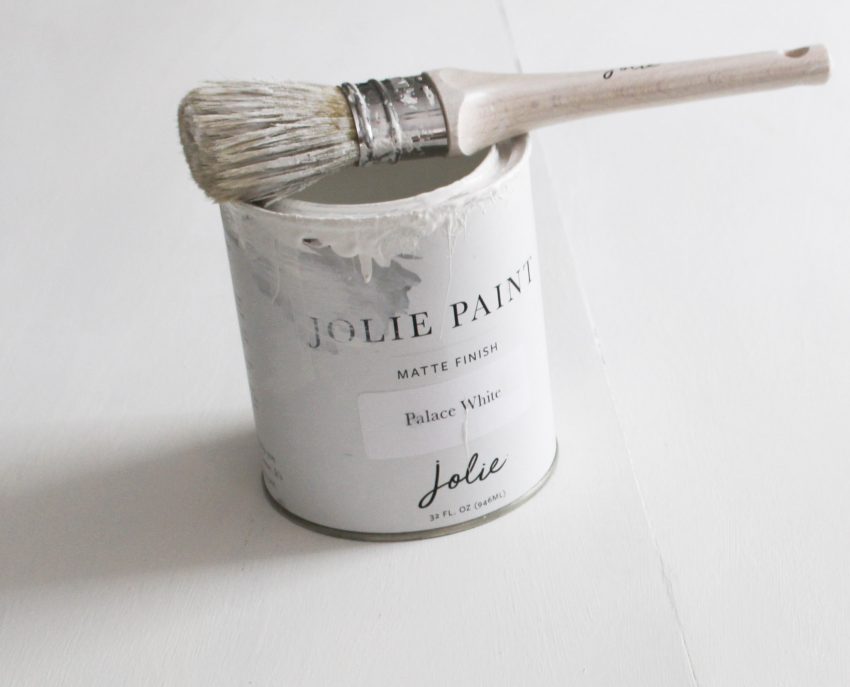
- Jolie Home Paint – Palace White
- Jolie Home Signature Paint Brush
- Jolie Home Clear Finishing Wax
- Jolie Home Wax Brush
Step 1. Prep
The first thing I do when prepping a piece of furniture is give it a good cleaning.
I’ve been using Murphy’s Oil Soap for years and definitely recommend it.
Step 2. Sand
I’m the first to admit I don’t like prep work.
That is one of the reasons why I was so excited to try this paint.
Jolie Paint adheres to most surfaces without sanding or priming.
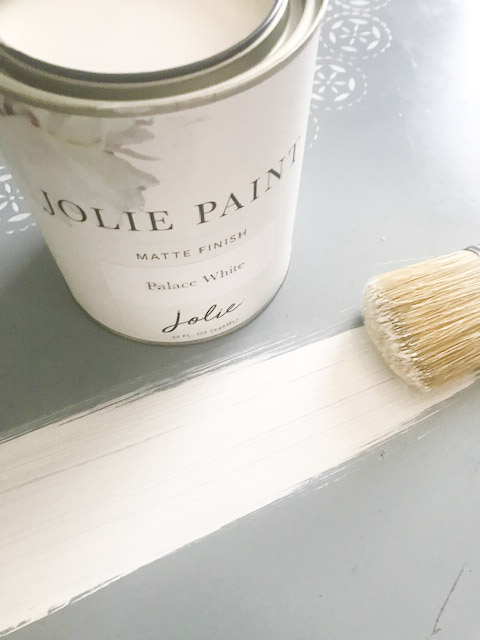
You read that right-no sanding or priming! All I did was give it a light sanding to remove any lose paint.
Look at the paint coverage right over the existing gray paint, including the medallion:
Step 3. Paint
Paint thin coats and let it dry in between. This helps to ensure even coverage.
Step 4. Wax
Before applying Jolie Finishing Wax, ensure that your paint is completely dry.
Use a wax brush to apply clear finishing wax, working in areas of approximately 2-3 square feet at a time.
Use a gentle sweeping motion to work the clear finishing wax into the paint.
Wait at least 8 hours before applying a second thin coat.
Jolie wax dries quickly in about 1-2 hours, and fully cures in about two weeks.
Sealing your furniture provides extra protection and is needed on a kitchen table that will be used daily.
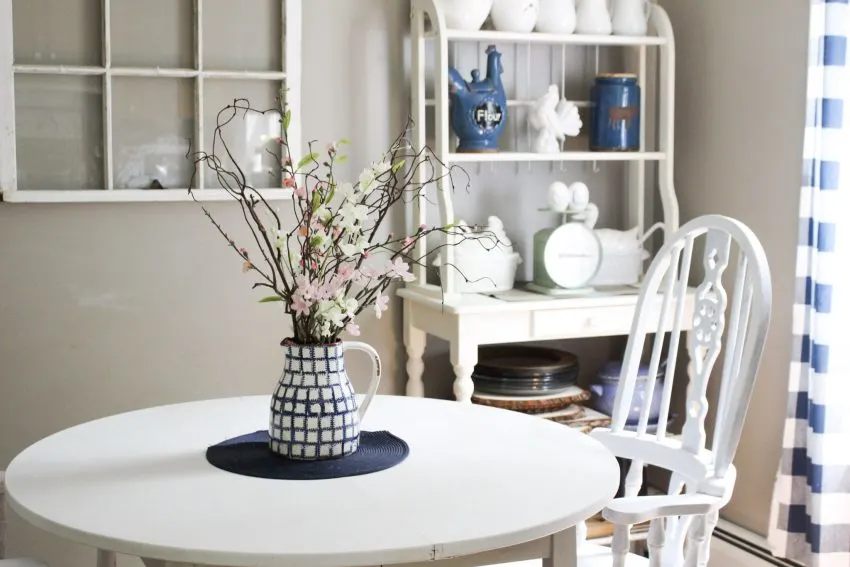
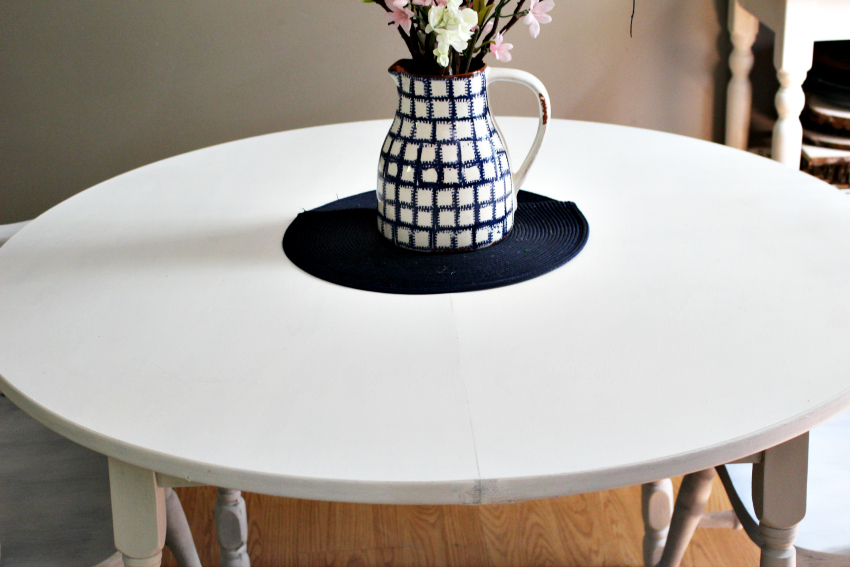
I’m ecstatic with how this painted table makeover turned out.
The finish is really smooth and it was easy to achieve without priming!
Here are just a few of the reasons why I love Jolie Paint:
- The paint is water-based, non-toxic, and VERY low VOC
- Excellent coverage
- Made in the USA
- Minimal prep work
I hope you enjoyed these easy painting tips. Thank you for visiting Our Crafty Mom. Have a great day!
Sharing is caring…please pin the image below:

What’s Next:

You can also follow me on social media:
Jenne
Friday 17th of January 2020
Hi Jolie! You gave the table such a beautiful makeover. It looks so nice now. What does the wax do though? This blog was really useful, thanks!
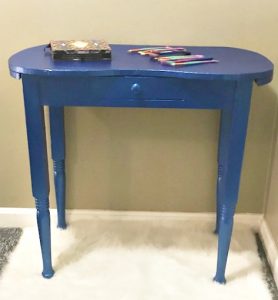
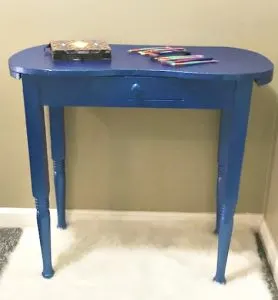
Sideboard Buffet Makeover In Beautiful Classic Navy Paint
Sunday 6th of October 2019
[…] used Jolie Paint before for my kitchen table makeover so I couldn’t wait to makeover this sideboard. Here is what I […]
Rue
Sunday 4th of August 2019
I just started using Jolie paints & I love them!
ourcraftymom
Sunday 4th of August 2019
Yes! The finish is incredible! :)
Jenna LaFevor
Wednesday 19th of June 2019
Wow! What a difference! It looks gorgeous!!
Michelle
Saturday 15th of June 2019
So, sealing the table is necessary. I get it . You said you used the wax? That will seal it ? Strong enough to withstand being used ...as a normal table?