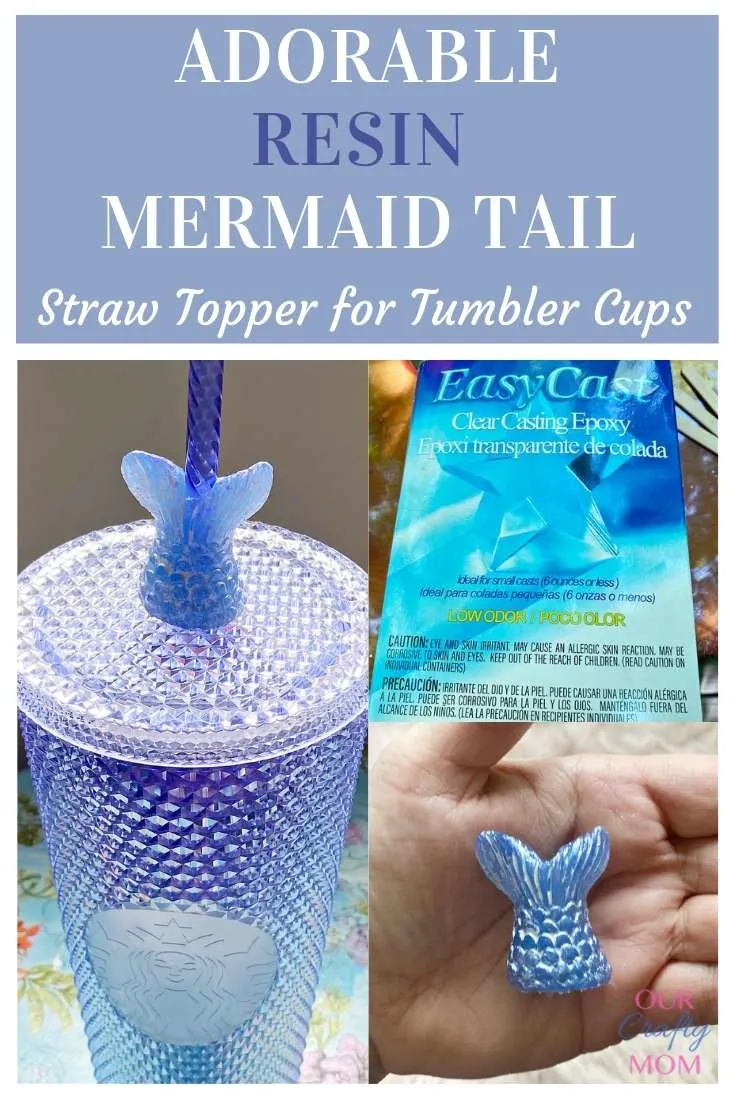
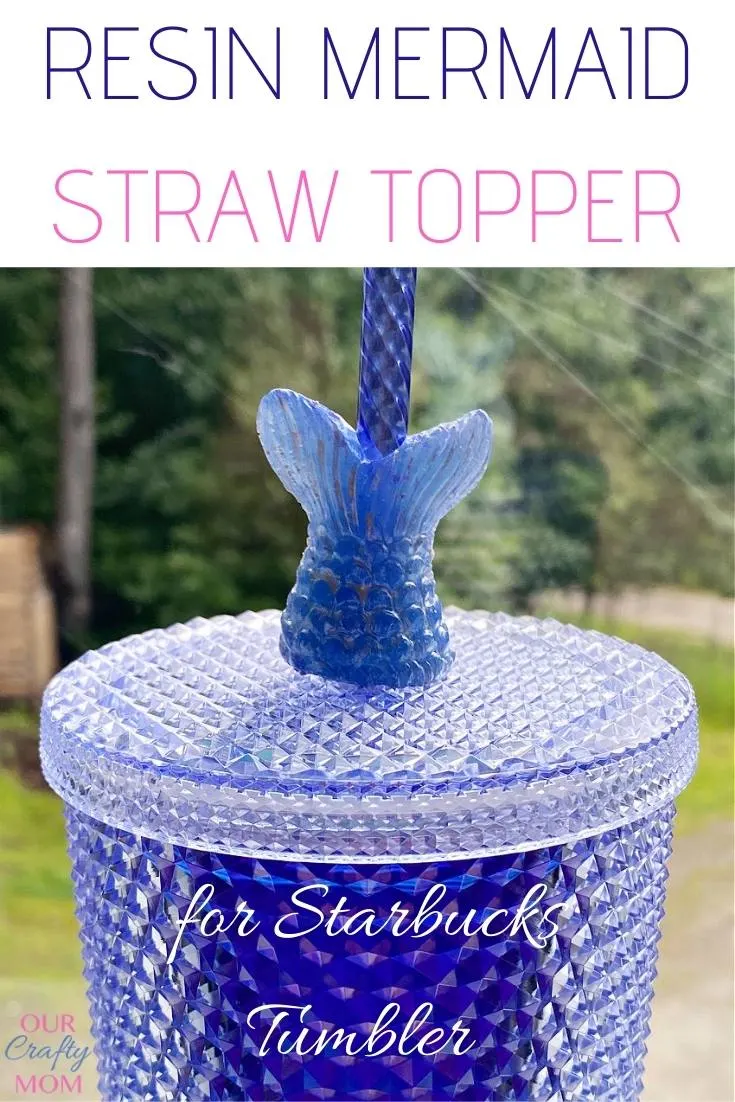
Learn how to make your own adorable mermaid resin straw topper perfect for Starbucks tumblers, or any type of cup with a lid and a straw.
I’m super excited to show you how I made this mermaid resin straw topper.
It was my first time making this type of resin craft, and I couldn’t be happier with the results.
I received product from ETI Resin Crafts used in this post, however, all opinions and love for this product are 100% mine. This post contains affiliate links at no extra cost to you. Please see my full disclosure here.
Mermaid Resin Straw Topper
Let me give you a little background on how this project came about, so you understand my excitement.
My 25 yo daughter, Amanda, and many of her friends collect Starbucks tumblers.
Did you know that was a thing?
Apparently, Starbucks comes out with a new tumbler each month, and people go nuts for them.
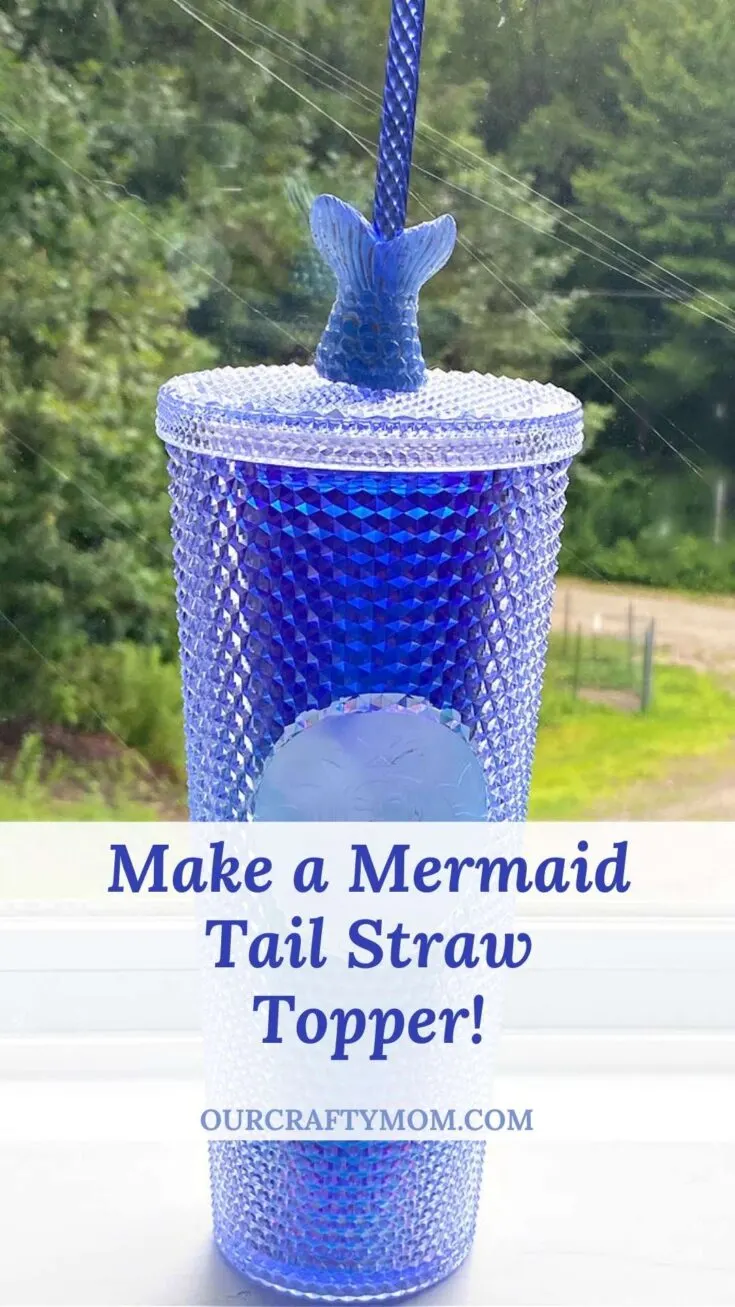
So my daughter asked me to keep an eye out for the exclusive summer tumbler in purple, as she couldn’t find it anywhere.
This is what it looks like:
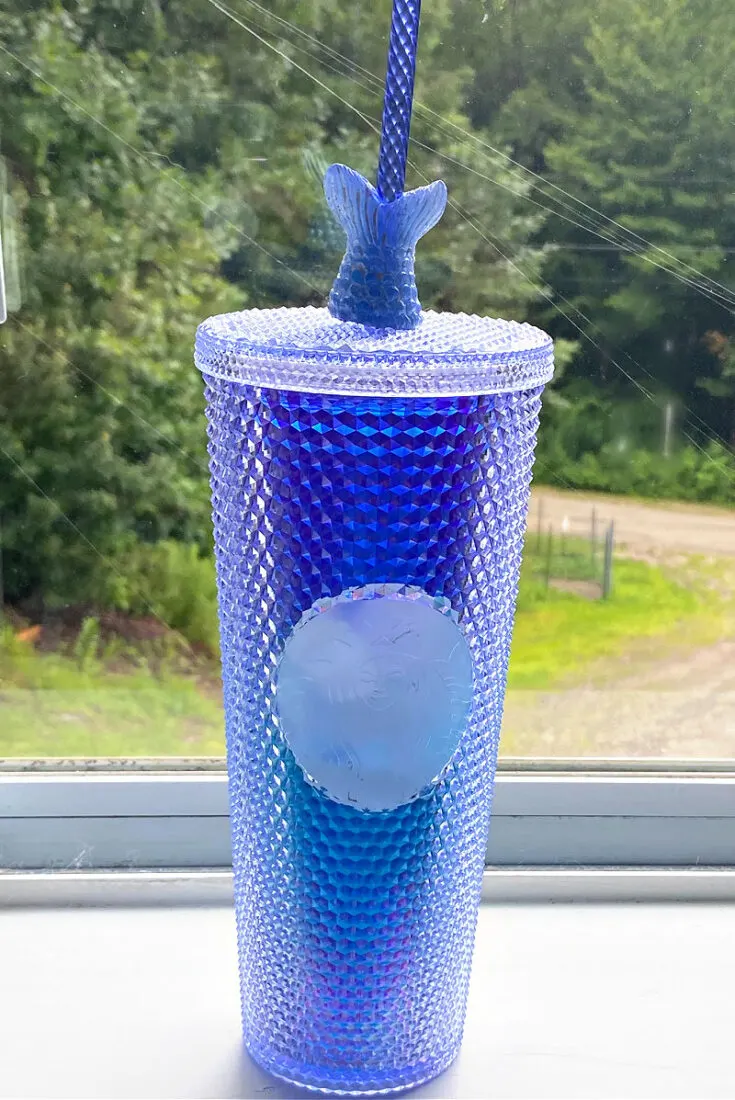
I do admit it’s pretty. I’m all about bling, so I get why they are so popular.
Anyway, her birthday was coming up so I was on a mission to find this tumbler.
Of course, they were nowhere to be found, unless I wanted to order it online for twice the amount.
And, I’m not that crazy!
I was not deterred, and we ended up finding one single summer tumbler in a Starbucks store about an hour away.
This brought me back to when my kids were little and I would search everywhere to find a must-have toy for Christmas.
Please tell me I’m not the only crazy mom who did this.
Anyway, now we get the cup and she says “now I just need the mermaid tail straw topper to match”. Insert eye roll.
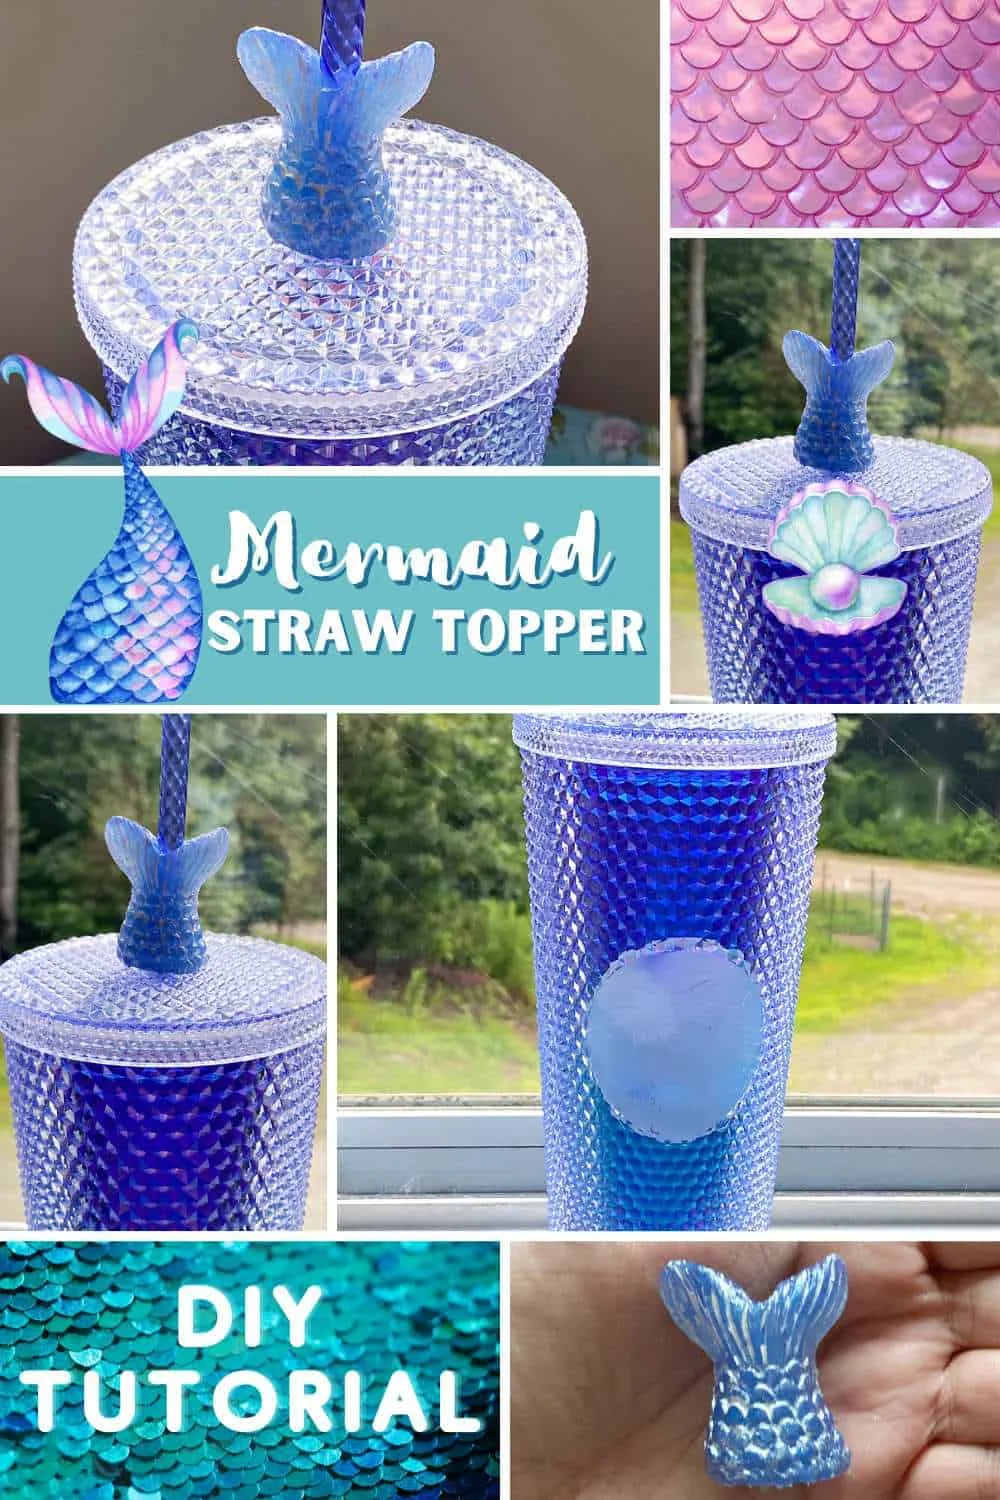
You get where I’m going with this, right? Yup, I researched “mermaid straw toppers” and saw I could make one with resin.
I’ve been on a resin craft obsession since making resin sunflowers last month.
So, I ordered the mermaid tail straw topper resin mold and scored major brownie points with Amanda and her friends at the same time. 🙂
Now their summer Starbucks tumblers are complete…until the fall ones come out!
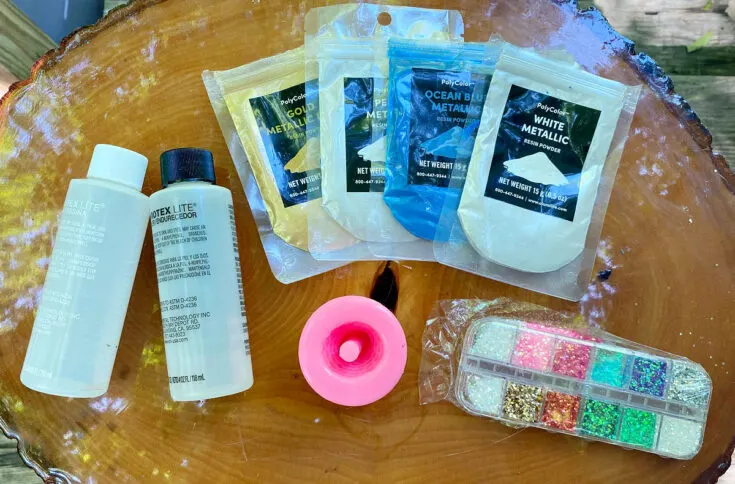
Supplies Needed For Resin Straw Topper
Get the supplies for this project in my Amazon Shop HERE.
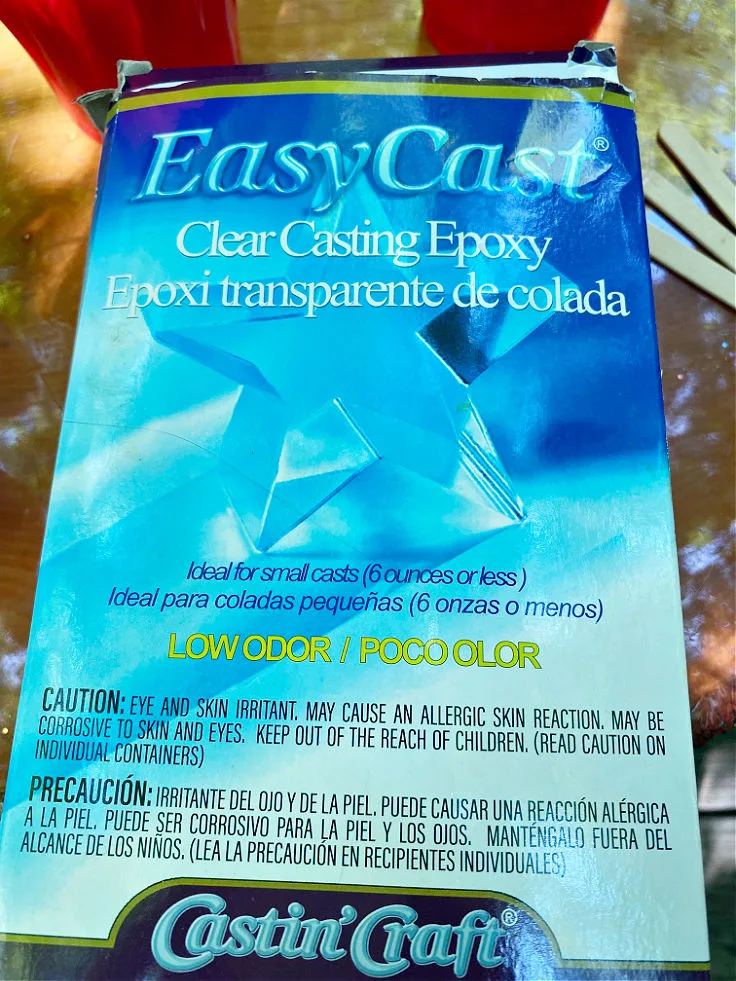
- Easy Cast Clear Casting Epoxy
- Poly Color Resin Powder – Ocean Blue Metallic
- Mixing Cup Set
- Mold Release
- Assorted Glitter
- Mermaid Tail Straw Topper Resin Mold
If you are a first-time user of ETI Products, I have good news!
You can save 10% off your first order by entering code OURCRAFTYMOM10 at check out. 🙂
How to Make A Resin Straw Topper
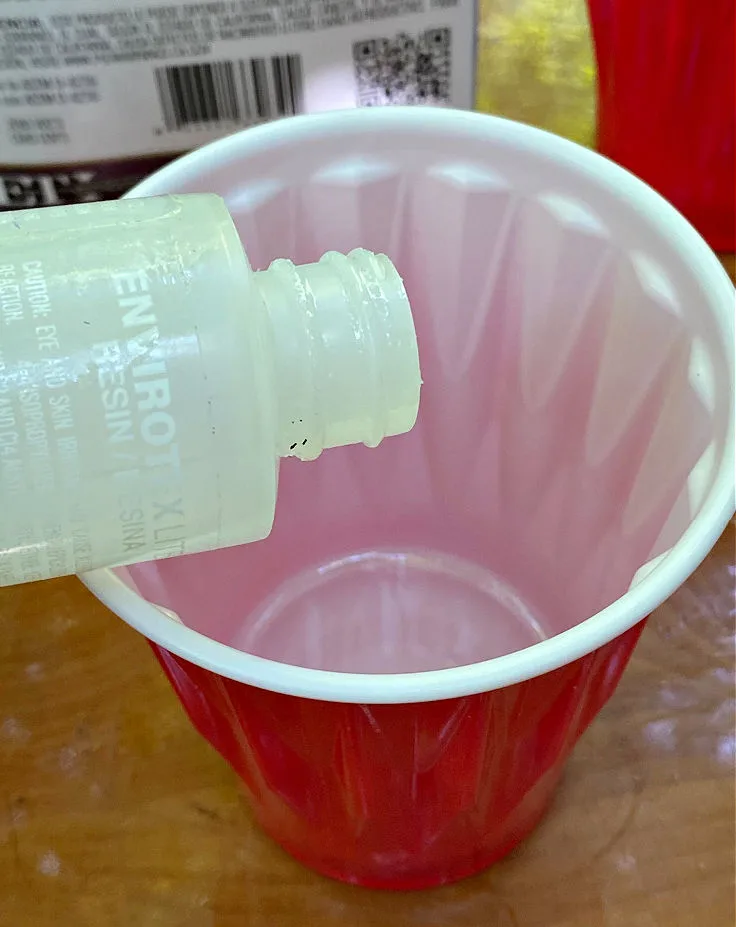
When working with resin, it’s very important to follow the directions with the exact measurements of 1 part resin and 1 part hardener, otherwise the resin won’t set properly.
Start by pouring equal parts resin and hardener into separate cups and mix.
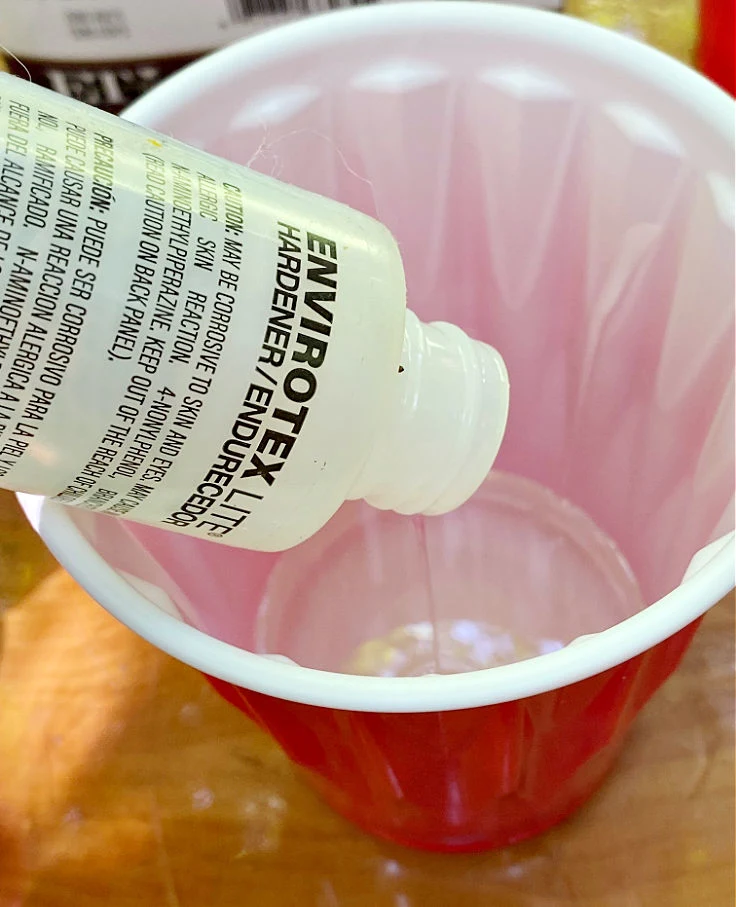
Then, pour the hardener into the resin and mix for about 2 minutes using wood craft sticks.
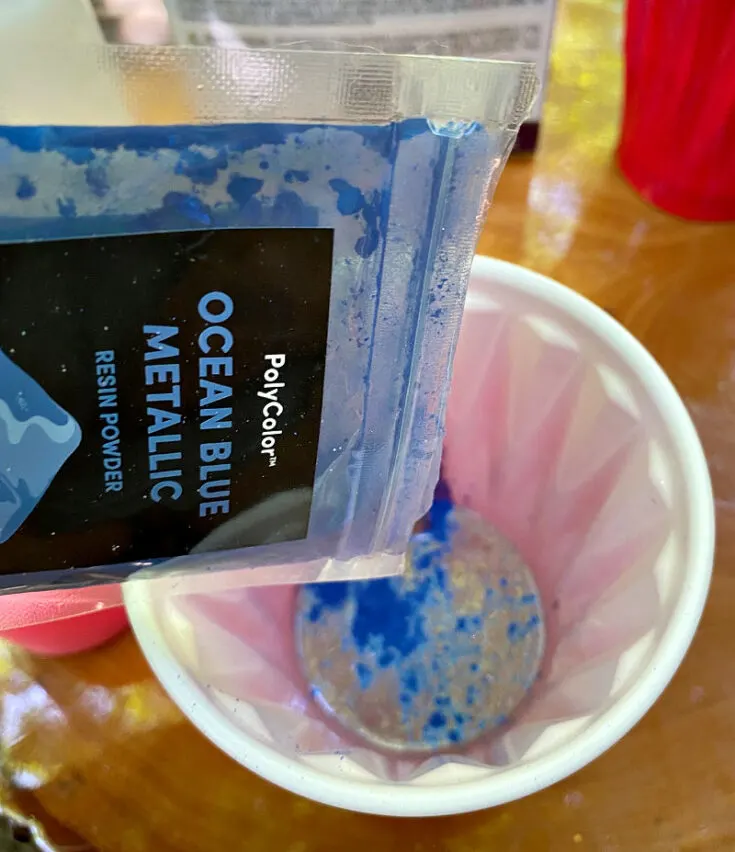
Add colorants…
Next, add whatever color resin powder you want.
I went with ocean blue metallic, which goes perfectly with the Starbucks tumbler. Mix well.
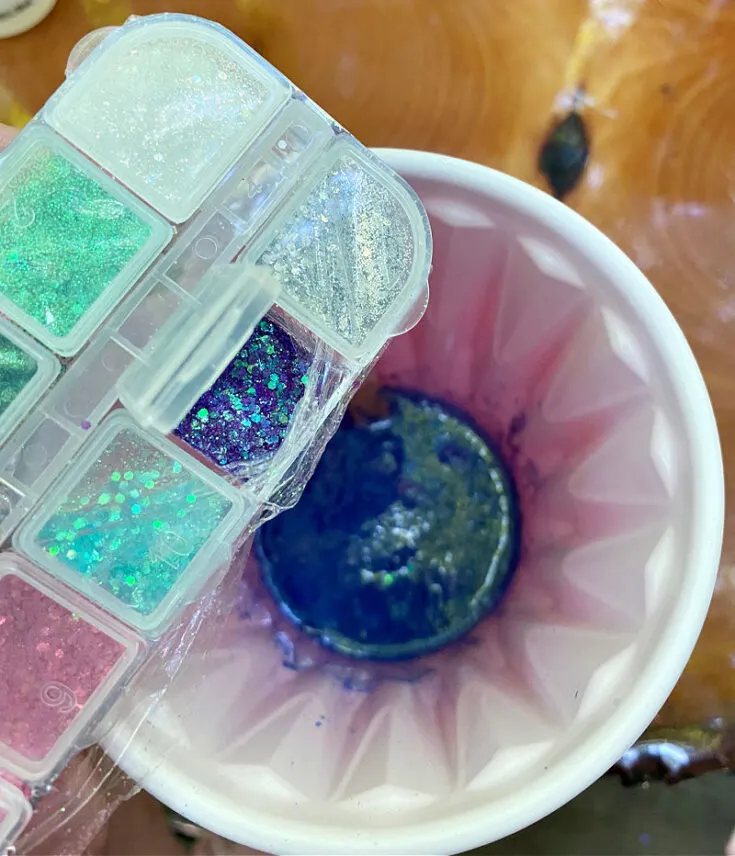
Now you can add as much, or as little, glitter as you like.
I didn’t measure but just kept adding glitter until it looked sparkly enough.
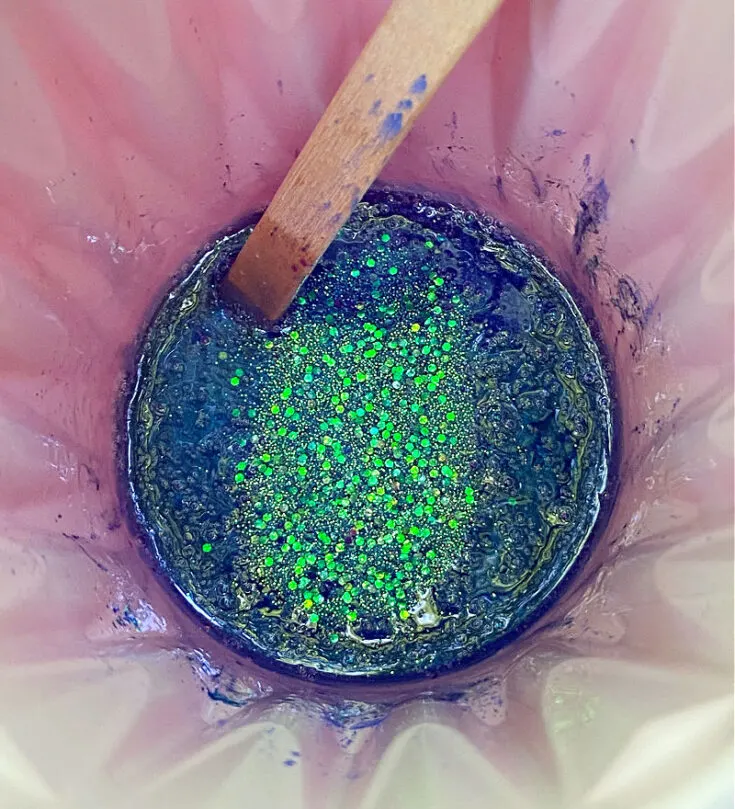
Mix well using a craft stick.
If your resin mold has been used before, prepare it with mold release.
This will help make it easier to “de-mold”, or remove the finished mold.
As my mold was new, I skipped this step.
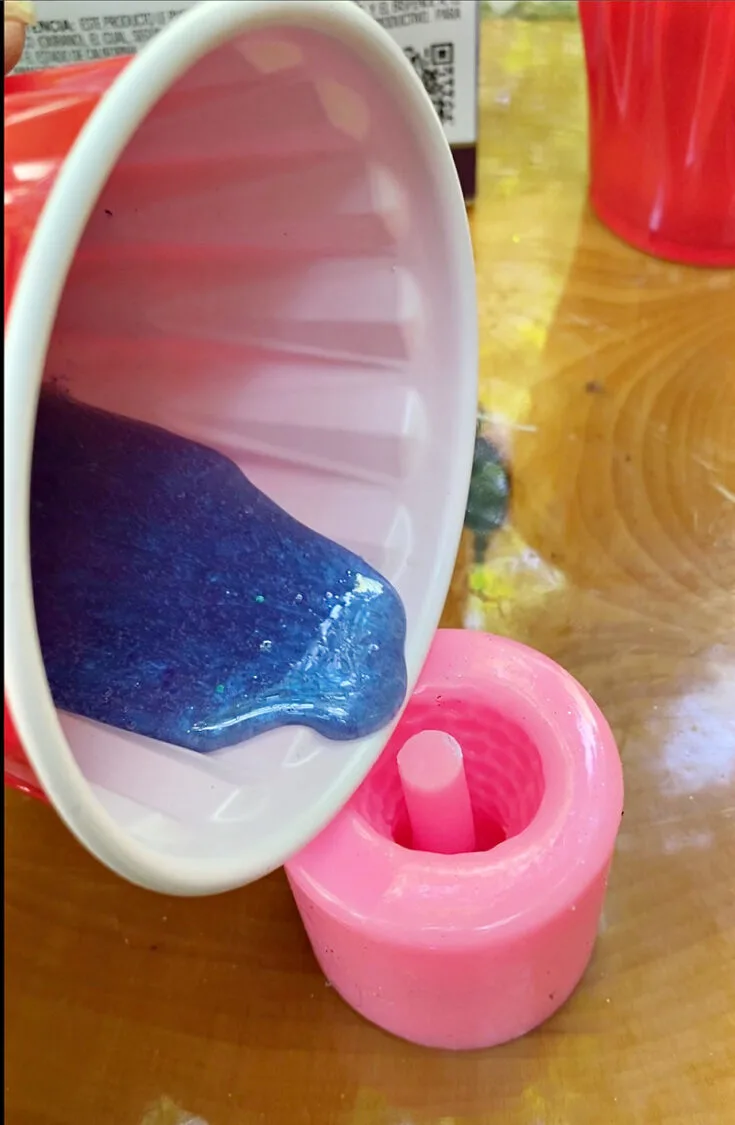
Slowly pour the mixed resin into the mold.
You want to try to get as few air bubbles as possible, so take your time while pouring.
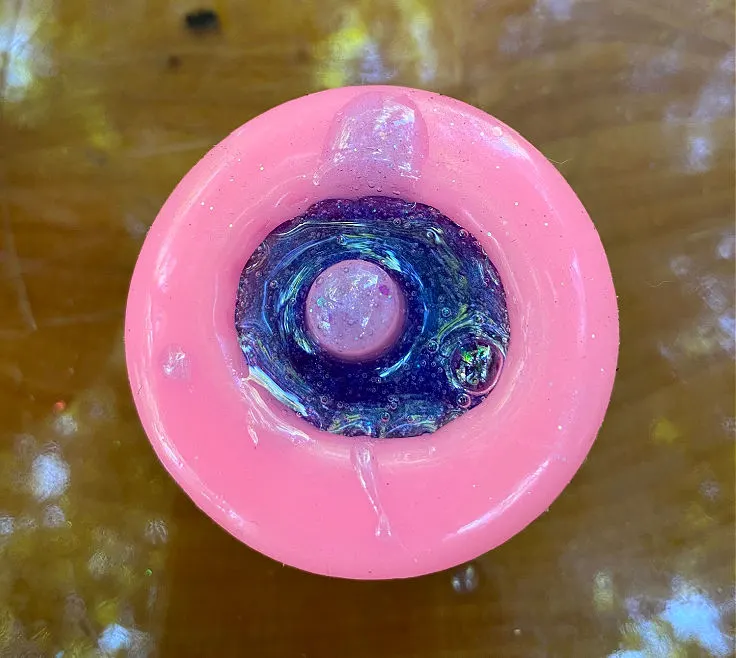
You see that big air bubble, just use a toothpick to pop any of those.
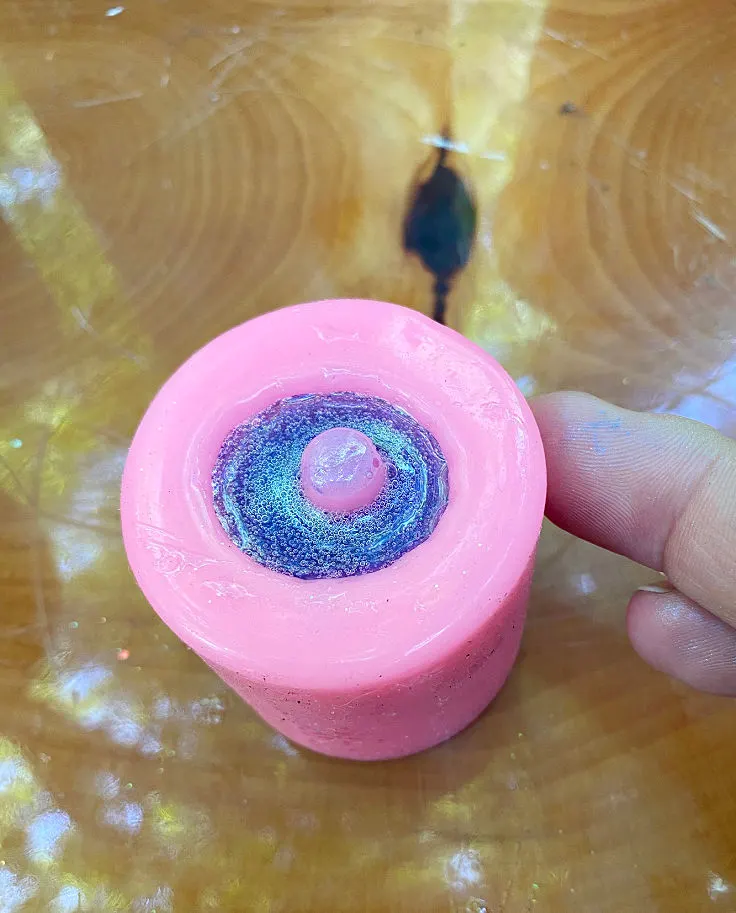
You also want to tap the mold a few times to help release any air bubbles.
Don’t use a lighter or heat gun for this type of mold, as it can make it dull.
Let the resin cure…
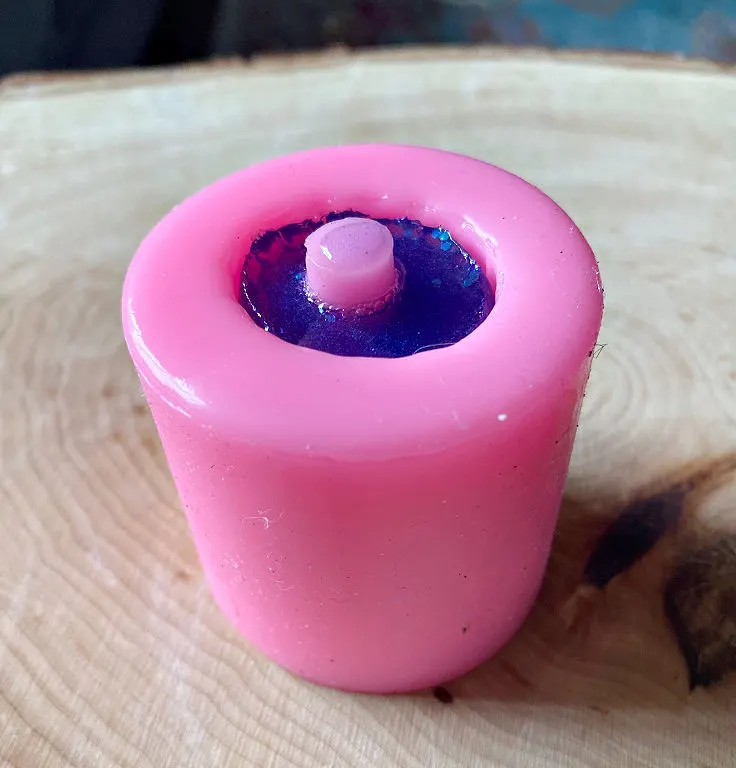
Let the resin cure overnight.
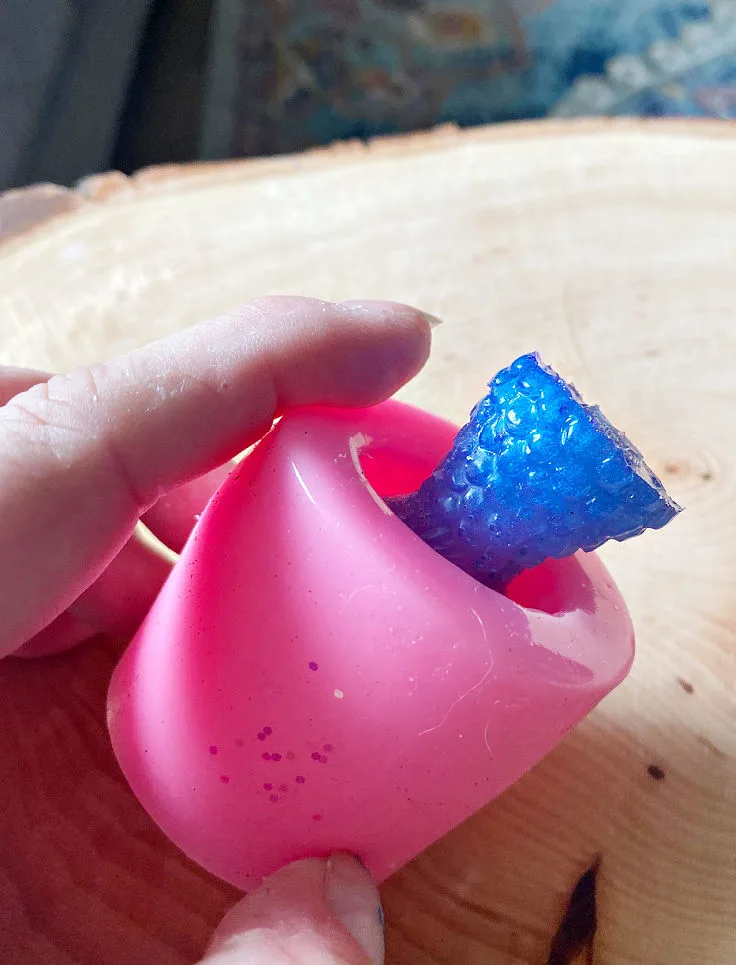
Slowly work the mold by pulling it down and turning it until the finished product starts to come out.
It can be a little difficult with larger molds, but this one was pretty easy.
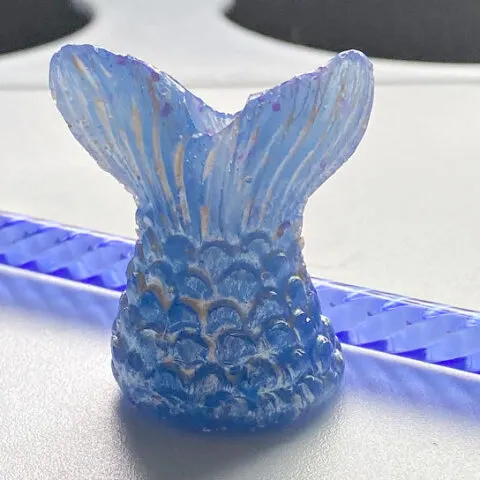
The mermaid tail looked great just as it was, but I wanted it to have an iridescent finish, so I painted it with pearl metallic paint.
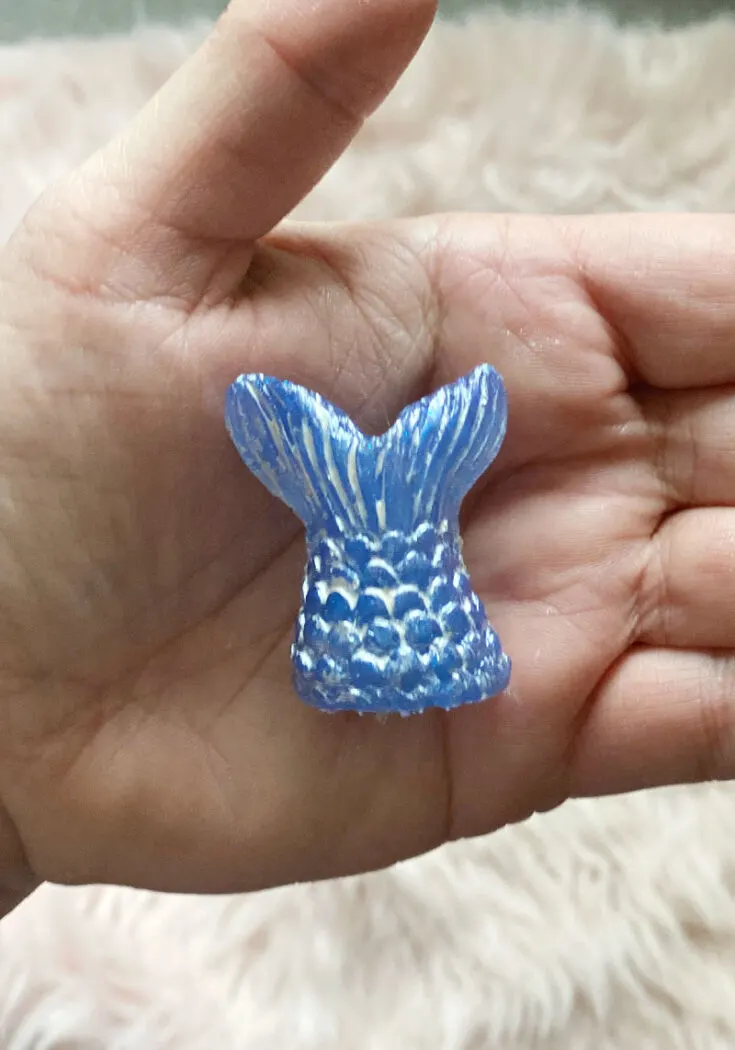
Lightly paint it with a small paint brush, then use a baby wipe to remove it.
This really gives it a nice shine!
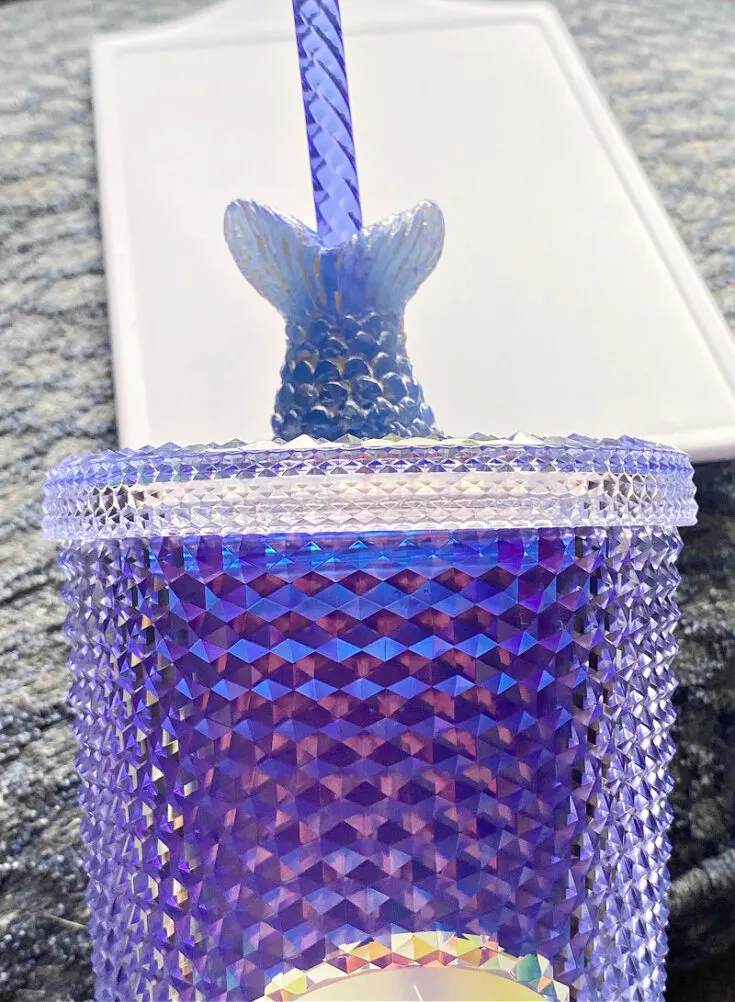
Your straw topper is ready to use…
That’s all there is to it. The mold has a center opening that fits up to 8mm diameter straws.
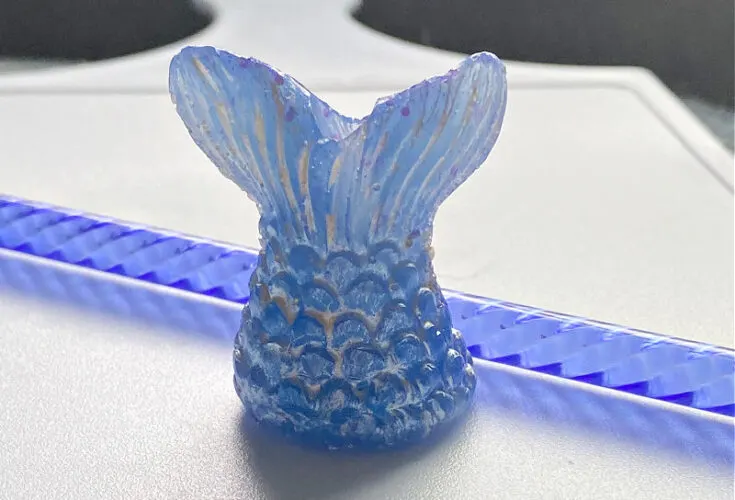
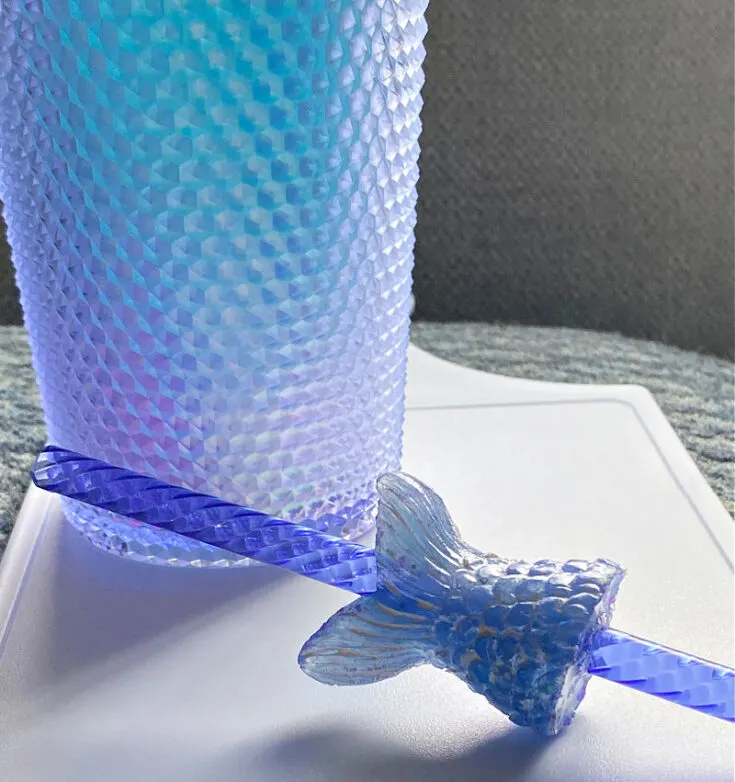
You don’t have to use these straw toppers with just Starbucks tumblers.
They can be used on any cup that has a cover and straw.
I’ll share some other ideas, along with frequently asked questions at the end of this post.
There is also a printable instruction card so you can easily make your own.
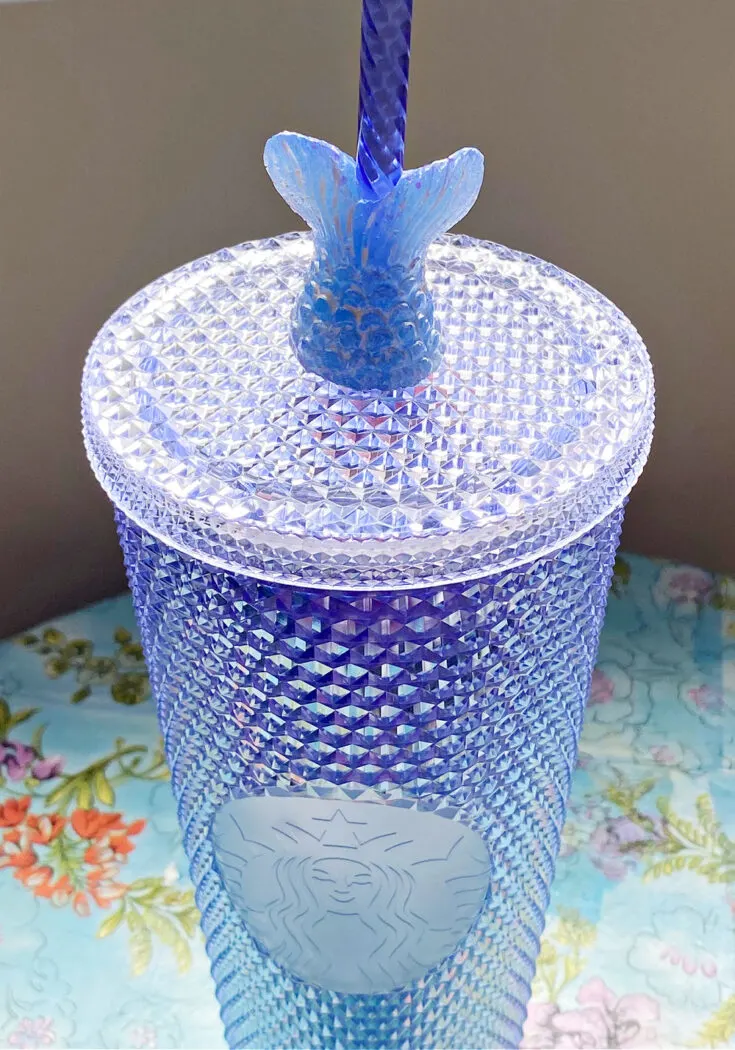
Hope you liked this resin craft as much as I enjoyed making it because I will definitely be making more.
I already ordered a fall, Halloween, and Christmas one.
And, wait until you see the Christmas one. It is one of my favorite things!
If you are looking for another resin craft idea, my friend Michelle, from Michelle James Designs, made really cool DIY keychains with UV resin.
You definitely want to check those out!
Before you go, I’d love for you to subscribe to my email.
It’s a great way to stay current on all the fun crafts, easy recipes, and home decorating ideas.
Frequently Asked Questions
What size straw will fit in this straw topper?
This mold will fit up to 8mm diameter straws.
What size is the finished mermaid tail?
Finished product size: 2×1.8×1.5inch
Can the mold be used in other ways besides straws?
Yes! This is a multi-use mold that can be used for keychain charms, in jewelry, with polymer clay art, candle, soap, cake pops, chocolate and candy melted, wax or any other craft projects.
Thanks for stopping by. Have a great day!
Super Cute Mermaid Resin Straw Topper For Starbucks Tumbler
Make an absolutely adorable mermaid tail straw topper with resin. Perfect for any of your tumblers or cups with a top and straw opening.
Materials
- Easy Cast Clear Casting Epoxy
- Poly Color Resin Powder - Ocean Blue Metallic
- Mixing Cup Set
- Mold Release
- Assorted Glitter
- Mermaid Tail Straw Topper Resin Mold
Instructions
- Pour equal parts resin and hardner into separate cups and mix.
- Pour the hardner into the resin and mix about 2 minutes using wood craft sticks.
- Add glitter. Mix well using a craft stick.
- Pour the mixed resin into the mold.
- Let the resin cure overnight.
- De-mold by working the mold and pulling it down.
- **Optional -paint with a pearl paint.
Recommended Products
As an Amazon Associate and member of other affiliate programs, I earn from qualifying purchases.
You can find me on social media below:


