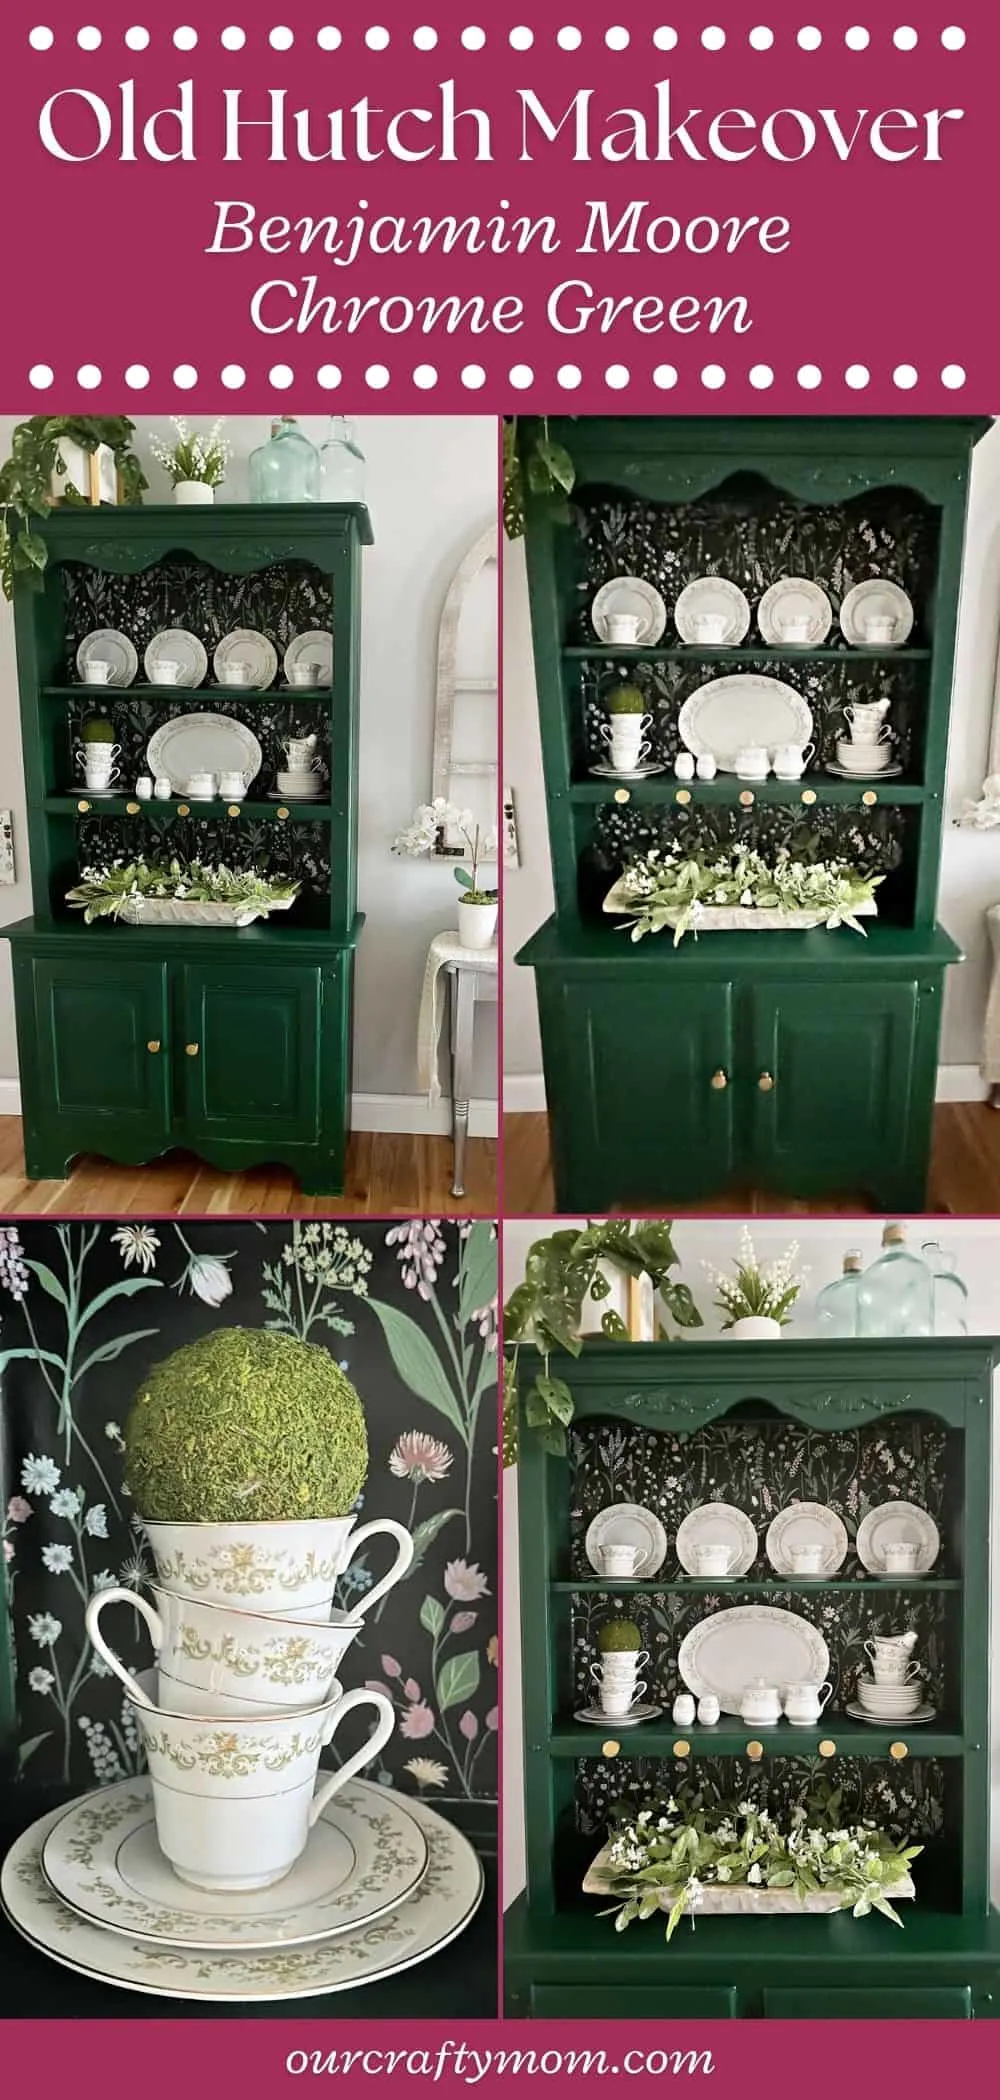
See the stunning transformation of this old hutch makeover from dull to gorgeous green in this before and after makeover the easy way!


This post contains affiliate links at no extra cost to you. Please see my full disclosure here.
DIY Old Hutch Makeover
Refinishing furniture is one of my favorite things to do.
There is nothing like giving an old piece of furniture new life with paint. Plus, there are tons of creative ideas to try.
For this vintage hutch makeover I chose to step out of my comfort zone a bit by going with a bold green paint color.
Our new home has a much more modern look that I am loving at this time in my life.
The old farmhouse hutch had layers of paint in a different color that I didn’t love.
This was the perfect opportunity to go with a whole new look in the color and wallpaper style that blends better with our current home.
Be sure to read to the bottom of this blog post as I include FAQ’s for painting an old hutch with Benjamin Moore paint.
Supplies for Painted Hutch Makeover
- 2.5″ Purdy Paint Brush – using a good quality paint brush makes a huge difference.
- Wooster Shortcut
- Benjamin Moore Paint in Chrome Green
- Peel and Stick Wallpaper – this is the exact one I used.
- Paint Roller and Tray
- High Grit Sandpaper
- Gold Knobs
- Razor Blade or craft knife – to remove any wallpaper
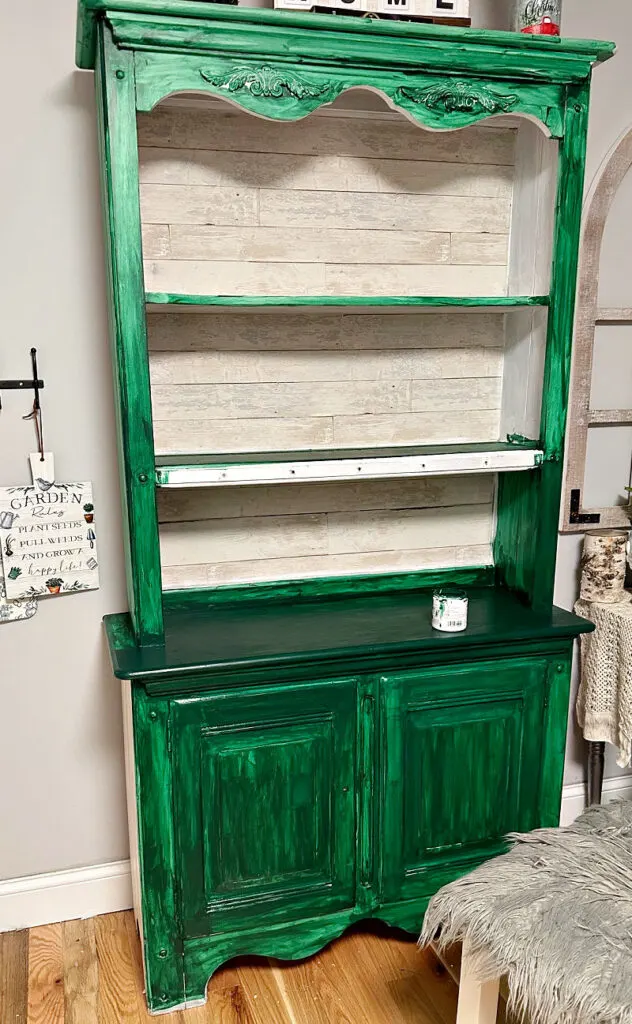
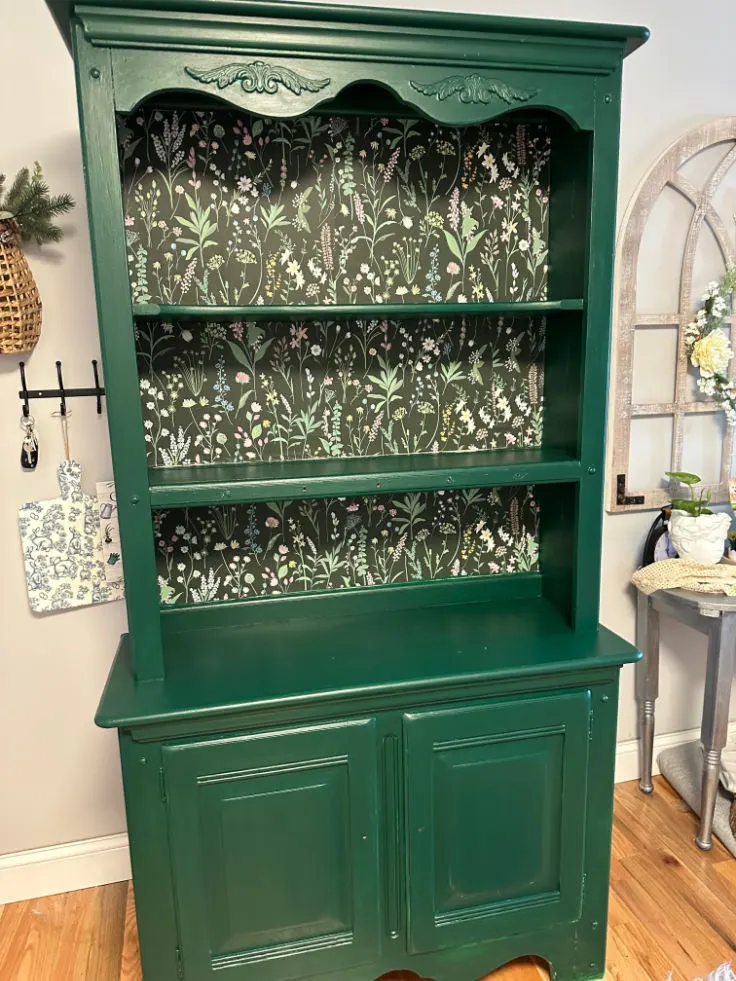
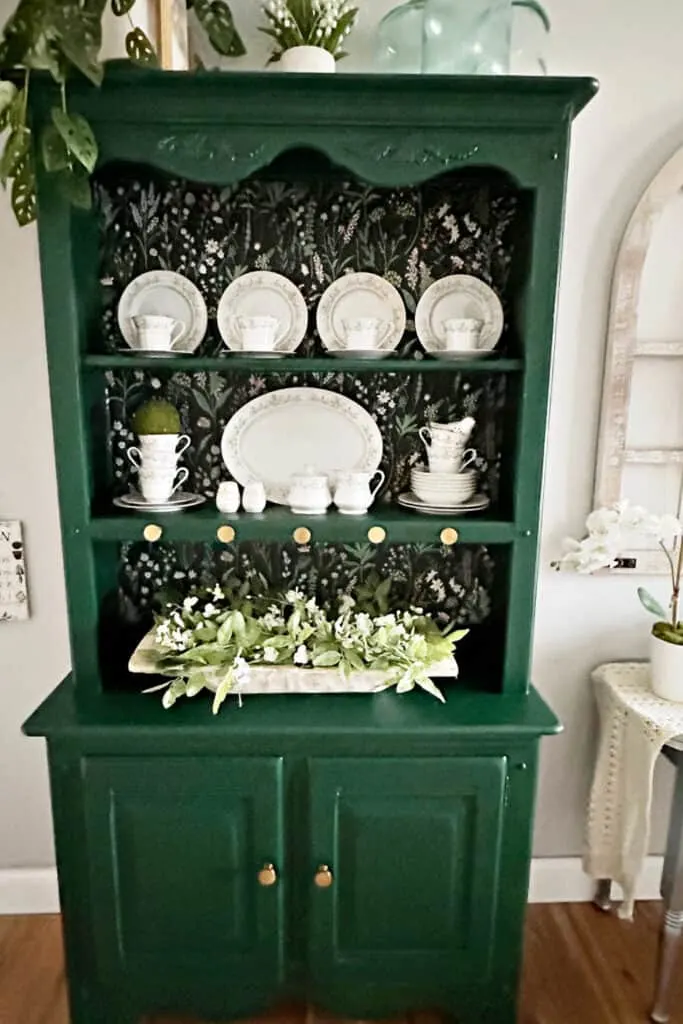
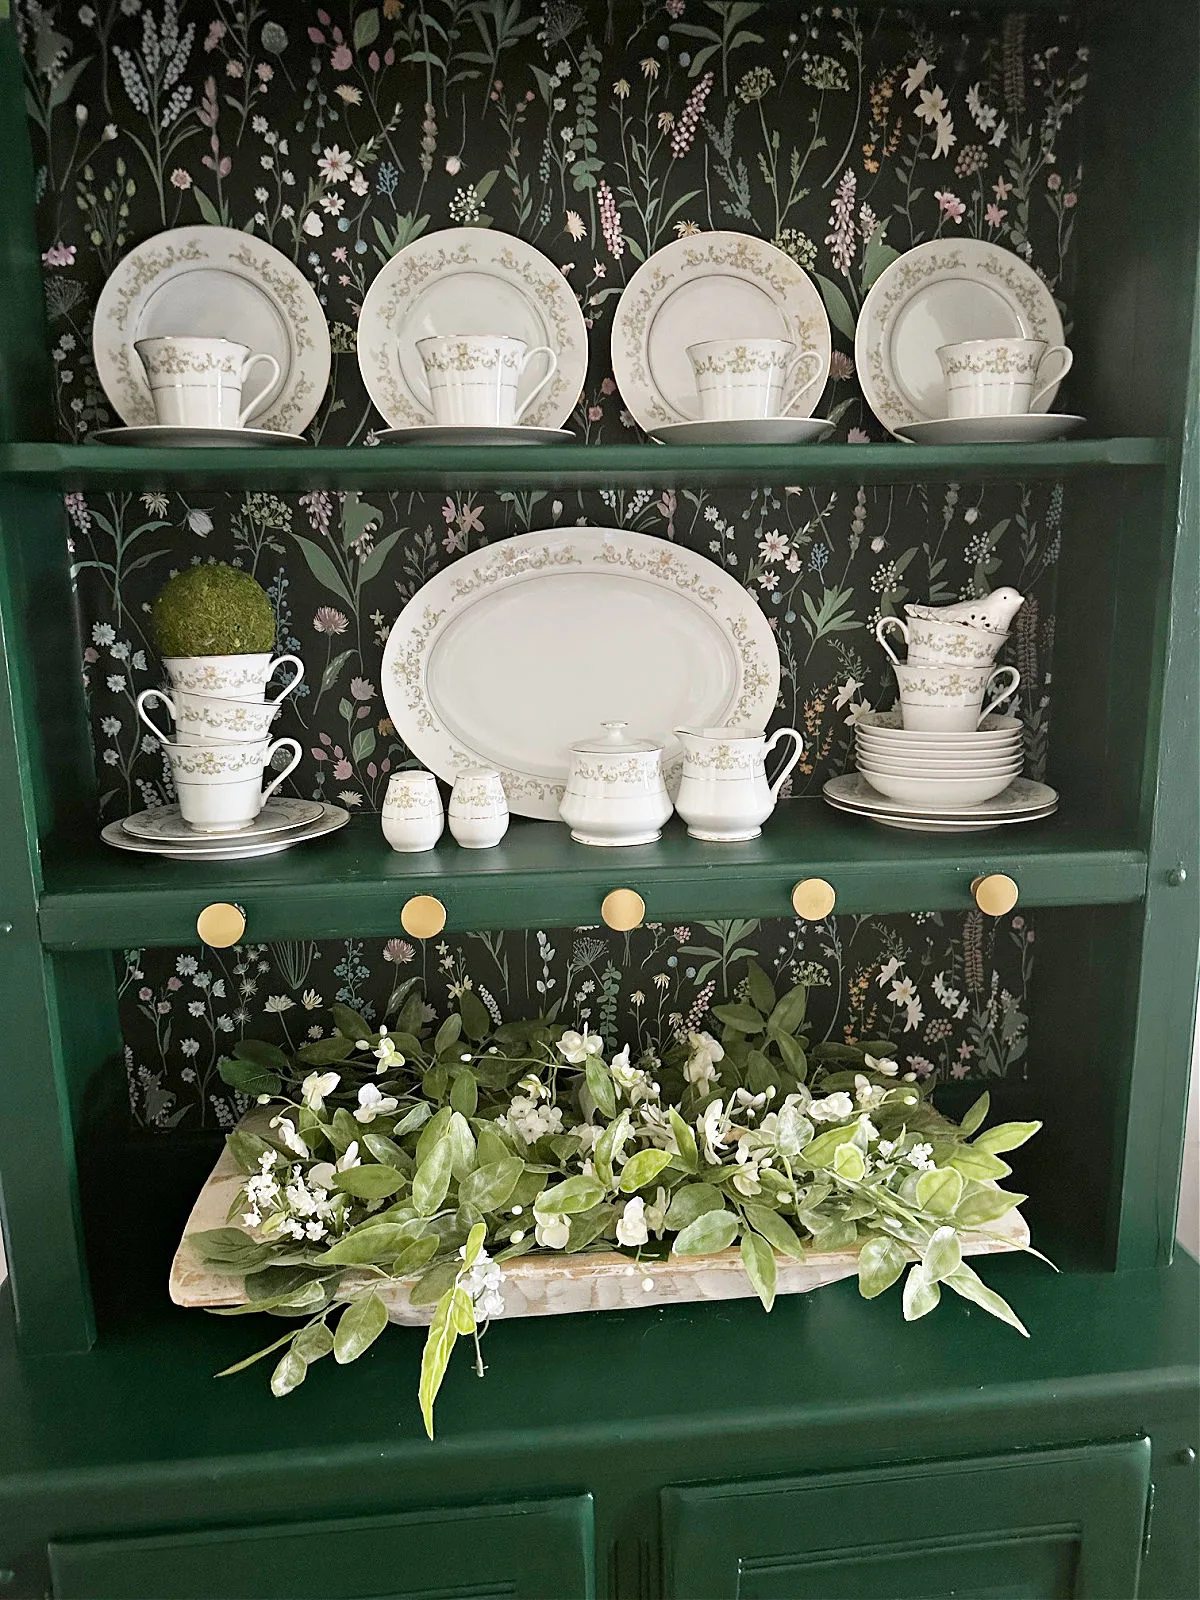
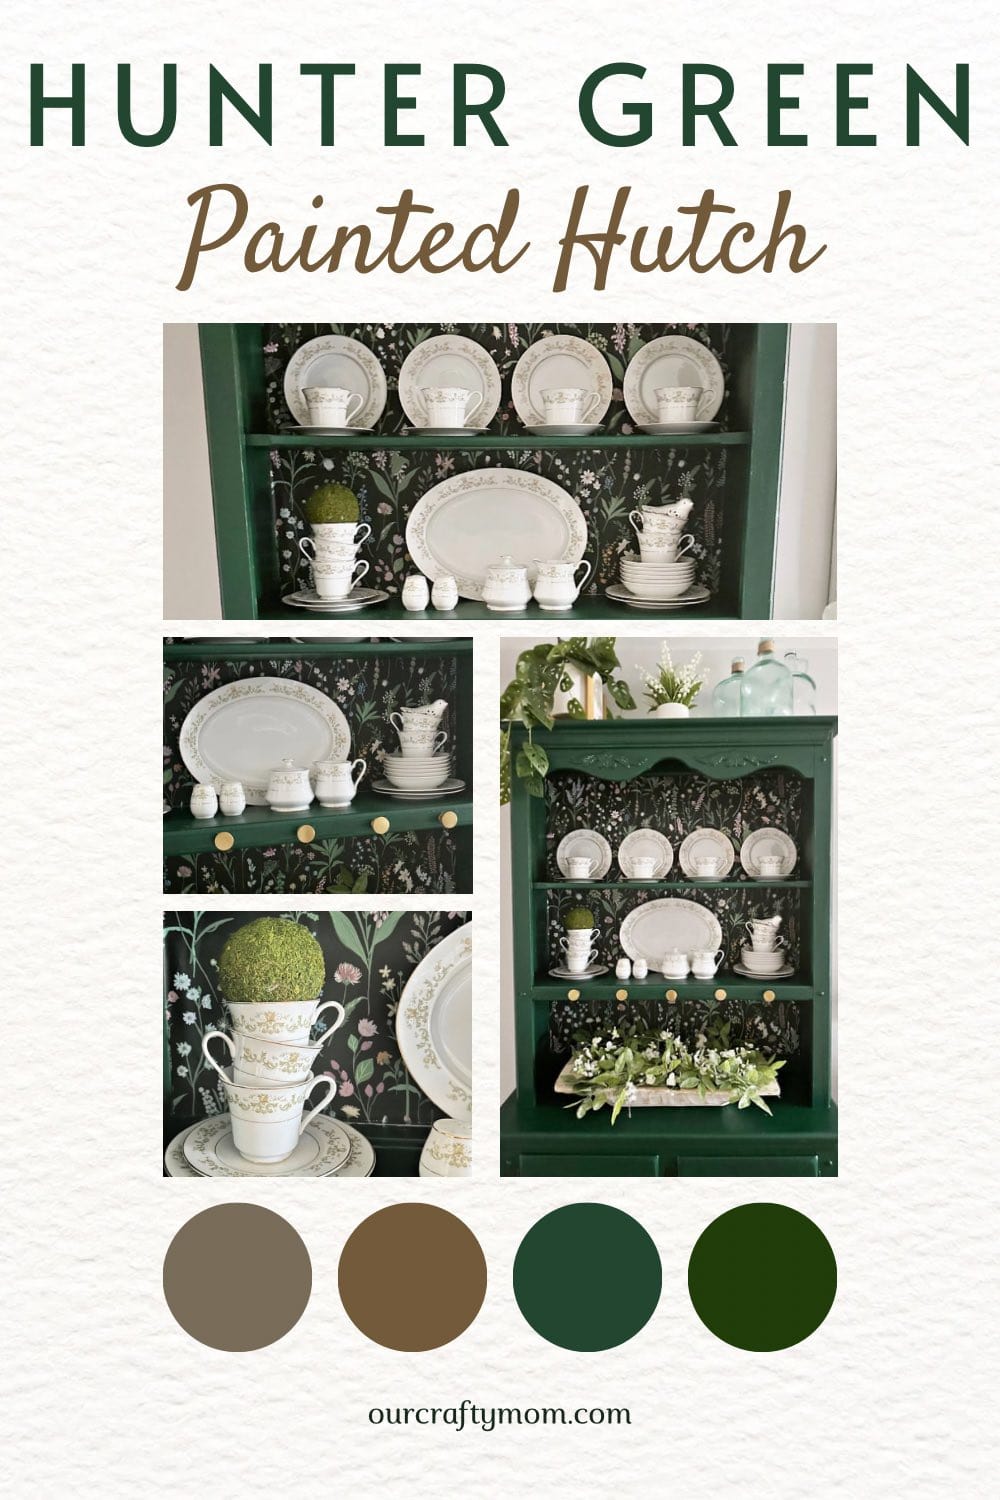
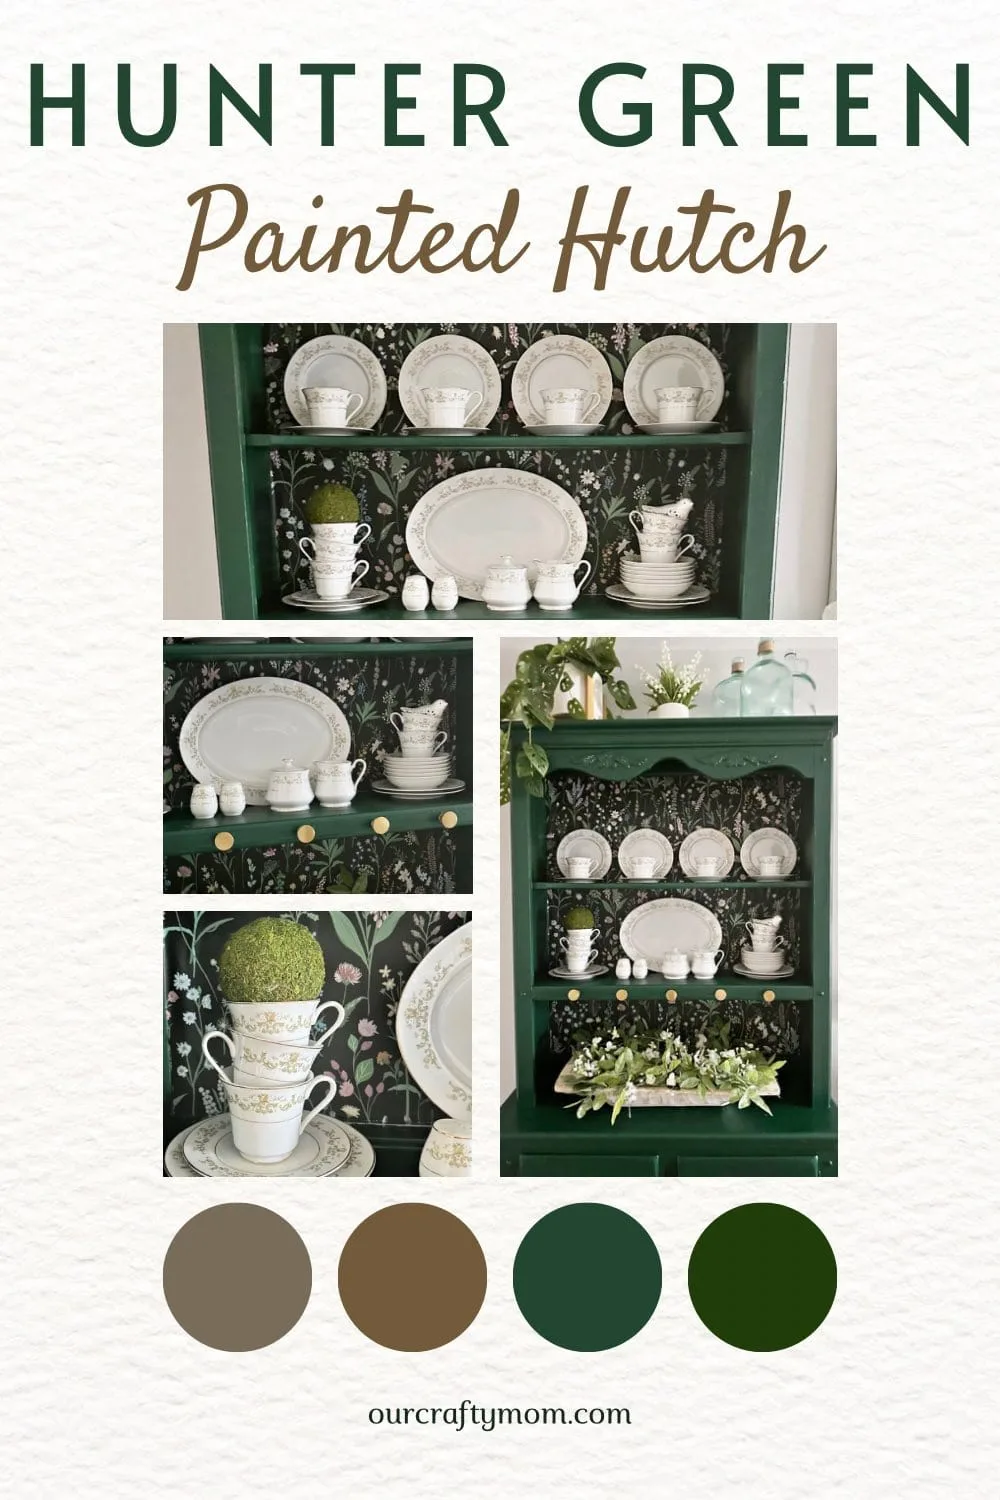
Look at this gorgeous green!
Remove the Knobs
The first step is to remove the knobs and repair any damage.
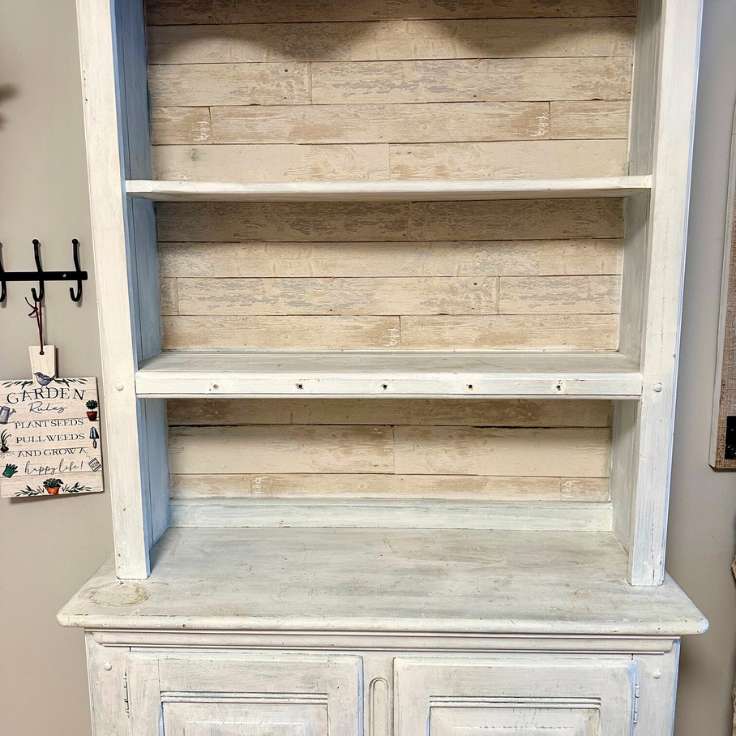
This outdated hutch didn’t have any damage, but the old paint job was rough.
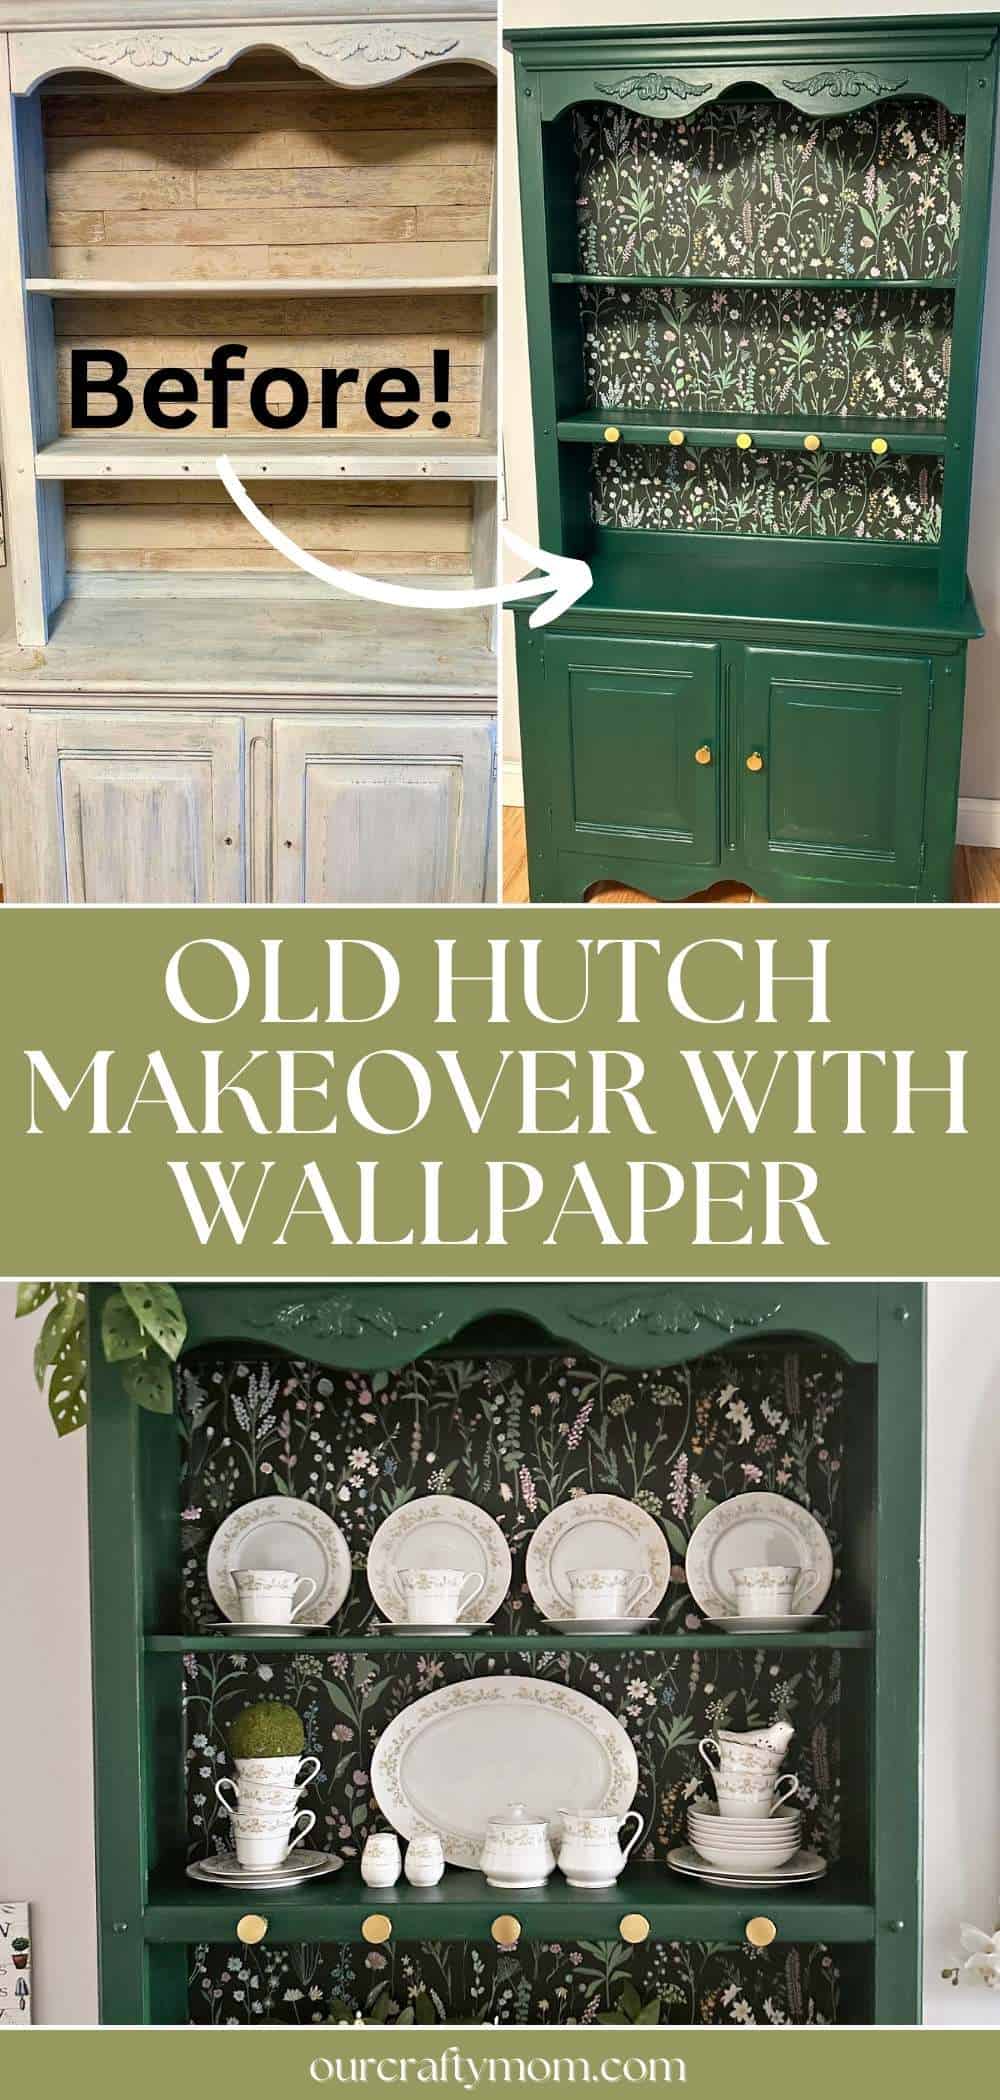
I gave it a quick whitewash finish with white paint about 10 years ago and also added a faux wood wallpaper to the back of the hutch.
It was a $40 thrift store find that was a honey color wood when I first bought it.
Here is the before with a distressed look:

Sand the Cabinet
It’s always a good idea to sand the hutch with a 220 grit sandpaper to smooth any rough edges.
You can use a palm sander or a sanding block.
This will help prepare the hutch for the paint.
Be sure to wipe down the hutch after to remove any dust.
Benjamin Moore Paint Color
I’ve painted many furniture pieces over the past 20 years.
One important tip that I’d like to share is that the type of paint you use really does matter.
You want to use a quality paint for furniture that is self-leveling and helps reduce brush strokes.
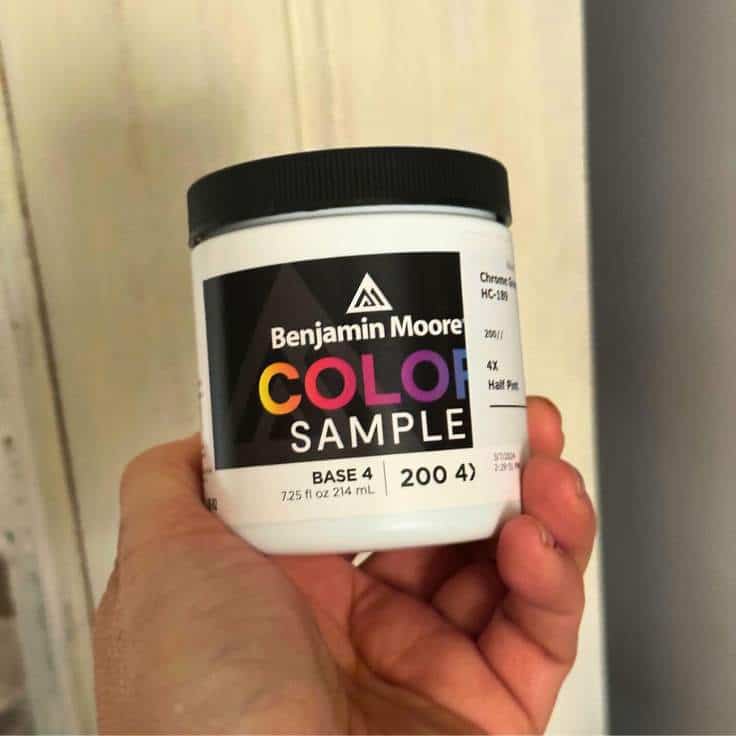
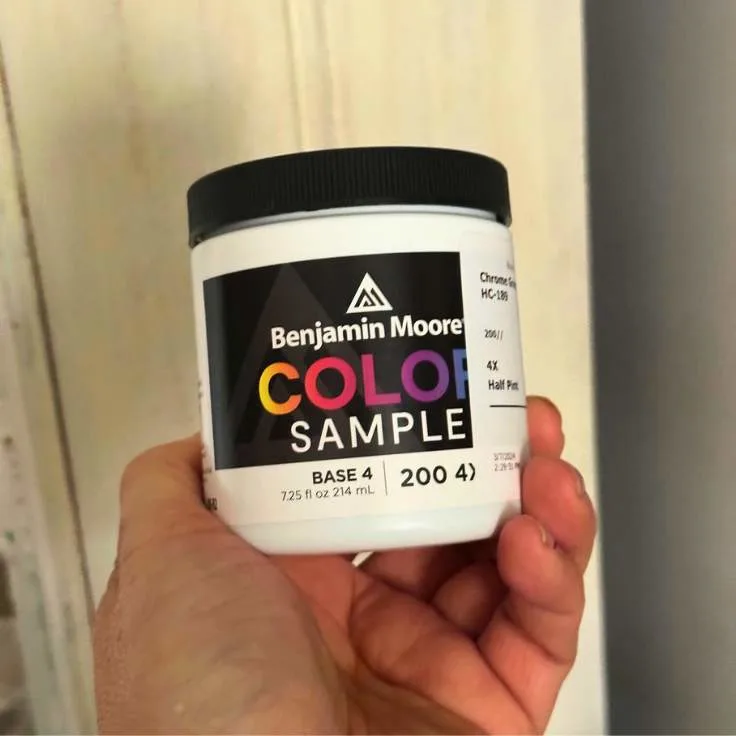
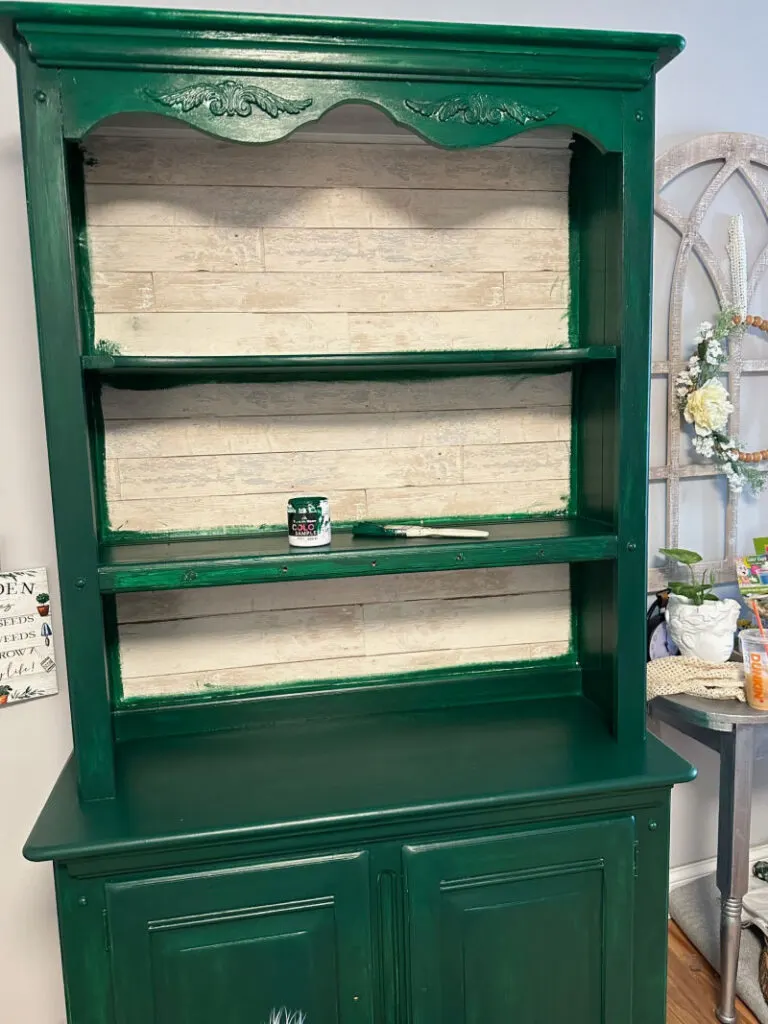
For this hutch I went with Benjamin Moore paint. It’s a great option for furniture. The color is in chrome green.
To keep costs down and ensure I liked the color, I chose to use the 8 oz sample paints.
This is a great way to test the paint. I ended up using 3 cans of paint for the entire hutch.
That gave me 3 solid coats of paint. Not bad for $18!
Here are some reasons why Benjamin Moore sample paints are so popular:
- Available in 3,500+ unmatchable colors
- Covers approximately 2 ft. x 2 ft., two-coat area
- Two coats recommended (same as regular paint)
- Eggshell finish, best for testing color
- Convenient twist-off plastic container
- Available for same day pick up at select retailers
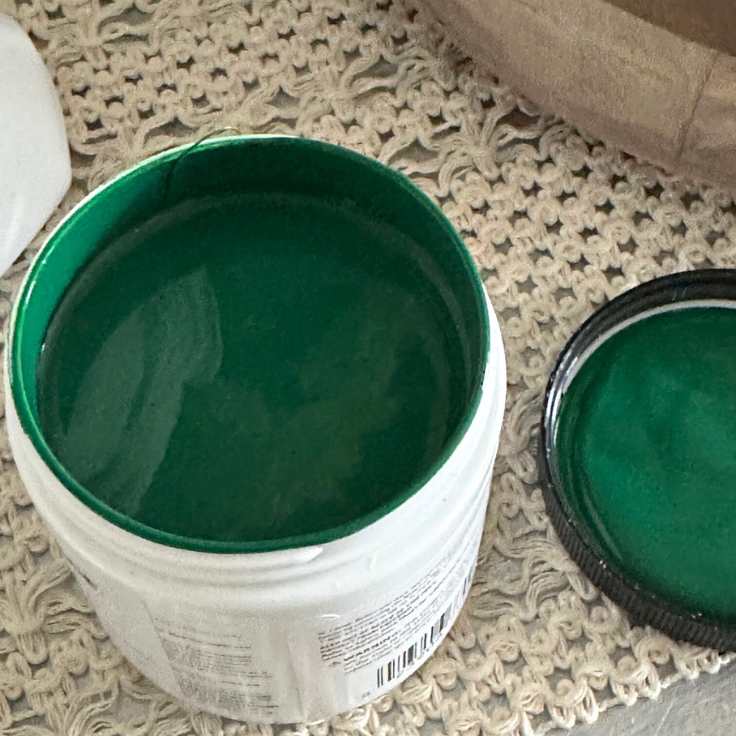
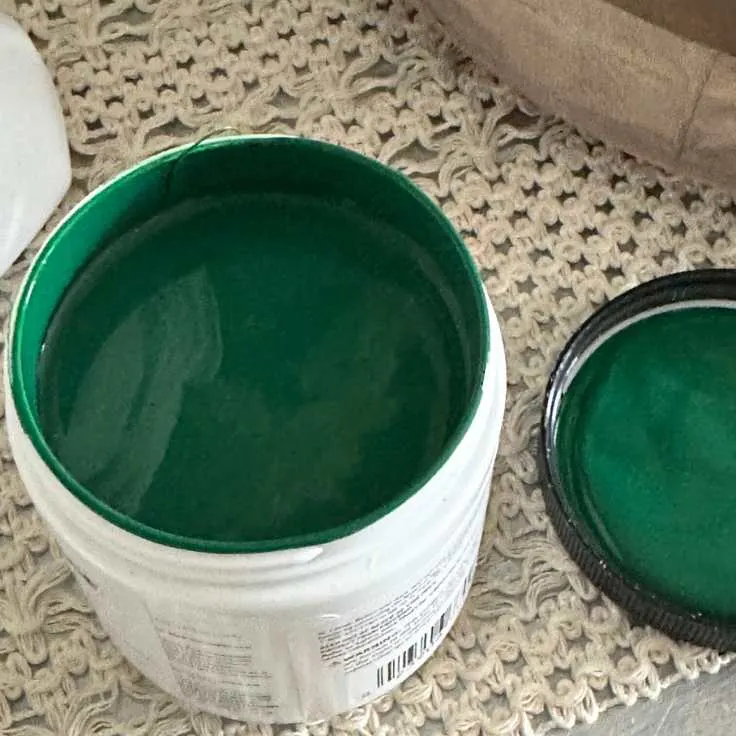
Time to Paint!
Be sure to stir the paint really well with a paint stick.
You will notice I didn’t use a primer. Some paint does not require primer.
It really does depend on the type of paint you are using and the furniture piece you are painting.
For the larger areas of the hutch use a paint roller and tray. For the smaller areas, use a paintbrush.
I love the Wooster shortcut for getting corners and tiny areas.
After seeing the first coat of paint I was a little nervous!
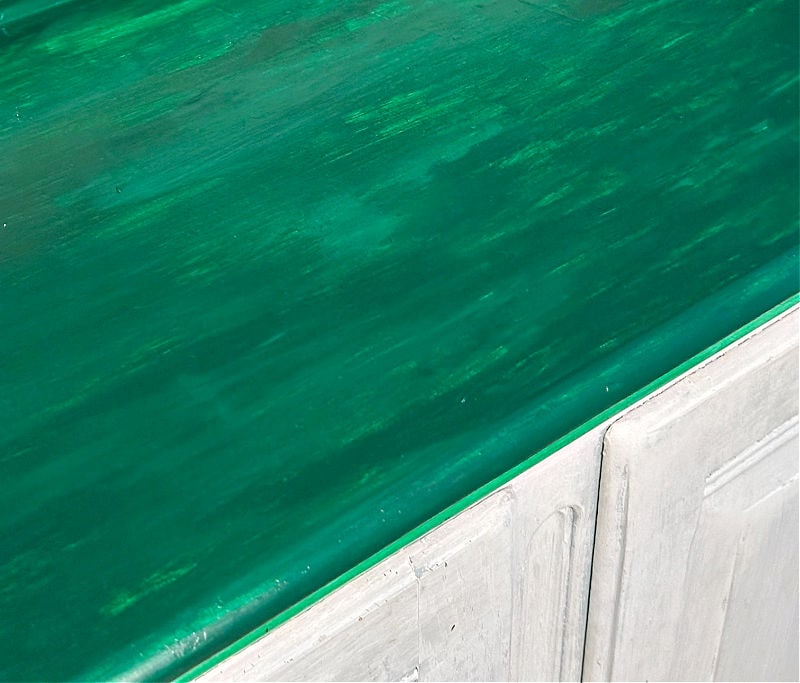

But once the second coat was on I knew I was headed in the right direction.

Sand Before Final Coat
To get a smooth finish, it helps to sand the hutch lightly with a 300-400 grit sandpaper prior to the final coat of paint.
This will ensure a nice, even finish on the entire piece.

I wasn’t concerned about the wallpaper as it will be covered up.
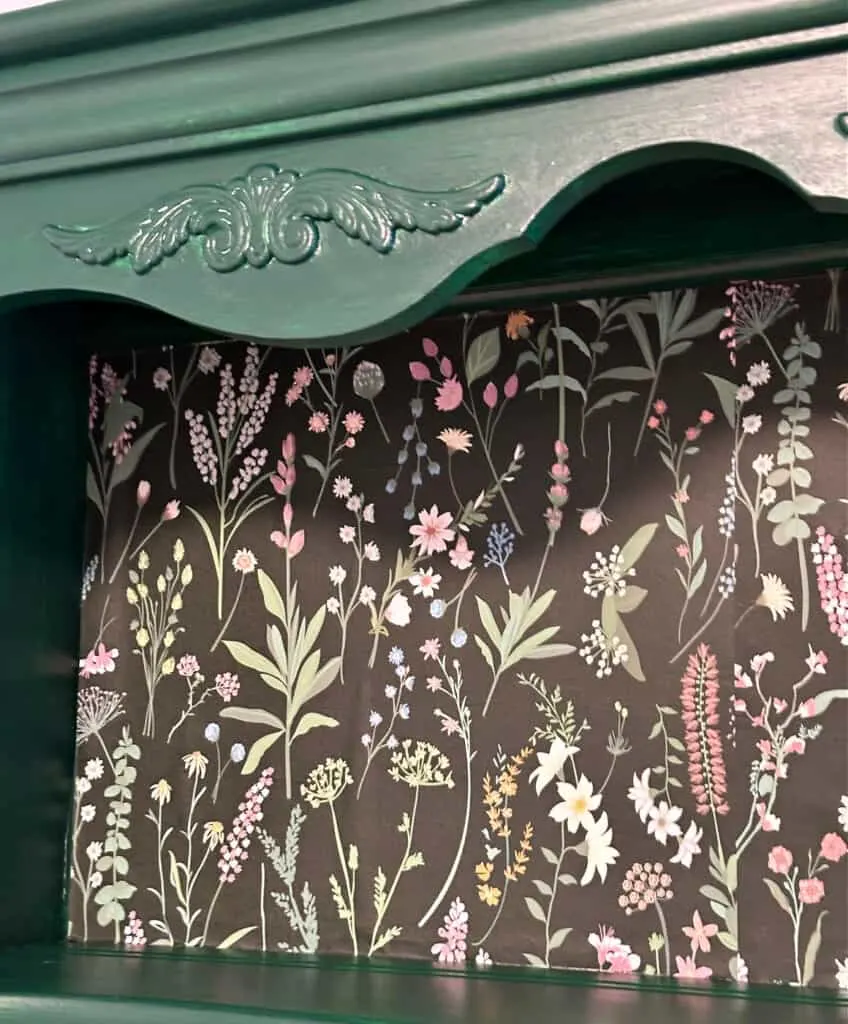
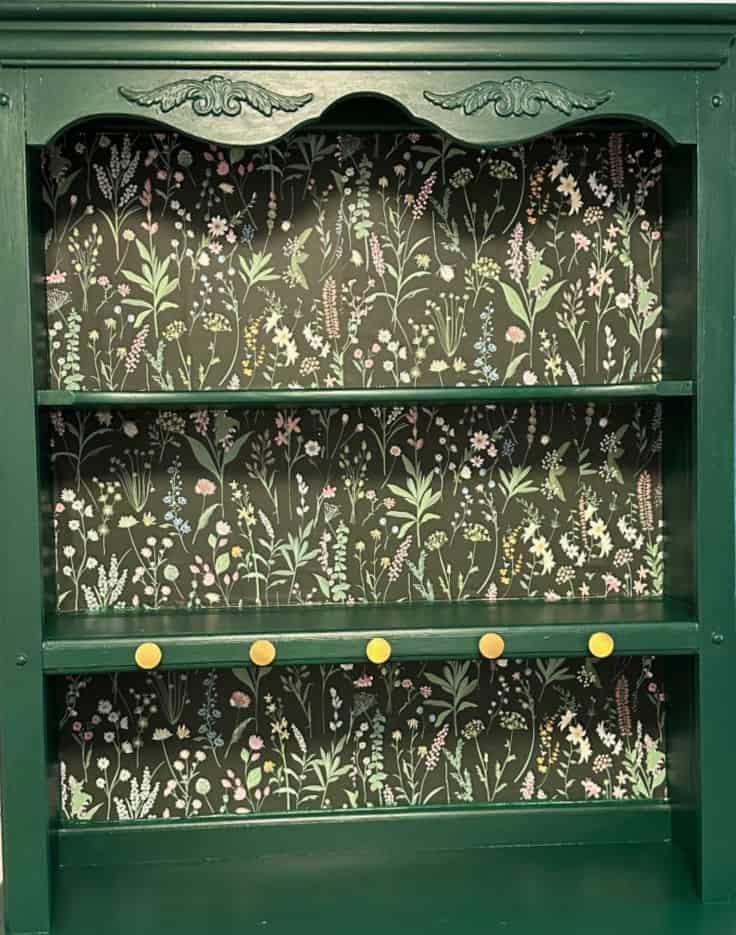
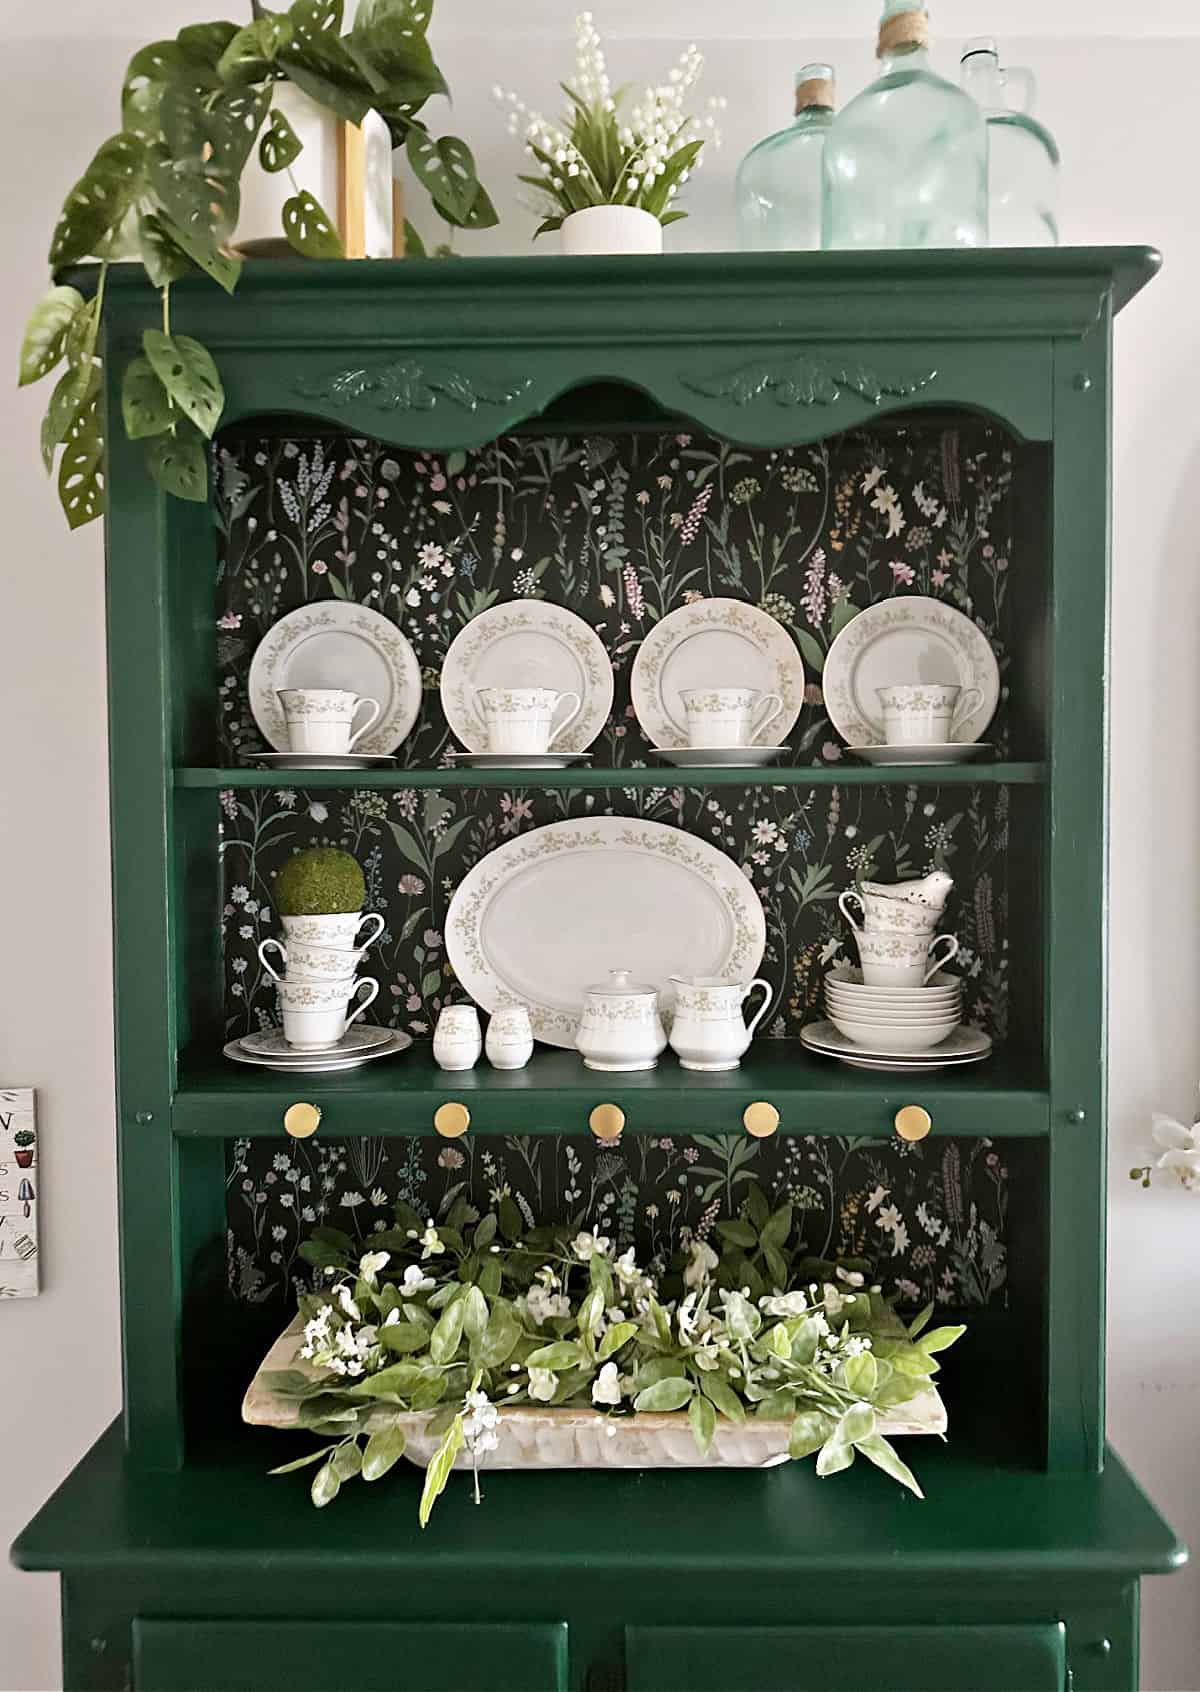
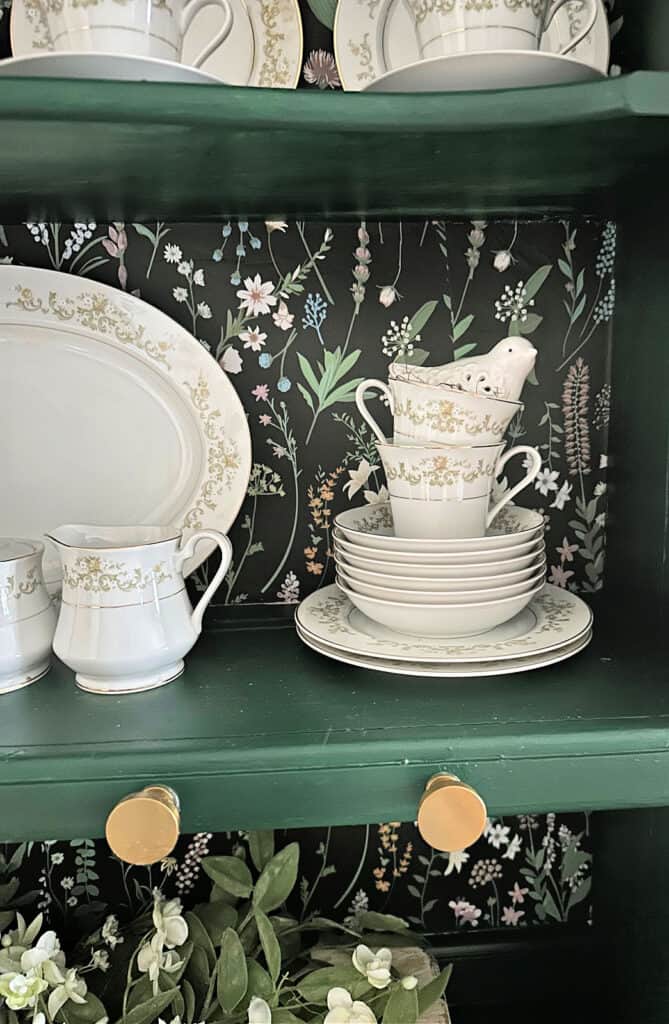
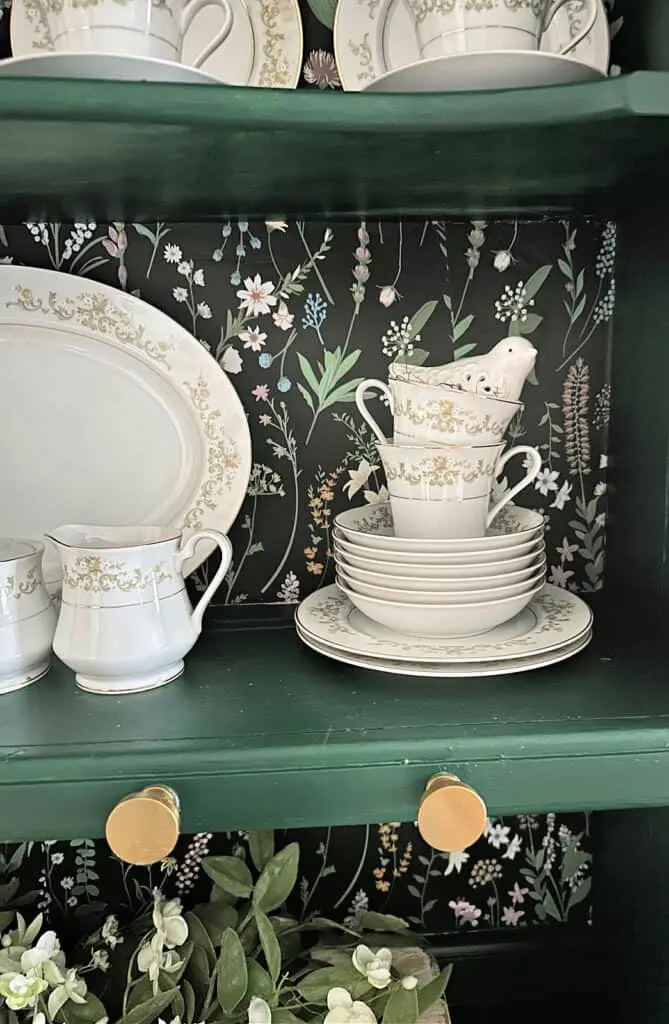
Attach the Peel and Stick Wallpaper
I’ve used peel and stick wallpaper several times. It is super easy to hang.
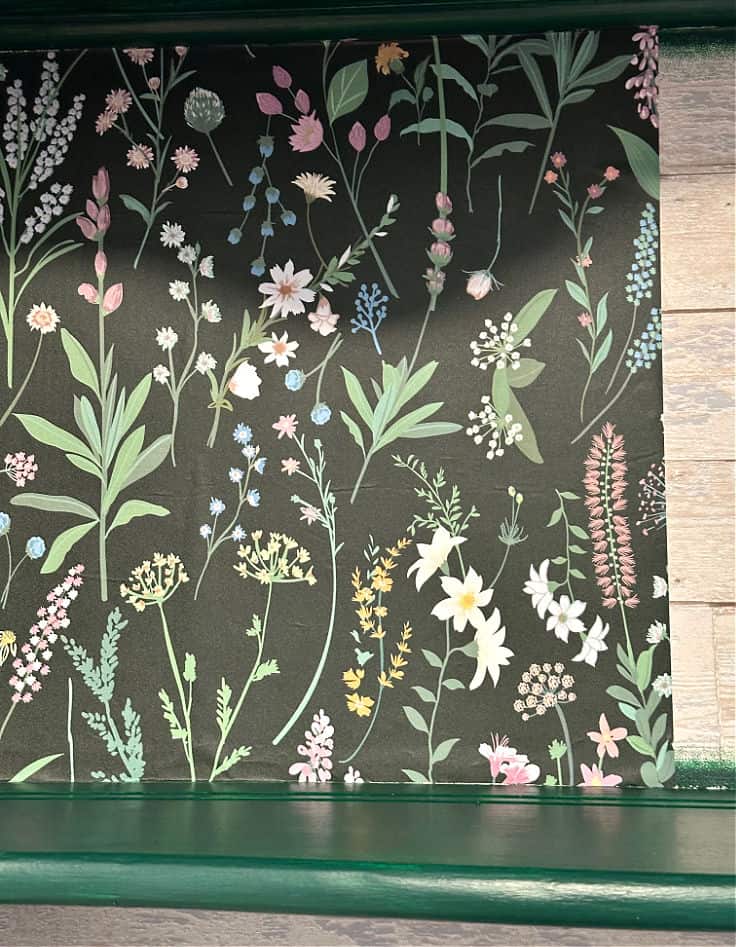
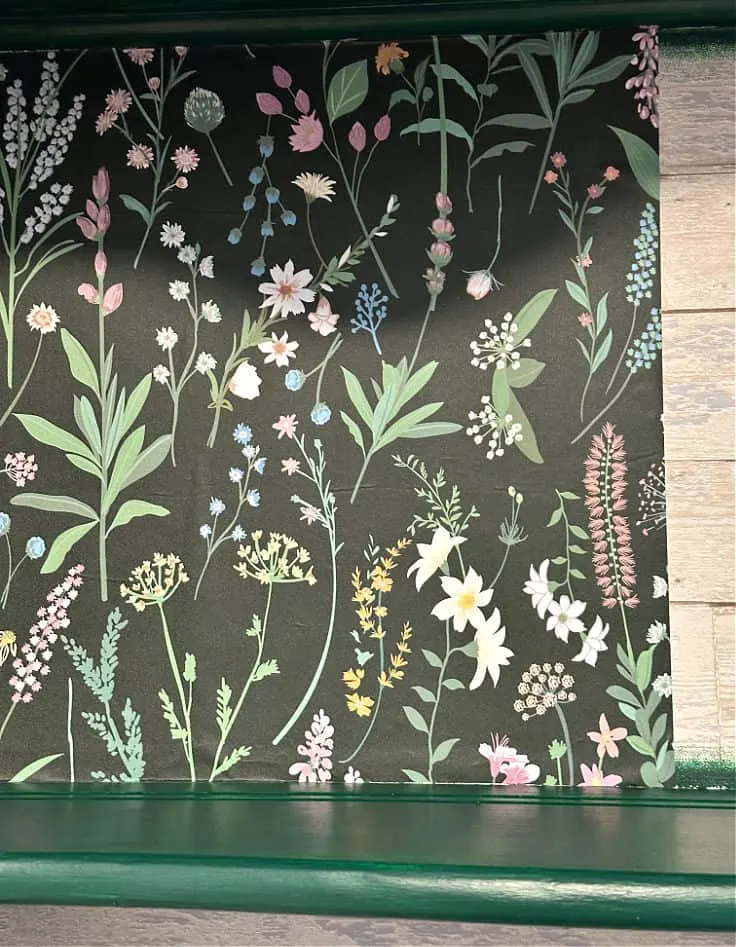
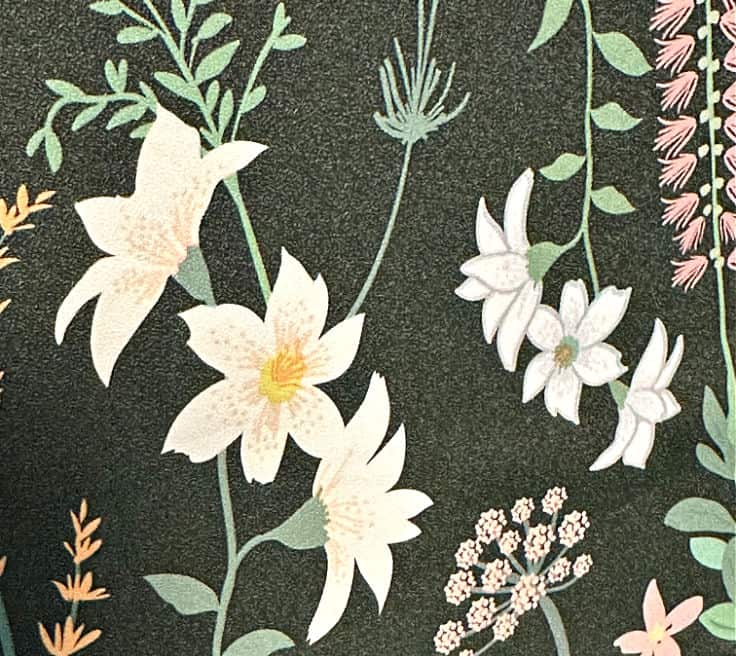
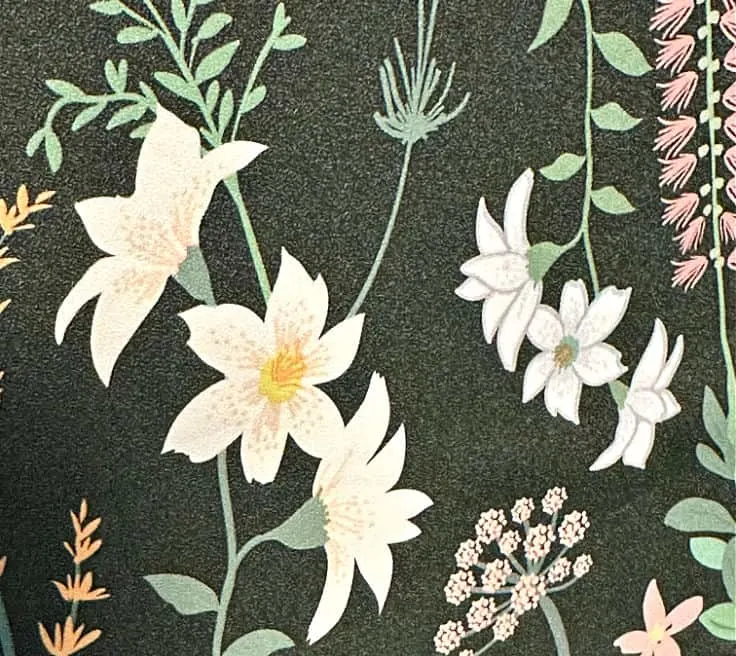
I’m obsessed with this beautiful wallpaper. It has a vintage look that is exactly what I wanted for this vibrant hutch.
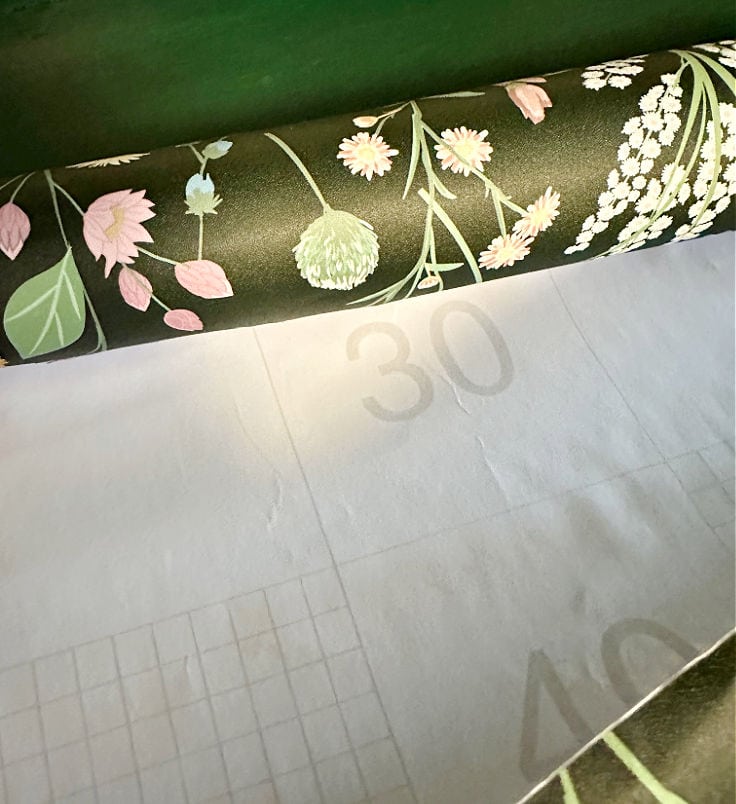
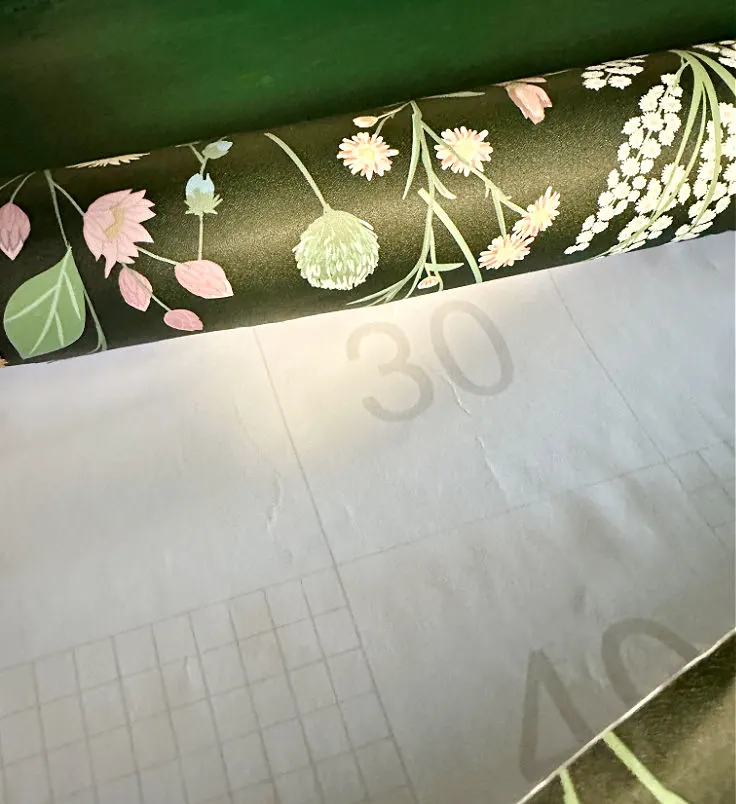
The easiest way is to start by measuring the back of the cabinet and cut the wallpaper to size.
The wallpaper has a grid on the back to make it really easy.
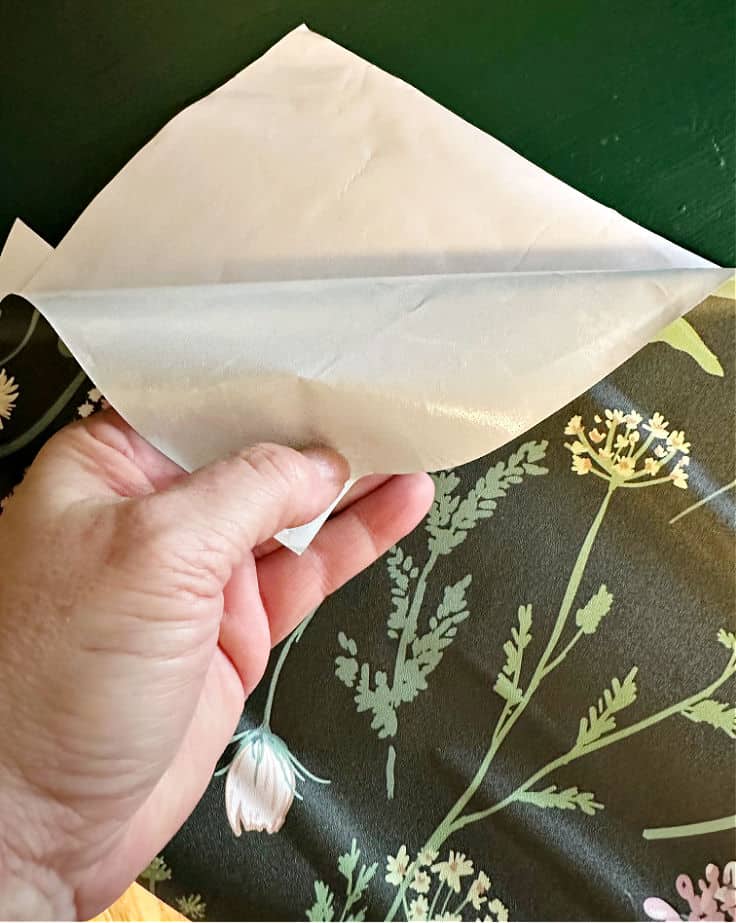
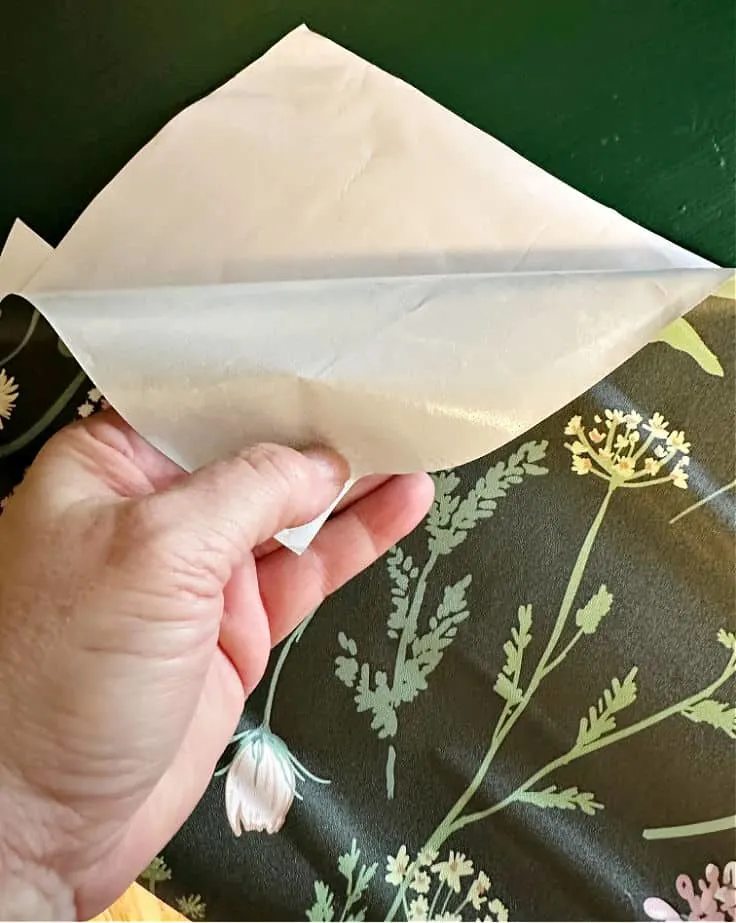
Simply peel the backing of the wallpaper starting in the corner on the top half of the hutch.
There are a few different ways to smooth the wallpaper, but I like to use my Cricut scraper.

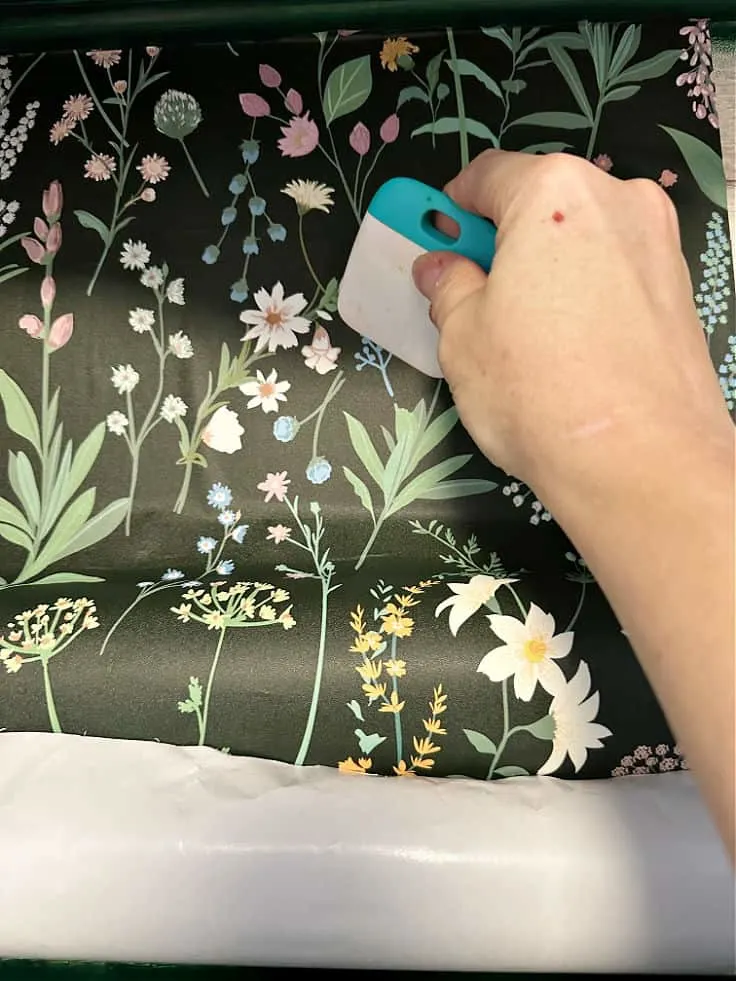
But, you can also use a credit card to smooth it out.
Be sure to line up the wallpaper evenly so it has a nice finish.
I’m so pleased with how it turned out! On a side note, while it is a lot of work to paint a furniture piece, it is definitely worth it.

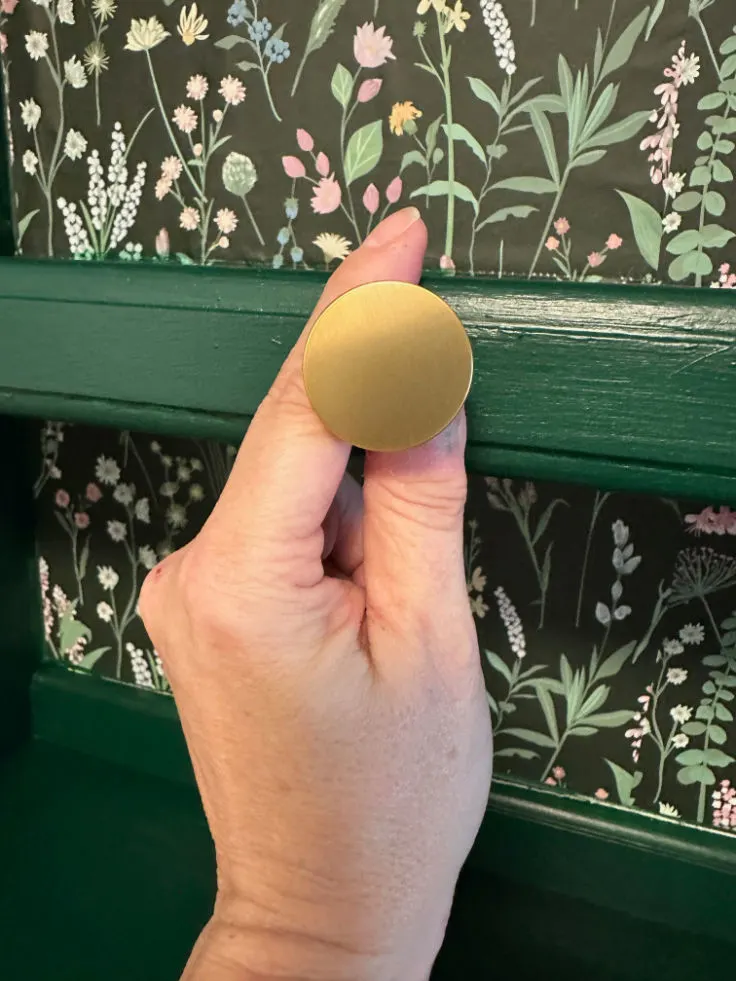
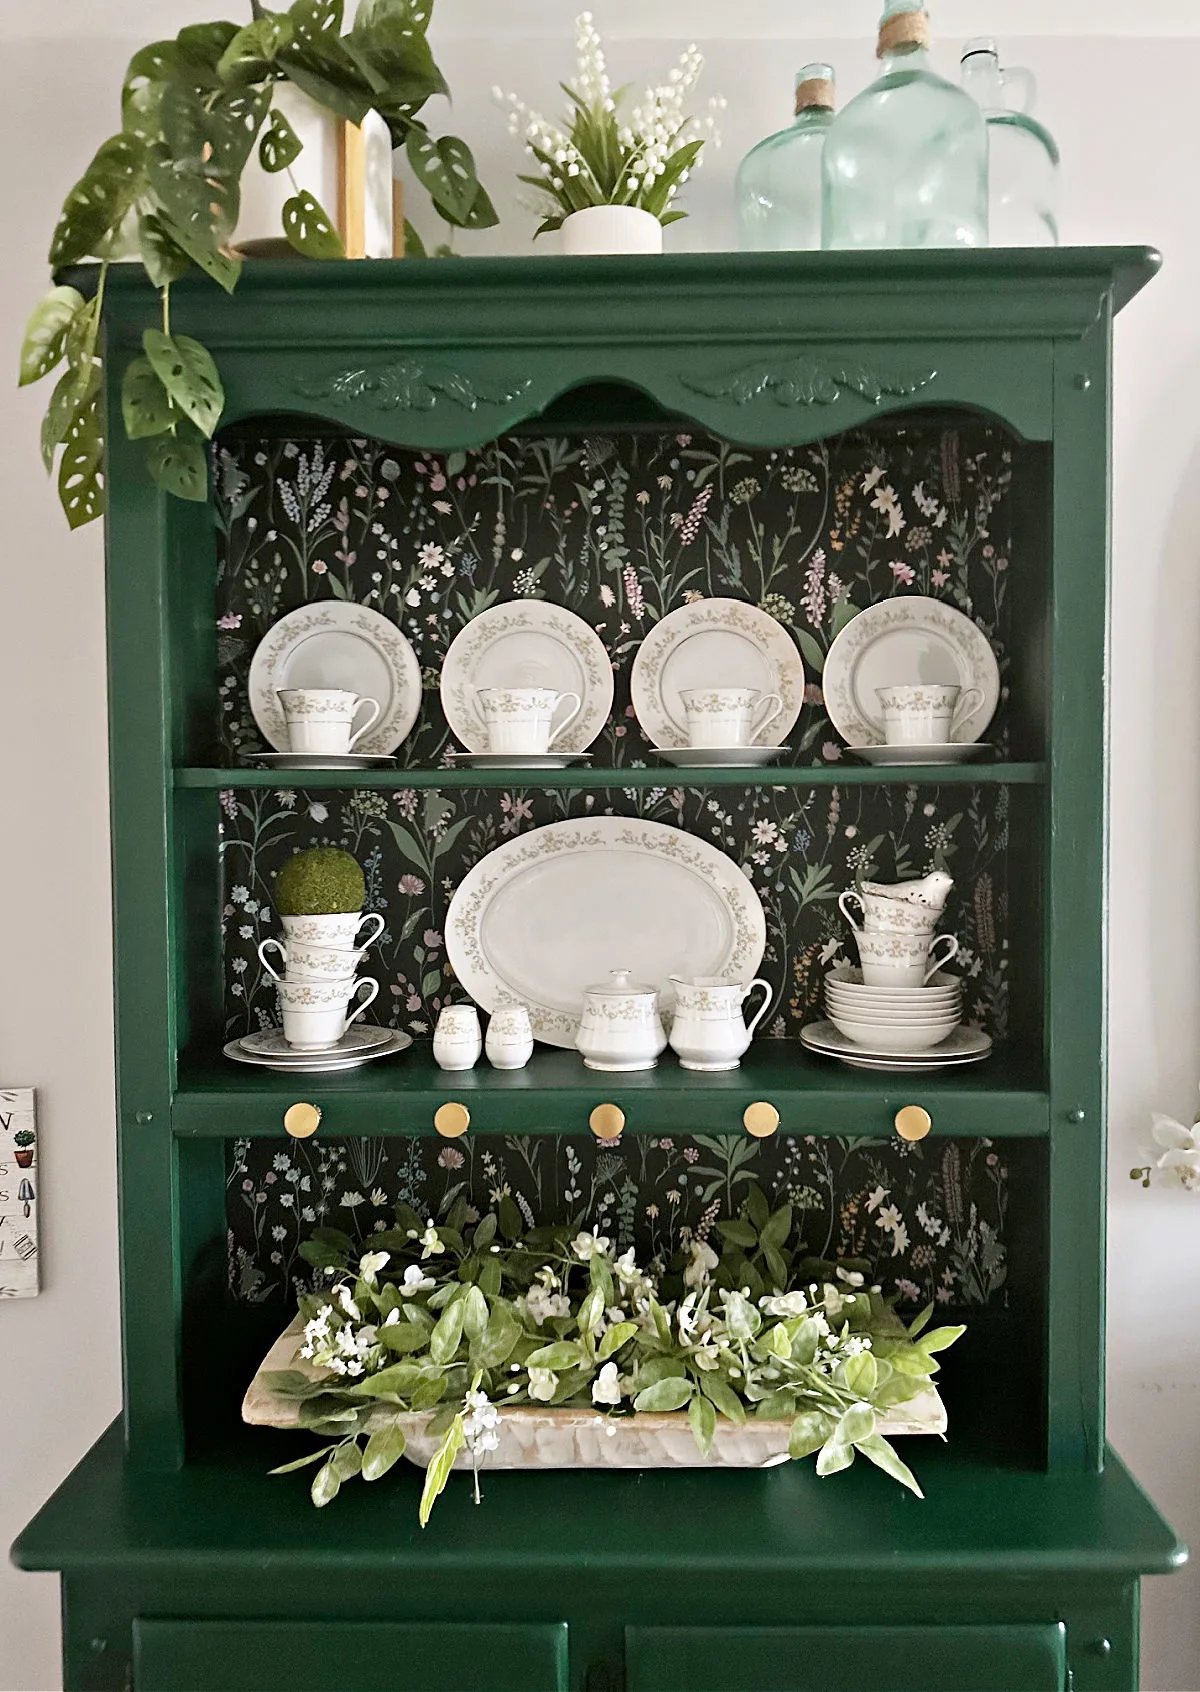
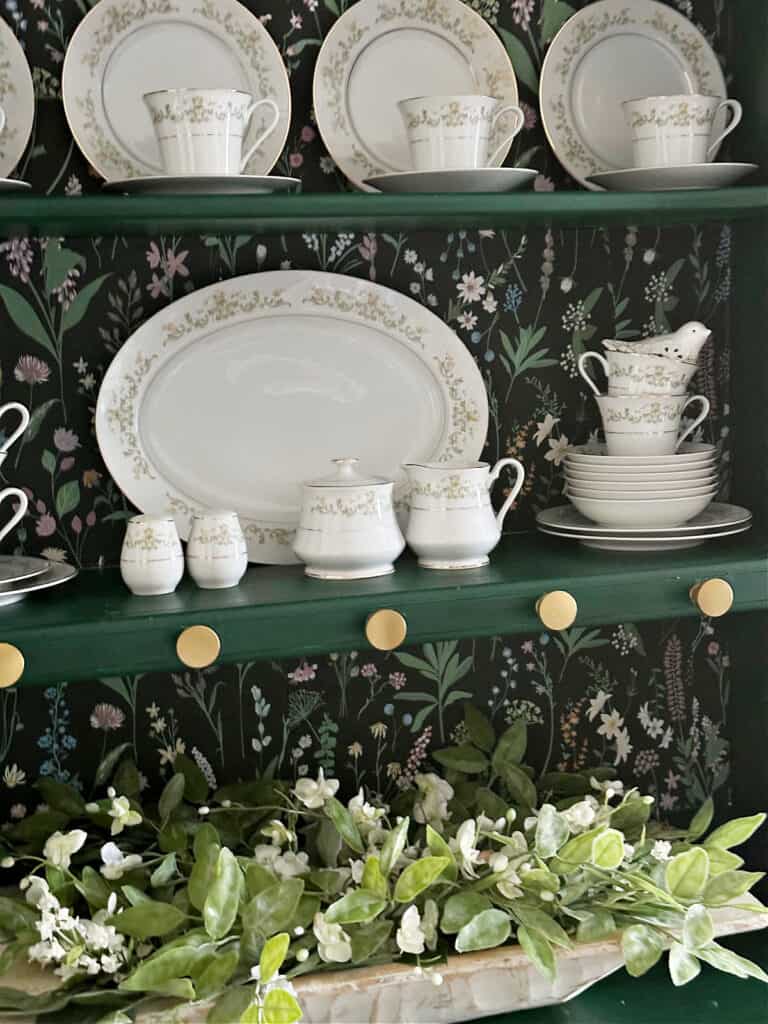
Add Gold Hardware to Hutch
The original hardware included plain natural wood knobs and didn’t fit the new vibe at all.
So I chose to add new hardware and went with gold knobs.
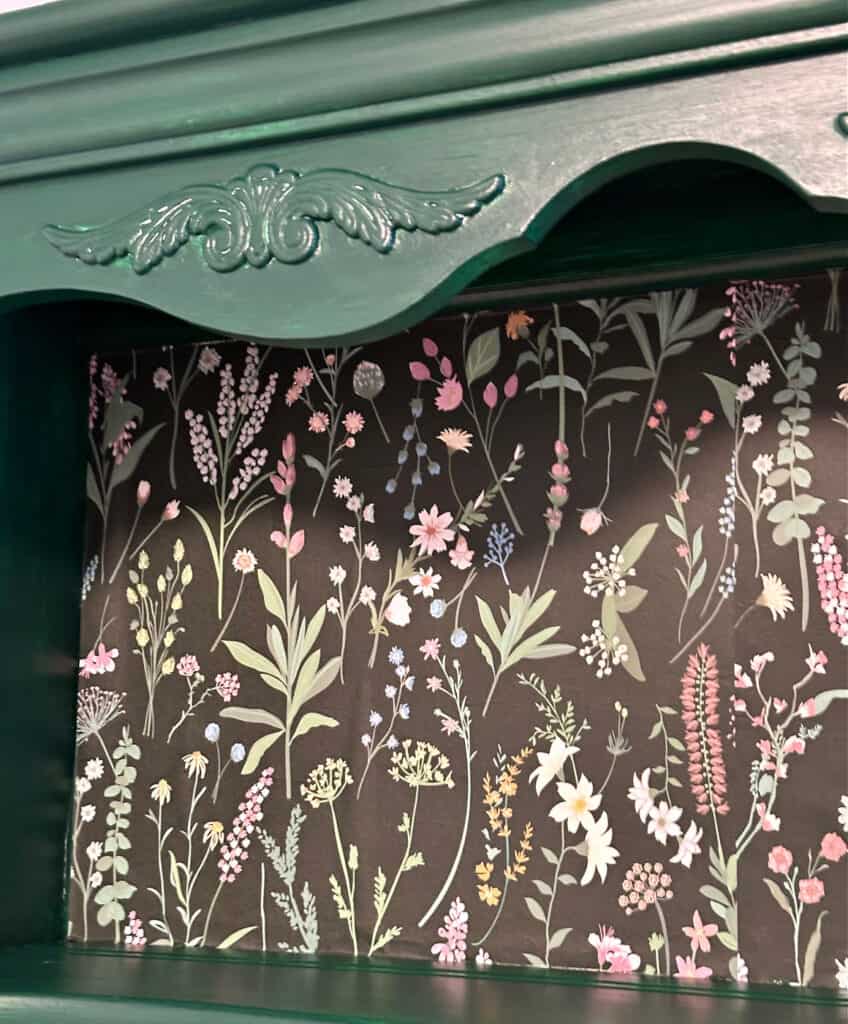
I’m so glad I did because they really pop against the hunter green paint and add a touch of glam.


I may go in and update the door hinges with gold paint, but haven’t decided yet. I may sit with it for a little bit.
Let The Paint Cure
It’s important to let the paint cure fully before heavy use.
Benjamin Moore paint has a typical cure time for latex-based paints of 2-3 weeks.
The hutch can still be used, but be gentle with it.
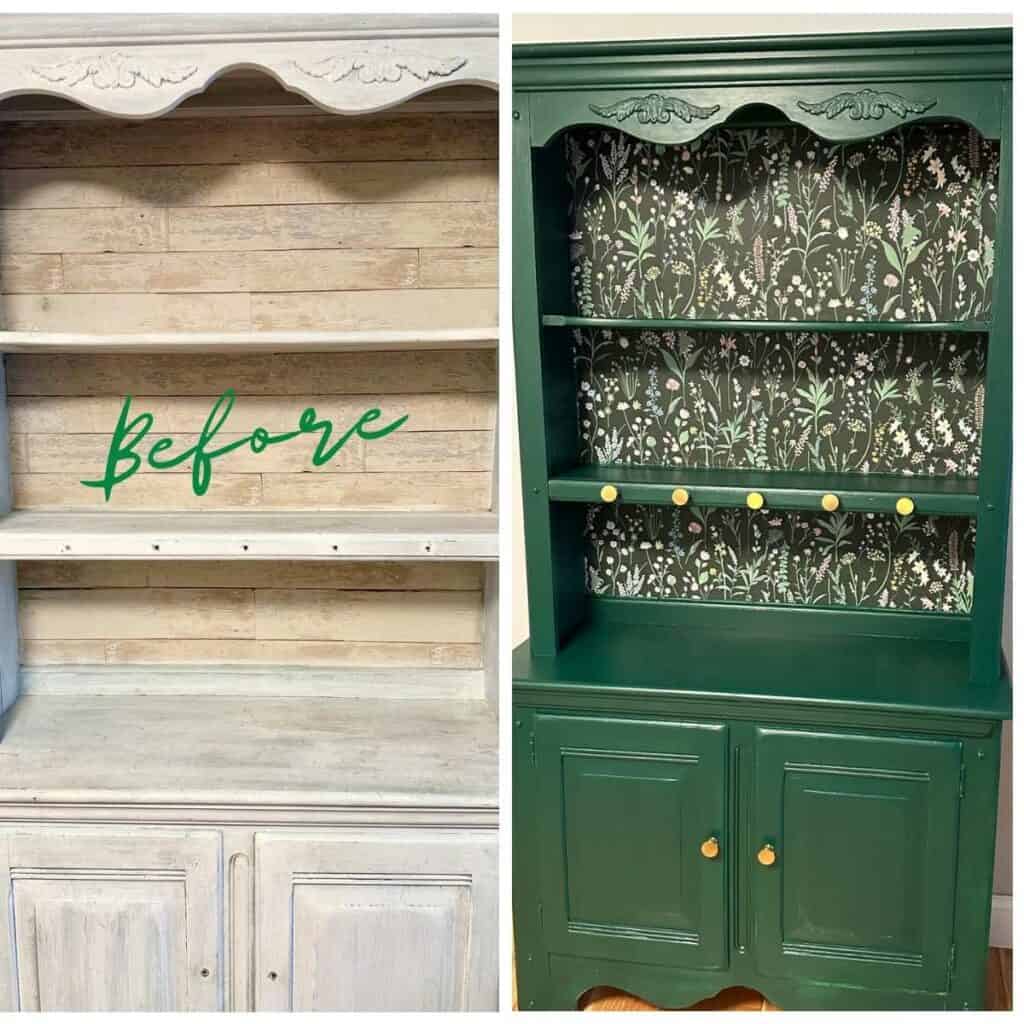
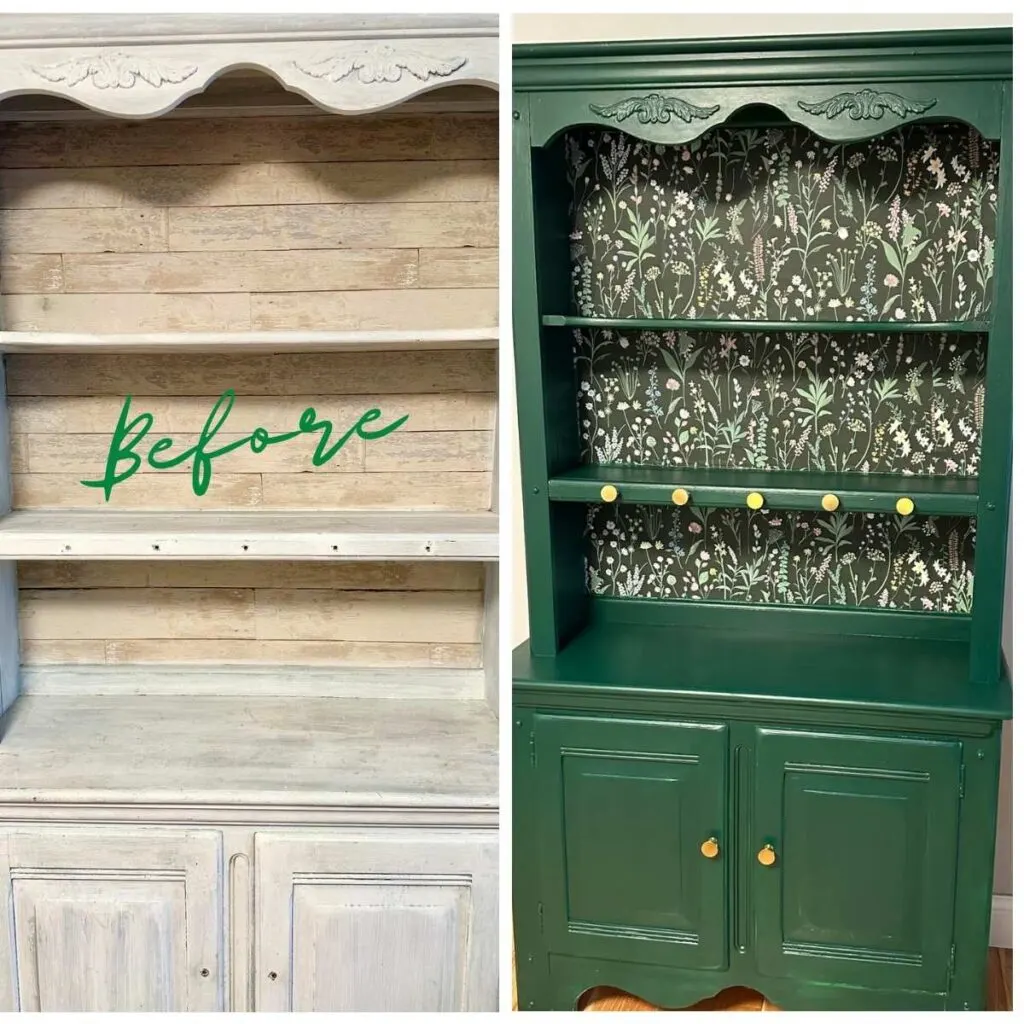
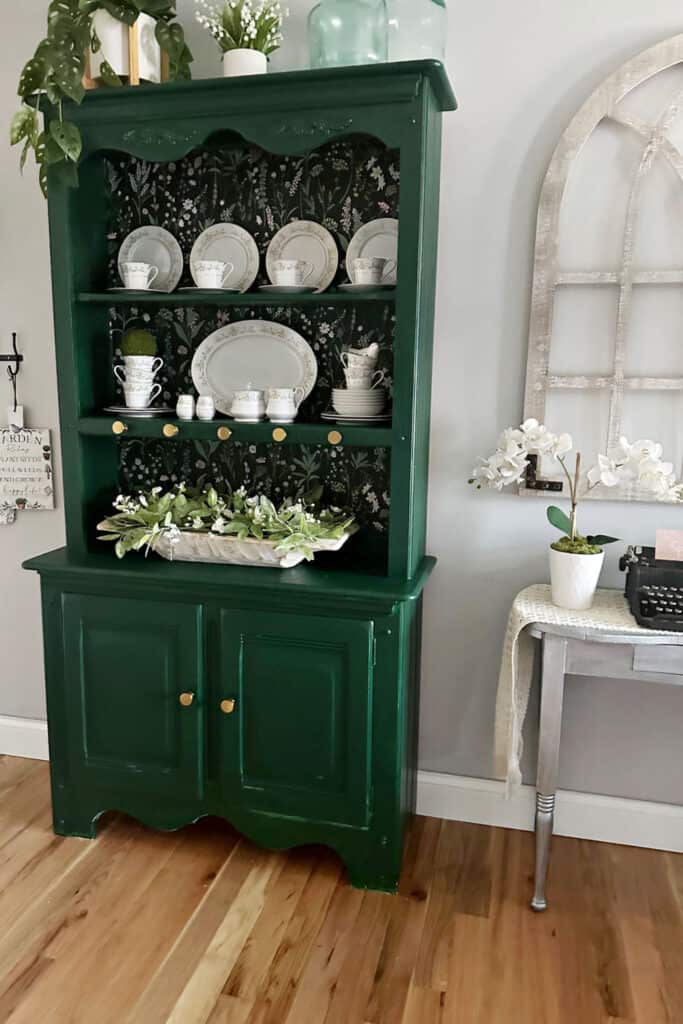
Before and After Painted Hutch
There is nothing like a good before and after with a piece of furniture to really show the beautiful makeover:
Of course, that didn’t stop me from decorating the hutch after 48 hours.
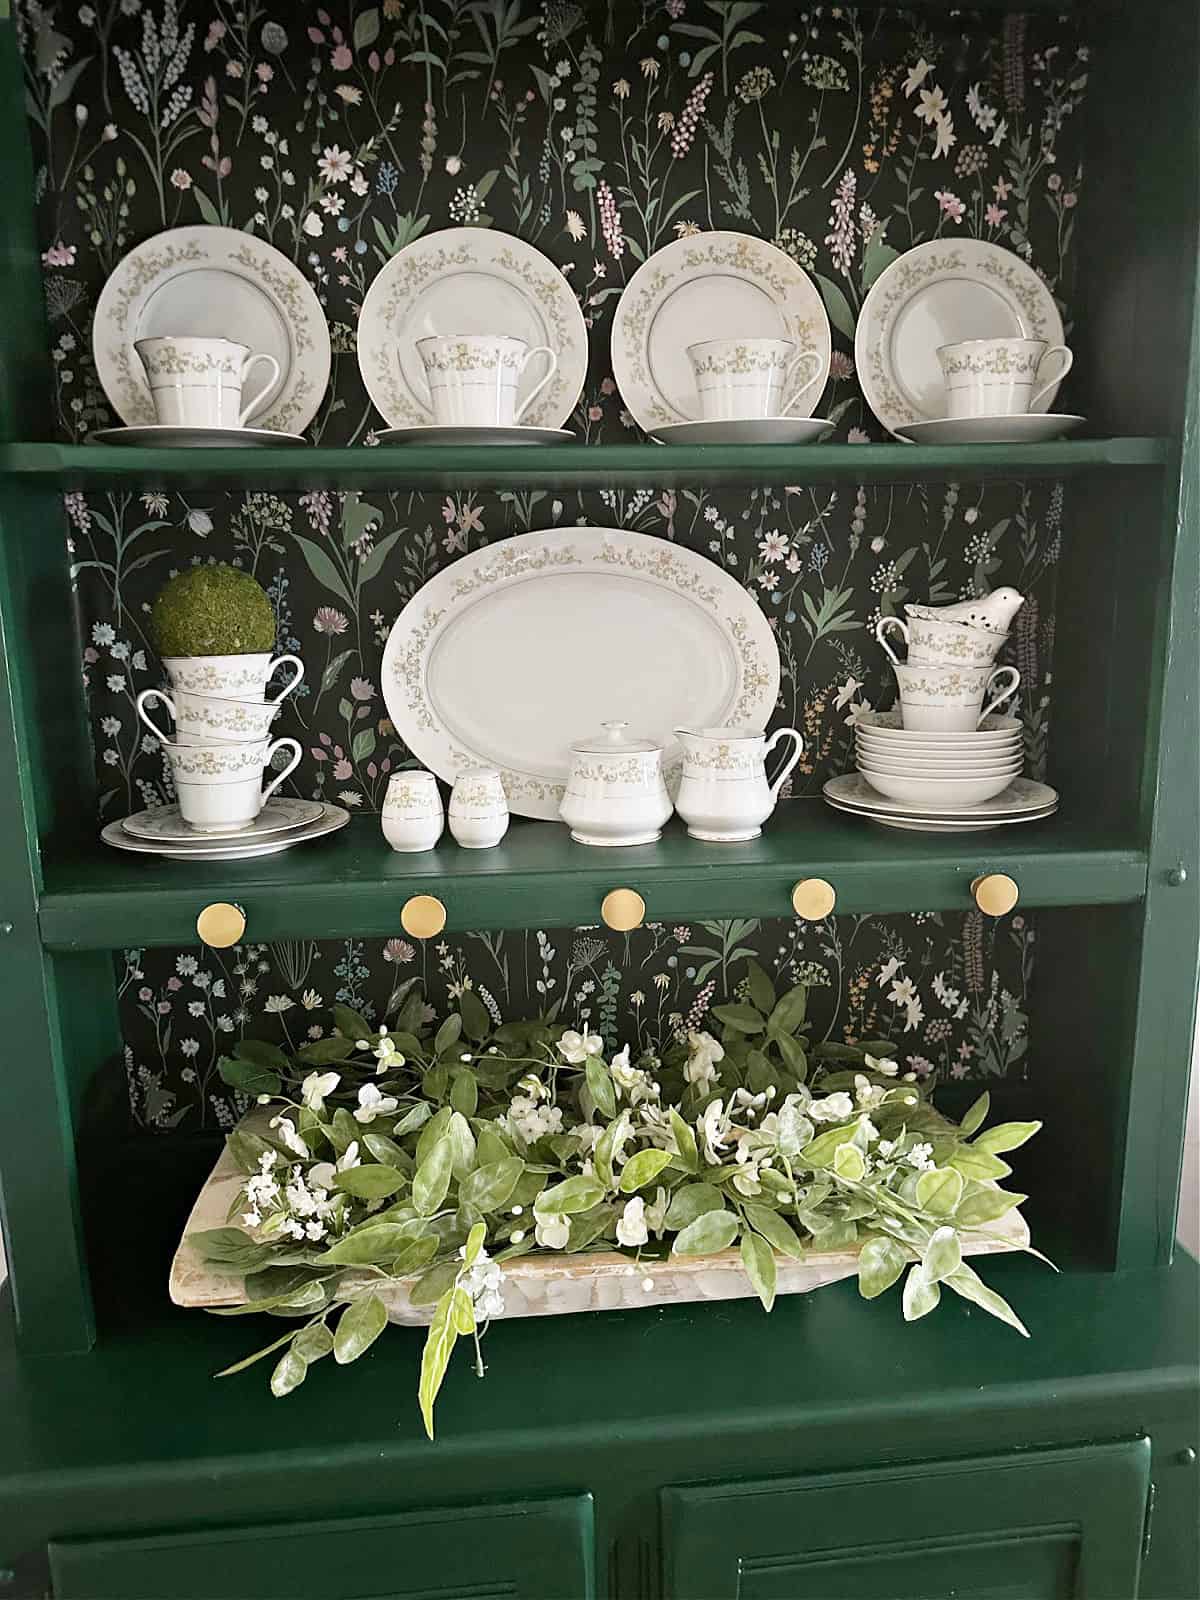
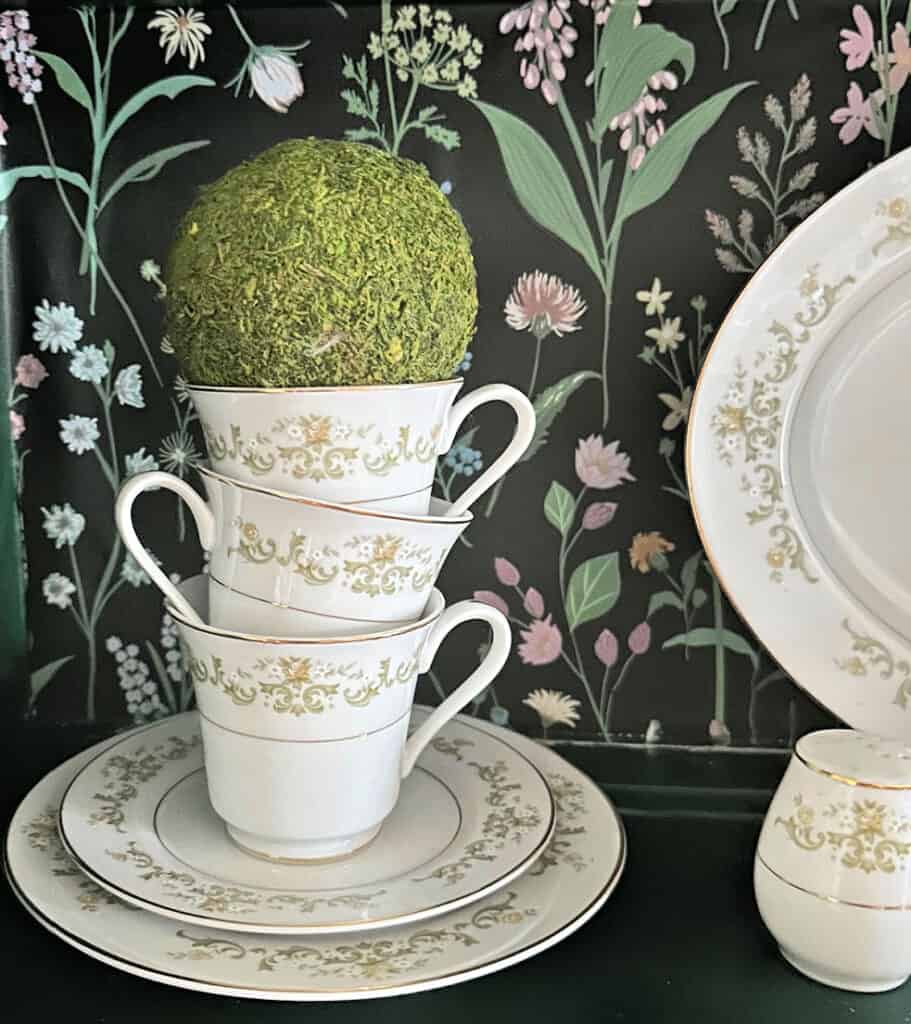
Tips on Decorating a Hutch
A hutch is a great place to show off a collection of items you love.
Here are some popular items you may want to showcase.
- wedding china or other vintage china
- ironstone collection
- seasonal decor
- keepsake items
Because I didn’t want to cover up the beautiful wallpaper, I chose to keep the decor on the shelves to a minimum.

Don’t Forget the Top of the Hutch
For the hutch top I stuck with the rules of three (or odd numbers) as detailed in this great article from Apartment Therapy.
A few demijohns in pretty blue-green compliment the color and pick up some of the blue in the wallpaper.
Our apartment is an open floor plan, so I like to have the decor in a similar design so it flows from room to room.
Here it is in our dining room area which is open to our living room:

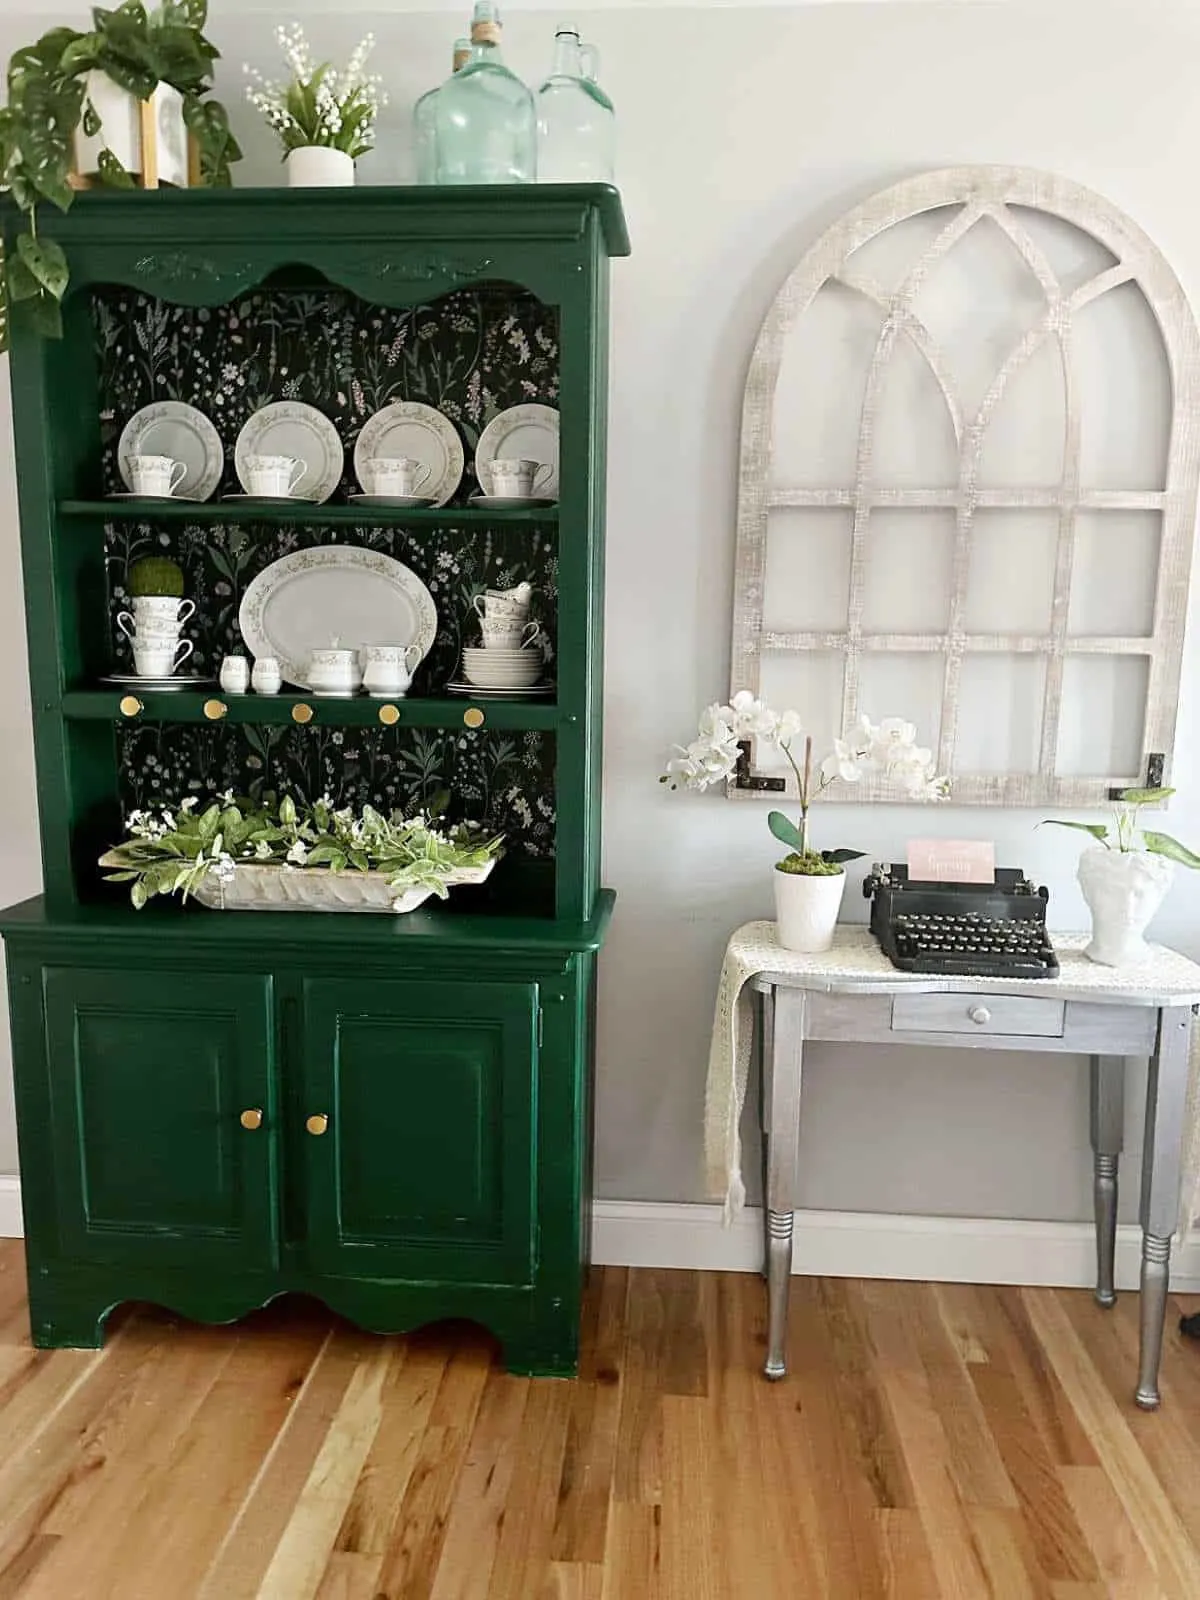
My living room also received an update which I’ll be sharing later this week. Stay tuned for that. You may be seeing more green! 🙂
I’m so happy with the final product. This old china cabinet was so rewarding to refinish.
Plus, it’s a great place to display my collected china and home decor pieces.
I do change out the china for each season and holiday and feel this color scheme will work with just about all of it.
There are so many different colors in the wallpaper which is one of the reasons I chose it.

The only thing that may not work is a set of Christmas dishes I have in red, but thankfully I also have a green print set that will work great.
I hope you are inspired by this furniture makeover.
Hopefully you will consider stepping out of your comfort zone with paint. After all, it is not permanent.

If you are looking for an antique hutch to makeover, it’s always a great idea to check your local Facebook Marketplace, thrift stores, antique markets, flea markets and even yard sales.
It’s amazing to see how many vintage china cabinets are listed for cheap.
Please share this with your friends on Pinterest by pinning the below image.
It helps my blog to grow and doesn’t cost a thing! 🙂

Are you ready to add a pop of color to your outdated furniture?
If you do, please share it with me on Facebook or Instagram by tagging @ourcraftymom.
It totally makes my day!
Benjamin Moore Advance doesn’t require a topcoat. It is an extremely durable paint. However, different types of paint do require a topcoat, so be sure to follow the instructions for your specific brand of paint.
The typical cure time for latex-based paints is 2 to 3 weeks.
We recommend Advance Interior paint for its hard, high-end finish.
Both! Benjamin Moore offers paint in several formulas, including
latex or acrylic, a water-based paint, and Alkyd, an oil-based paint.


Thanks so much for stopping by.


Here are even more painted furniture ideas:
- Simple Wood Bench
- 15 Whitewash Furniture Makeovers
- 19 Decoupage Furniture Ideas
- Live Edge Wood Slab Desk
- Sideboard Buffet Makeover in Chalk Paint
- Painted Fabric with Fusion Mineral Paint
You can find me on social media below:

Cheryl Atkinson
Saturday 13th of April 2024
Such a much improved look. Love the pop of color.
Michelle James
Sunday 14th of April 2024
Thank you so much! :)
Shirley Wood
Friday 12th of April 2024
It is simply beautiful! I love the color of the paint and the floral wallpaper is a perfect match. LOVE the pairing of them both!
Michelle James
Saturday 13th of April 2024
you are so kind Shirley. Thank you so very much!!
Amber Oliver
Thursday 11th of April 2024
Beautiful!!!