We are back with The Fab Furniture Flippin’ Contest® and our January sponsor is HomeRight.
I am so excited to have received an awesome HomeRight Finish Max Sprayer to use in this challenge. The theme is “Spray it Pretty”. This is the piece I started with:
Before
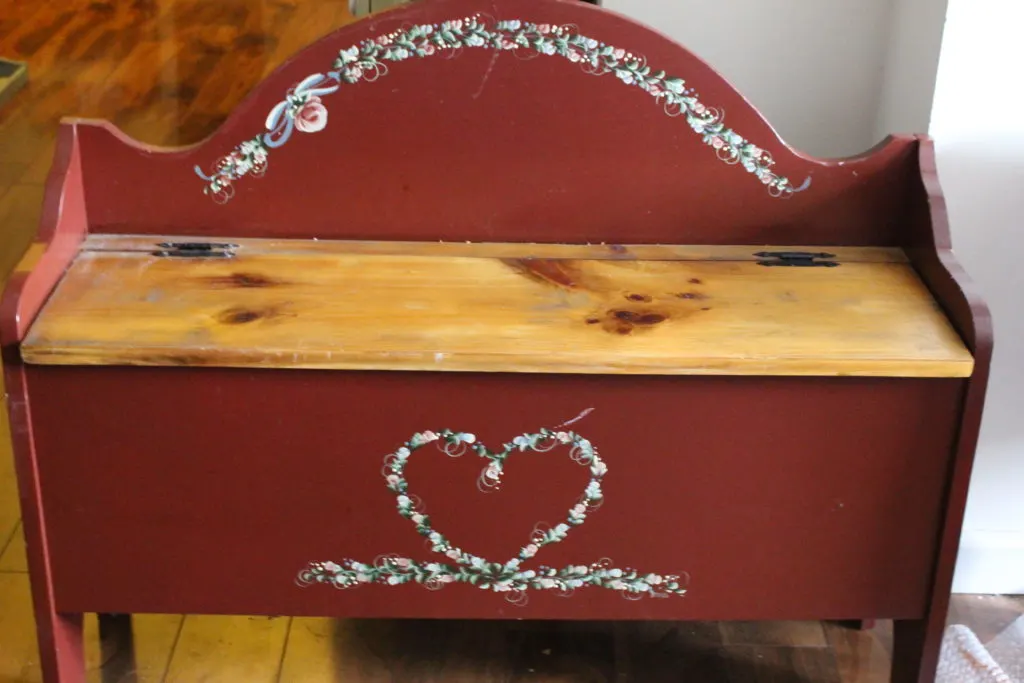
Doesn’t this little deacons bench just scream 1990? But it was in great shape and a really solid piece with deep storage that I always need.
My Dad picked this up at a yard sale for $15. This fits perfectly in my upstairs hallway to store extra linens.
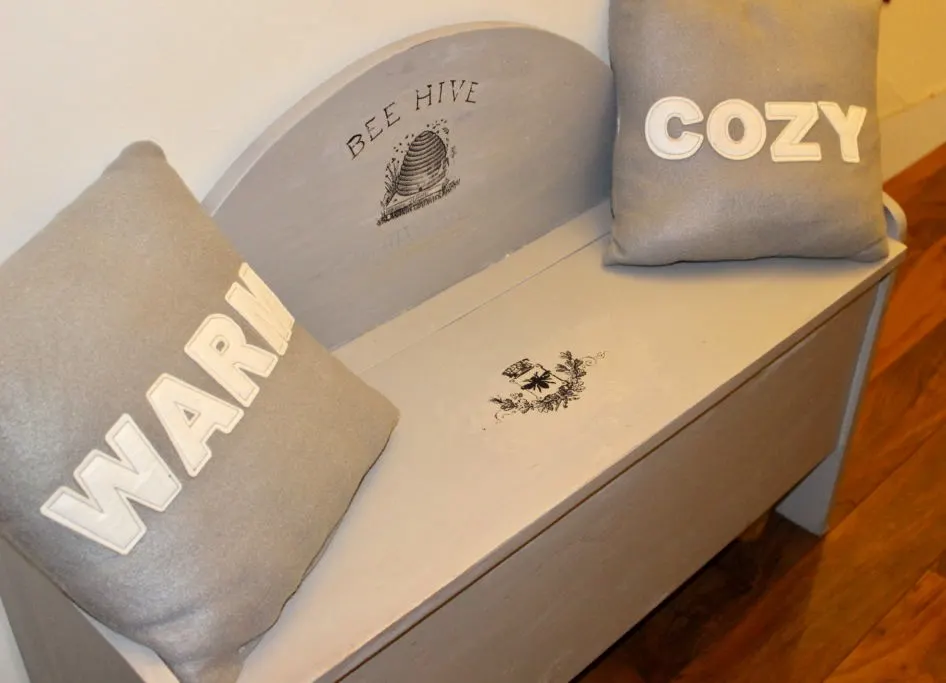
After
[Tweet “Refinished Deacons Bench “Spray It Pretty” With HomeRight Our Crafty Mom #ad @homeright #fffc”]
I received free product in exchange for writing this post. All opinions are 100% mine.
The first thing I did was give it a good cleaning as this baby was dusty! Let me start by saying, I have never used a paint sprayer before so I was a little nervous.
But this Finish Max Sprayer makes it so easy I can’t believe I haven’t used it before! I can’t wait to use this sprayer on spindled chairs which I hate painting!
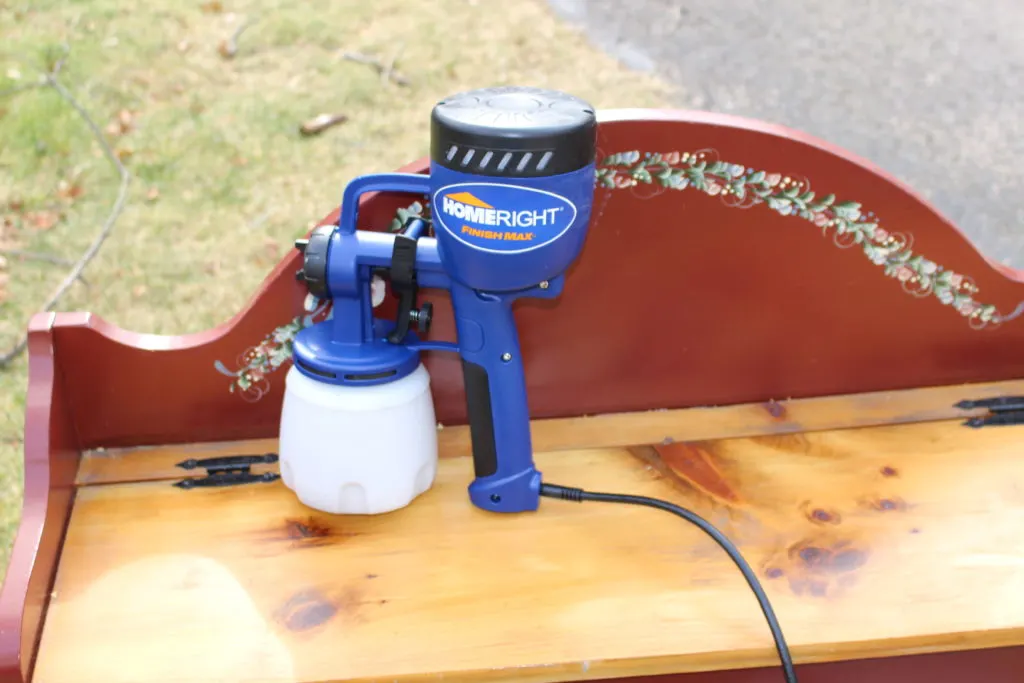
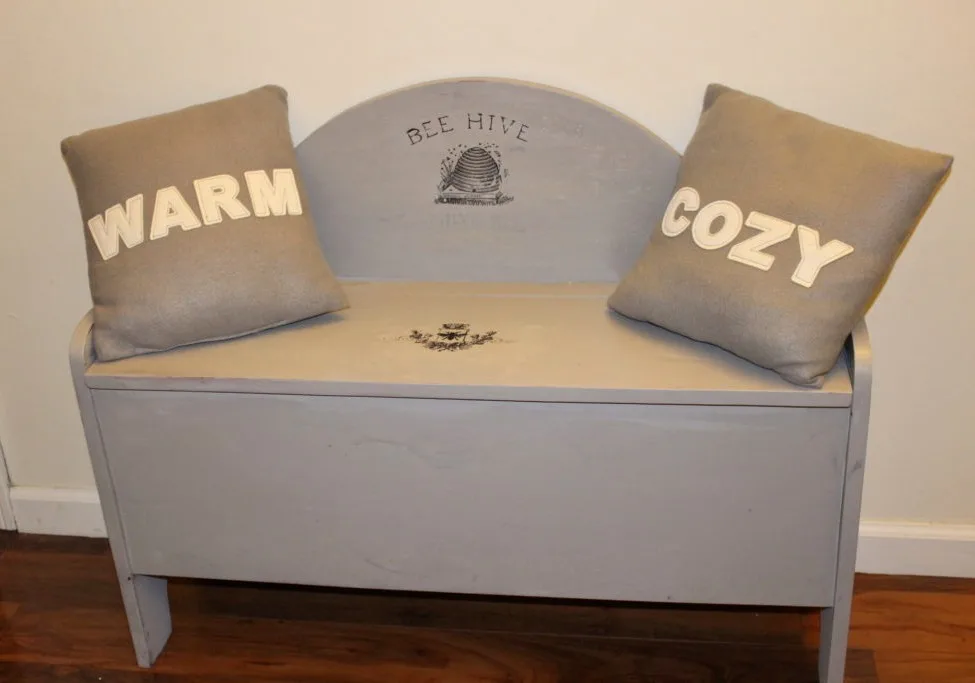
I used Country Chic Paint in Pebble Beach to refinish this deacons bench. I
started out slowly to test how it sprayed and once I was comfortable with it I just started spraying in nice, even strokes similar to how you would use spray-paint.
It really gives it such a smooth finish.
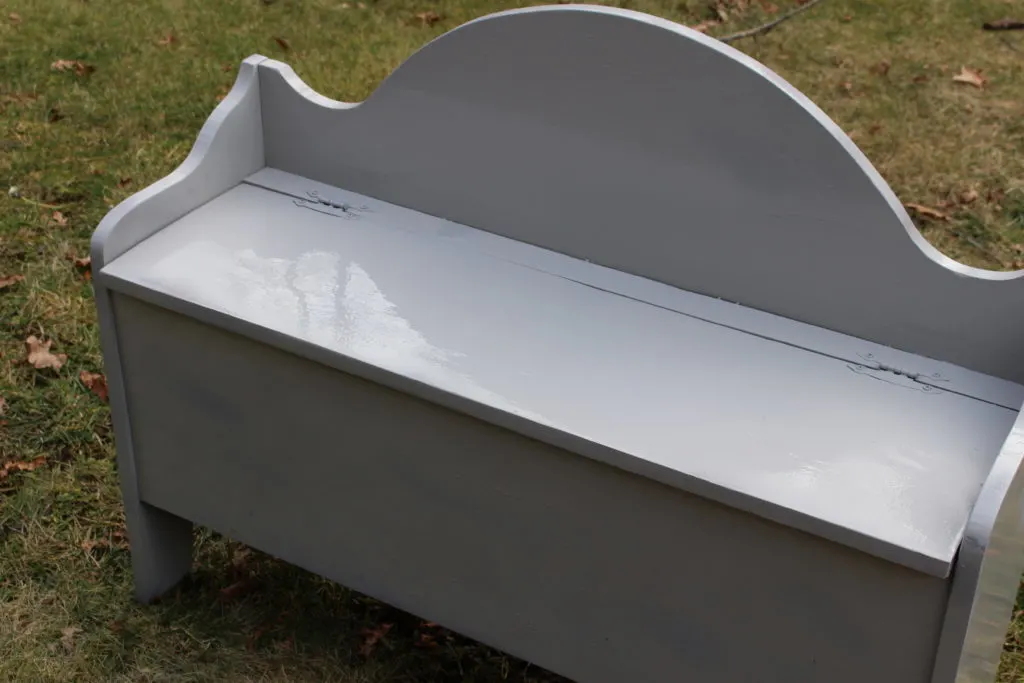
Once the entire piece was done I let it dry overnight then flipped it upside down and sprayed the entire piece again.
I really was amazed at not only the coverage but also how much paint you save by using the sprayer. You water down the paint first so it really takes up less paint and the finish is just amazing!
I love to transfer graphics to furniture and felt this bench needed something. I went to one of my favorite websites for French Graphics, The Graphics Fairy and printed out a beautiful image.
If your image has words, be sure to print out a mirror image as you transfer it face down. I ended up just using the bee hive and then a bee image on the seat.
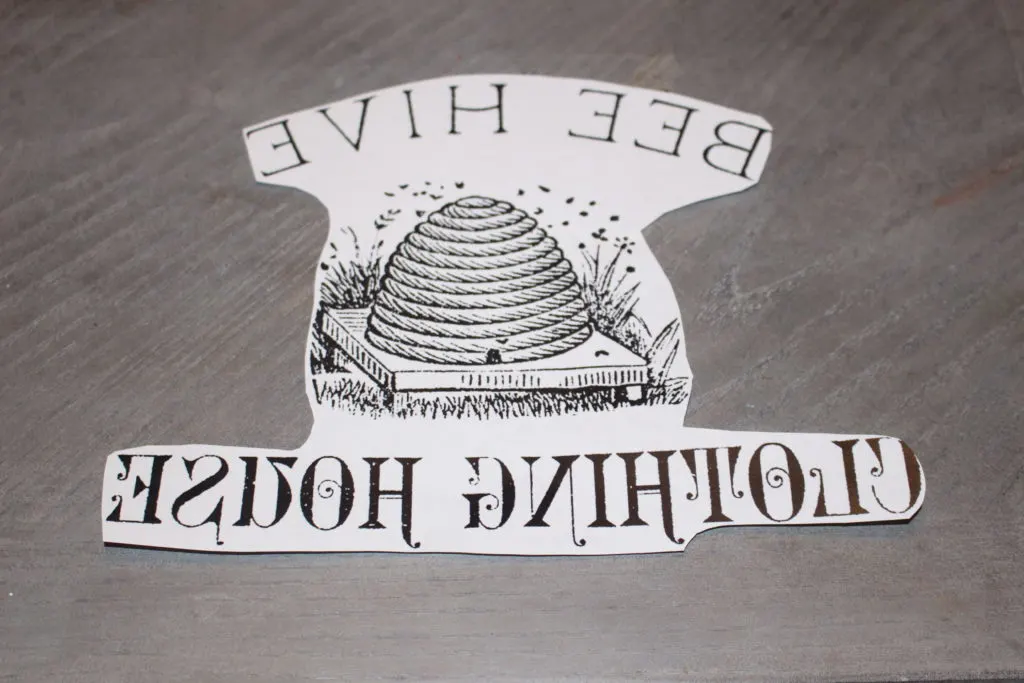
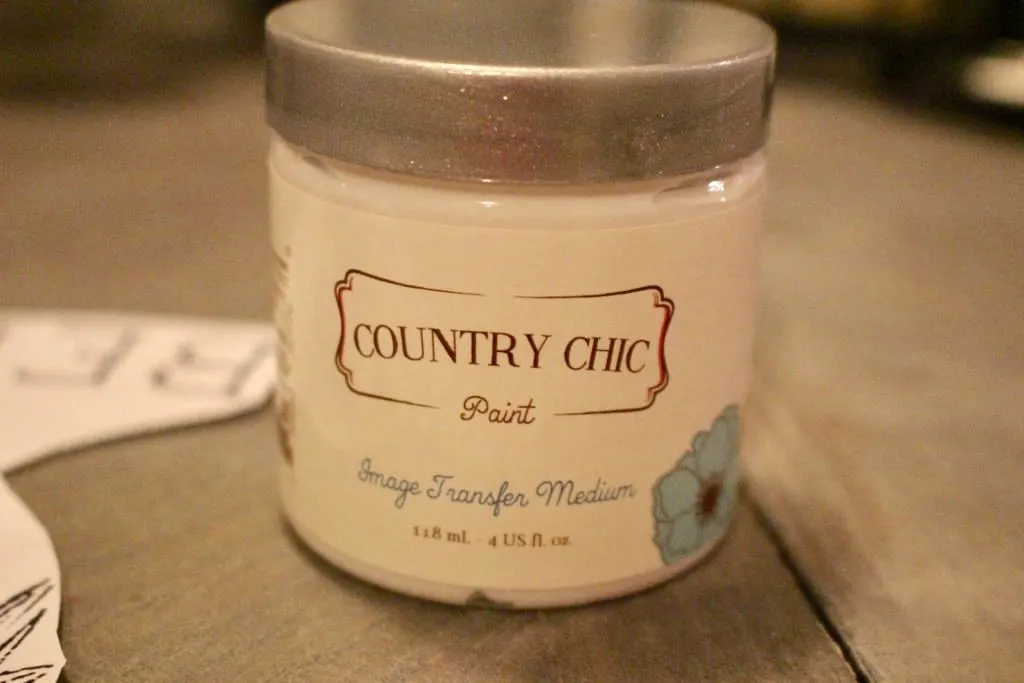
I used an image transfer medium and let it sit for two hours.
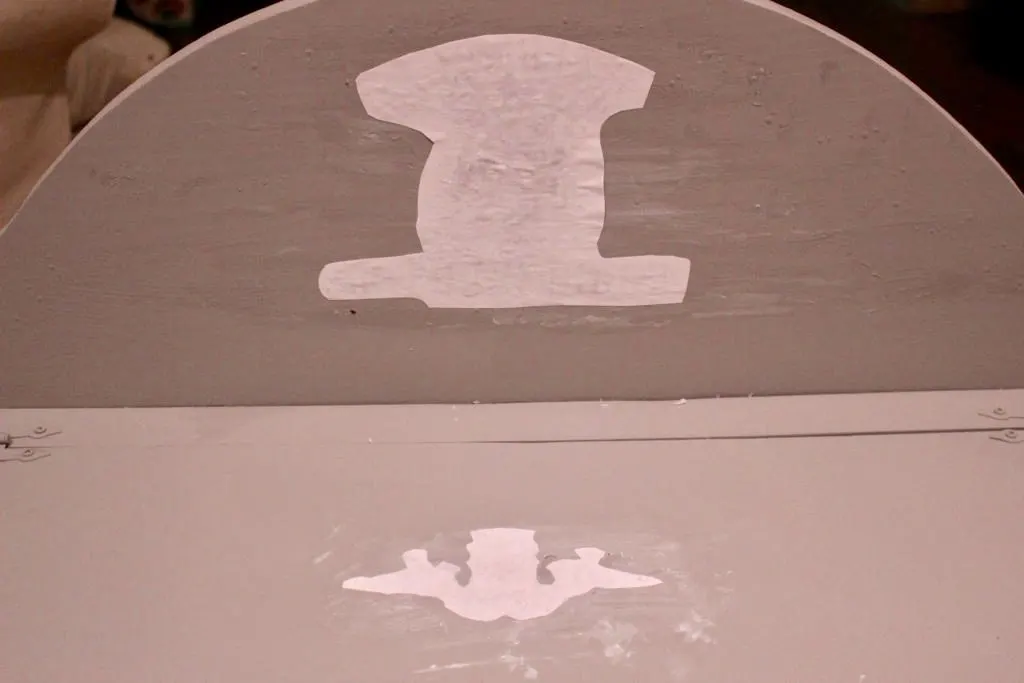
Then you just peel the paper off and use a damp rag to remove the rest of the paper. Be sure to gently rub the paper off.
Also, next time I would let it sit overnight to really adhere well. The entire piece was then finished off with a clear wax.
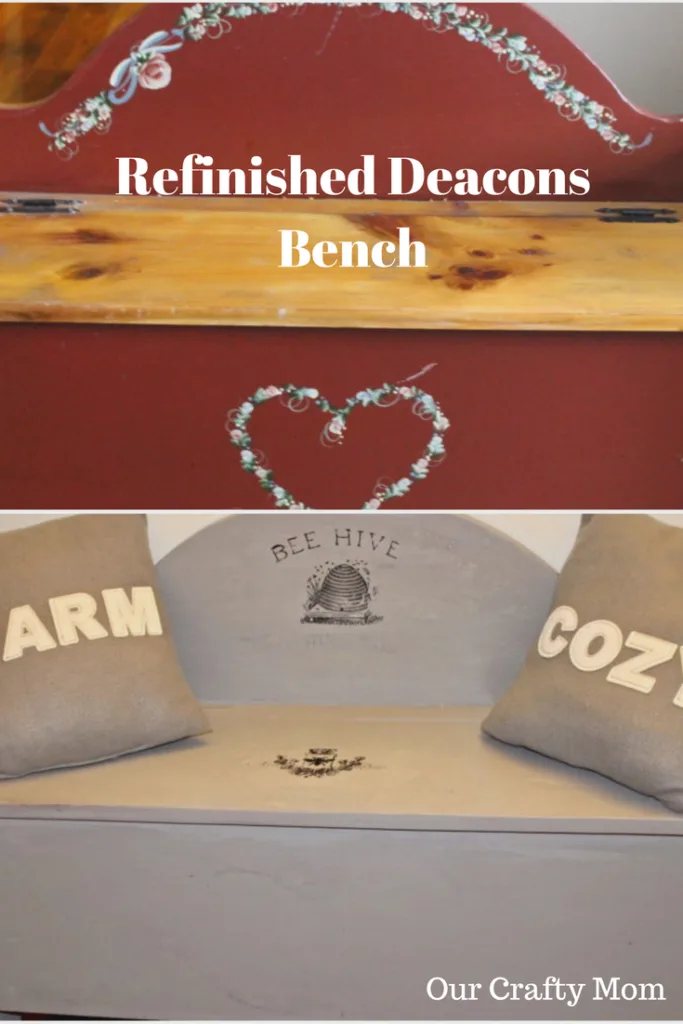
I love to show a side by side picture to really see the difference Paint makes.
The Fab Furniture Flippin’ Contest® is open only to the entrants who have signed up through the group Facebook page. If you are an active, furniture flippin’ blogger, and you’d like to participate in future contests, we’d love to have you!
Please contact us at info@fabfurnitureflippincontest.com to find out how!
Participants, by entering your project into The Fab Furniture Flippin’ Contest, you are giving the contest hosts, sponsors, and judges permission to share one photo, with a link/tag back to your blog, for the purpose of promoting the contest and announcing the winner/favorite picks on our blogs/websites and social media pages.


How To Easily Decorate A Small Front Porch On A Budget
Thursday 9th of May 2019
[…] there is enough room on your porch, place a bench or chair to act as an anchor piece. I used a Deacon’s Bench. The cool thing about this bench is it opens for storage, so I can store a blanket or extra pillows. […]
Kitchen Makeover On A Budget - One Room Challenge Reveal
Monday 12th of November 2018
[…] decided to go with it and actually decorate the area by adding a Deacon’s Bench that serves a dual purpose. It’s a great spot to sit and take off/put on your shoes as you […]
Create A Farmhouse Fall Vignette Our Crafty Mom
Thursday 5th of April 2018
[…] are out. Until then, the faux pumpkins look perfectly at home nestled with a throw in front of my deacon’s bench that I updated a few months […]
Sherry
Wednesday 8th of February 2017
What a cute graphic! Thanks for sharing at Home Sweet Home!
Cecilia
Monday 6th of February 2017
Great update on a dated piece, Michelle! I love the beehive too! Thanks for sharing @Vintage Charm!