Learn how to make charming heart ornaments with a pretty reverse decoupage technique. A creative DIY that’s perfect for Valentine’s Day.

This post contains affiliate links at no extra cost to you. Please see my full disclosure here.
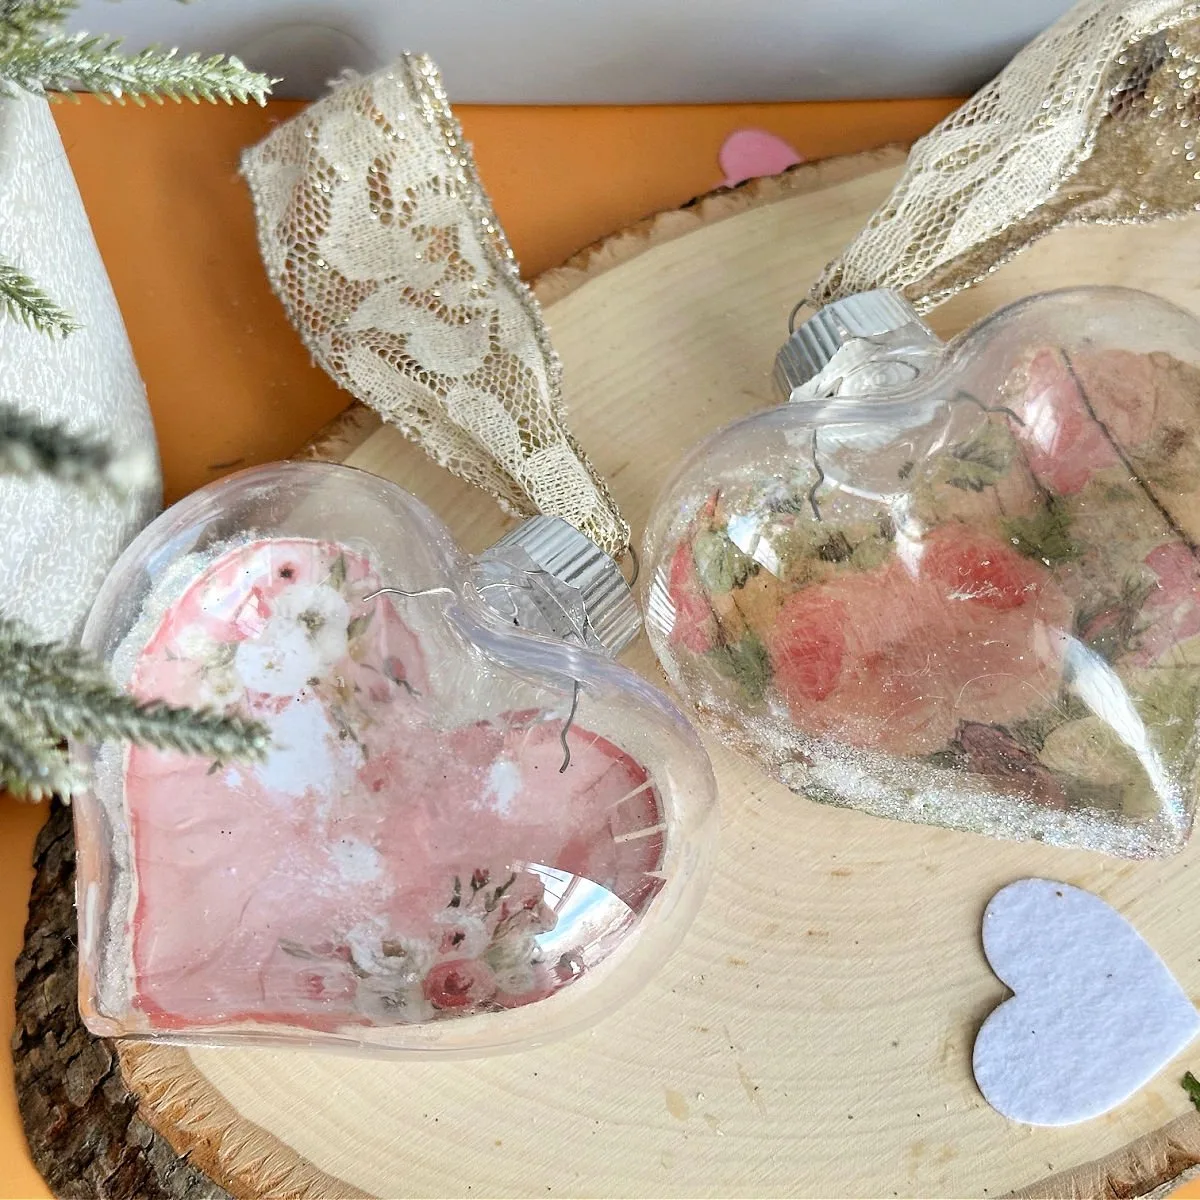
Heart Ornaments
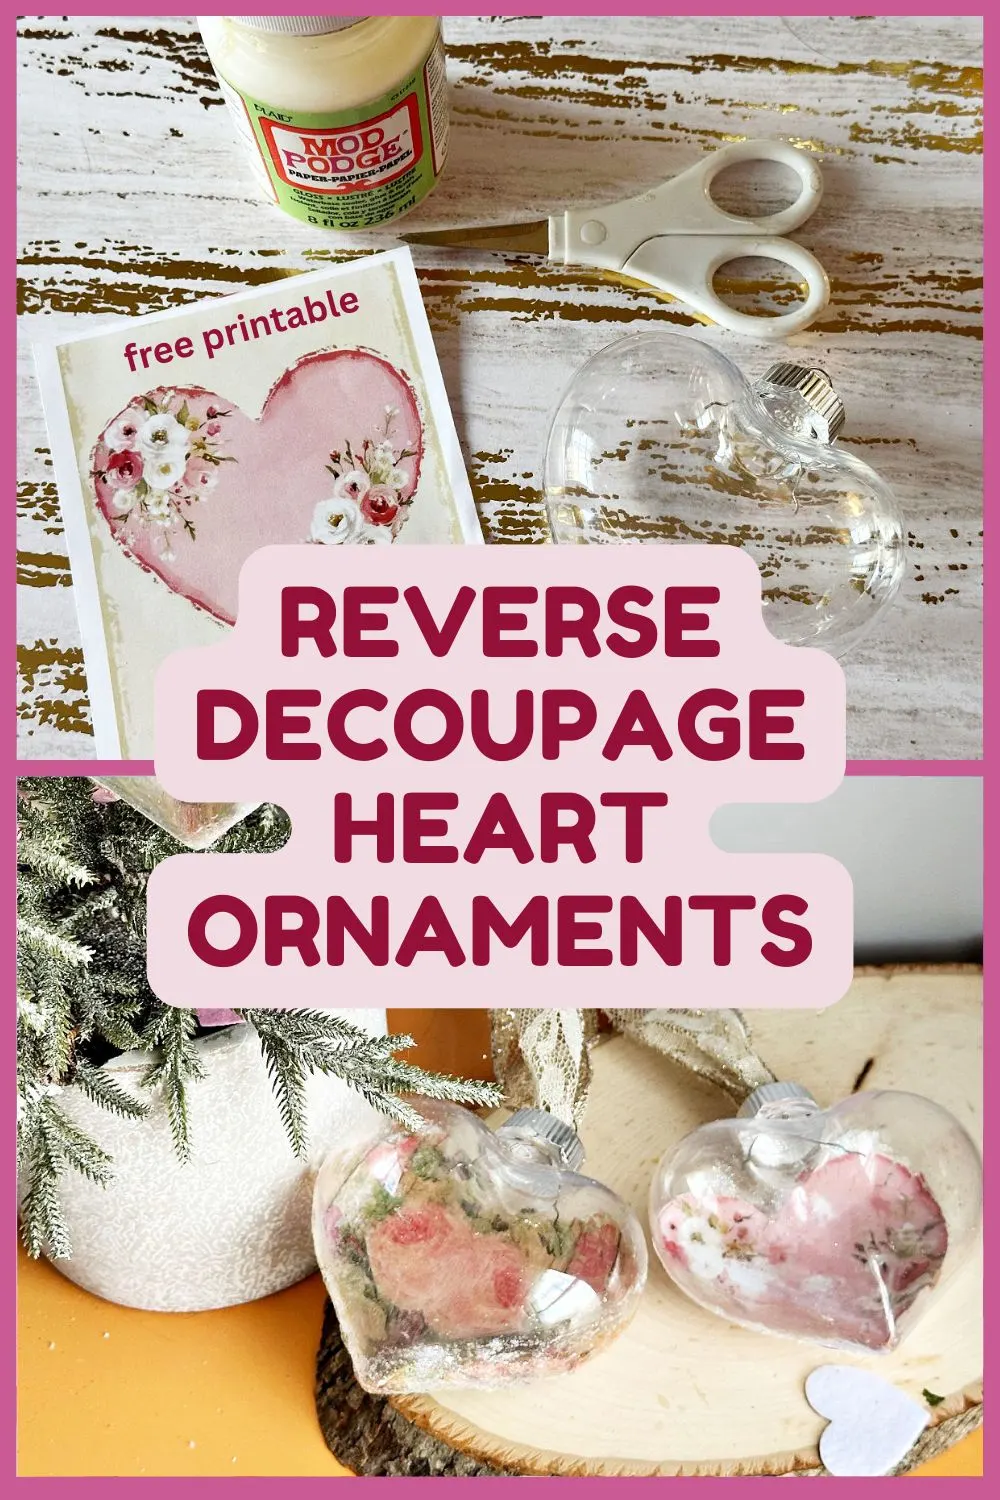
I scored a set of 4 glass heart ornaments at Michaels during their after Christmas sale. My plan was to decorate my Christmas Tree for Valentine’s Day, so these heart Christmas ornaments are perfect!
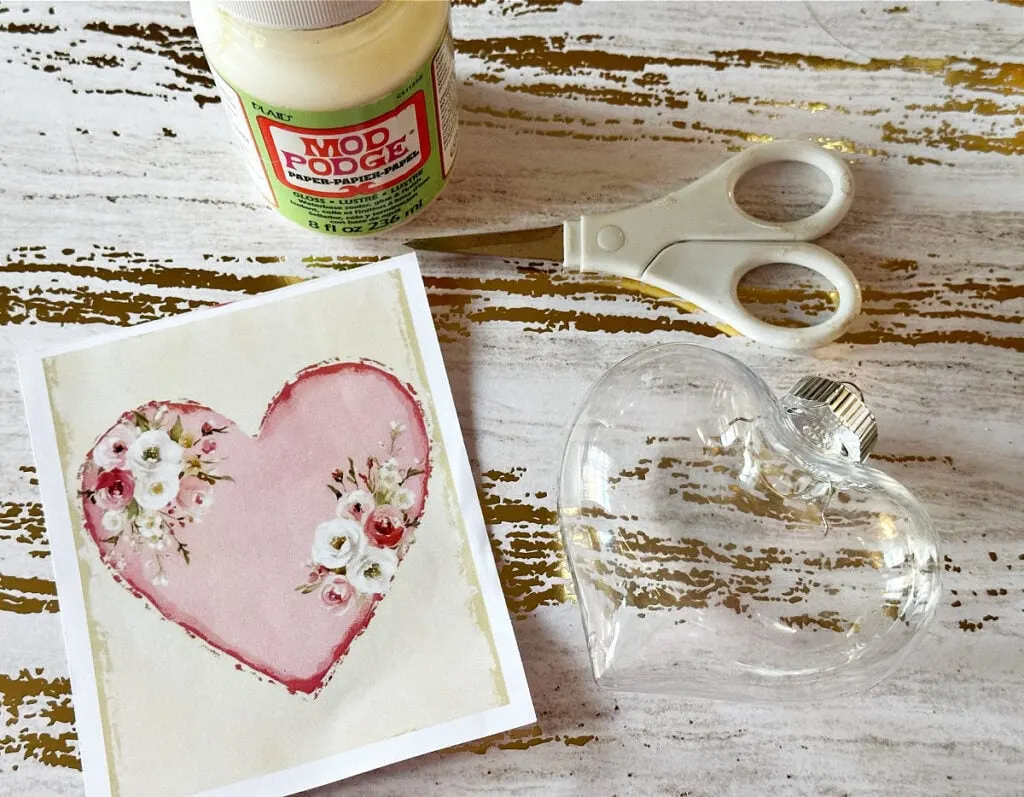
If you are a regular visitor, you know I love decoupage crafts, so I looked through my free printables to see if I had any images that would work with a heart shape.
Sure enough, the printables that I created for this Valentine busted canvas was just the right design. I also used gorgeous napkins with flowers that I had in my craft stash.
Supplies
Here is what you need to make your own heart ornaments.
- Clear Heart Ornaments – I found heart shaped Christmas Tree ornaments on clearance at Michael’s after Christmas.
- Mod Podge
- Foam Brush
- Craft Scissors
- Glamour Dust
- Rubbing Alcohol and paper towels – to clean the glass

How to Make Reverse Decoupage Heart Ornaments
You can use this same technique on a glass plate, bottle, glass lamp or bowl. I may try a crackle finish the next time around. That has been on my bucket list!
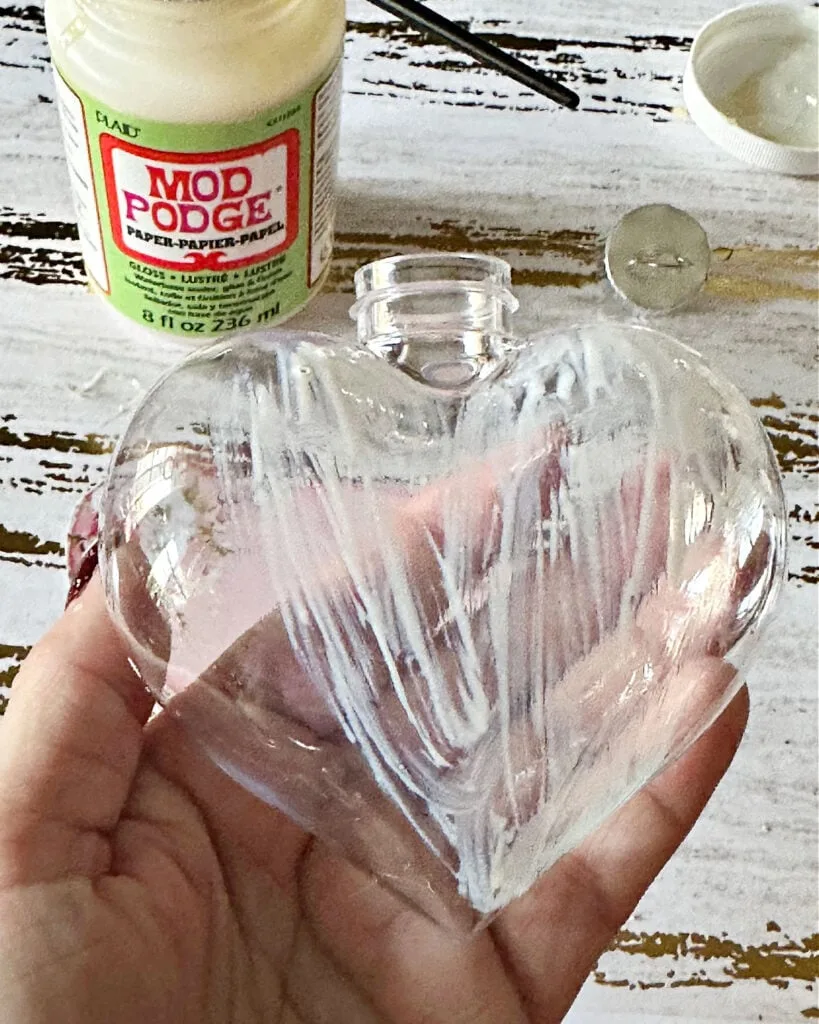
Step 1. Clean the Ornament
Clean the ornament with rubbing alcohol to remove any fingerprints or dust.
Step 2. Trim the Image to Size
Place the image on the back of the ornament to determine the placement and trim to size.
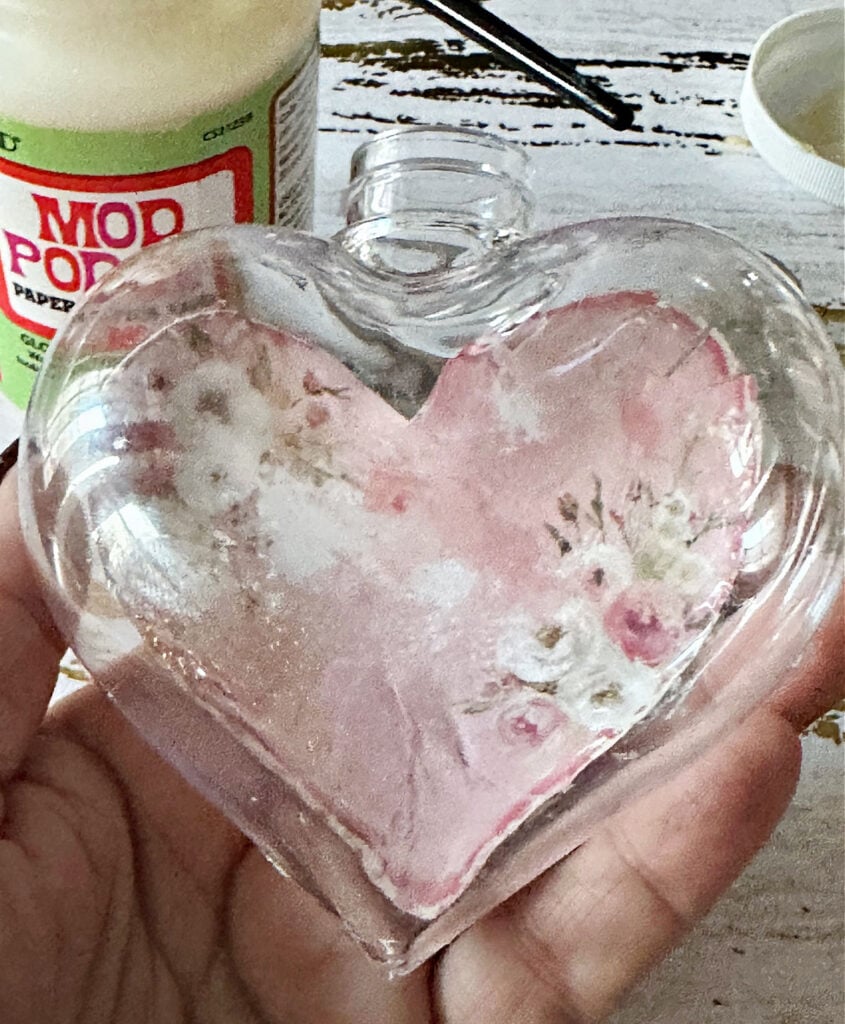
Step 3. Add Mod Podge
Use a foam brush to add mod podge directly to the ornament where the image will be placed.
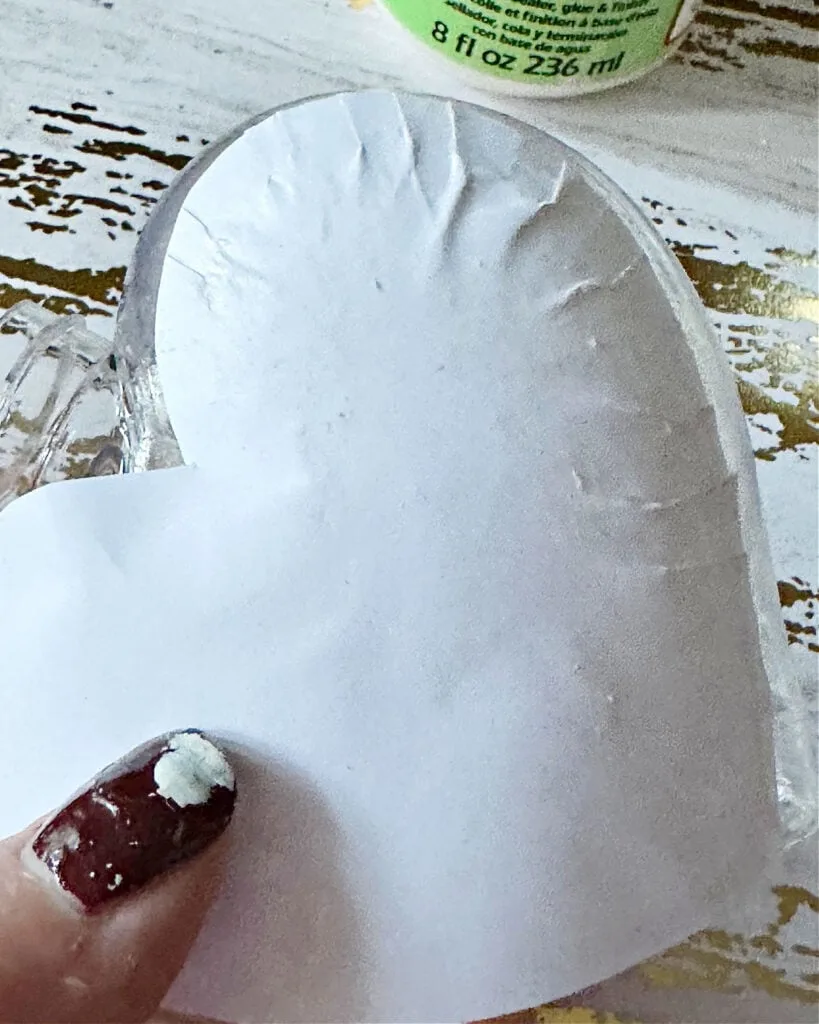
Step 4. Secure Image to Ornament
Place the image on the ornament where the mod podge is. Smooth it down to remove any wrinkles.
Because the heart is curved you will need to cut thin strips into the paper so it will lay flat.


Another tip is to use a plastic bag to smooth out the wrinkles. This is especially helpful when using napkins or tissue paper.
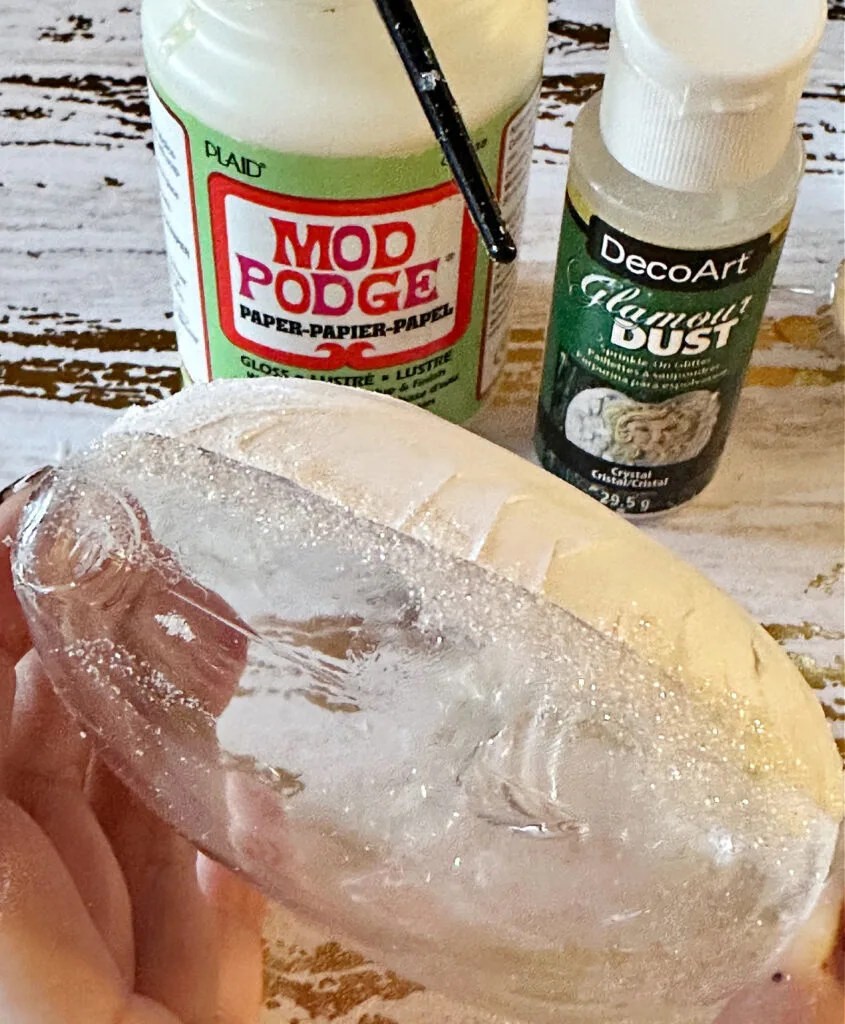
Step 5. Add Glamour Dust
This next step is optional, but I love a little extra sparkle on crafts, so I used mod podge to add a thin layer of glitter around the edges of the image. Let dry.


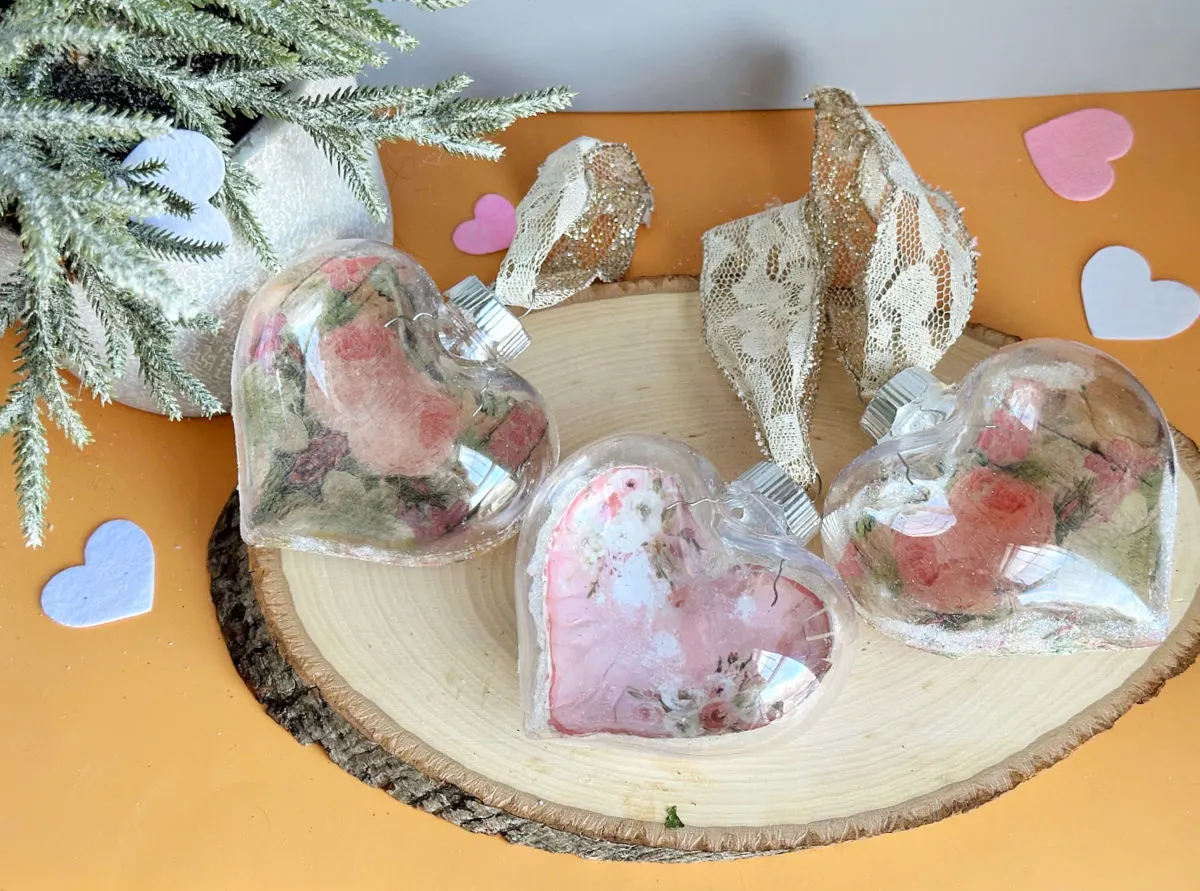
Step 6. Add Ribbon
Now just add pretty ribbon for hanging and you have beautiful heart ornaments that will look great for Valentine’s Day decor, or even to decorate a shabby chic Christmas Tree.

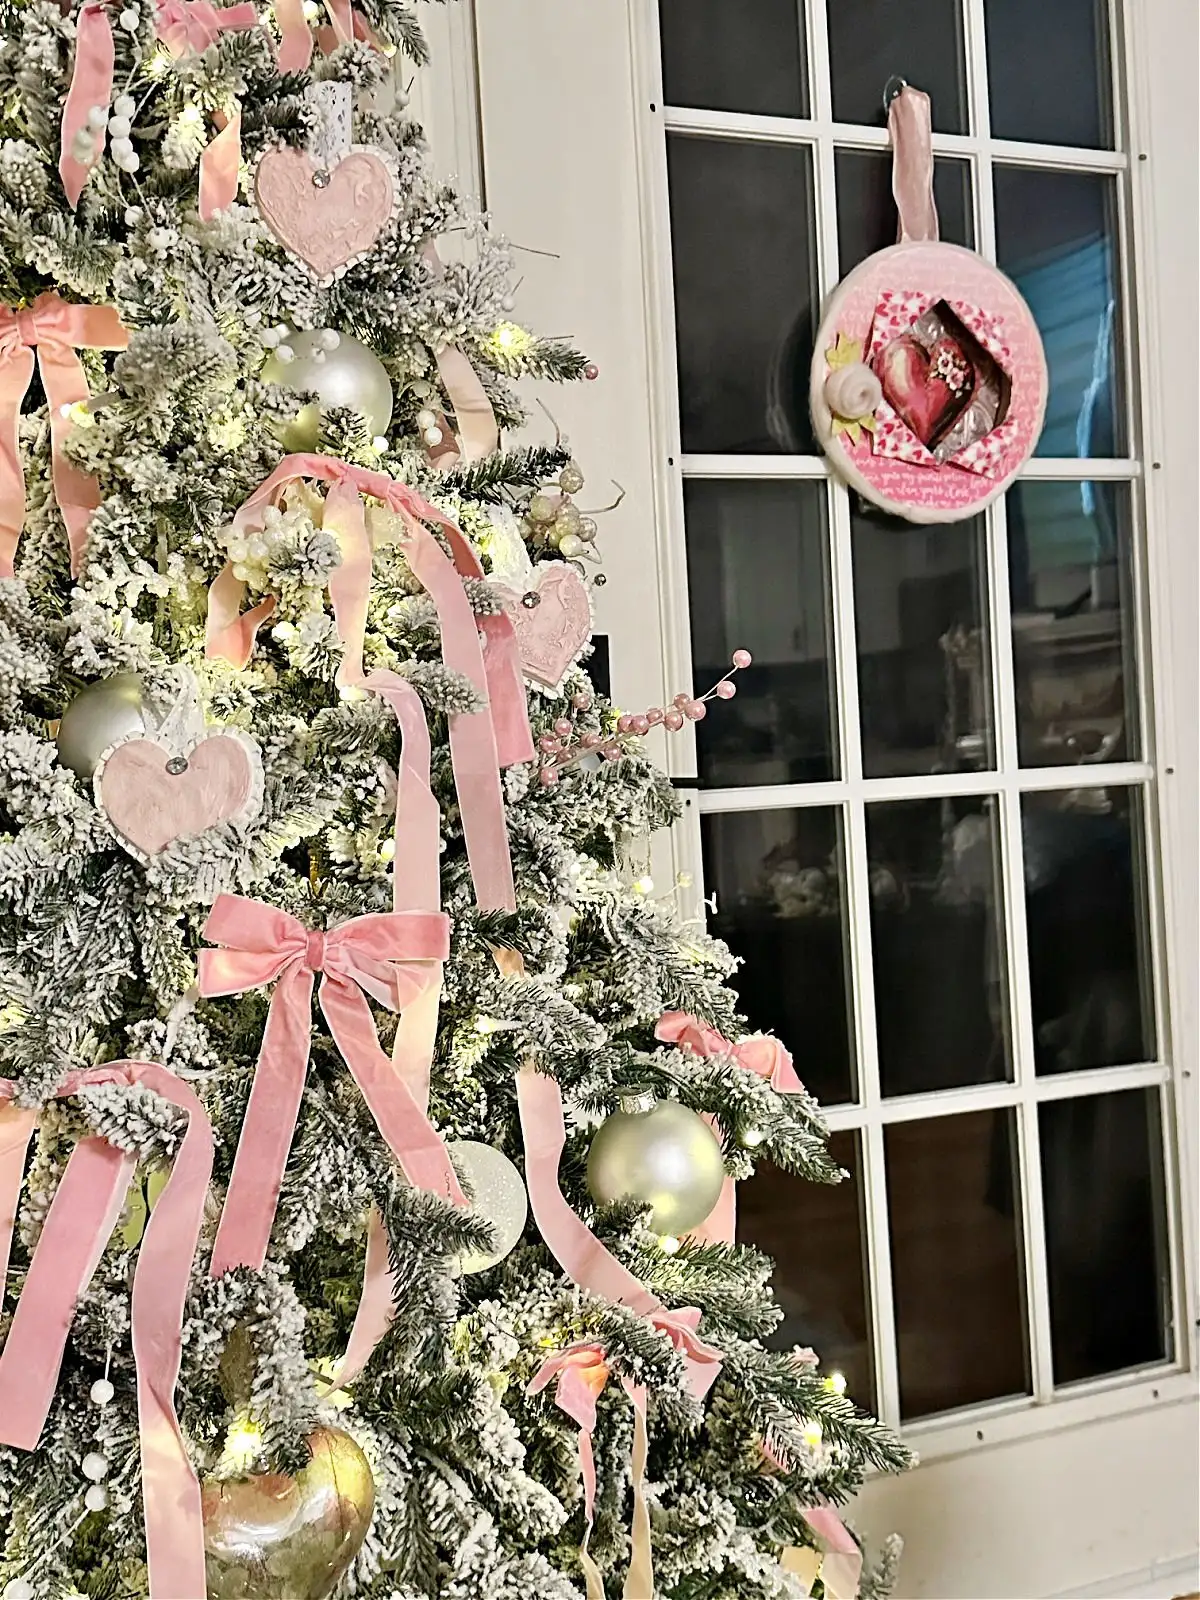
Here is a sneak peek at my Valentine’s Day Christmas Tree. I just finished editing the photos and will share all the details in the next couple of days.
I’m so excited to share the gorgeous velvet ribbons I found for a steal! You can get the tutorial for the air dry clay hearts here.

PIN FOR LATER
I’d love it if you would share this article with your friends on Pinterest by pinning the below image.
It helps my blog grow and doesn’t cost a thing! 🙂

Thanks so much for stopping by. Happy crafting!


You can check out all of my decoupage decor and craft ideas here.
Follow me on social media below: