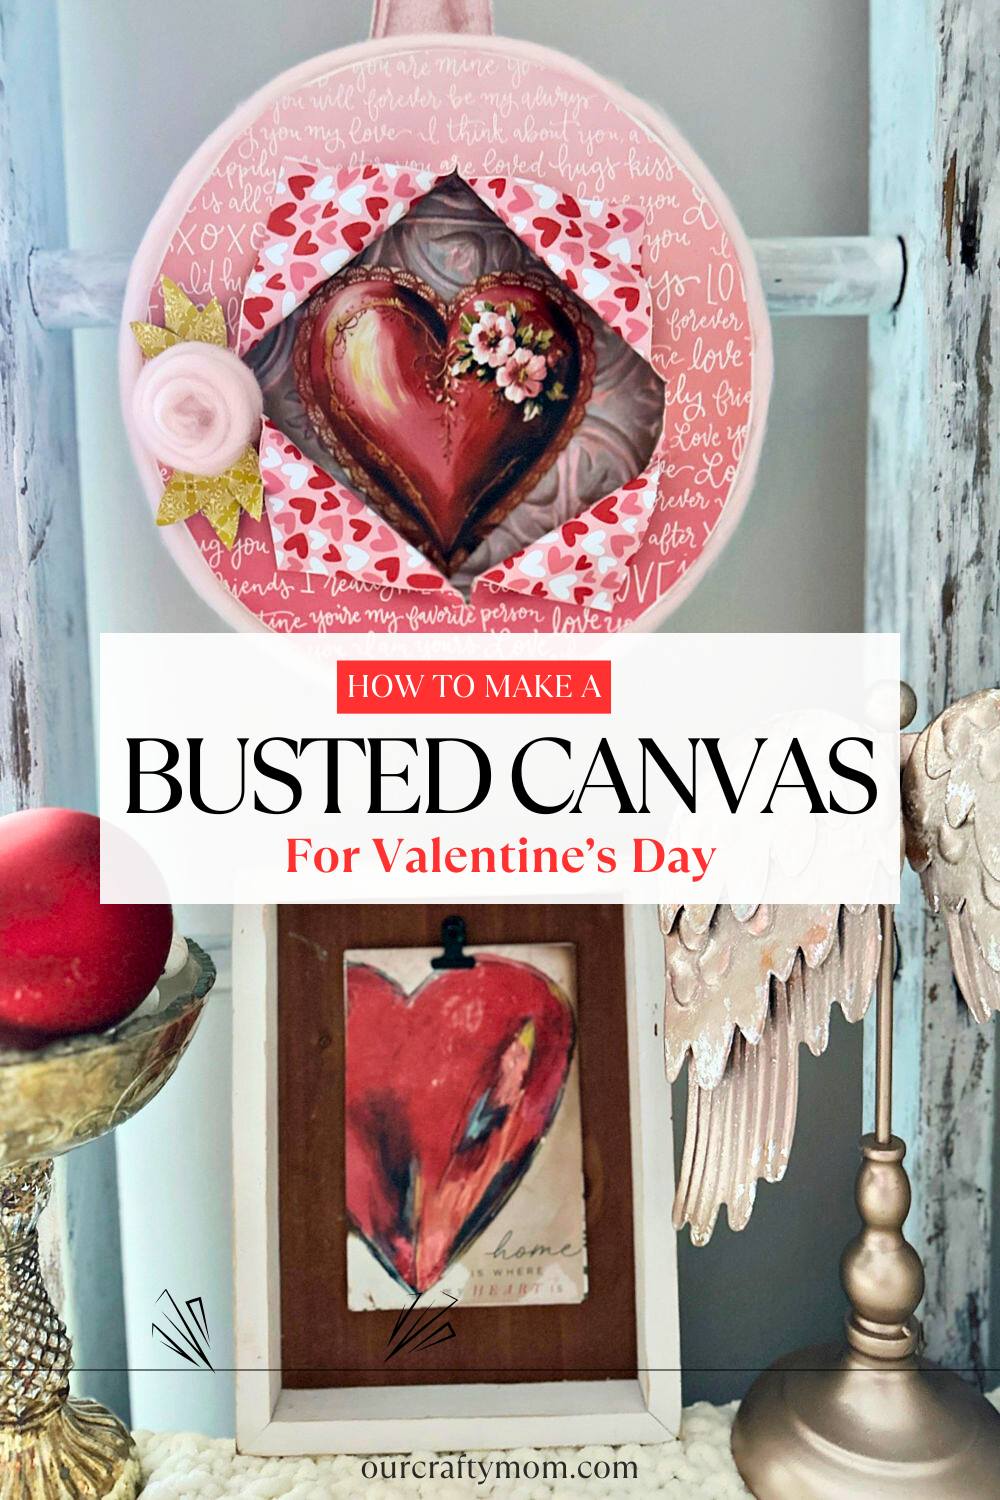
Make a lovely Valentine’s Day art busted canvas with this DIY tutorial! Add a romantic touch to your decor and download the free printables.

This post contains affiliate links. This means if you click the link and buy something, I may receive a percentage of sales at no extra cost to you. Please see my full disclosure here.
Busted Canvas Printable Series (new for 2025)
This is the 2nd craft project in the all-new Busted Canvas Printable Series.
If you missed the details, you can read all about it and check out January’s winter busted canvas for more information.
Also, if you enjoy busted canvas crafts, we would love to have you join us in our Facebook Group.
There are over 1,300 members of the most supportive community. You can learn more about it and join below:
Busted Canvas Crafts Facebook Group
Now let’s get to this step-by-step tutorial.
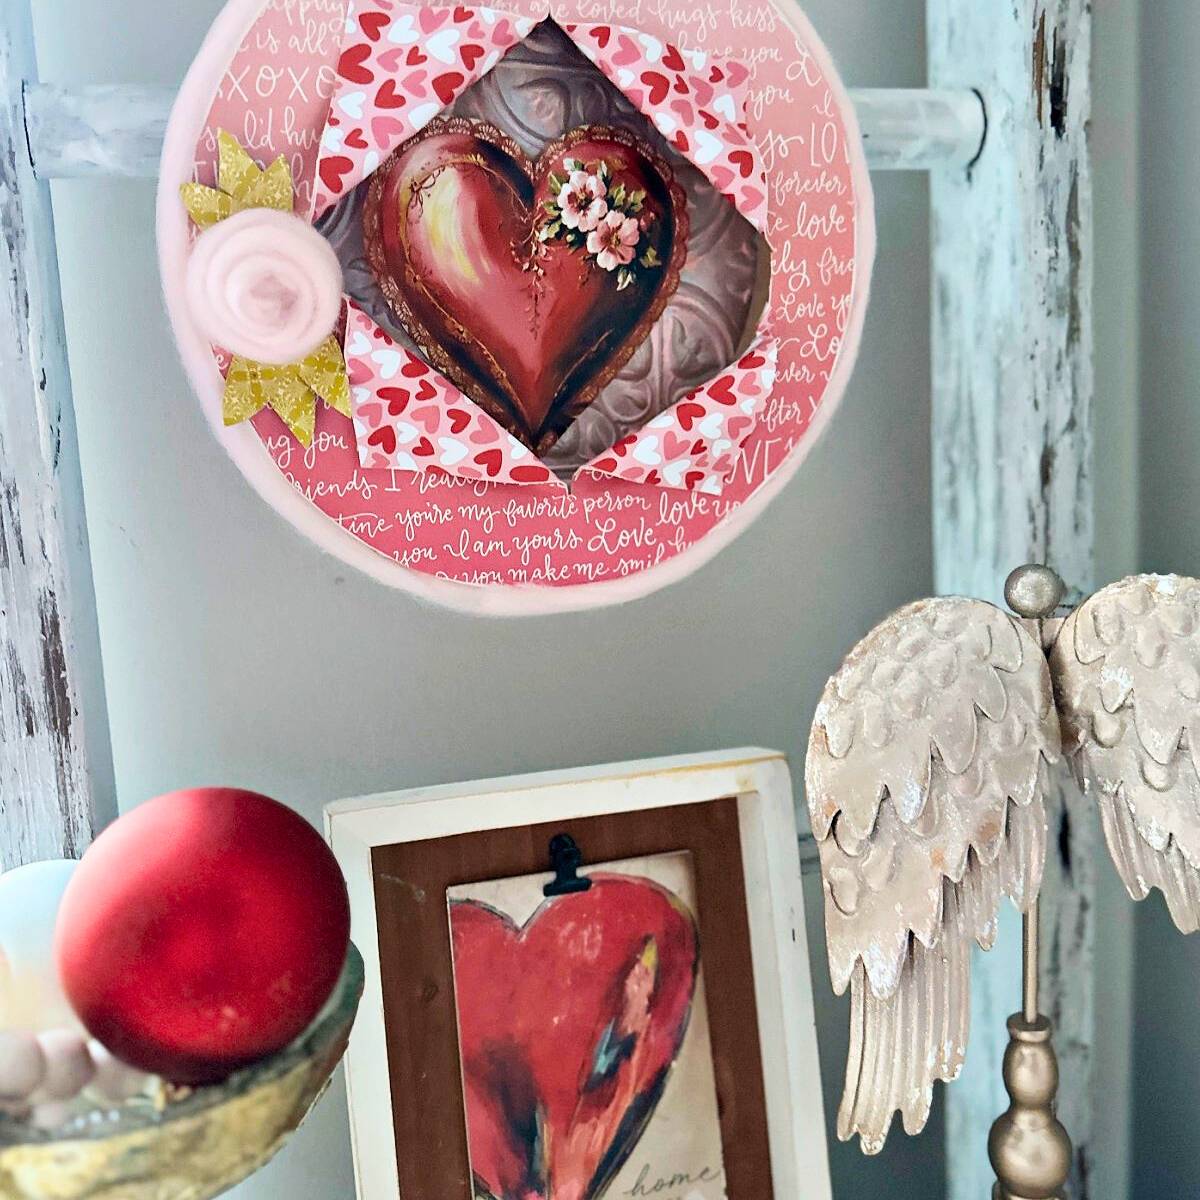
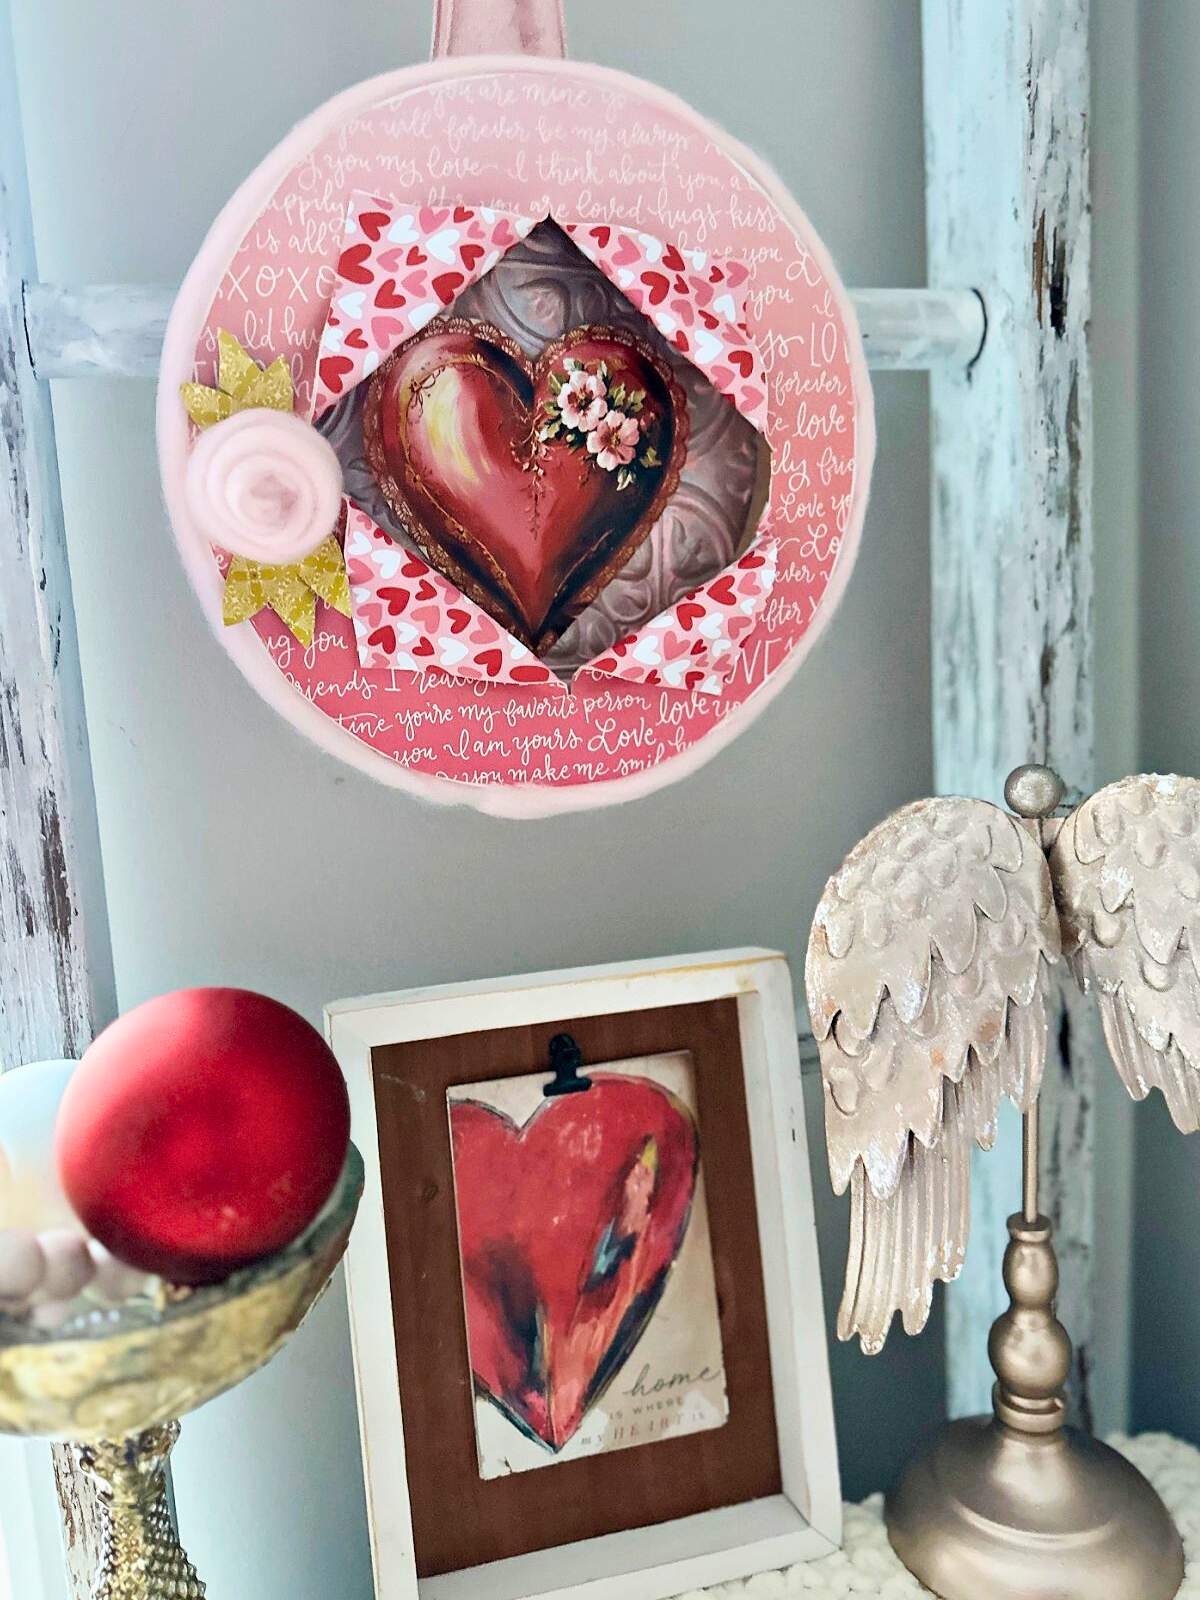
Valentine’s Day Art Busted Canvas
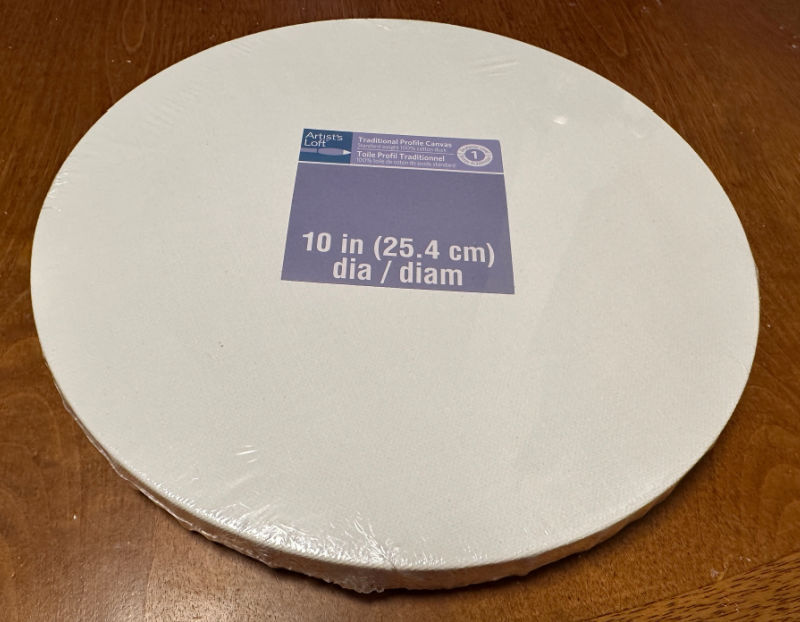
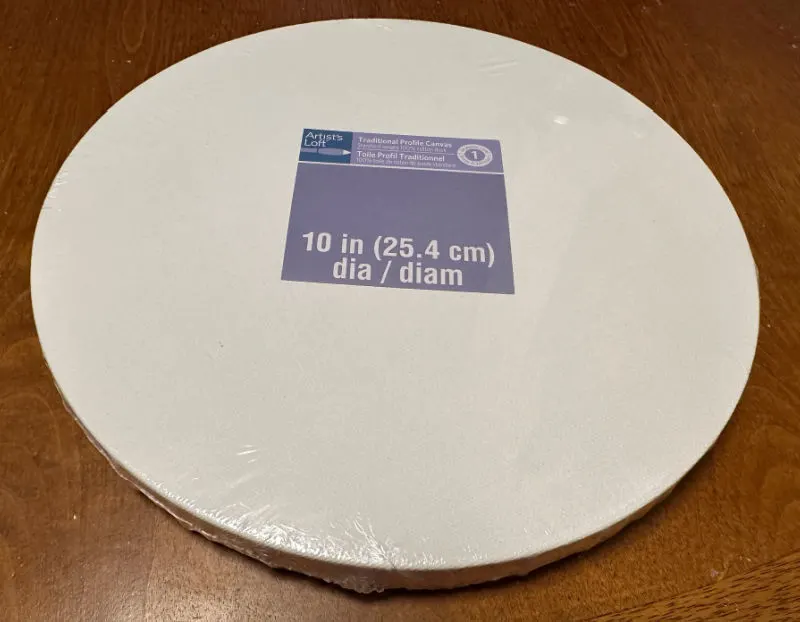
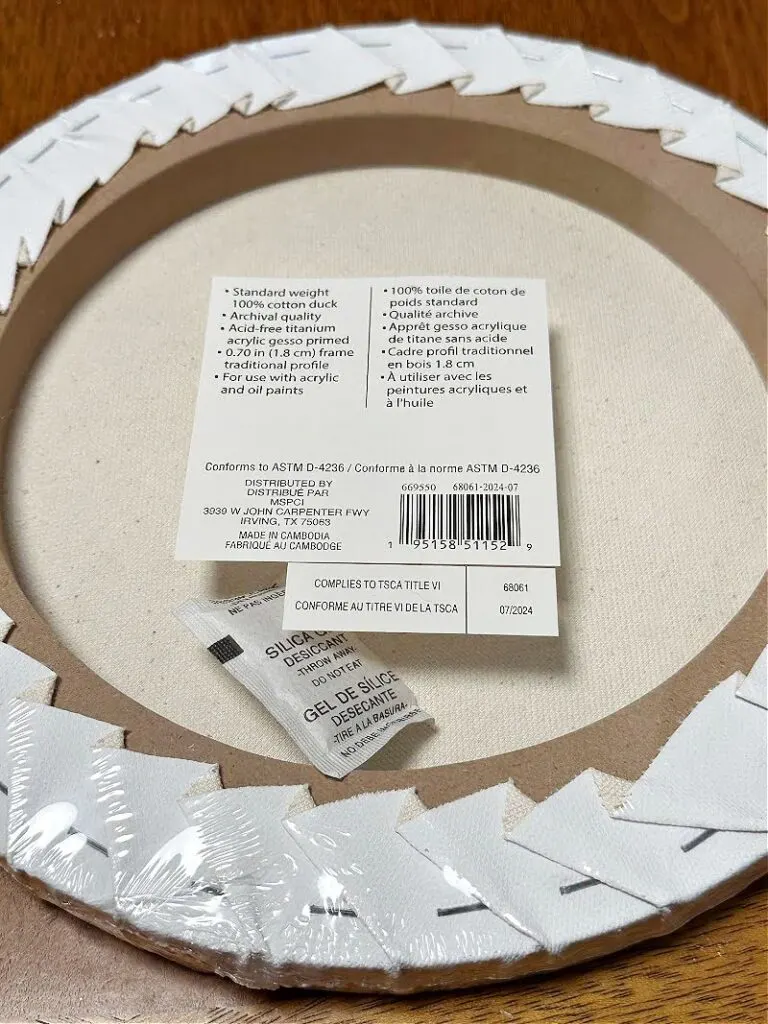
For this project I chose to use a 10×10 round canvas that I found at Michaels. But, you can absolutely use a standard 8×10 canvas if you like.
I had no idea they made a round canvas, so I was looking forward to creating with it.
Supplies
- 10x10 Round Canvas
- Foam Board or Cardboard
- Printable Vintage Valentines
- Cardstock or Decorative Paper – choose 2 coordinating designs
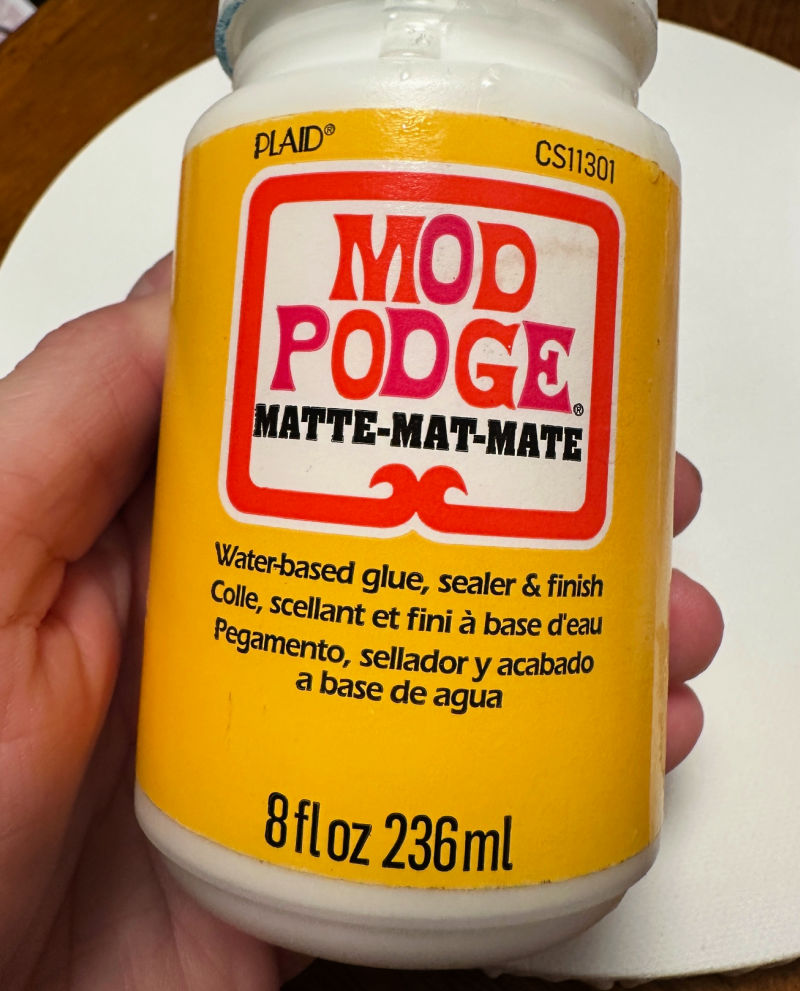
- Mod Podge – I went with matte
- Craft Knife – I love the Cricut knife kit
- Scissors
- E-6000
- Foam Brush
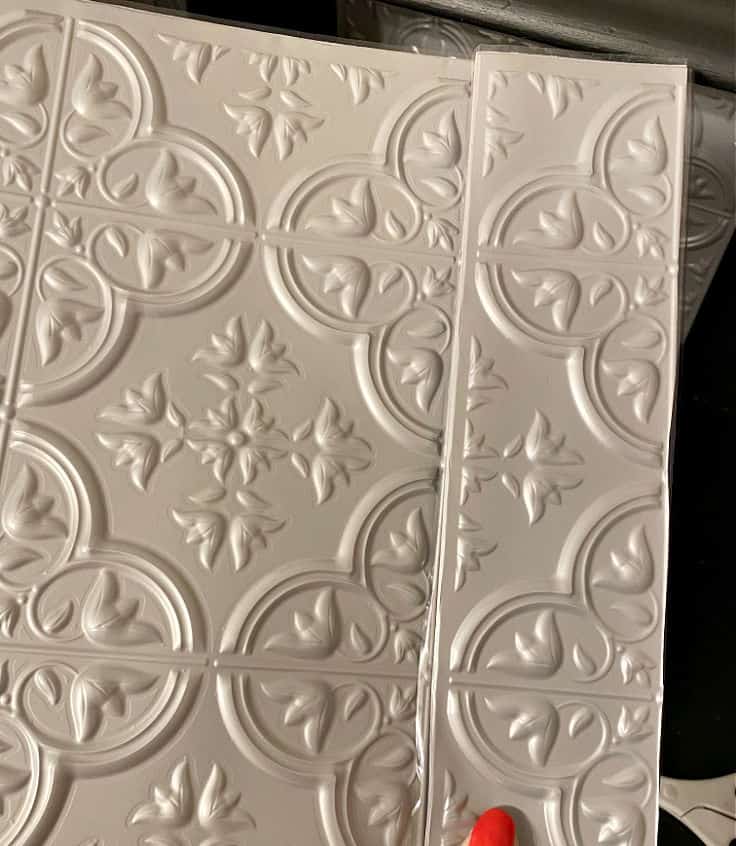
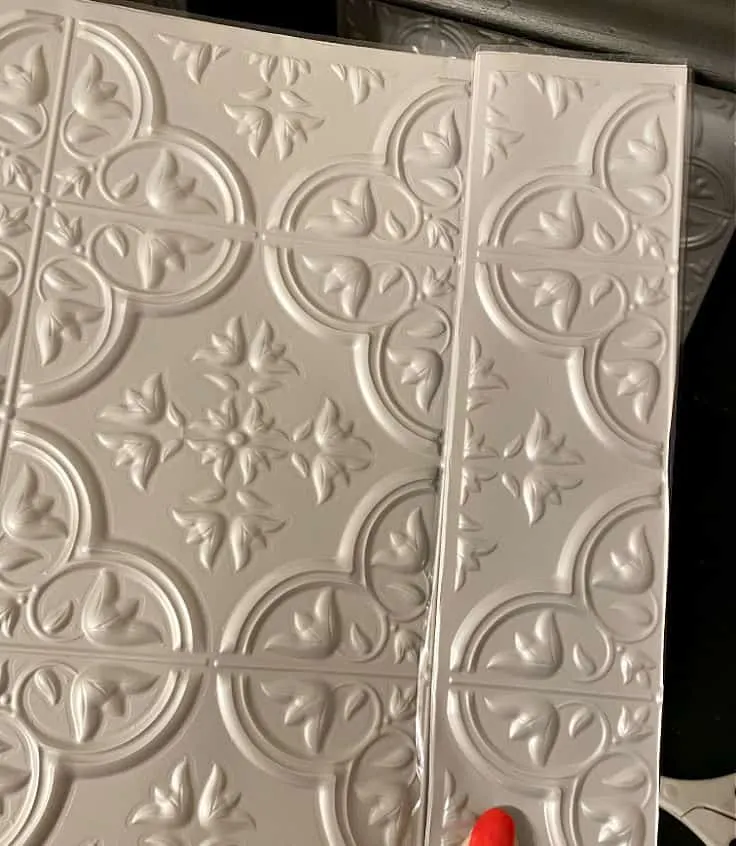
- Dollar Tree Vintage Wall Tile
- Felt Ribbon Trim
- Hot Glue Gun

Step 1. Decorate the main canvas
Decide how you want to decorate the main canvas. This will be the top of your busted canvas and the bottom of the canvas which will show the “busted” strips.
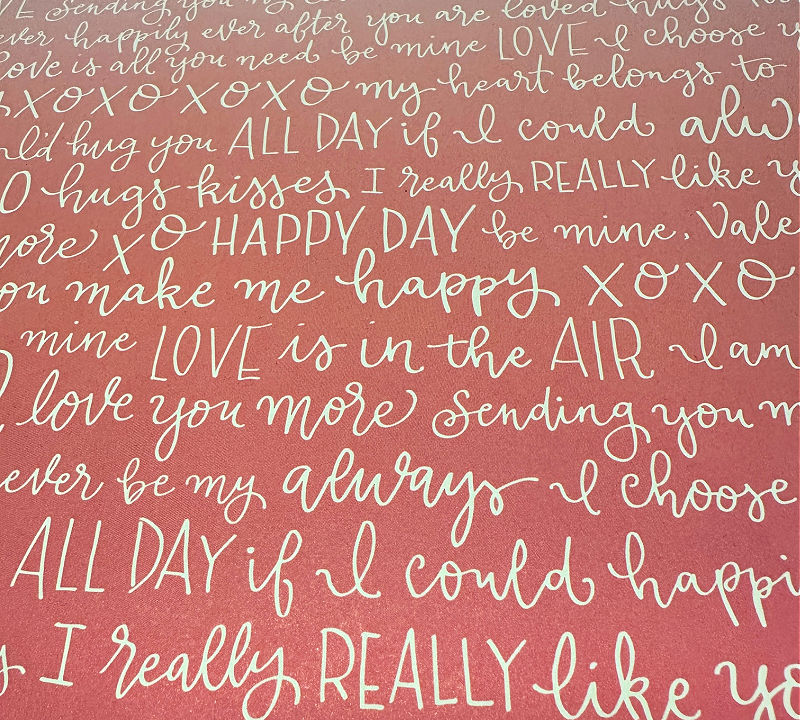
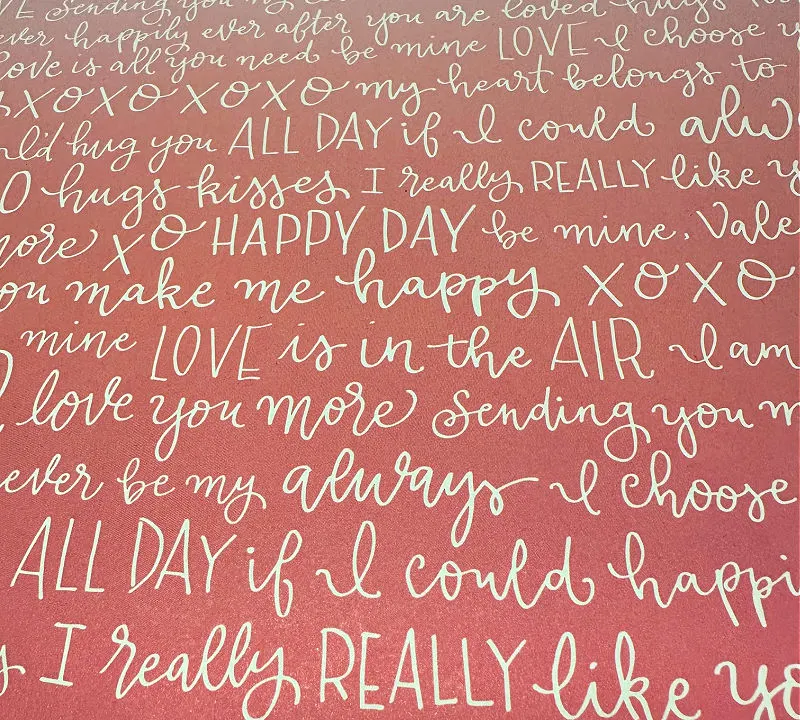
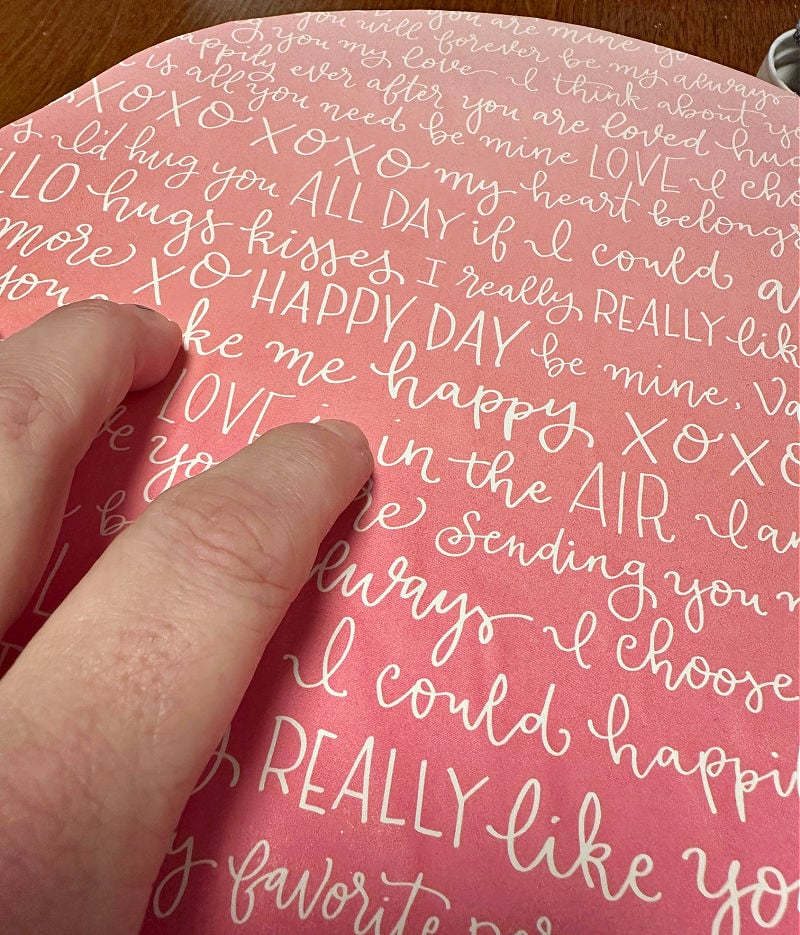
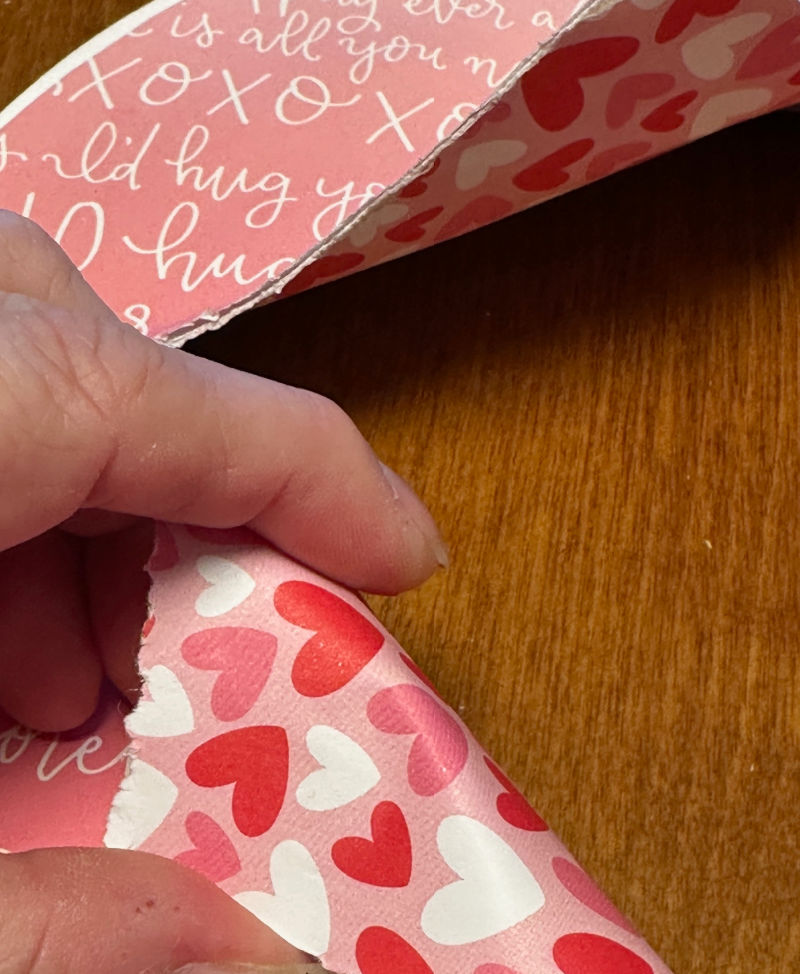
I went with a script Valentine design for the front and a heart design for the back.
Trim the craft paper to cover the front of the canvas, as well as the back of the canvas. This round canvas is 10″x10″ so I used a paper cutter to make it easier.


You can also place the canvas upside down on the paper and trace around it.
Step 2. Add mod podge
Brush a layer of mod podge on the front of the canvas. You don’t want to add too much as it will cause bubbles. It also helps to wait about a minute or so for the mod podge to get a bit tacky.

Place the Valentine’s Day paper on the canvas and smooth out the wrinkles.
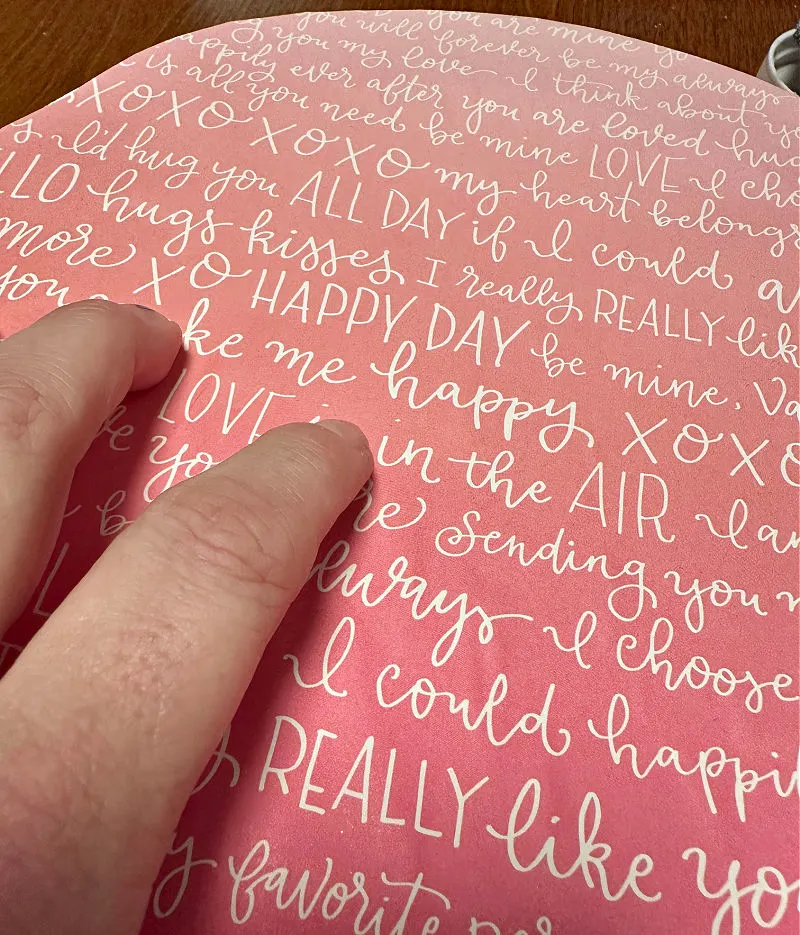
Repeat the process for the back of the canvas. How cute is this paper?
Step 3. Decorate the foam board or cardboard
Now it’s time to add your feature image to a canvas board, cardboard or foam board. I use whatever I have in my stash.
For this heart I went with foam board. To add extra texture I used a piece of Dollar Tree vintage wall tile to create a heart. I went over it with pink acrylic paint using a dry brush technique. This makes the detail pop!
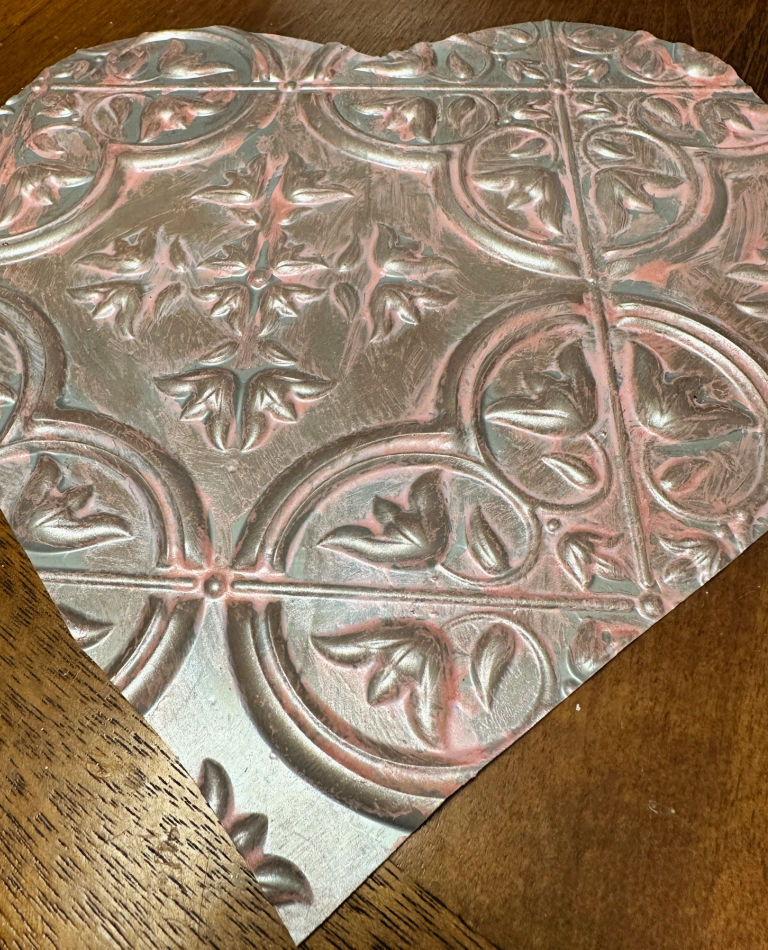

A bit of mod podge was brushed on the back of the printable vintage heart to secure it to the tile.

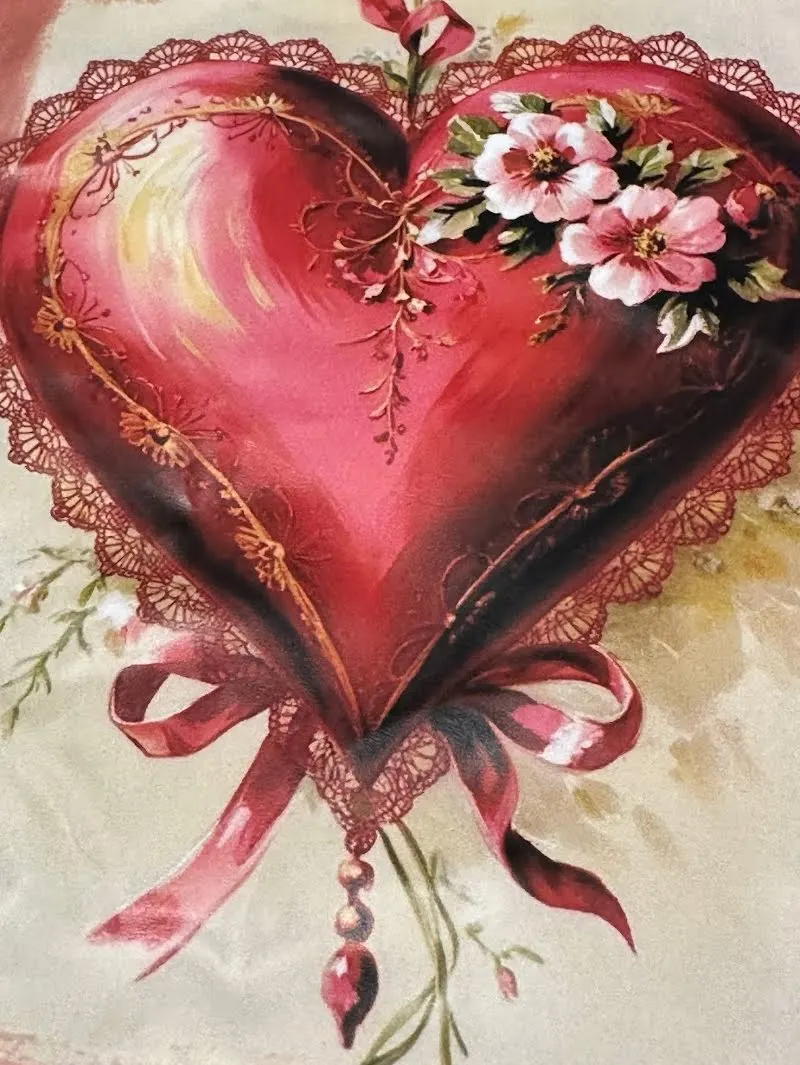
Smooth it out carefully to remove any wrinkles.
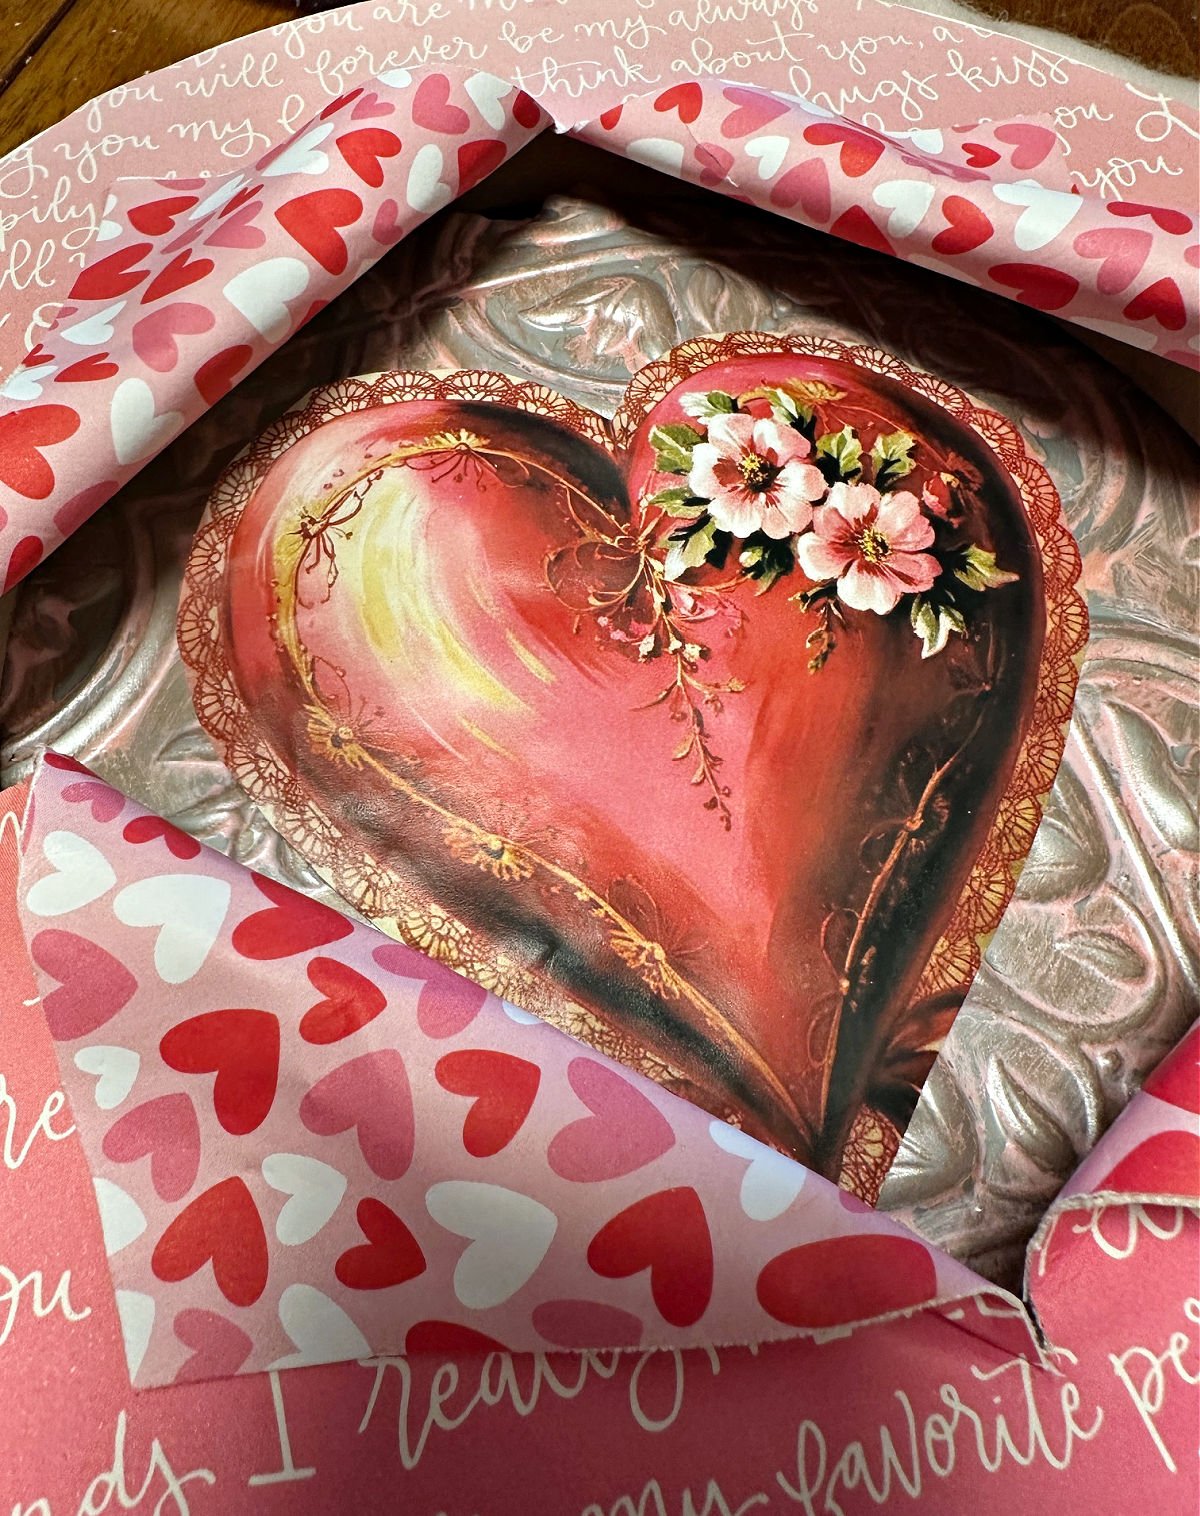
Step 4. Bust the canvas
Get ready for the fun part-busting through the canvas! I’ve made quite a few of these over the past several months, so here are some top tips.
- Use a craft knife to find the center of the canvas and poke a hole. Use sharp scissors to start cutting.
- Leave an inch or two around the edges of the canvas to fold back the pieces.
- Make sure the opening is large enough to show your feature image.
- Use a combination of hot glue and E-6000 to secure the cut pieces to the canvas. Also, hold the piece down for a minute or two until it sets. Hot glue alone will not stay. Trust me, I know. 🙂


If the pieces don’t stay secure, add more glue and hold it a bit longer.
Step 5. Glue the foam board to the main canvas
Next up, secure the feature image to the busted canvas. Rather than using glue I used a staple gun. The foam board is plenty thick enough, but you want to make sure you are not using a heavy duty staple gun.

If you prefer hot glue or E-6000 you can use that as well.
Step 6. Add embellishments
This is where you can get really creative. At the last minute I chose to add a rolled felt flower with some paper leaves to the side of the canvas. This is optional, but I love how it looks!
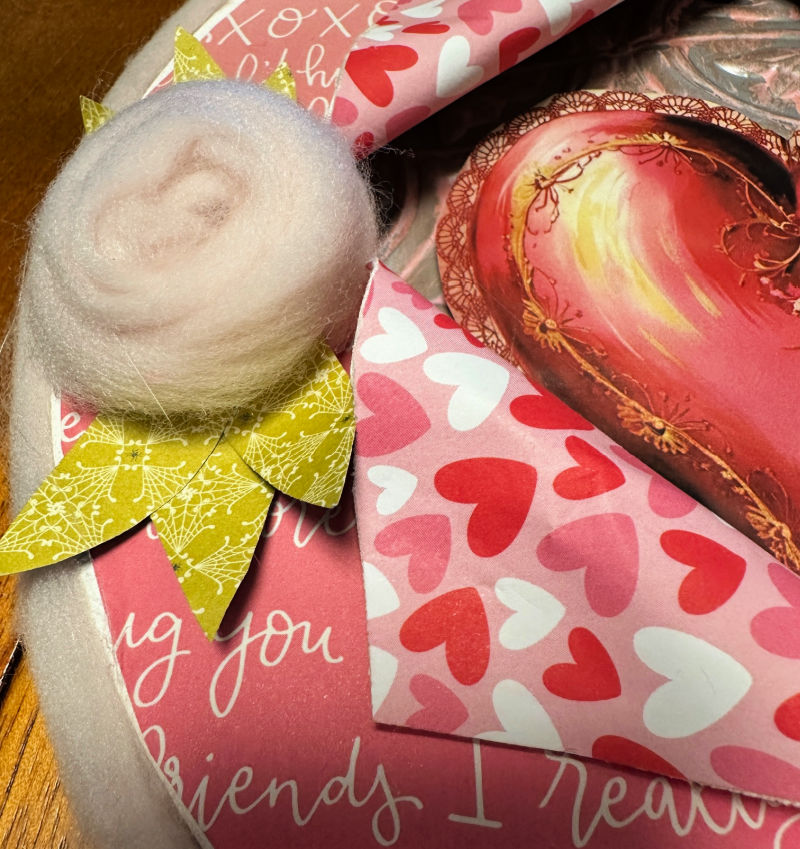
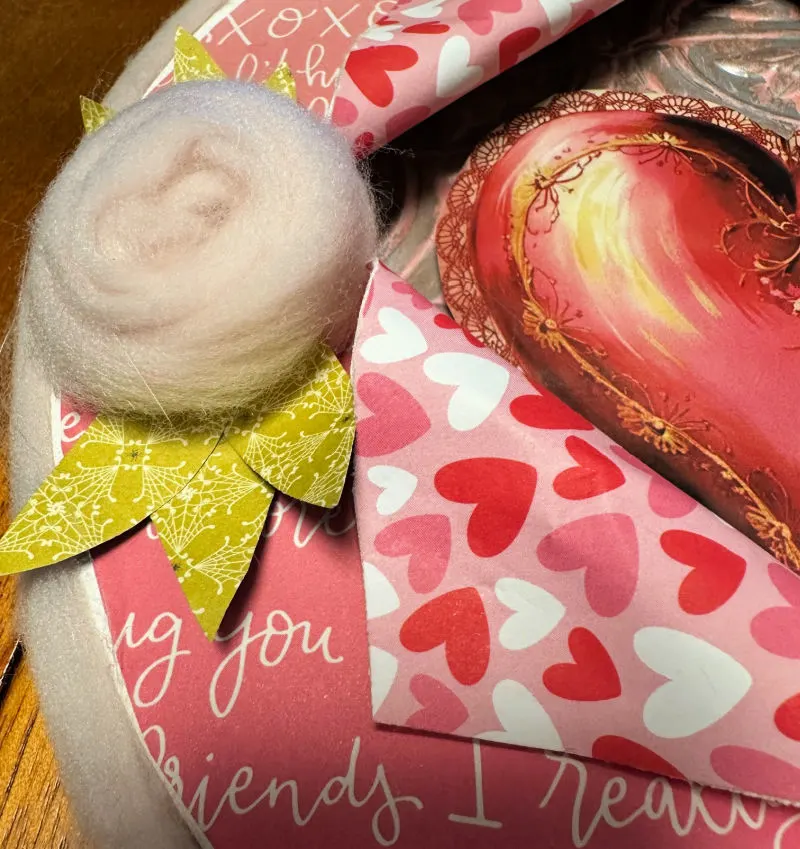
Pretty felt ribbon trim was also added around the canvas for even more texture. The final step is to add a ribbon for hanging and you are done!
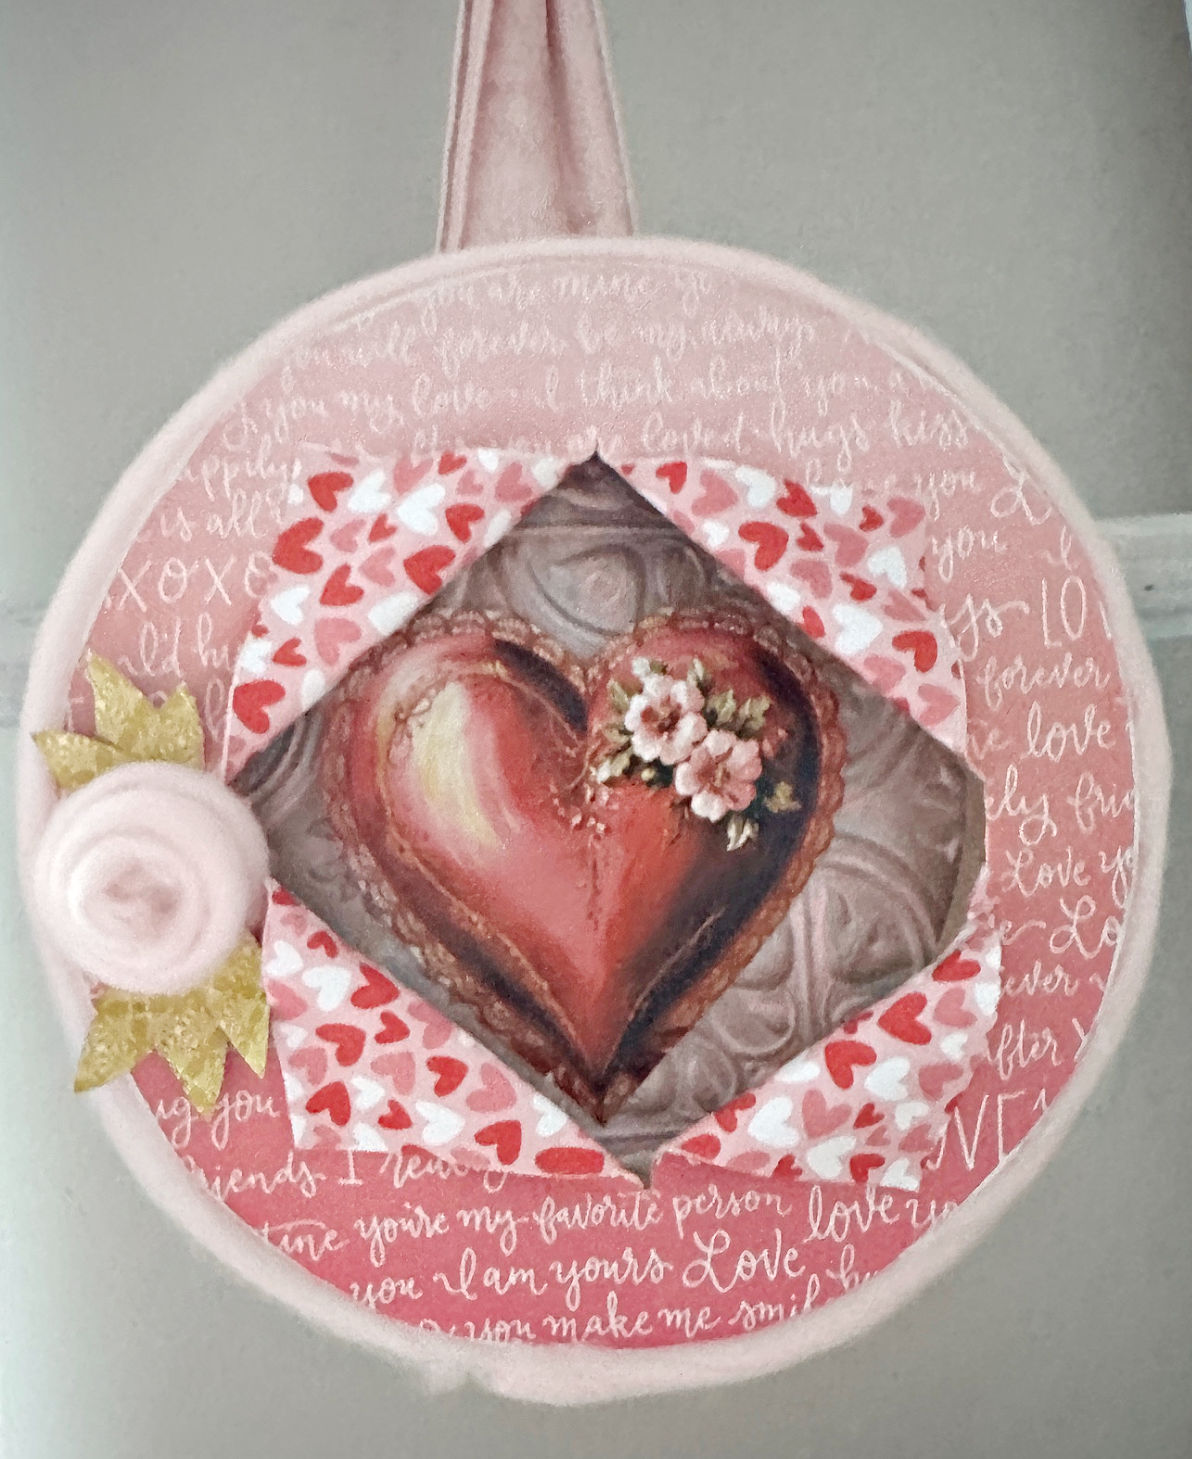

I’m so happy with how it turned out. It’s so soft and feminine with a touch of vintage.
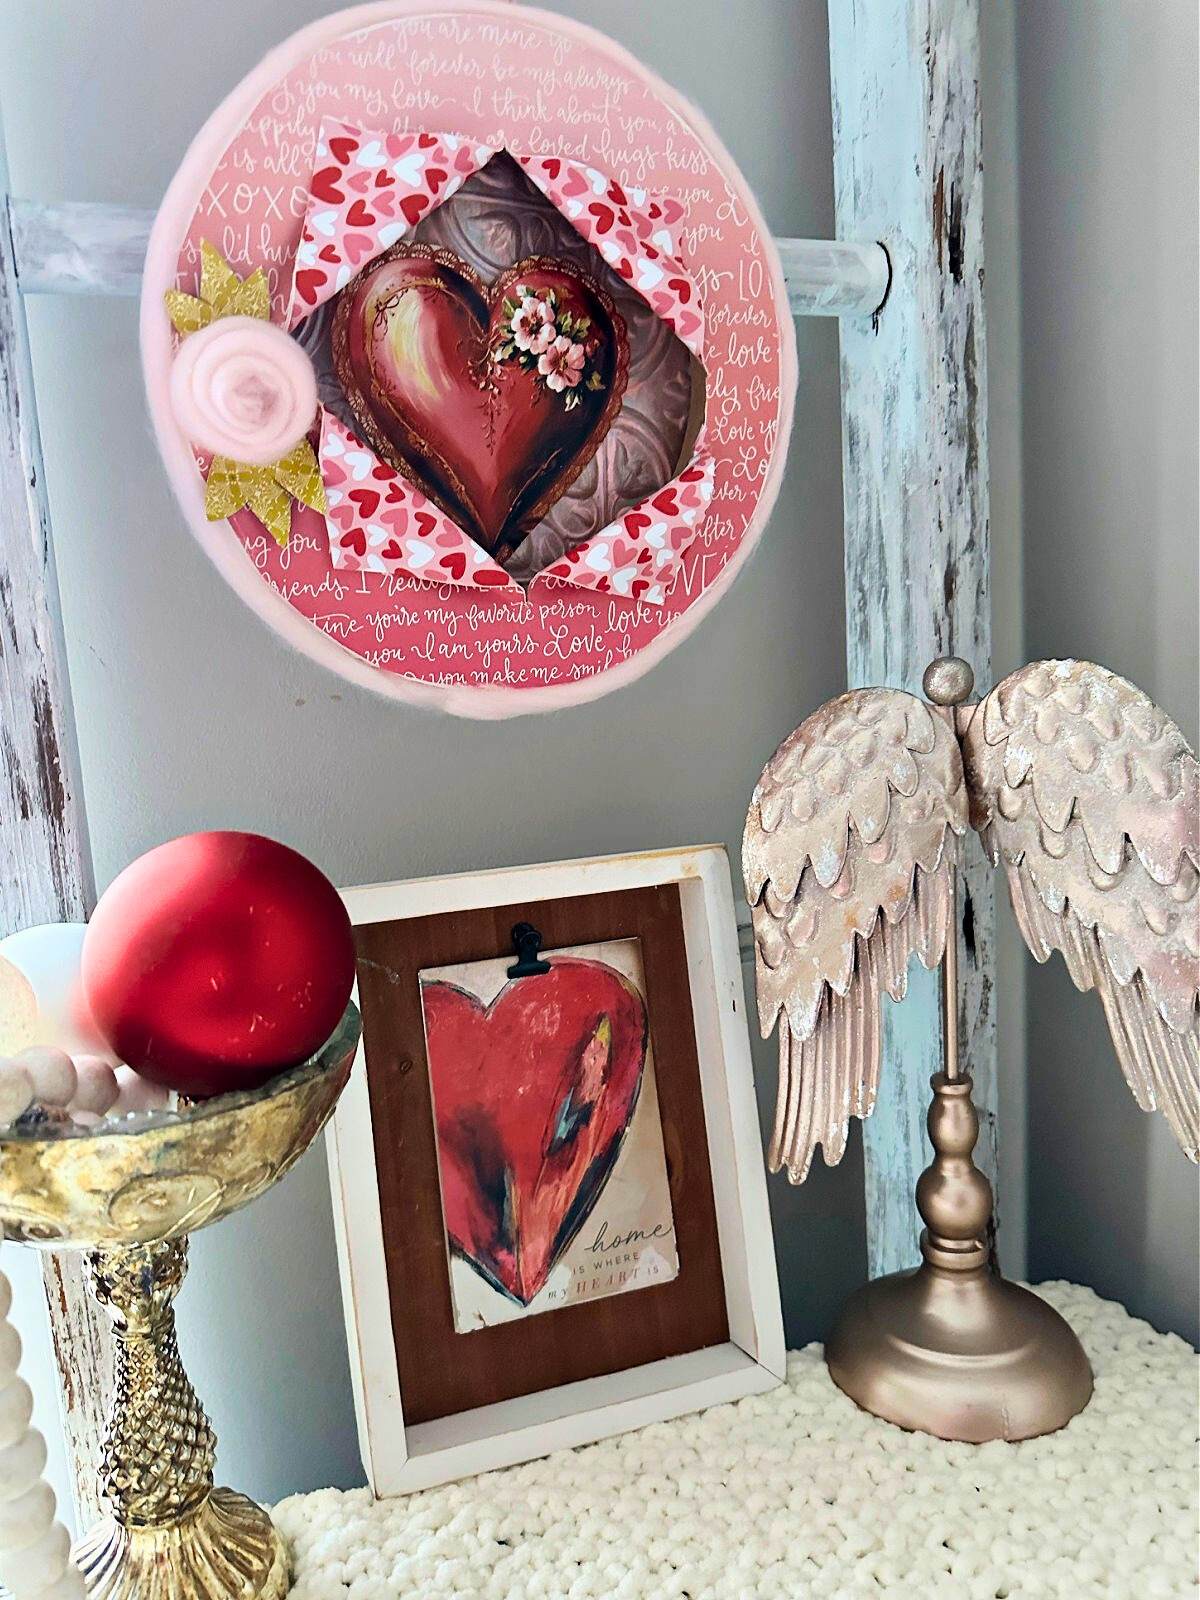
Look at how pretty it looks hanging with pink velvet ribbon.
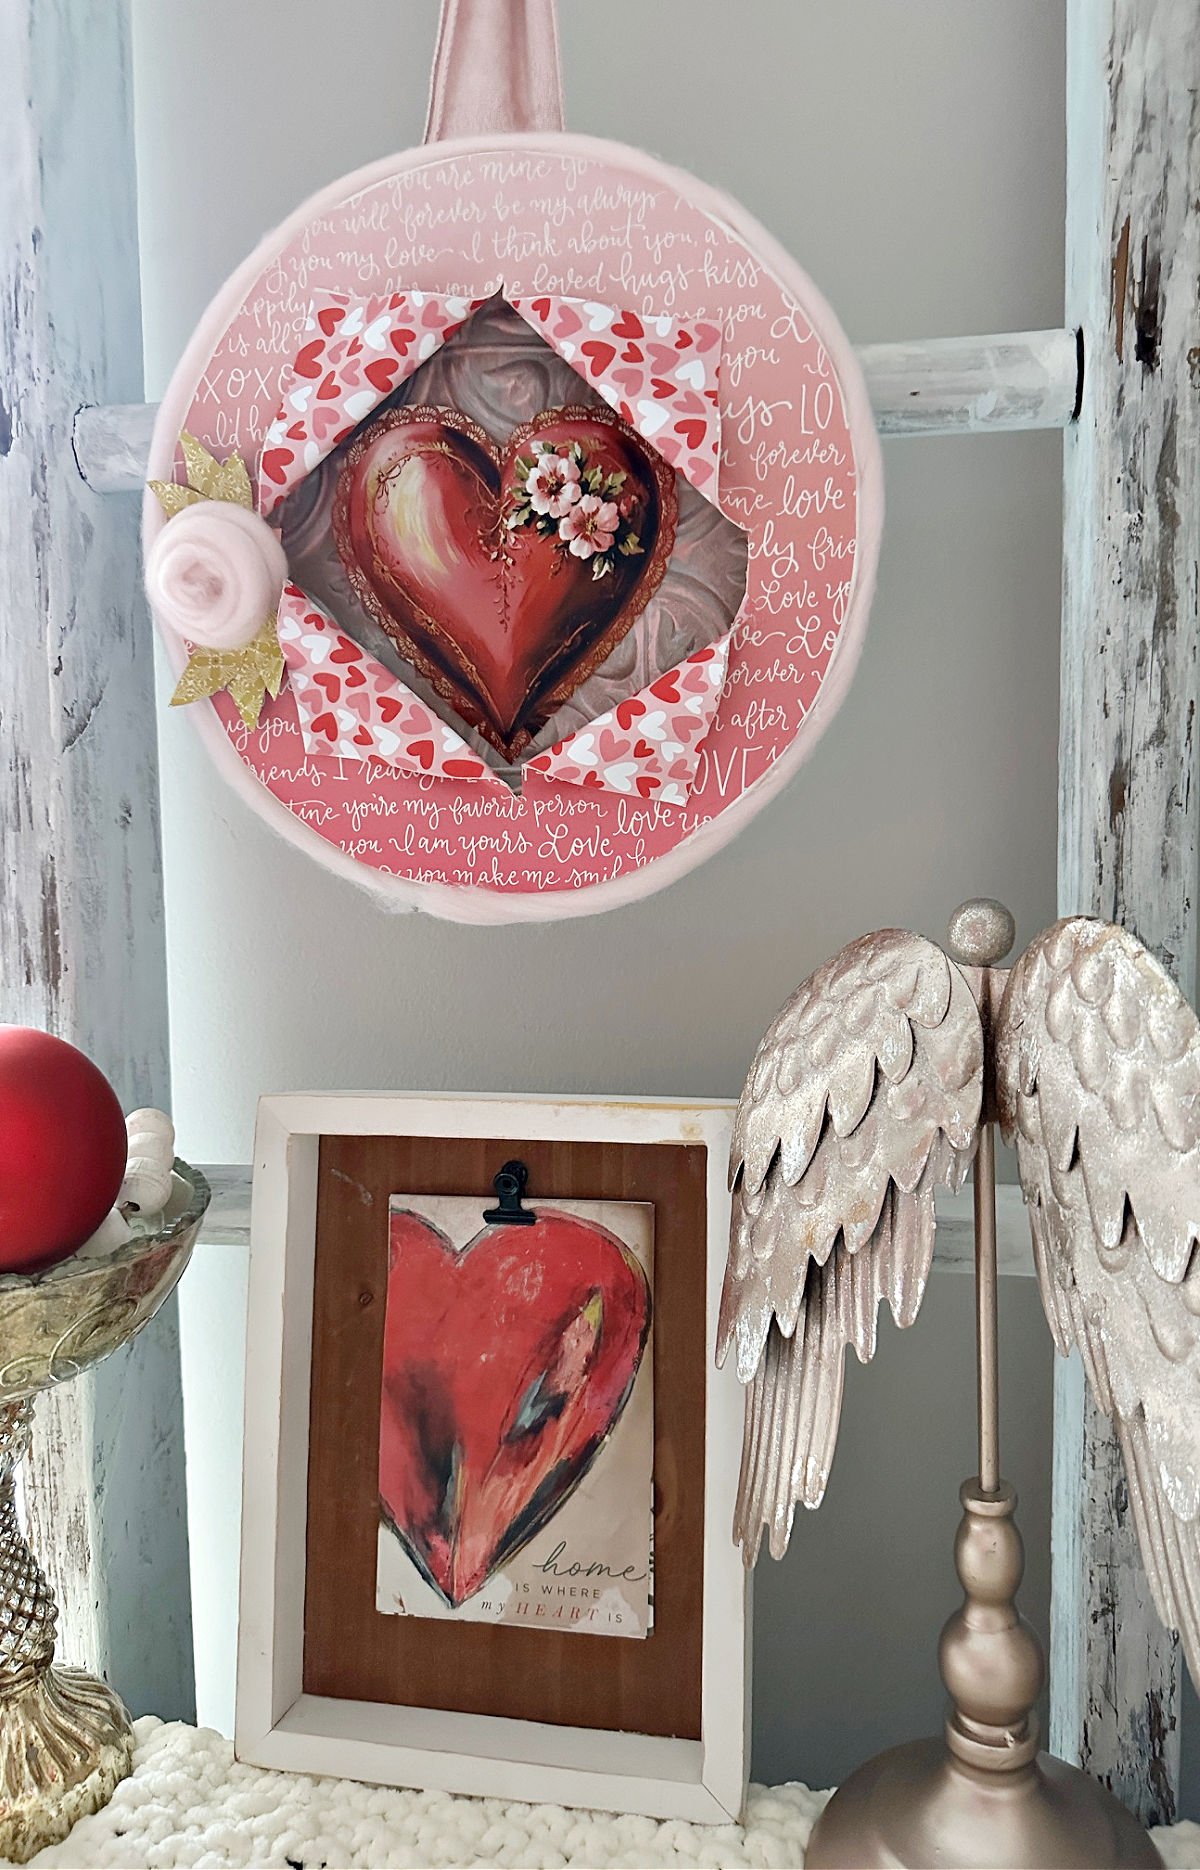

Creating vignettes for holidays is one of my favorite things to do, especially using this old chippy ladder.

What do you think? Are you ready to jump on the busted canvas craft train? Fair warning; it is slightly addictive!

I’d love it if you would share this article with your friends on Pinterest by pinning the below image.
It helps my blog to grow and doesn’t cost a thing! 🙂

Let me know if you are inspired to make your own busted canvas art by sharing it with us on Facebook or Instagram by tagging @ourcraftymom. It totally makes my day!
Next up in the Busted Canvas Printable Series will be St. Patrick’s Day. I hope you enjoy this monthly series. Please let me know in the comments if there are any designs you would like to see.
Thanks for stopping by. Happy crafting!


Follow me on social media below: