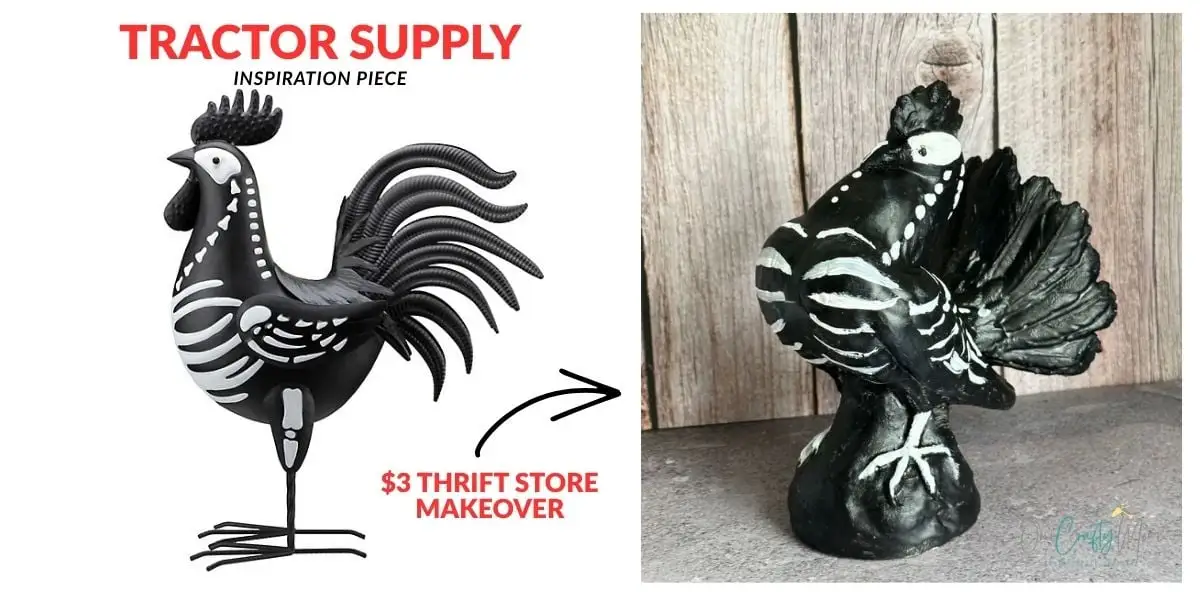
Make your own DIY Halloween rooster skeleton from a $3 thrift flip! This regal rooster is inspired by a Tractor Supply Halloween favorite.

This post contains affiliate links at no extra cost to you. Please see my full disclosure here.
Halloween Rooster Skeleton
I’ve been loving all of the Halloween decor that is popping up all over social media, especially the farm animal skeletons that Tractor Supply is featuring.
If you are a regular visitor, you know my dad has a little farm with rabbits and chickens, so this Halloween line really spoke to me.
I completely understand that it is too early for Halloween, but as a crafter and as a Halloween lover, I always get an early start.
Plus, there is the current TikTok trend of Summerween, so there is that excuse! 🙂
When browsing my local thrift store I found this ironstone rooster for $3. Be sure to keep an eye out the next time you are thrifting, they are usually easy to find.
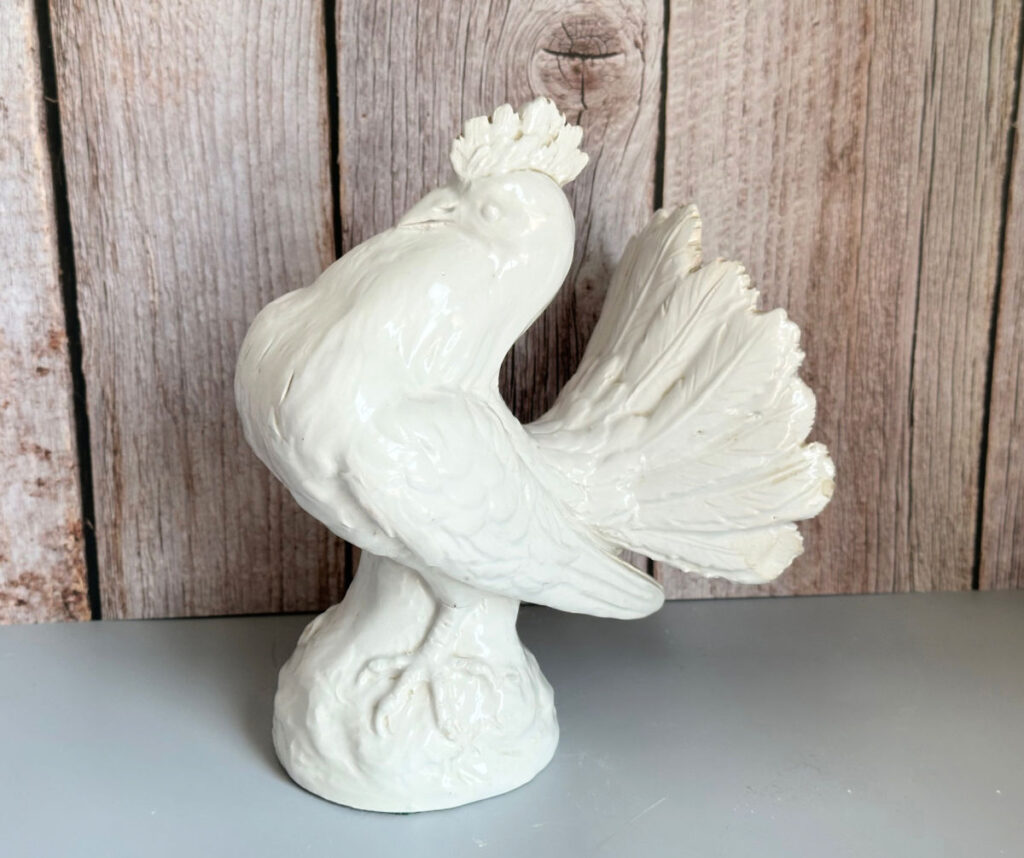

I’ve had it for a while and knew it would be perfect for this Halloween rooster skeleton. Don’t you love when things fall together?
Let me show you how simple this is to make.
Supplies Needed for Halloween Skeleton Rooster
- Rooster – mine is ironstone, but you can use ceramic, metal or pretty much any rooster you can find.
- Black Paint – I used DecoArt acrylic paint in lamp black, but spray paint would make it easier. I try to use what I have in my craft stash.
- White Paint – you can use a Sharpie paint pen, or acrylic paint.
- Foam Brush – if you are not spray painting the rooster.
- Narrow Paint Brush – if you are not using a paint pen to paint the details.
Instructions
Step 1. Start by cleaning off your rooster to make sure it is free of any dust or grime. This is the first thing I do with any thrift store find.
You don’t need any fancy cleaning products, just a bit of dish soap and water.
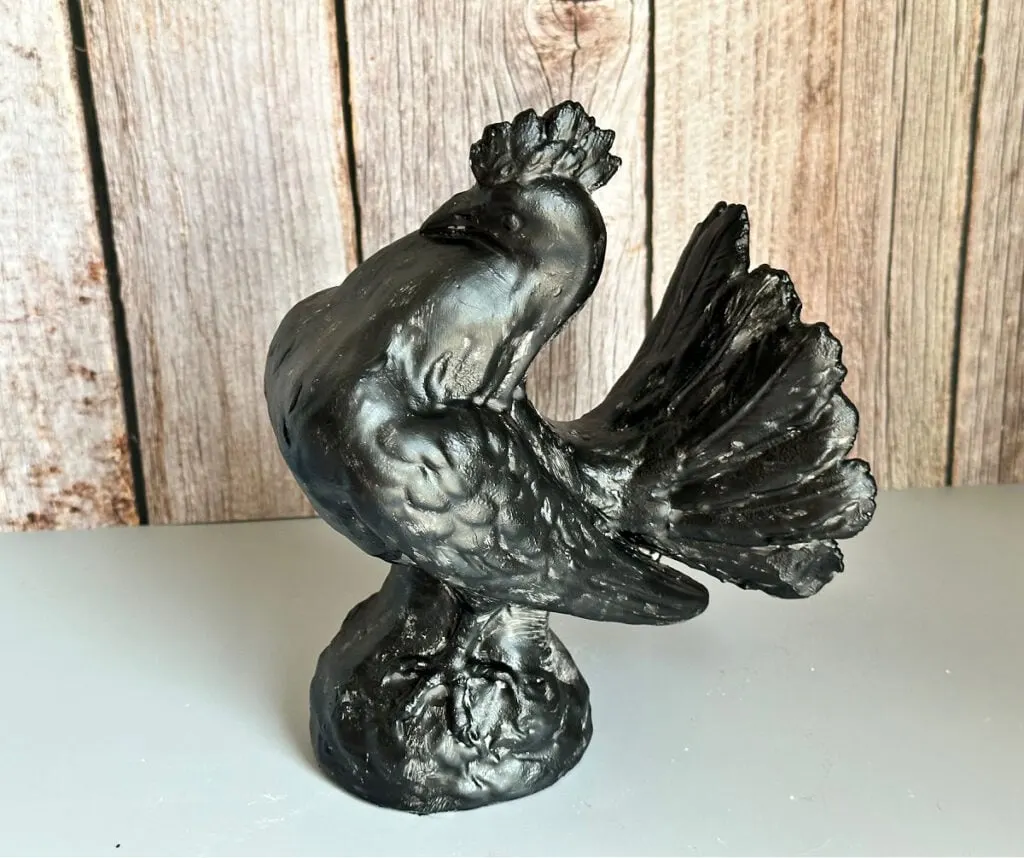
Step 2. Paint the rooster with 2 coats of black paint. Let it dry completely. I let it sit overnight and added the details the next day.

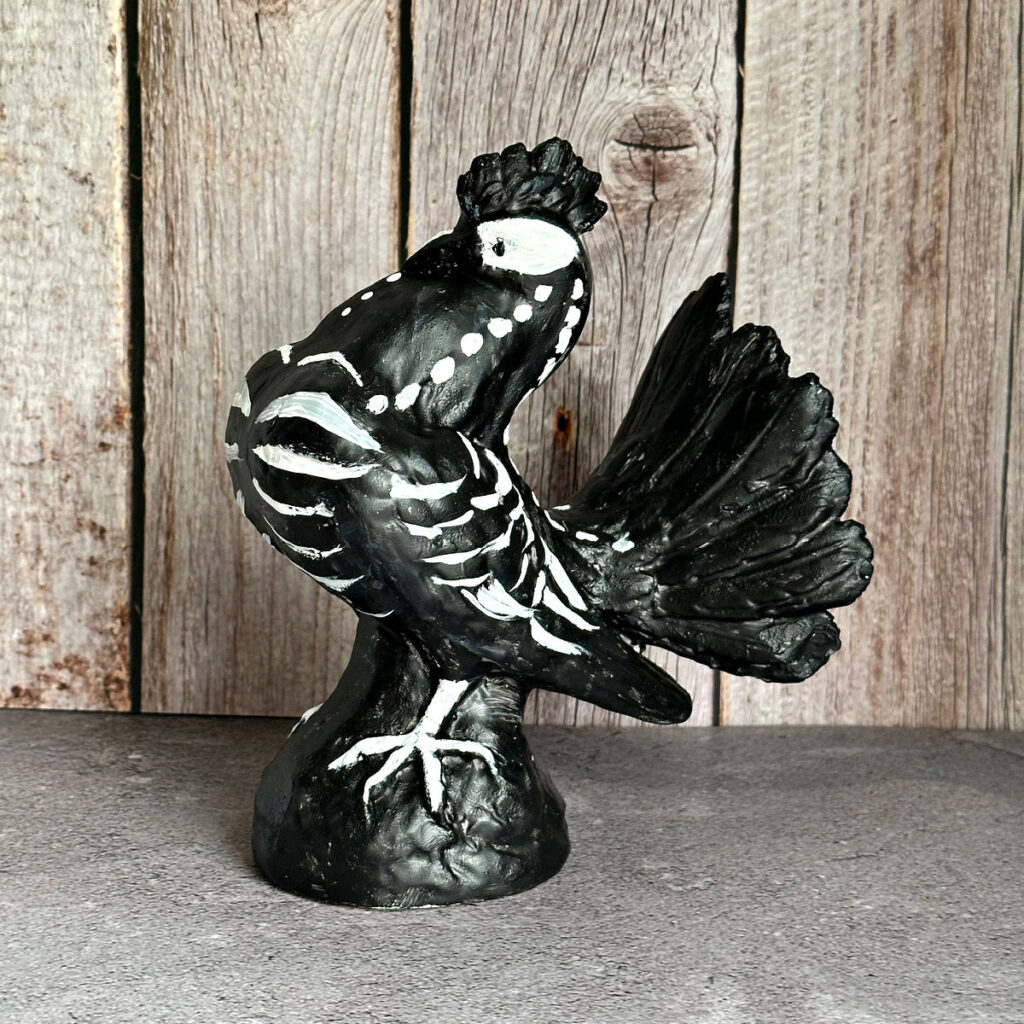
Step 3. Pull up an image of the inspiration piece to use as a guide for your skeleton. It does not have to be exact, give it your own spin and have fun with it.
Start with the larger sections first and then add in the smaller details.
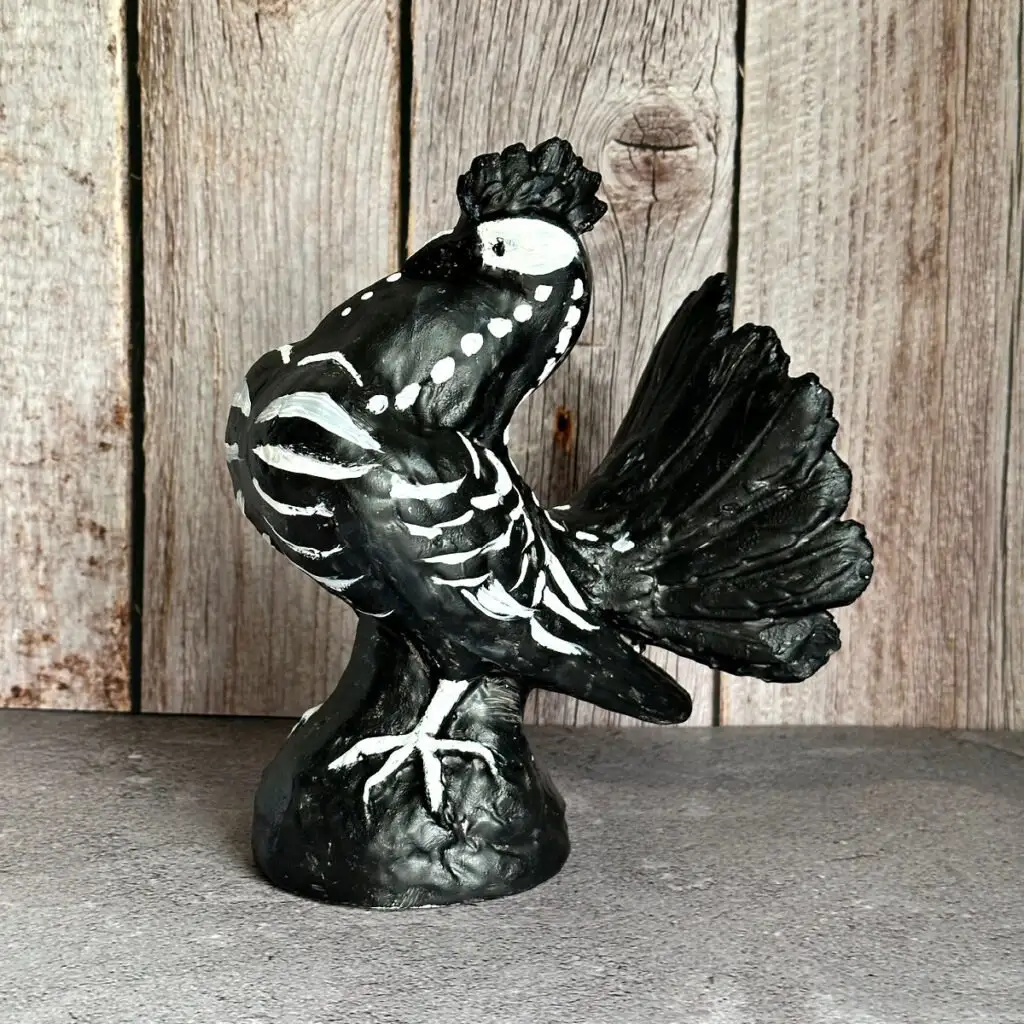
It’s as easy as that. You can spray it with a clear sealer if you like, such as Mod Podge acrylic sealer.
See how simple that was? This will make a great addition to any Halloween decor. It has an elegant look to it with the classic black and white Halloween aesthetic.
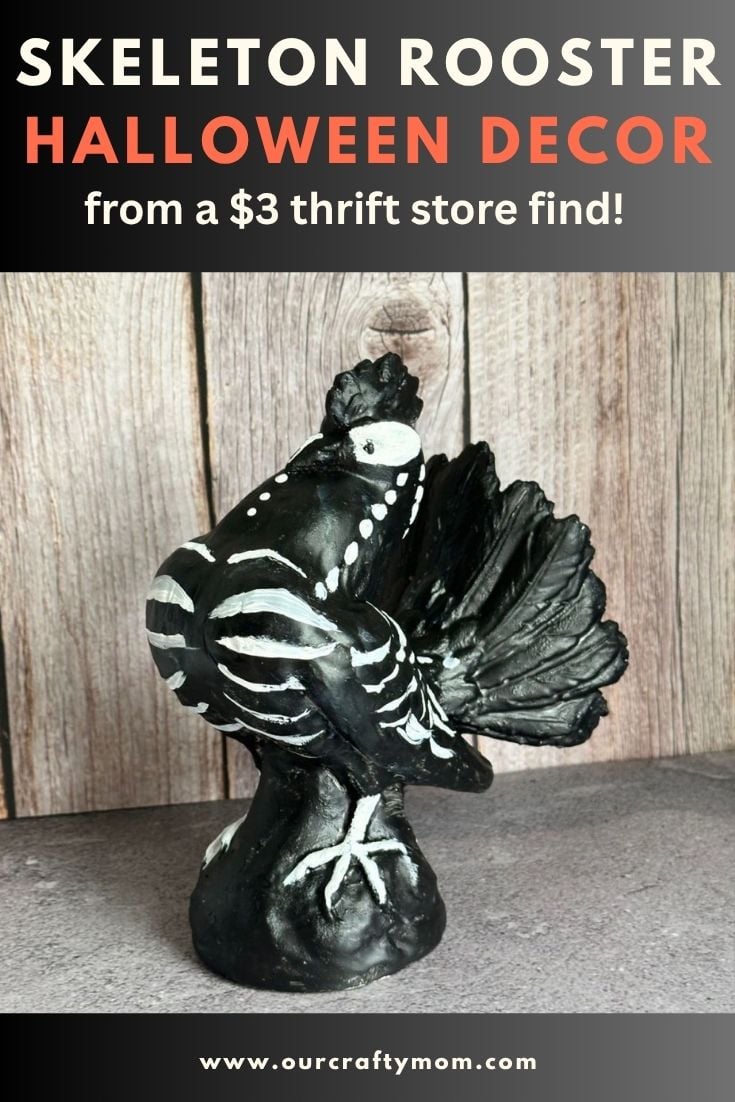
Pin For Later
Share this article with your friends on Pinterest by pinning the below image.
It helps my blog grow and doesn’t cost a thing! 🙂

If you make your own skeleton rooster, be sure to share it with me on Facebook. Tag @ourcraftymom so I see it.
Thanks so much for stopping by. Happy Halloween/Summerween!


You may also enjoy these DIY Halloween crafts and home decor:
- Thrift Store Dollhouse Makeover for Halloween
- Thrift Store Upcycled Halloween Art
- Halloween Bat Pillow Pottery Barn Dupe
- Halloween Pumpkin Diorama
- 20 Cricut Halloween Project Ideas
- Day of the Dead Pumpkin
- Black and White Halloween Mantel Decor
- Ghost Mugs Tutorial
- FREE Hocus Pocus printables
Follow me on social media below: