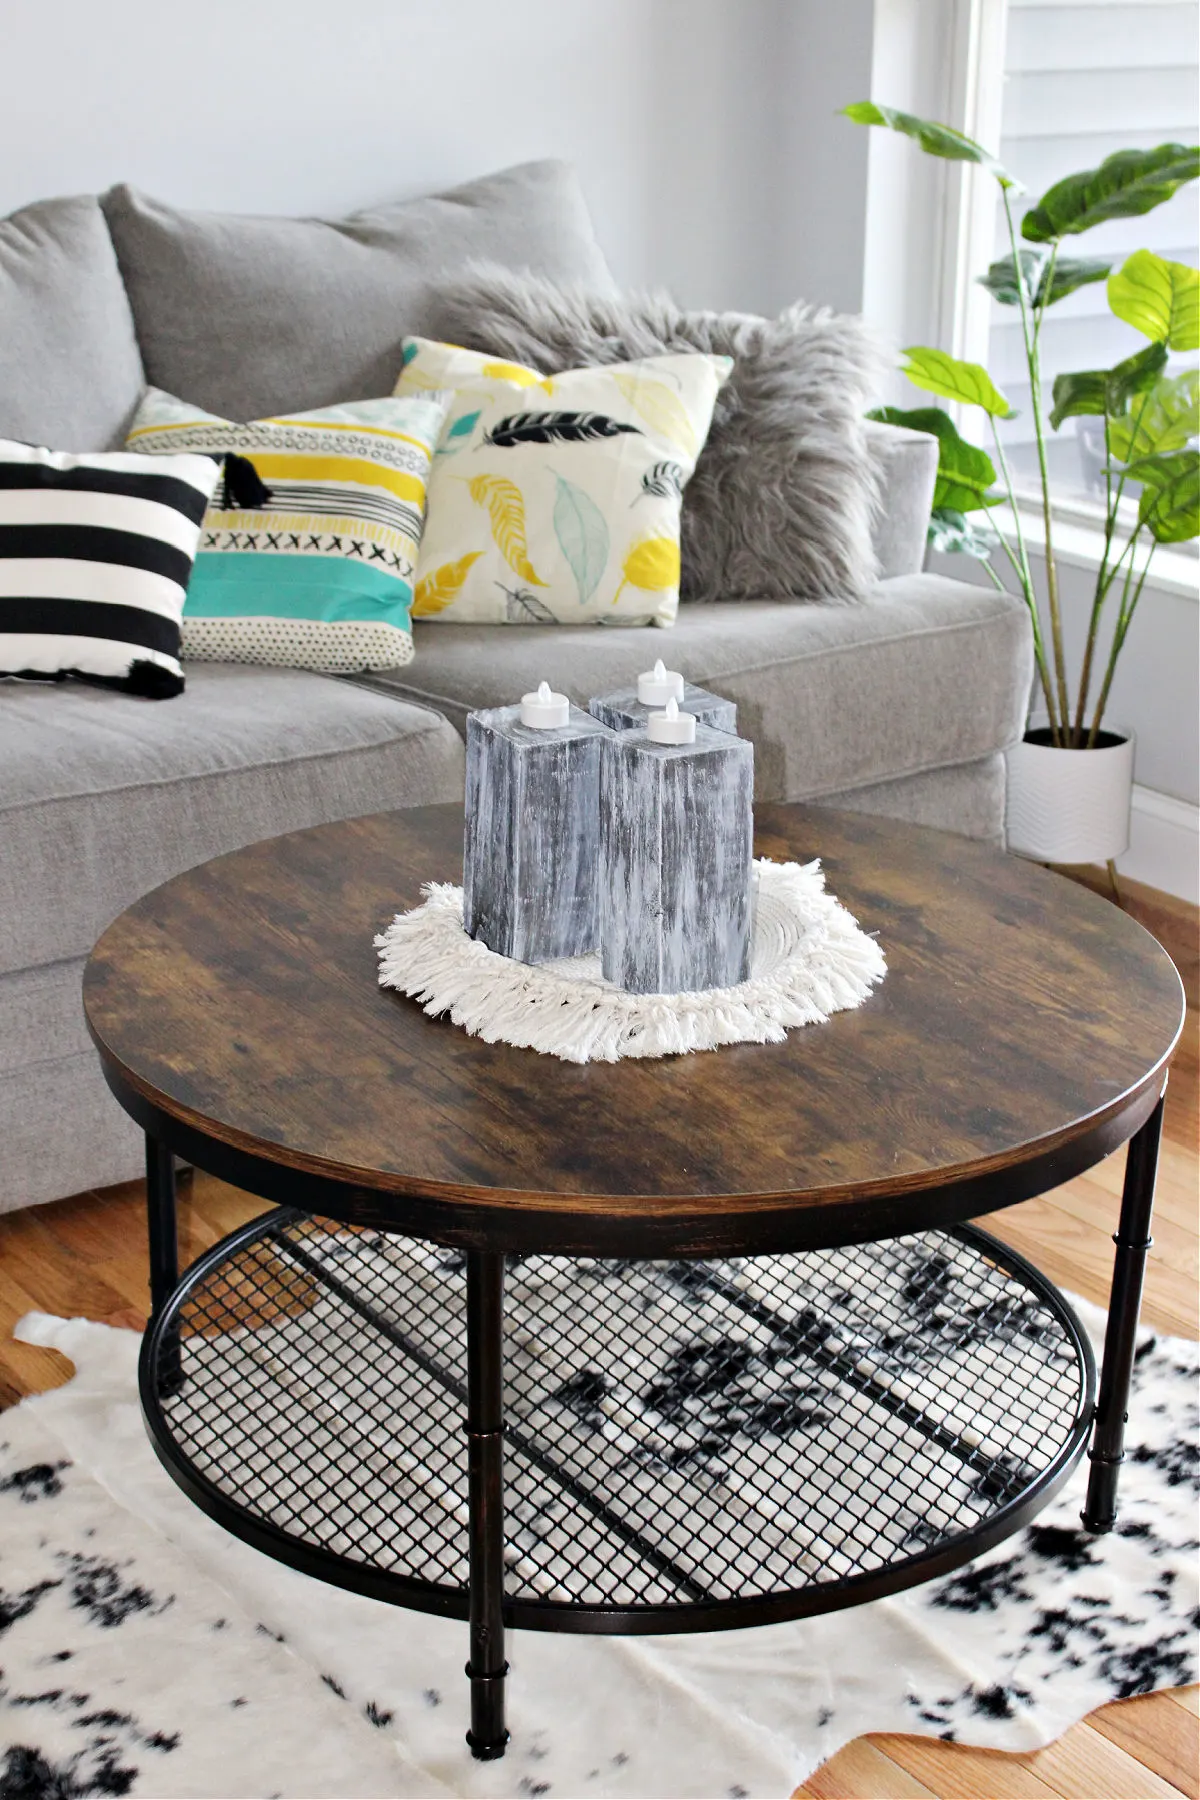
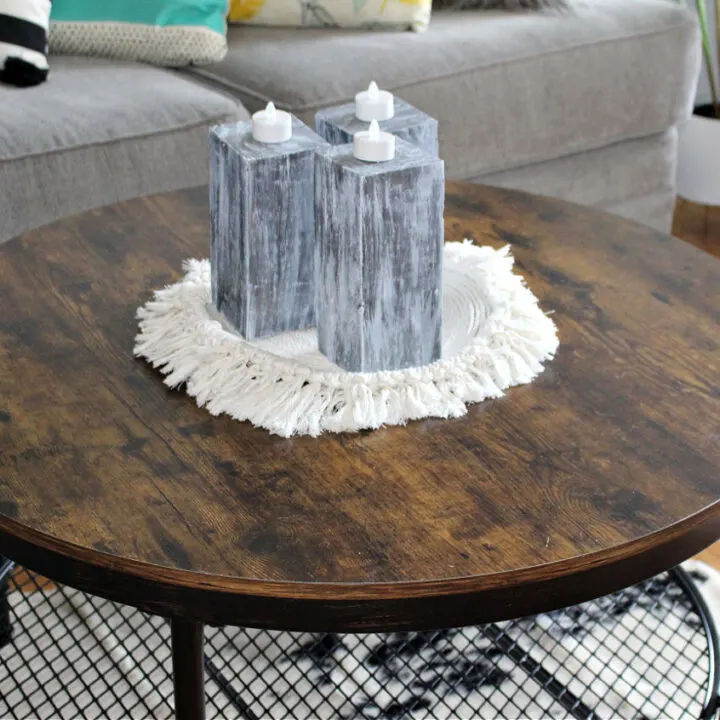
Check out these modern DIY wooden candle holders that have a faux concrete finish. They are super simple to make with scrap wood!
It’s the 2nd Friday of the month, which means it’s time for the Thrifty Style Team’s challenge. Yippee!
There are 12 affordable home decorating and craft ideas shared this month, so be sure to check those out with the links at the end of this post.
I’ve seen a sneak peek and you are all in for a treat!

I’m excited to share these cool wooden candle holders that have a modern vibe perfect for my new apartment.
It’s only been two months since I moved and I’m enjoying decorating in a completely different style.
The home is much more modern than my previous home with sleek black finishes and hardwood floors that I’m pretty obsessed with.
I’m participating in a fall home tour on September 21st, so I will share lots of pics then. I’d love it if you would stop by to check that out. 🙂
For now, I’ve only shared a few tidbits. the entire space then.
Scrap Wood Candle Holders
If you’ve visited here before you may have heard me talk about my dad and how he builds chicken coops in his retirement.
He is 80 yo and builds about 2 coops a week from April-October. I lost track of the number he has sold, but he is so inspiring!
Whenever I visit I scope out his scrap wood pile. I saw he had a bunch of 4x4s so I asked if he could cut a few for me to make candle holders.
He has quite the setup in his yard so he cut 3 for me in no time. Let me show you the simple steps in case you want to make your own.
You can also have wood cut at Home Depot or Lowe’s if you want.
I plan to make a set in a different design for Christmas. They would make great gifts!
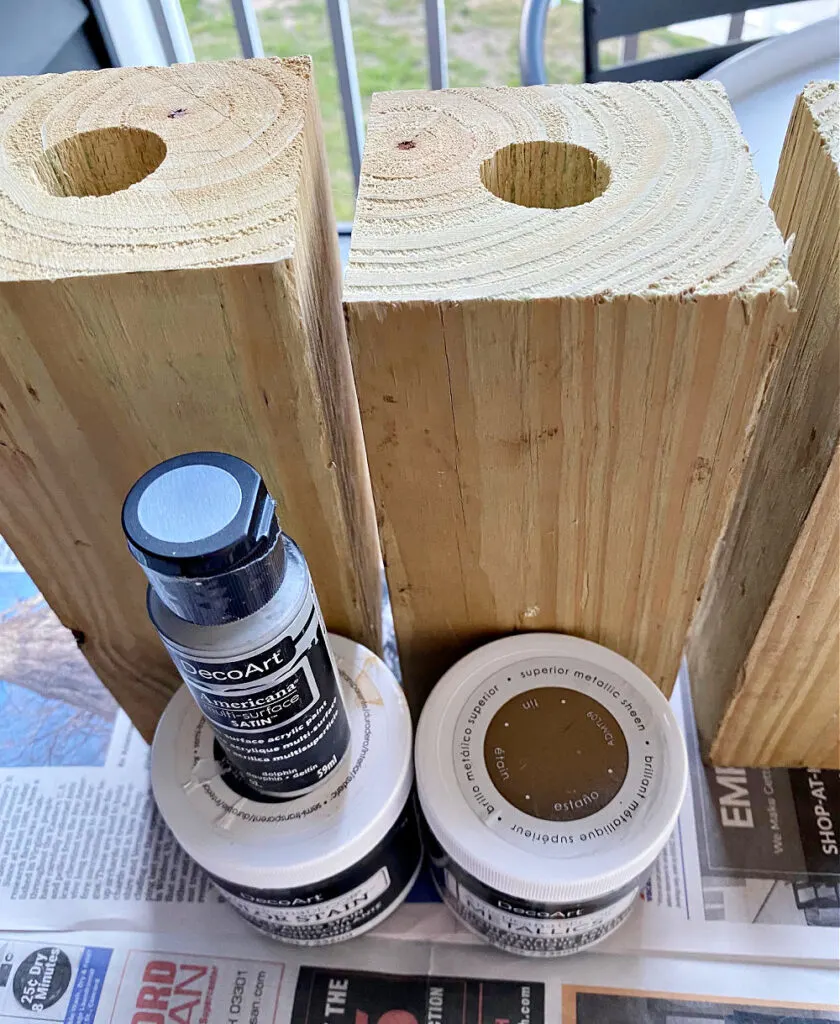
Supplies Needed to Make Wooden Candle Holders
- Scrap Wood 4x4s – cut to 8″ (you can cut them whatever size you like)
- White Chalk Paint
- Black Acrylic Paint
- Silver Metallic Paint
- Foam Brushes
How to Make Wooden Candle Holders
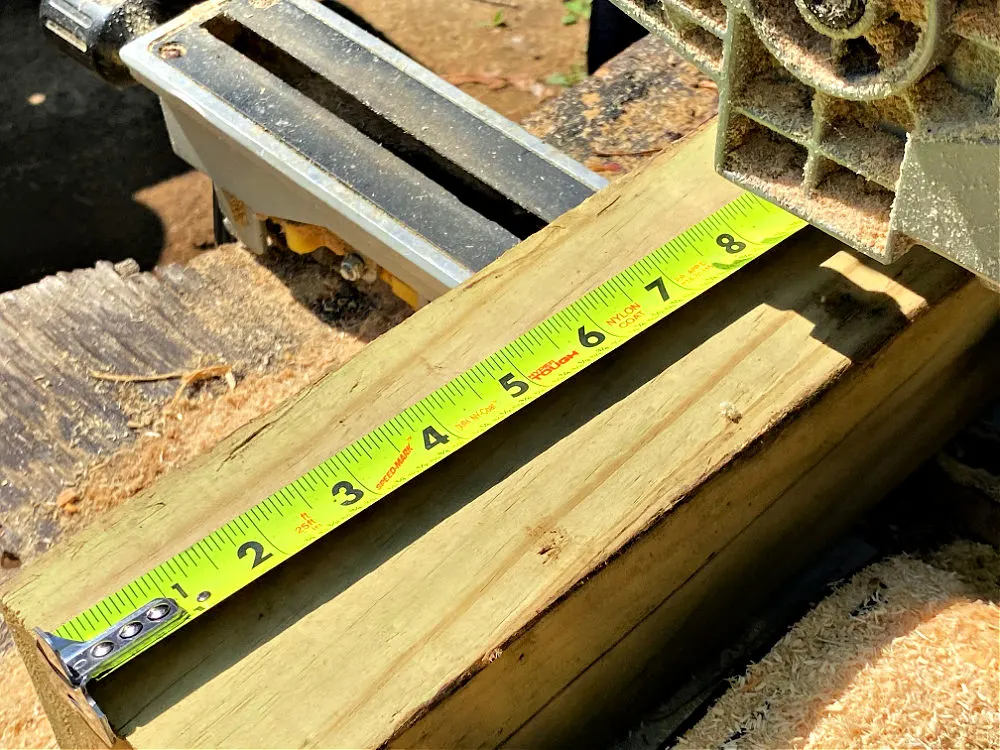
Step 1. Cut pieces of scrap wood
We went with 8″ for this trio of candle holders. You can make them taller if you like, or even cut them in different sizes for a staggered look.
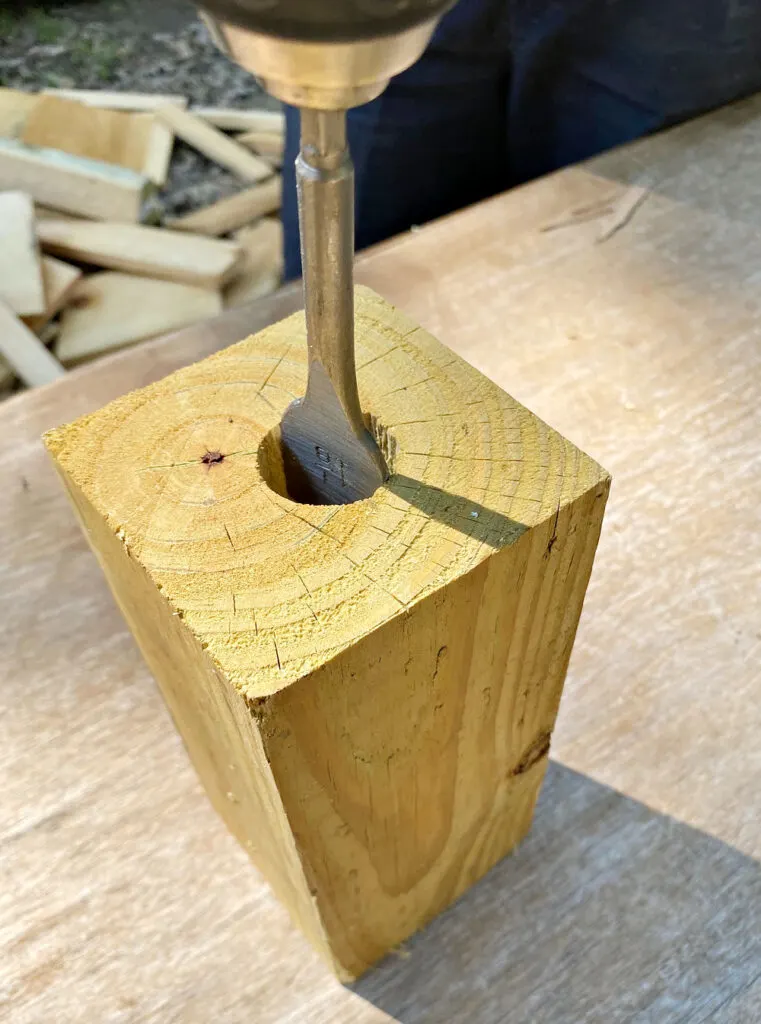
Step 2. Drill holes for a candle
My plan was to have the tea lights fit inside the hole, but I miscalculated the size. But, you can cut a hole to hold taper candles, or tea lights, or just place a pillar on top.
Step 3. Paint with the paint mixture
Start by painting the wood candle holders with black paint mixed with spackle. The spackle gives it texture and dimension.
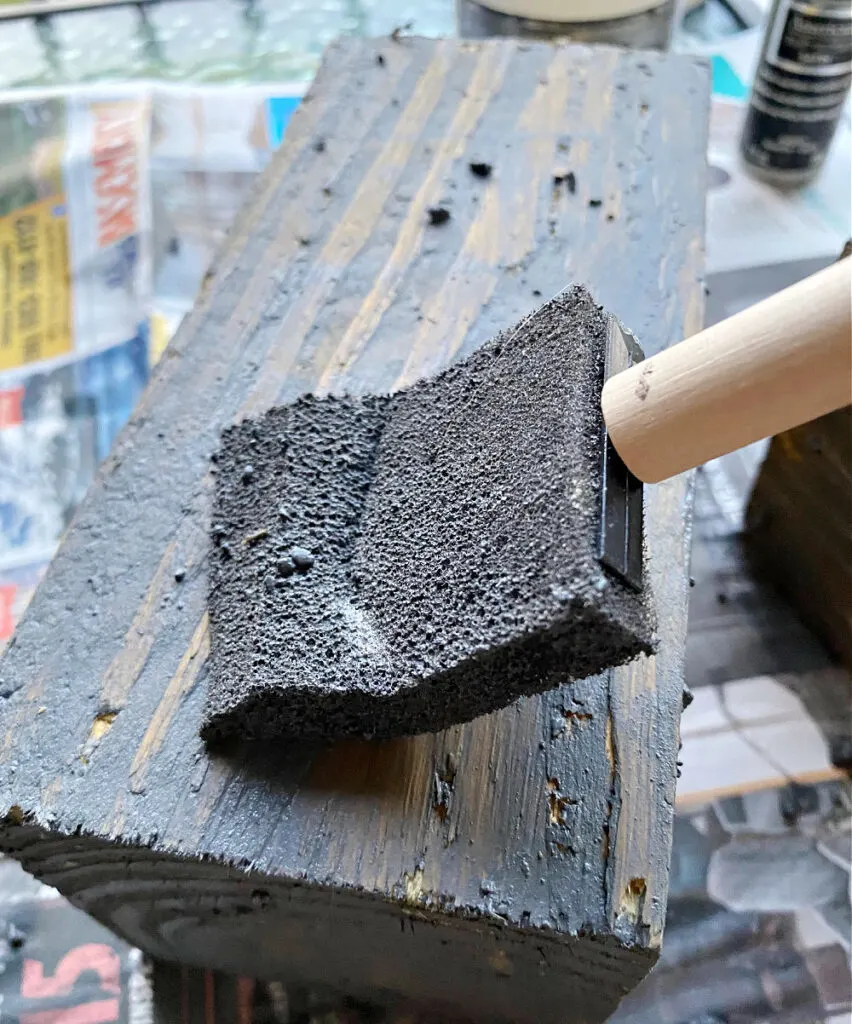
Step 4. Add silver metallic paint
Lightly paint the wooden candle holders with silver metallic paint. Let dry.
Step 5. Paint with white paint
For the next layer, you want to randomly paint white chalk paint onto the wood.
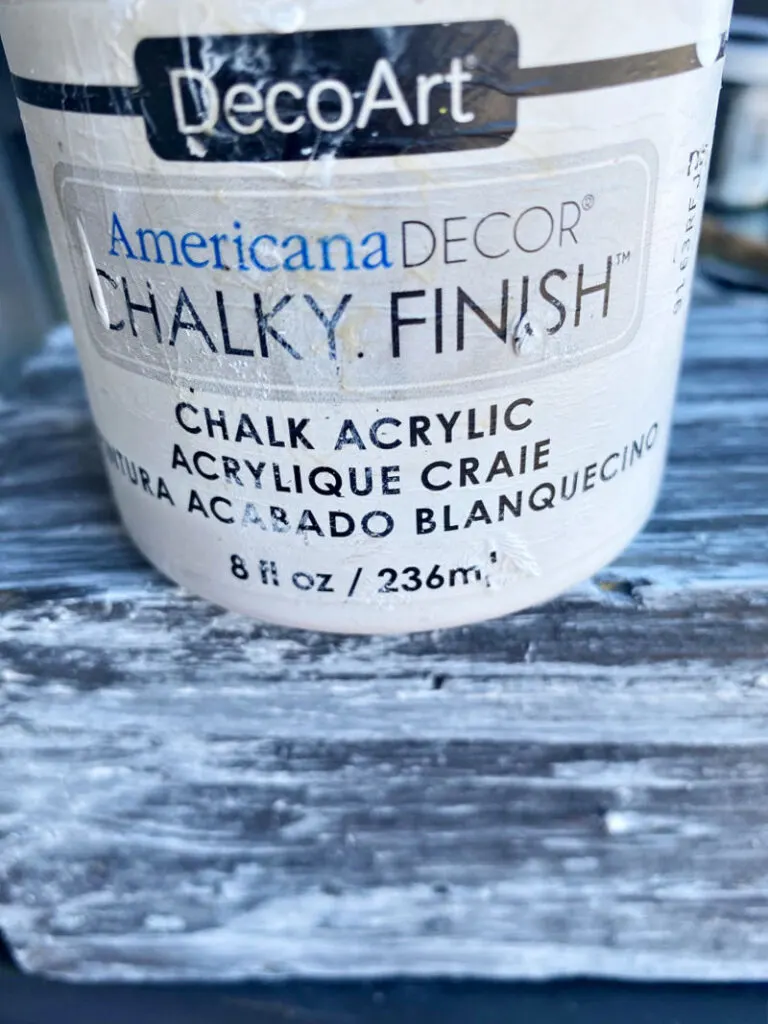
I’ve used a similar faux finish paint technique using chalkboard paint to make plastic storage bins look like metal.
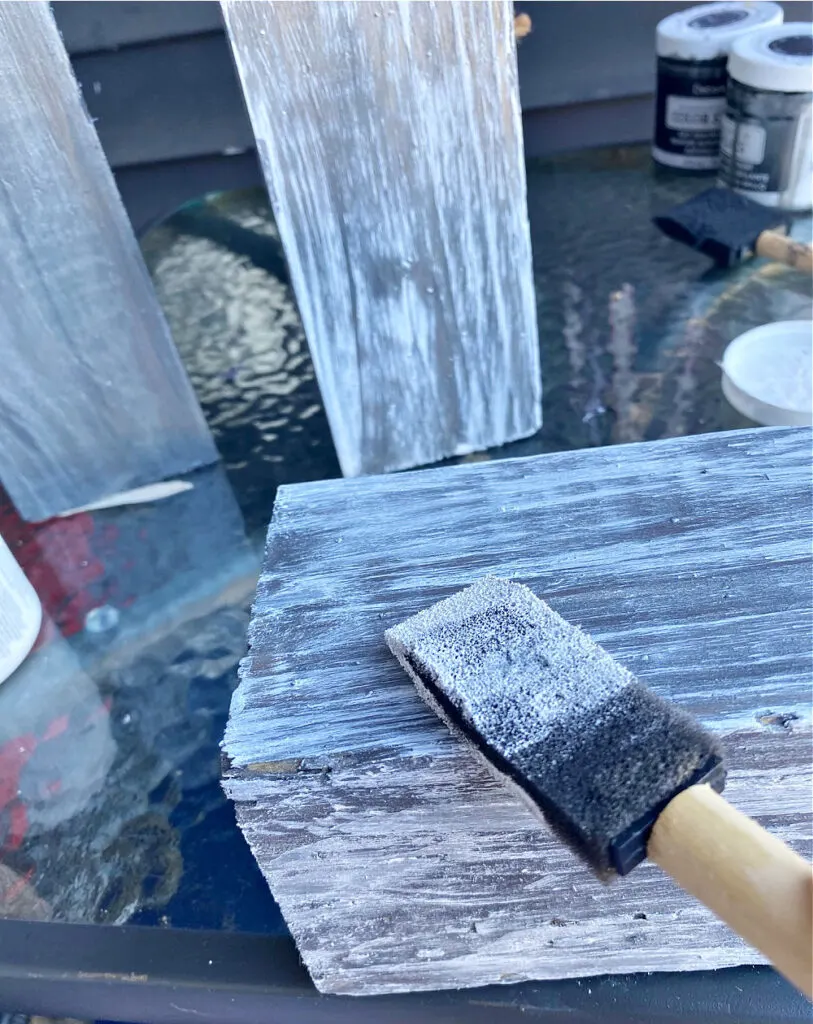
It’s a fun process to play around with paint and see what you can make. I think that is one of the reasons why I love working with resin and paint pouring. You get a different look each time.
Step 6. Sand if needed
For the final step, you want to lightly sand to give the wood a rough finish to mimic cement or concrete.
One of these days I am going to attempt to make real concrete candle holders.
My friend Ellen from Artsy Pretty Plants shares a great tutorial for DIY concrete candlestick holders HERE.
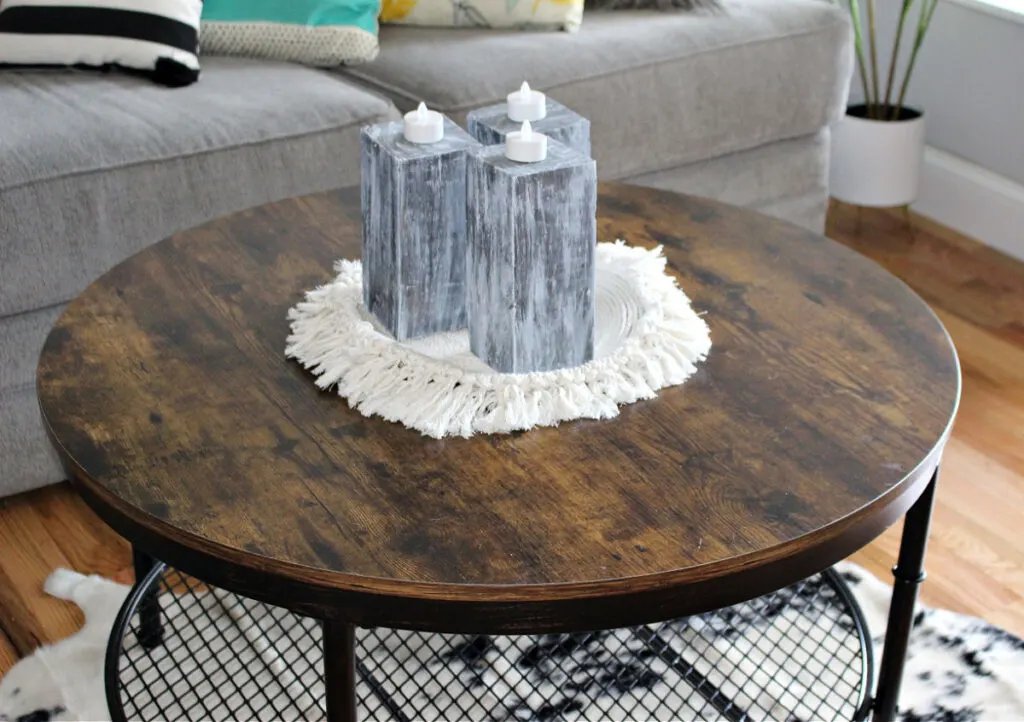
That’s all there is to it! Since I had all the supplies on hand, this was a free project.
But even if you have to buy the paint, you can use the small 2 oz size making this a very budget-friendly DIY.
SHOP THIS POST
I don’t mind the tea lights sitting on top, but I will most likely make the hole larger the next time I visit my dad.
I’m also planning to add pillar candles for another more chunky look. These would look great on dining tables, buffets, or across a mantel.
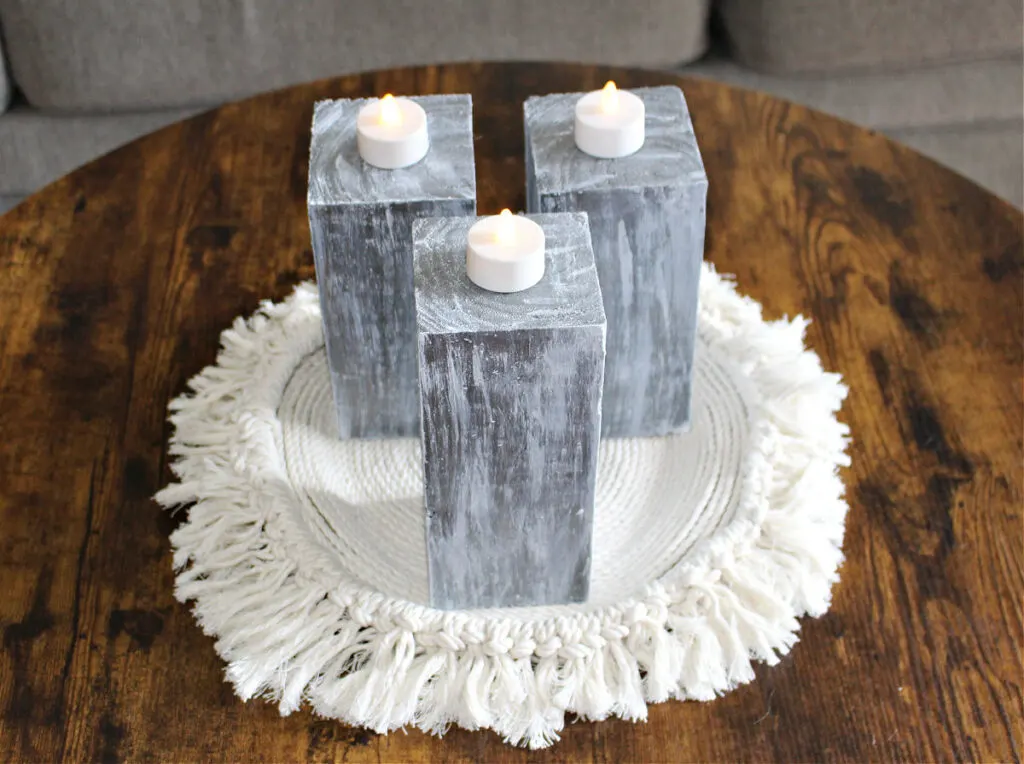
Here they are at night:
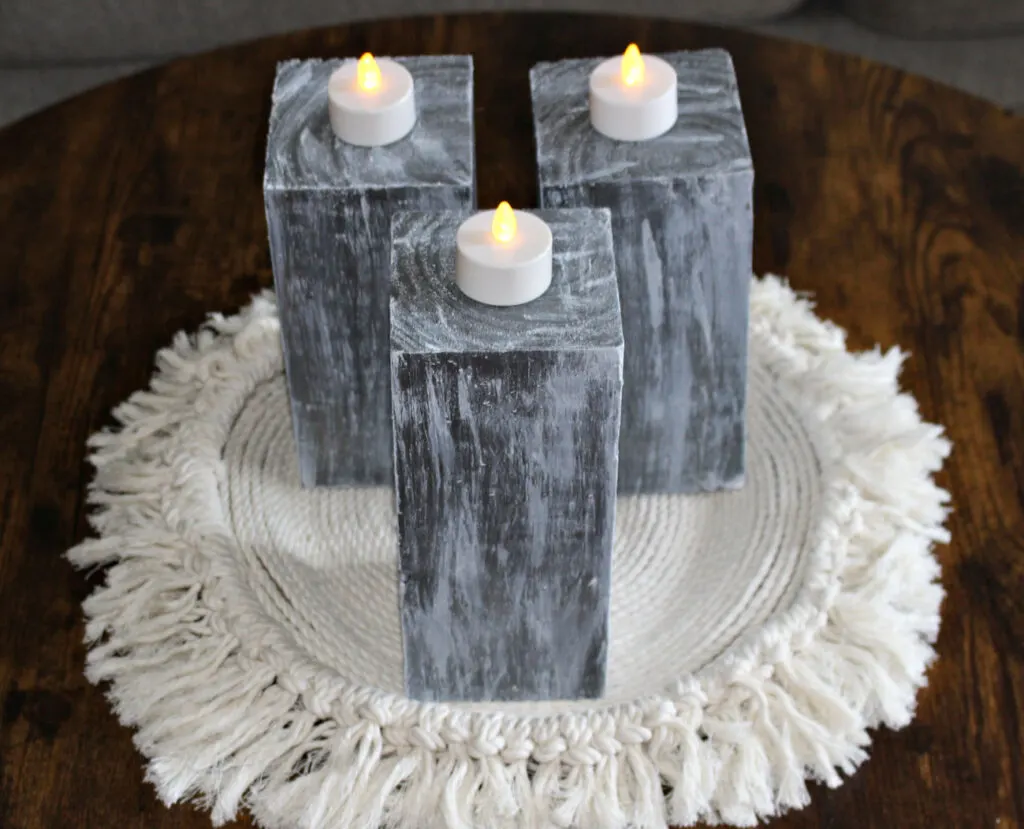
I hope you enjoyed these DIY candle holders. Let me know in the comments below if you give these a try. I’d love to see a picture!
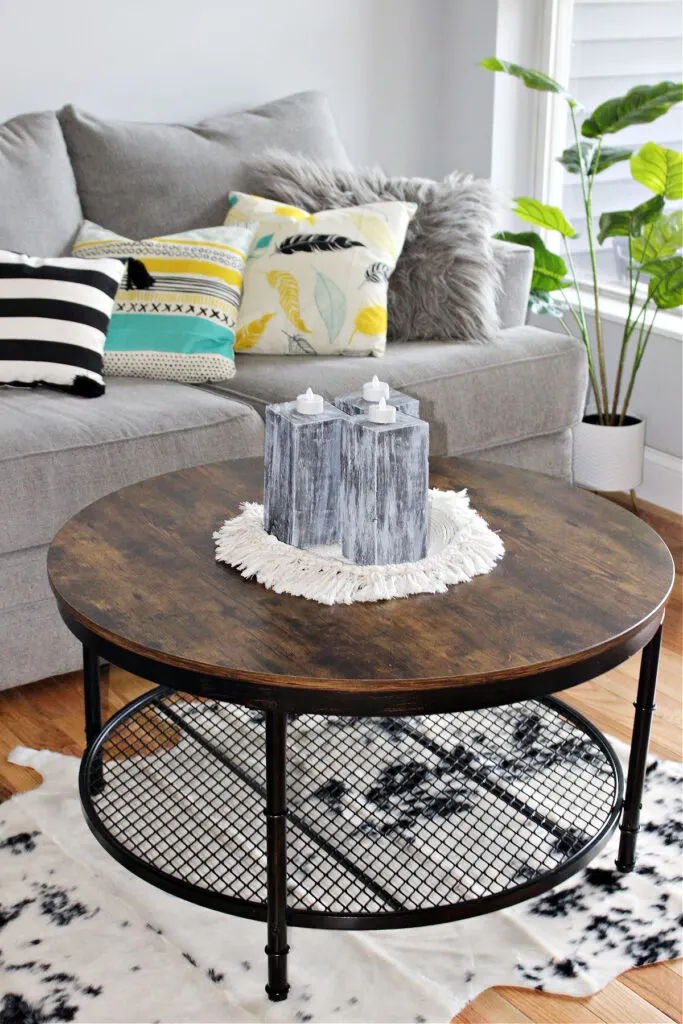
Save for later by PINNING the below image:
Now it’s time to see what affordable decorating ideas the rest of the Thrifty Style Team bloggers are sharing. Enjoy!

Thrifty Style Team’s Home Decorating Ideas
Redhead Can Decorate –A Look Back at Redhead Can Decorates Best Affordable DIY Projects
Our Crafty Mom –Wooden Candle Holders with a Faux Concrete Finish
I Should Be Mopping the Floor –Unique Containers for Flower Arrangements
The How to Home –How to Make a Pom Pom Pillow
DIY Beautify –Thrifty Vintage Art for Your Walls
2 Bees in a Pod –French Country Lamp Makeover
Postcards From the Ridge –How to Paint a Glass Vase to Look Like Stoneware
The Tattered Pew –The Secret Tip to Drying Hydrangeas
Cottage on Bunker Hill –How to Make Autumn Leaf Clay Trinket Dishes
Amy Sadler Designs –Wheat and Floral Decor for Fall Decorating
Songbird –DIY Hanging Glass Bottles for Tiny Flower Bouquets
My Family Thyme –Make an Easy and Inexpensive Fall Wreath
Southern Yankee DIY – DIY Faux Concrete Planter
Wait…there are even affordable crafts and decor below:
FOLLOW ALONG
Pinterest ~ Facebook ~ Instagram ~ Twitter ~ YouTube ~ TikTok
DIY Wooden Candle Holders
Materials
- Scrap Wood 4x4s
- White Chalk Paint
- Black Acrylic Paint
- Silver Metallic Paint
- Foam Brushes
Tools
- Drill
- Circular Saw
Instructions
- Cut pieces of scrap wood to the size you want.
- Drill holes for a candle.
- Start by painting the wood candle holders with black paint mixed with spackle.
- Lightly paint the wooden candle holders with silver metallic paint. Let dry.
- Randomly paint white chalk paint onto the wood.
- Sand if needed.
- Add your candle and enjoy!
Recommended Products
As an Amazon Associate and member of other affiliate programs, I earn from qualifying purchases.


Angie
Wednesday 24th of August 2022
Michelle, these candle holders are such a great way to use scrap wood. I like the way you painted them to give them some character. Your new place is looking great! Pinned!
Kelly
Friday 19th of August 2022
Michelle I love these! You are so creative.
Kristi
Thursday 18th of August 2022
Scrap wood projects are always my favorite and your candleholders look FANTASTIC, Michelle! xoxo, kristi
Lynne Zemaitis
Thursday 18th of August 2022
These are beautiful, Michelle! I love your painting technique to make them look rustic and aged. It looks great! Pinned!
Jennifer Howard
Monday 15th of August 2022
What a great idea, especially if you have extra wood hanging around!