Turn an oversized thrift store mirror into a beautiful chalkboard with these simple, easy steps. Make it a statement piece of art with Chalk Couture transfers. Let me show you how!

This post is contains affiliate links at no extra cost to you. I only promote products I believe in. Please see my full disclosure here.

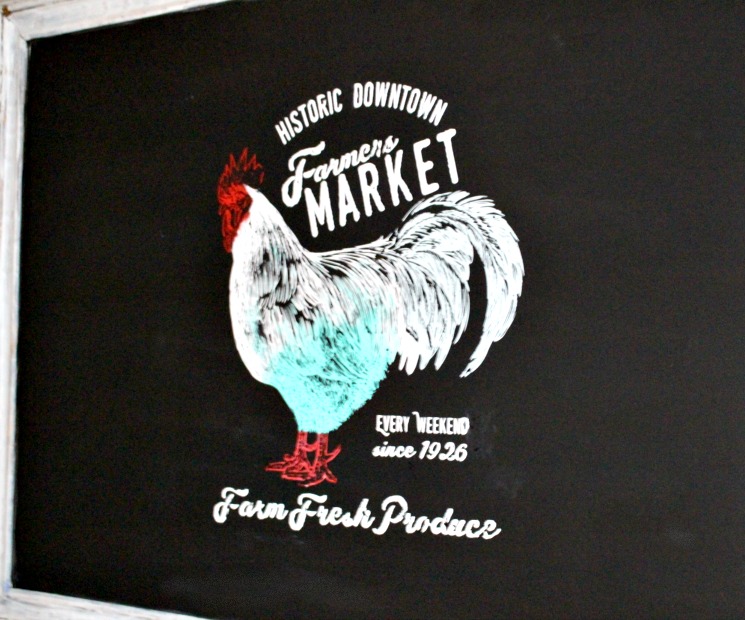
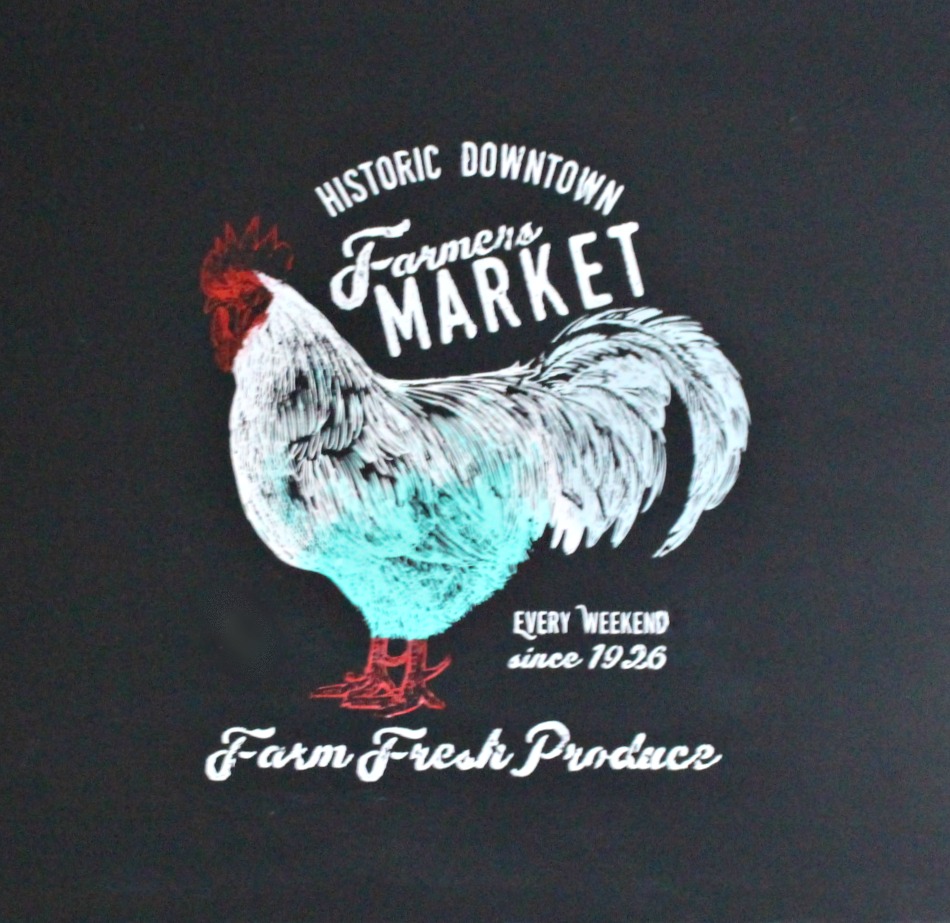
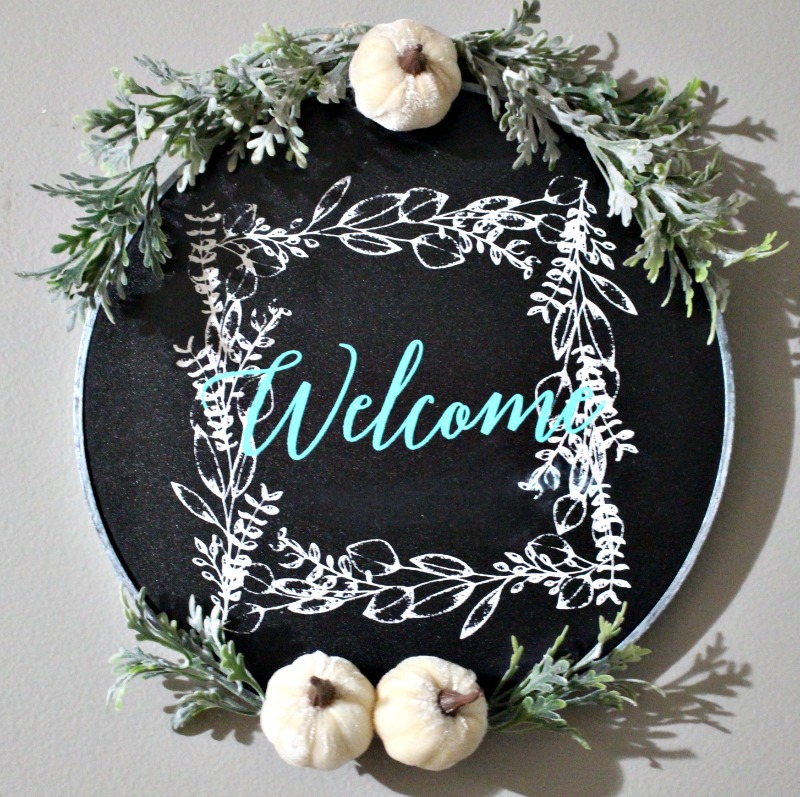
We are back for this month’s thrift store challenge and I am thrilled to show you how I took an old bureau mirror and turned it into an oversized chalkboard that I can change out for each season. The image is completely removable with water! How cool is that?

The Rules:
- Upcycle an item(s) from a thrift store, resale store, or garage sale into a new piece of decor.
- There’s no monthly theme.
- There’s no budget to stick to.
Meet the Hosts
Angela | Simply Beautiful by Angela
Gail | Purple Hues and Me – Marie | The Inspiration Vault
Michelle | Our Crafty Mom – Jenny | Cookies Coffee and Crafts Victoria | Dazzle While Frazzled Habiba | Craftify My Love Debra | Shoppe No. 5
Make sure you follow our board on Pinterest for more upcycled decor inspiration!
DIY Chalkboard From A Thrift Store Mirror
Keep your eyes open for large mirrors at the thrift store or yard sales. You can usually find them for just a few dollars.
Supplies
- Large Mirror
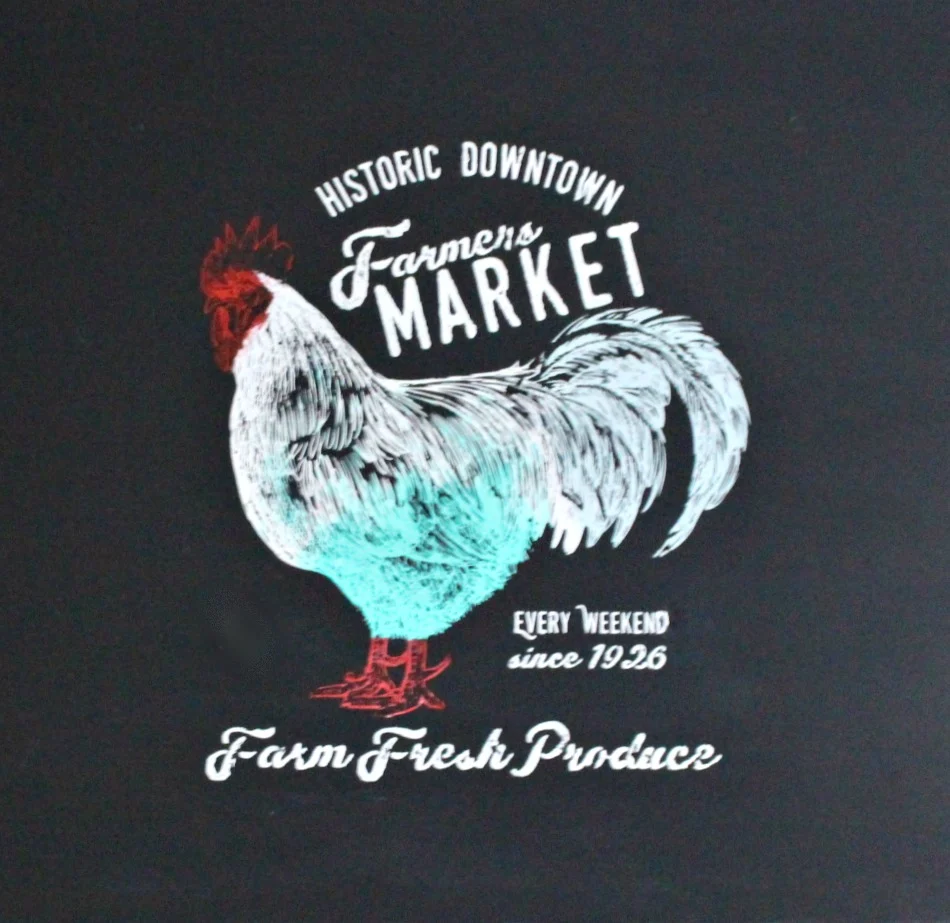
- Farmer’s Market Transfer
- Chalk Couture paste in white
- Chalk Couture Paste Cool Breeze
- Chalk Couture Paste Candy Apple
- Small Squeegee
- Chalkboard Paint Kit
Instructions
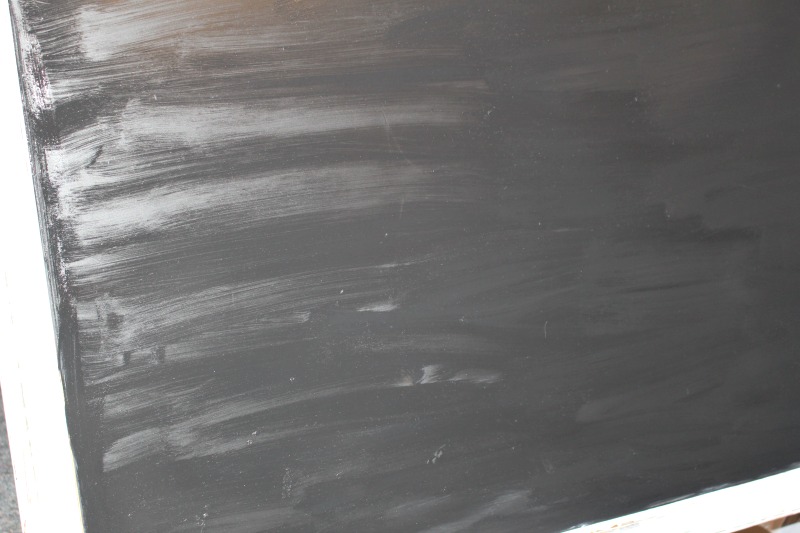
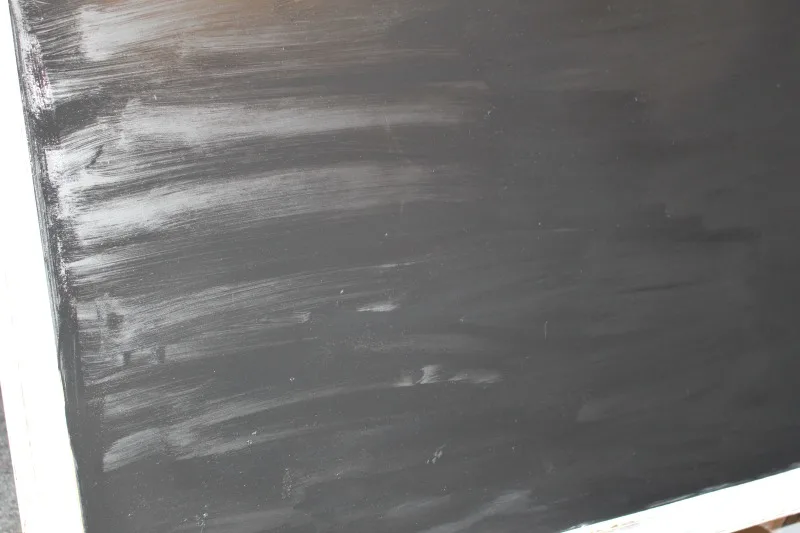
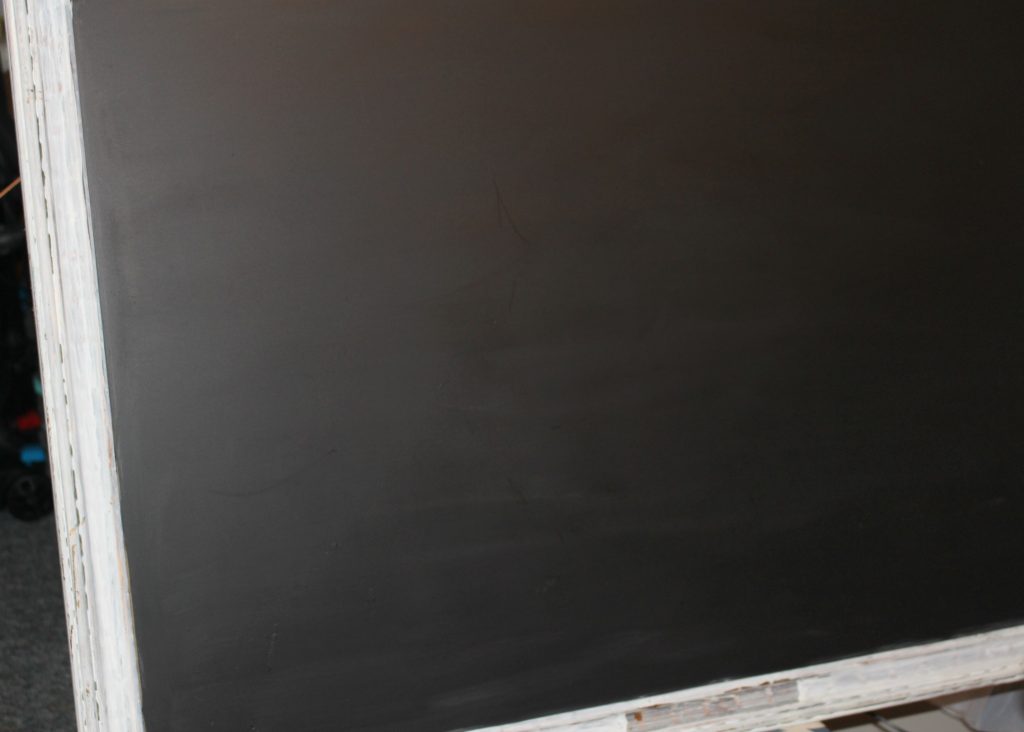
Be sure to clean the mirror really well with a rag. You can also use a little rubbing alcohol on it to remove fingerprints, etc. Once it is completely dry, use a foam brush to paint the entire piece with chalkboard paint. Be sure to paint in even strokes and don’t overload the brush. It takes a good 3-4 coats and it is best to let each coat dry before adding the next coat. The below picture is after four coats:

I let it sit for a couple of days before adding the transfer. The adorable Farmer’s Market image is perfect for my One Room Challenge kitchen makeover that you can read about here.
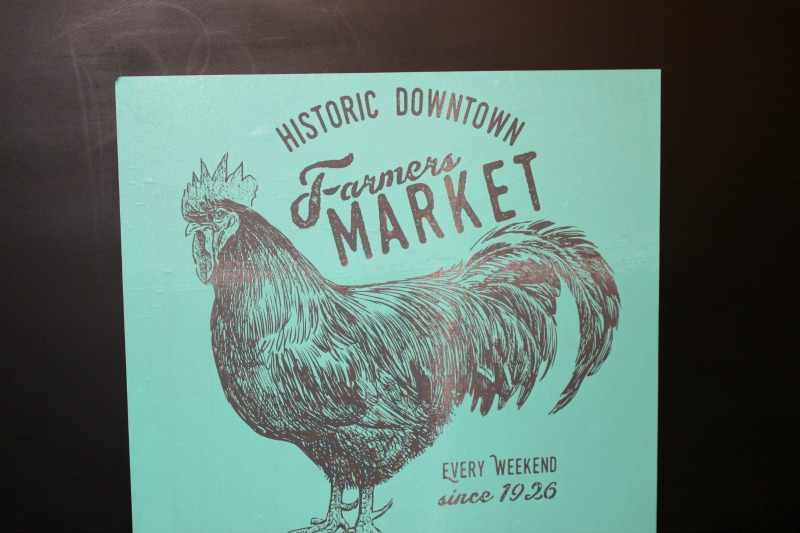
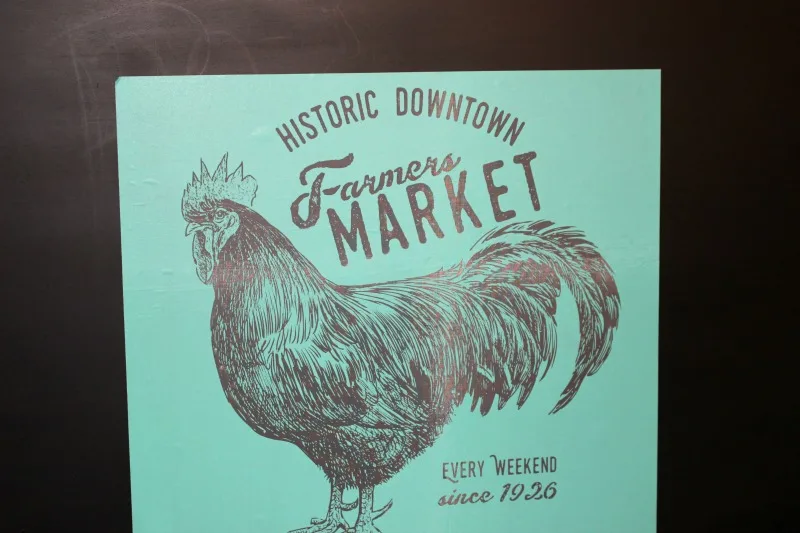
The transfer is sticky, so you simply place it on the chalkboard and use the squeegee to add the colors you would like. If it is your first time, it is best to just use a solid color. Once you get the hang of it you can add in different colors.
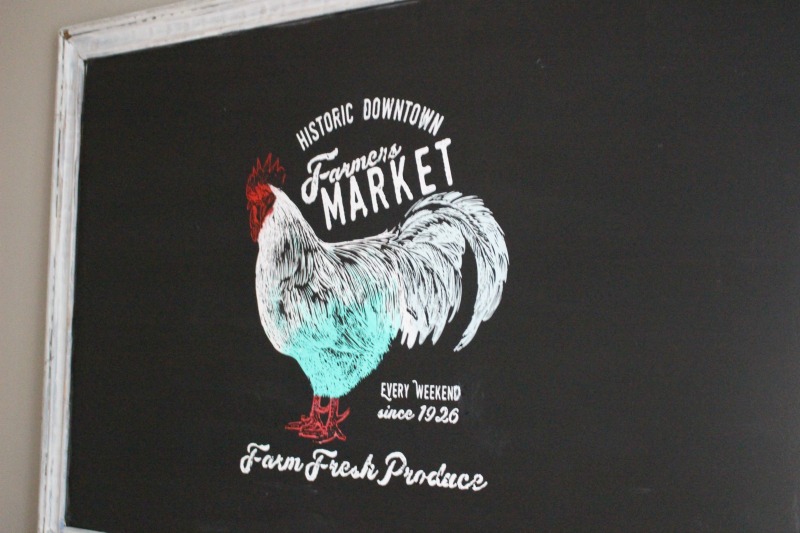

Unfortunately, I lost a bunch of photos showing the before of the mirror and the steps of the chalking. But you can see the steps in a chalkboard project I shared here. using the same process. The best part is, you can make this permanent by spraying a clear sealer, OR you can remove it by washing it with water. I plan to replace this image with a Thanksgiving image and then Christmas.
You can see another chalkboard project I made here:
And now for more thrifty goodness!
Check out what my fellow upcyclers created below!
20+ of the Best and Most Creative DIY Chalkboard Signs – woodworkhelp
Thursday 18th of July 2019
[…] Continue Reading […]
Winter Tablescape Ideas With Pretty Rustic Elements
Friday 25th of January 2019
[…] While I don’t snowboard-at all-I enjoy updating the oversized chalkboard for each season and Holiday. This chalkboard was an old bureau mirror in another life-you can see the tutorial here. […]
Make A Buffalo Plaid Valentine's Day Heart
Friday 25th of January 2019
[…] Farmer’s Market (rooster) was the first large transfer I used and I loved how it turned out. I left this up through […]
Farmhouse Barnwood Picture Frame With Metal Wreath
Tuesday 15th of January 2019
[…] I love to use chalkboards in my home. Check out this oversized chalkboard I made for my kitchen here.: […]
Kitchen Makeover On A Budget - One Room Challenge Reveal
Monday 12th of November 2018
[…] See how I made the large chalkboard from a thrift store mirror here. […]