It was so much fun to make this Fall Chalkboard Embroidery Hoop Wreath. I’m excited to show you how easy it is with Chalk Couture products. This was my first time using Chalk Couture and I’m hooked!


This post contains affiliate links at no extra cost to you. Please see my full disclosure here.
Hello! Welcome to this month’s Pinterest Challenge, where we actually MAKE a project we have pinned, rather than just pinning them. How many times do you see something on Pinterest and you are so inspired and determined to make it, but you get busy and just don’t get to it. What I love about this challenge is we have a date to share it so it motivates us to follow through. Love a little motivation!
Fall Chalkboard Embroidery Hoop Wreath
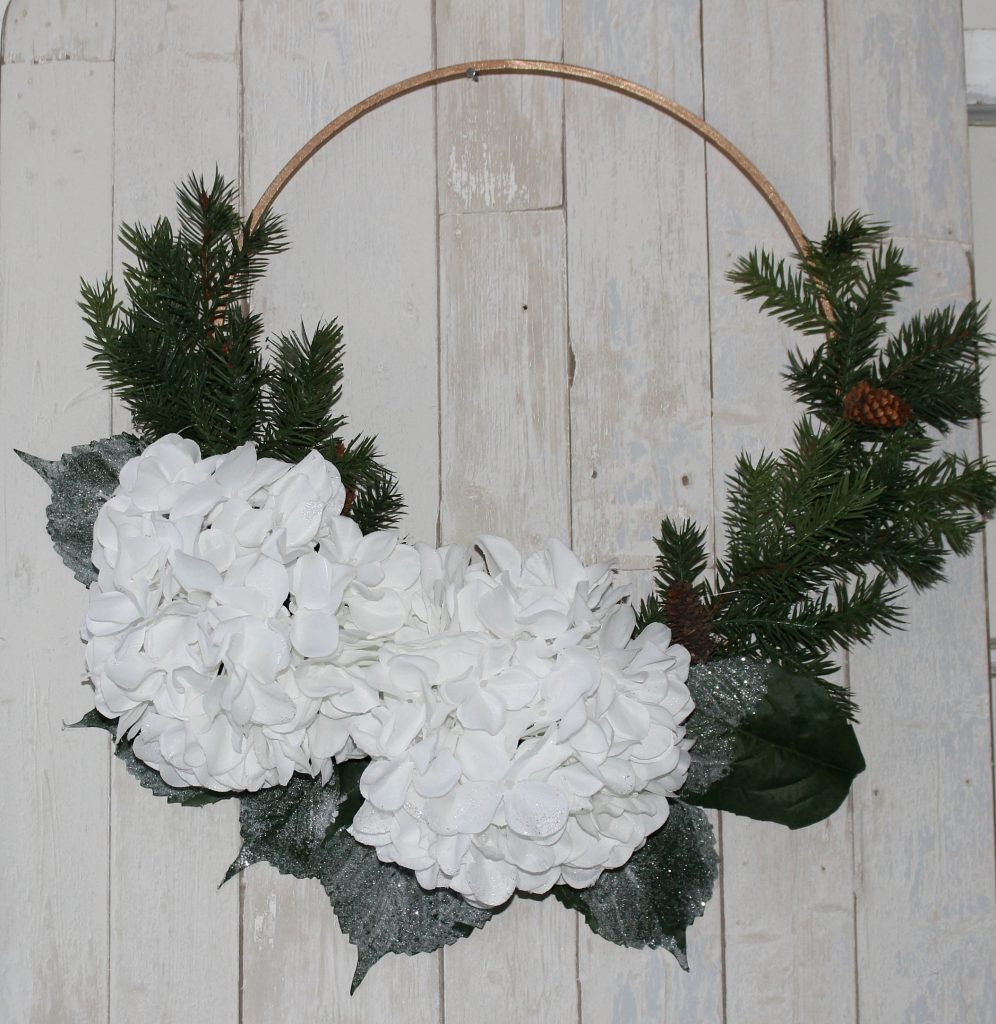
I’m pretty obsessed with the pretty embroidery hoop wreaths that are so popular. I made a Winter Embroidery Hoop Wreath last year:

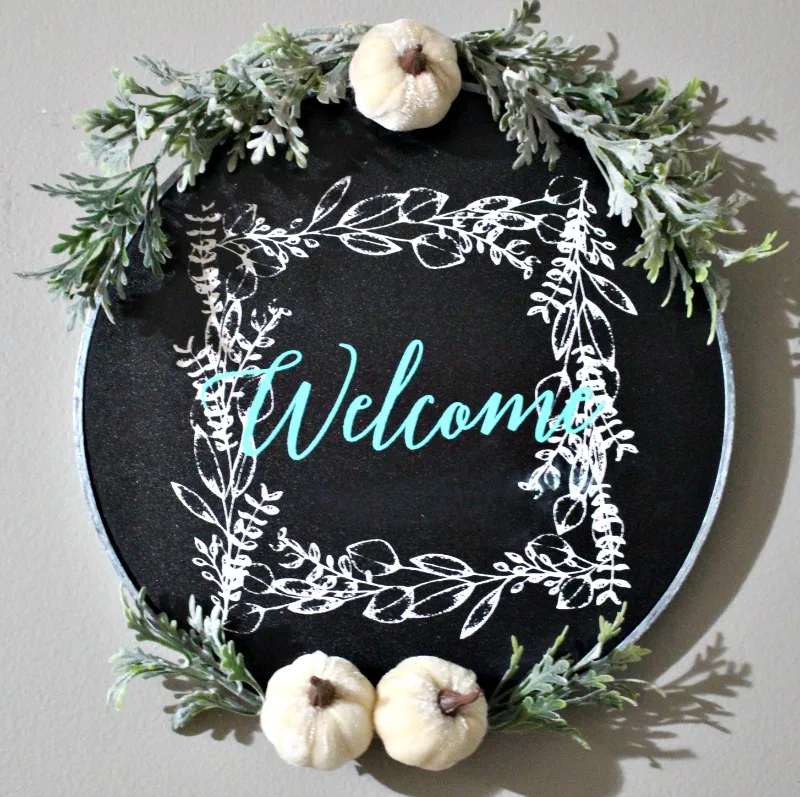
I saw this fall embroidery hoop wreath and thought it was so pretty. I liked the simplicity and the small white pumpkins. Then inspiration struck! I just received a round magnetic chalkboard that looked about the same size as the embroidery hoop. I checked and sure enough, it fit perfectly in the hoop. Don’t you just love when things work out like that? Here is an easy tutorial.
Supplies
10″ Round Magnetic Chalkboard
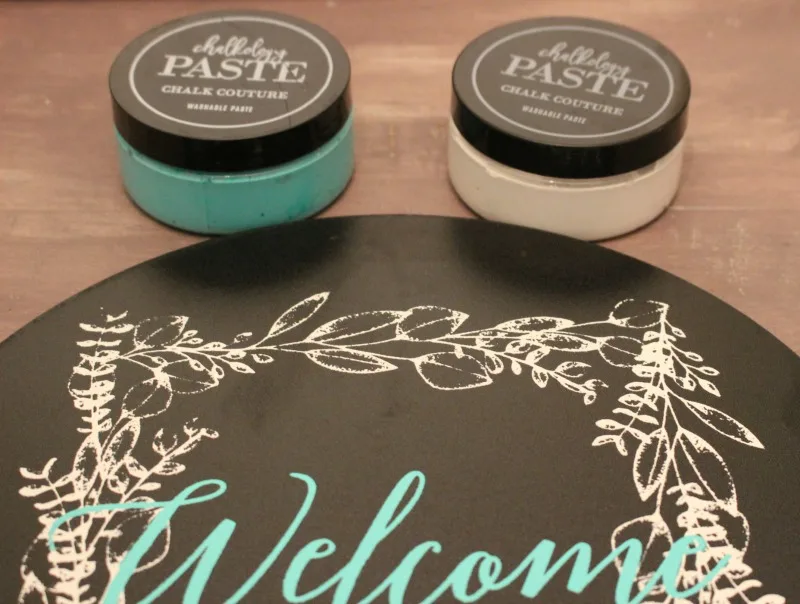
White Chalk Paste
Wreath Transfer (similar)
Together, Blessed, Thankful Transfer
Small Squeegee
10″ Embroidery Hoop
Small Pumpkins
Lambs Ear Spray-Craft Store
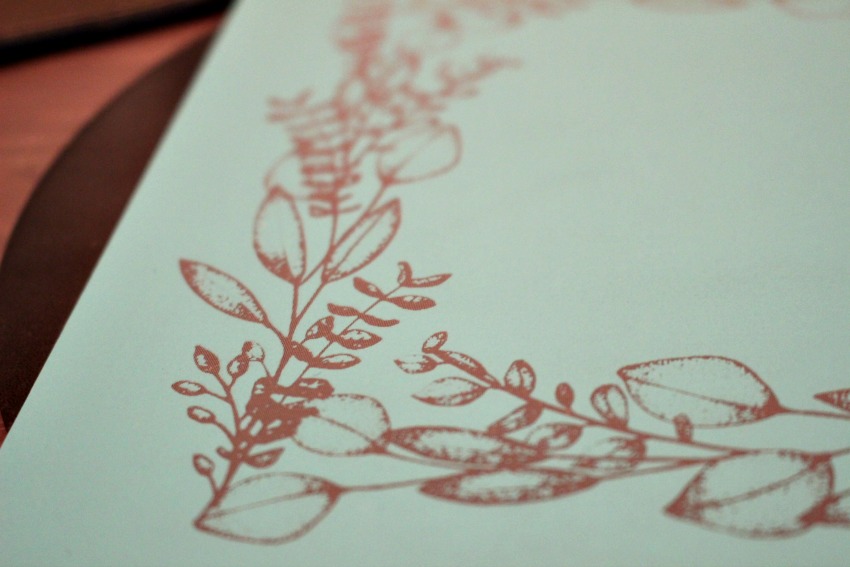
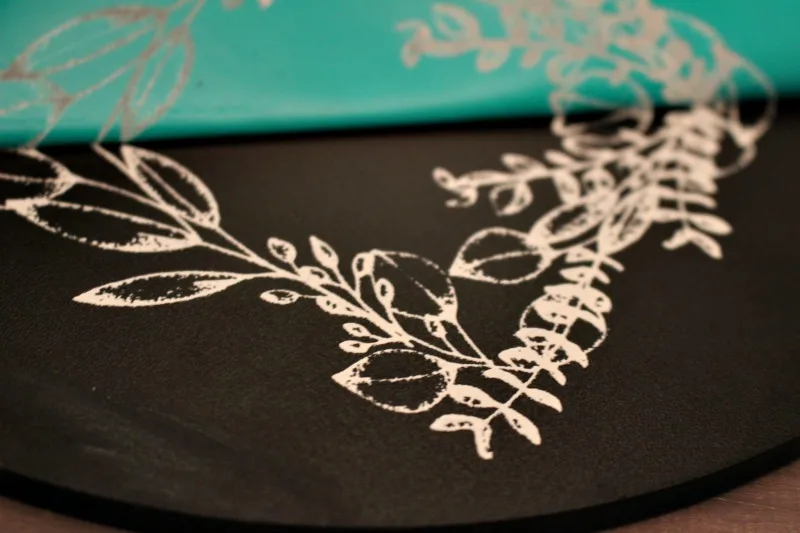
Have you heard about Chalk Couture? It is pretty cool stuff. I’ve always loved chalkboards and have a large one that I like to decorate seasonally. However, I’ve never really been great in creating chalkboard art. That is where Chalk Couture comes in. Now you can create beautiful chalkboard art quickly and easily. Plus, you don’t need a cutting machine to create stencils. The transfers are reusable, making it very cost effective. All I did was place the wreath transfer on the round chalkboard and then used white chalk paste with the small squeegee.

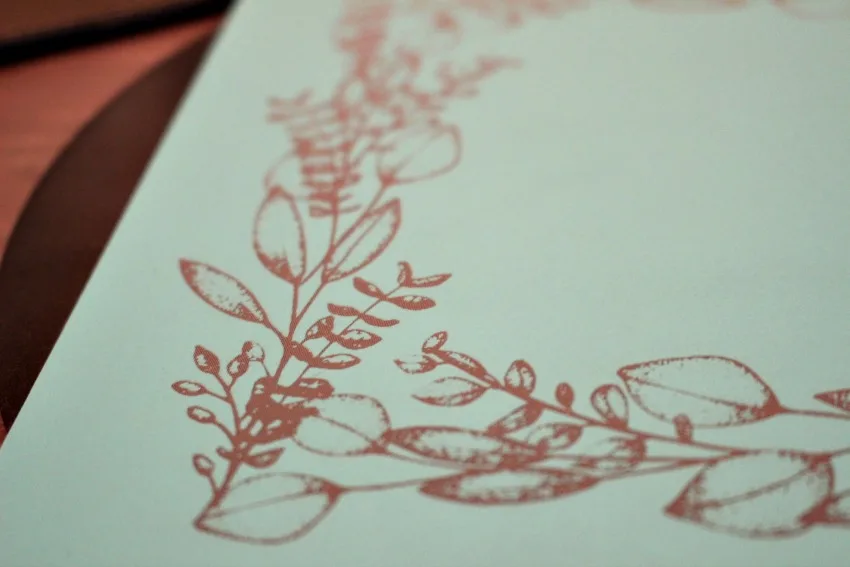
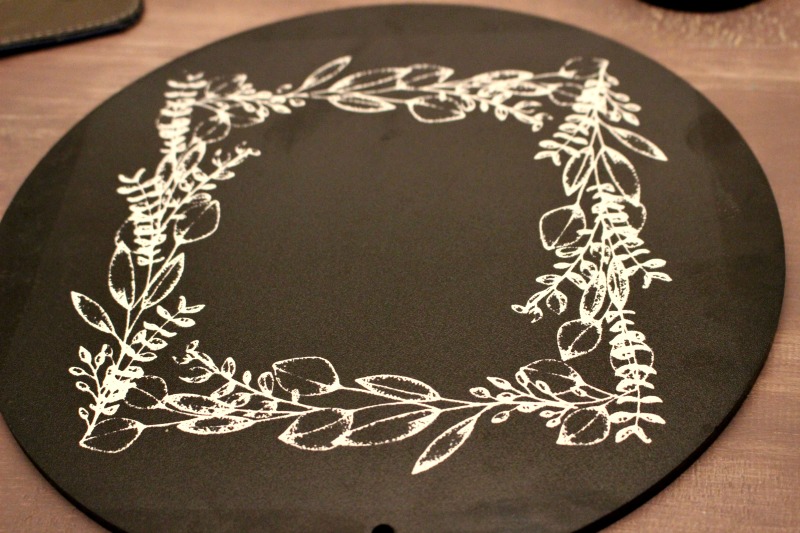
It only takes a little paste and you can scrape back what is left into the container. This will last a long time which means I can make even more chalkboard art! Look at how crisp the transfer comes out:

[Tweet “Make A Fall Chalkboard Embroidery Hoop Wreath #ourcraftymom #pinterestchallenge #chalkcouture #fallwreath #embroideryhoop”]

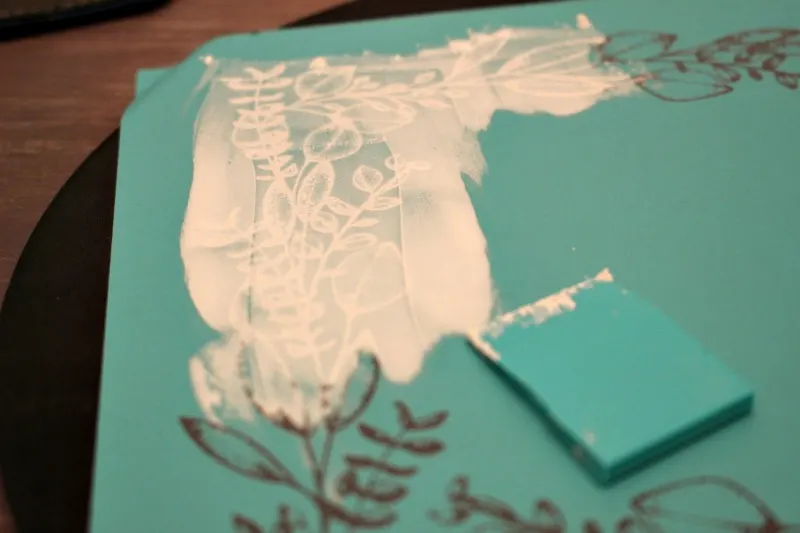
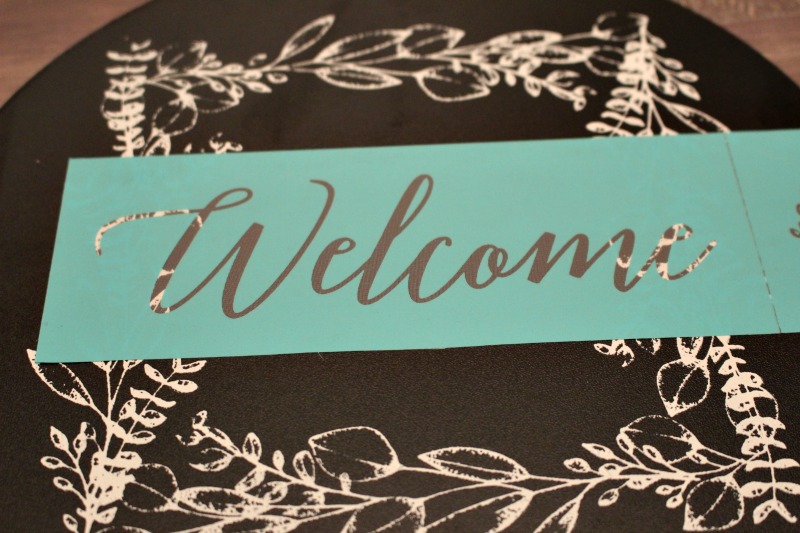
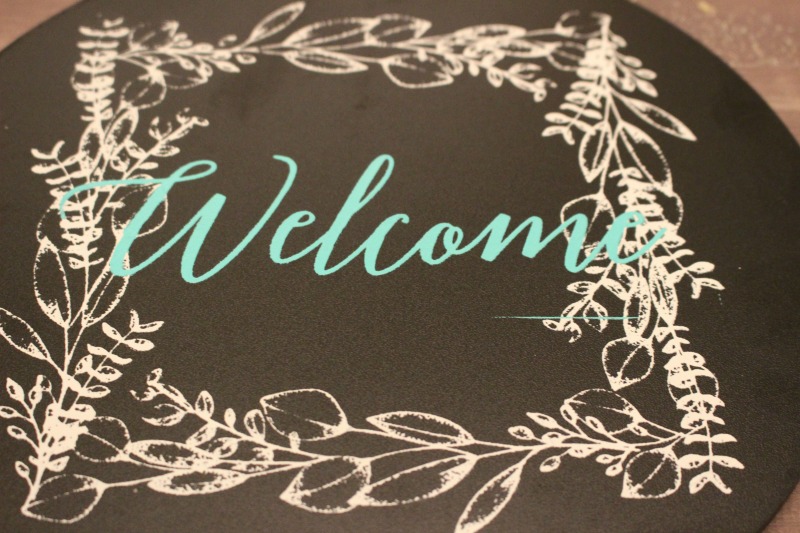
Next up, I chose to add Welcome, but I think Blessed or Thankful would be perfect for Thanksgiving as well. To give it a little contrast, I went with a pretty teal blue color. Be sure to let the first image dry before adding the second. It only takes a few minutes to dry.
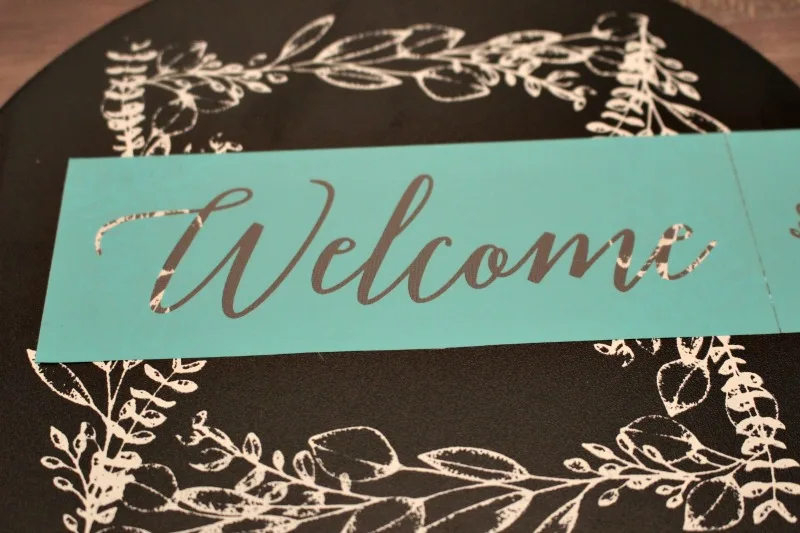
You can touch up any mistakes with a q-tip and a little water like I did with the small line in the right hand corner you see below:

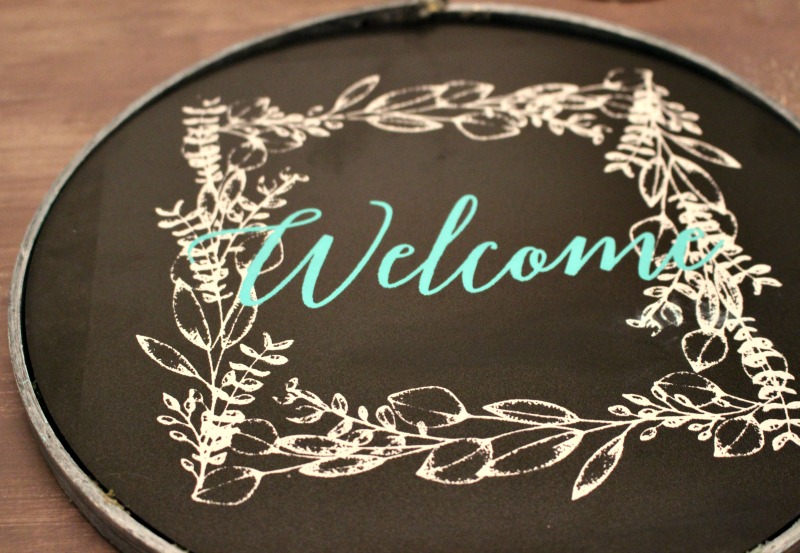
Not bad for my first time, right? When you are ready to change it out, just use water and you can wipe it off to create something new. But, it will not smudge or come off unless you use water.

Next, place the finished chalkboard in the embroidery hoop. You don’t even have to add any glue as it fits nice and tight.

Now you can finish off the wreath with the lambs ear using a little hot glue. I only lightly hot glued the pumpkins, as I plan to update this for Christmas, maybe with berries or small ornaments.
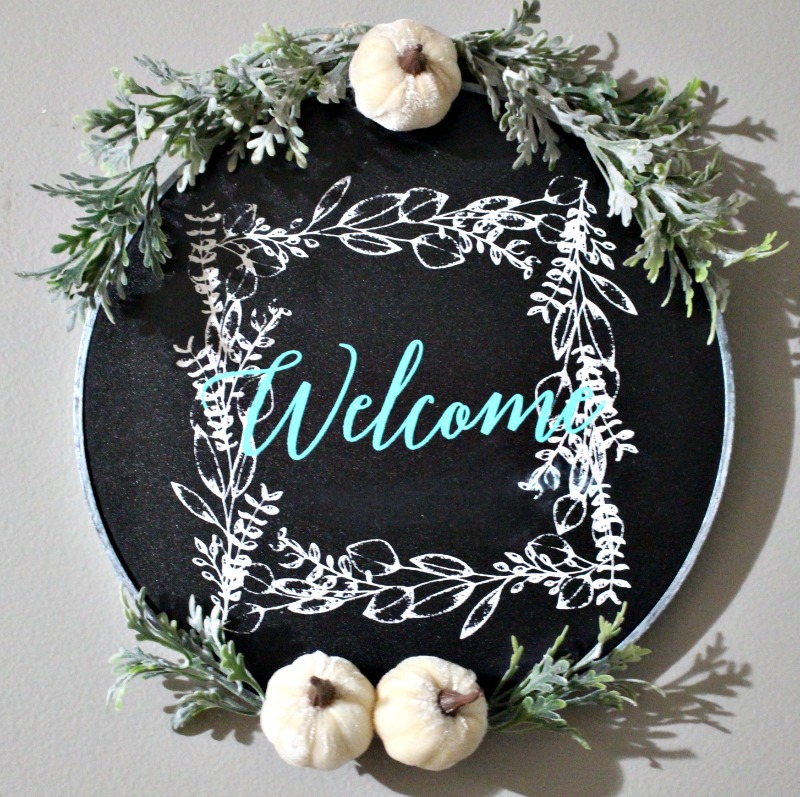
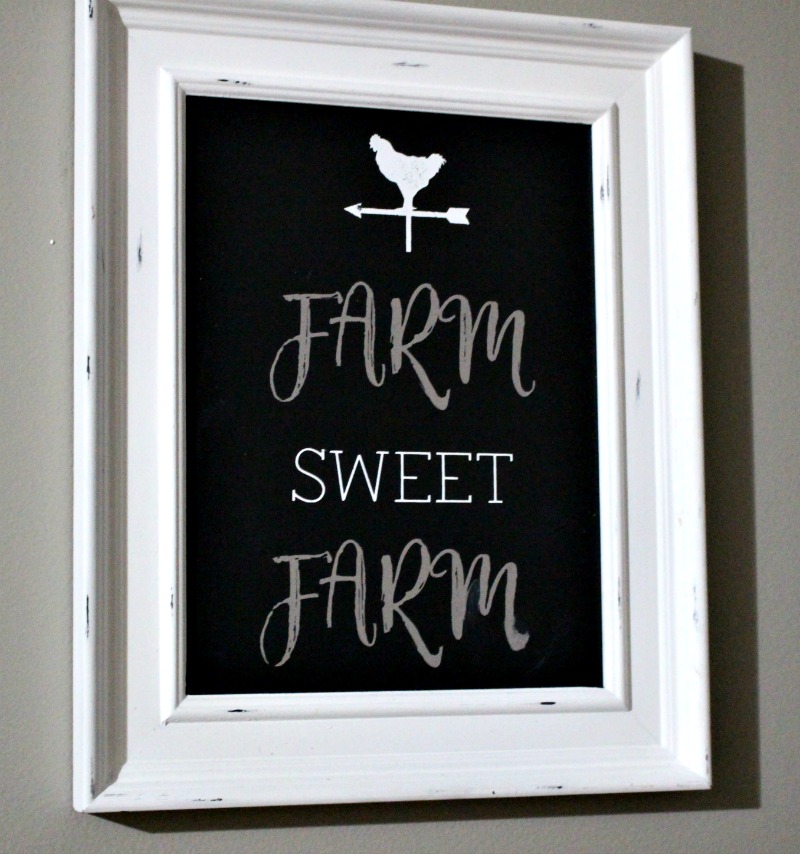
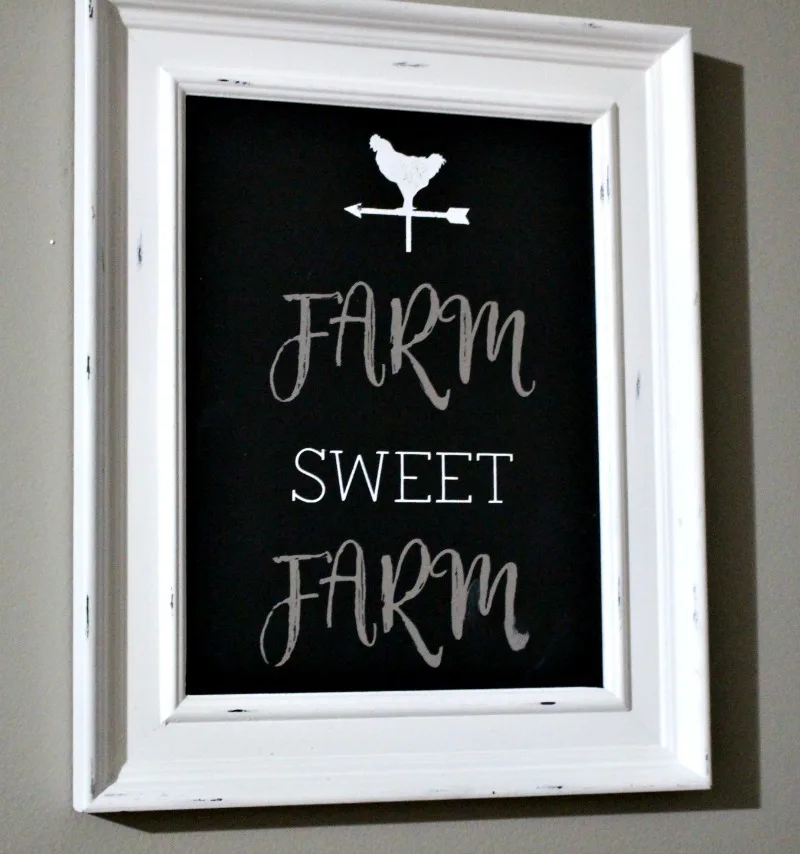
This entire process took under 30 minutes. It is really fun to create with these products and I didn’t stop there. Look at this adorable Farmhouse Sign I made at the same time:
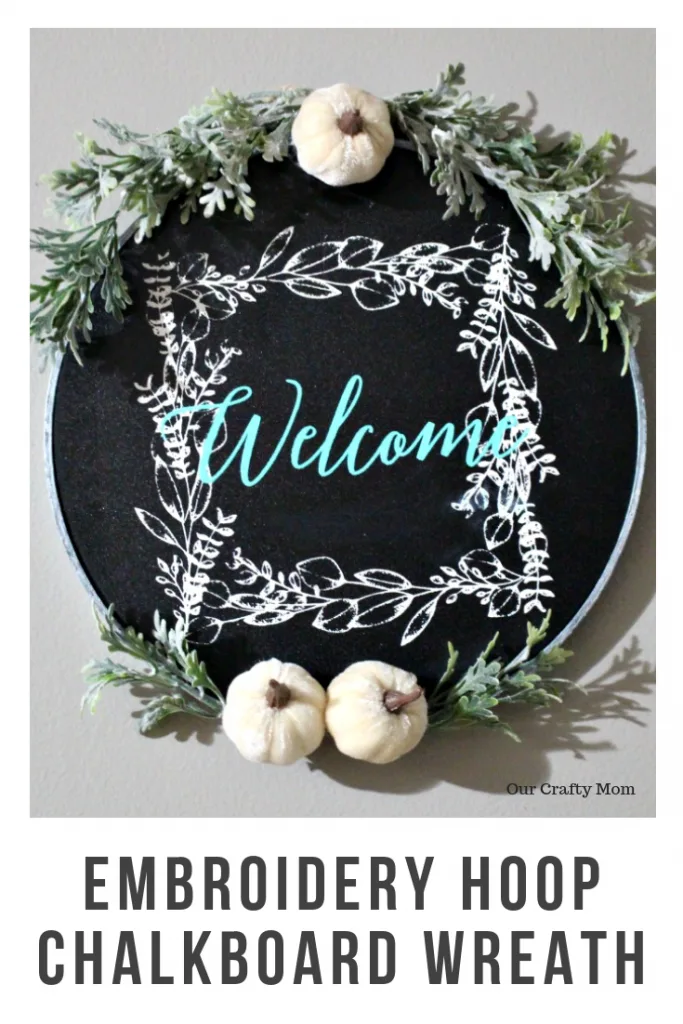
You can see all the cool transfers and different chalk paste colors they sell here. Thank you for stopping by. I hope you enjoyed this post. If so, please pin the image below. Have a great day!
**PIN FOR LATER**

To join next month’s #pinterestchallenge, click here to sign-up ⇒ November Pinterest Challenge
Now let’s see what other things Pinterest inspired! Head over and visit the other hosts to see what they crafted, cooked, built, or tried!

Erlene – My Pinterventures • Gail – Purple Hues and Me
Kristie – Teadoddles • Lynne – My Family Thyme
Joanne – Our Unschooling Journey • Jenny – Cookies, Coffee and Crafts
Shirley – Intelligent Domestications • Debbee – Debbee’s Buzz
Beverly – Across The Boulevard • Julie – Sum of their Stories
Michelle – Our Crafty Mom • Marie – The Inspiration Vault
T’onna – Sew Crafty Crochet • Emily – Domestic Deadline
Laurie – My Husband Has Too Many Hobbies • Alexandra – Eye Love Knots
Leslie – Once Upon a Time & Happily Ever After
Roseann – This Autoimmune Life • Toni – Girl, Just DIY
Kelley – Simply Inspired Meals • Lauren – Mom Home Guide
Debra – Shoppe No.5 • Lydia – Lydia’s Flexitarian Kitchen
Susan – Suzer Space • Habiba – Craftify My Love

20 DIY Fall Decor Ideas - Tiffany McCauley | Fall Deocrating
Saturday 26th of October 2019
[…] show you how to create a personalized fall-inspired chalkboard wreath framed by an embroidery hoop. Fall Chalkboard Embroidery Hoop Wreath by Our Crafty […]
20 Fantastic Ideas for DIY Fall Decor | Comeback Momma
Tuesday 1st of October 2019
[…] Fall Chalkboard Embroidery Hoop Wreath – Our Crafty Mom […]
Farmhouse Barnwood Picture Frame With Metal Wreath
Tuesday 15th of January 2019
[…] Embroidery Hoop Chalkboard Wreath […]
Make A Buffalo Check Mason Jar With Fabric Our Crafty Mom
Sunday 28th of October 2018
[…] I am incorporating into my kitchen. You can see a tutorial for using a transfer with chalk paste here. A few fall stems are added for a cute Thanksgiving display with a ceramic truck that I found at […]
How To Make A DIY Chalkboard From A Thrift Store Mirror
Friday 26th of October 2018
[…] mirror and the steps of the chalking. But you can see the steps in a chalkboard project I shared here. using the same process. The best part is, you can make this permanent by spraying a clear sealer, […]