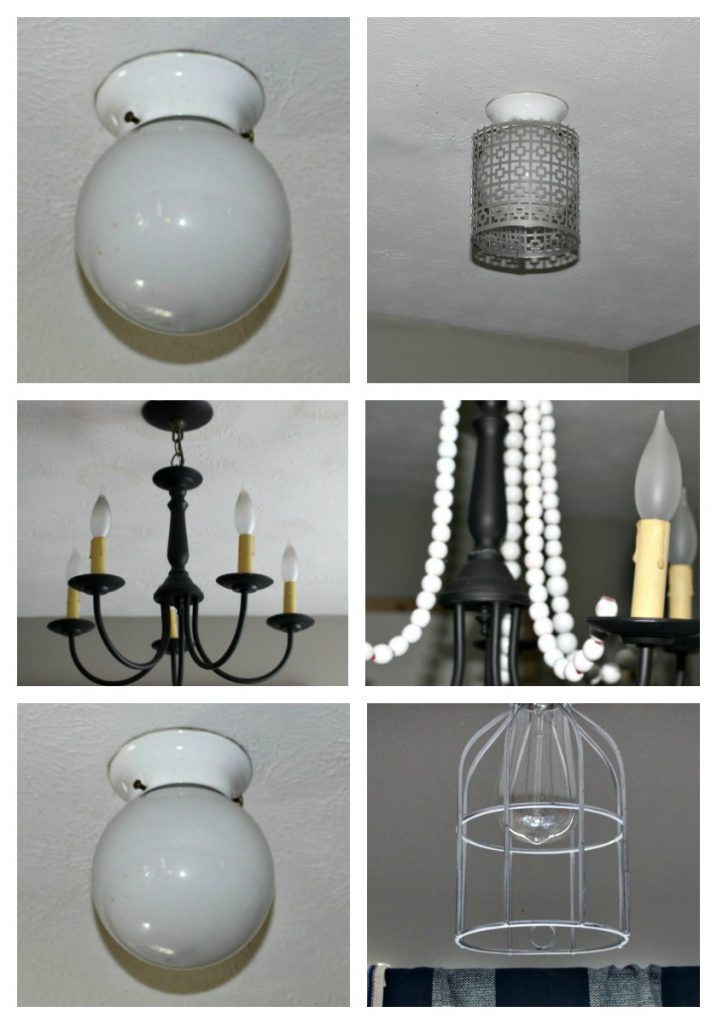
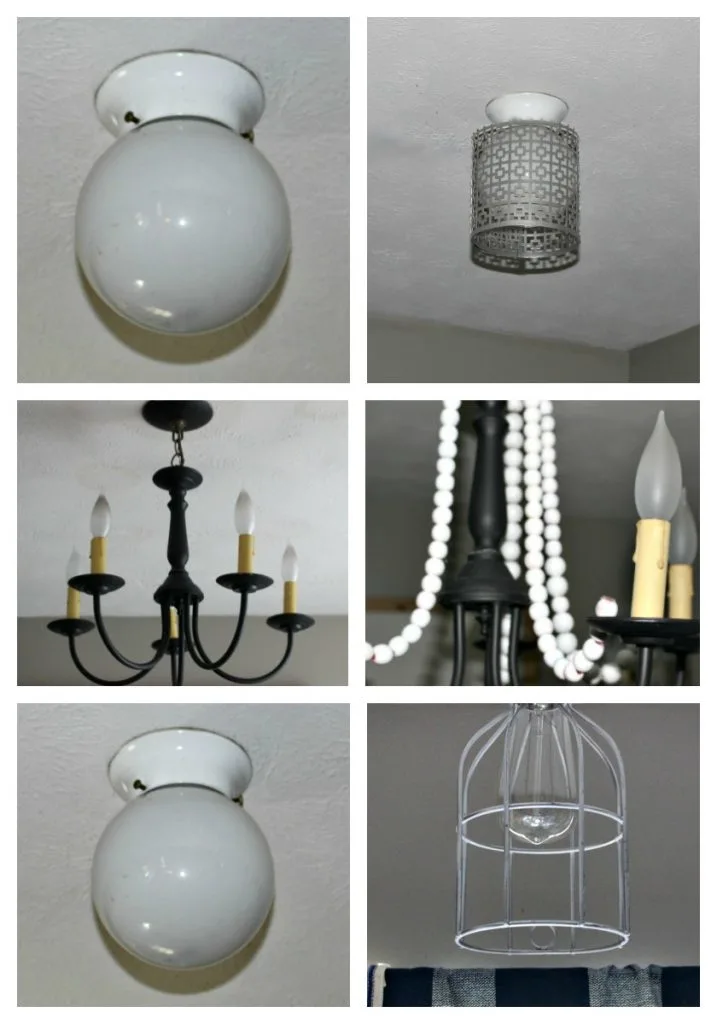
Today I am sharing 4 Easy Ceiling Light Makeovers and the best part is, they are renter friendly!


You can easily remove these lights and replace the originals if you move again. Did I mention how pretty they are?
This post contains affiliate links at no extra cost to you. Please see my full disclosure here.
Welcome to Week 3 of the One Room Challenge. I can’t believe we are already half way there! It really does go by so fast.
If you follow me on Facebook or Instagram , you know that my daughter and I recently moved to New Hampshire.
We are getting familiar with the area and exploring our options, but definitely didn’t want to buy until we were sure we liked the area, etc.
We found a beautiful townhouse that has the privacy we were looking for and 3 bedrooms so I could have a craft room/office.


As we are renting, we can’t make a ton of changes. Luckily, the home is lovely and aside from outdated light fixtures, we are very happy with the decor.
I’ve talked before about how much I love to DIY projects.
I am always mindful of a budget, but I really think I would still DIY things even if I had no budget.
Well, maybe not everything, lol. But I definitely like to add my personal touch, even if I’m renting.
Ceiling Light Makeover
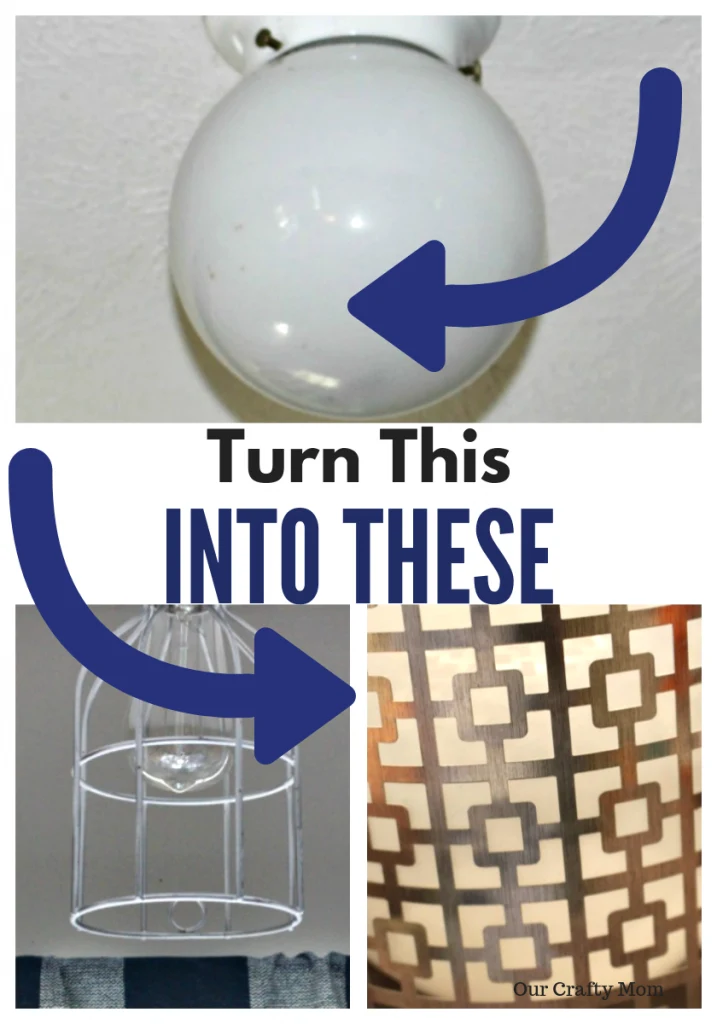
There were 3 of these globe light fixtures in the kitchen. We’ve all seen them and maybe even had or have them in our home.
There is nothing wrong with them, but they are just a little outdated.
I decided to remove them and box them up carefully to hang back up if we do move again.
Here is the original light above the sink:
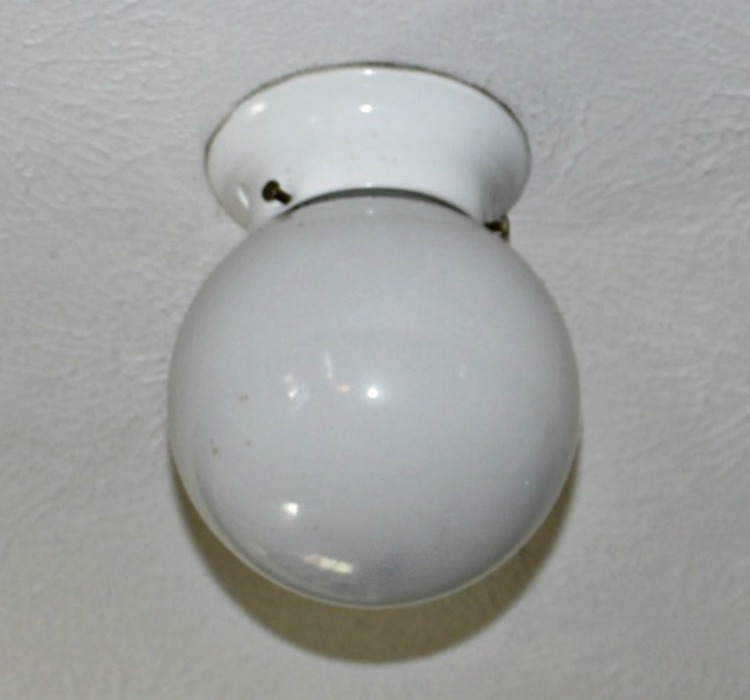

This same light was also right as you stepped into the side kitchen door, which is the main door we enter, as well as in the center of the kitchen.
They are actually all throughout the home and I hope to slowly update them.
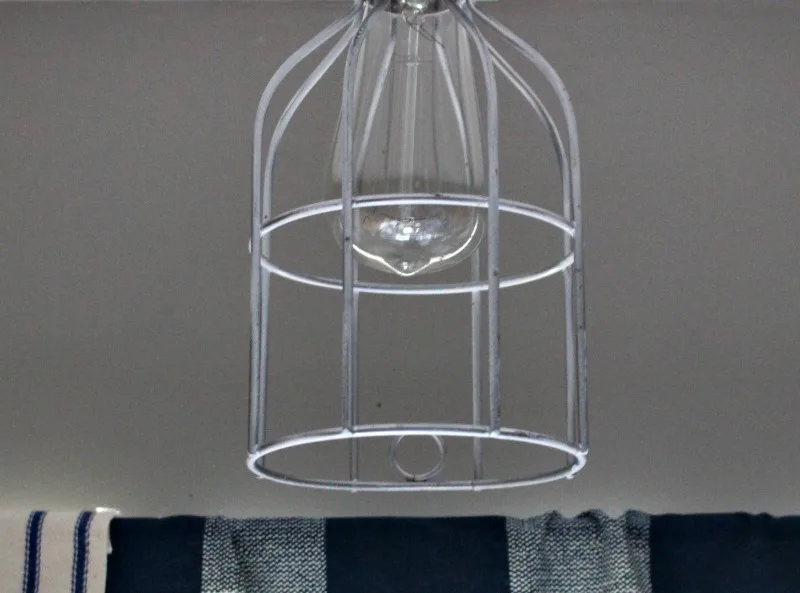
I wanted something simple, but stylish above the sink and love the look of the Edison Light Bulb so I want with that, along with a cage light fixture.
It has such a soft glow to it and it fit perfectly over the existing light. Talk about quick and easy!

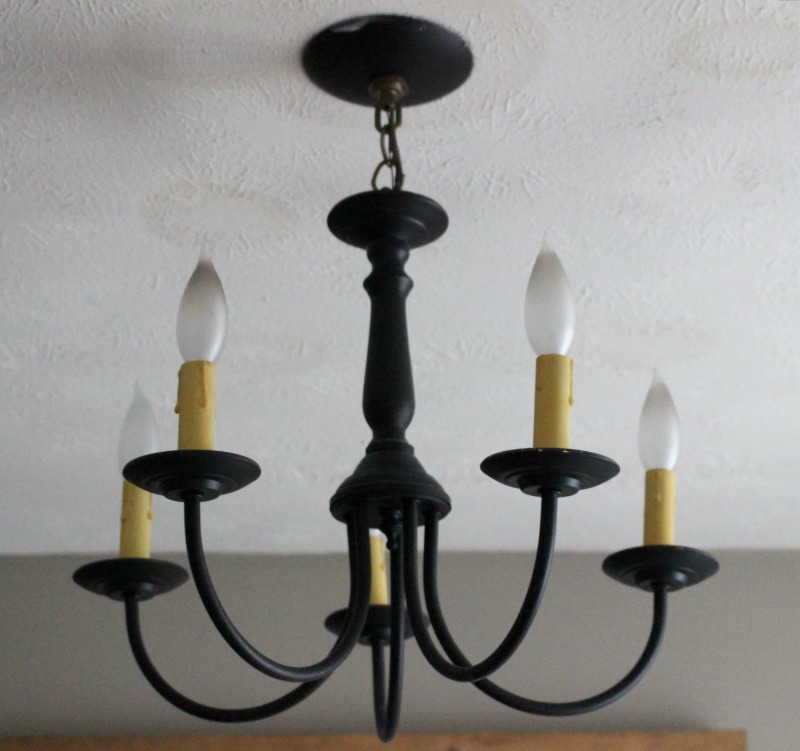
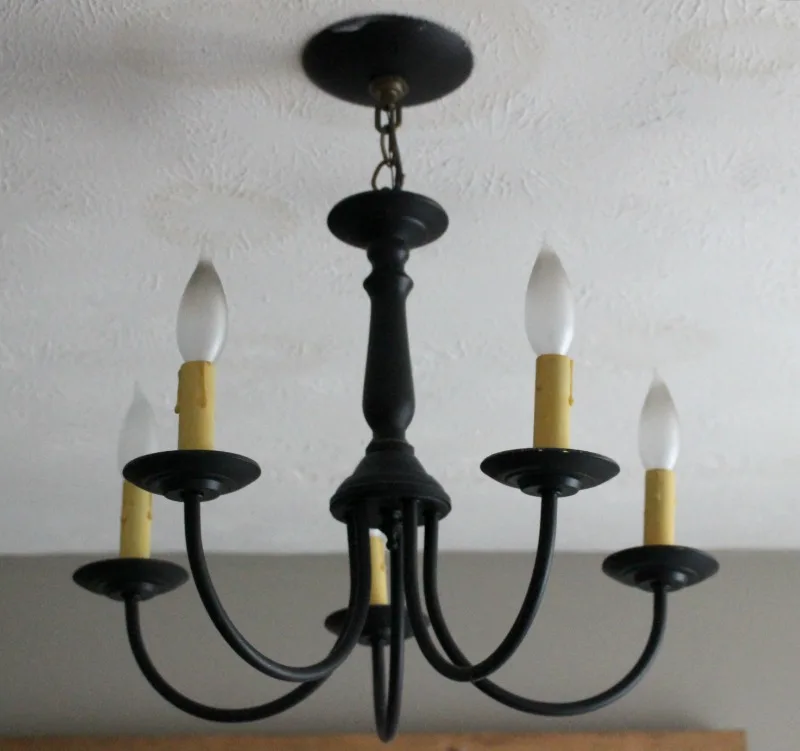
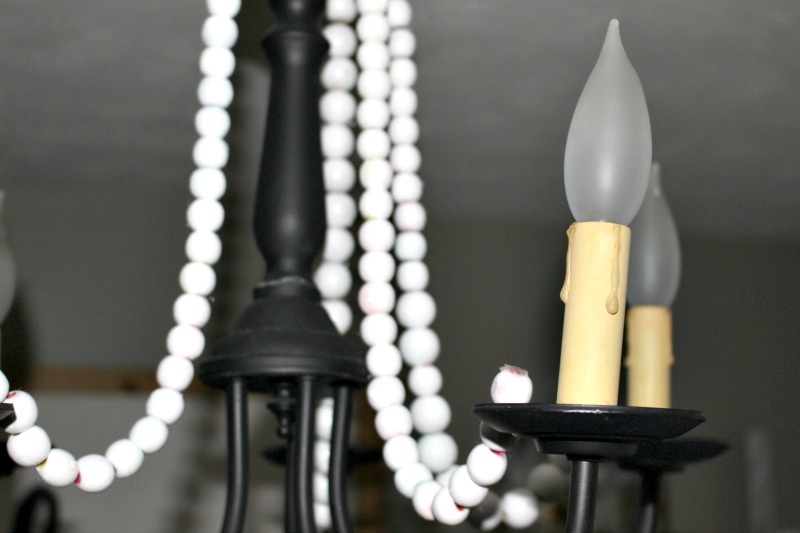
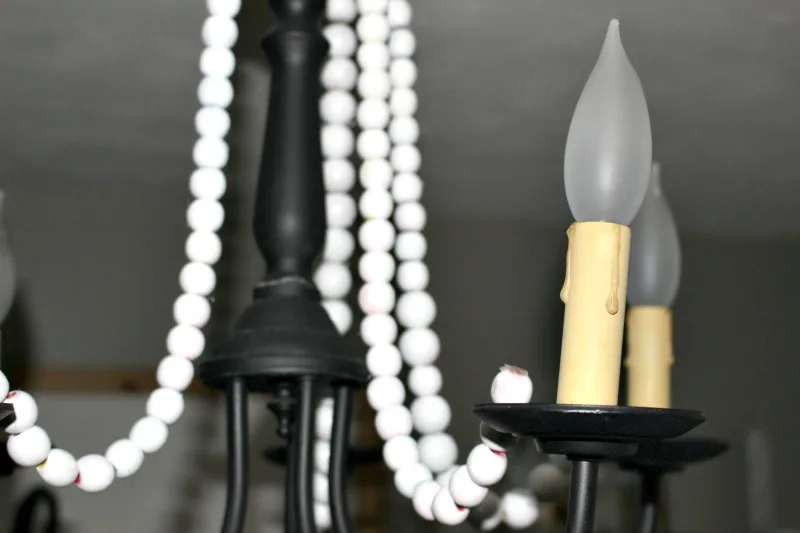
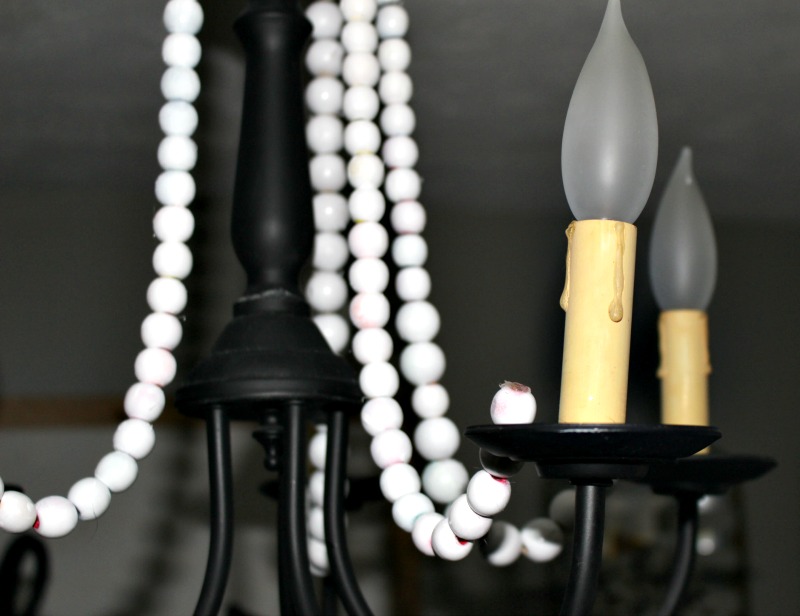
Next up, was the light over the dining room table. This one is a classic wrought iron chandelier that I really love.
I just wanted to add a little something to it to go with the modern farmhouse look I am going for.
You’ve all seen the wood bead garlands that are so popular now right? If not, you can see one here.
You can use them in so many ways and they are just classic farmhouse. One of my favorite DIY projects ever was this wood bead lamp.
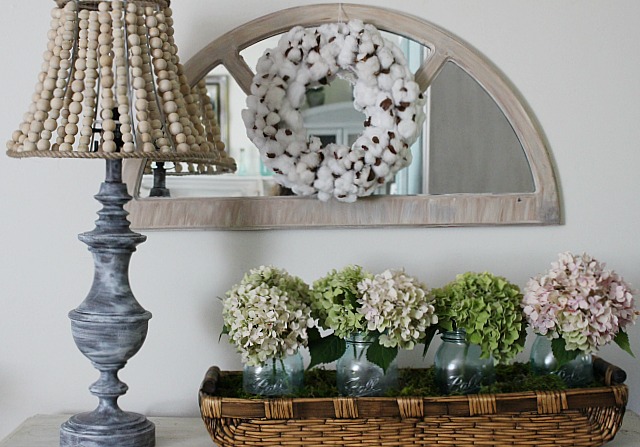
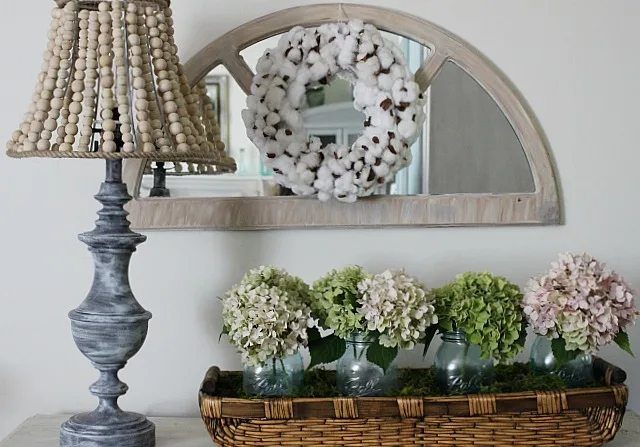
I applied the same concept by adding several strands of wood beads to the wrought iron chandelier:
The wood beads can be expensive to get as many as you need to make these.
So when I found wood beads at the Dollar Store I did a little happy dance.
Granted they were in primary colors, but nothing a little spray paint couldn’t fix.
First, I strung the beads on jute, then took them outside to paint them.

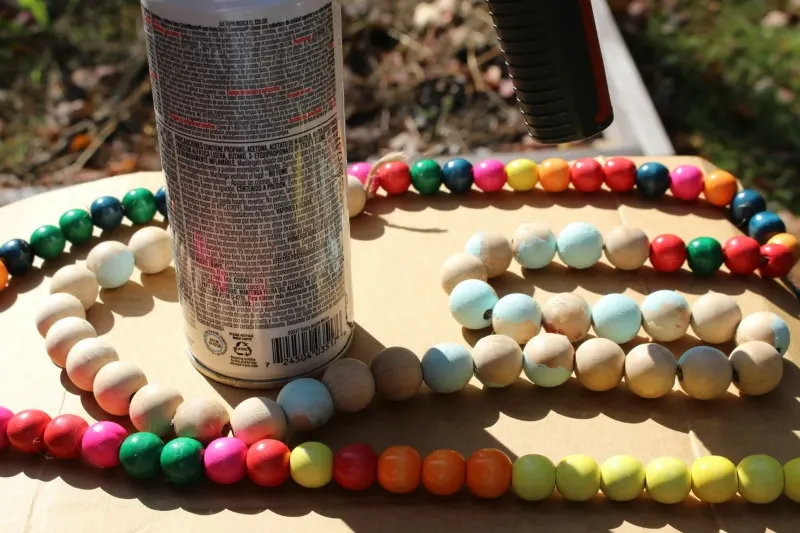
It does take 3 solid coats to cover the bright colors. Here they are after two coats:
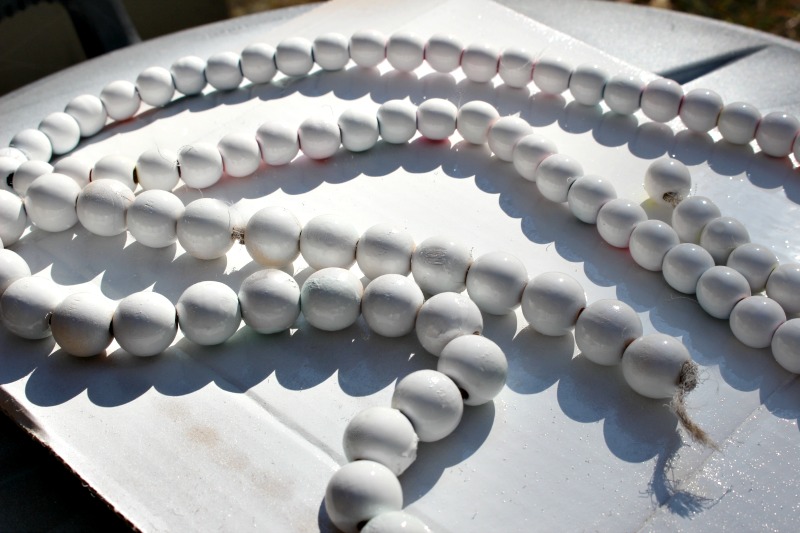

I used 3 bags of wood beads, so this was a very inexpensive update, plus I already had the spray paint!

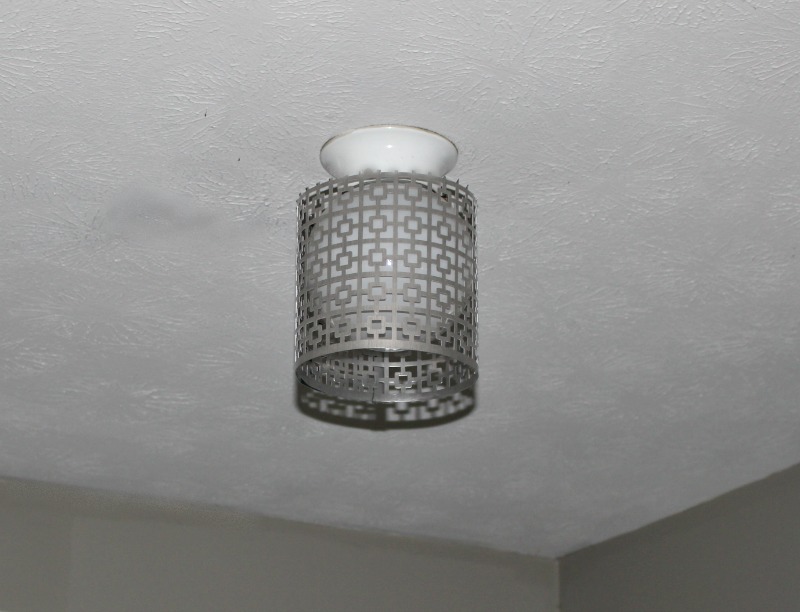
Next up is the globe light in the kitchen entry:
I really wasn’t sure what I was going to do to update this, so I did what I normally do when I am looking for inspiration to strike.
I went to the thrift store and the craft store!
I was just about to call it quits after not finding anything, when I saw this:
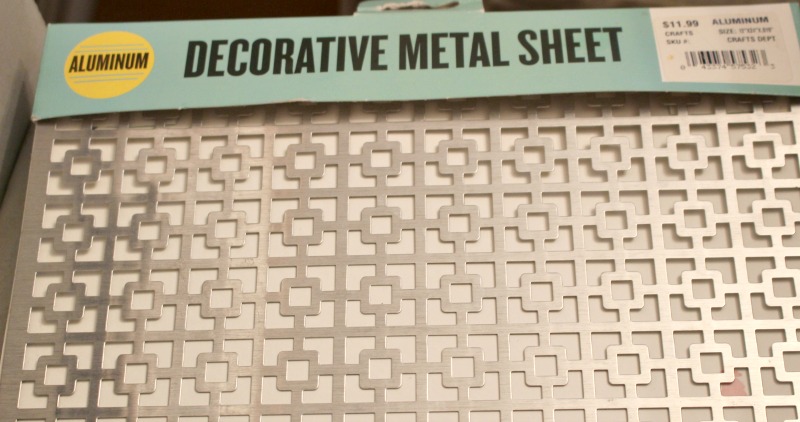
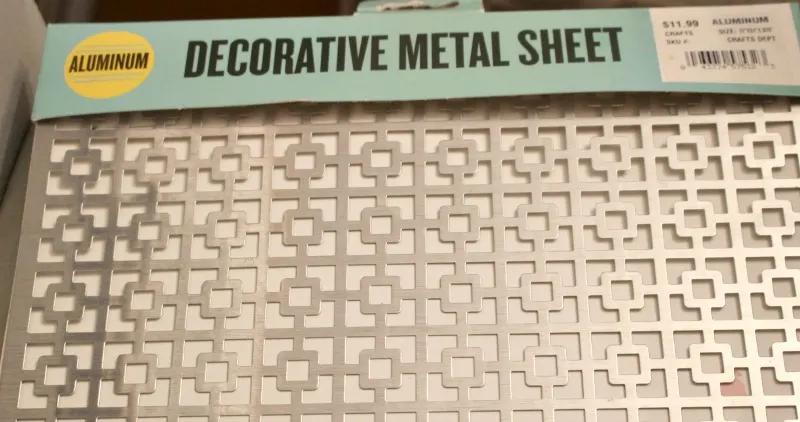
I’ve never worked with these metal sheets before, but I loved the design and thought the silver metal would go perfectly in the kitchen!
It was $11.99, but I had a 40% off coupon.
Plus, I only needed 1/2 for this project, so I plan to use the rest to cover the downstairs bathroom light, which is just off the kitchen.
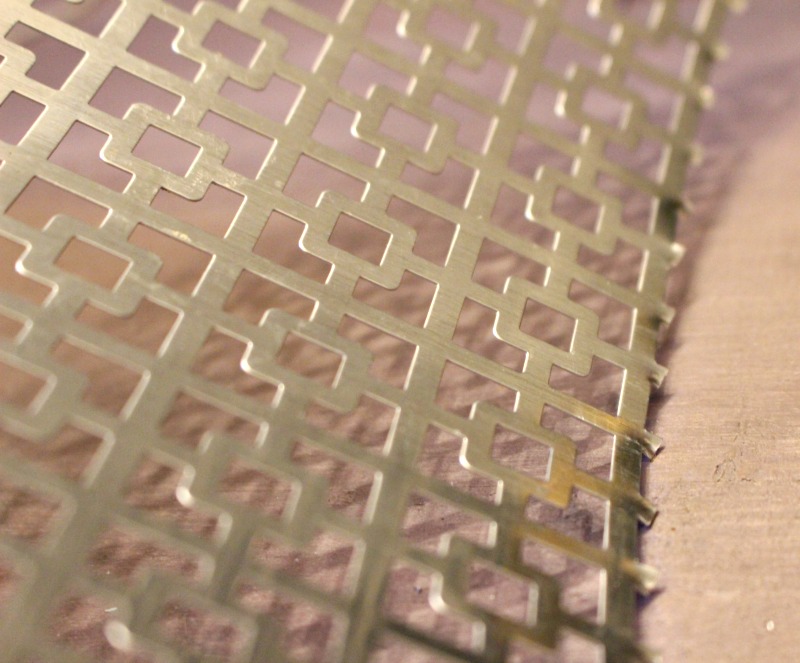
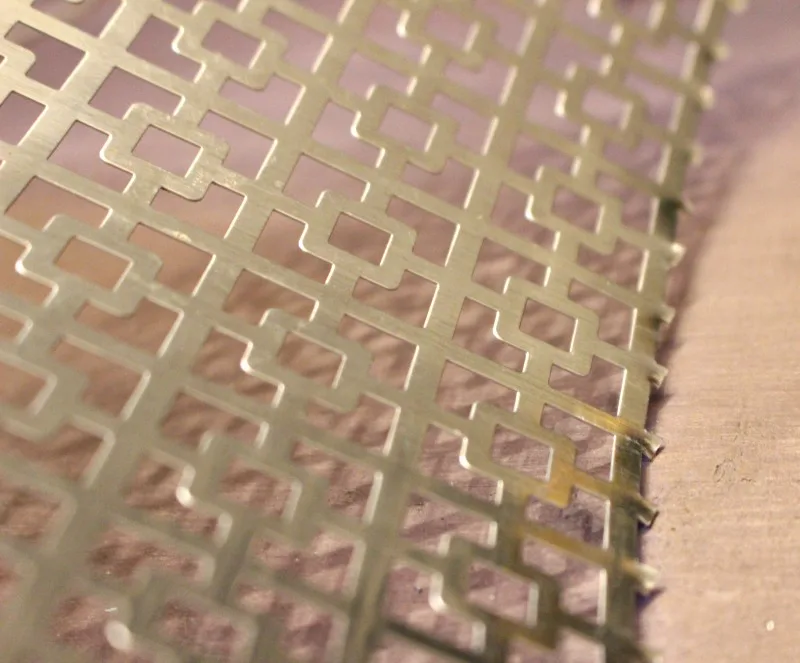
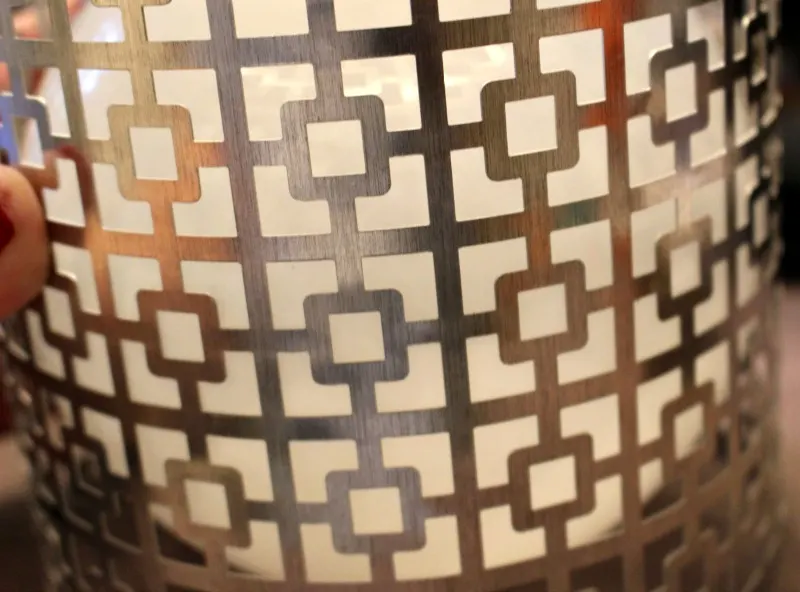
I used tin snips to cut it in half. The great thing is, I was able to just cover the existing globe light and rehang it.
I wrapped the metal around the light carefully and used a piece of wire to close the metal.
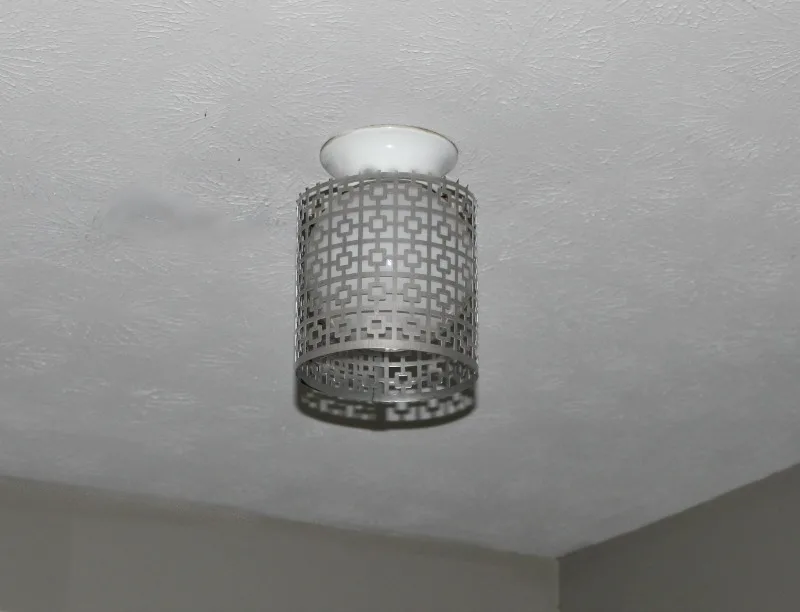
Then I hung the light back up with the finished side facing down. I love the soft glow that the light gives off.
It is so much more modern now.

[Tweet “4 Easy Ceiling Light Makeovers That Are Renter Friendly @oneroomchallenge #bhgorc #oneroomchallenge #diylights #diydecor #ourcraftymom “]
There is one more light in the center of the kitchen and dining room that I shared a few weeks ago.
Again it was the same globe light and I used a thrift store drum shade and small chandelier to make this pretty light:
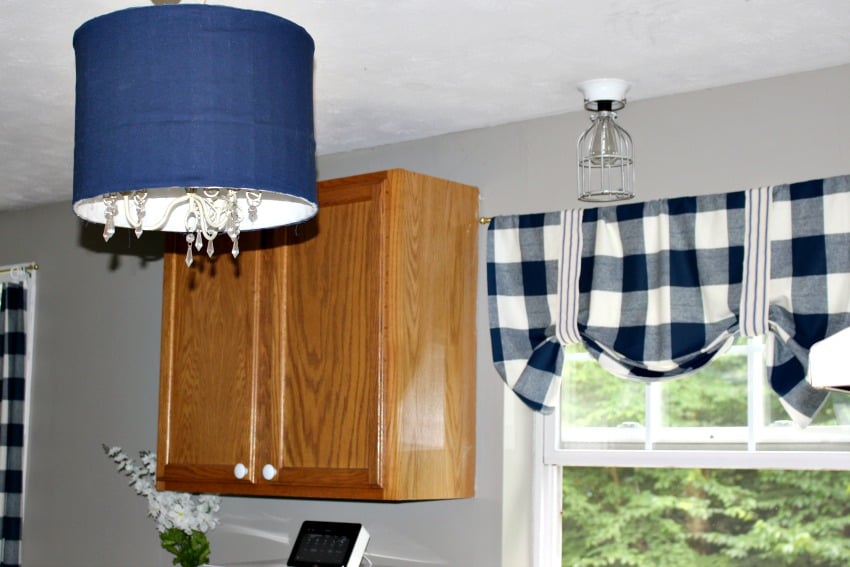

This is definitely one of my favorite updates. It was inexpensive, but has a lot of impact. You can get the full tutorial here.
Be sure to check out Week 1 here and Week 2 here. So far I can cross the following off the list:
- Dining Room Chairs ✓
- Lighting ✓
Still to come:
- Cabinets
- Backsplash
- Island
- Decorating, rugs, wall art
- Storage
**PIN FOR LATER**

I’m in a pretty good position to finish on time. But, the hardest is yet to come. I always seem to save the toughest for last!
Hey, I have to work up to it right?
Hopefully next week you will see some improvement in the cabinets. I found the rug I want and have ordered it.
I don’t want to give that away yet. I’m so excited for the backsplash and the new kitchen handles!
Thank you for visiting and supporting Our Crafty Mom. Hope to see you next week!
cecologicalca
Wednesday 15th of January 2020
thanks for share great ideas.
Kitchen Makeover On A Budget - One Room Challenge Reveal
Monday 12th of November 2018
[…] 1 Week 2 Week 3 Week 4 Week […]
Leanna
Wednesday 7th of November 2018
Great ideas, I love the metal mesh one. We are slowly replacing the boob lights all over our home and that metal mesh one would work for us. Thanks for sharing.
Lydia from Life Beyond the Kitchen
Wednesday 31st of October 2018
I really like the look of the decorative metal around the globe fixture, especially since you didn't have to remove or store the fixture. Storage space is a premium in our apartment. I'm sure we're not alone in that! Thanks for sharing your great tips with us at Creatively Crafty #ccbg :)
Ann
Thursday 25th of October 2018
Great ideas! Easy to do and perfect for renters. Thank you for sharing at Party In Your PJs!