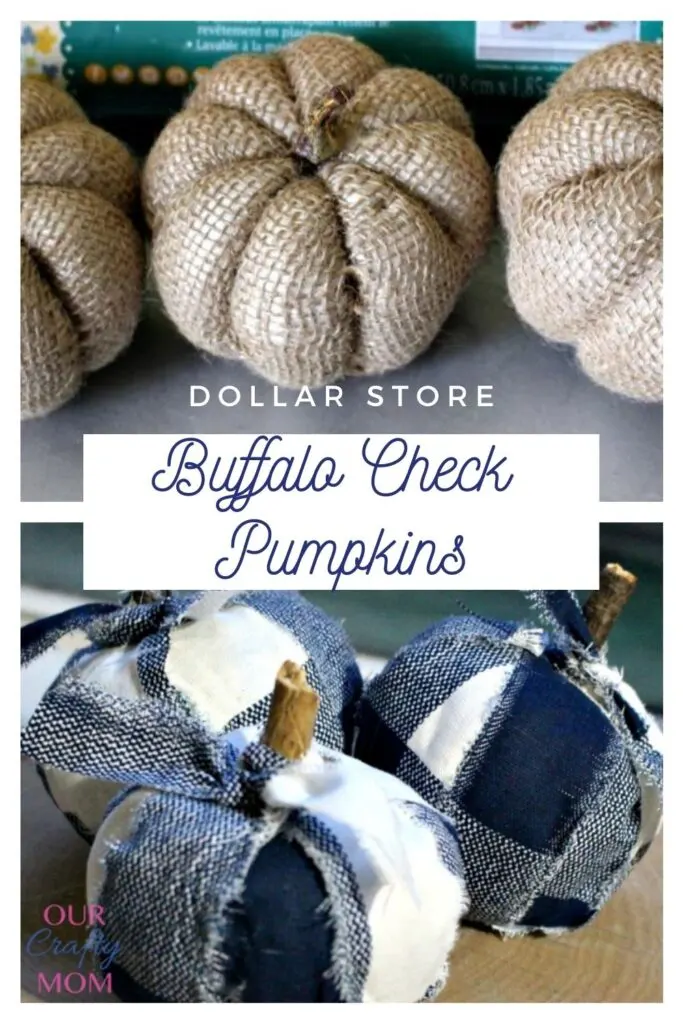
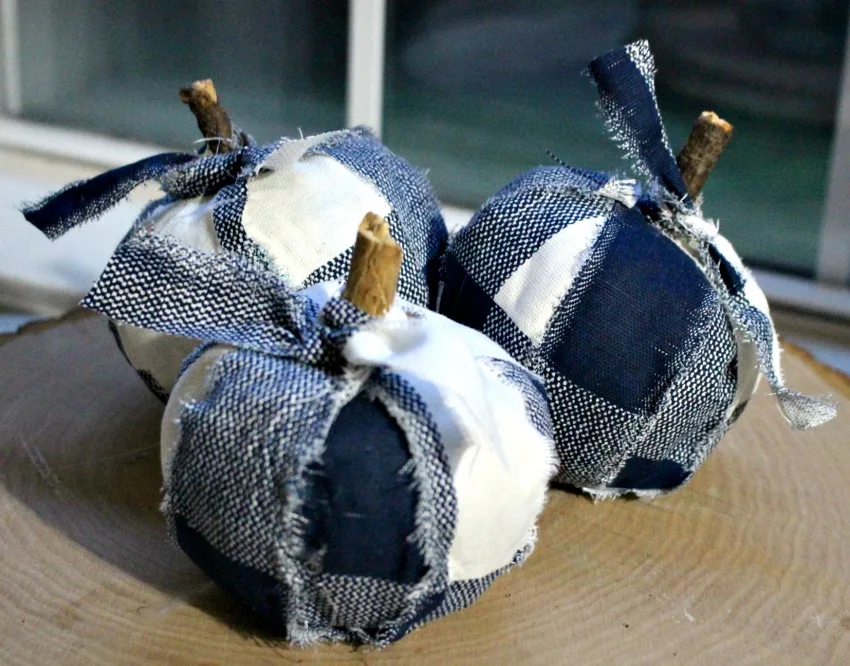
We all love a good Dollar Store makeover right? Well, wait until you see these adorable buffalo check pumpkins! Plus, they are no-sew!
This is part of the Dollar Store Challenge, so be sure to scroll until the end to see what my blogging friends are sharing.
There are 10 more projects to inspire you!
If you have visited here before, you know I love shopping at the Dollar Store.
After all these years I still walk through the store and think to myself “how can that be a dollar”?
Seriously, I just don’t get it! But I definitely enjoy it!
One Fall item that I look forward to updating from the Dollar Store each year are their pumpkins.
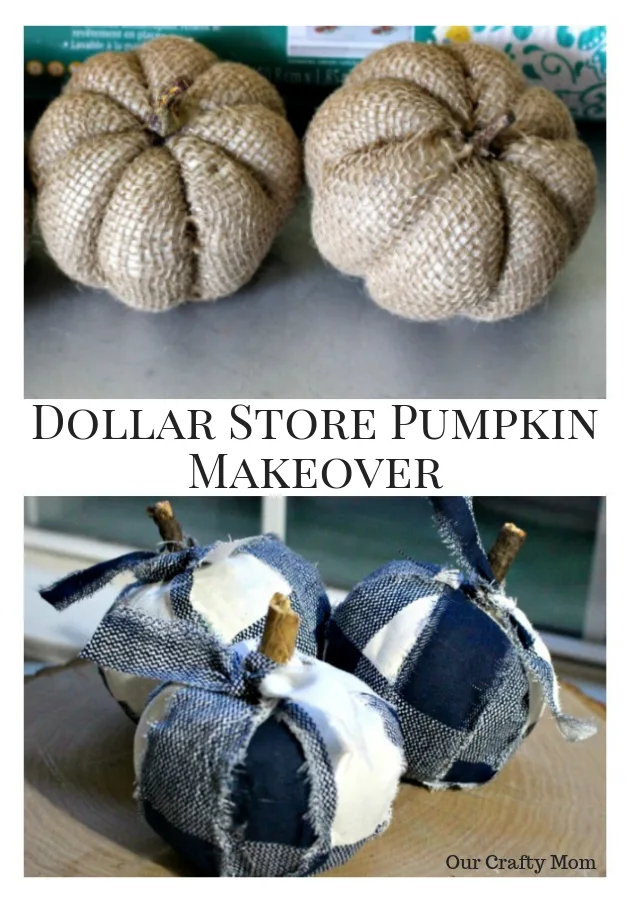
Usually I makeover the standard orange foam pumpkins, but they are not in my store yet, so I went with smaller burlap pumpkins:
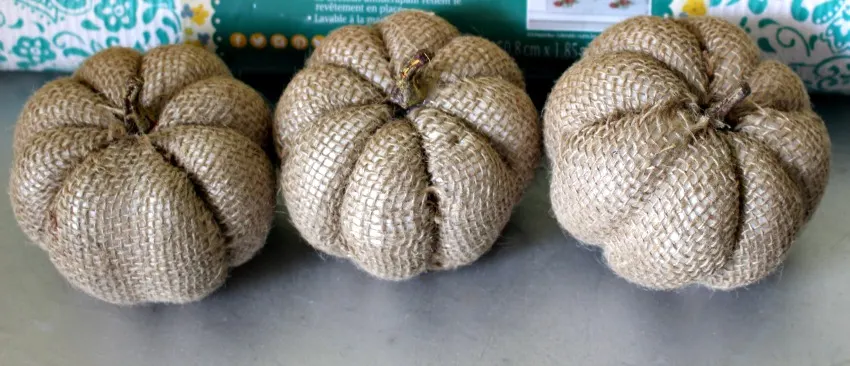
I am normally a fan of burlap, but these were in need of an update.
They were a very thin burlap and were ripped in spots.
You could also see the white foam underneath.
They were definitely still a bargain at a dollar, but I knew they would be just adorable with buffalo check fabric!
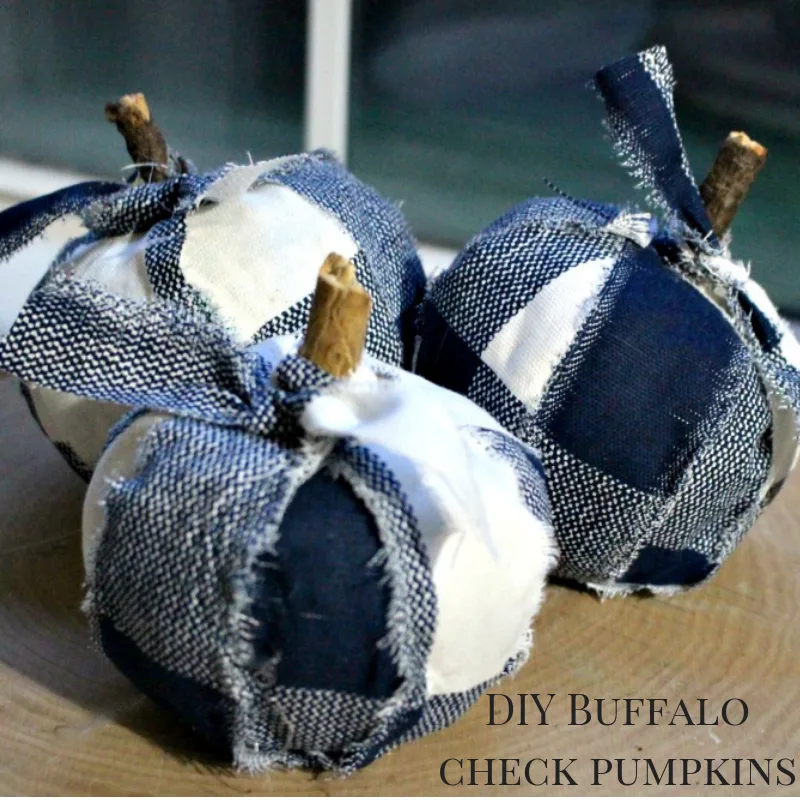
Let me show you just how super simple these pumpkins are to make:
Buffalo Check Pumpkins
Supplies
- Dollar Store Pumpkins
- Fabric
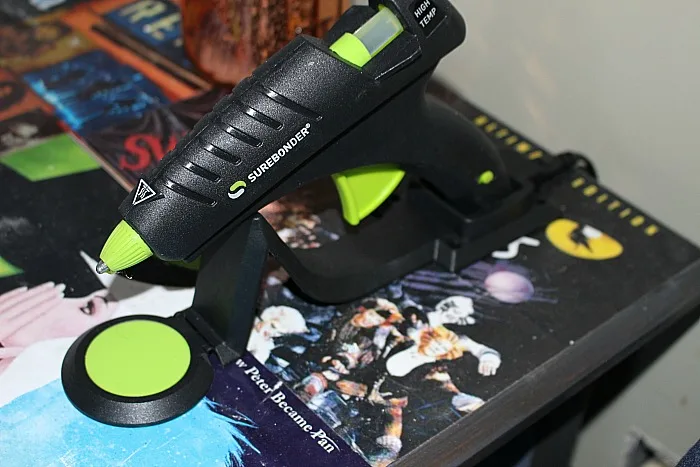
- Hot Glue Gun-my all time favorite glue gun is the Surebonder Cordless Glue Gun because it is cordless, has a drip catch and is under $20! It makes crafting a breeze.
First cut strips of fabric to fit the length of the pumpkin.
You can use whatever fabric you like, but I am on a buffalo check kick and had leftover fabric from my buffalo check curtains.
I thought it would be cool if the pumpkins had a patchwork look to them so I left the fabric loose and just hot glued the top and bottom of the fabric.
You certainly can use Mod Podge if you want it to have a tighter look.
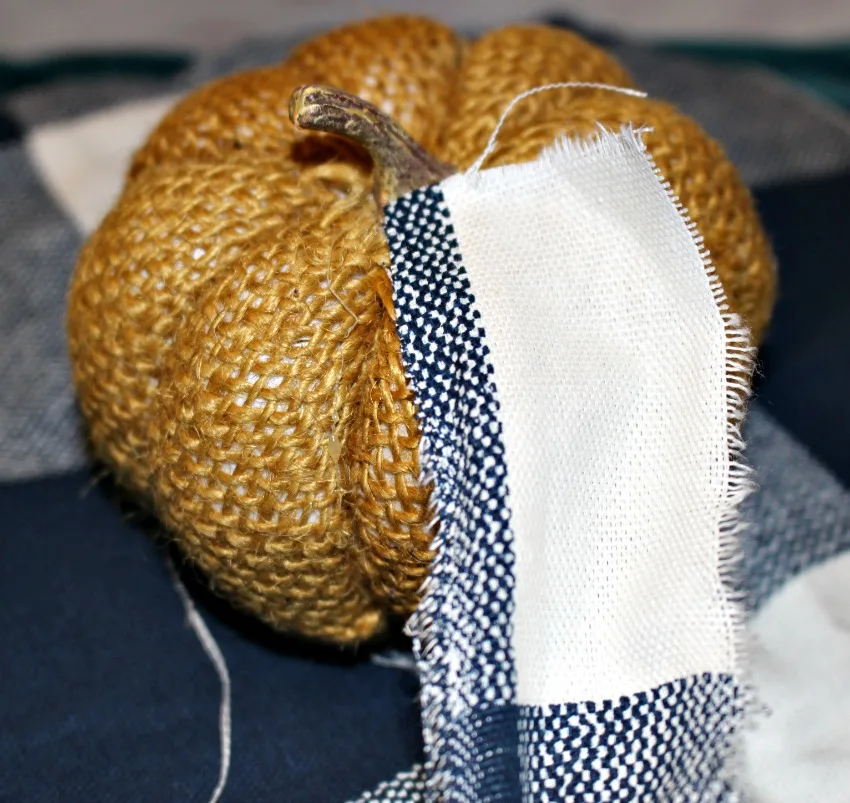
Just continue gluing the fabric strips to the pumpkin until it is completely covered.
As the pumpkin stem was a little small, I also added a stick from the yard to make it a little more substantial.
Tie a strip of fabric to the top and enjoy your adorable buffalo check pumpkin! It literally took me about 20 minutes to make!
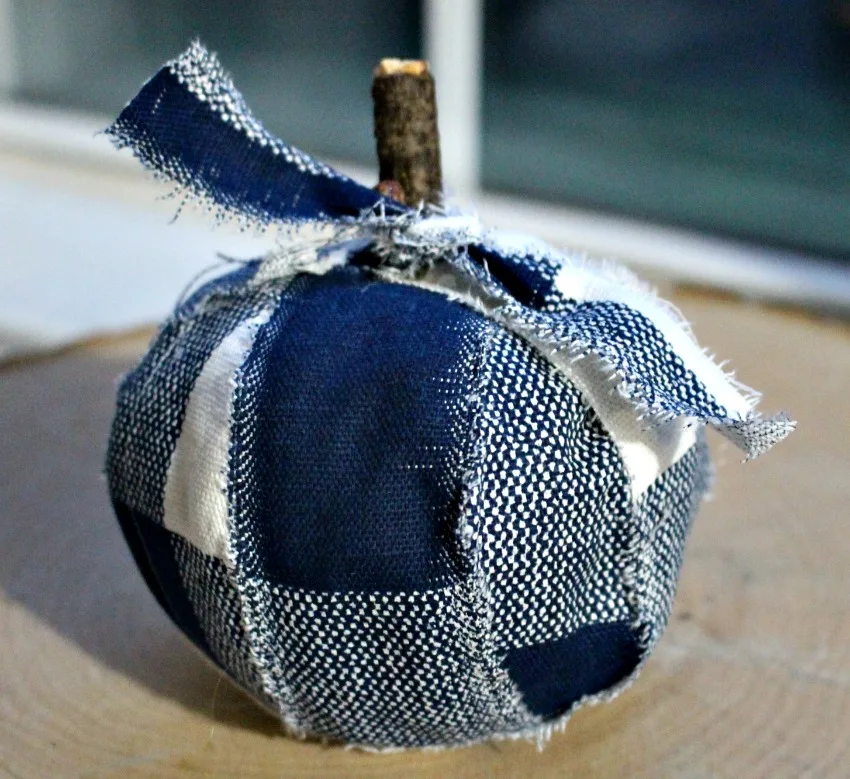
I love a good before and after picture to really see the difference:
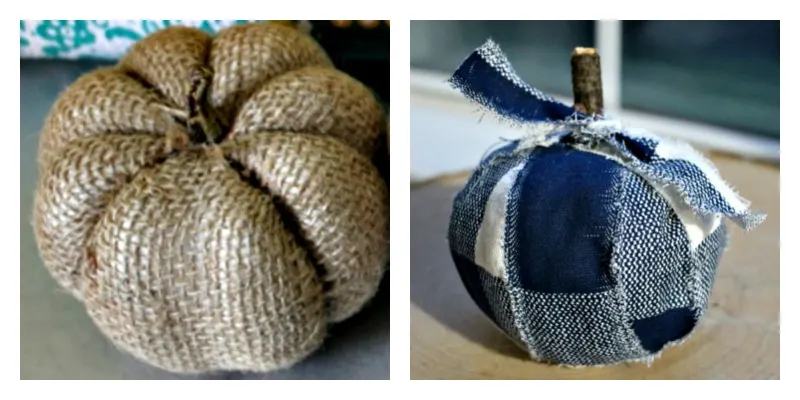
Remember I mentioned the orange foam Dollar Store pumpkins?
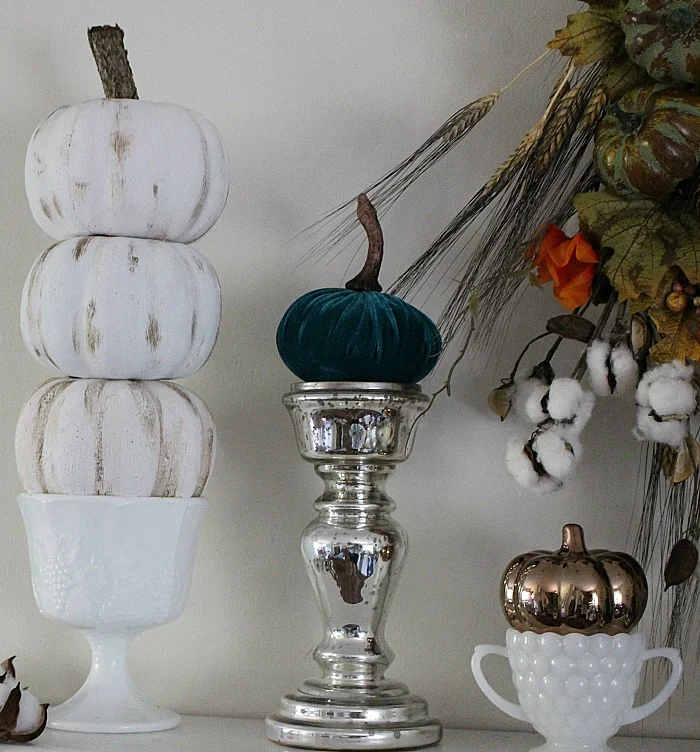
Check out the pumpkin topiary I made last year. It is still one of my favorite Fall crafts!
I hope you enjoyed this post and will pin the image below to share with your friends.
**PIN FOR LATER**

Easy To DIY No Sew Buffalo Check Curtains Our Crafty Mom
Saturday 19th of October 2019
[…] the buffalo check pumpkins […]
How To Make Beautiful Buffalo Check Plates With Mod Podge
Tuesday 15th of October 2019
[…] was quite a bit of scrap fabric left from the curtains, so I used them to make buffalo check pumpkins. Because my fall decorating would not be complete without […]
How To Make Buffalo Check Mason Jar Lid Christmas Ornaments
Friday 11th of October 2019
[…] And these buffalo check pumpkins […]
15 Dollar Store DIY Fall Decor Ideas That You Must Try
Monday 26th of August 2019
[…] Source: Our Crafty Mom […]
Creative and Colorful Halloween Pumpkin Decorating Ideas - Phoenix Mom Blog
Monday 12th of August 2019
[…] Buffalo Check Pumpkins […]