These sweet air dry clay hearts are easy, fun, and totally beginner-friendly. Perfect for Valentine’s Day crafts, gifts, and handmade decor.

This post contains affiliate links at no extra cost to you. Please see my full disclosure here.
Decorating for Valentine’s Day
As soon as all the Christmas decorations are put away, things can look a little bare. So, I decided to change the Christmas tree to a Valentine’s Day tree for the first time ever.
I just wasn’t ready to be done with the cozy lights and ambiance in the living room.
Of course, I’m always mindful of a budget, so I hit up my craft stash to see what heart-shaped decorations I could make.
The moment I spotted the bucket of air dry clay I knew it would be perfect for heart ornaments. Get ready to see lots of pink bows with a cute coquette style.
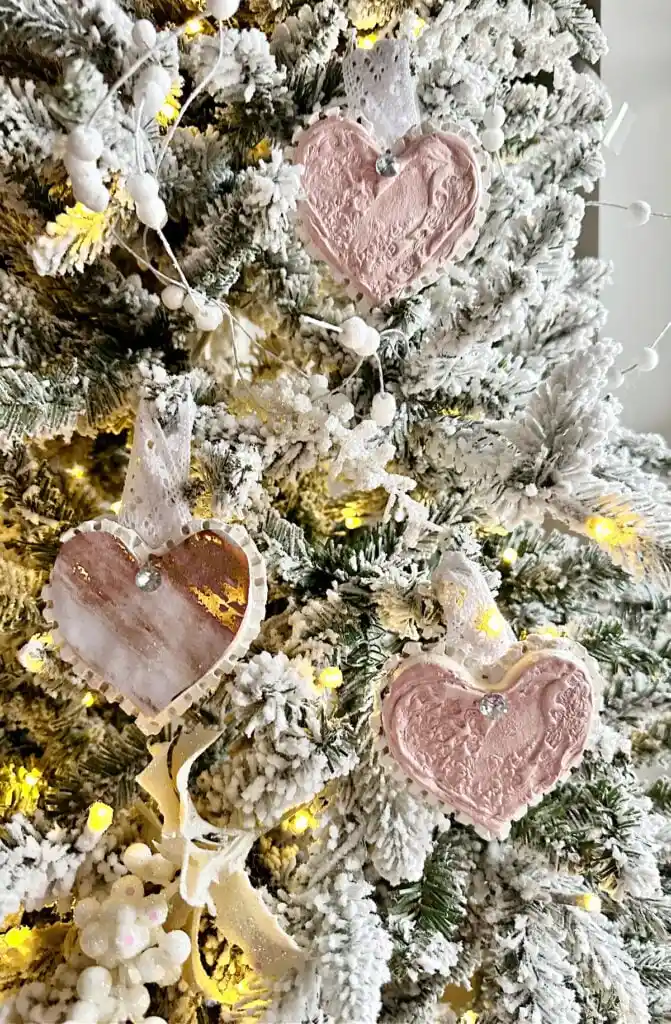
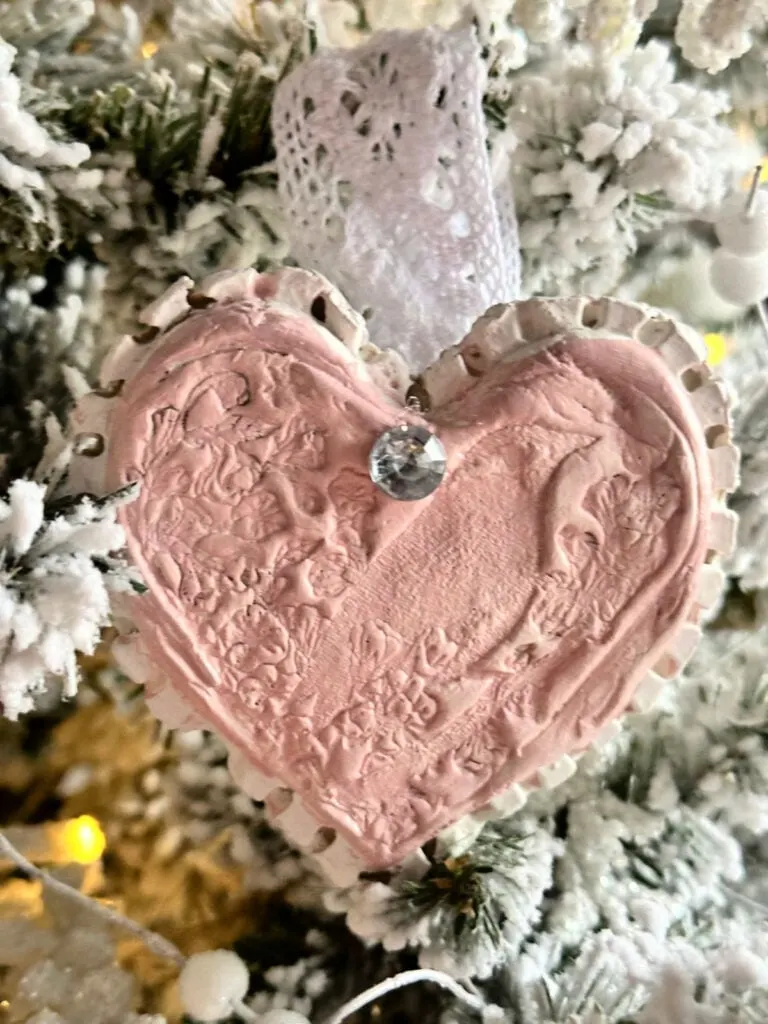
The full tree reveal will be up Monday, but here is a sneak peek.

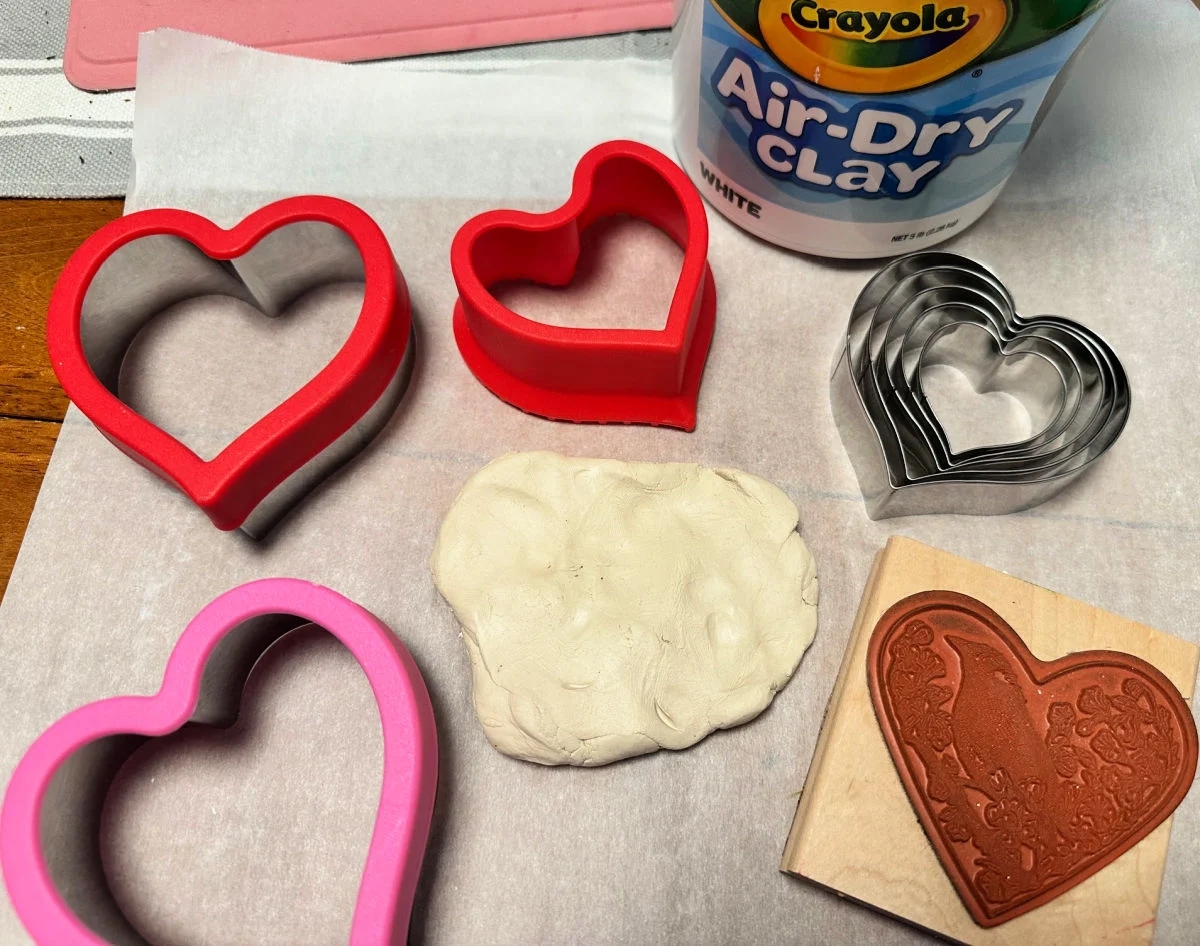
Supplies for Air Dry Clay Heart Ornaments
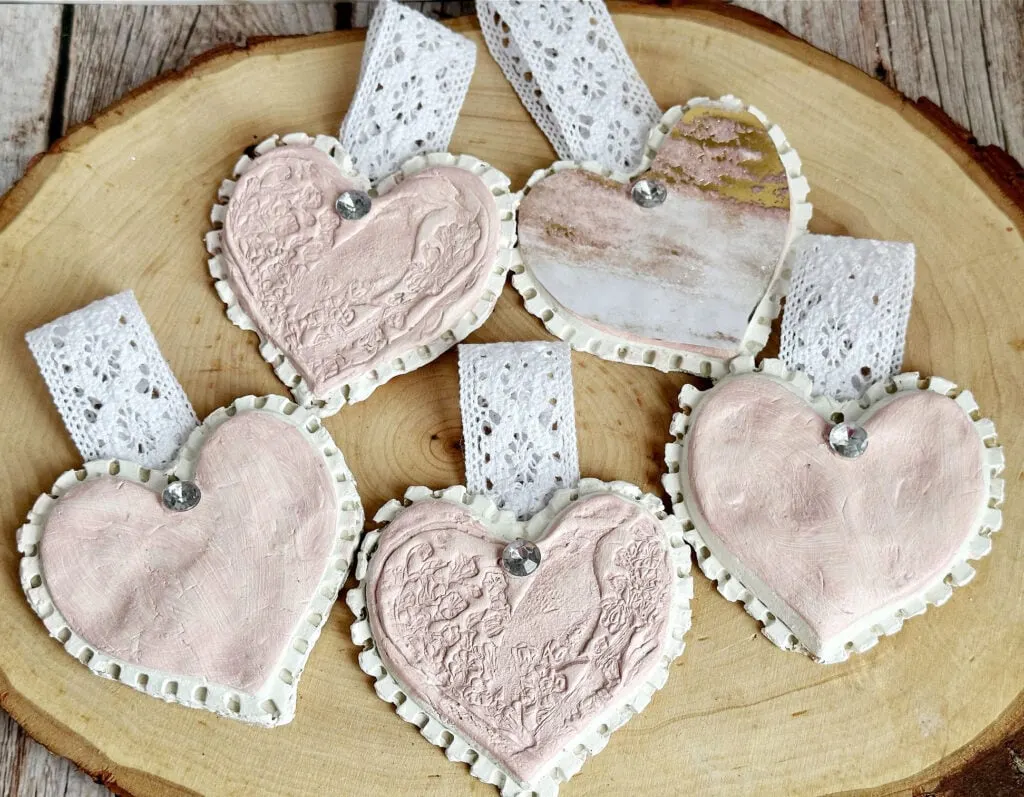
Here are the supplies needed to make these beautiful clay hearts. I’m so in love with how they turned out and hope you are too!
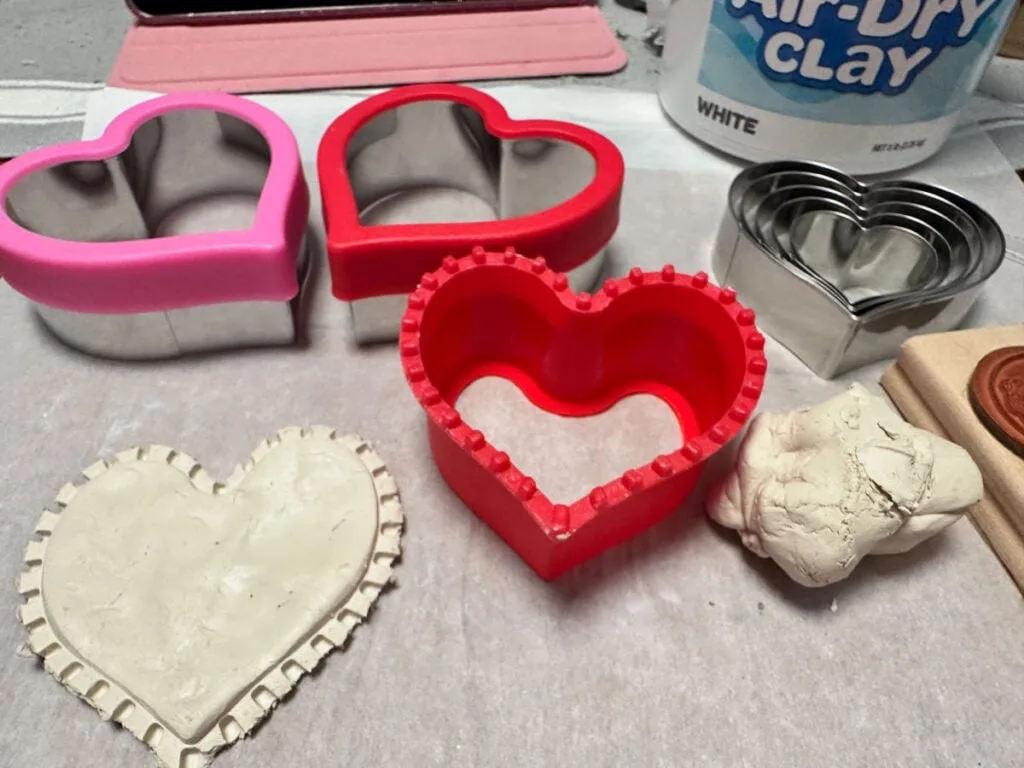
- Air Dry Clay – I’ve found this Crayola brand very easy to work with and extremely affordable.
- Heart Cookie Cutter Set – this is such a bargain with lots of different size hearts.
- Vintage Bird Stamp – I used a heart bird and flower stamp from my craft stash, but linked to a pretty set on Amazon that is very affordable!
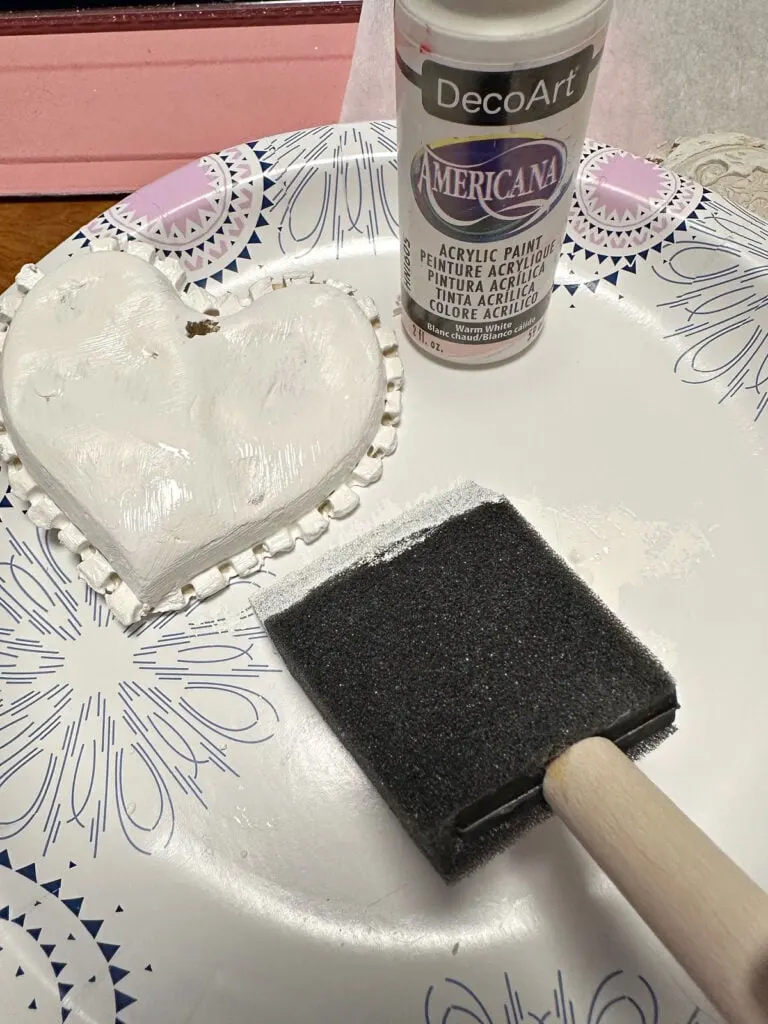
- Acrylic Paint – I used DecoArt in warm white and blush pink.
- Foam Brush
- Lace Ribbon
- Craft Scissors
- Mod Podge – to seal the hearts

How to Make a Heart Out of Air Dry Clay
Step 1. Roll out Clay
Roll out a ball of air dry clay on parchment paper until it is the right thickness that you need for the hearts.You can use a mini rolling pin, or even the side of a glass.
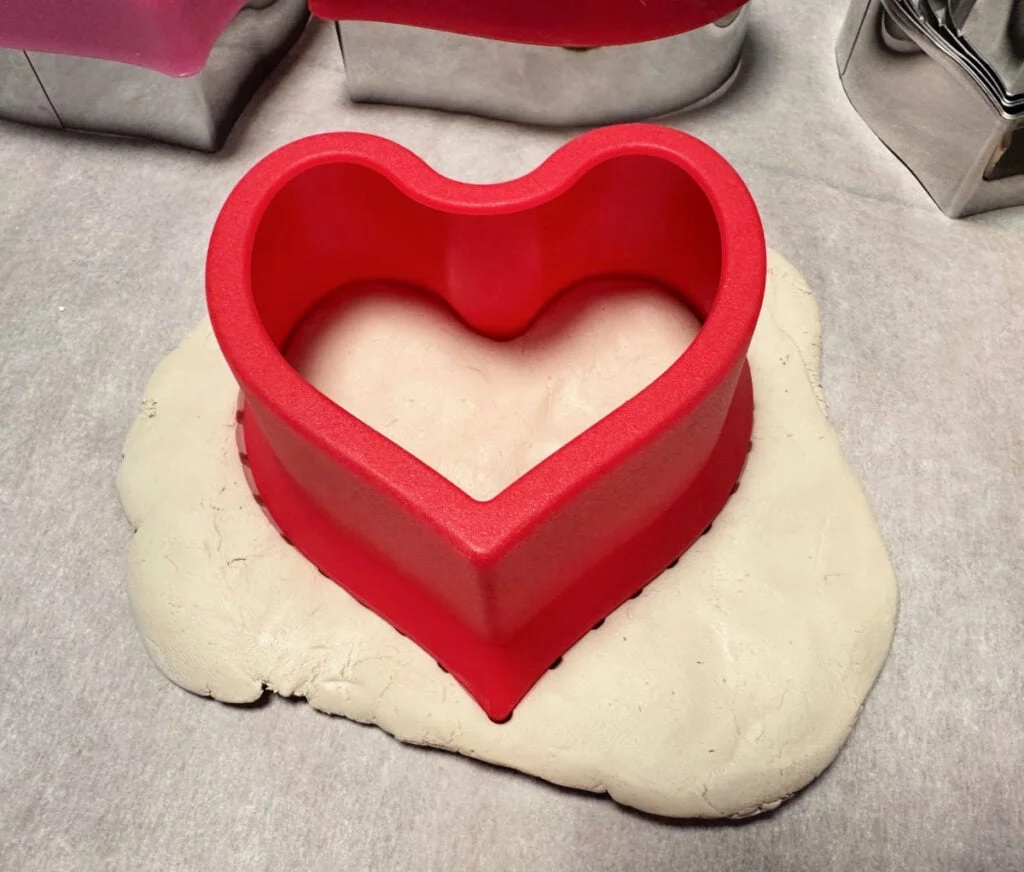
Step 2. Cut Heart Shapes
Use the decorative heart cookie cutter to cut out the shape. I love the detailing on this heart. It looks like lace.


Step 3. Use Stamp to Emboss
I chose to make both plain lace hearts and embossed lace hearts with a pretty bird stamp.


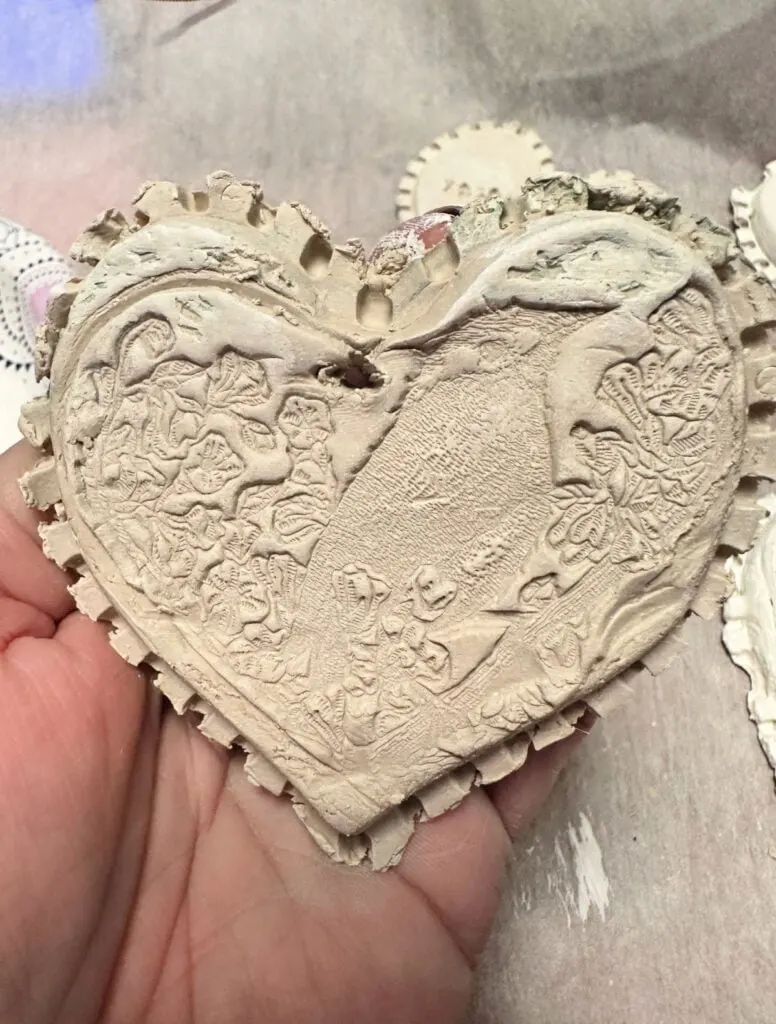
Simply press the stamp into the rolled clay and slowly remove. This works so well and really shows up when it is painted.
Step 4. Set Aside to Dry
It is best to let the clay dry overnight, but it will take up to 3 days to completely dry.
Step 5. Paint and Decorate as Desired
I started painting the entire ornament with white acrylic paint. Let dry.

Step 6. Cover with Pink Paint
I covered the top with a soft pink paint using a sponge brush. This really makes the embossing show up. The sides were kept white and it looks like the lace doily heart candy boxes. So pretty!

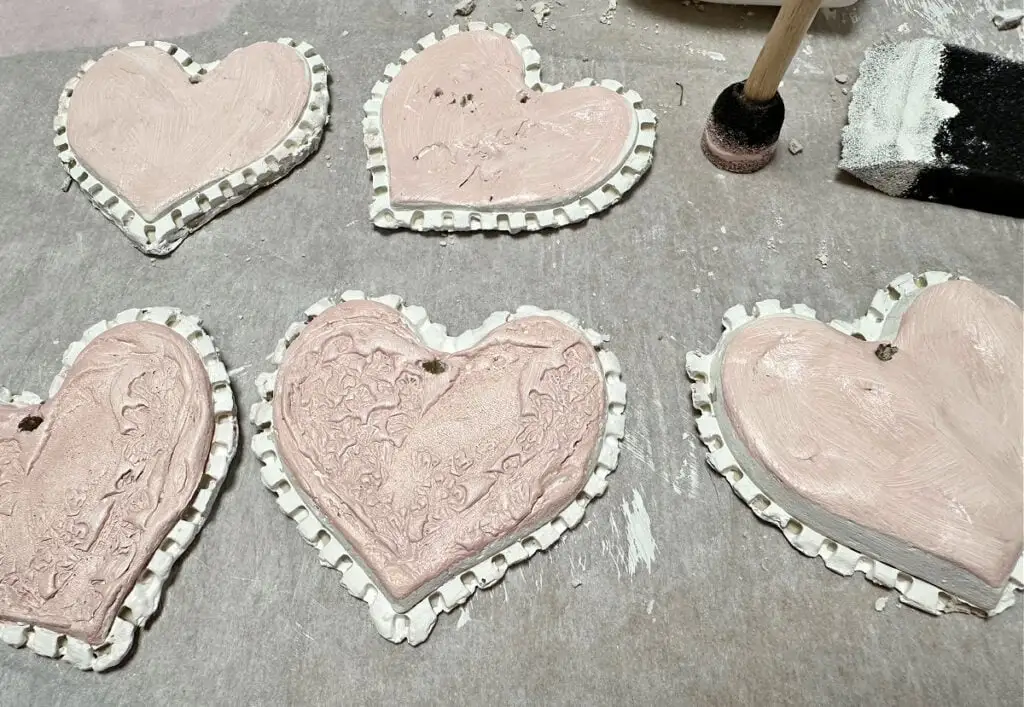
Let dry. Once dry, seal with mod podge.
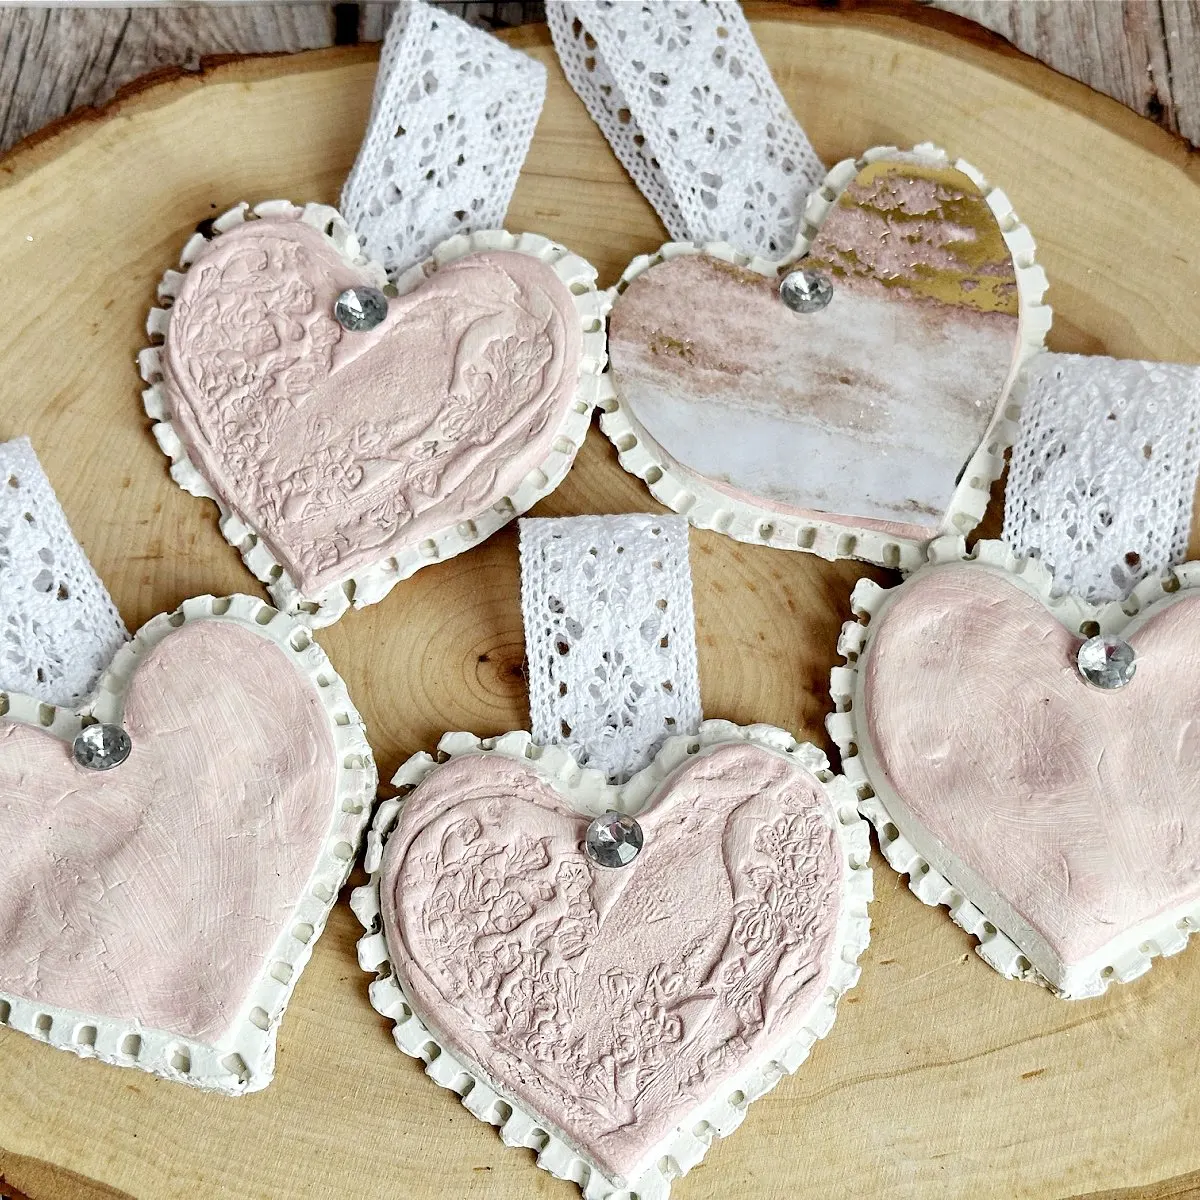
Air Dry Clay Heart Ornaments
Add lace ribbon, or any ribbon that you like, for hanging on a tree, or decorating shelves. They would also make lovely bowl fillers.
The top right pink and gold heart was created with decorative paper. My favorite ones are definitely the stamped hearts. The texture is gorgeous!

Look at how lovely they are on the tree. They have a shabby chic vibe to them.

What do you think? Is this something you can see yourself making? Which design is your favorite?
Save For Later
I’d love it if you would share this article with your friends on Pinterest by pinning the below image.
It helps my blog grow and doesn’t cost a thing! 🙂


Now that you’ve made your own air dry clay hearts, here are some ideas for decorating with them, plus a few other clay project ideas.
How to Decorate with Air Dry Clay Hearts
- Wall Art or Hanging Decor
String clay hearts together, hang them individually, or mount them in a small frame for sweet handmade wall art. - Heart Garland
Thread hearts onto twine or ribbon for a simple garland on a mantel, shelf, headboard, or window. You may also like this Valentine garland with yarn wrapped hearts. - Decorative Bowls & Trays
Use larger hearts as catchalls for jewelry, keys, or small treasures on a nightstand or entry table. - Ornaments & Gift Toppers
Add twine and hang them as seasonal ornaments, or tie one onto a gift for an extra-special handmade touch. - Tabletop Decor
Scatter hearts on a table, tuck them into place settings, display them in a wooden dough bowl or stack a few on a tray for a cozy centerpiece moment.
Additional Air Dry Clay Crafts
- Heart dish: form a small heart dish with air dry clay by simply rolling out a larger portion of clay, and cutting the heart shape. Place it over a small bowl covered in plastic to shape it while it dries.
- Air Dry Clay Mini Heart: craft cute mini clay hearts using a small heart mold like the size I used to craft lavender heart shower melts.
- Air Dry Clay Napkin Rings: use seasonal stamps to make napkin rings for any holiday or season.
- Clay Wine Glass Charms: these beach themed wine glass charms will be a big hit at any summer barbecue or girls night.
- Air Dry Clay Ghosts: these little cuties went viral last Halloween!
Thanks so much for stopping by. Happy crafting!


Cover your piece loosely with a plastic bag for the first few days to let it dry slowly and evenly. Try to maintain even thickness on your clay, so it dries evenly.
It typically takes 24 to 72 hours to dry to the touch, but larger or thicker pieces can take longer. It helps to rotate or flip the pieces periodically for even drying.
If your leftover clay has dried out, break it into smaller pieces and seal it in a ziplock bag with a little water. Let it sit for two days, then knead until smooth again. You should be able to reuse it at this point.
Follow me on social media below: