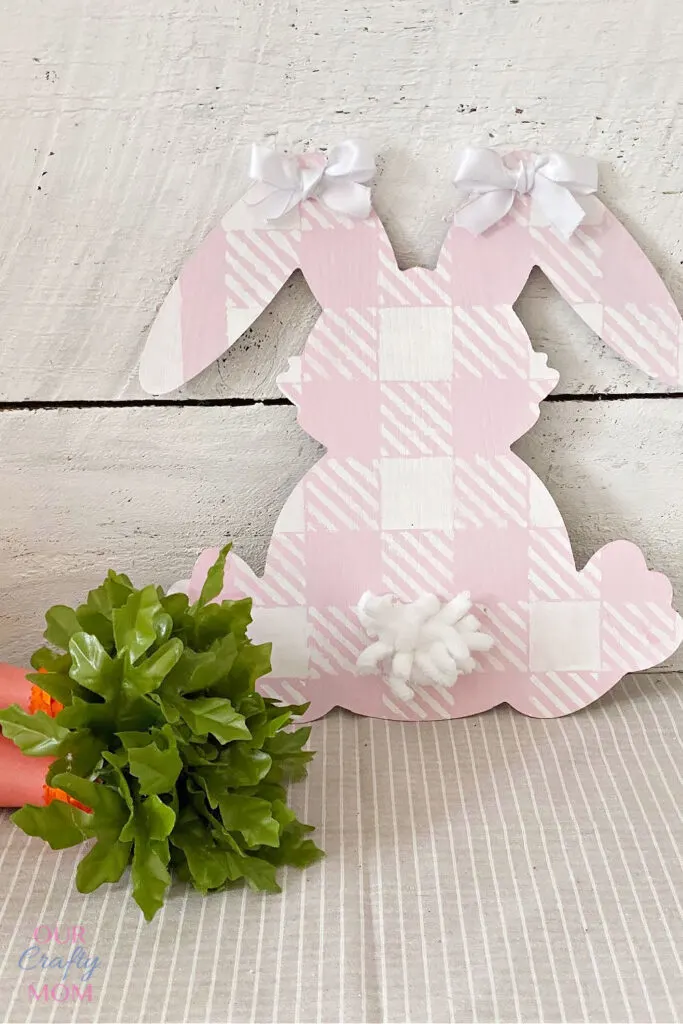
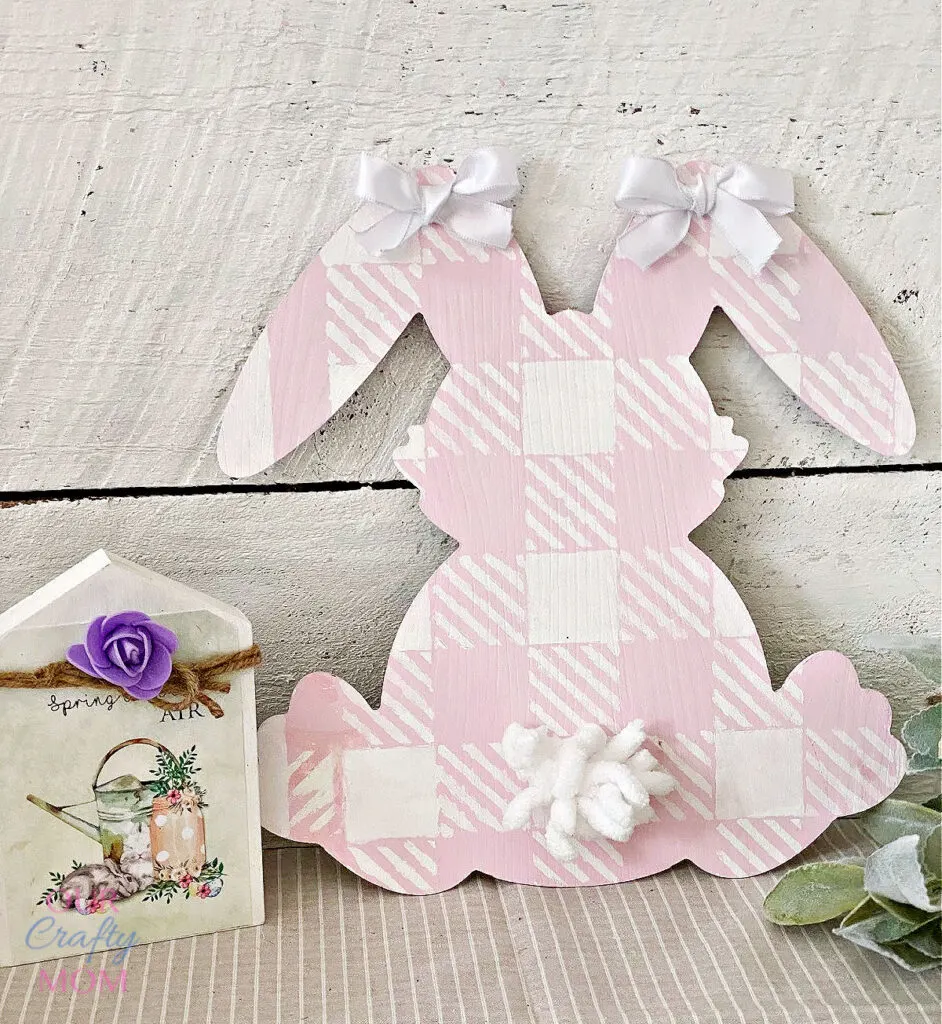
I spotted this wooden Easter bunny at Dollar Tree and knew I could make it my own. A little buffalo check and a few simple details were all it needed!
Buffalo check continues to be a favorite in home decor, so why not incorporate it into your Easter decorations?
This buffalo check wooden Easter bunny is easy to make and will add a touch of rustic charm to your spring decorations, plus it only requires a few inexpensive supplies that you can find at the dollar store.
If you are a regular visitor here (thank you), you know I LOVE bunny crafts for Easter and spring.
They just signify the start of springtime and the Easter holiday.
The Dollar Tree really pulled out all the stops with their Easter decor this year.
You can find different shapes and sizes of wooden bunny cutouts, but be sure to shop early in the season as these wood bunnies “hop out the door”! 🙂
I hit it at just the right time and found some great craft supplies!
Whenever I talk about tips for shopping at thrift stores, I always say if you love something, buy it when you see it because chances are it won’t be there when you go back.
It’s hard to believe Easter is just around the corner.
I still have a couple of adorable projects to share AND I have to make some treats for the kiddos.
So let me show you how to make this bunny so you can make your own in plenty of time to decorate.
Supplies to Make a Buffalo Check Wooden Easter Bunny
- Wooden Bunny – Dollar Tree
- White Chalk Paint
- White Loop Yarn
- Buffalo Check Stencil
- Foam Brushes
- White Wired Ribbon
- Cordless Hot Glue Gun – this one is my favorite!
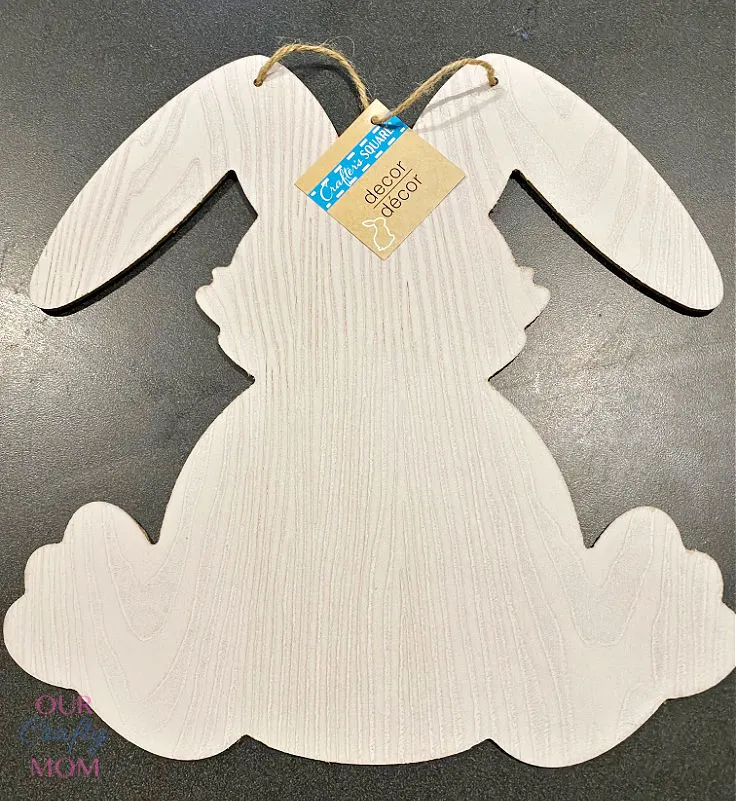
How to Make a Buffalo Check Wooden Easter Bunny
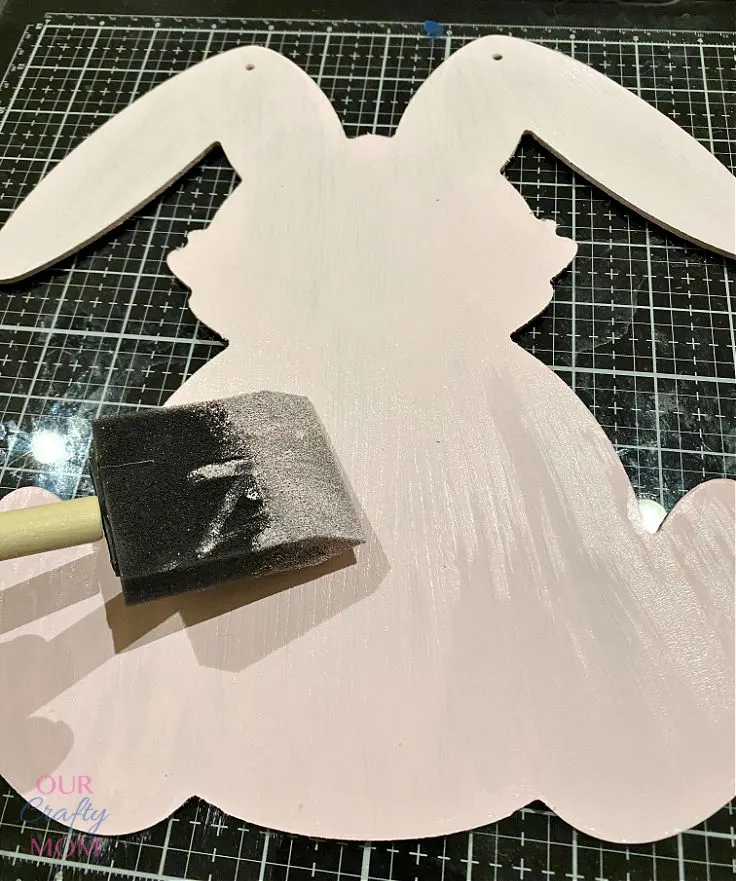
Step 1. Paint the Bunny
Start by painting your wooden bunny white. This will be the base color with pink being an accent color for the buffalo check.
Step 2. Secure the Stencil
Place your stencil on the wooden bunny so it is even all around. It doesn’t have to be perfect.
I noticed I missed a spot, but I believe there are no mistakes in crafting.
If there is a noticeable difference, you can place the stencil back in that place and dab a little bit of paint to fix it.
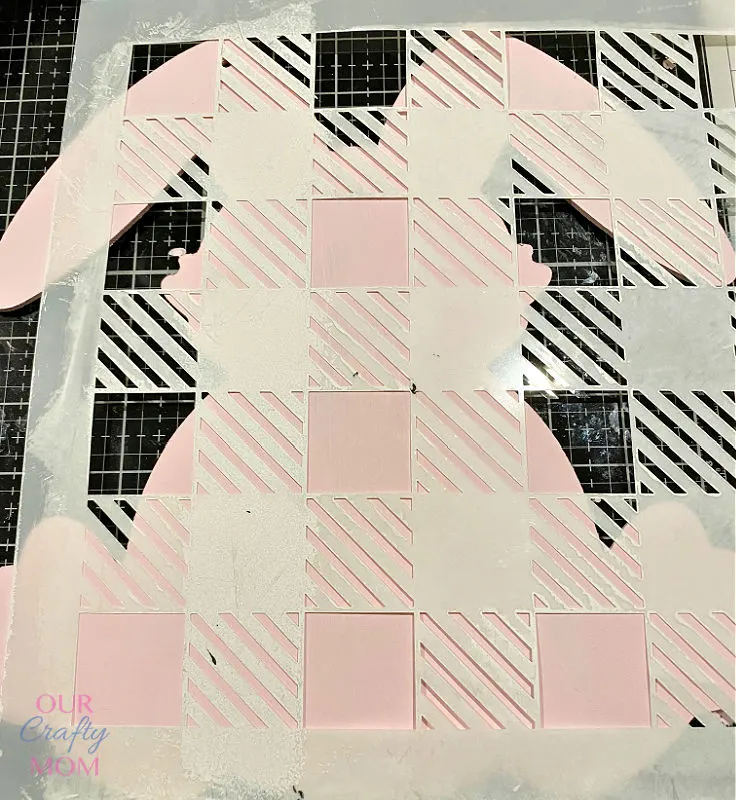
You can use tape to hold the stencil down, but I just held it in place.
Some stencils have a sticky back which makes them so easy to paint.
Step 3. Tips for Painting Buffalo Check
Whenever stenciling, I always say less is more.
Pour your paint on a paper plate and use a stencil brush or foam brush to lightly dab the paint onto the stencil.
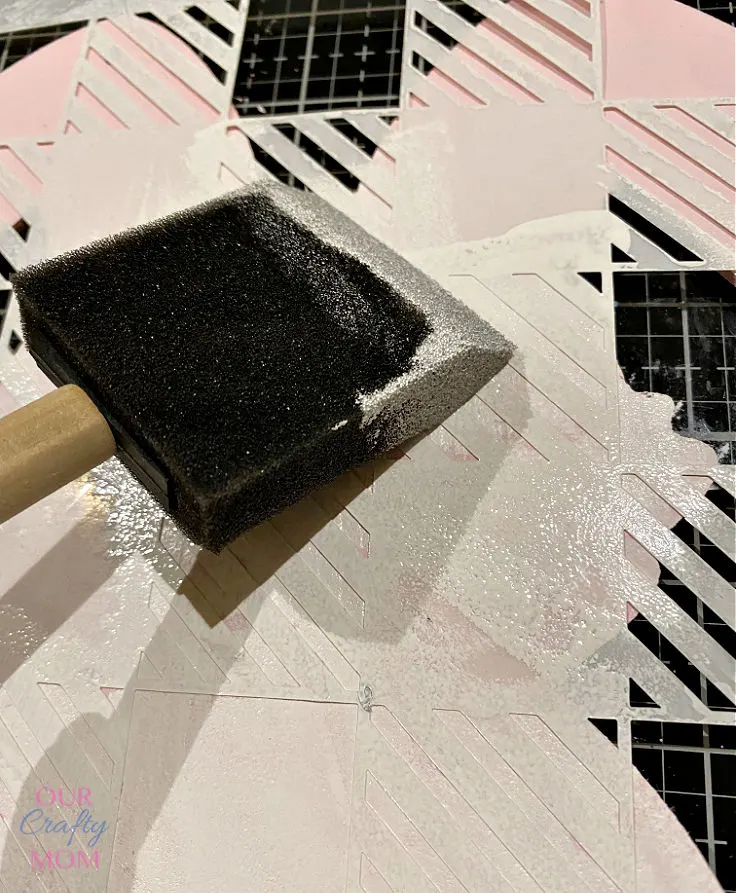
I used pink paint for this bunny, but you can use whatever color you want.
Classic black buffalo check would look great too!
It’s always easier to go back and add more paint than it is to try to remove it.
Step 4. Remove the Stencil
Carefully remove the stencil so you don’t mess up any of the wet paint.
A quick tip: use wet q-tips to remove any paint that has bled.
You can also use them to add little touch-ups to your craft projects.
I keep a little jar full of these on my craft table.
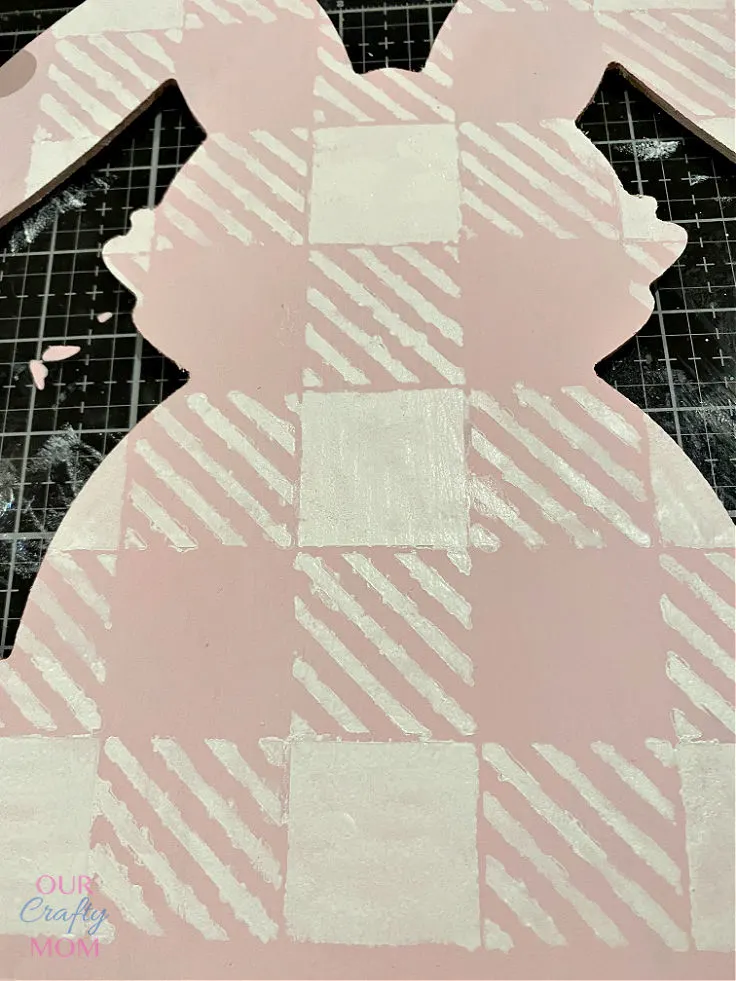
Step 5. Decorate Bunny With Embellishments
Use whatever embellishments you like. I chose to keep it simple so the buffalo check would be the star of the show.
A couple of bows add a sweet touch to the ears.
Of course, I had to add loop yarn for the tail to officially turn this into a bunny butt!
You may also want to see my clay pot bunny butts for a cute table idea.
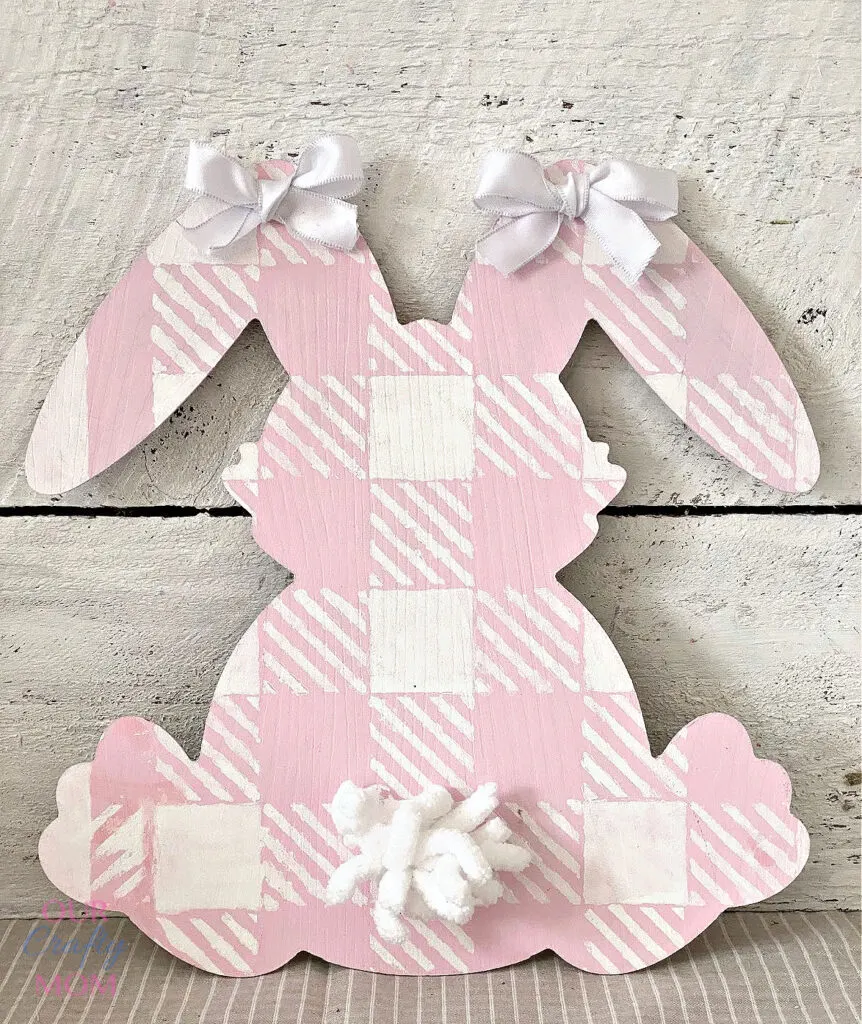
Decorate with your adorable wooden Easter bunny…
Your buffalo check wooden Easter bunny is now ready to hop into your Easter decor!
You can add a piece of twine, ribbon, or even a wood bead hanger if you want to hang your bunny.
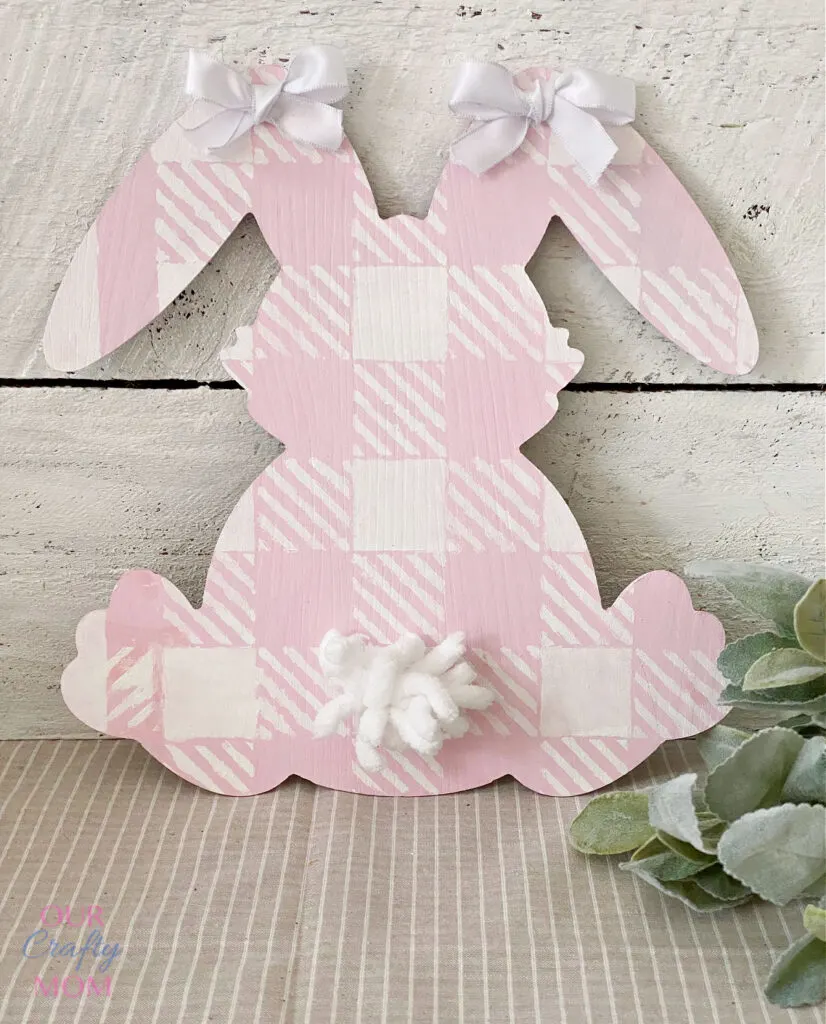
Or stand it up on a mantel, side table, or buffet.
To give the bunny extra dimension, hang it on a wood sign or old pallet.
This would be just adorable in a kid’s room or nursery too.

I’m sharing a little peek of another craft coming up next week…those little carrots you see peeking out.
Be sure to come back Friday for those!
In case you missed it, you can get the tutorial for the decoupage wood houses HERE.
I hope you like this simple Easter wood craft idea.
If so, please follow me and share on Facebook and Instagram.
It really helps my blog to grow and doesn’t cost a thing. 🙂
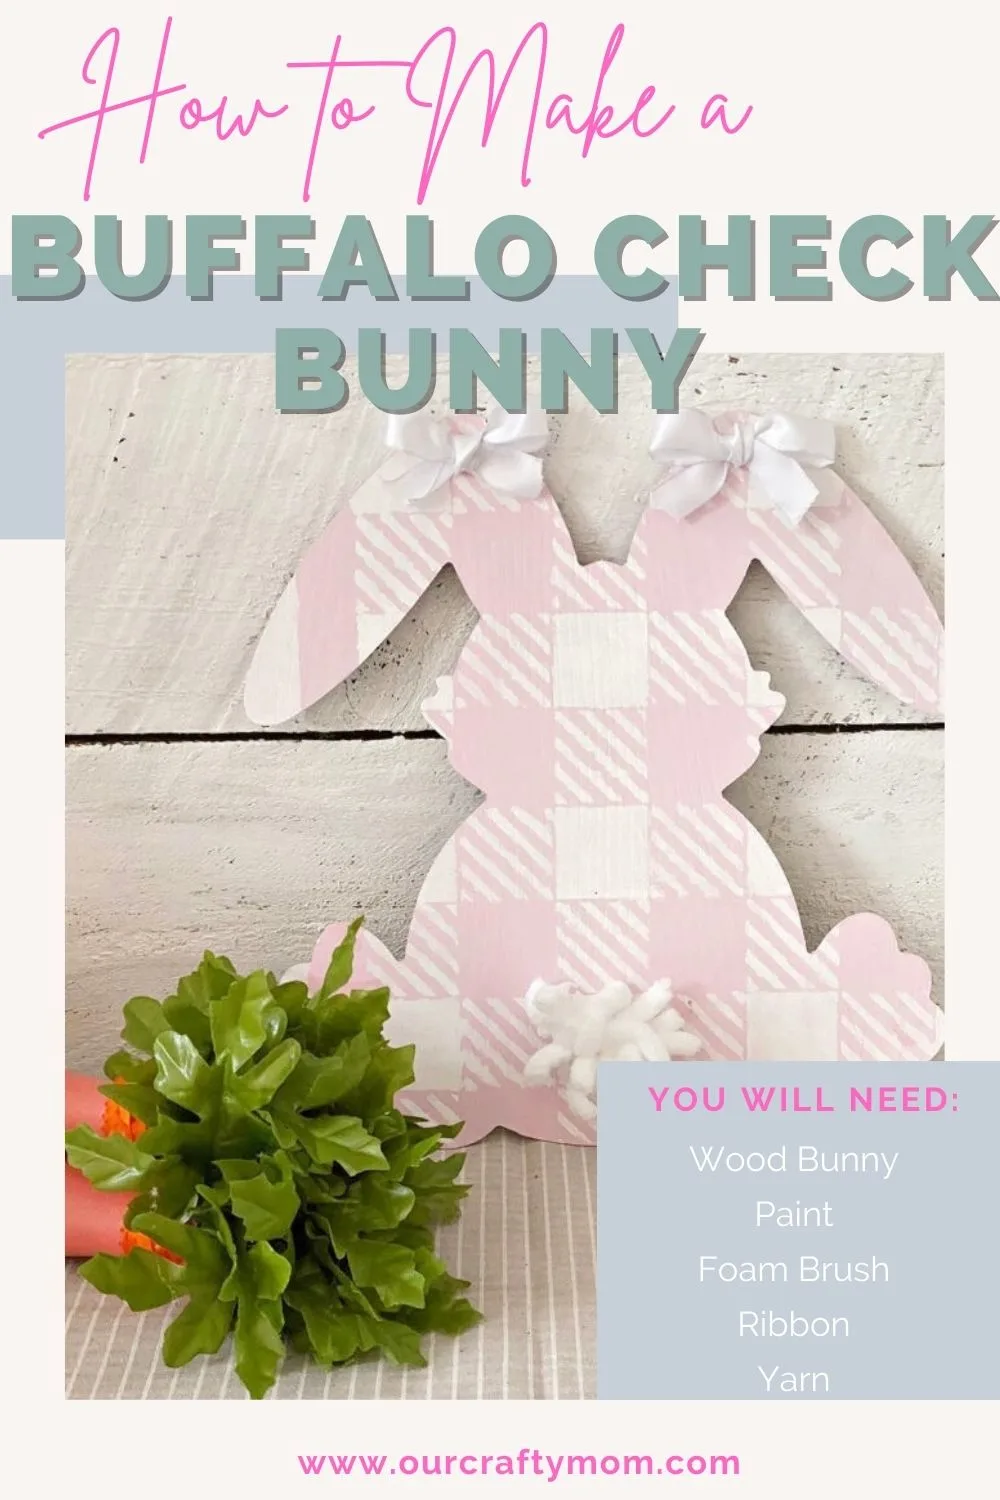
Save this project by PINNING the below image:
Thank you for visiting. Happy crafting!
For even more dollar store Easter crafts check out these:
- Free Printables Wall Art
- Decoupage Plastic Easter Eggs
- Gorgeous Glitter Easter Eggs
- Dollar Store Spring Arrangement
- Kids Easter Basket Pudding Cups
You can find me on social media below:
