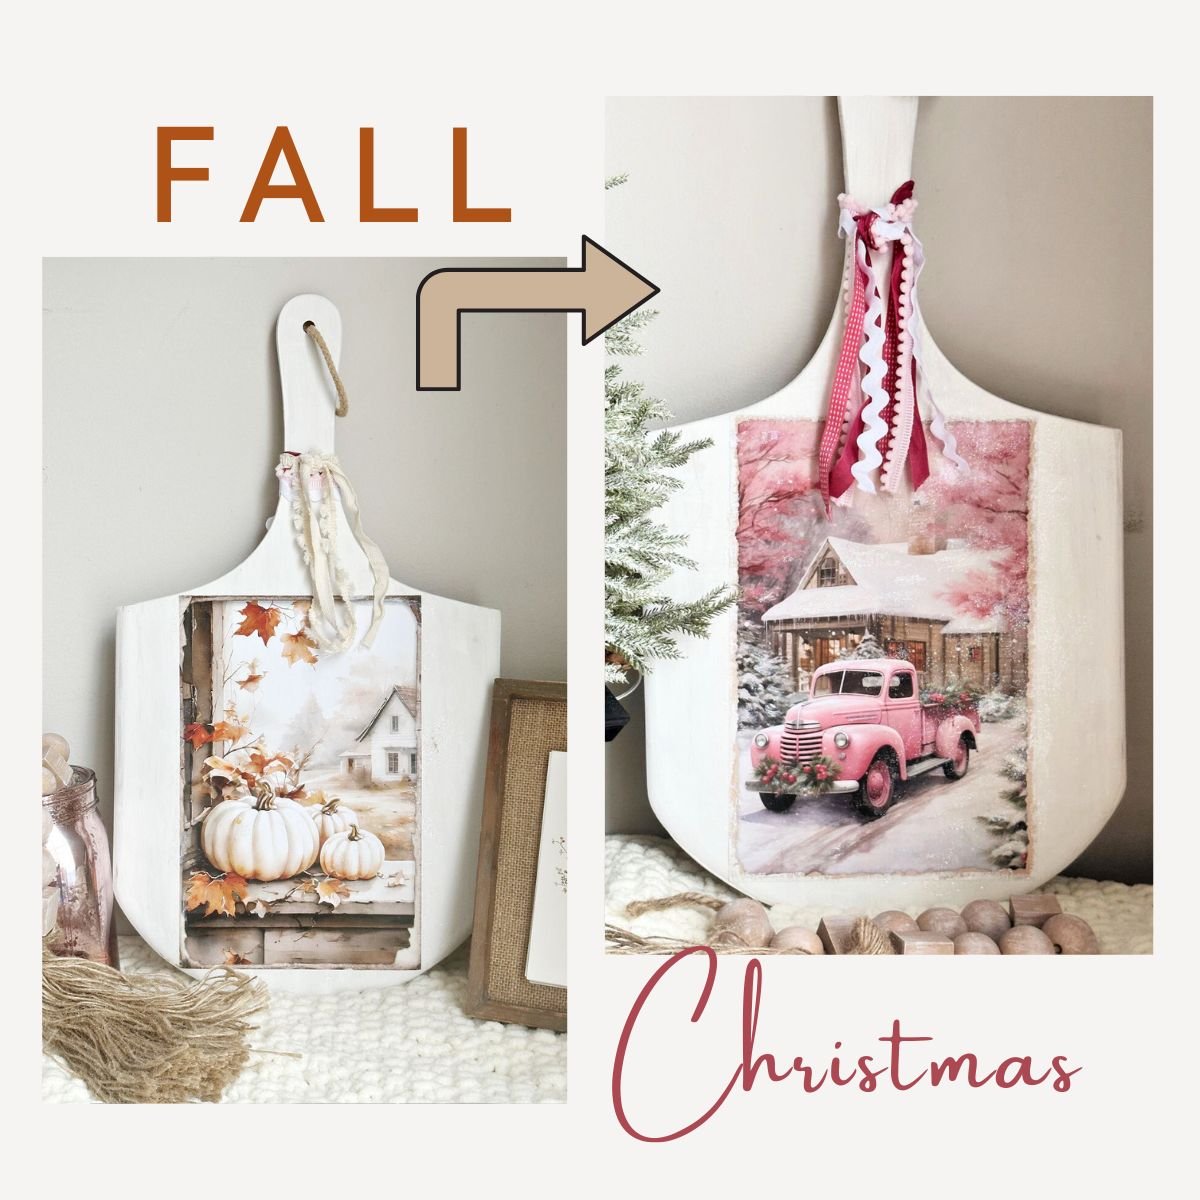
Learn how to make a beautiful double-sided decoupage cutting board—one side fall, one Christmas. Perfect for seasonal decor or gifting!
This post contains affiliate links at no extra cost to you. Please see my full disclosure here.
Thrift Store Decor Tour
I’m thrilled to be joining the monthly Thrift Store Decor Tour with a talented group of bloggers. Get ready to see some amazing makeovers.
I’ll show you the simple steps to this wood cutting board tutorial, and then you can check out the rest of the thrifty projects on the tour.
If you follow me on social media, you already know I’m a big fan of thrift store makeovers and decoupage crafts—this project brings the two together!
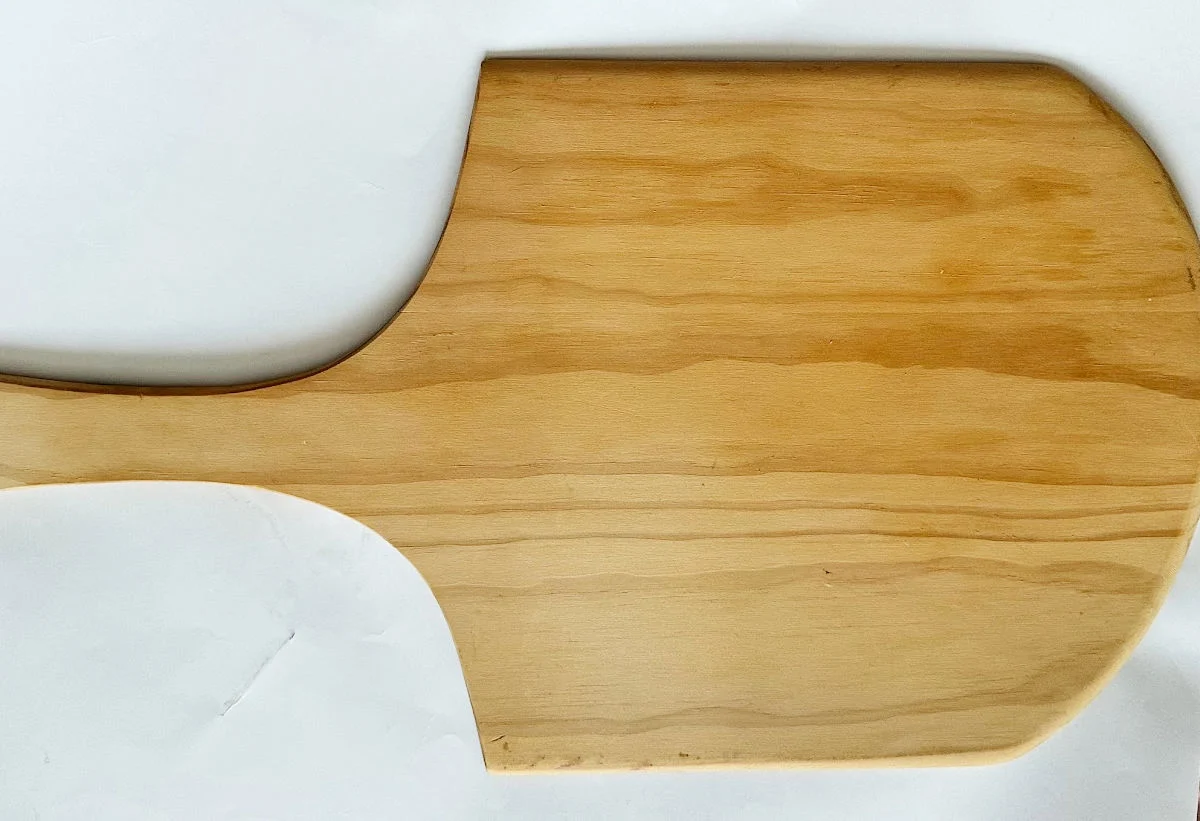
As soon as I spotted this cutting board at the thrift store, I knew it would be perfect for a decoupage holiday craft.
Why not make it double-sided so you can keep it up for the entire fall and Christmas season?
So, let’s get to it!
Supplies for Double-Sided Wood Cutting Board
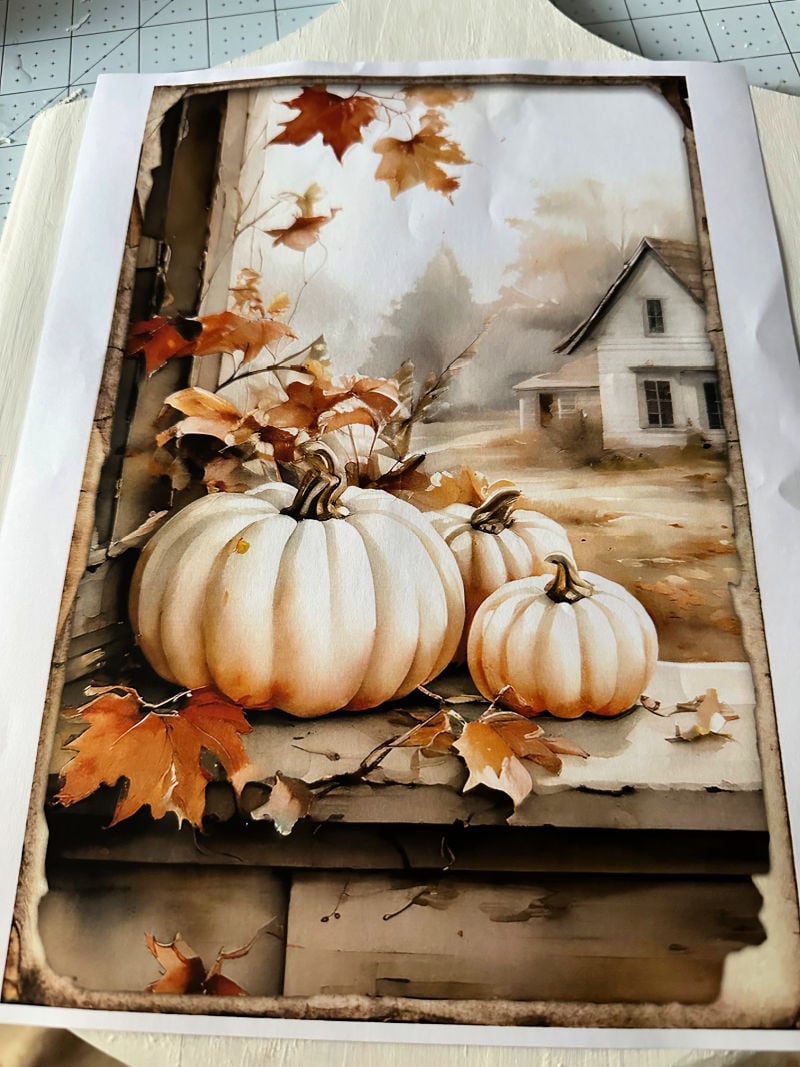
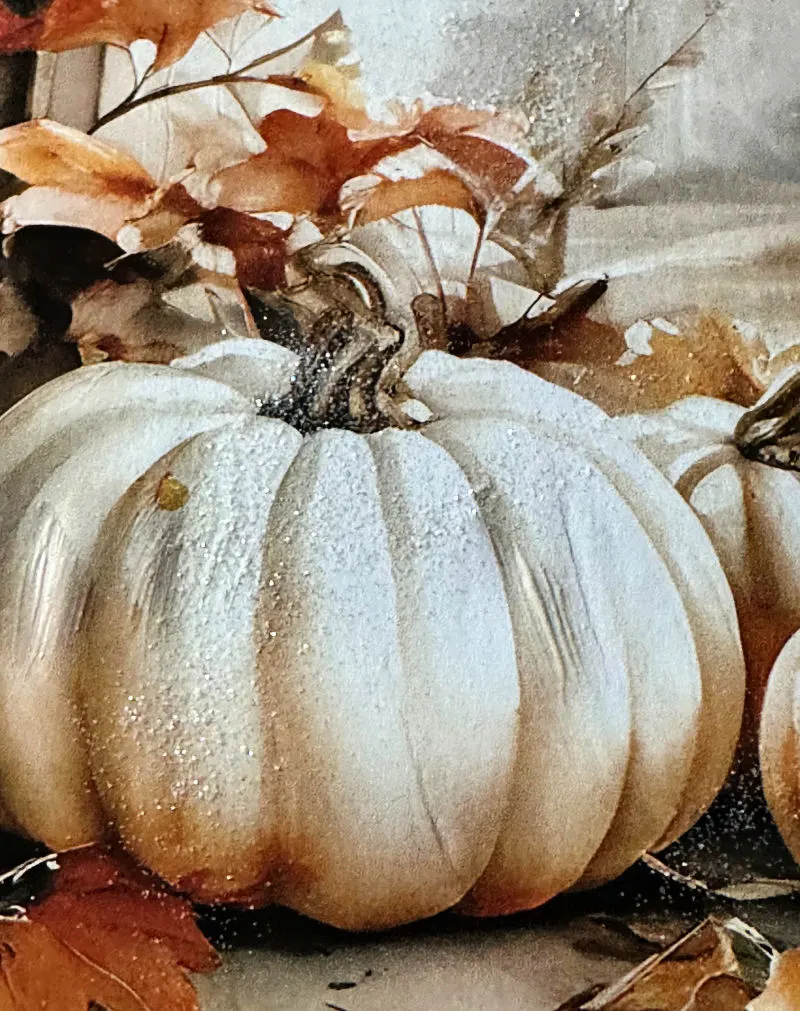
- Fall Printable – I purchased this one on Etsy for under $1, but you can also use my free fall watercolor printables.
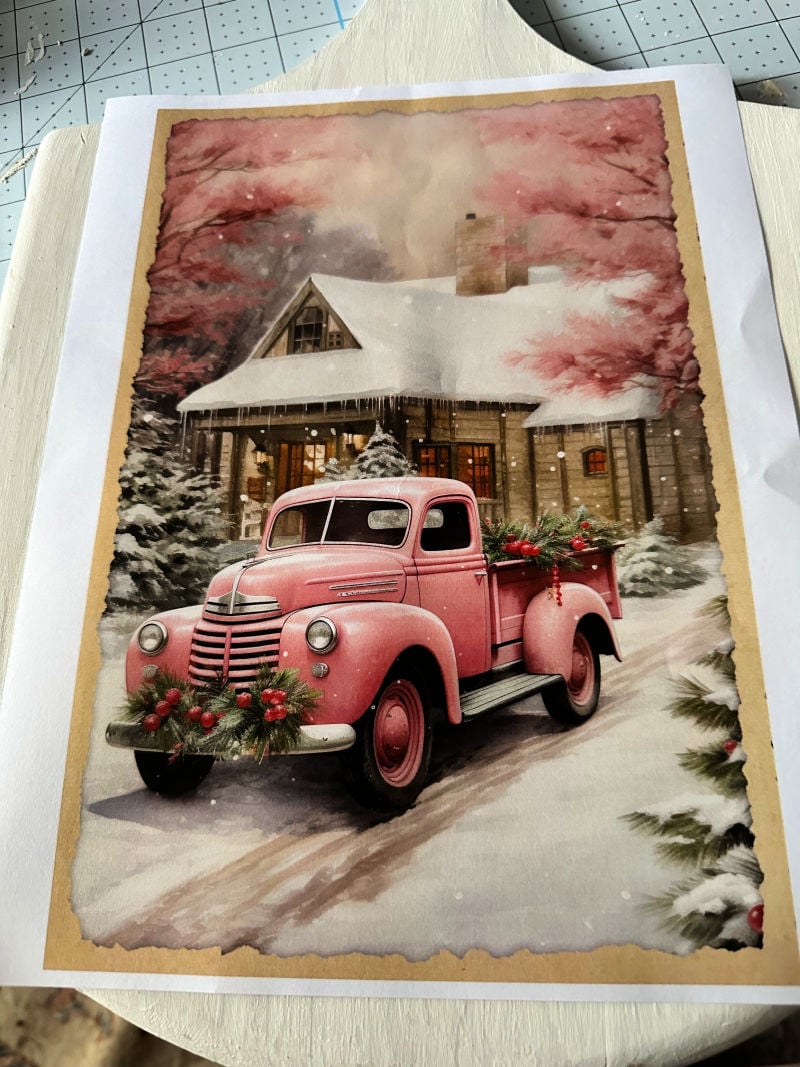
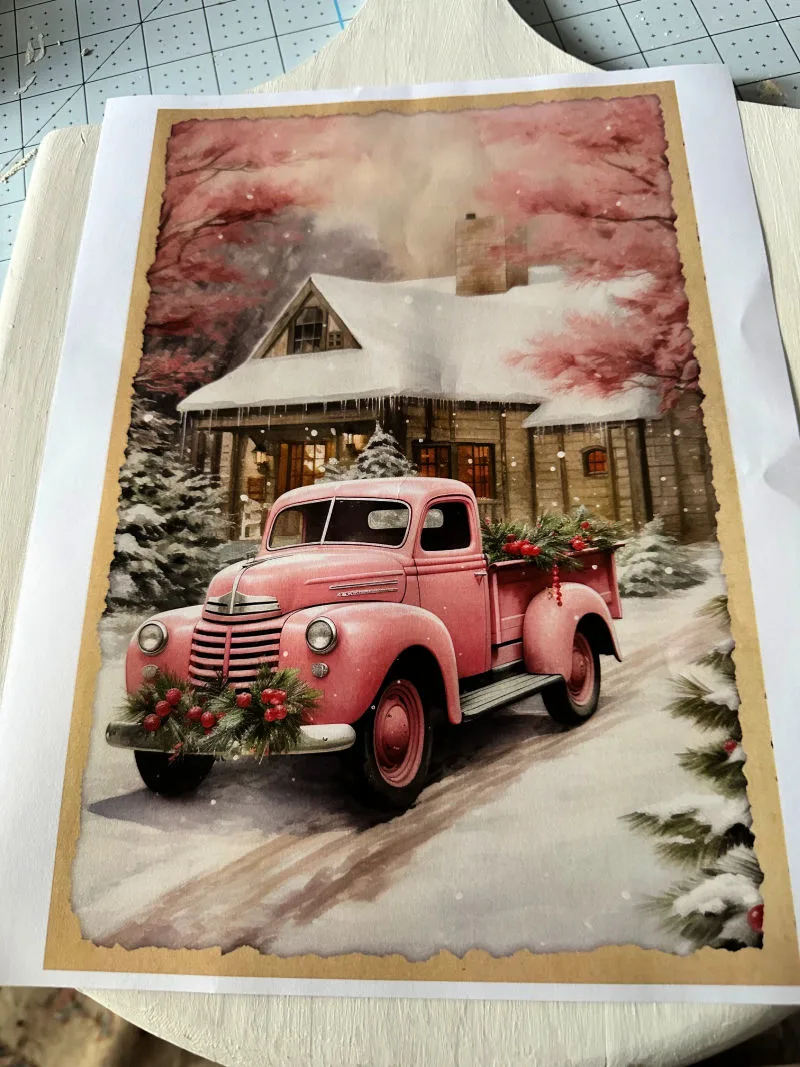
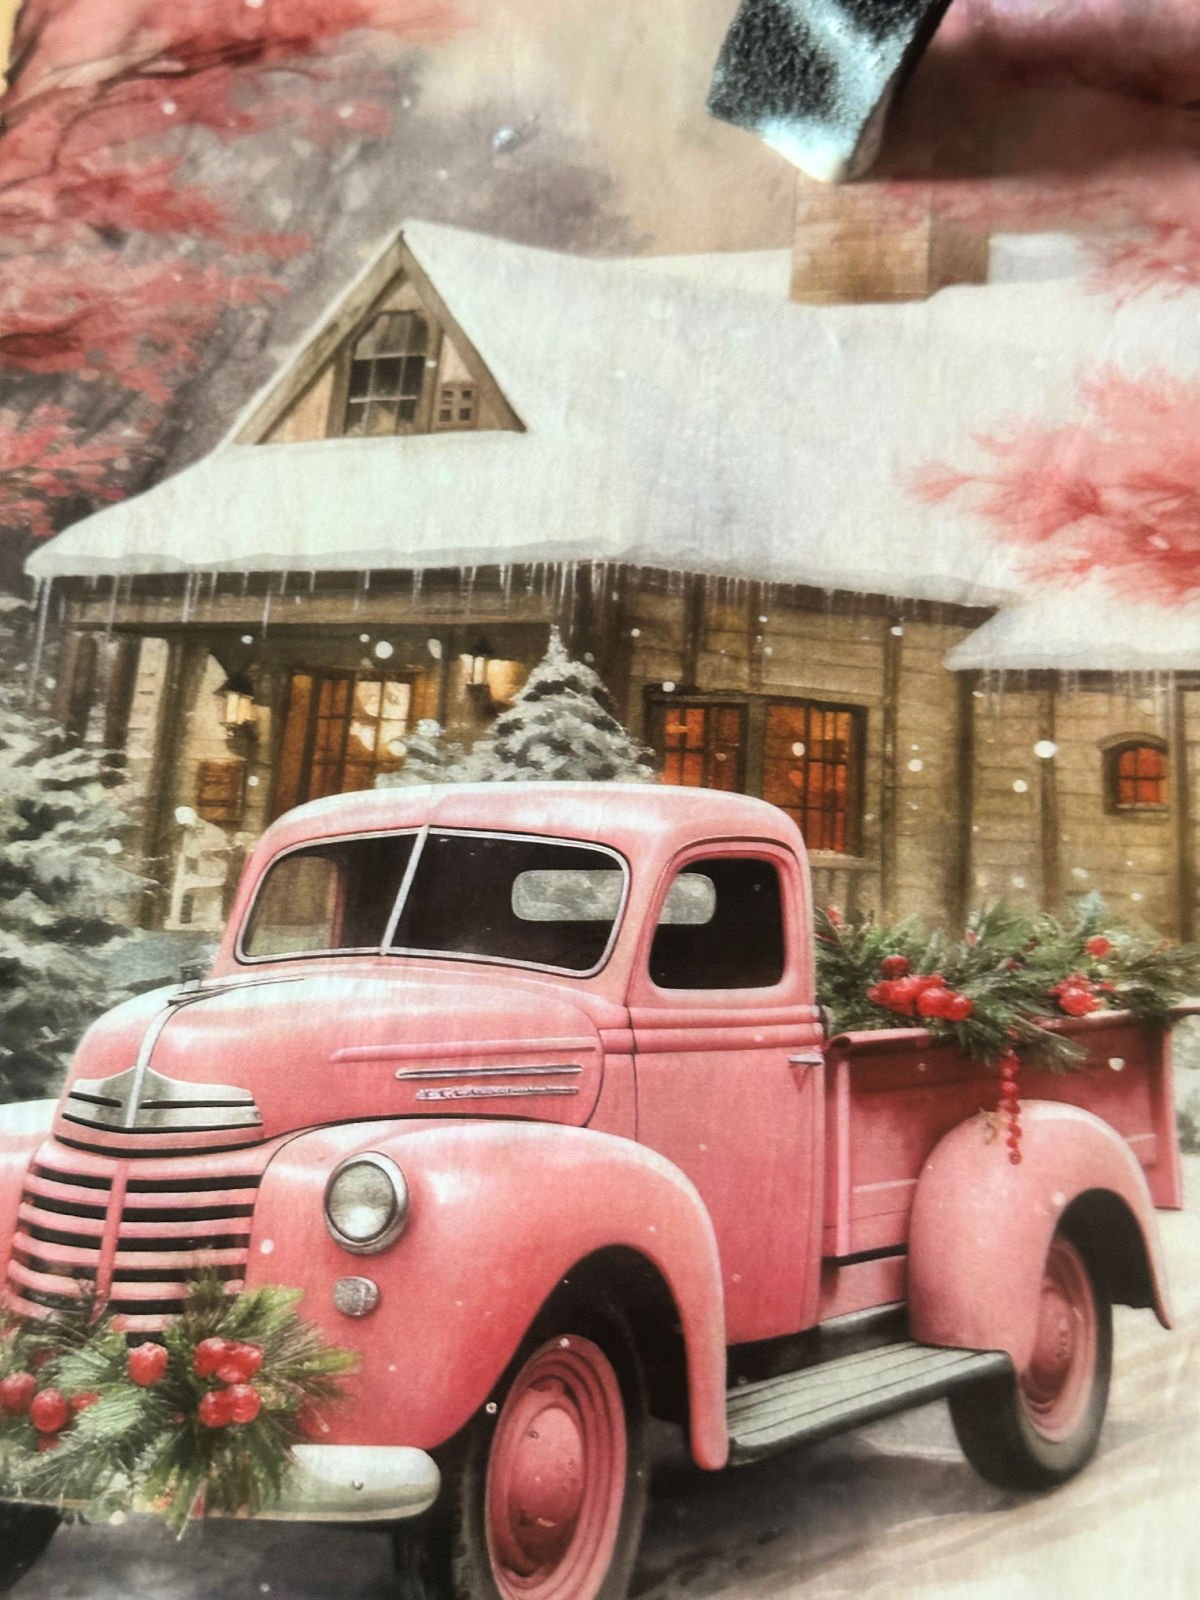
- Christmas Printable – I couldn’t resist this pink truck printable (also under $1). Check out my free red truck Christmas printables.
- Mod Podge – I used gloss, but you can use matte if you prefer.
- White Paint – Chalk paint works great on wood, but you can use whatever you have in your craft closet.
- Foam Brush – this value pack is a great buy!
- Wood Cutting Board – I scored this pizza cutting board for just $3 at my local Goodwill. Check out yard sales, flea markets or thrift stores. You can usually find them for just a few dollars.
- Embellishments – Have fun with embellishing your cutting board. Ribbon, twine, faux flowers, rhinestones or anything else you have in your craft stash will make your project unique!

Decoupage Cutting Board Tutorial
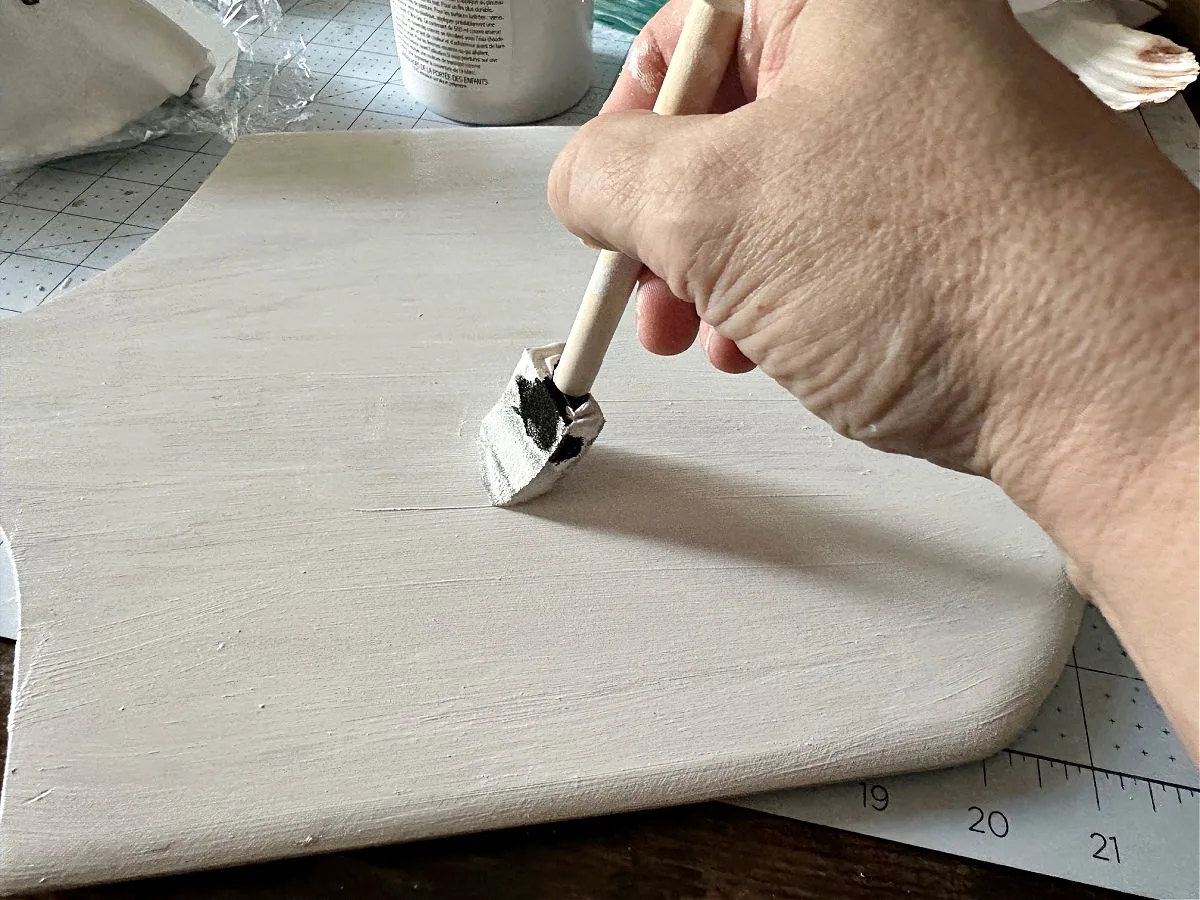
Paint the Cutting Board – the first thing you want to do is paint the entire cutting board on both sides. You will need at least 2 coats. Let dry.

Cut the Printables to Size – Next, trim your printables to fit the board. An 8×10 printable on plain copy paper was the perfect size; I just trimmed the white edging.

Apply Mod Podge – Start by adding a thin layer of mod podge directly to the cutting board.
Quick tip: use a plastic bag, or saran wrap to smooth out any wrinkles. This is extremely helpful when working with napkins.
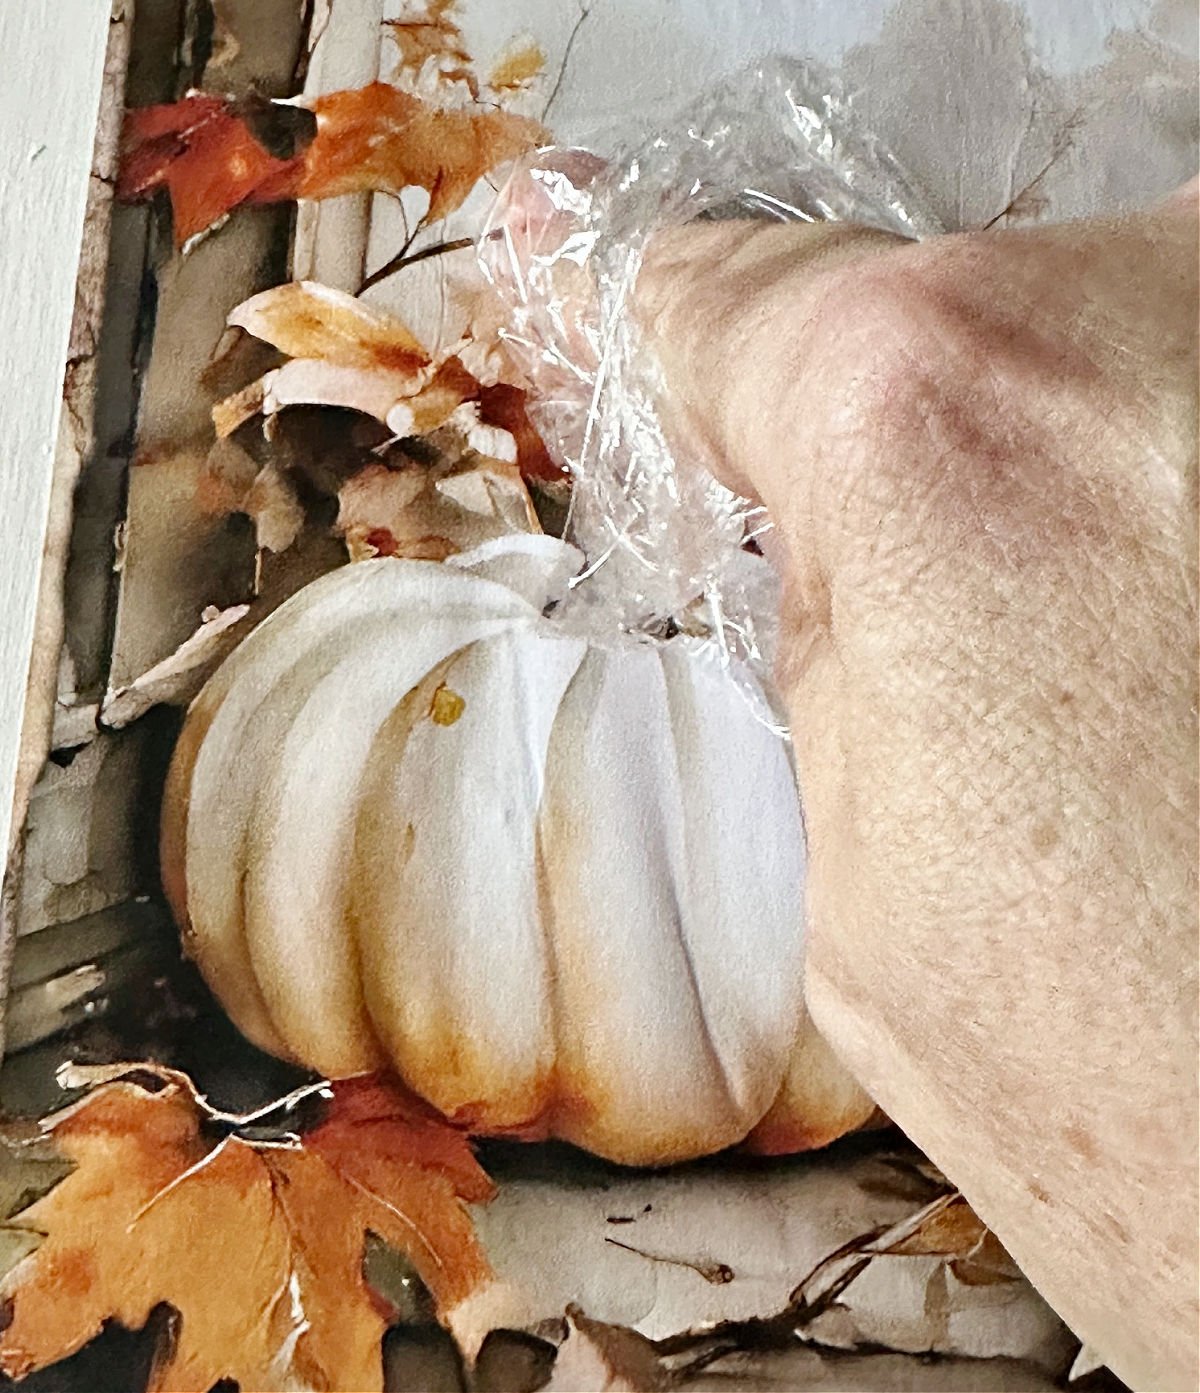

Be sure to check out my detailed tutorials on how to decoupage with napkins.
Top with Mod Podge: Add a layer of mod podge to the top of the image.

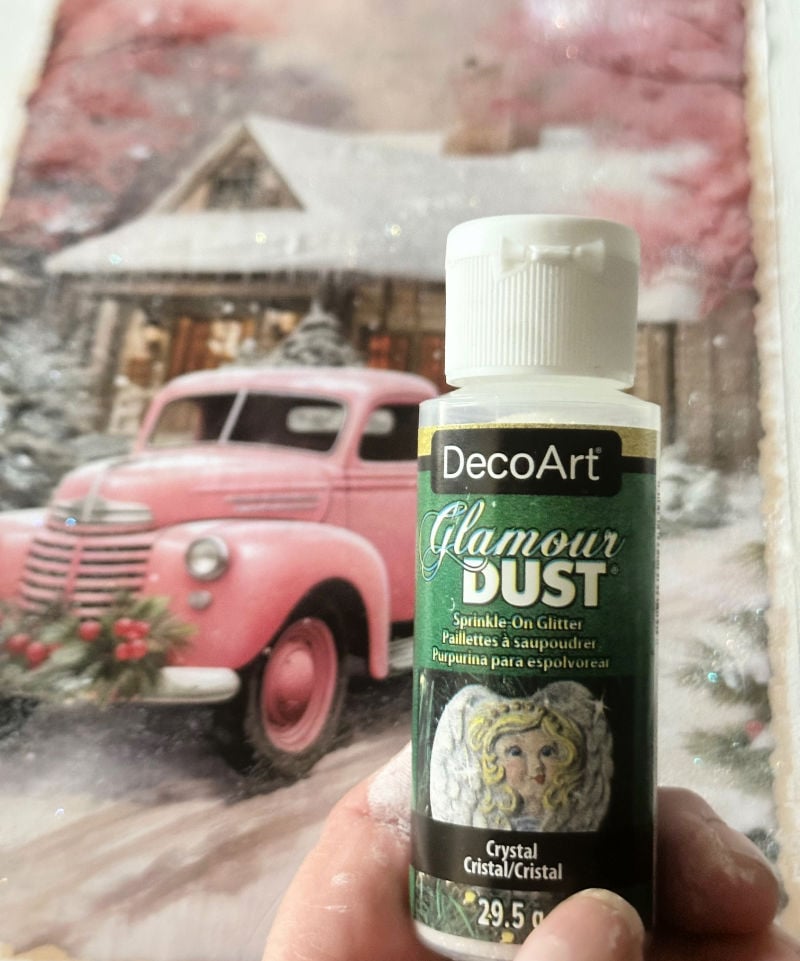
Add Glitter: This is completely optional, but I’m a firm believer that everything is better with glitter! Simply add a bit of mod podge where you want to add some sparkle and sprinkle away.
I go through so much of this glamour dust during the holiday season.


Add Ribbon – Now it’s time to add ribbon, and any other embellishments you would like. I kept it simple as I will be hanging this in the kitchen.
Fall Cutting Board
That’s all there is to it! Here is the fall side:

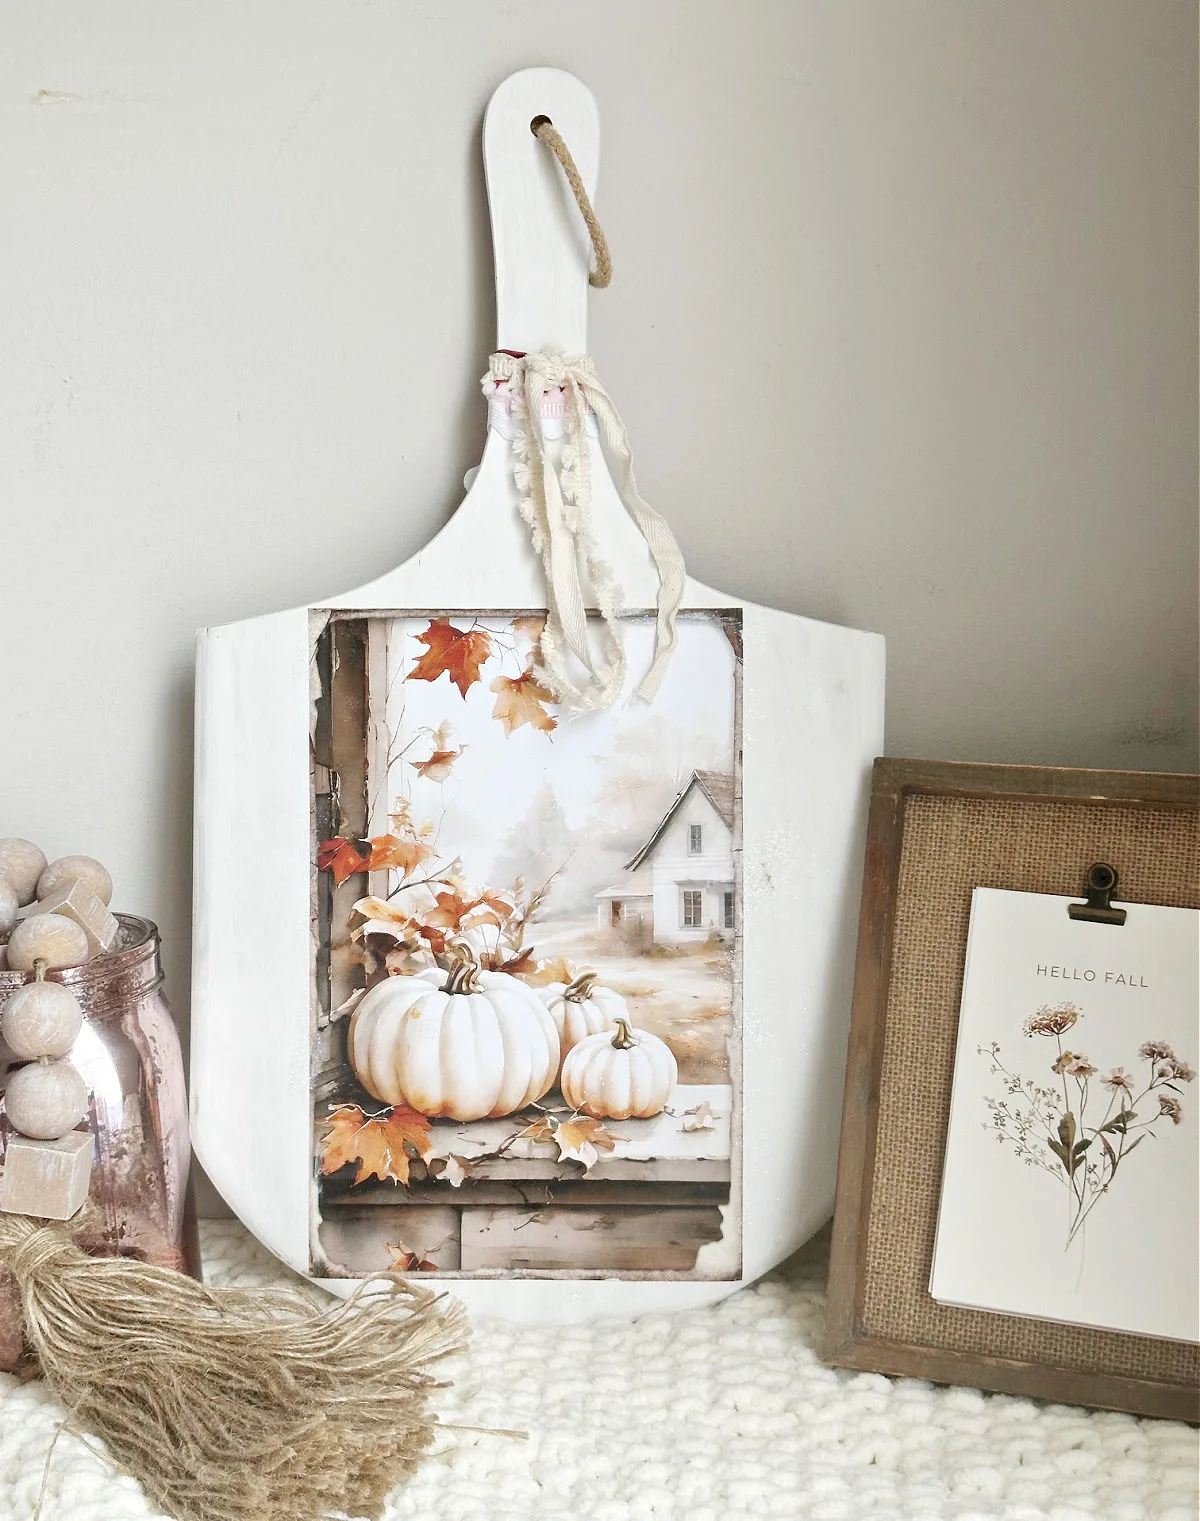
This would look cute with pumpkins, faux leaves or twine.
Once autumn is over, flip the board and you are ready to decorate for the holidays. This saves on home decor storage too!
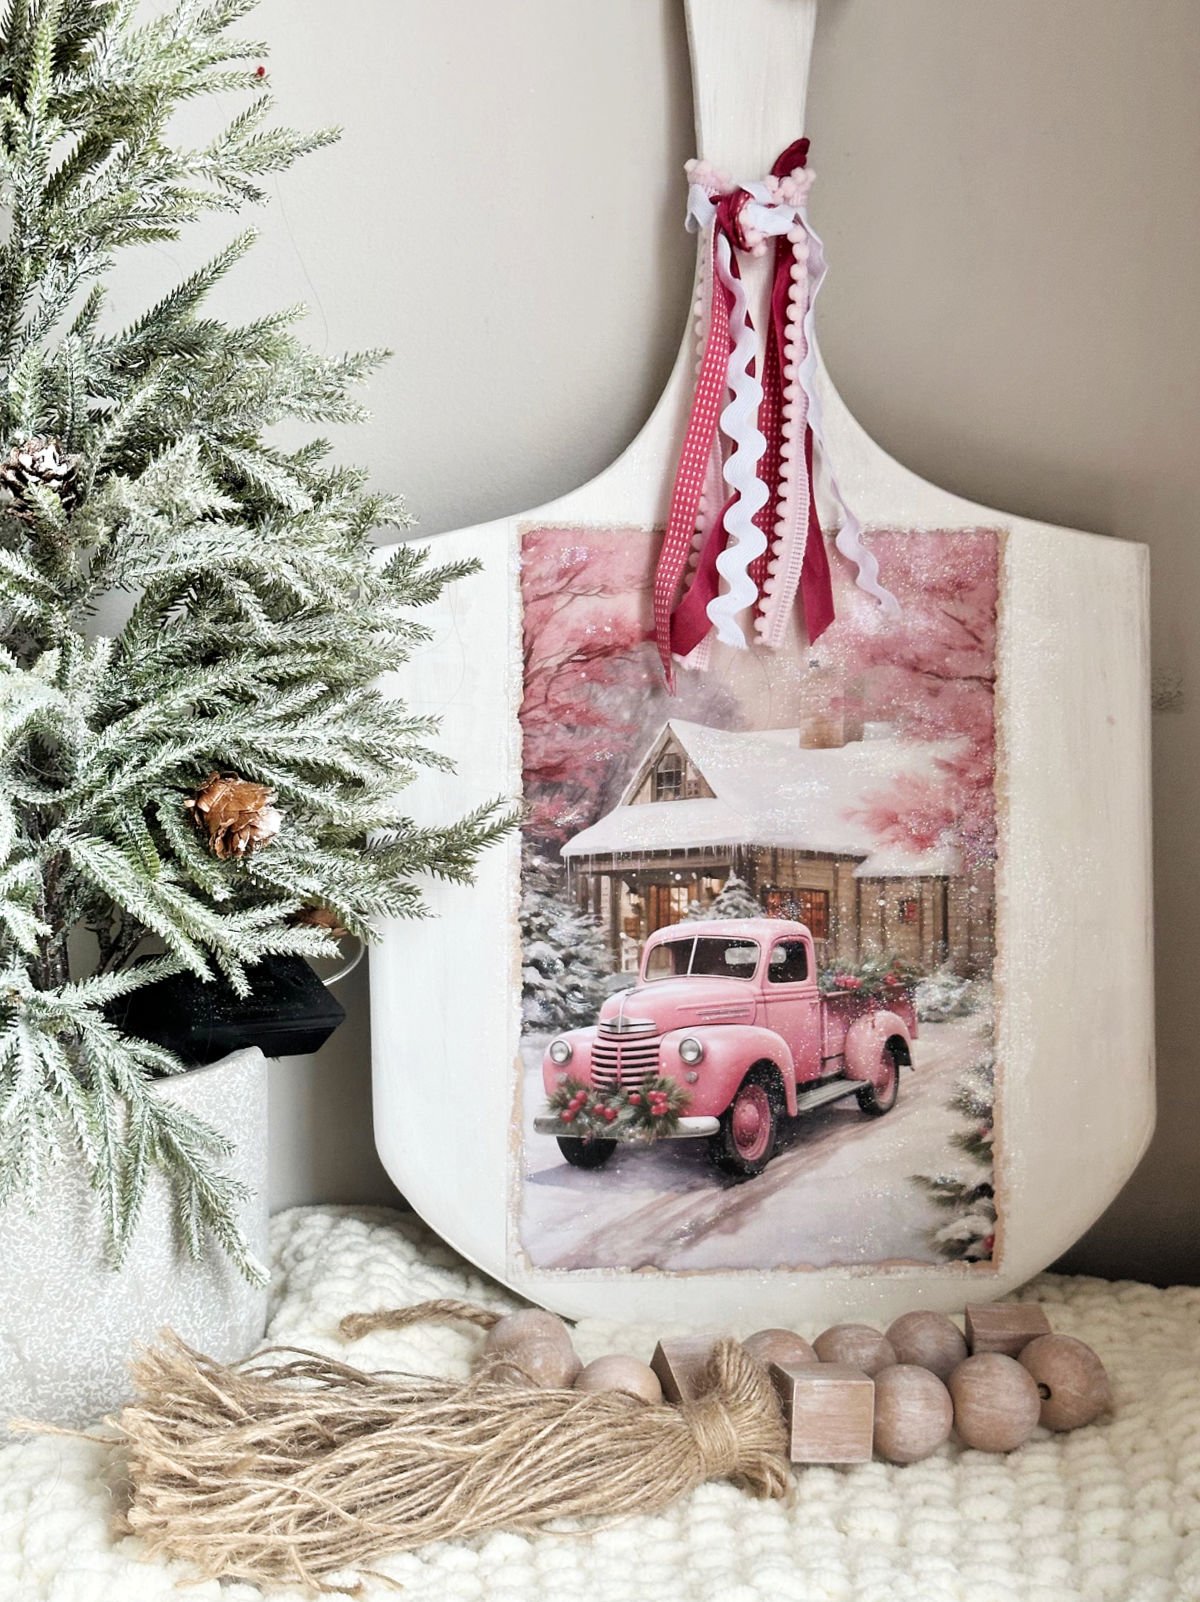
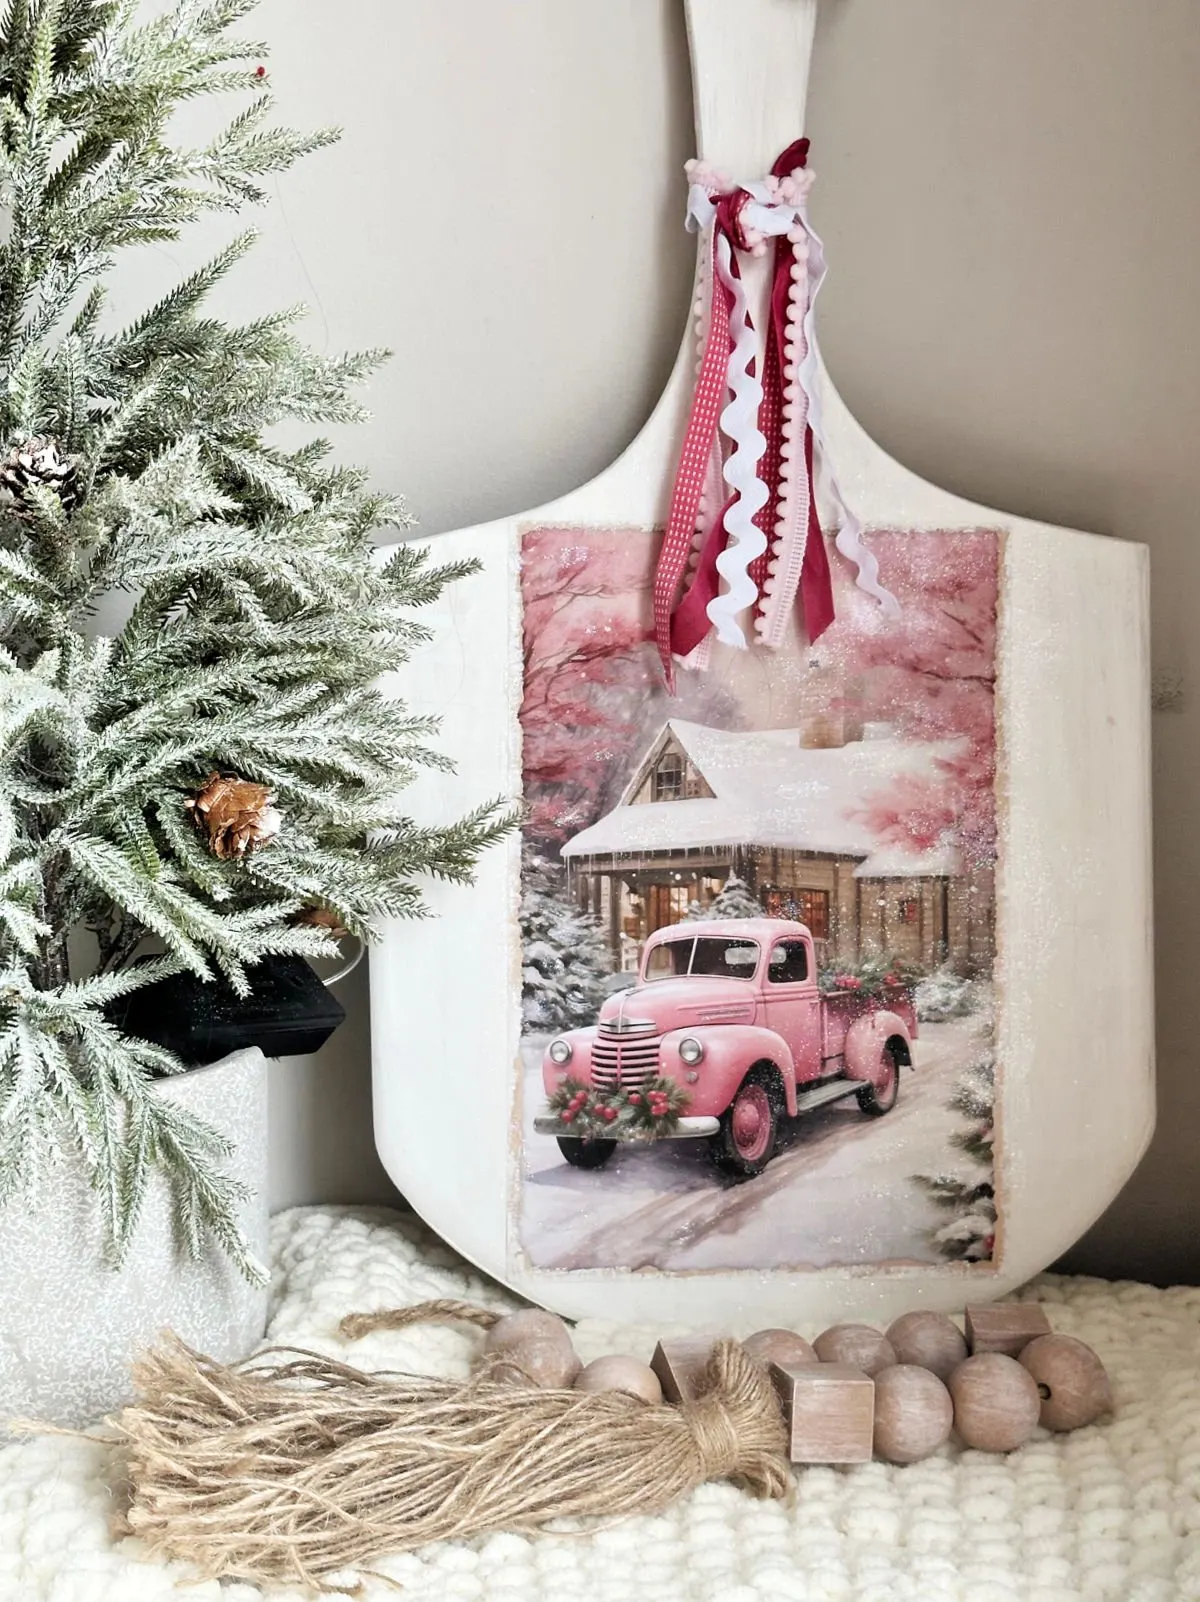
Christmas Cutting Board
This Christmas board is my favorite because of the pink truck. I love the soft non-traditional Christmas colors in this image.
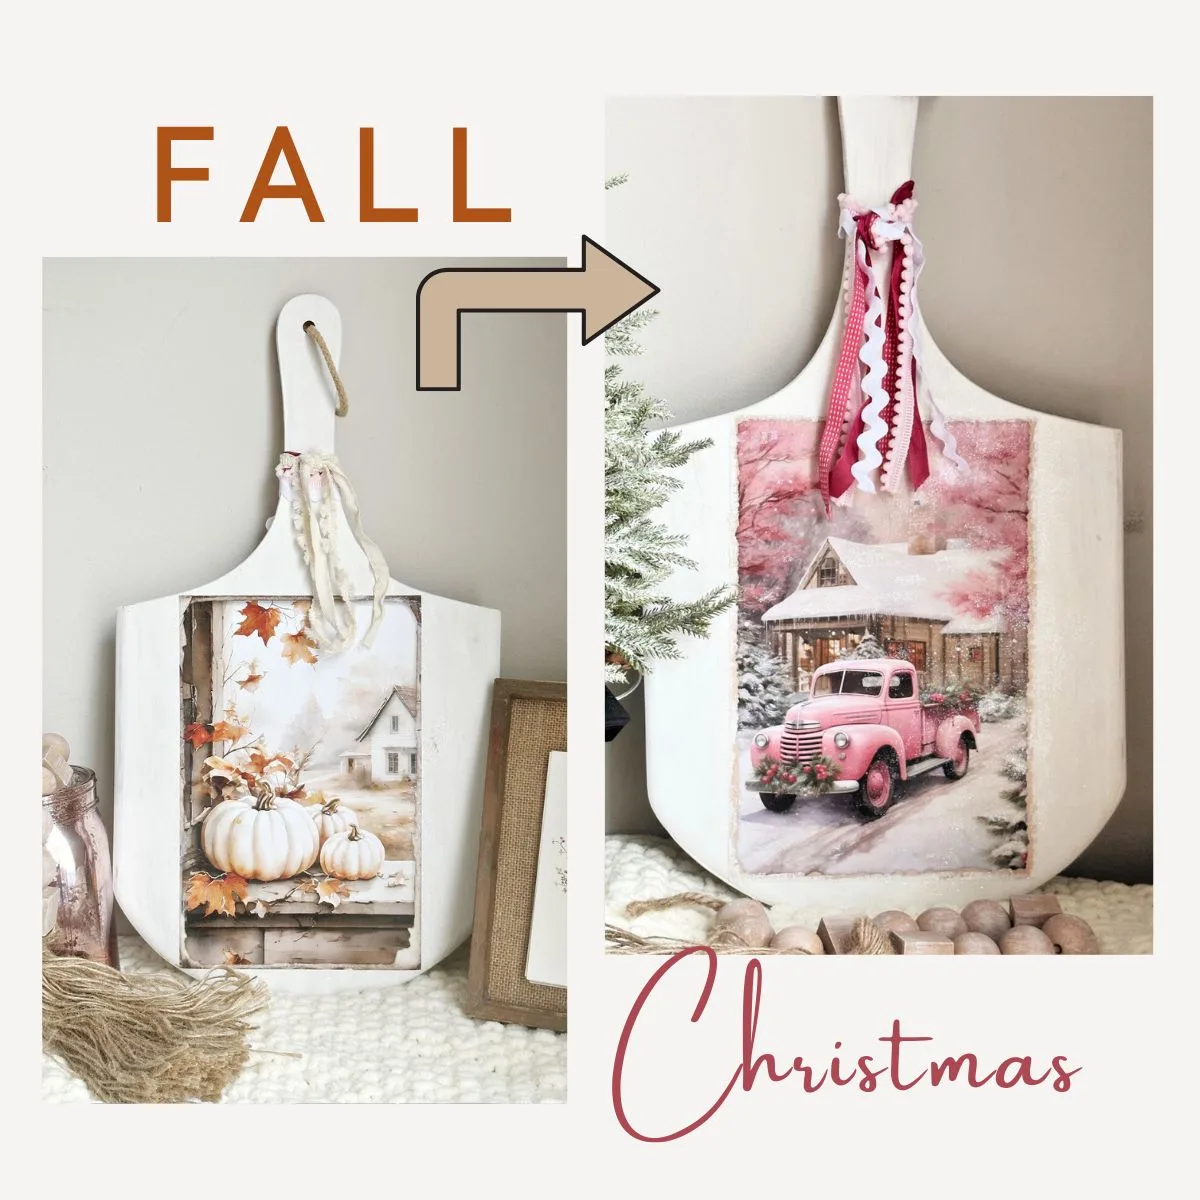
Pin For Later
Share this article with your friends on Pinterest by pinning the below image.
It helps my blog grow and doesn’t cost a thing! 🙂


Now, it’s time to hop on over to see the rest of the Thrift Store Decor Tour. You can take the tour by clicking the links below the “before” makeovers photo collage.

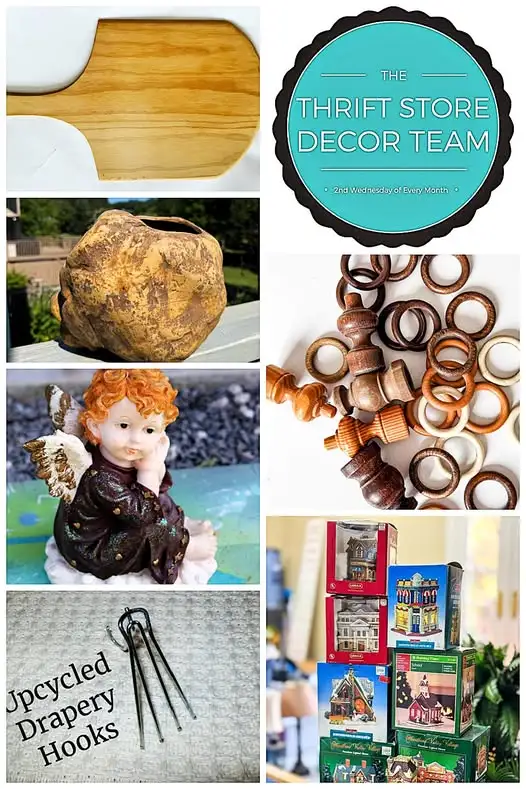
- Paint a Plastic Cherub Statue from Petticoat Junktion
- Upcycled Drapery Hooks from My Repurposed Life
- Gingerbread Village from Our Southern Home
- Faux Rock Finish from Shop at Blu
- Double Sided Decoupage Cutting Board from Our Crafty Mom
- Curtain Rings Candle Holders from Songbird
Thanks for stopping by. Happy thrifting!


You may also enjoy these thrifty DIY ideas:
- 50 DIY Furniture Makeovers
- $3 Vintage Record Cabinet Makeover
- Upcycled Thrift Store Art with a Gift Bag
- Thrift Store Dollhouse Makeover for Halloween
- Thrift Store Upcycled Halloween Art
- 15 Upcycled Creative Home Decor Projects
- Old Window Decor Ideas
- Best Upcycled Wall Art Ideas
Follow me on social media below:
Christy | Our Southern Home
Tuesday 15th of July 2025
I have an old board like this that we use for pizza. It would be a good candidate for this. It's got me wanting to do this to it. I love both sides, and it is so smart to do this for the seasons. Fall and Christmas are the main seasons when I change out decor. Love it!
Sue at Blu
Thursday 10th of July 2025
Michelle, you always have the cutest graphics! I love a good "two for one" project. This is just darling. And welcome to the team! I'm so glad you are here. Pinned!
Gail Wilson
Wednesday 9th of July 2025
Michelle,
I love both sides, but I agree with you about the non-traditional Christmas colors — they are so pretty! The glitter is the icing on the cake!
Pinned! gail
ps I'm thrilled to have you on our thrift store team!
Marianne Songbird
Wednesday 9th of July 2025
Oh, I can't decide which one of these is my favorite. But I think I am leaning toward the fall side of your cutting board. What a great makeover! Love it.