This round side table makeover started as a $2 thrift store find headed for the trash. Read on to see how it was completely transformed!
I’m sharing this round-side table makeover as part of this month’s Thrifty Style Team’s challenge.
There are 14 budget-friendly home decorating ideas shared this month, so be sure to check those out with the links at the end of this post.
My daughter and I were out thrifting recently when I spotted this round-side table.
I know what you are thinking…it’s not very pretty.
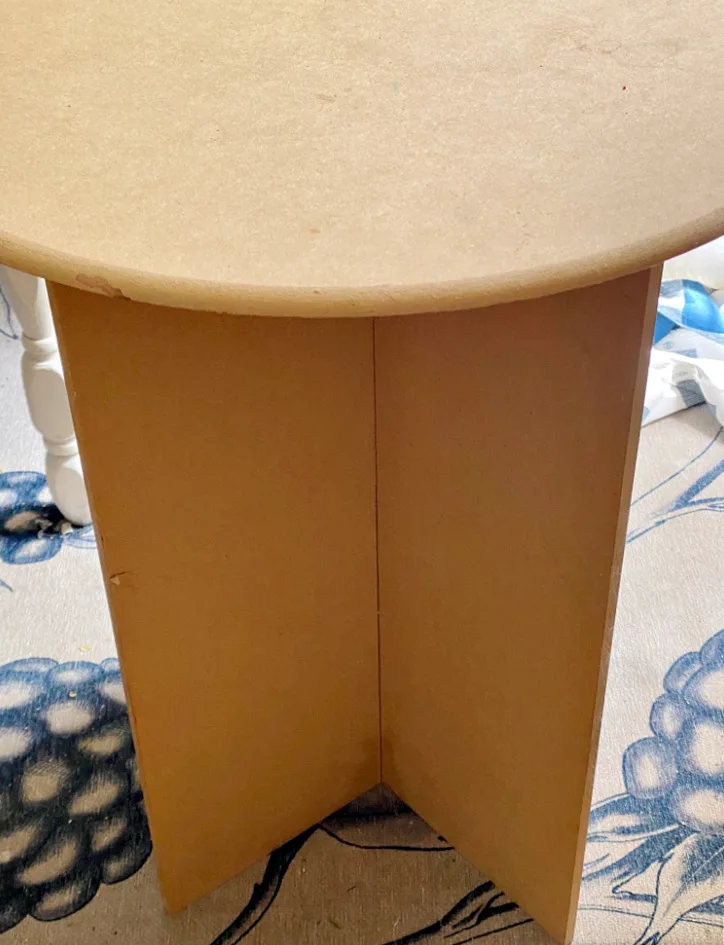
But, I needed a little side table for my bedroom and when I saw the $2 price tag, I knew I could transform it!
If you are a regular visitor here, you know I have been on a decoupage kick lately.
It all started with a package of beautiful chinoiserie napkins I ordered from Amazon.
I have a love for all things chinoiserie, so I used them to make a decoupaged chinoiserie vase.
Of course I had about 20 napkins left so I put them to good use and made a fall pumpkin centerpiece and most recently, a few decoupaged garden pots.
If you haven’t tried this technique yet, give it a try. It’s super easy, and very forgiving.
Let’s get to the simple tutorial.
Supplies Needed For Round Side Table Makeover
- Table – or piece of furniture
- Paper Napkins – these are the ones I used
- Mod Podge
- DecoArt Outdoor Paint – White
- Foam Brush
- Polycrylic Clear Finish
How To Decoupage A Table Top
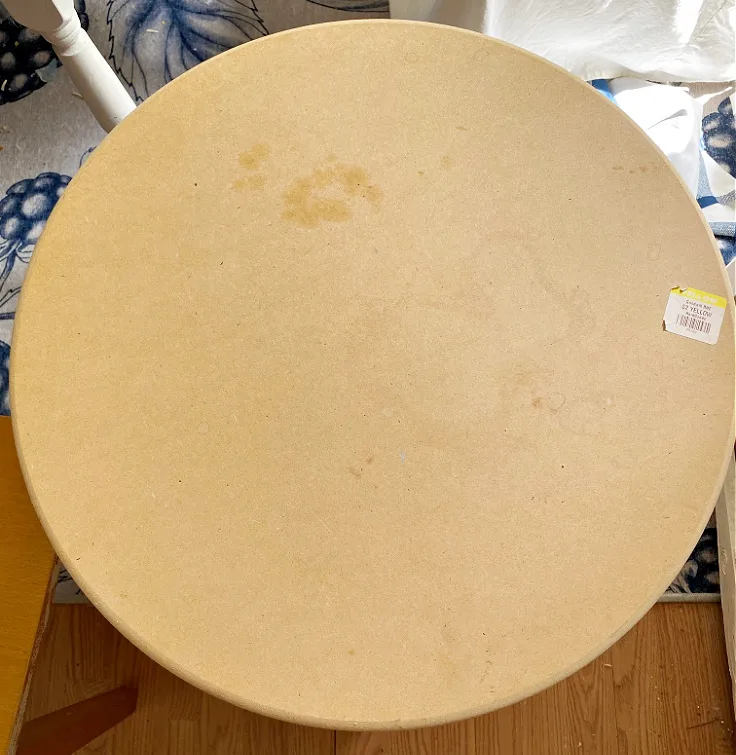
Start by removing the price tag and giving it a good cleaning.
You can use a little goo gone if you need to.

Give the table top a couple of coats of white paint.
The pretty napkins will show up much better if you paint it white first.
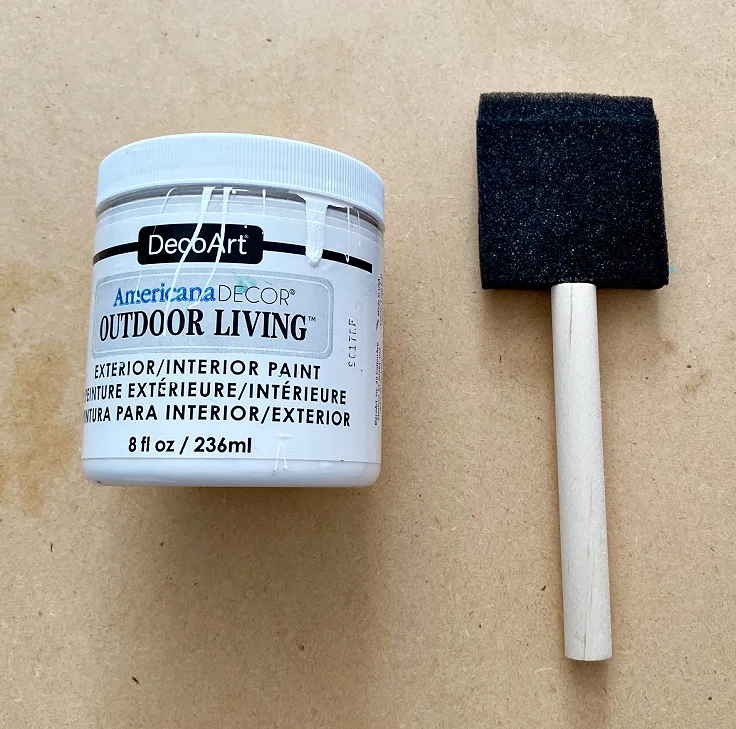
I love to use foam brushes, because they are cheap, but also work great on smaller projects like this table.
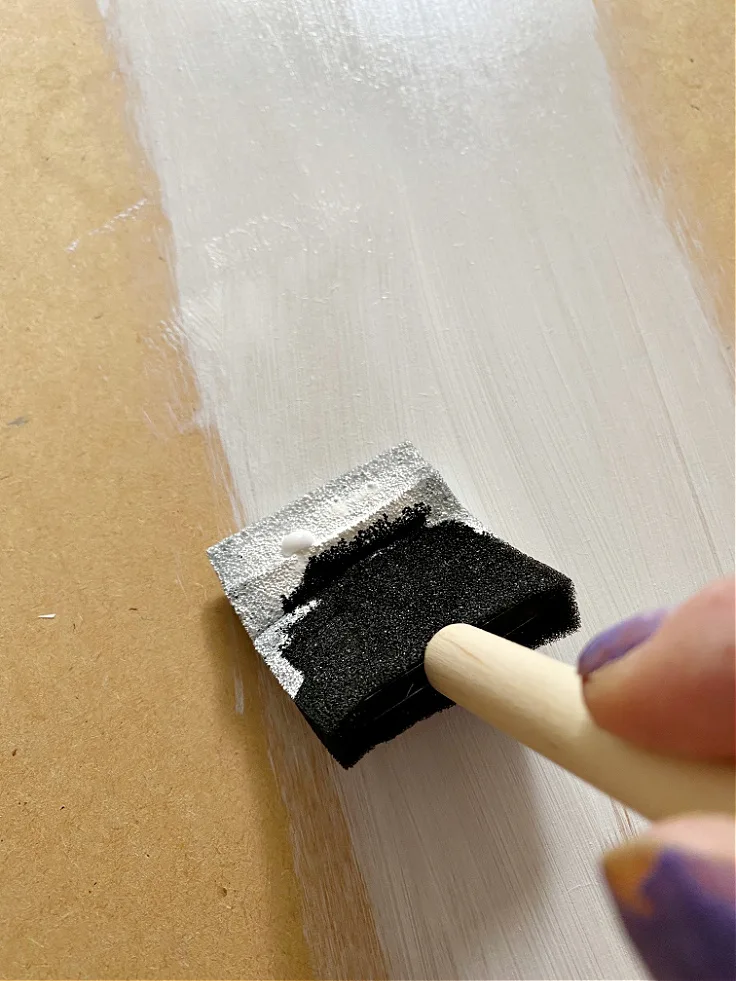
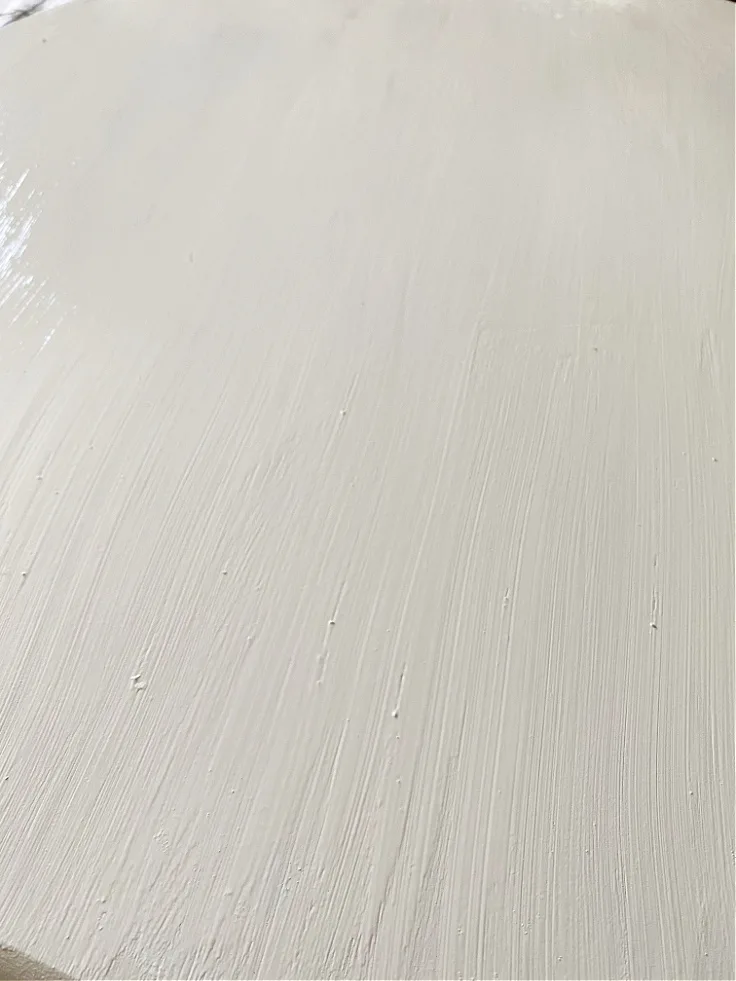
Continue to paint the entire table top and let it dry completely.
You can use a heat gun to speed up the drying time if you want.
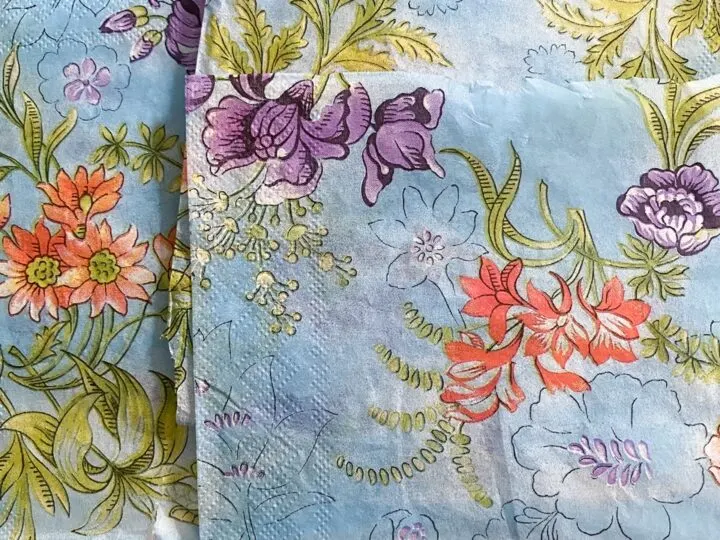
Now it’s time to decoupage the napkins. Aren’t these so pretty?
They look like wildflowers.
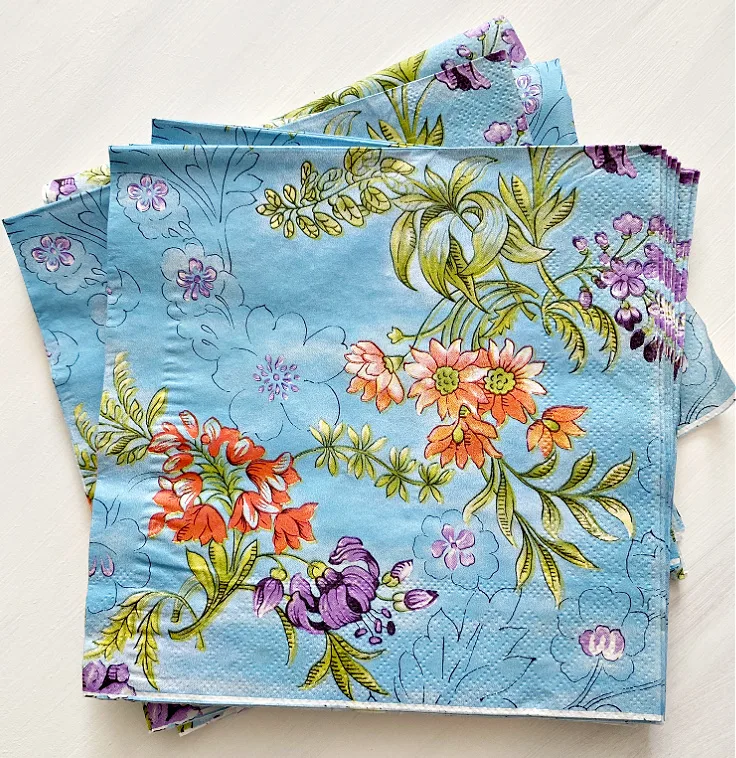
Start by removing the top layer of the napkin.
Most napkins are 2-3 ply and you only need the top printed layer.
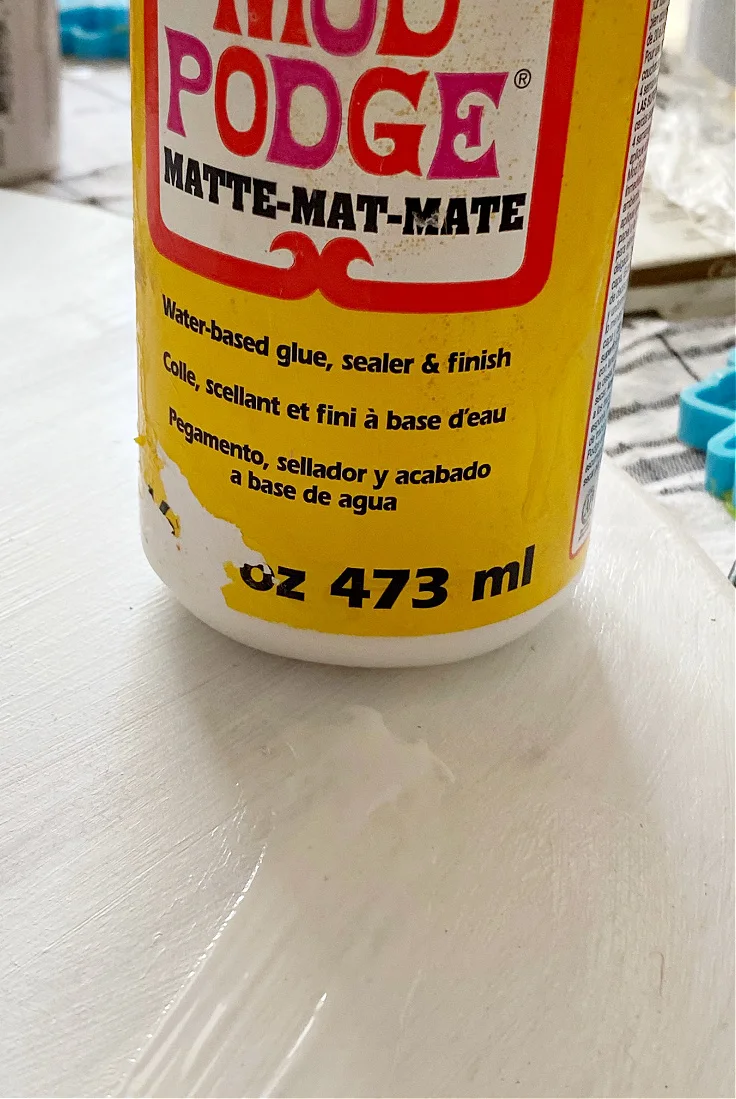
Add mod podge directly to the table with a foam brush working in sections.
Place the napkin on the table and lightly pat it down.
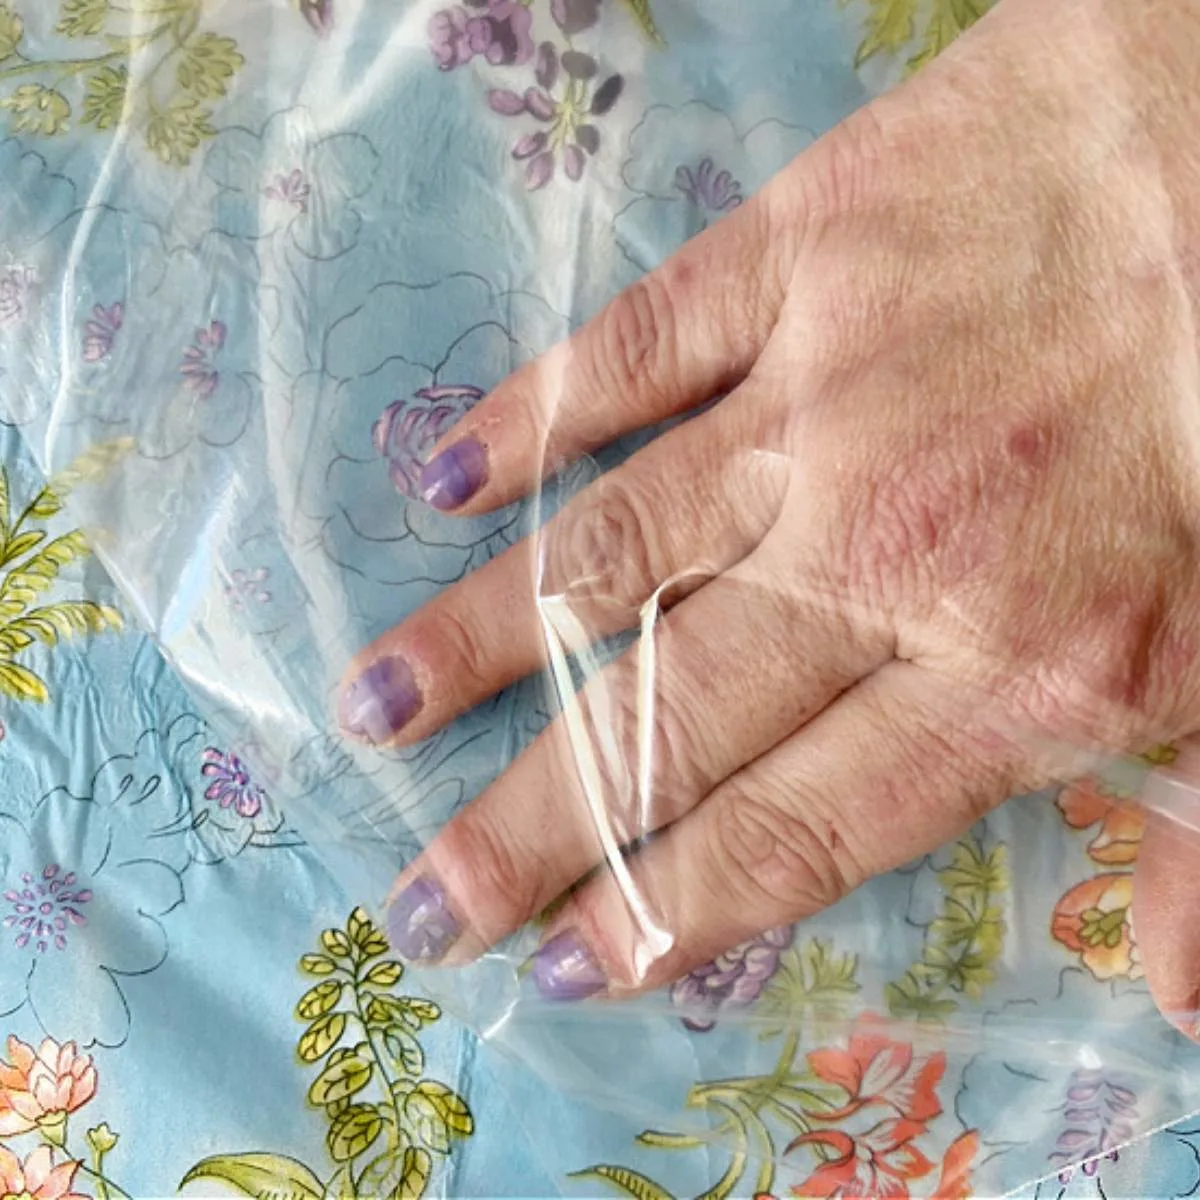
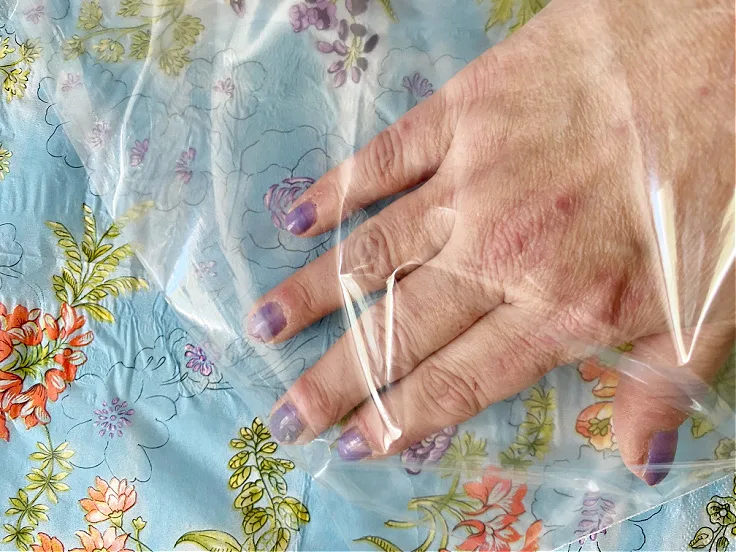
I learned a tip of putting your hand in a plastic bag to smooth the wrinkles out.
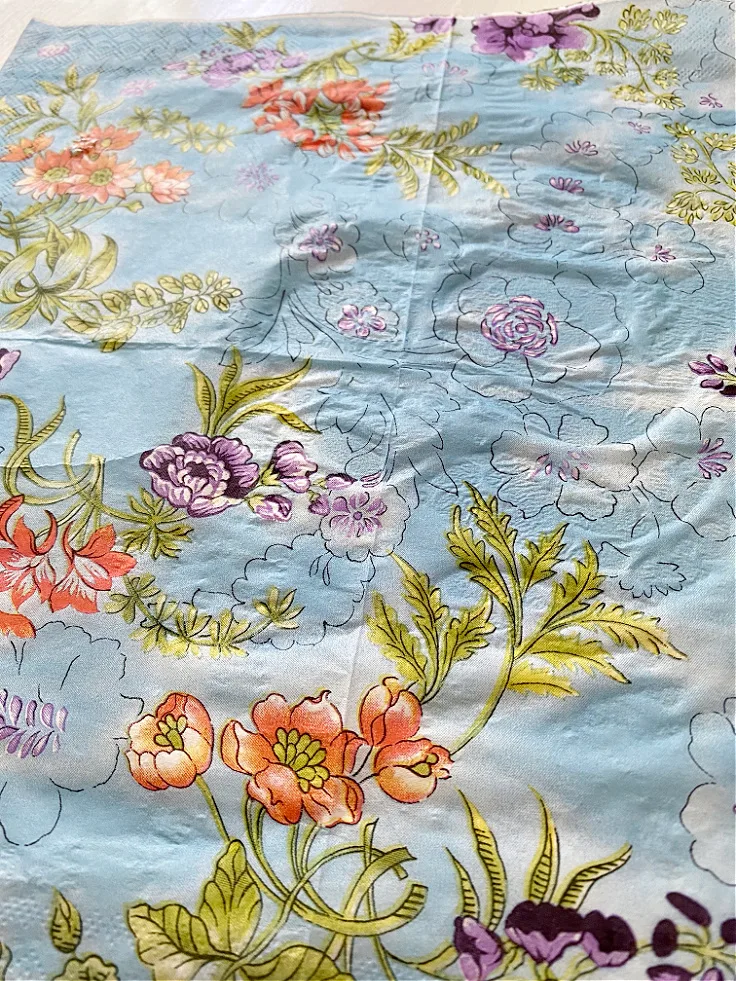
It really helps so the napkin doesn’t tear.
You will not get all the wrinkles out, but it gives it a slightly vintage look.
You can even sand it a little if you want.
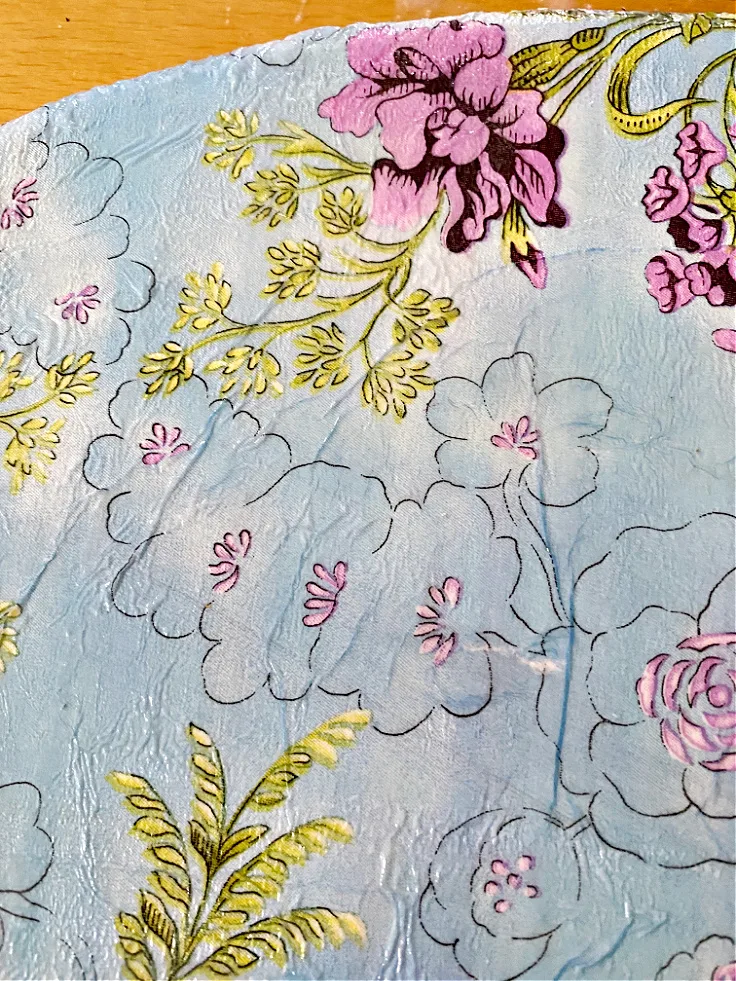
Continue to cover the table with the napkins and mod podge, trimming off the edges.
As this table will be used for glasses, etc.
I chose to add a couple of coats of polycrylic to seal it.
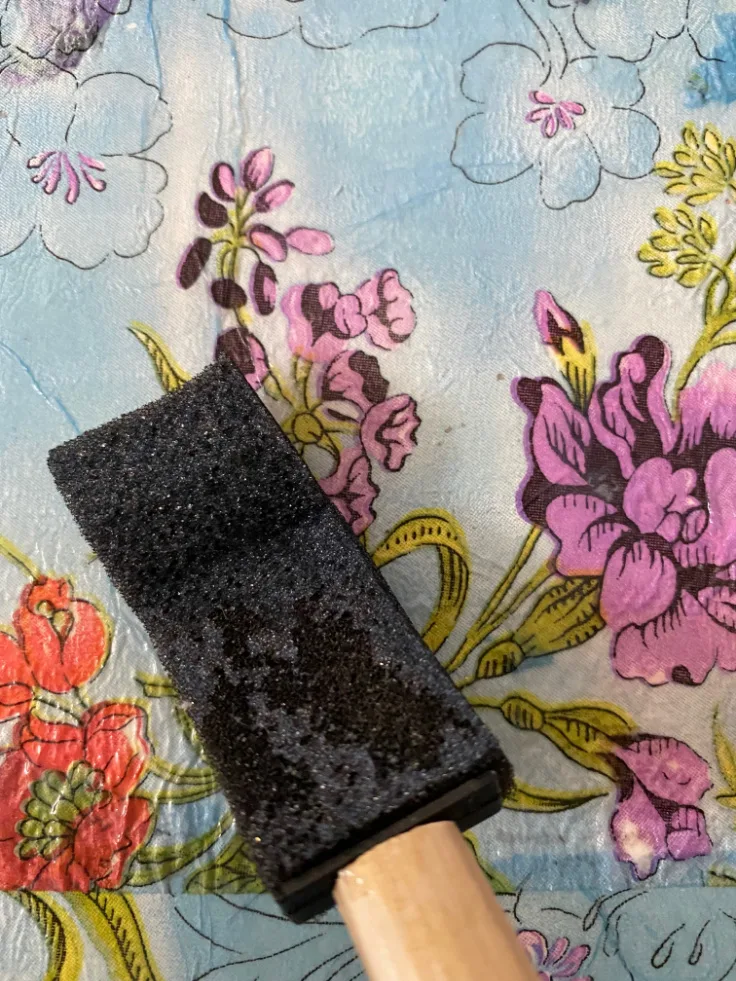
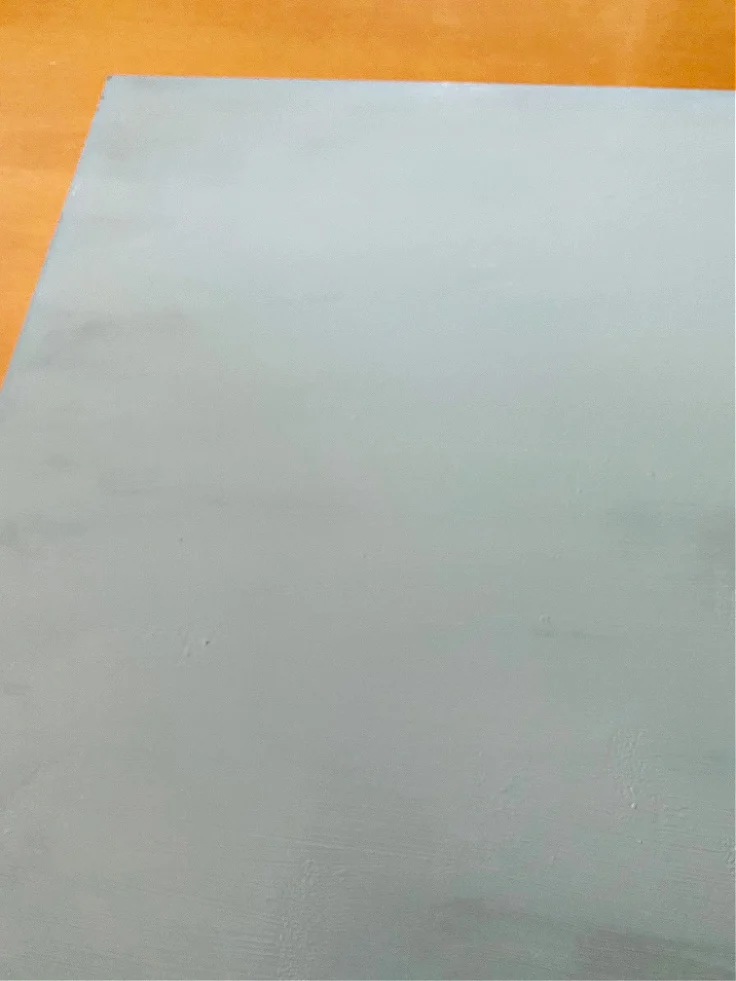
A soft blue paint was added to the bottom of the table.
I lucked out and had the perfect shade of blue in my stash!
Don’t you love when that happens?
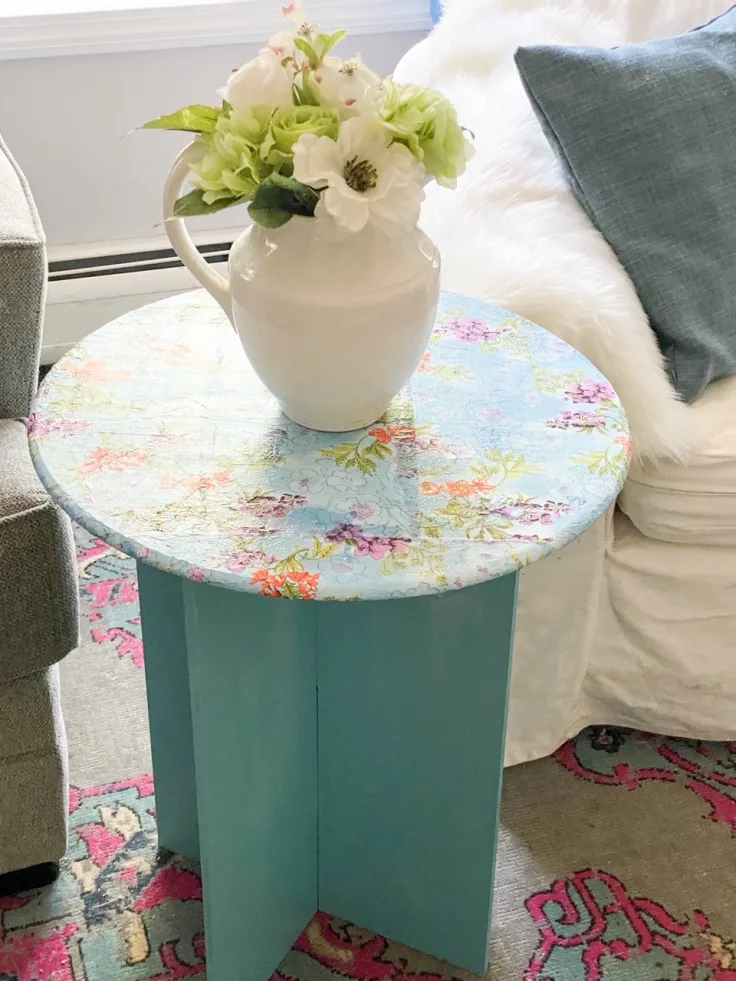
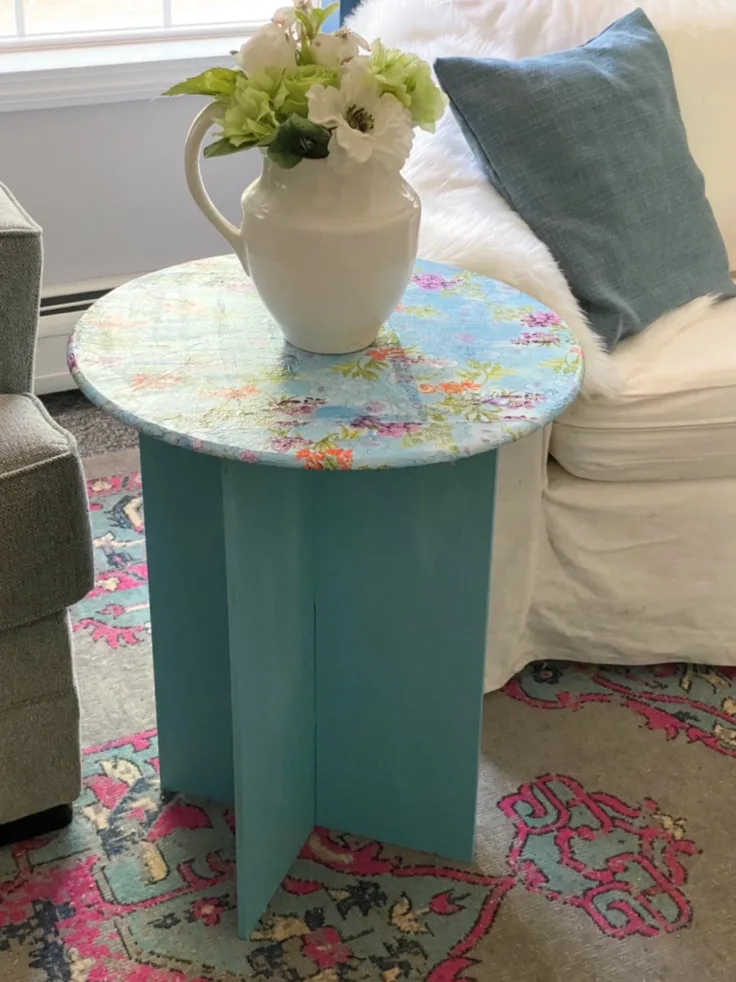
Here is a before and after to really show the transformation:
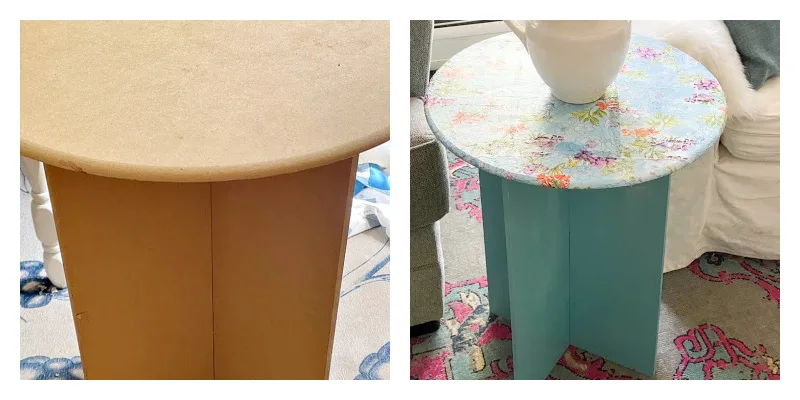
So, what do you think? Not bad for $2 if I do say so myself.
Where Can You Find Pretty Napkins For Decoupage?
- Homegoods
- Amazon
- Christmas Tree Shop
- Tuesday Morning
- Kirklands
- Dollar Store
I hope you enjoyed this round side table makeover.
If so, please PIN the below image:

Visit the talented bloggers below to see their thrifty home projects.


DIY Beautify
2 Bees In A Pod
Postcards From The Ridge
The How To Home
The Tattered Pew
Sweet Pea
What Meegan Makes
Lora B Create & Ponder
White Arrows Home
Our Crafty Mom
Chas’ Crazy Creations
Cottage On Bunker Hill
Beautiful DIY Round Side Table Makeover With Napkins
I picked up a $2 thrift store table headed for the trash and gave it a beautiful makeover with mod podge and pretty floral napkins for a cottage feel. It makes a great side table, or bedroom table.
Materials
- Table - or piece of furniture
- Paper Napkins - these are the ones I used
- Mod Podge
- DecoArt Outdoor Paint – White
- Foam Brush
- Polycrylic Clear Finish
Instructions
- Remove the price tag and give it a good cleaning.
- Give the table top a couple of coats of white paint.
- Paint the entire table top and let it dry completely.
- Remove the top layer of the napkin.
- Add mod podge directly to the table with a foam brush working in sections.
- Place the napkin on the table and lightly pat it down.
- Continue to cover the table with the napkins and mod podge, trimming off the edges.
- Add a couple of coats of polycrylic to seal it.
Recommended Products
As an Amazon Associate and member of other affiliate programs, I earn from qualifying purchases.
-
 Minwax 255554444 Minwaxc Polycrylic Water Based Protective Finishes, 1/2 Pint, Gloss
 -
 Bates- Foam Paint Brushes, Assorted Sizes, 20 Pcs, Sponge Paint Brush, Foam Brushes, Foam Brushes for Painting, Foam Brushes for Staining, Foam Brushes for Polyurethane, Sponge Brushes for Painting
 -
 DecoArt PicketFence Americana Outdoor Living 8oz Picket Fence, White
 -
 Mod Podge CS11301 Waterbase Sealer, Glue and Finish, 8 oz, Matte
 -
 Entertaining with Caspari Dinner Napkin, Blue and White, 20-Pack
You can find me on social media below:


Kristin
Saturday 22nd of May 2021
This is such a pretty idea! I have one of these tables in storage and you just inspired me big time!
Mary Beth
Saturday 22nd of May 2021
This turned out so pretty, Michelle! I would never have thought to decoupage a surface like this....thank you for the inspiration!
Julie
Thursday 20th of May 2021
I have GOT TO TRY THIS, Michelle! The options are endless!
Kristi
Wednesday 19th of May 2021
This turned out ADORABLE, Michelle! What a fantastic idea...and I see these all the time at the thrift store. xoxo
Vicki and Jenn 2 Bees in a Pod
Wednesday 19th of May 2021
Decoupager unite! YES - we love decoupage projects too. You were so smart to think of doing this table. Definitely a beauty to be proud of!