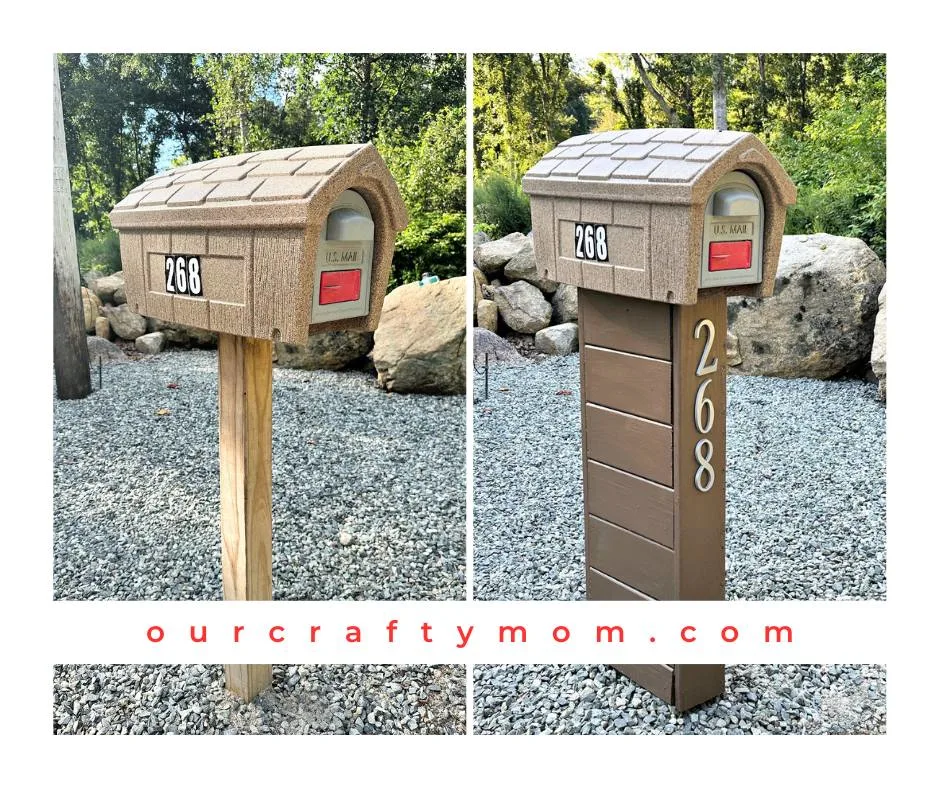
Create a beautiful DIY wooden mailbox that adds character and warmth to your front yard. Follow these easy steps to build your own.
This post is sponsored by Lowe’s and contains affiliate links, which means if you buy something using these links I will earn a small commission at no additional cost to you. All opinions are my own. Please see my full disclosure policy here.
DIY Wooden Mailbox
If you follow me on Facebook you have probably heard me talk about my father and his love for building chicken coops.
He is turning 82 yo in September and never stops.
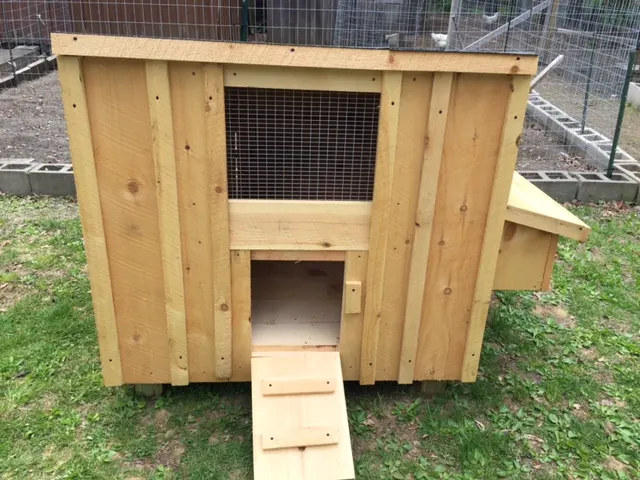
Here is one of the DIY chicken coops that he builds from start to finish on his own.
We are helping him spruce up his yard and thought we would start with the front of the house, specifically the mailbox area.
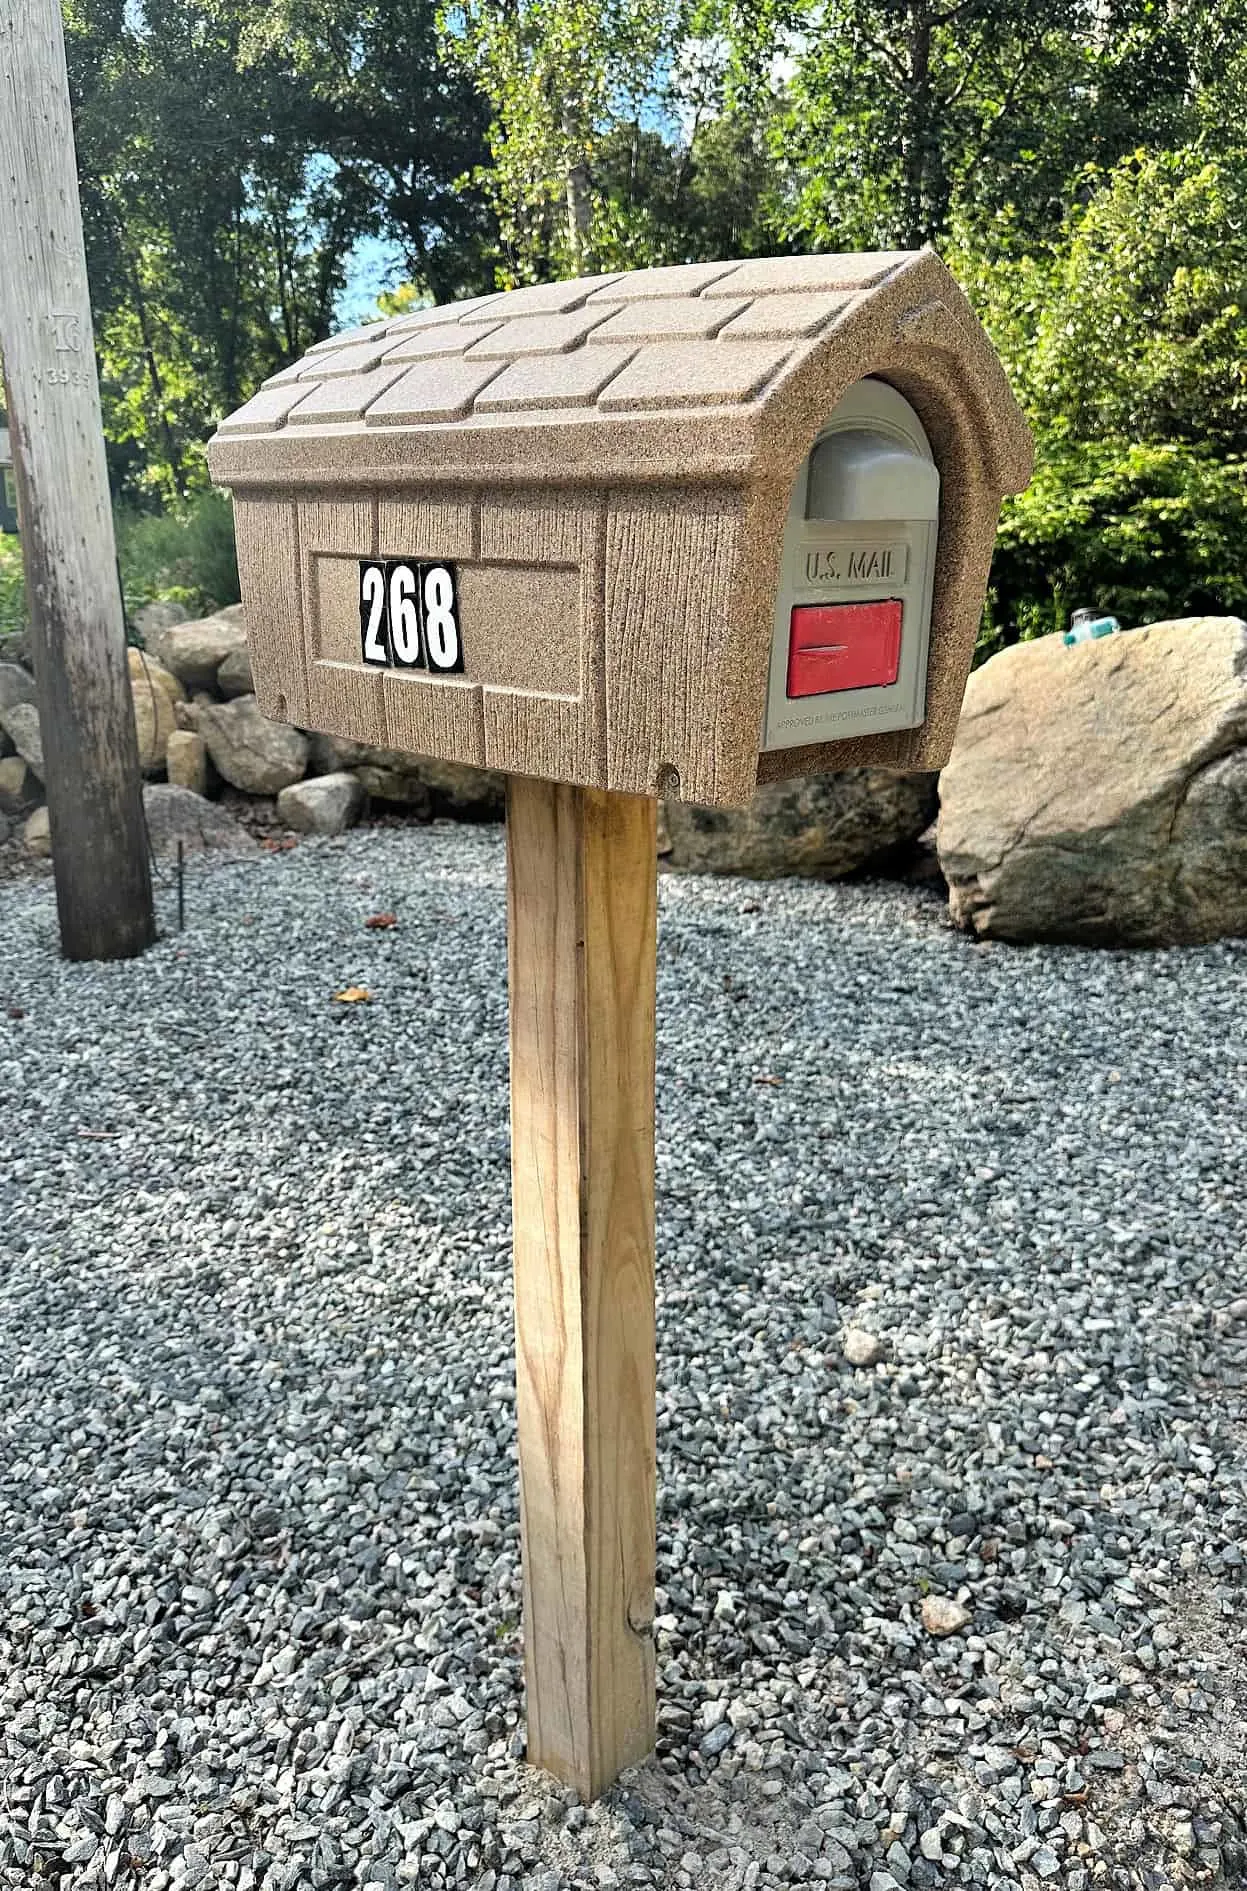
The mailbox was already updated with a rustic style, but the post was a little plain.
Here is the before:
And here is the after:
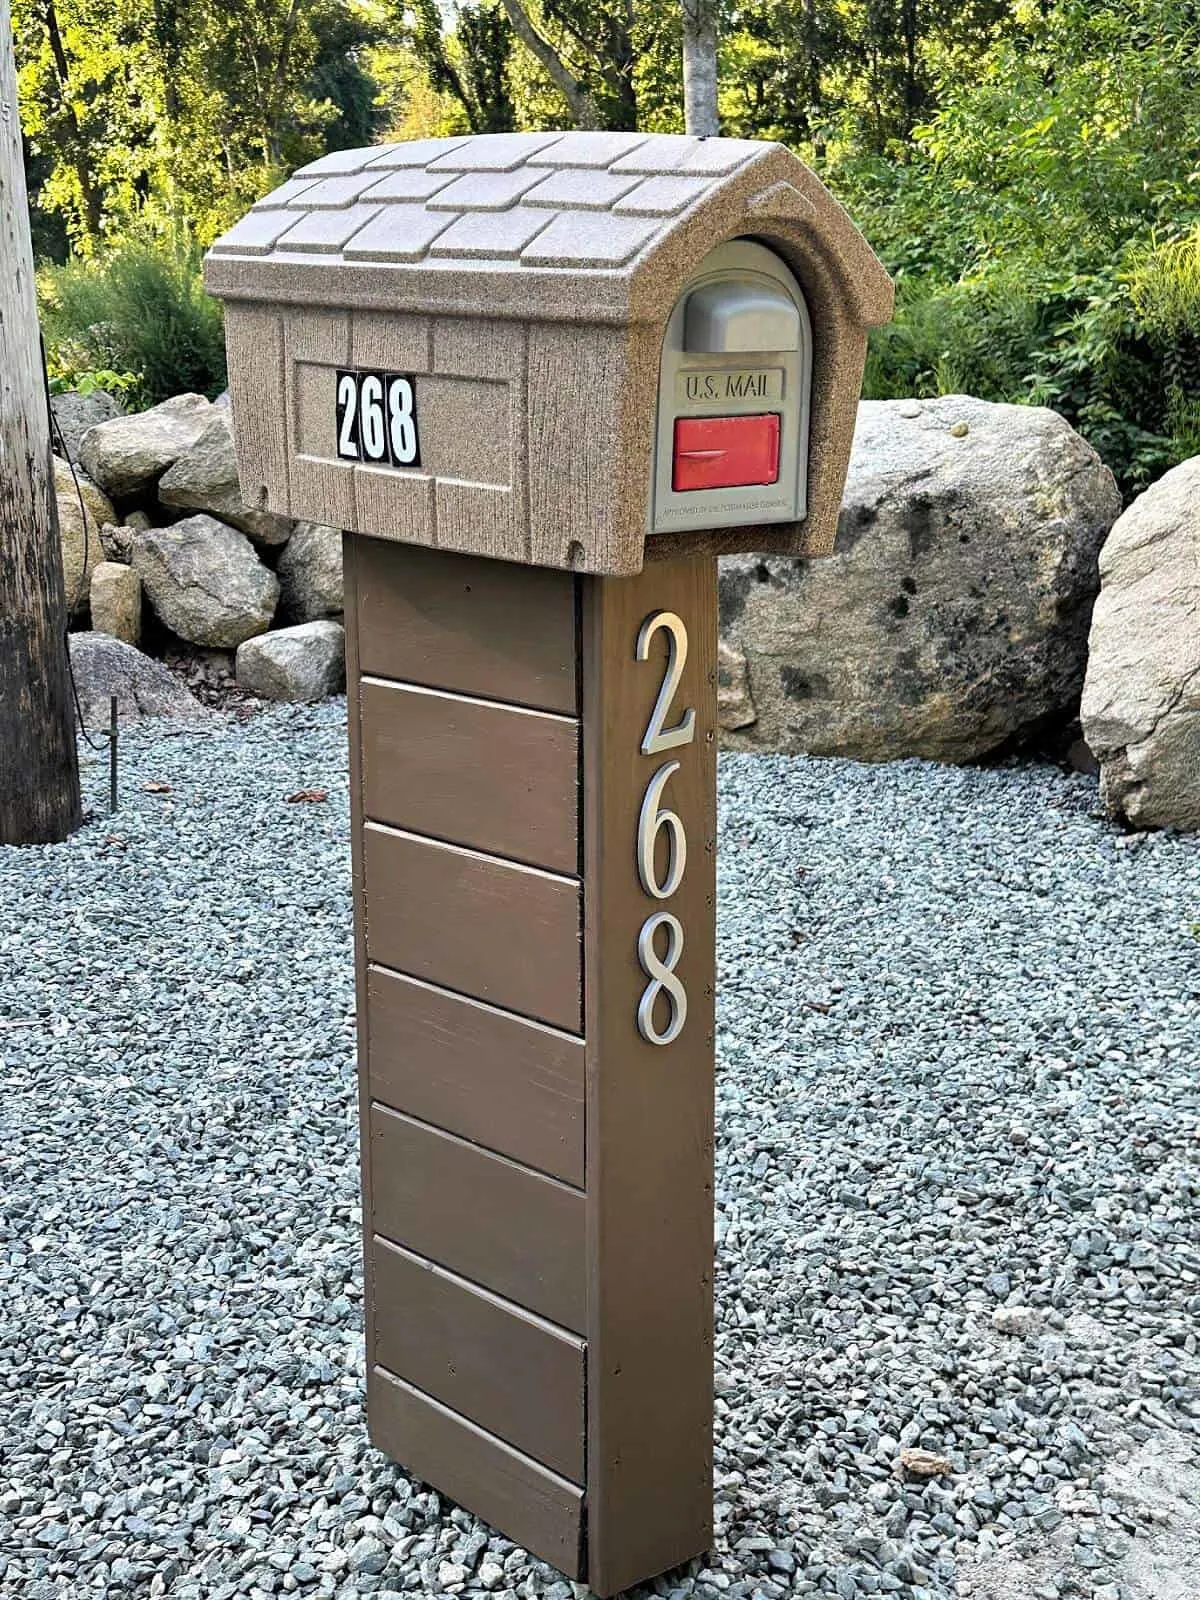
What a difference! The best part is this is a beginner-friendly project that even a newbie DIY’er can make.
Let me show you the easy steps so you can make your own. This is a great weekend project and it really adds to the curb appeal of your home.
We still plan to add some plants around the base. I can already see gorgeous fall mums placed in pots around the mailbox.
Getting the Right Tools
One of the most important tips I learned from my dad is that you have to have the right tools for the job.
I am an impatient DIY’er and sometimes attempt a project with shortcuts. Of course, it doesn’t work out and I end up having to fix it.
So, the first thing we did was head to Lowe’s to buy the right tools for the job. My dad was like a kid in a candy store checking out the DeWalt tools.
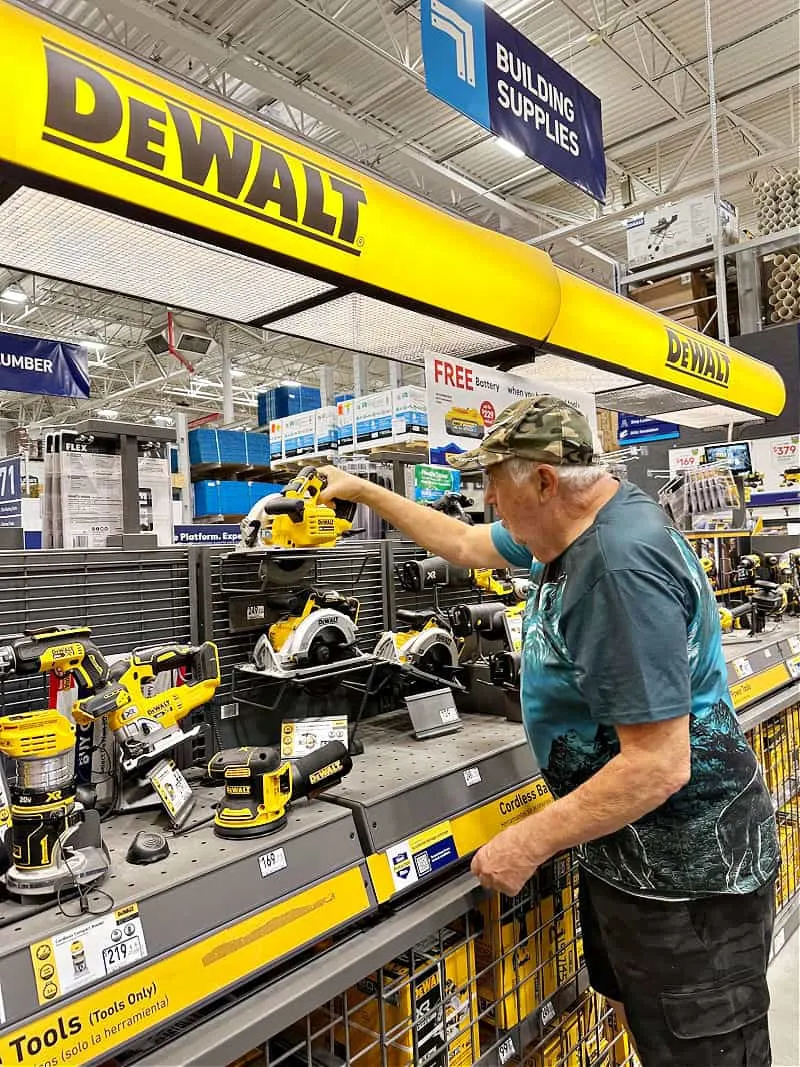
He also wanted me to point out that Lowe’s offers a 10% discount to Veterans. He is a proud USAF Veteran.
Now, let’s get to the supplies for the mailbox enclosure.
Materials Needed for DIY Mailbox
- 1×6″ Pressure Treated Boards
- 2″ Exterior Deck Screws
- Self-Stick Numbers
- Wood Stain or Exterior Paint
- Paintbrush
Tools Needed
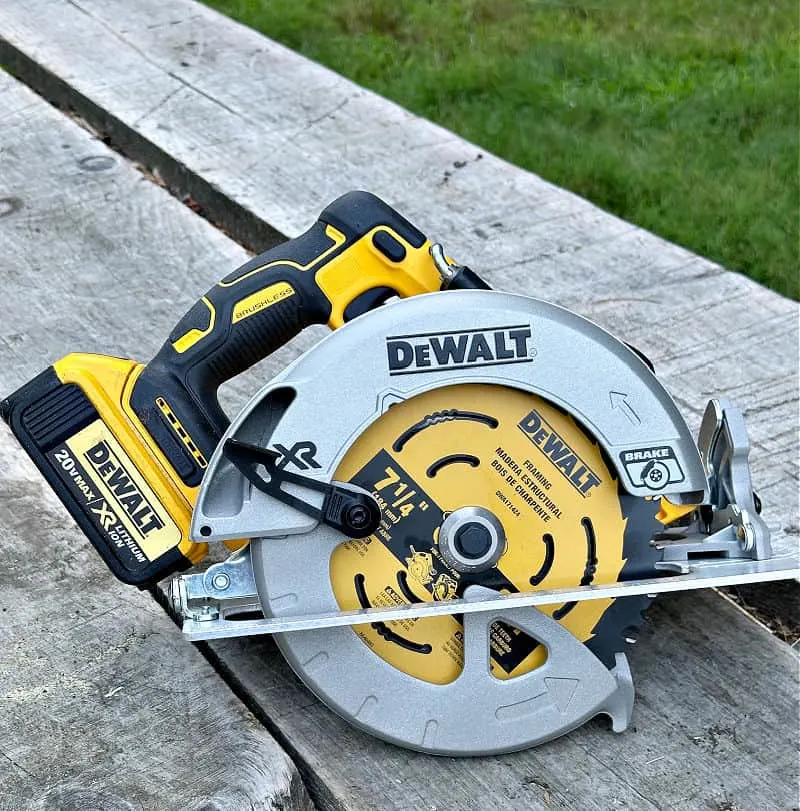
DIY Mailbox Tutorial
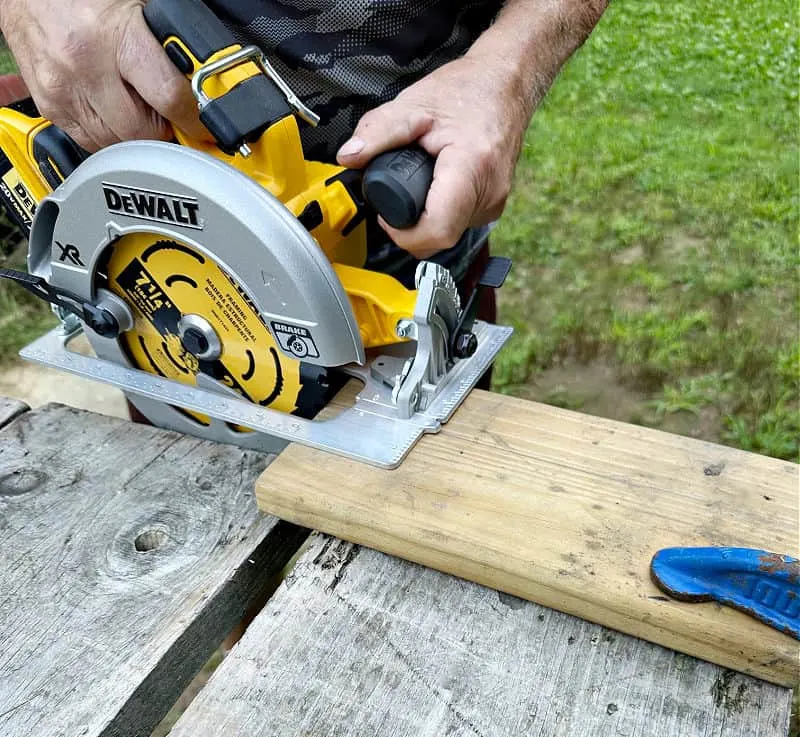
You only need 2 cuts in the wood boards for this build. Plus, you can easily customize it to go with your house style using stain or paint.
Step 1. Make Wood Cuts
- 2 pieces at 36″
- 12 pieces at 15″
Step 2. Assemble Boards
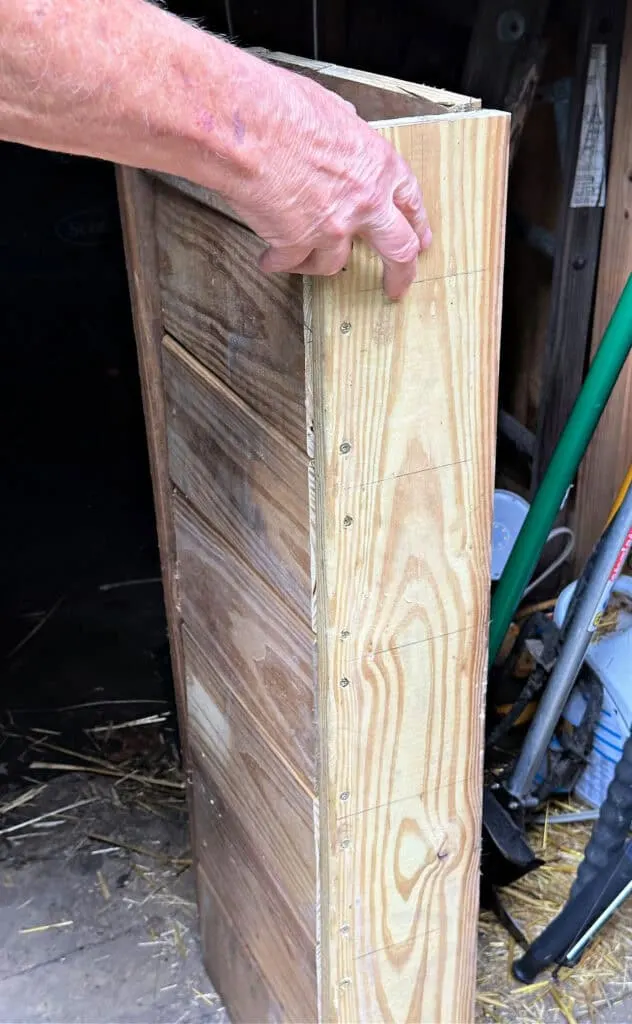
Screw six 15″ boards to a 36″ board on both sides with 2″ exterior wood deck screws for each board.
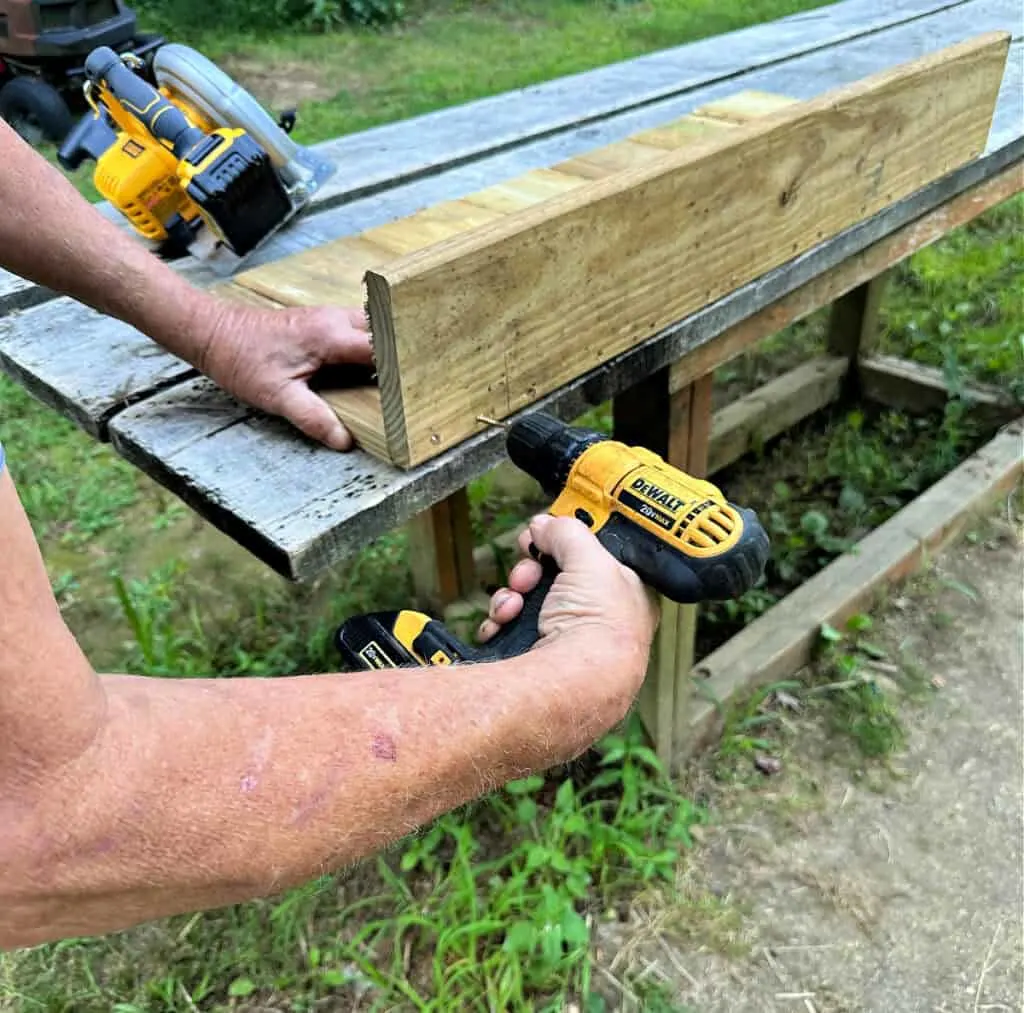
Save time by cutting the wood one day and assembling it the next, making it perfect for a weekend DIY.
Step 3. Attach to Post
Once you have the wooden enclosure built, it’s time to secure it to the mailbox post.
Center assembly on post and screw the top and bottom 15″ boards on both sides to the post.
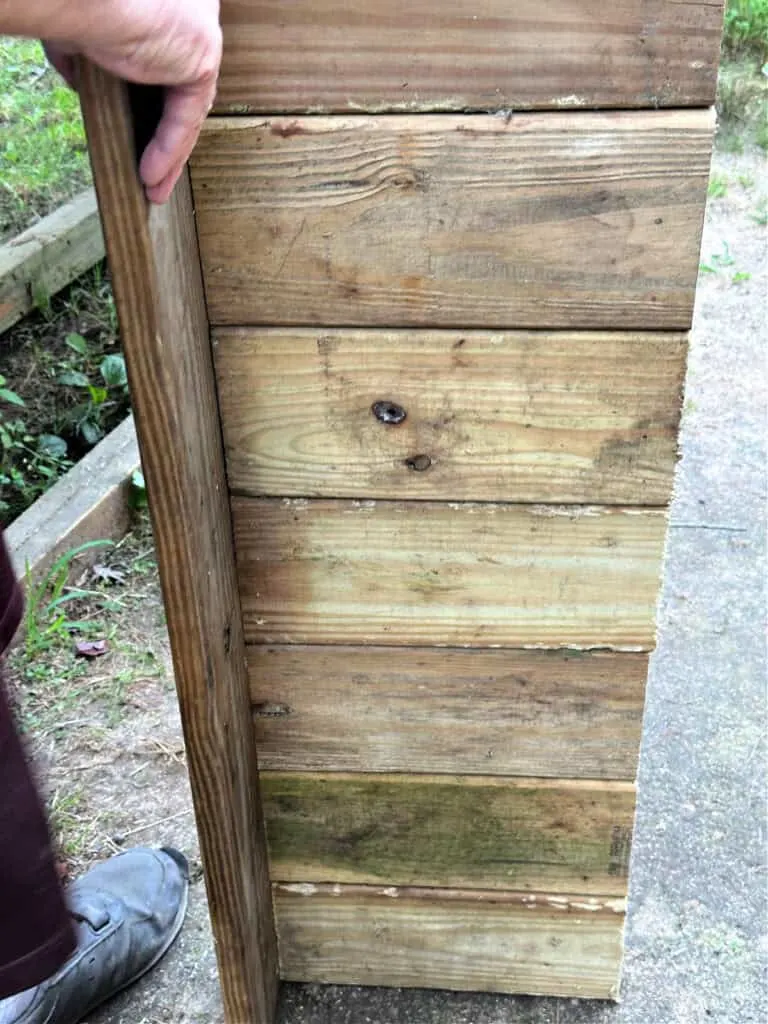
Screw second 36″ board to 15″ boards with 2 deck screws on each.
Step 4. Paint or Stain
Now it’s time to choose the paint or stain for the mailbox enclosure. At first we were going to stain it, but the stain we had was a little light.
We had leftover paint from his recent deck remodel, so we ended up painting it and love how it turned out. Plus, it matches his deck.
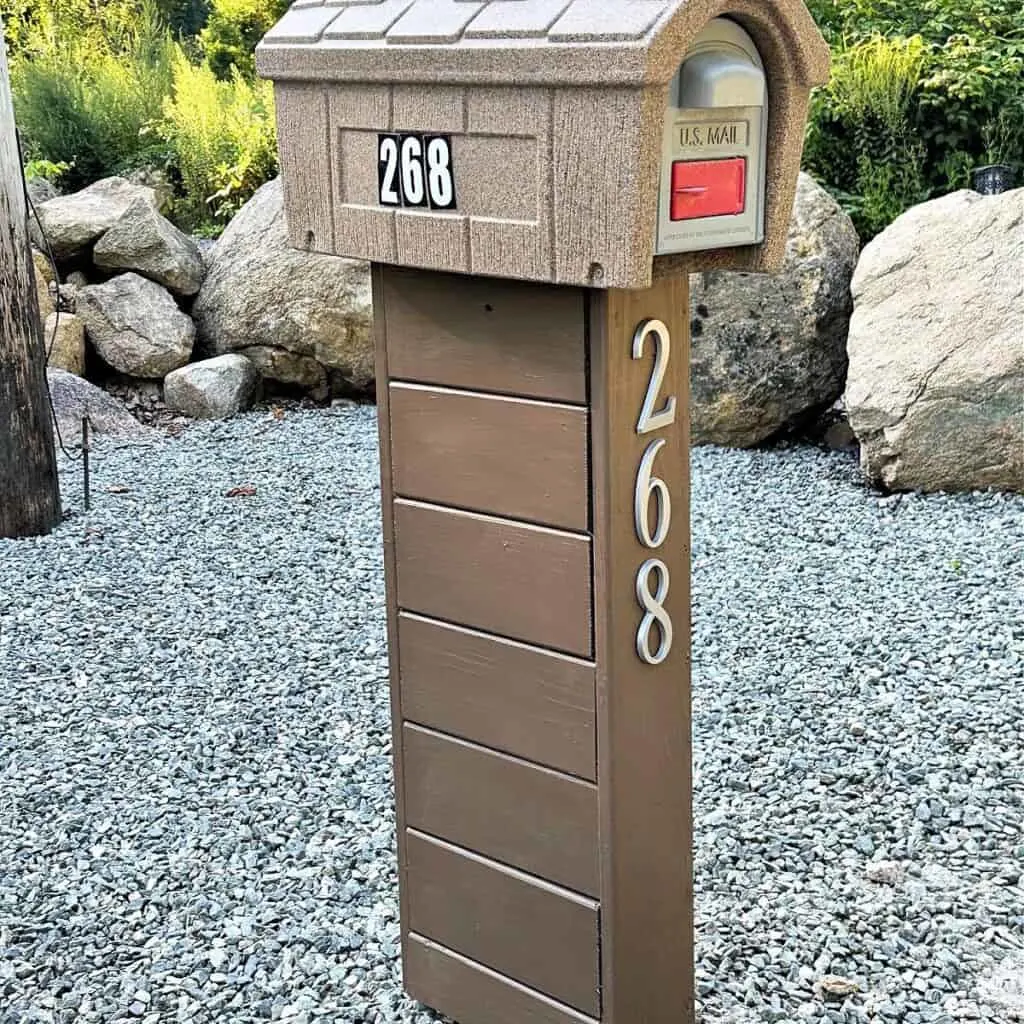
There you have it! A beautiful DIY wooden mailbox that you can easily build with this simple tutorial and just a couple of tools.
If you do make your own, please share it with me on Facebook or Instagram by tagging @ourcraftymom. It totally makes my day!
Save for later
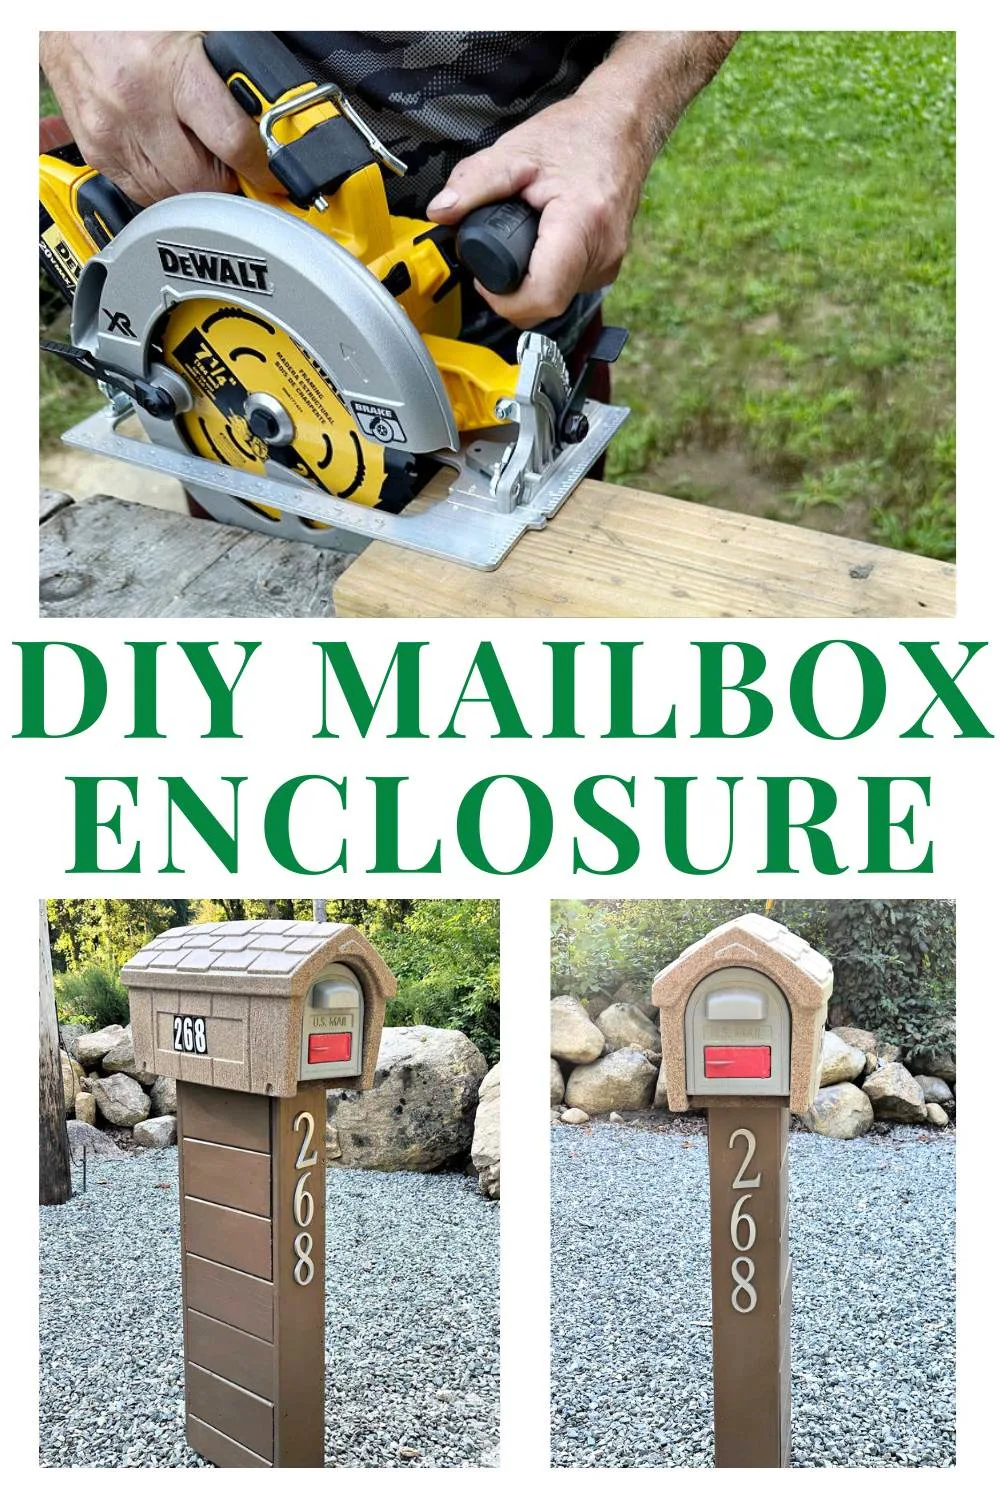
Share this article with your friends on Pinterest by pinning the below image.
It helps my blog grow and doesn’t cost a thing!
Thanks for stopping by. Happy building!

Here are even more DIY home makeovers and decorating ideas:
- 15 Upcycled Creative Home Decor Projects
- Antique Hutch Makeover
- Old Window Decor Ideas
- Best Upcycled Wall Art Ideas
- 35 Upcycled Tin Can Crafts
- 7 Upcycled DIY Projects for Outdoors
- 19 Recycled Cardboard Crafts
- Mid Century Modern Record Cabinet Makeover
Follow me on social media below:
