DIY your own Pottery Barn inspired Halloween ghost wreath for a fraction of the cost with this simple step-by-step tutorial.
This post contains affiliate links at no extra cost to you. Please see my full disclosure here.
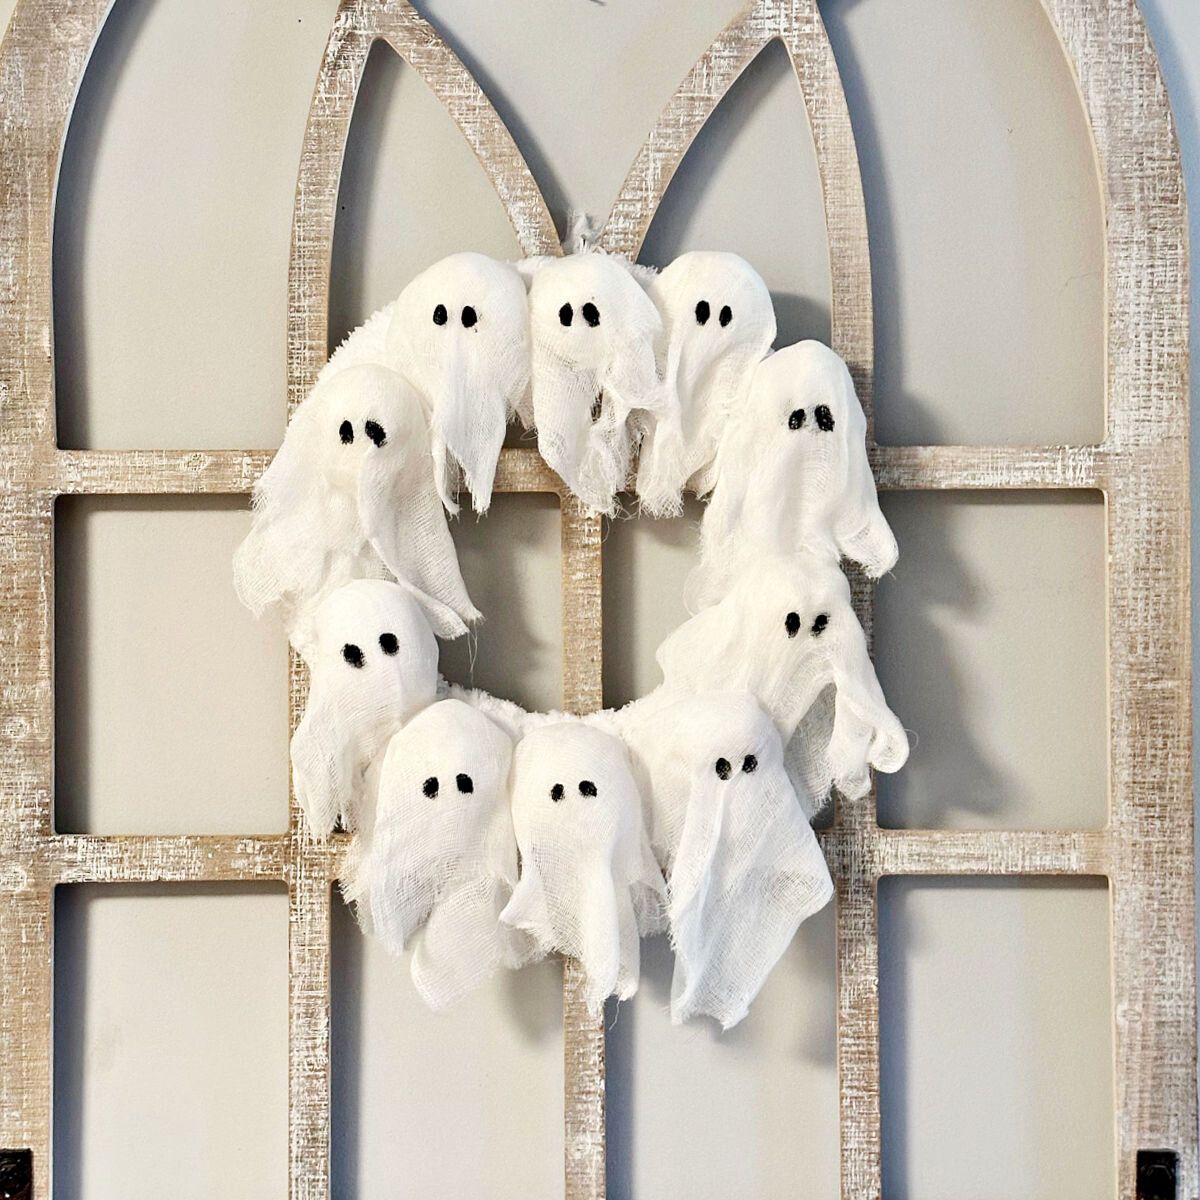
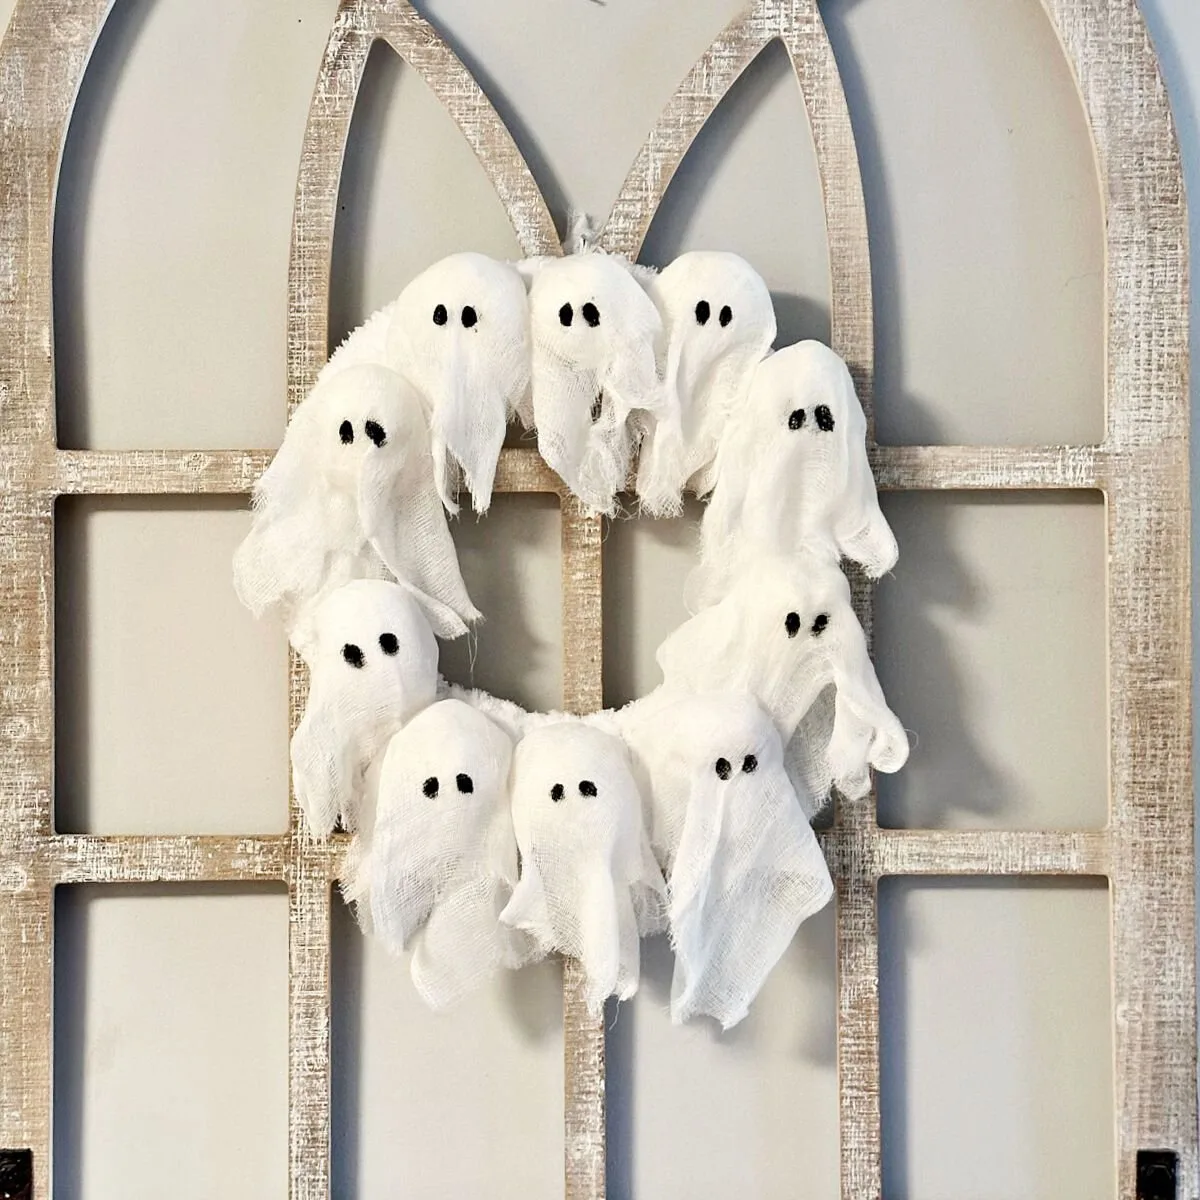
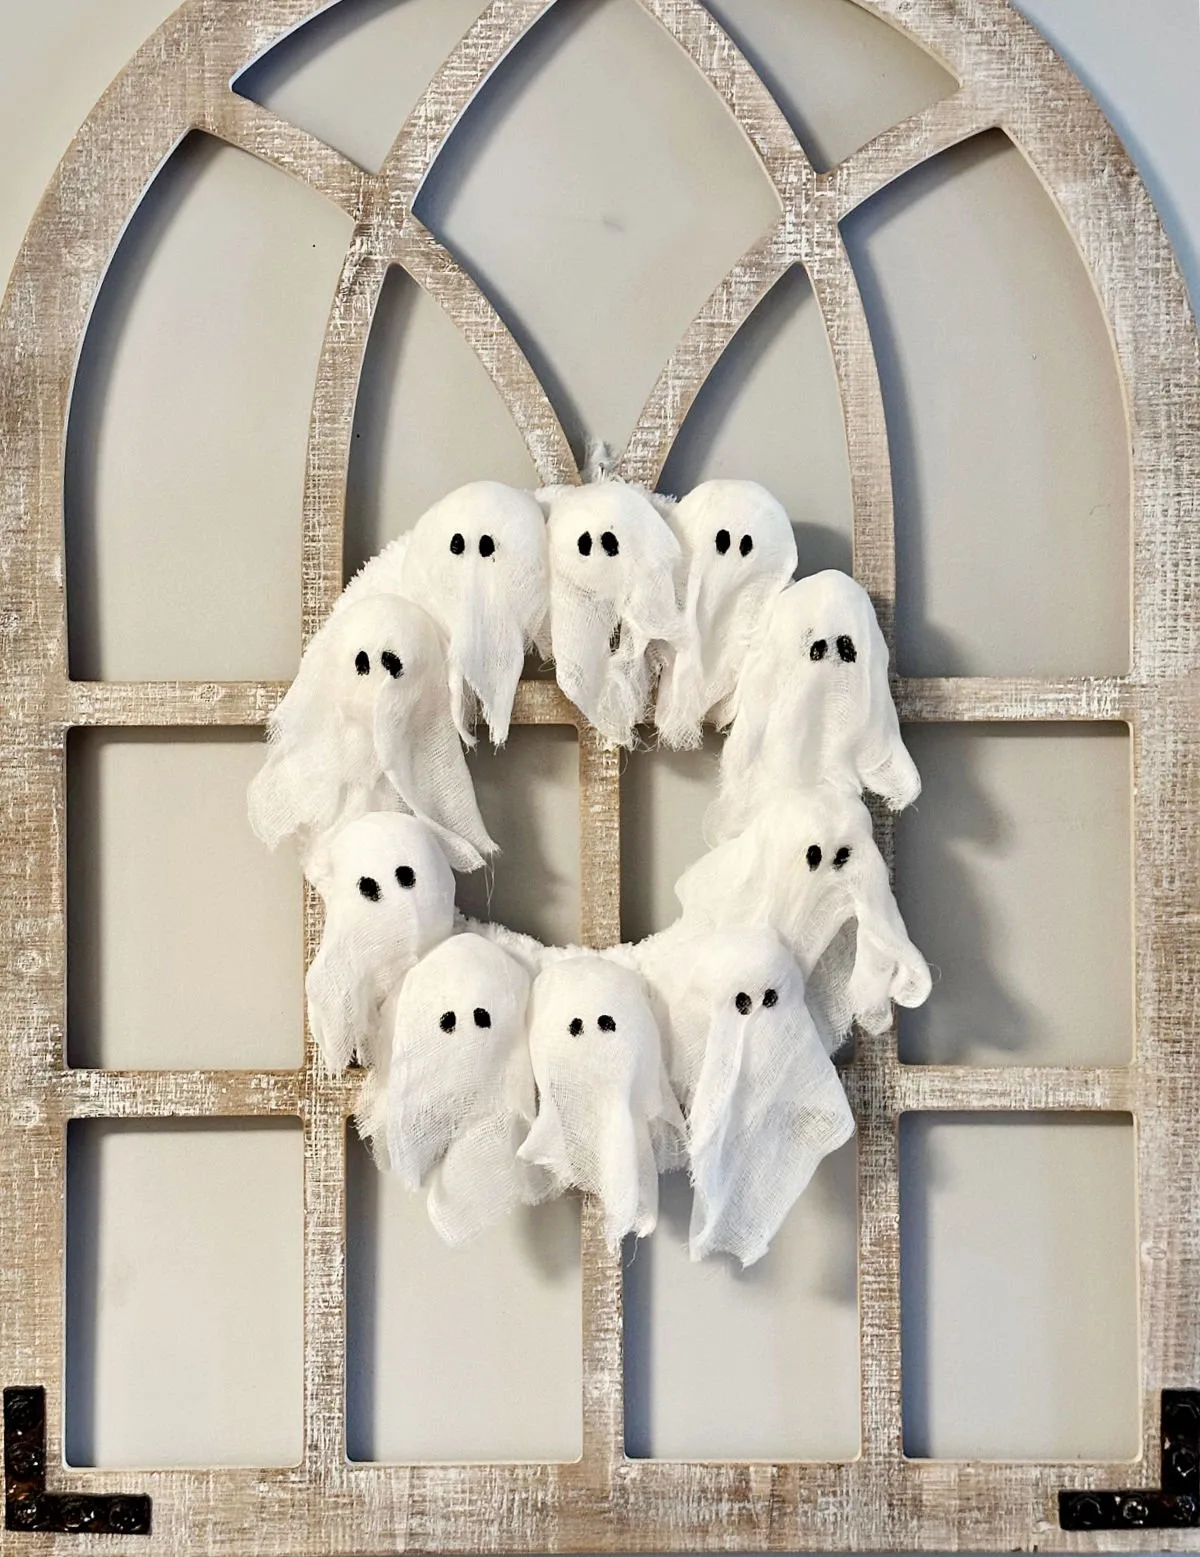
Halloween Ghost Wreath
The countdown to Halloween has begun, and I’m ready to deck out my space with spooky charm. Pottery Barn’s decor always inspires me, but it is usually a bit out of my price range, so I try to DIY the seasonal items I really love.
Last Halloween I was inspired to make a copycat of the Pottery Barn bat pillow and this year the ghost wreath was at the top of my DIY list for Halloween.
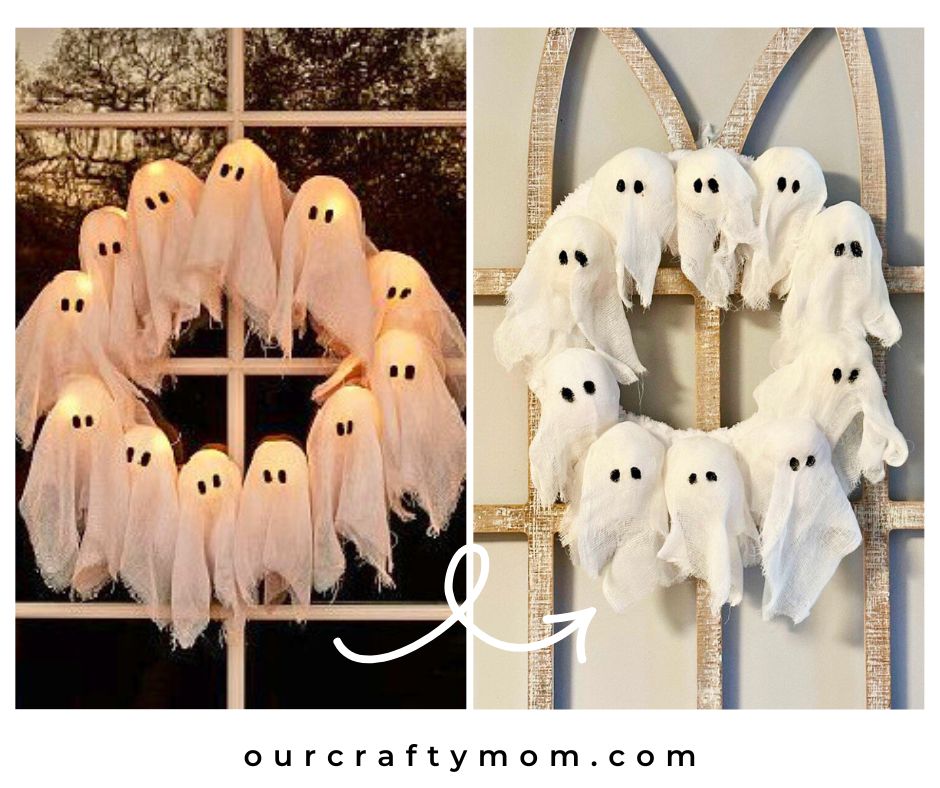
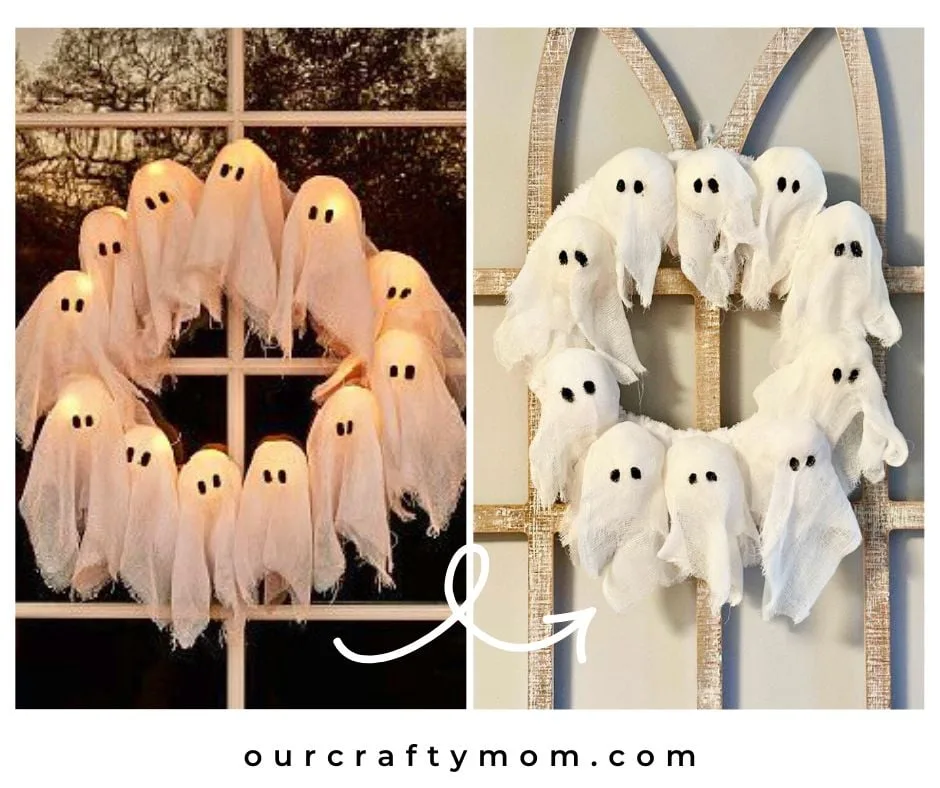
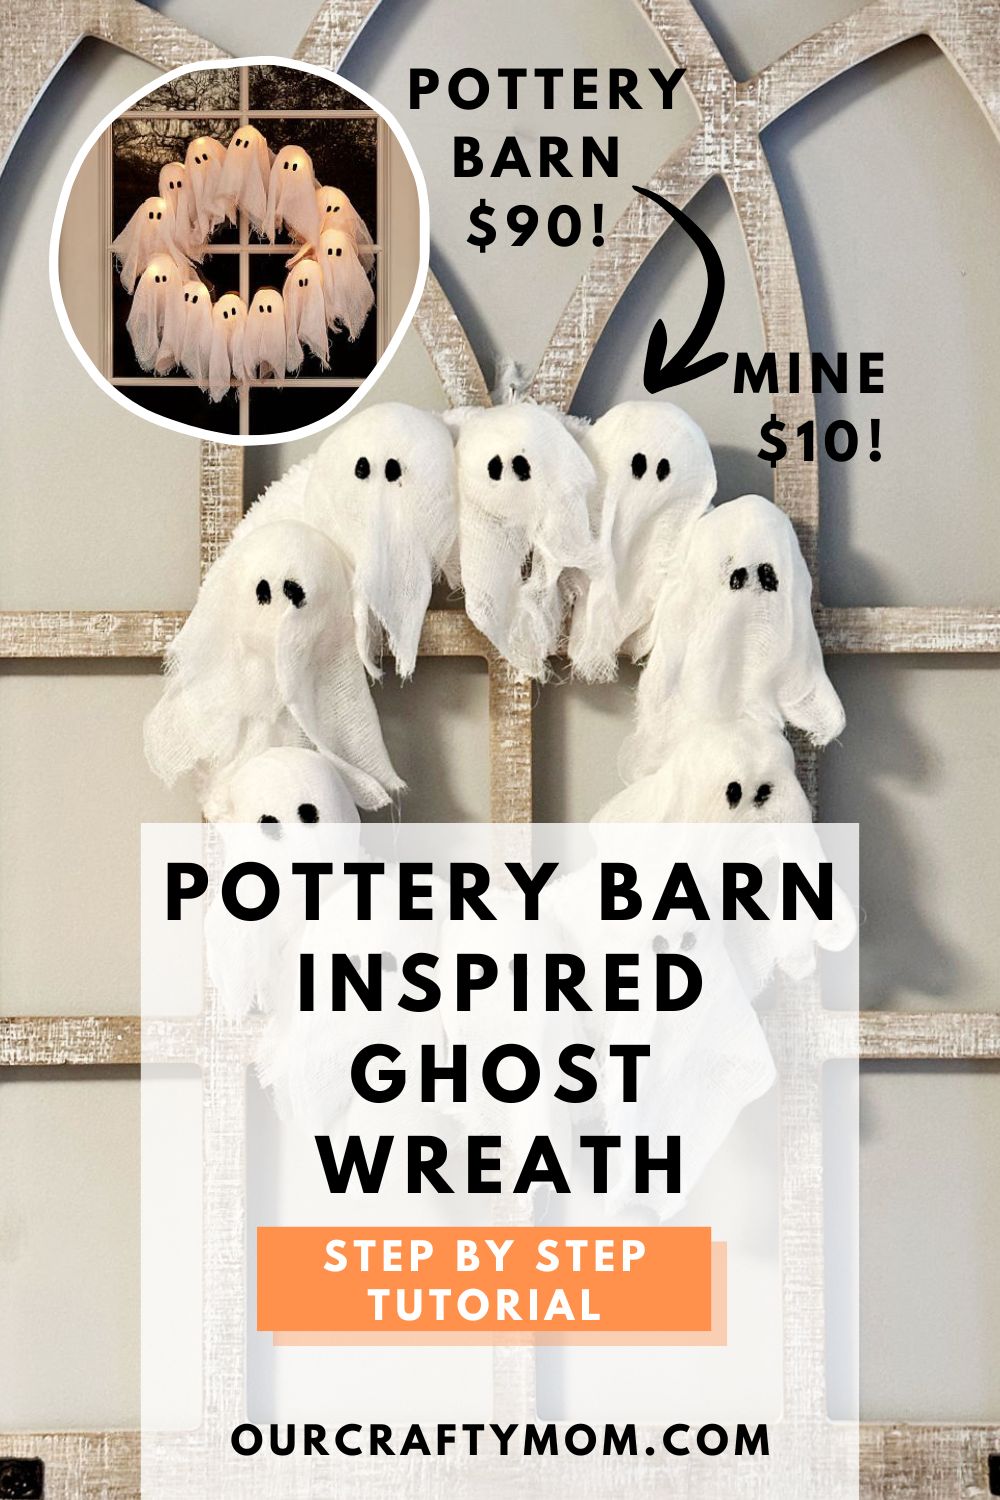
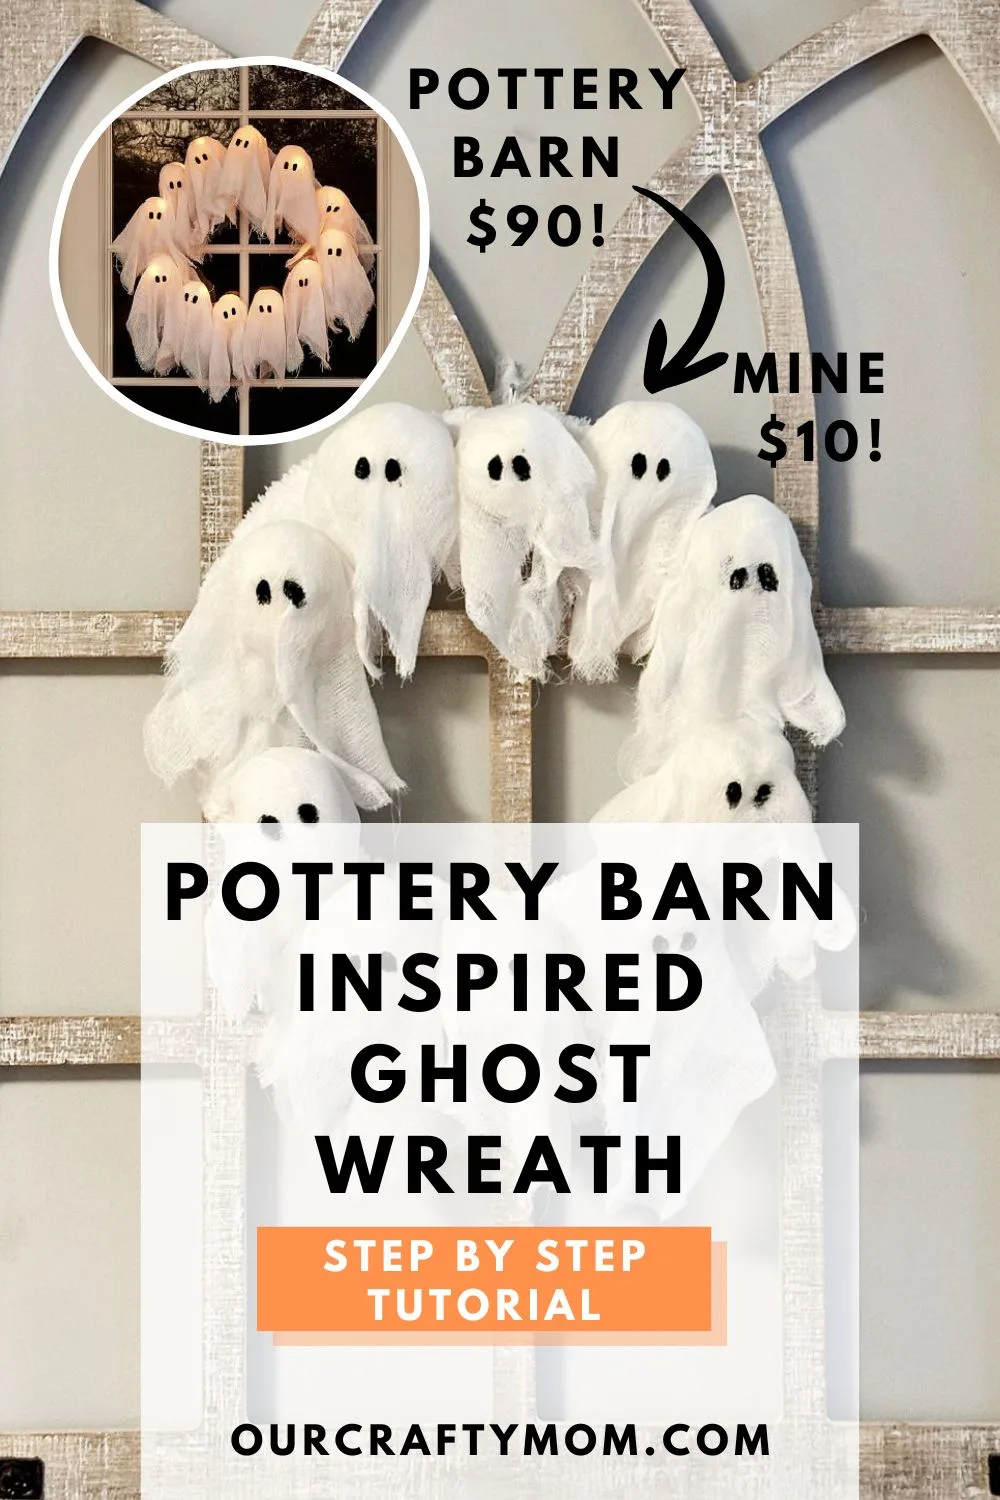
The Pottery Barn wreath is priced at $90 and my budget-friendly version is just $10. You can’t beat that. I did order battery-operated lights on a timer and will share an updated photo once they are added.
Look at how cute it is:
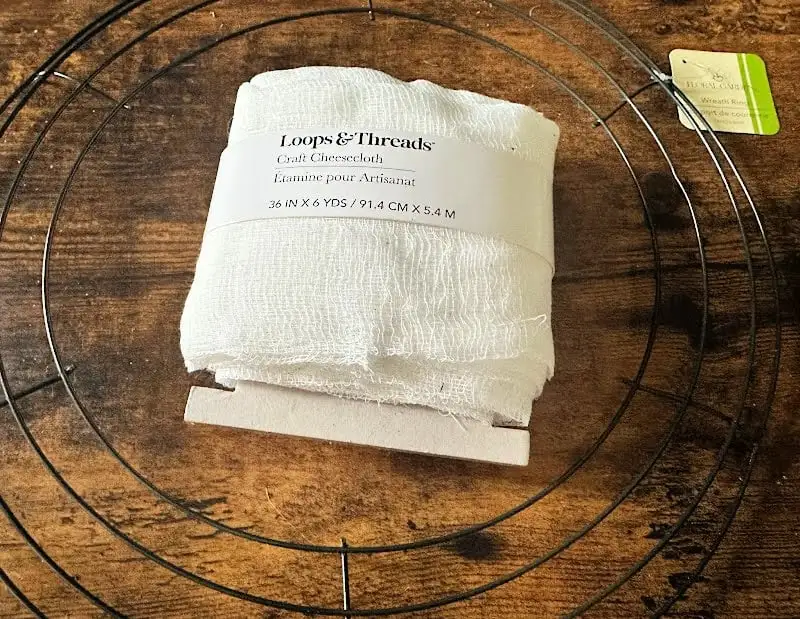
Here is what you need to make your own. I had everything but the cheesecloth in my craft stash. You can pick up most of the supplies at Dollar Tree.
Supplies for Ghost Wreath
- Wreath Form – Dollar Tree
- Steering Wheel Cover – Dollar Tree: using a steering wheel cover is a great way to cover not only the metal wreath forms, but also the styrofoam wreaths.
- White Paper Bags – you can also use small round foam balls, rolled up newspaper, or even parchment paper.
- Cheesecloth – check Michaels with a coupon!
- Black Craft Paint
- Hot Glue Gun – I love this cordless one!

How to Make a Halloween Ghost Wreath
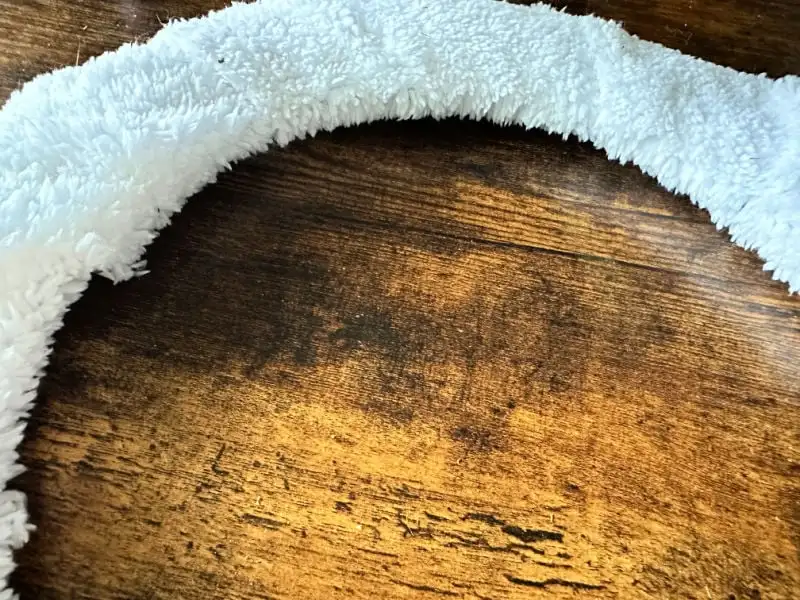
Step 1. Cover the Wreath: The first step is to cover your wreath form. The steering wheel cover fits perfectly. Just cut it across the top and fold it over the form.
If you don’t have one, you can use any white fabric that you have in your stash.

Step 2. Make the Ghost Heads: Next up, make 10 ghost heads. The easiest way is to use foam craft balls.
I’m on a mission to craft without buying anything new, so I looked around to see what I could use. Turns out white paper bags work great!
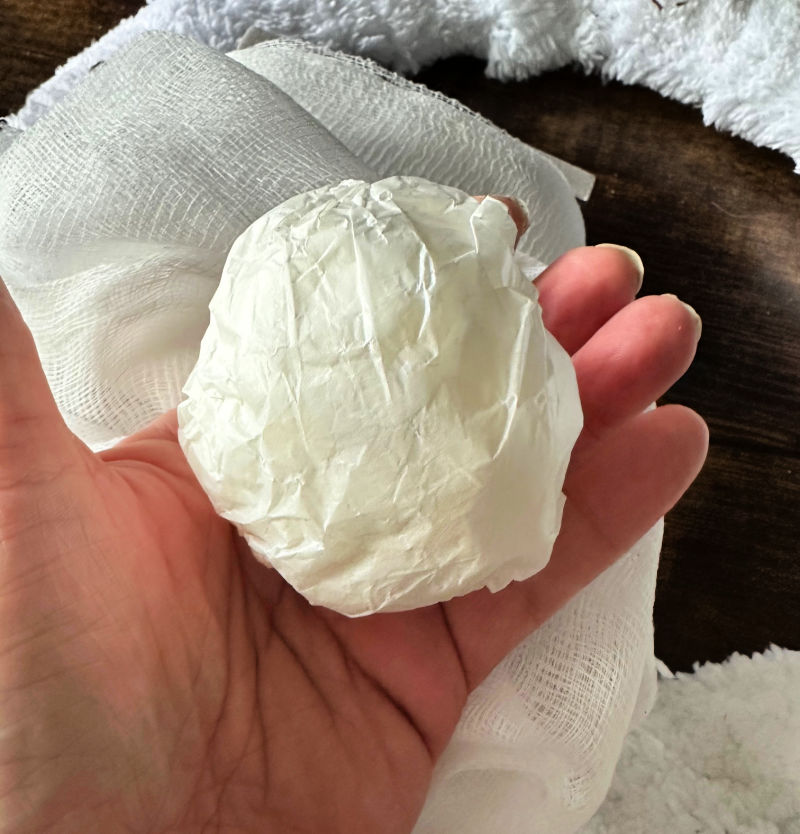
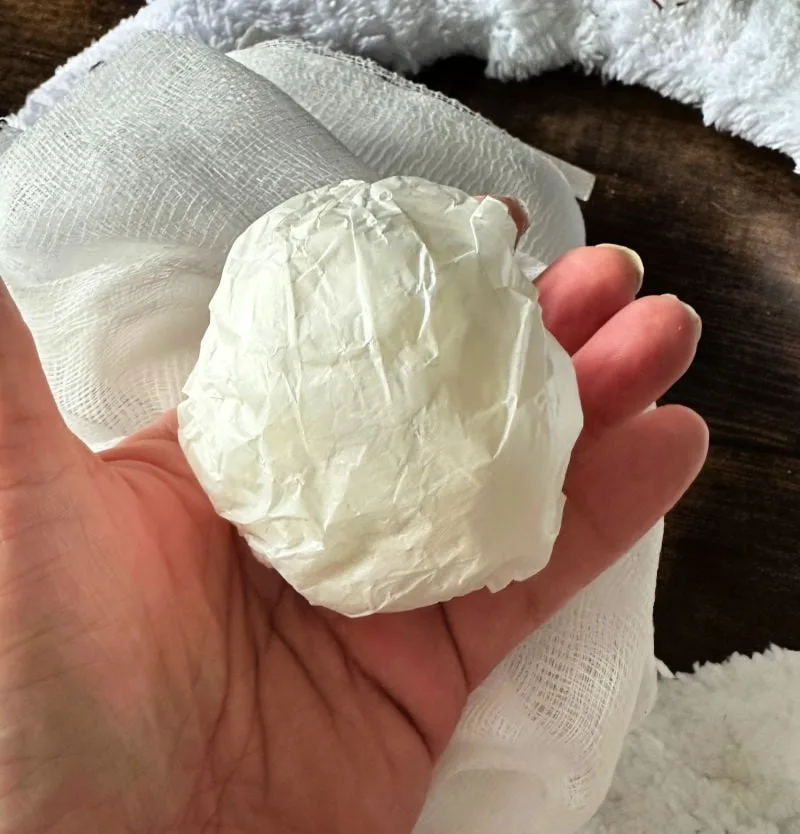
Simply roll them up tightly until they are about the right size. Add a bit of tape if they are not secure.
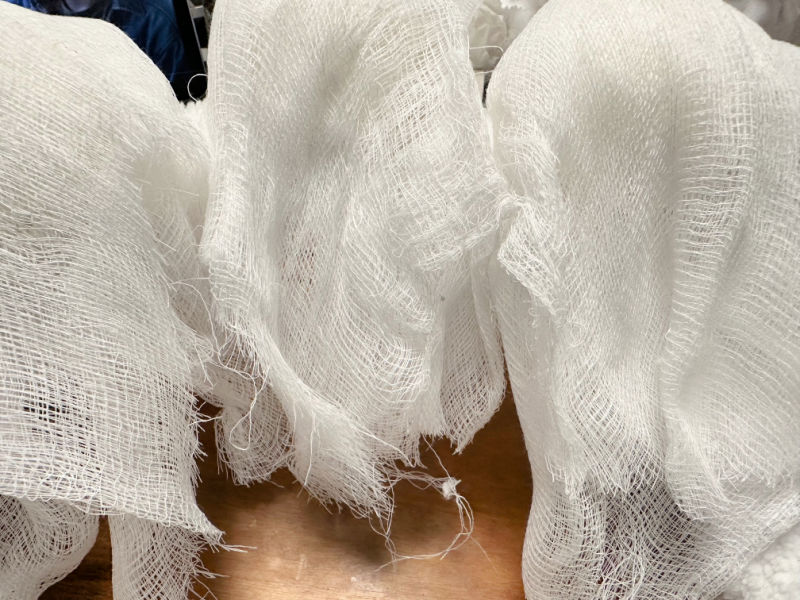
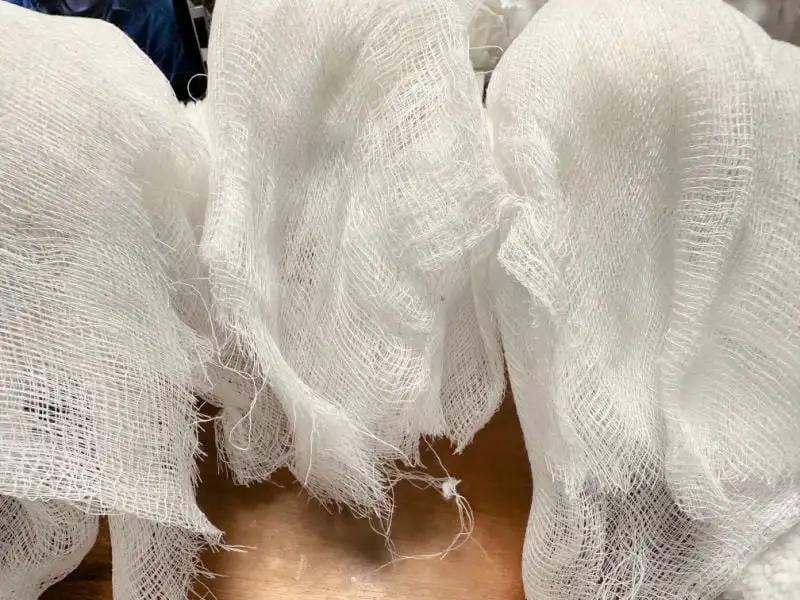
Step 3. Add Cheesecloth: Drape a piece of cheesecloth over the ball and cut it to size. Use the first one as a template for the remaining nine.
Place a drop of hot glue on the back to secure it. If you want to dress it up, you can add white tulle or lace.
Step 4. Make the Ghost Eyes: Use black craft paint to add eyes to each ghost.
Quick tip: eyeshadow brushes and q-tips are perfect for making small eyes.
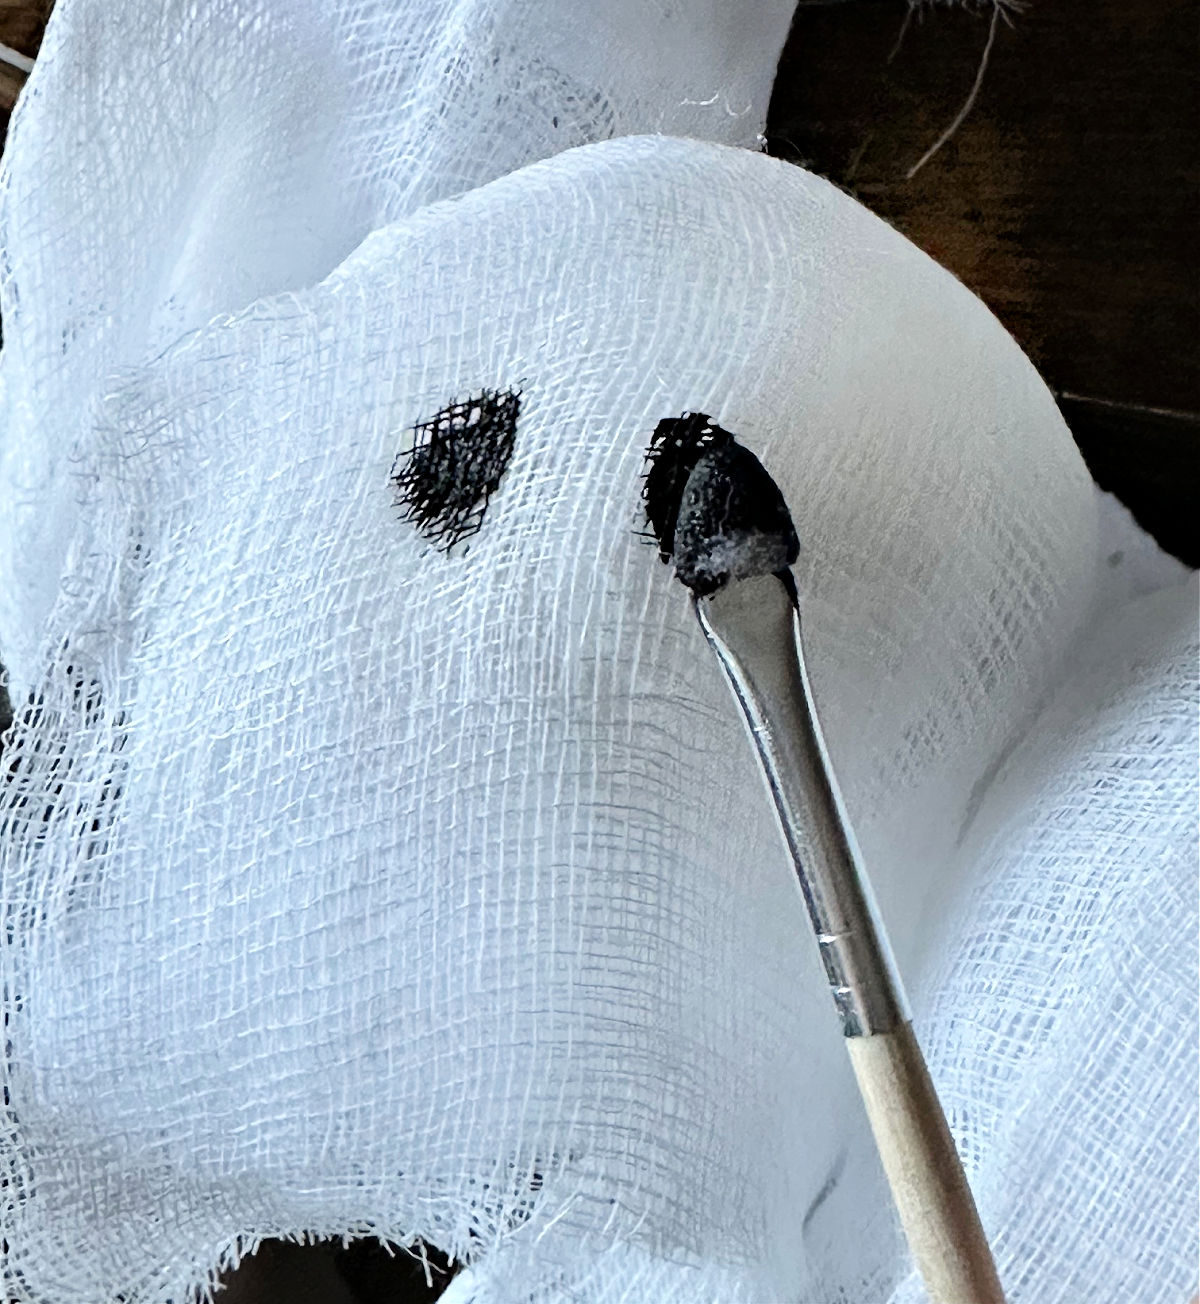

Don’t worry if the eyes do not look the exact same on each ghost. After all, ghosts have different looks, right?
Step 5. Secure to the Wreath: The final step is to secure all 10 ghosts to the wreath. Add hot glue to the back of the ghost head and start at the top center of the base.
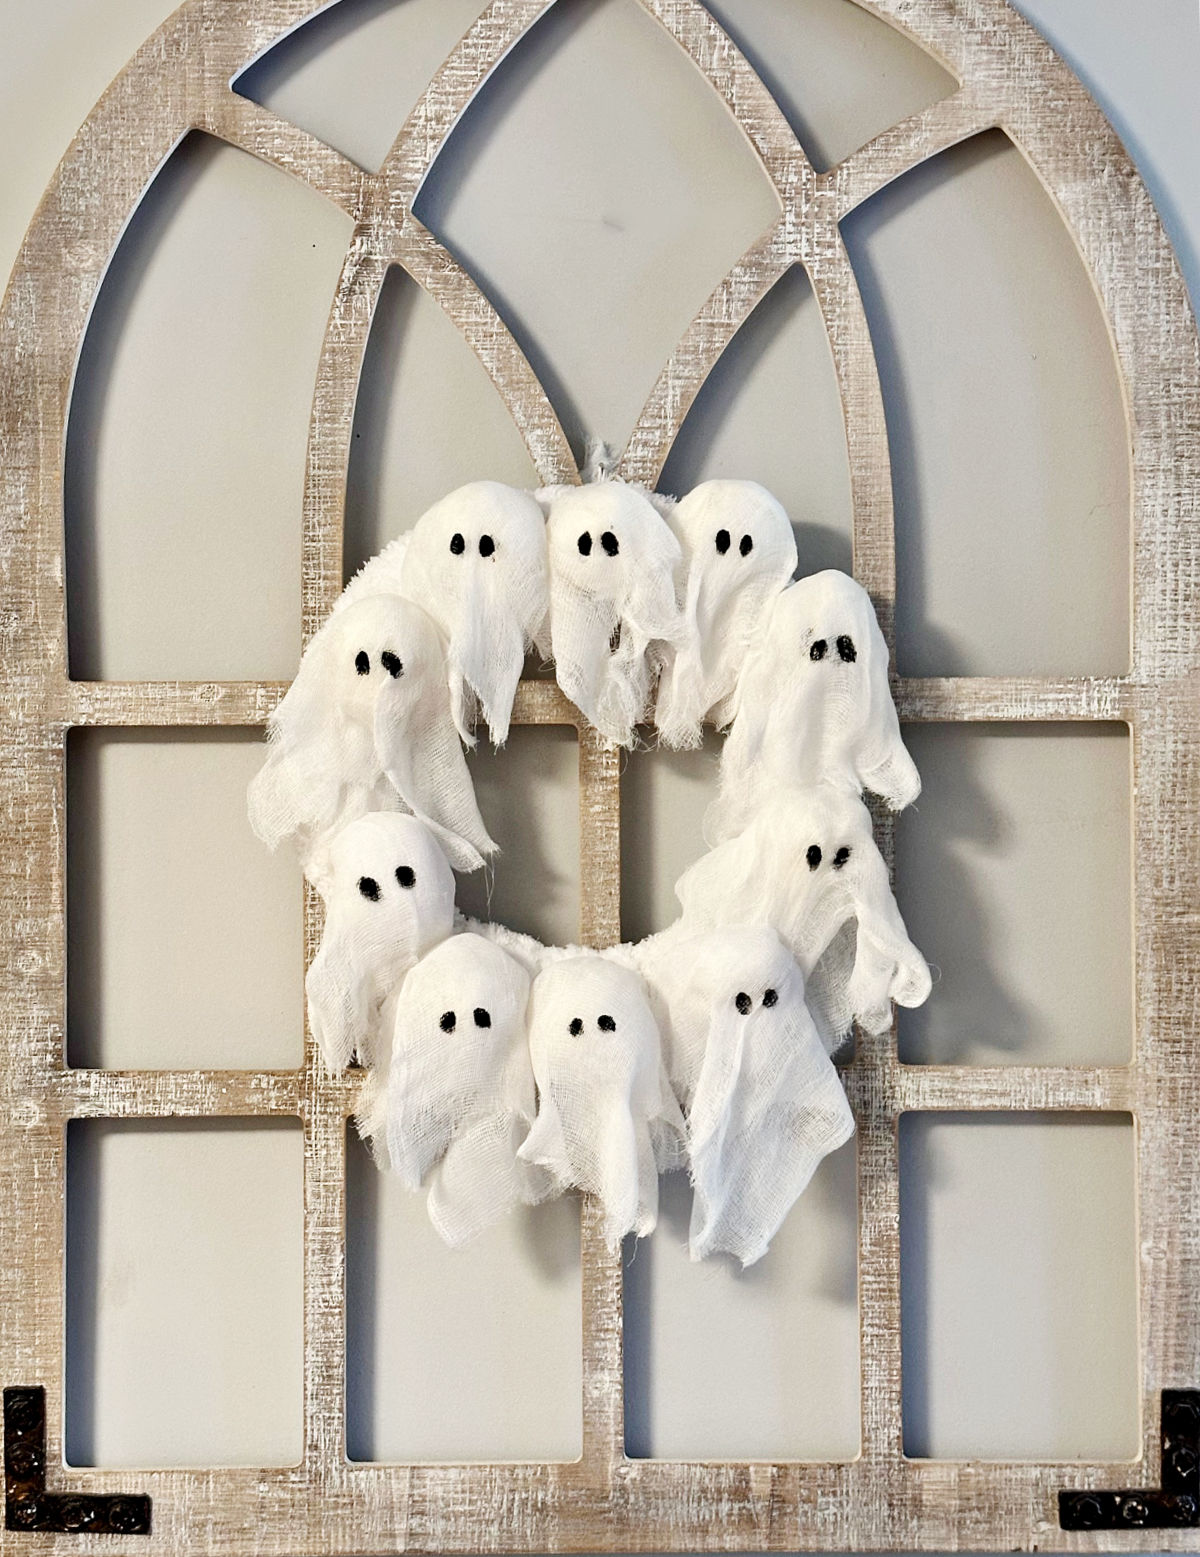
Continue gluing the ghosts around the wreath. Fluff the cheesecloth and hang with a piece of ribbon or twine.
I’m so happy with how this sweet Halloween ghost wreath turned out. And you can’t beat the price!
Pin For Later
Share this Halloween wreath with your friends on Pinterest by pinning the below image.
It helps my blog grow and doesn’t cost a thing! 🙂
Thanks for stopping by. Happy crafting!


Enjoy even more Halloween crafts and home decorating ideas below:
- Halloween Pumpkin Diorama
- Halloween Clip Art
- Thrift Store Dollhouse Makeover for Halloween
- Hocus Pocus Printable Halloween Art
- Thrift Store Upcycled Halloween Art
- How to Decoupage on Canvas Halloween Art
- Free Witch Printables
- 15 Tasty Halloween Treats
- 20 Cricut Halloween Project Ideas
- Day of the Dead Pumpkin
Follow me on social media below: